
I have written various posts now on creating primitive tools and in my article on making arrows I showed you how to make some spruce pitch using hot rocks. This How To…. will lay out all the steps I take to make spruce pitch using tin cans. I find that when I want to make a lot of pitch quickly that this method works well for me however I do appreciate that there are many other methods for making pitch.
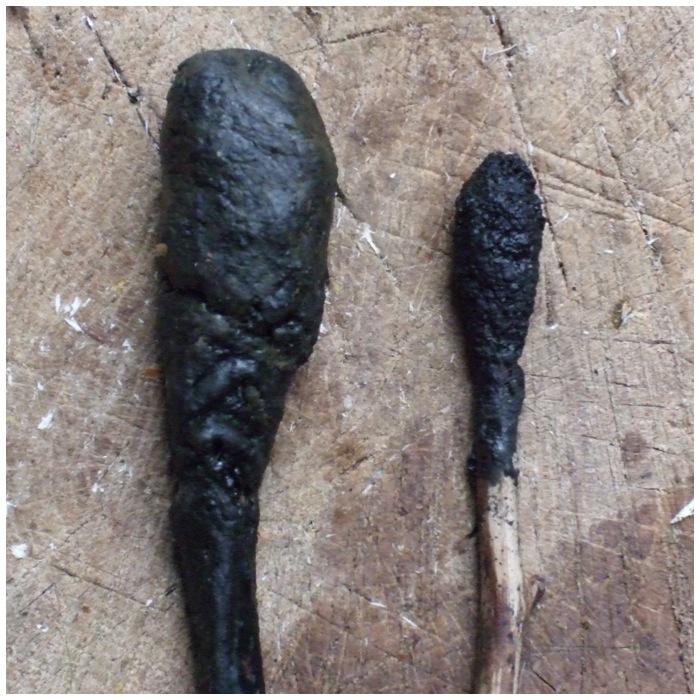
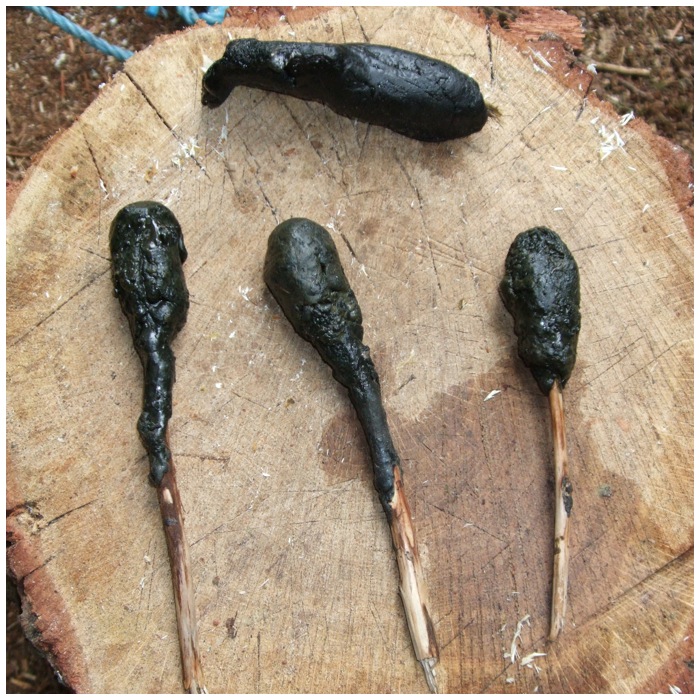
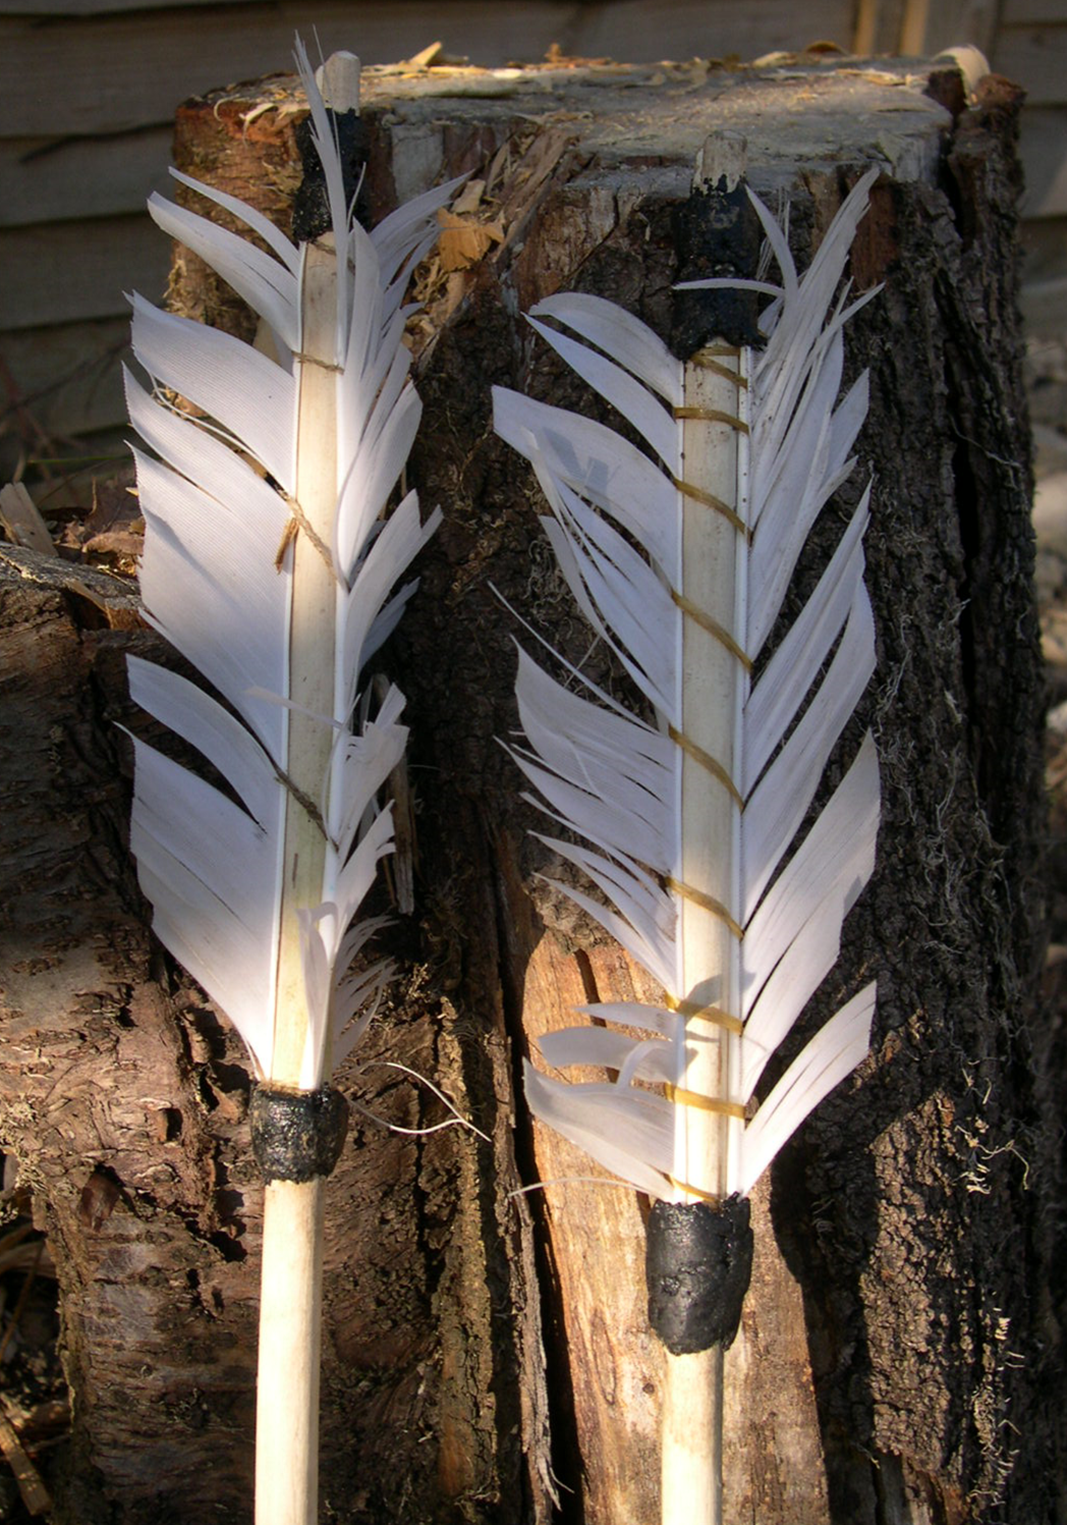
The resin produced using this method gives you a much finer pitch than the hot rocks method as you can see in the picture below. The pitch stick on the left was made using the tin method and the smaller rougher pitch stick on the right was made using hot rocks.
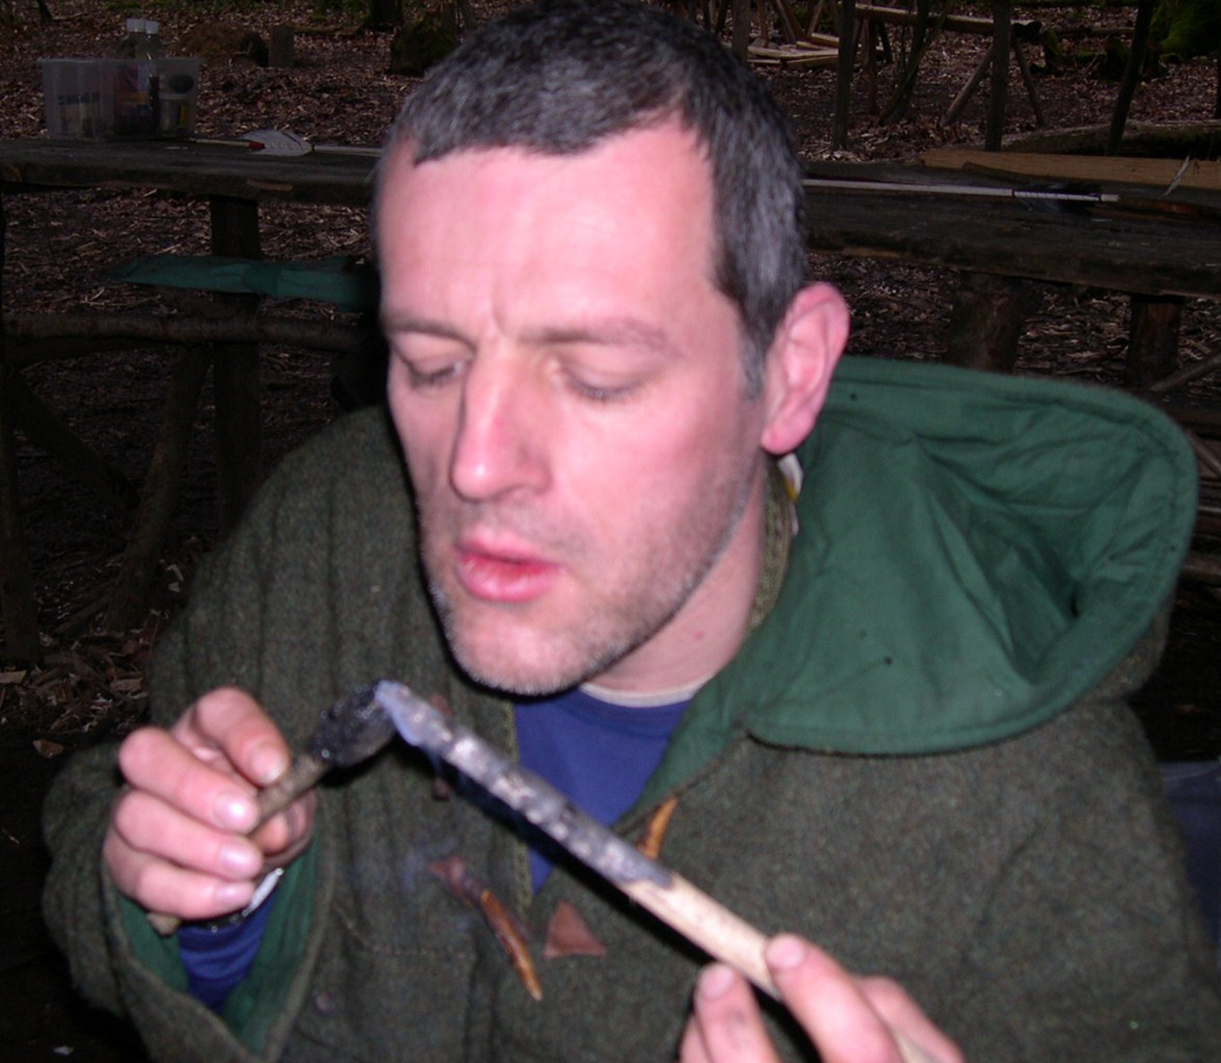
I took these pictures while out bushcrafting with my friend Mark Beer in the woods around Silchester in Hampshire (UK)
I tend to use spruce resin when making pitch as this is more readily available where I am and do not tend to use pine resin as this is not so readily available to me. I normally use pitch as a filler material, for example, when fitting a flint axe head into its socket or use it as a covering to waterproof rawhide wraps.
The knife below has had the rawhide wrap covered in the fine pitch from the tin method and is very easy to produce. I am sure that with time I would be able to produce fine pitch using hot rocks but as yet I do not have that skill level.

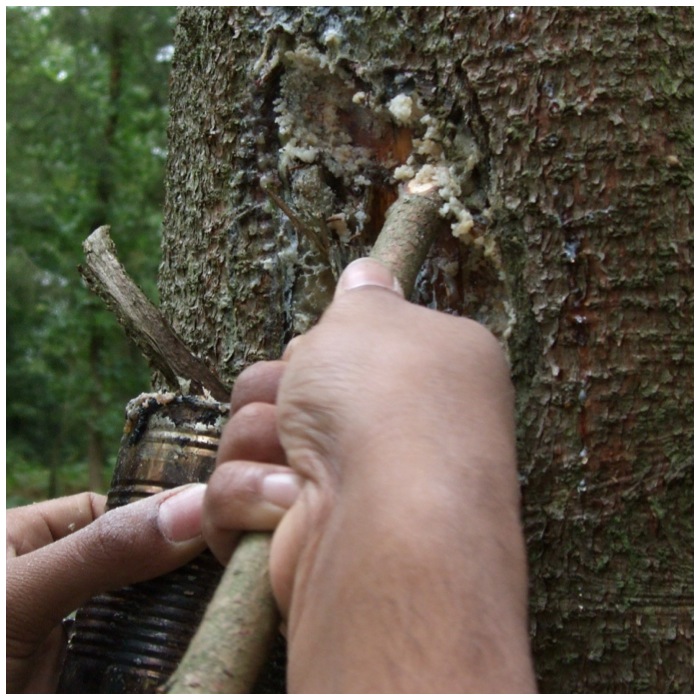
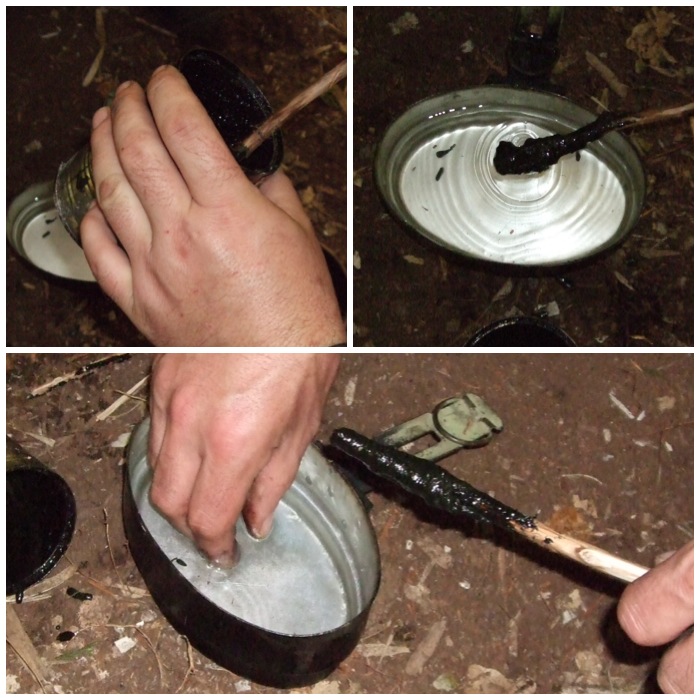
I collect spruce resin using a flattened stick and a tin (or plastic bag). I use the stick as it does not damage the tree as a knife tip would do. Also it is a messy job to clean the resin of a knife blade and the stick also saves my fingers becoming covered in resin which can be hard to clean off when you do not have access to hot running water.
I collect the resin wherever possible where branches have been broken off and the tree has excreted the resin to protect the damaged area. I do not clean out all the resin but just take a little from many different sites. If you are lucky enough to find a spot where the resin has flowed away from the damaged area and pooled into a big clump then it is fine to collect it all. A good spruce tree will keep excreting the resin so if you are careful you can return at a later date to harvest more.
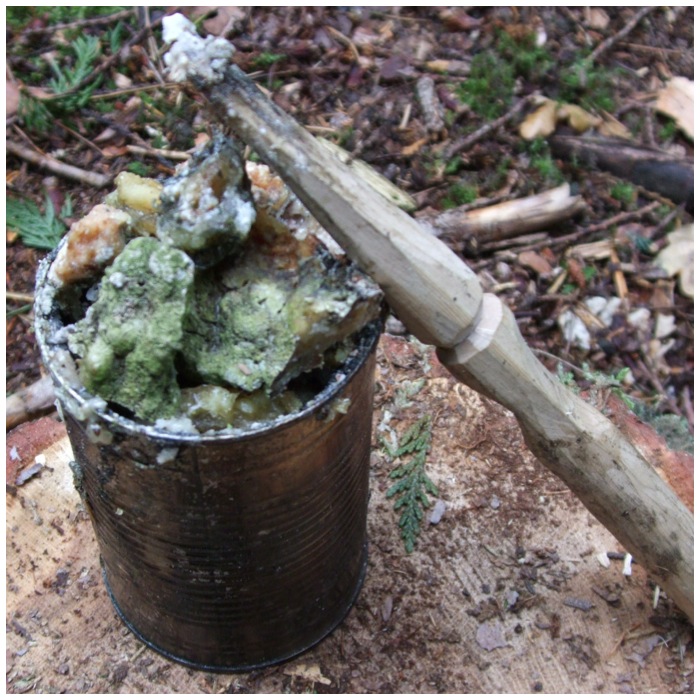
It did not take long to collect this large tinful of resin as Mark and I managed to find spots where the resin had pooled into large clumps.
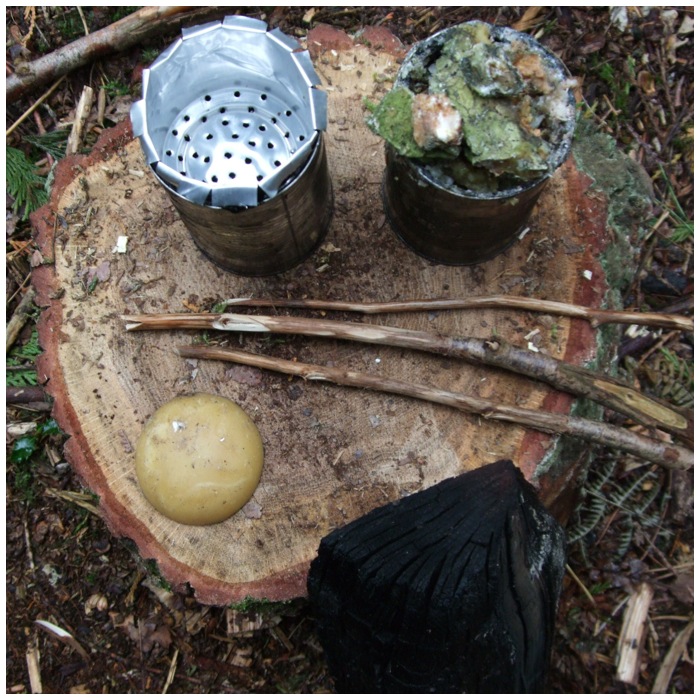
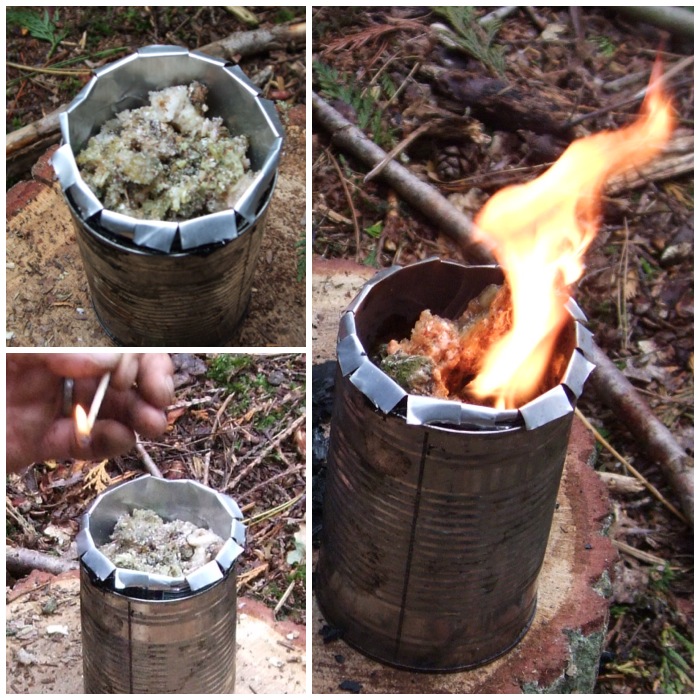
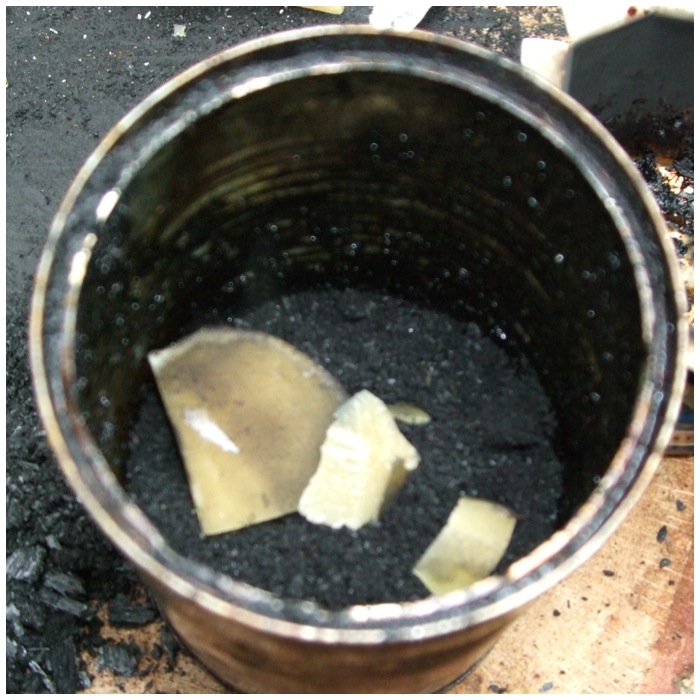
To make pitch I use two baked bean style tins with a small improvised colander in one made out of half a beer can with holes punched through the bottom.
The sticks in the picture below are ready for rolling the pitch on to when it is ready. An alternative is to use a stick like elder with the pith taken out and the pitch poured into the cavity, which makes a kind of pencil.
The charcoal and the beeswax are for binding and tempering the pitch to make it strong but flexible.
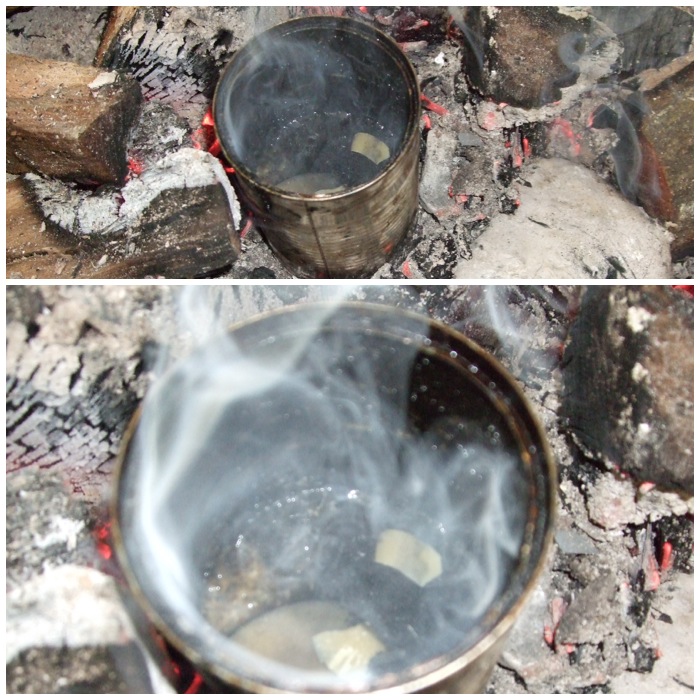
I packed the colander with resin then set light to it. The disadvantage of this method is that you lose a little of the resin but the big plus is that it melts quickly, collects quite cleanly in the bottom of the tin and leaves the detritus in the colander. Two good friends of mine Mark Oriel and Keith Coleman introduced me to this method: previously I’d just put the resin into a tin, placed it into some embers and scooped out the detritus when it had melted.
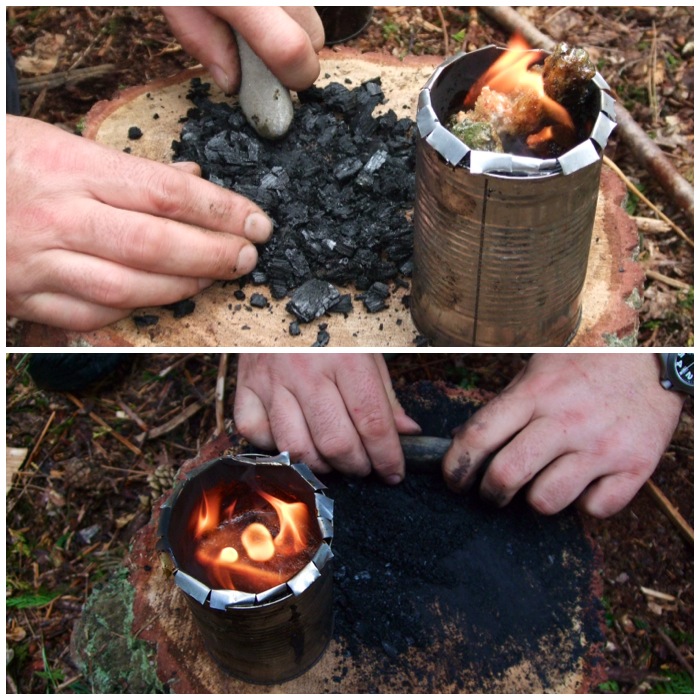
As the resin burns and melts in the tin I then take the time to crush the charcoal down to fine dust with a small stone. This fine dust acts as a binding agent that the resin can cling to and make the pitch you produce stronger. There are many other materials that you can experiment with as binding material such as ash and rabbit droppings. The Primitive Ways website has an excellent article on making pine pitch using a tin but in a different way and discusses other binding agents.
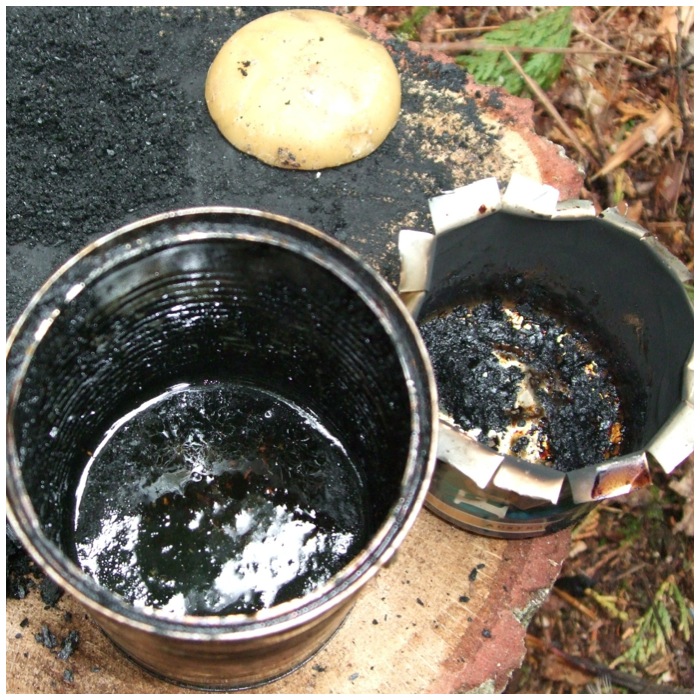
Soon all the resin had melted and dripped down into the tin (it looks black from previous pitch making). As the detritus is left in the colander the resin in the tin is very fine, which makes for very smooth pitch.
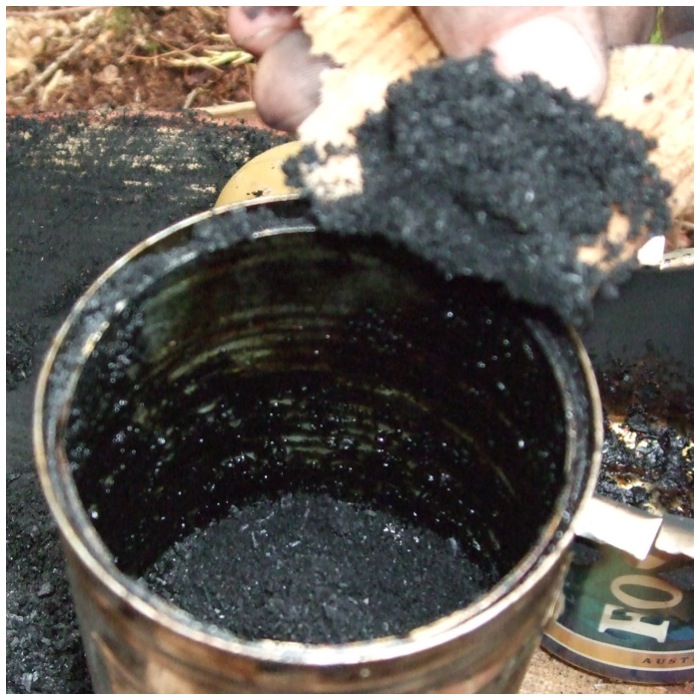
I tend to put in as much charcoal dust as there is spruce resin and mix it all together while the resin is still hot.
I then added some lumps of beeswax. I have heard some folk say that they put in the same quantities for everything but I usually just put in a small block or two of beeswax. I also use beeswax balsam as this is easy to buy in shops and it seems to work just as well as pure beeswax. Experiment for yourself with quantities to see what works for you.
I then put the tin into the embers of my fire and mix it all up. Watch out that you don’t overheat it as it will froth up and spill over. I normally have some tongs nearby so that I can move the tin around the embers so as to better control the heat.
I use the tongs to move the tin out of the embers when all the beeswax has melted and been thoroughly mixed in. The tin will be scorching hot and the liquid pitch will scald you badly if it comes into contact with your skin.
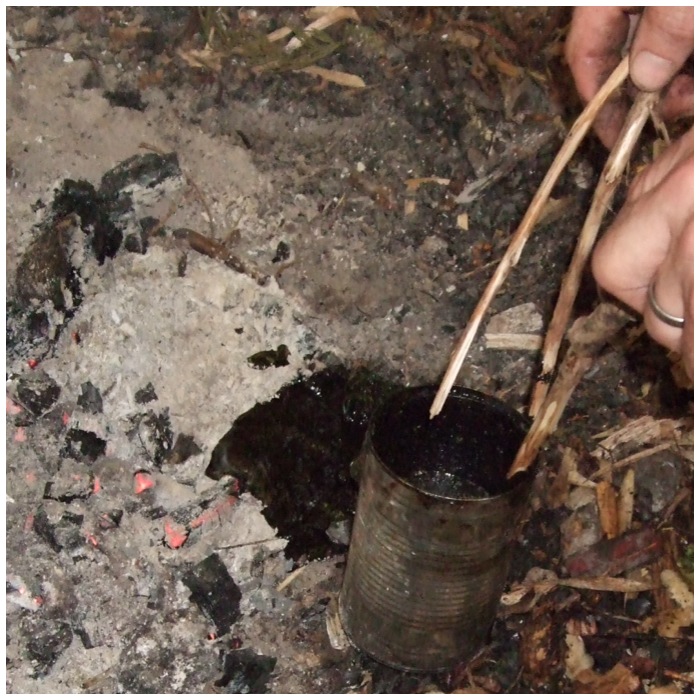
I let the pitch cool slightly and so it becomes a little bit tacky. While it is cooling down I make sure I have a little pot of water ready.
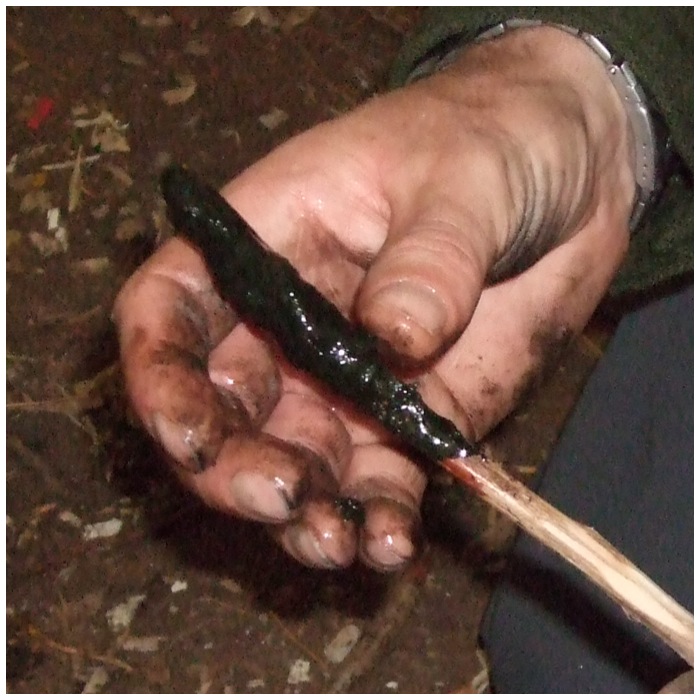
I then put one of the sticks into the mixture and roll it a few times (I try to square off the stick as this helps catching the tacky pitch) until I have some pitch on the stick. I then dunk the stick into the water to rapidly cool the pitch down. The pitch will not dissolve in the water due to the oils, charcoal and beeswax in it and but will bind to the stick.
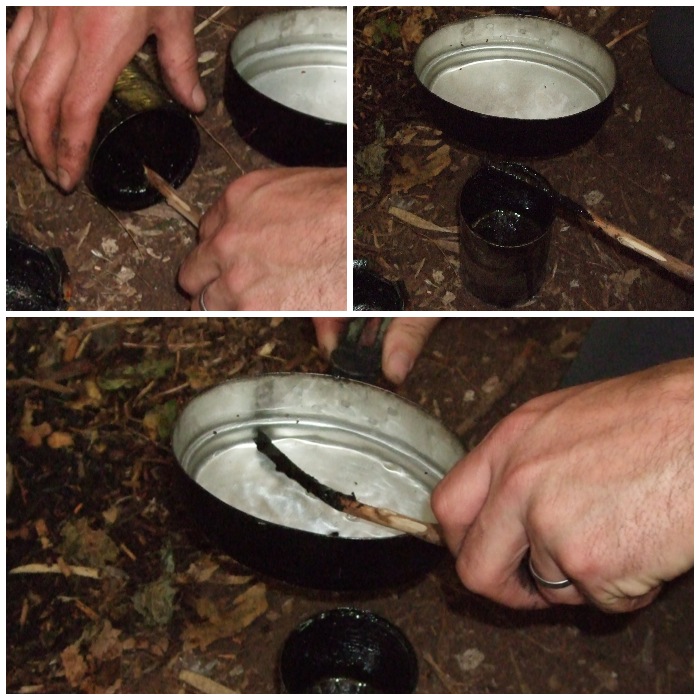
I then repeat the process again and again to build up more layers of pitch on the stick. You will find loose bits of pitch will float in the water so just fish them out and pop them back into the tin and they will melt back into the mixture.
After two or three times doing this you will need to use your fingers to mold the pitch into a tight blob on the end of the stick and also to smooth it out. As the pitch can still be quite warm and sticky you need to keep your fingers wet during this process. If your fingers are dry then the pitch will just stick to them.
In no time at all you will have a good amount of spruce pitch to help you with making primitive craft items.
To use a pitch stick I just heat the end of it with a glowing ember until it starts to melt and then drip the liquid pitch onto whatever I am making.
I have used pitch for waterproofing bindings on arrows.
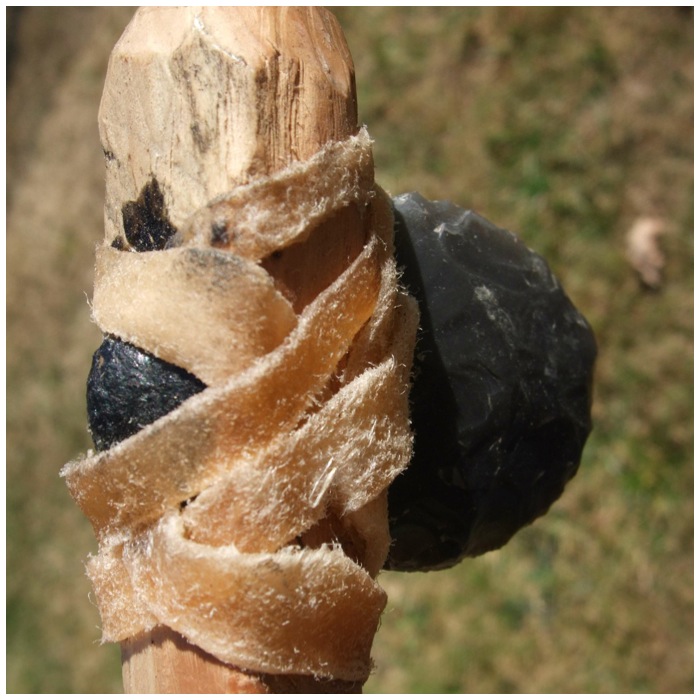
It is also great as a filler as in this small hatchet. I filled the socket with pitch, inserted the flint axe head and then bound it all up with rawhide.
I have also published an article on making pitch in a primitive fashion using hot rocks instead of a tin – How To…. Make Hot Rock Spruce Pitch.
Cheers
George