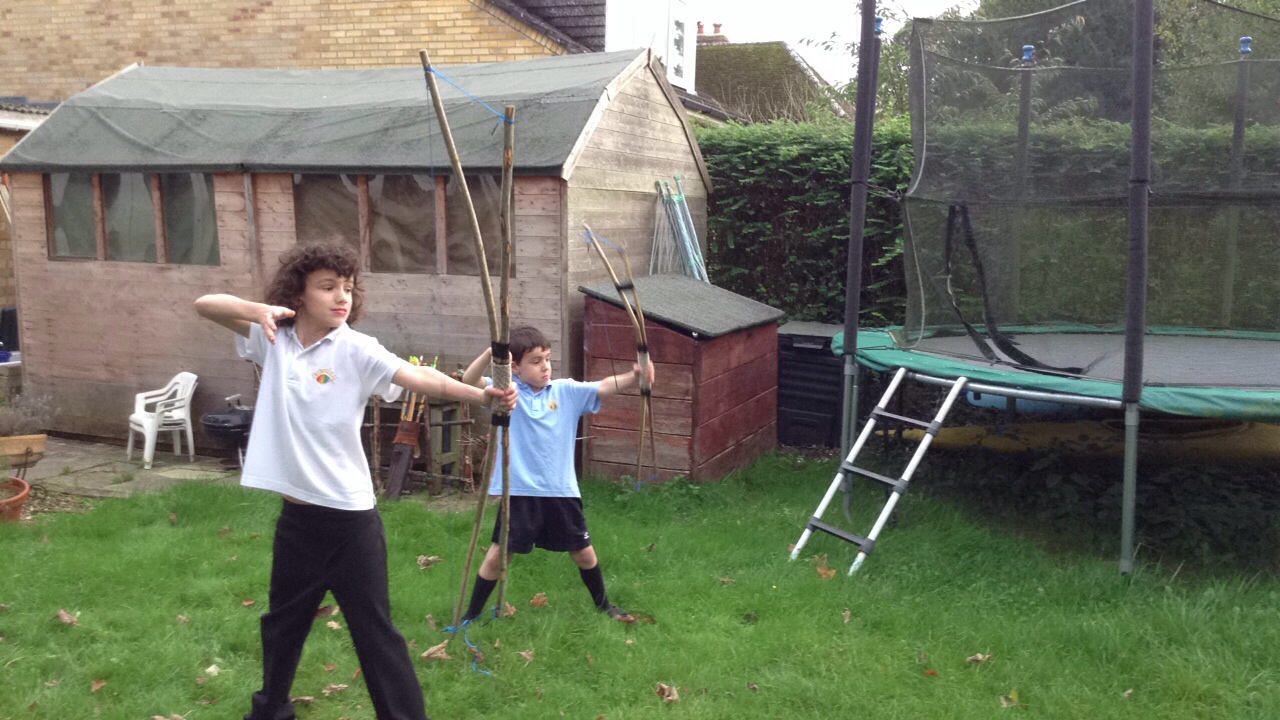
I got back from Glasgow today and the first thing the kids wanted to do was try out their new bows.
So out to the garden we went.
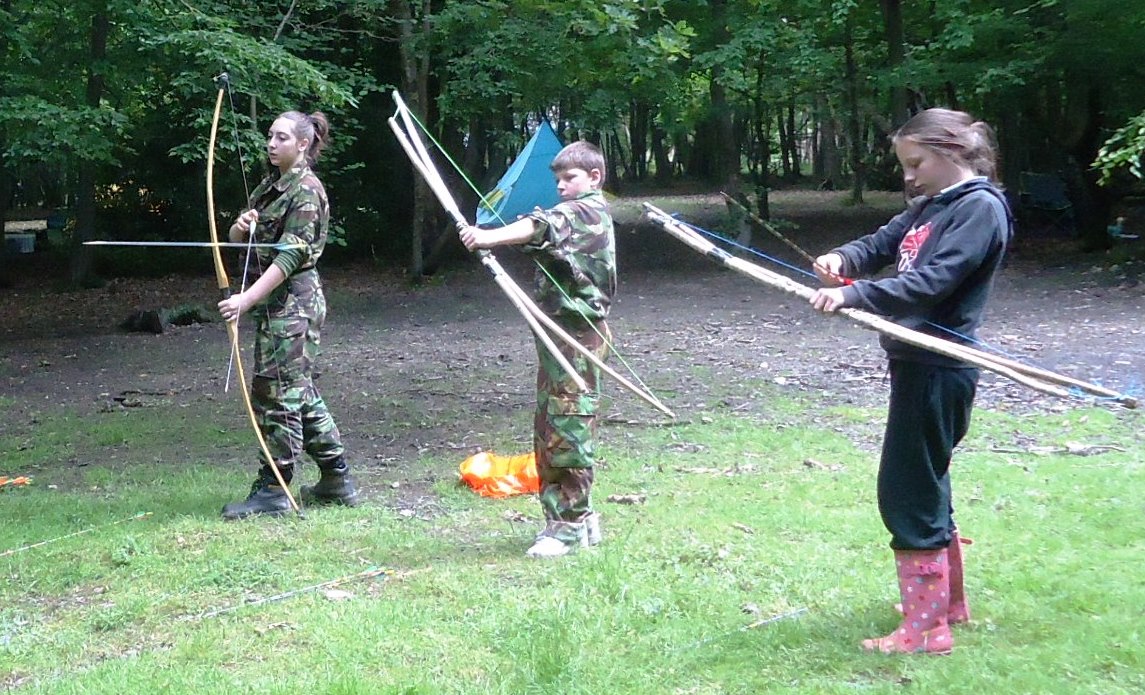
Not bad stances for beginners.
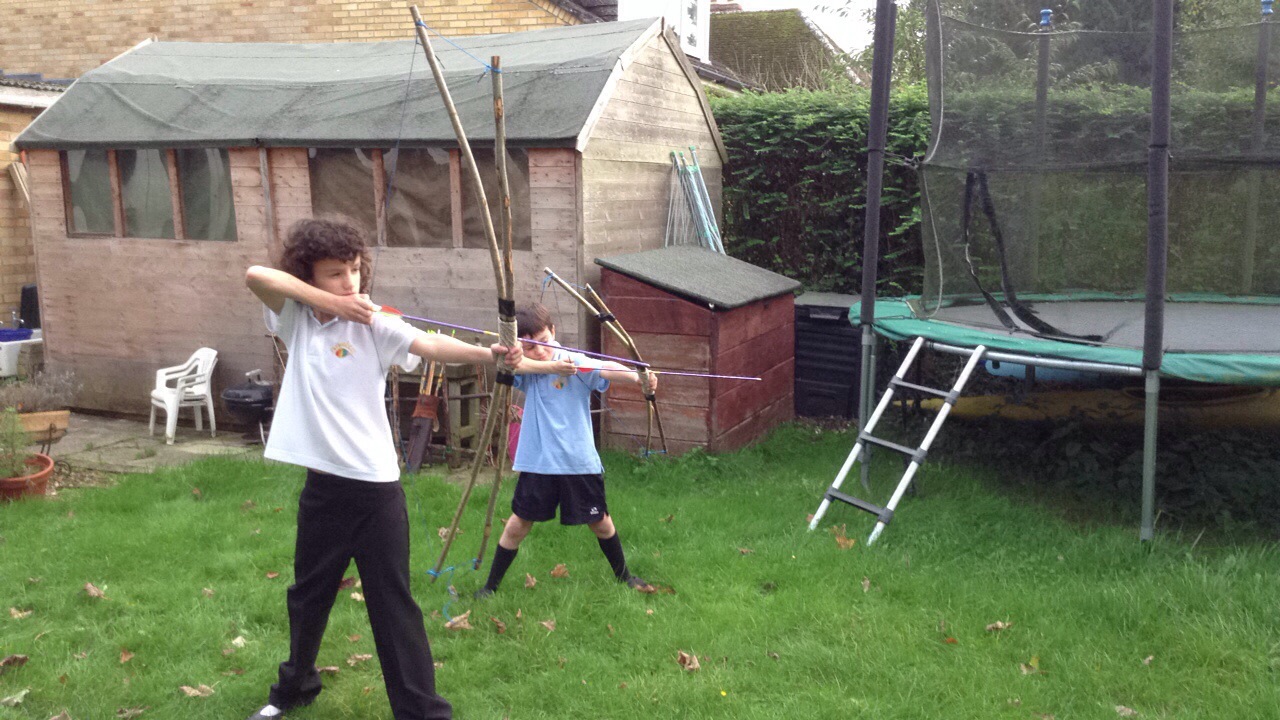
Three, two, one – release………..
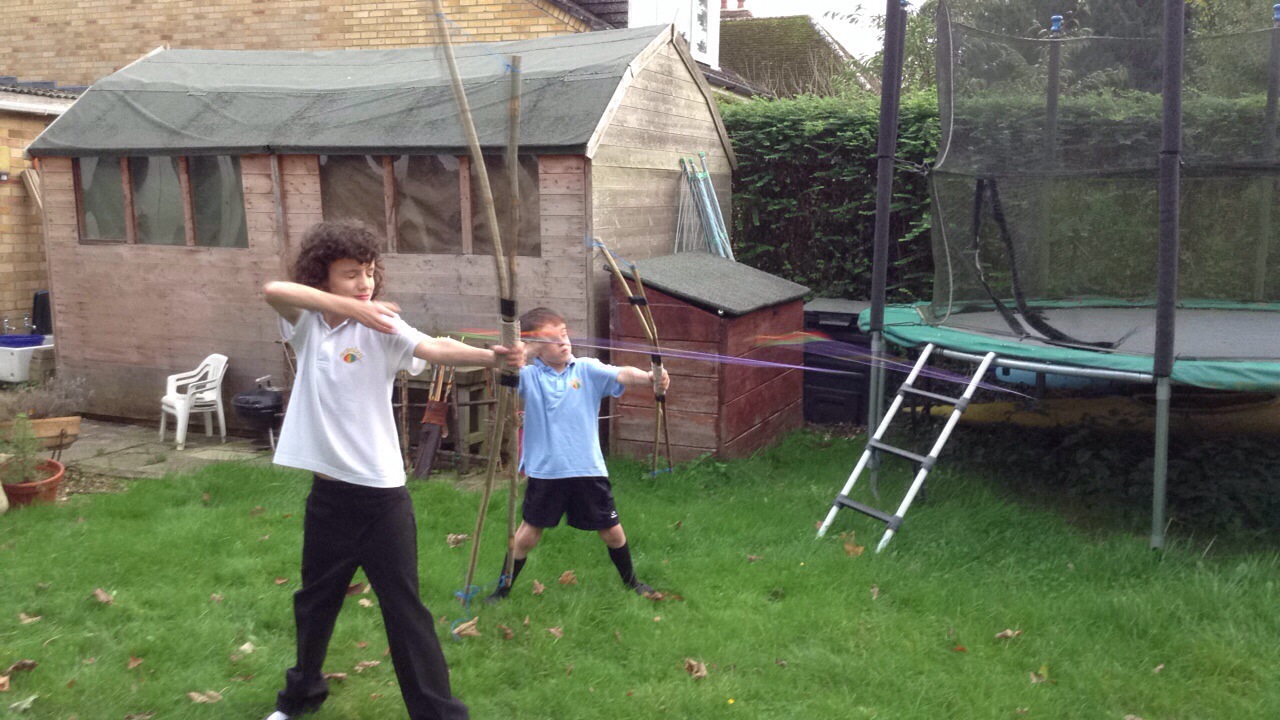
Happy archers.

"to adventure"
I got back from Glasgow today and the first thing the kids wanted to do was try out their new bows.
So out to the garden we went.
Not bad stances for beginners.
Three, two, one – release………..
Happy archers.
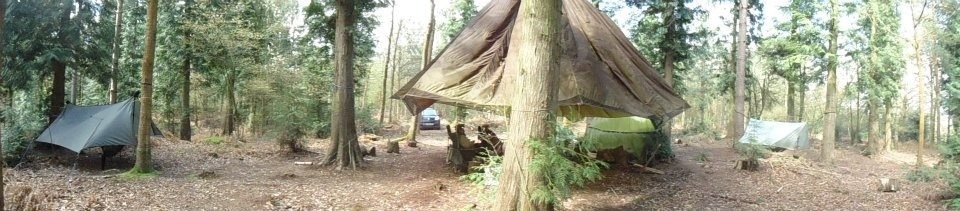
Since about 2007 one of my local Bushcrafting locations has been in the woods near Silchester.
This was organised by my good friend Mark Beer as he was a Forester working for the Benyon Estate. My last overnight visit was in February this year but I did pop up and visit the lads for a few hours while they were out this summer.
Sadly access to the site is very limited now as Mark no longer works there so I thought instead of just writing about my last visit I would write about some of the different Bushcraft activities we got up to over the years.
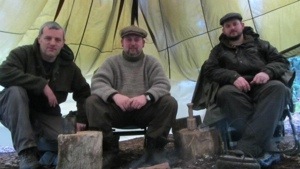
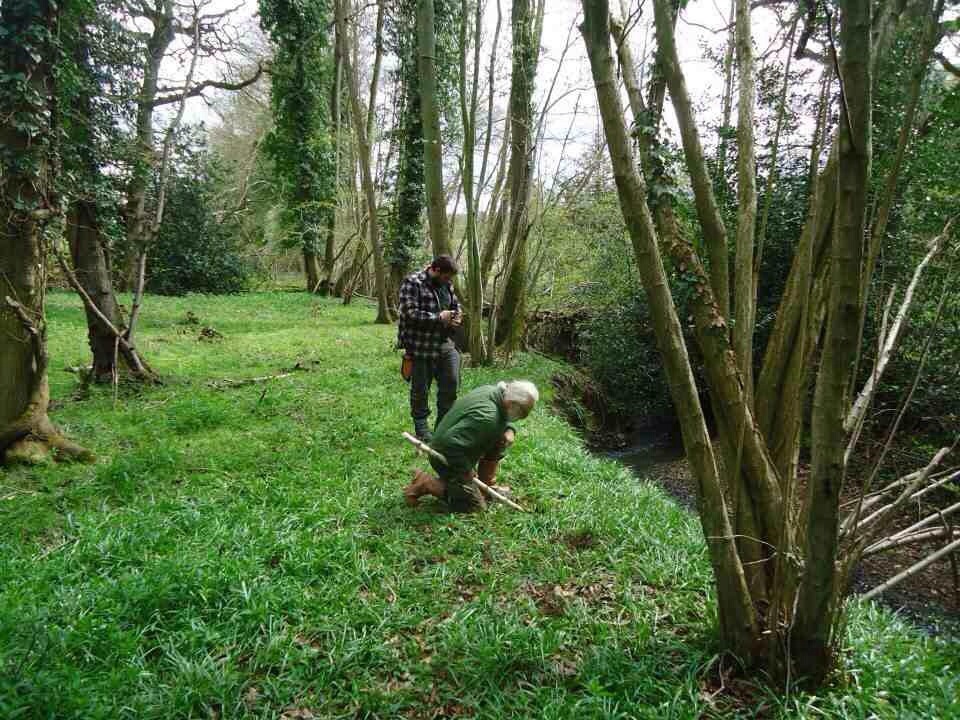
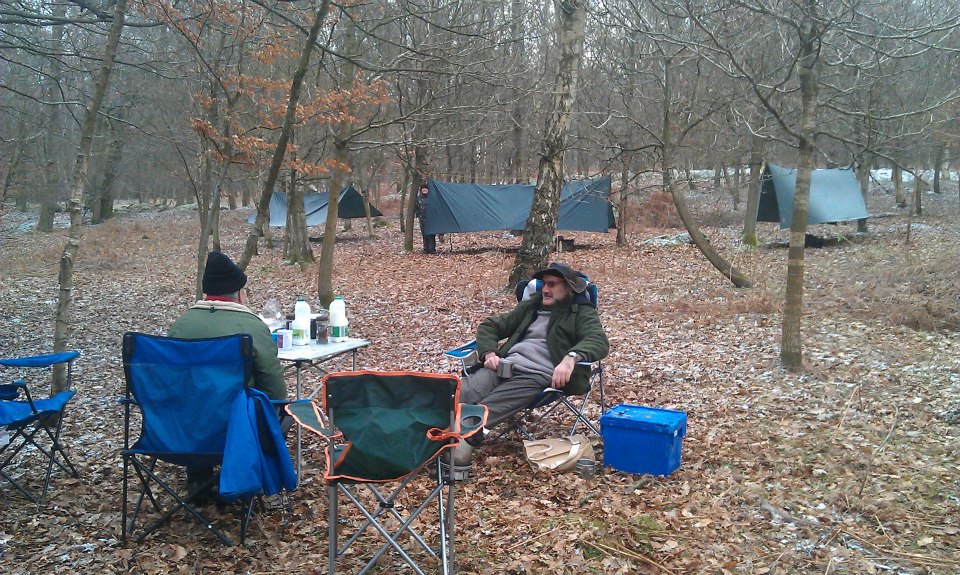
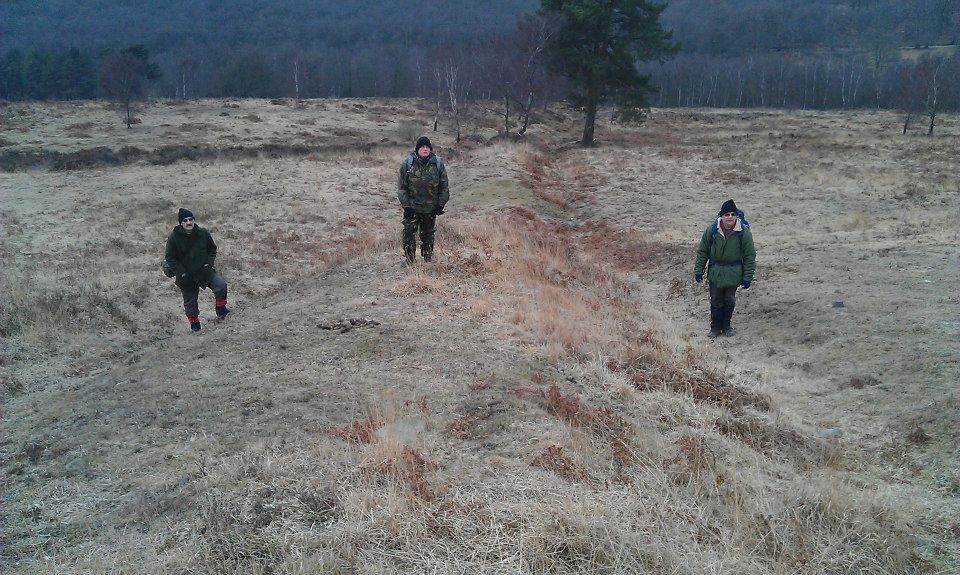
This was probably the last picture I took in February.
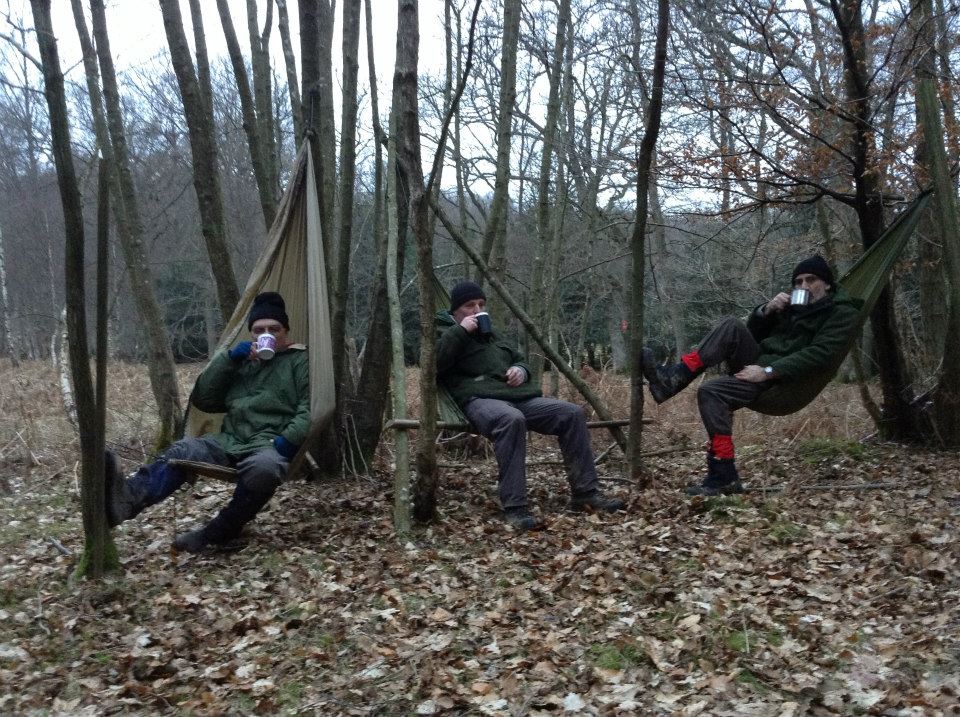
Apart from Mark Beer and Adam Cottrell who are in this picture other regular members who attended were Nick Currie, Mat Howes, Andy Smith, Jon Searle and Rod Anderson Boyle. There have been many more who have attended in the past so please forgive me for not listing everyone.
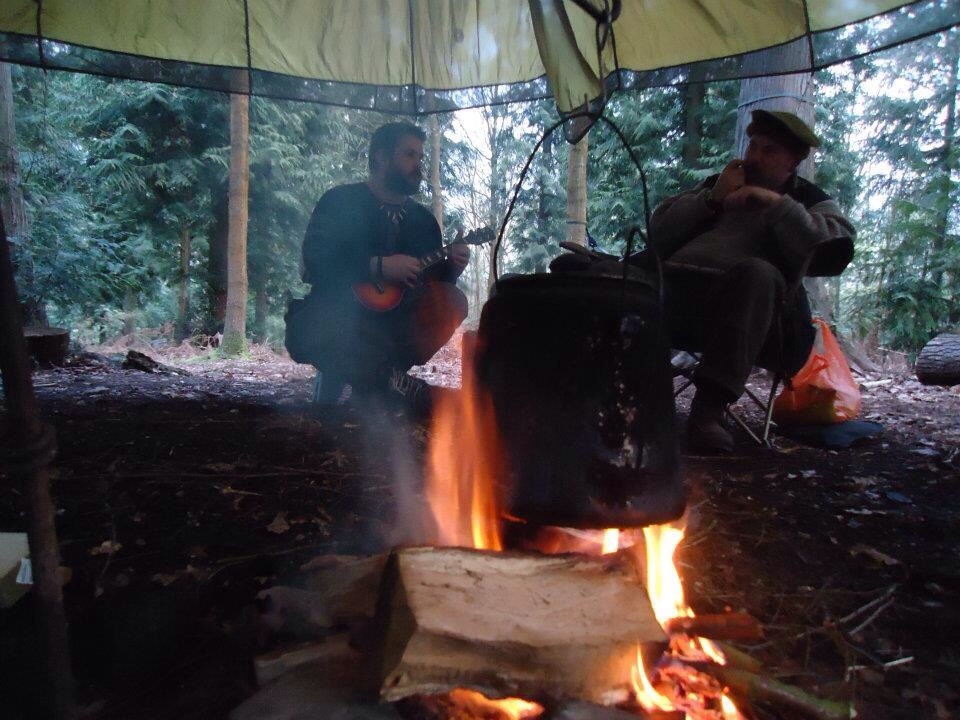
As usual we had a parachute set up most of the time as our main admin area. I have spent many a happy hour around the fire under this chute. I was either carving, building something, listening to the music from all the different instruments, eating, planning my next picture, drinking endless tea from the old civil service kettle or just usually shooting the breeze and accepting the usual jibes from my friends relating to my Scottish ancestry
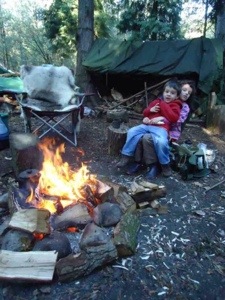
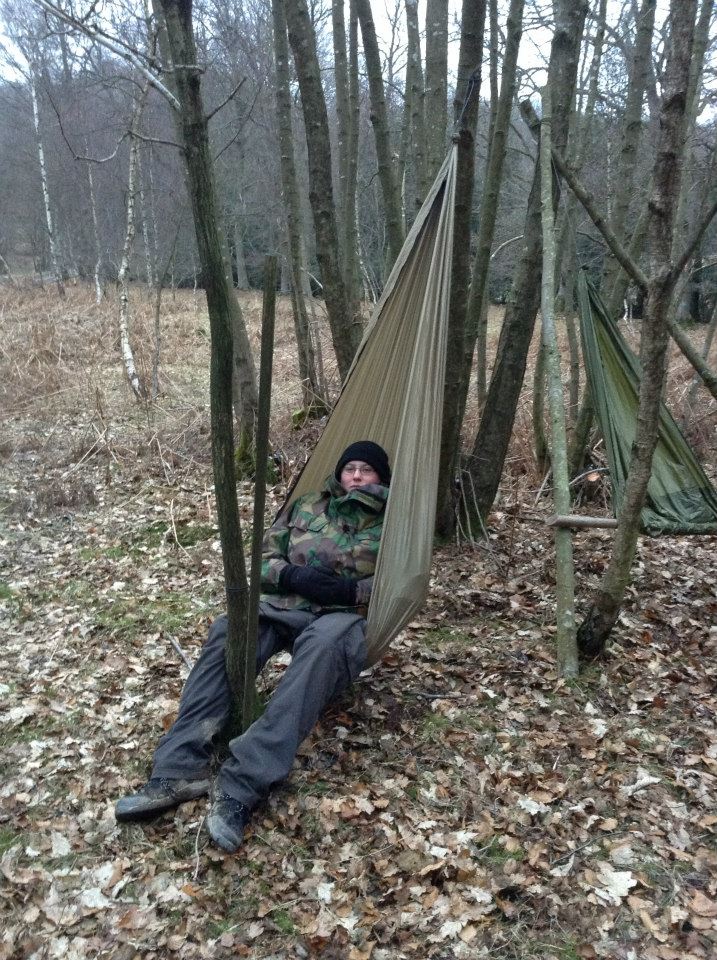
My kids have visited the site a few times over the years where they were always welcomed. Catherine was very happy to sleep in her hammock here and was always keen to dance around the fire to the music of one of the flutes. They are always keen to learn but this is one place where I could generally relax (cadet free zone) and learn from all the guys who would be there.
One of the things I liked about spending time here was to listen to all the different music that was played. If it was not someone playing a guitar you would be listening to flutes or the Jaw harp. It made sitting there carving all the more pleasurable.
I have learned a lot here while out and about on the mooches from the guys. So much so that my colleague Sea Cadet instructors have been known to raise an eye brow or two when I start on about looking for Pignuts (or some other such environmental subject).
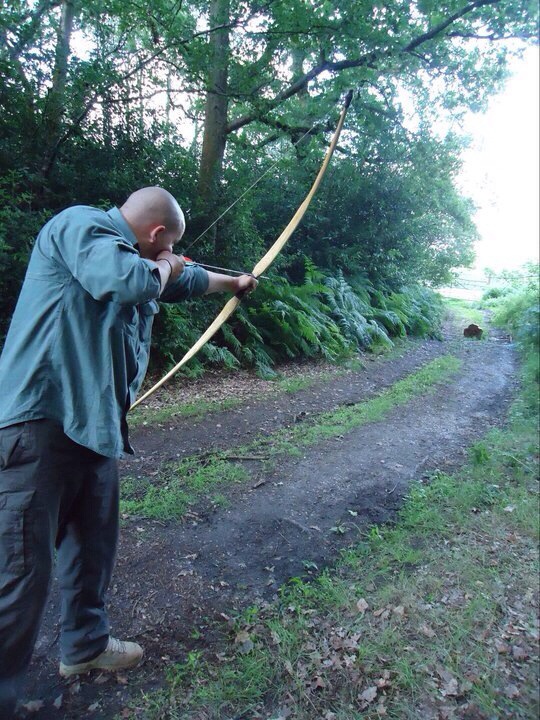
One of my passions is to get my bows out on these meets. I have shot some remarkable bows over the years here that the lads have brought along.
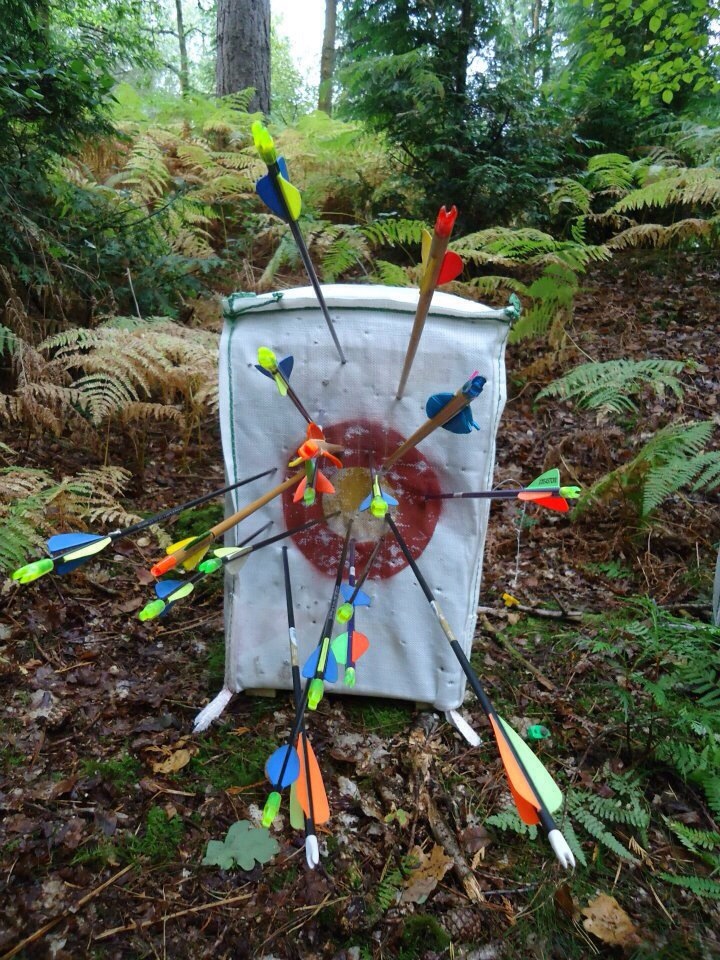
This target by G-Outdoors has been used here for a few years now and is still going great after all the abuse we gave it.
I will let the pictures say it all now.
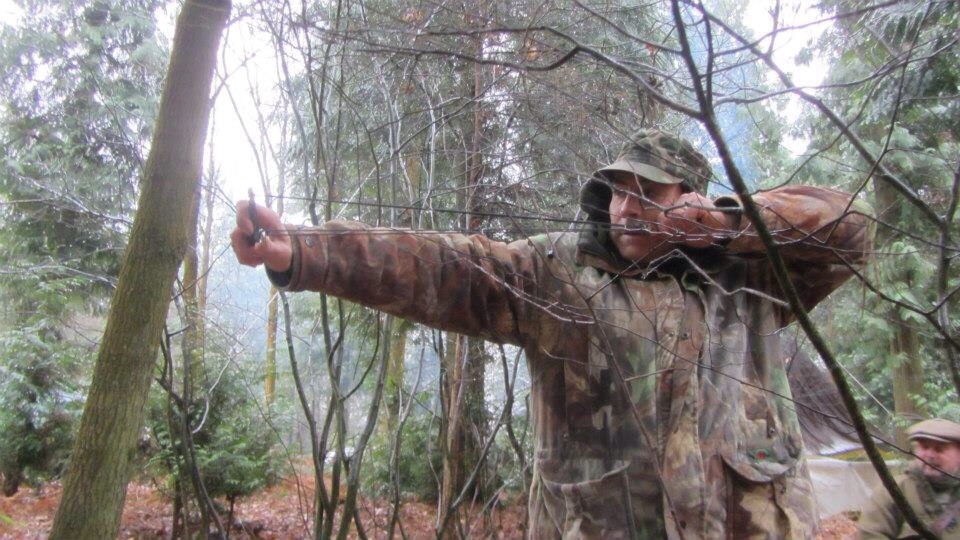

Hopefully I will get back out there sometime soon.
George
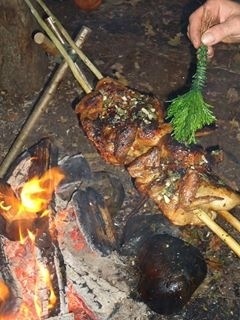
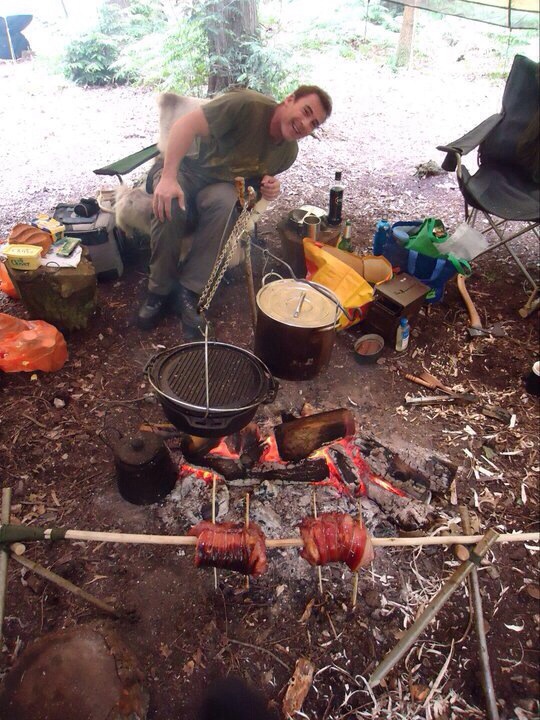
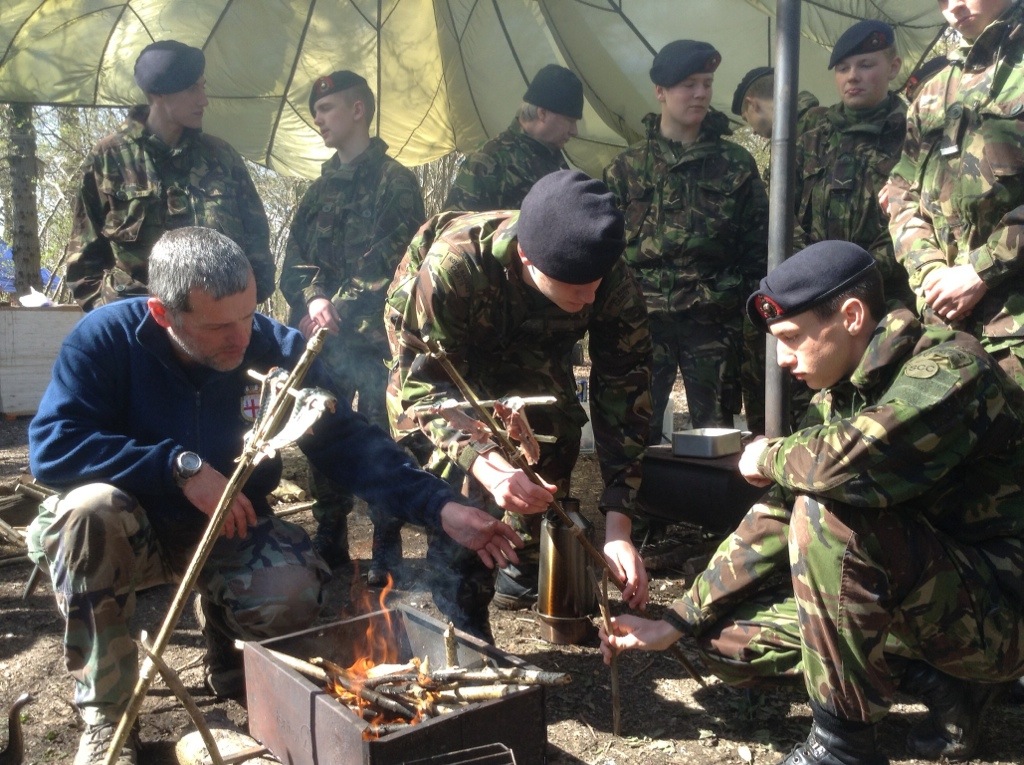
I have been very lucky over the years to have made many friends in the world of Bushcraft. I cannot call myself a chef in any form but many of my Bushcraft friends are either very good cooks or can be classified as chefs. I was struck by how many of my pictures I have taken have been of the food I have eaten while Bushcrafting.
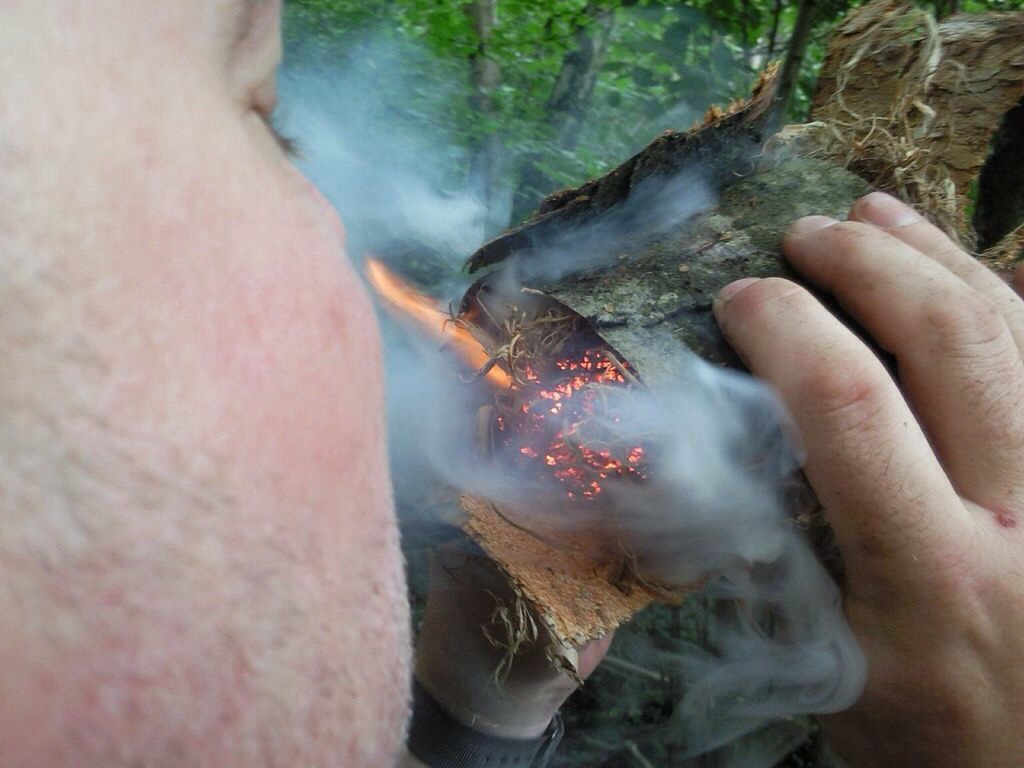
One of my favourite methods of cooking is to Ponnasse fish.
I do not intend here to make this a How to…. article on preparing food (I may do that in the How to… section) but just publish photos of some of the great meals I have tried over the years while out Bushcrafting.
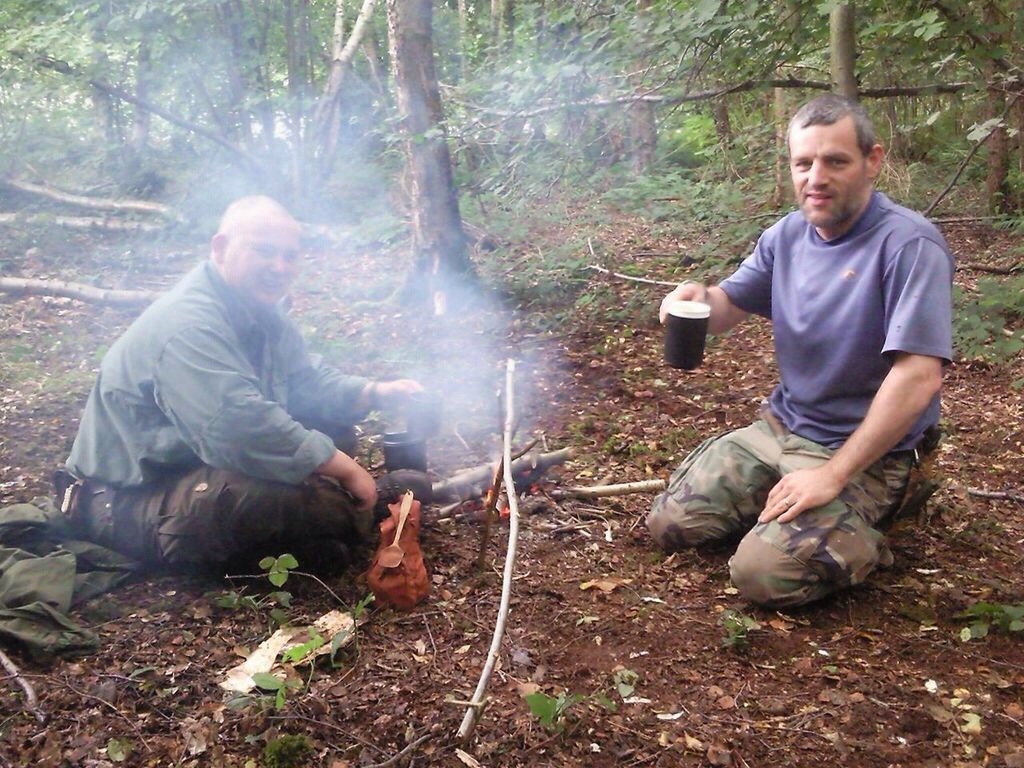
A freshly foraged pan of Paella simmering while Jordan, Dave, Fraser and myself natter.
I spend a lot of time eating out of MOD rat packs so really appreciate being in the company of good cooks.
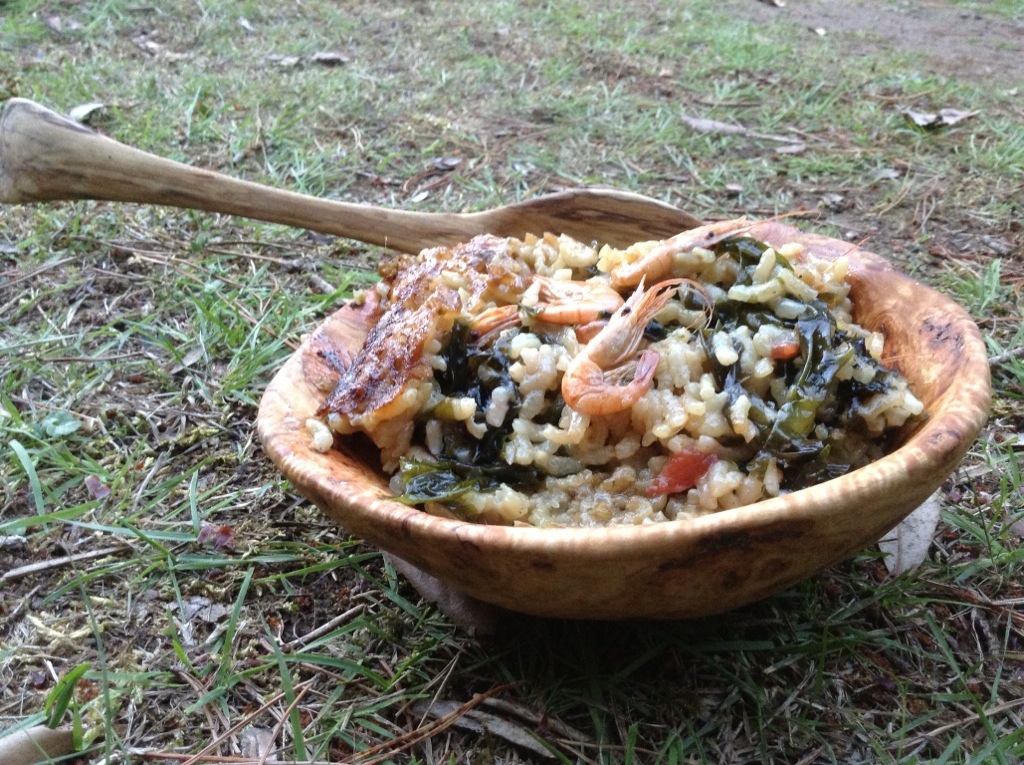
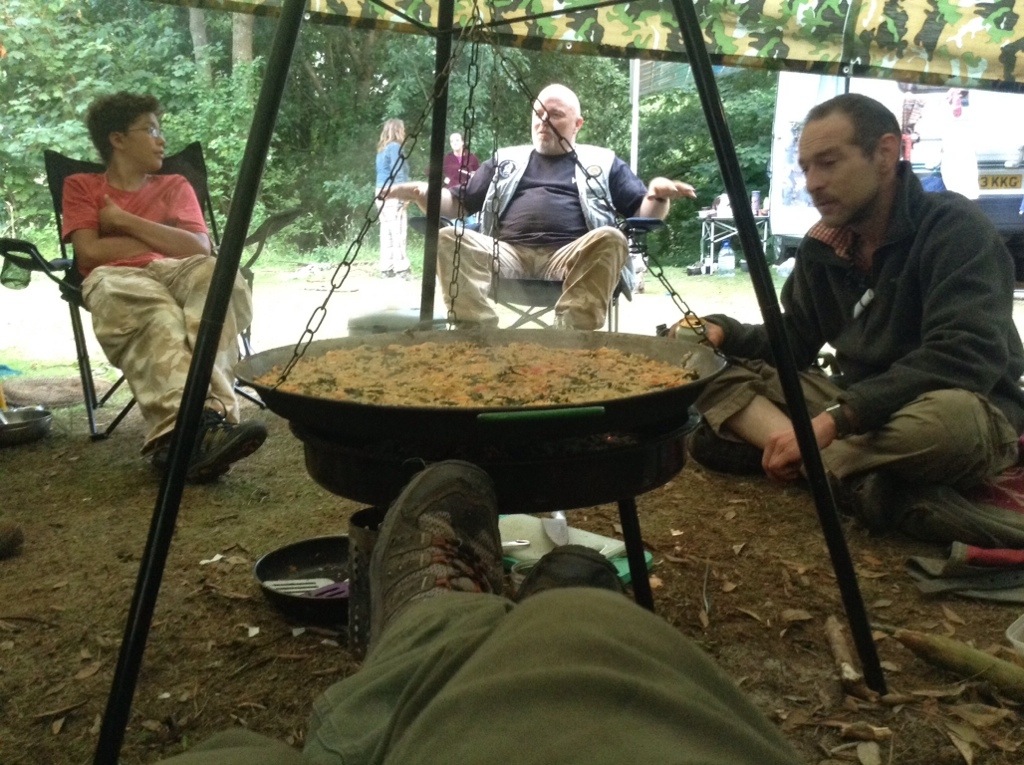
One cracking plate of Paella from last years BCUK Bushmoot.
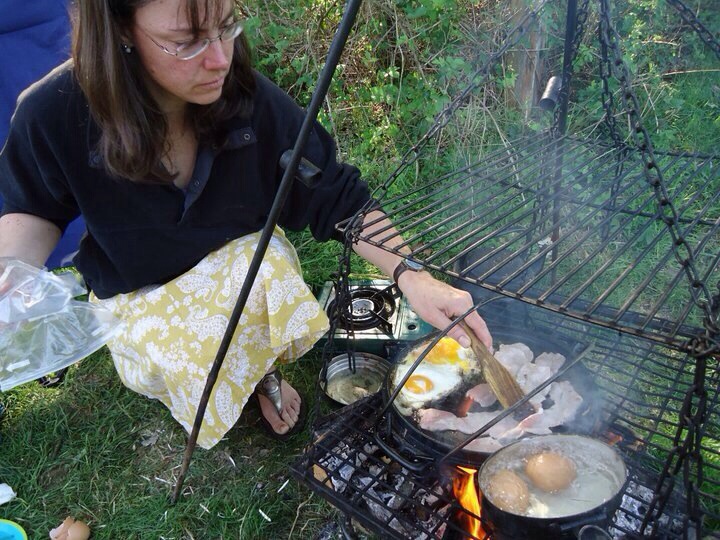
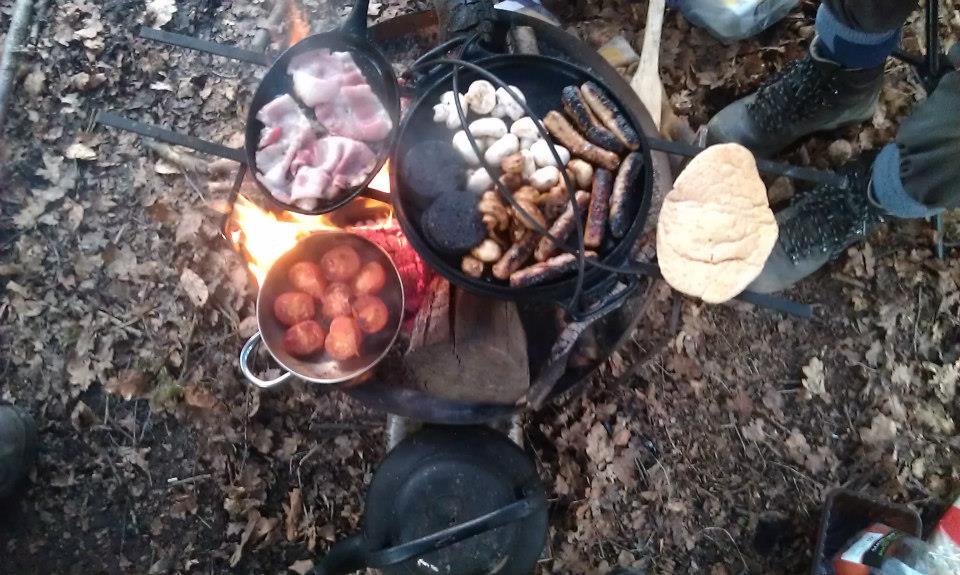
One of my favourite meals of the day while in the woods is my breakfast. Thankfully Alison is always keen to cook outdoors.
It is not always about big meals.
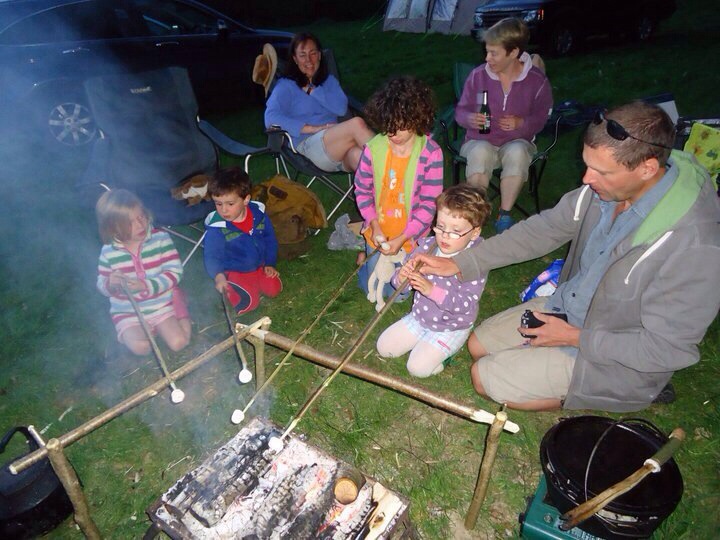
Then again they can get quite big.
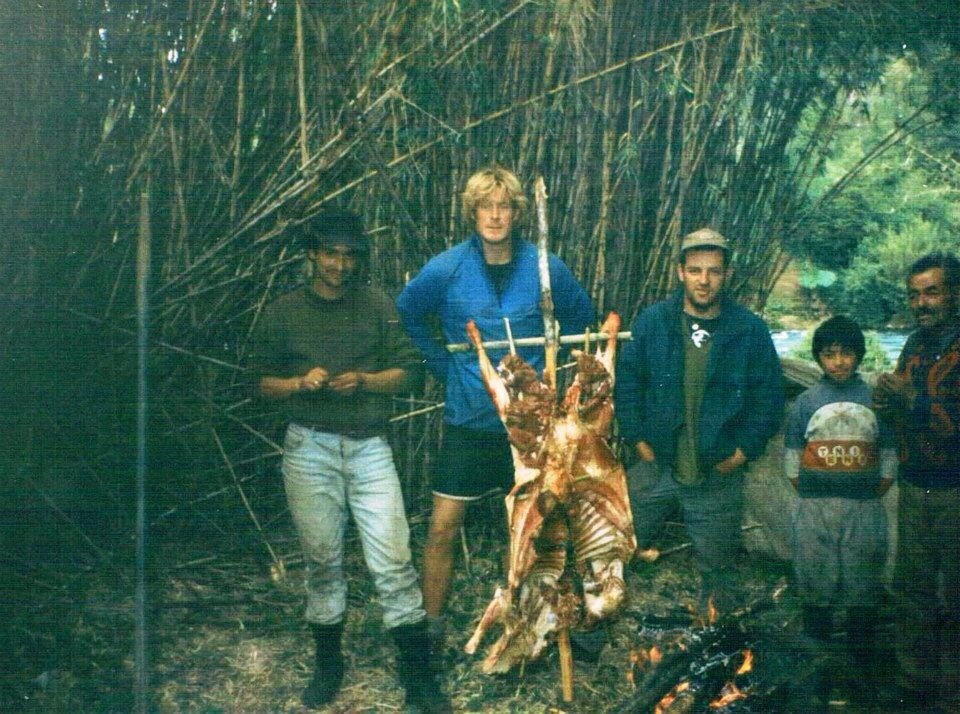
An Osado from my time in Chile with Raleigh International.
I will work through my library and post up later some more of my memorable meals.
George
A very quickly made bow – It should take anyone competent with a knife and saw about 1 hour to make. The bow is made up of two poles – The larger is the Father and the smaller is the Son. I still have the first Father & Son bow I made about 5 years ago and it still shoots well. I use these bows typically on ranges of less than 20 metres but on a high arc they will shoot an arrow between 60 and 70 metres. Not bad for something made in an hour but only about 20 to 30lbs in draw.
I was introduced to this sort of bow from Mark of Kepis Bushcraft when he posted a You Tube video where he made one for his son (I have put a link to the video at the bottom of the article). I realised instantly that this would be an excellent tool to use with my Sea Cadets. Funding is always tight so the thought that I could make bows quickly and that they could shoot well got me going.
I was originally told that there was no historical record for this type of bow apart from being created by some locals in the States during the 1930’s to fool some Anthropologists but since have come across these types of bows being called the Penobscot or Wabanaki bow (I have included a link at the end of the article to the Primitive Archer website to give more detail on the history). So far from my reading this type of bow dates back at least 1500 years and comes in a number of different types.
My cadets like to refer to the bow as the X Wing Fighter Bow. I can kind of see why.
This step by step is to guide you through how I make one of these bows. I have tried to make the steps as clear as possible but please leave a comment if you are unsure about any stage.
I do not make them in a primitive way as my aim is to have a useful tool in limited time that my cadets or my own children can use quickly. After researching this bow more though I will be interested in making one in a primitive way.
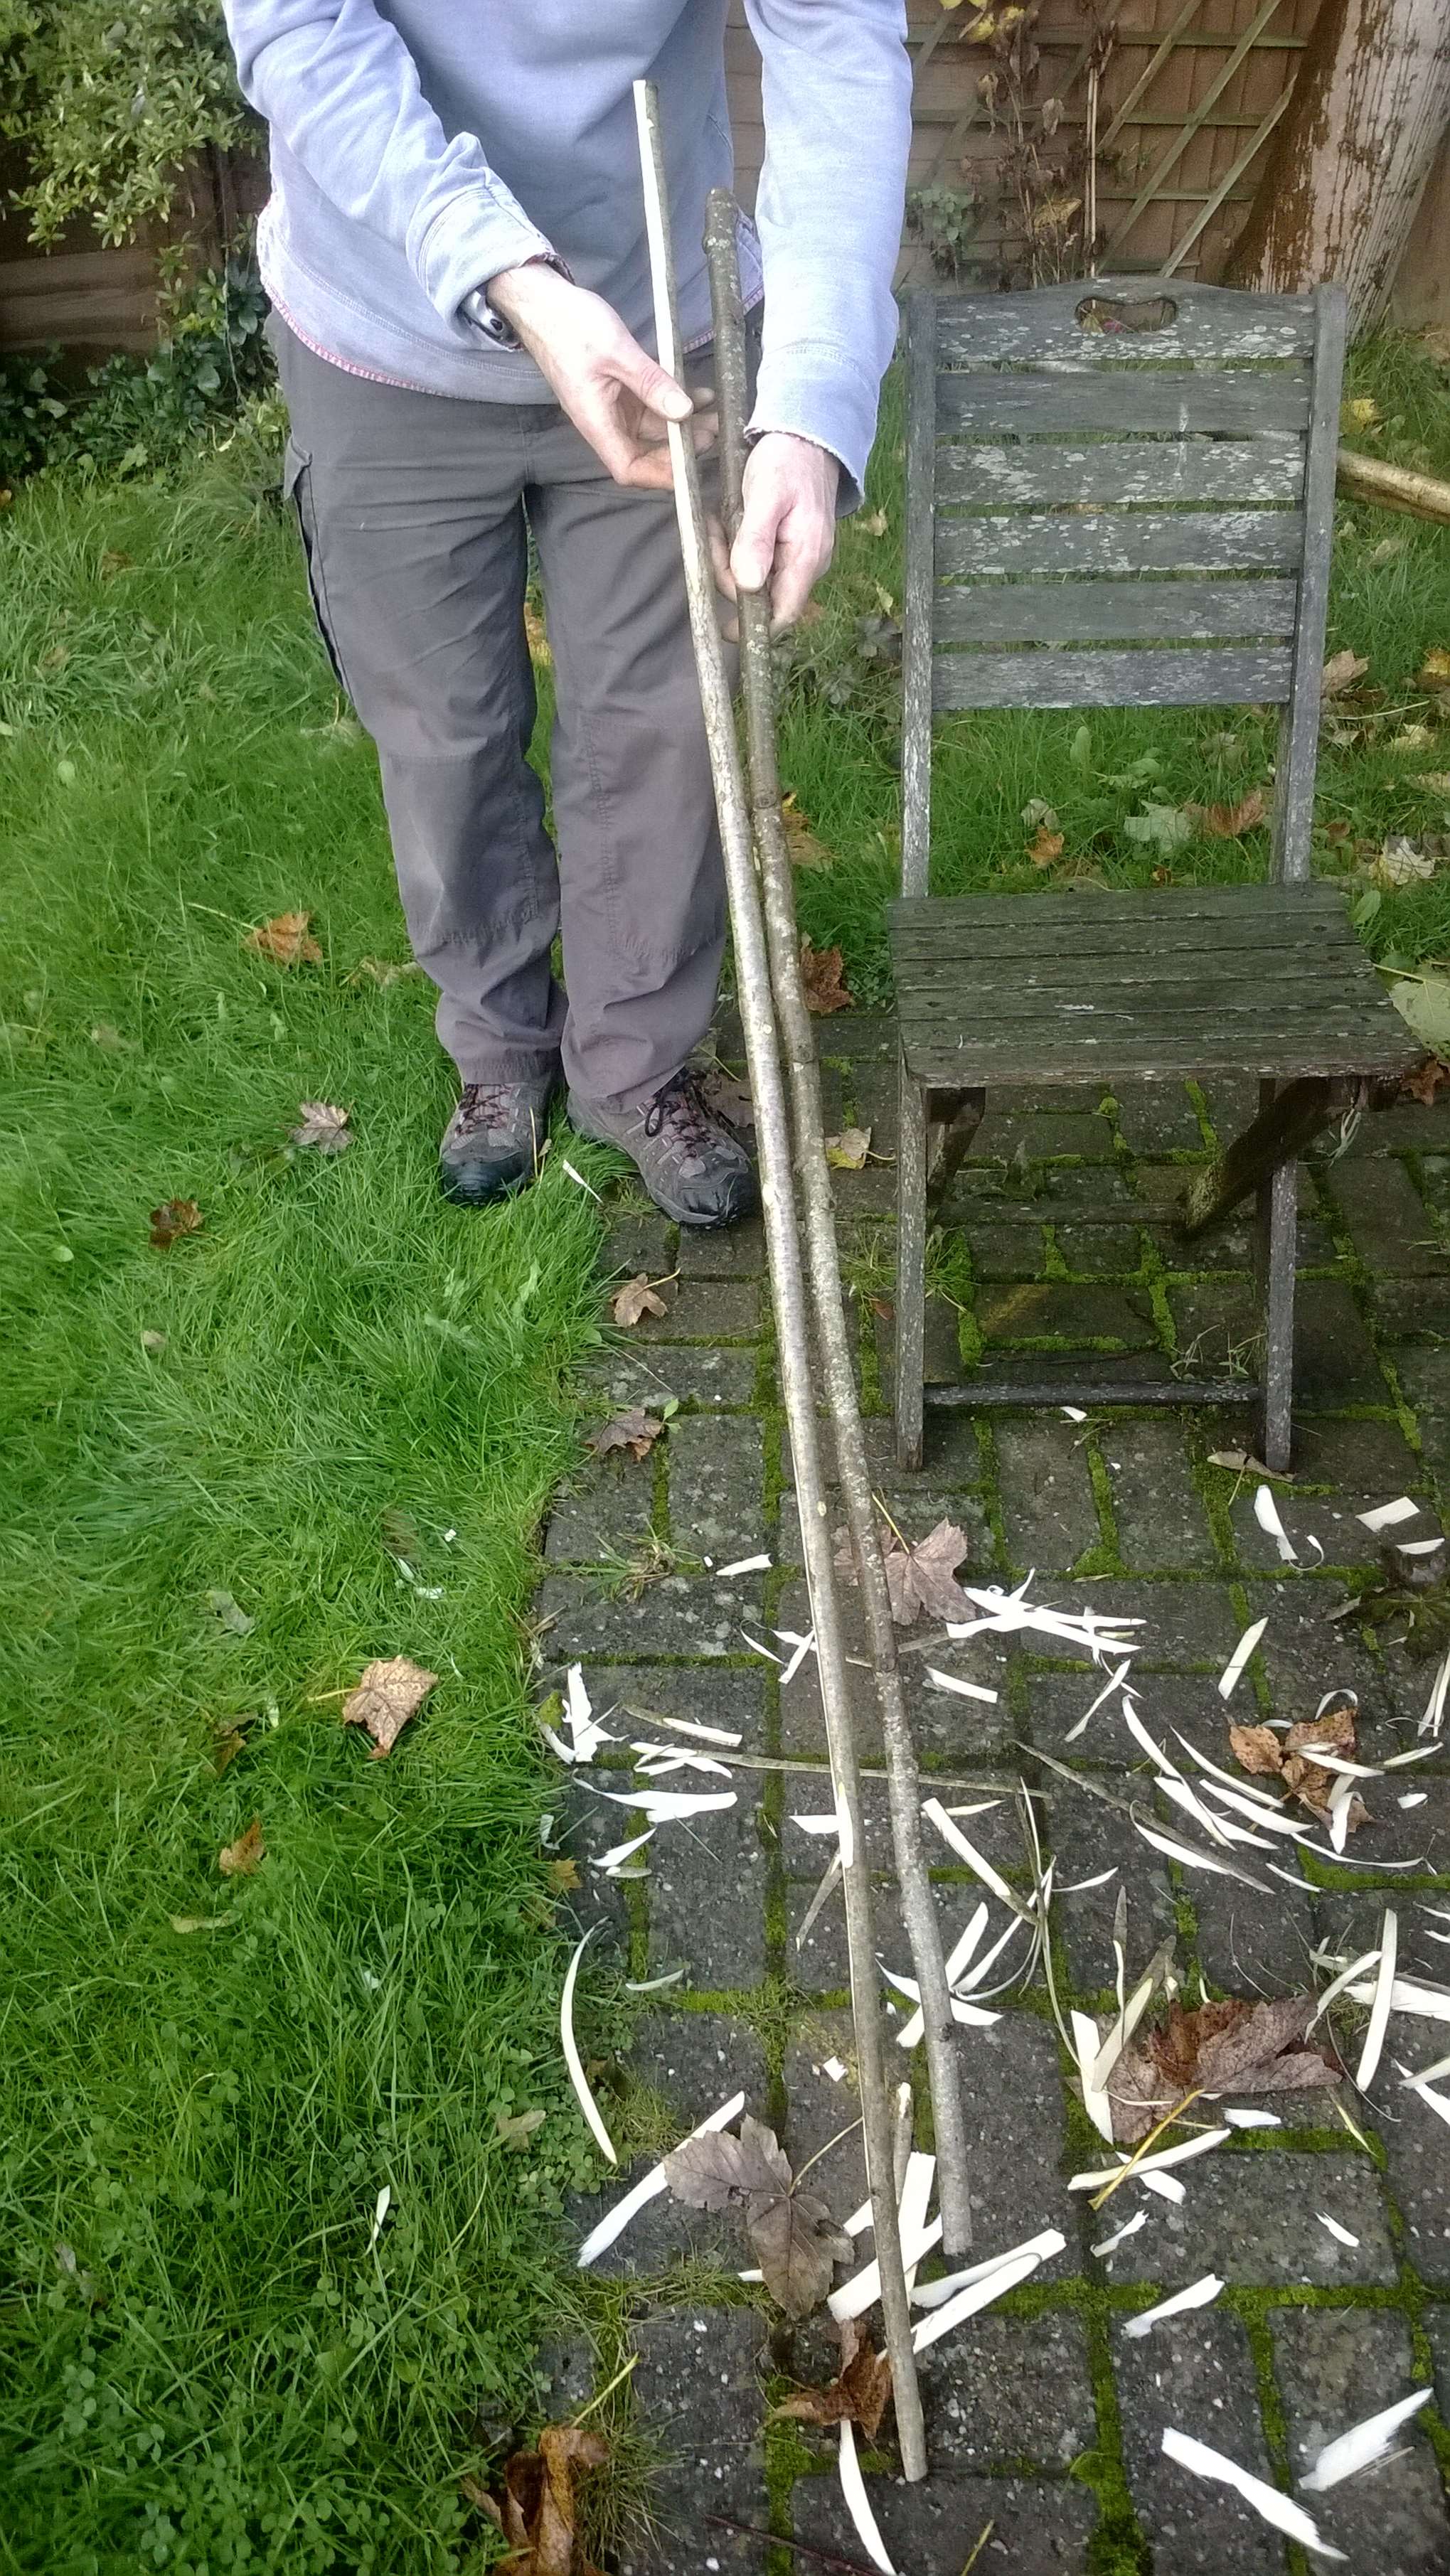
The Limbs
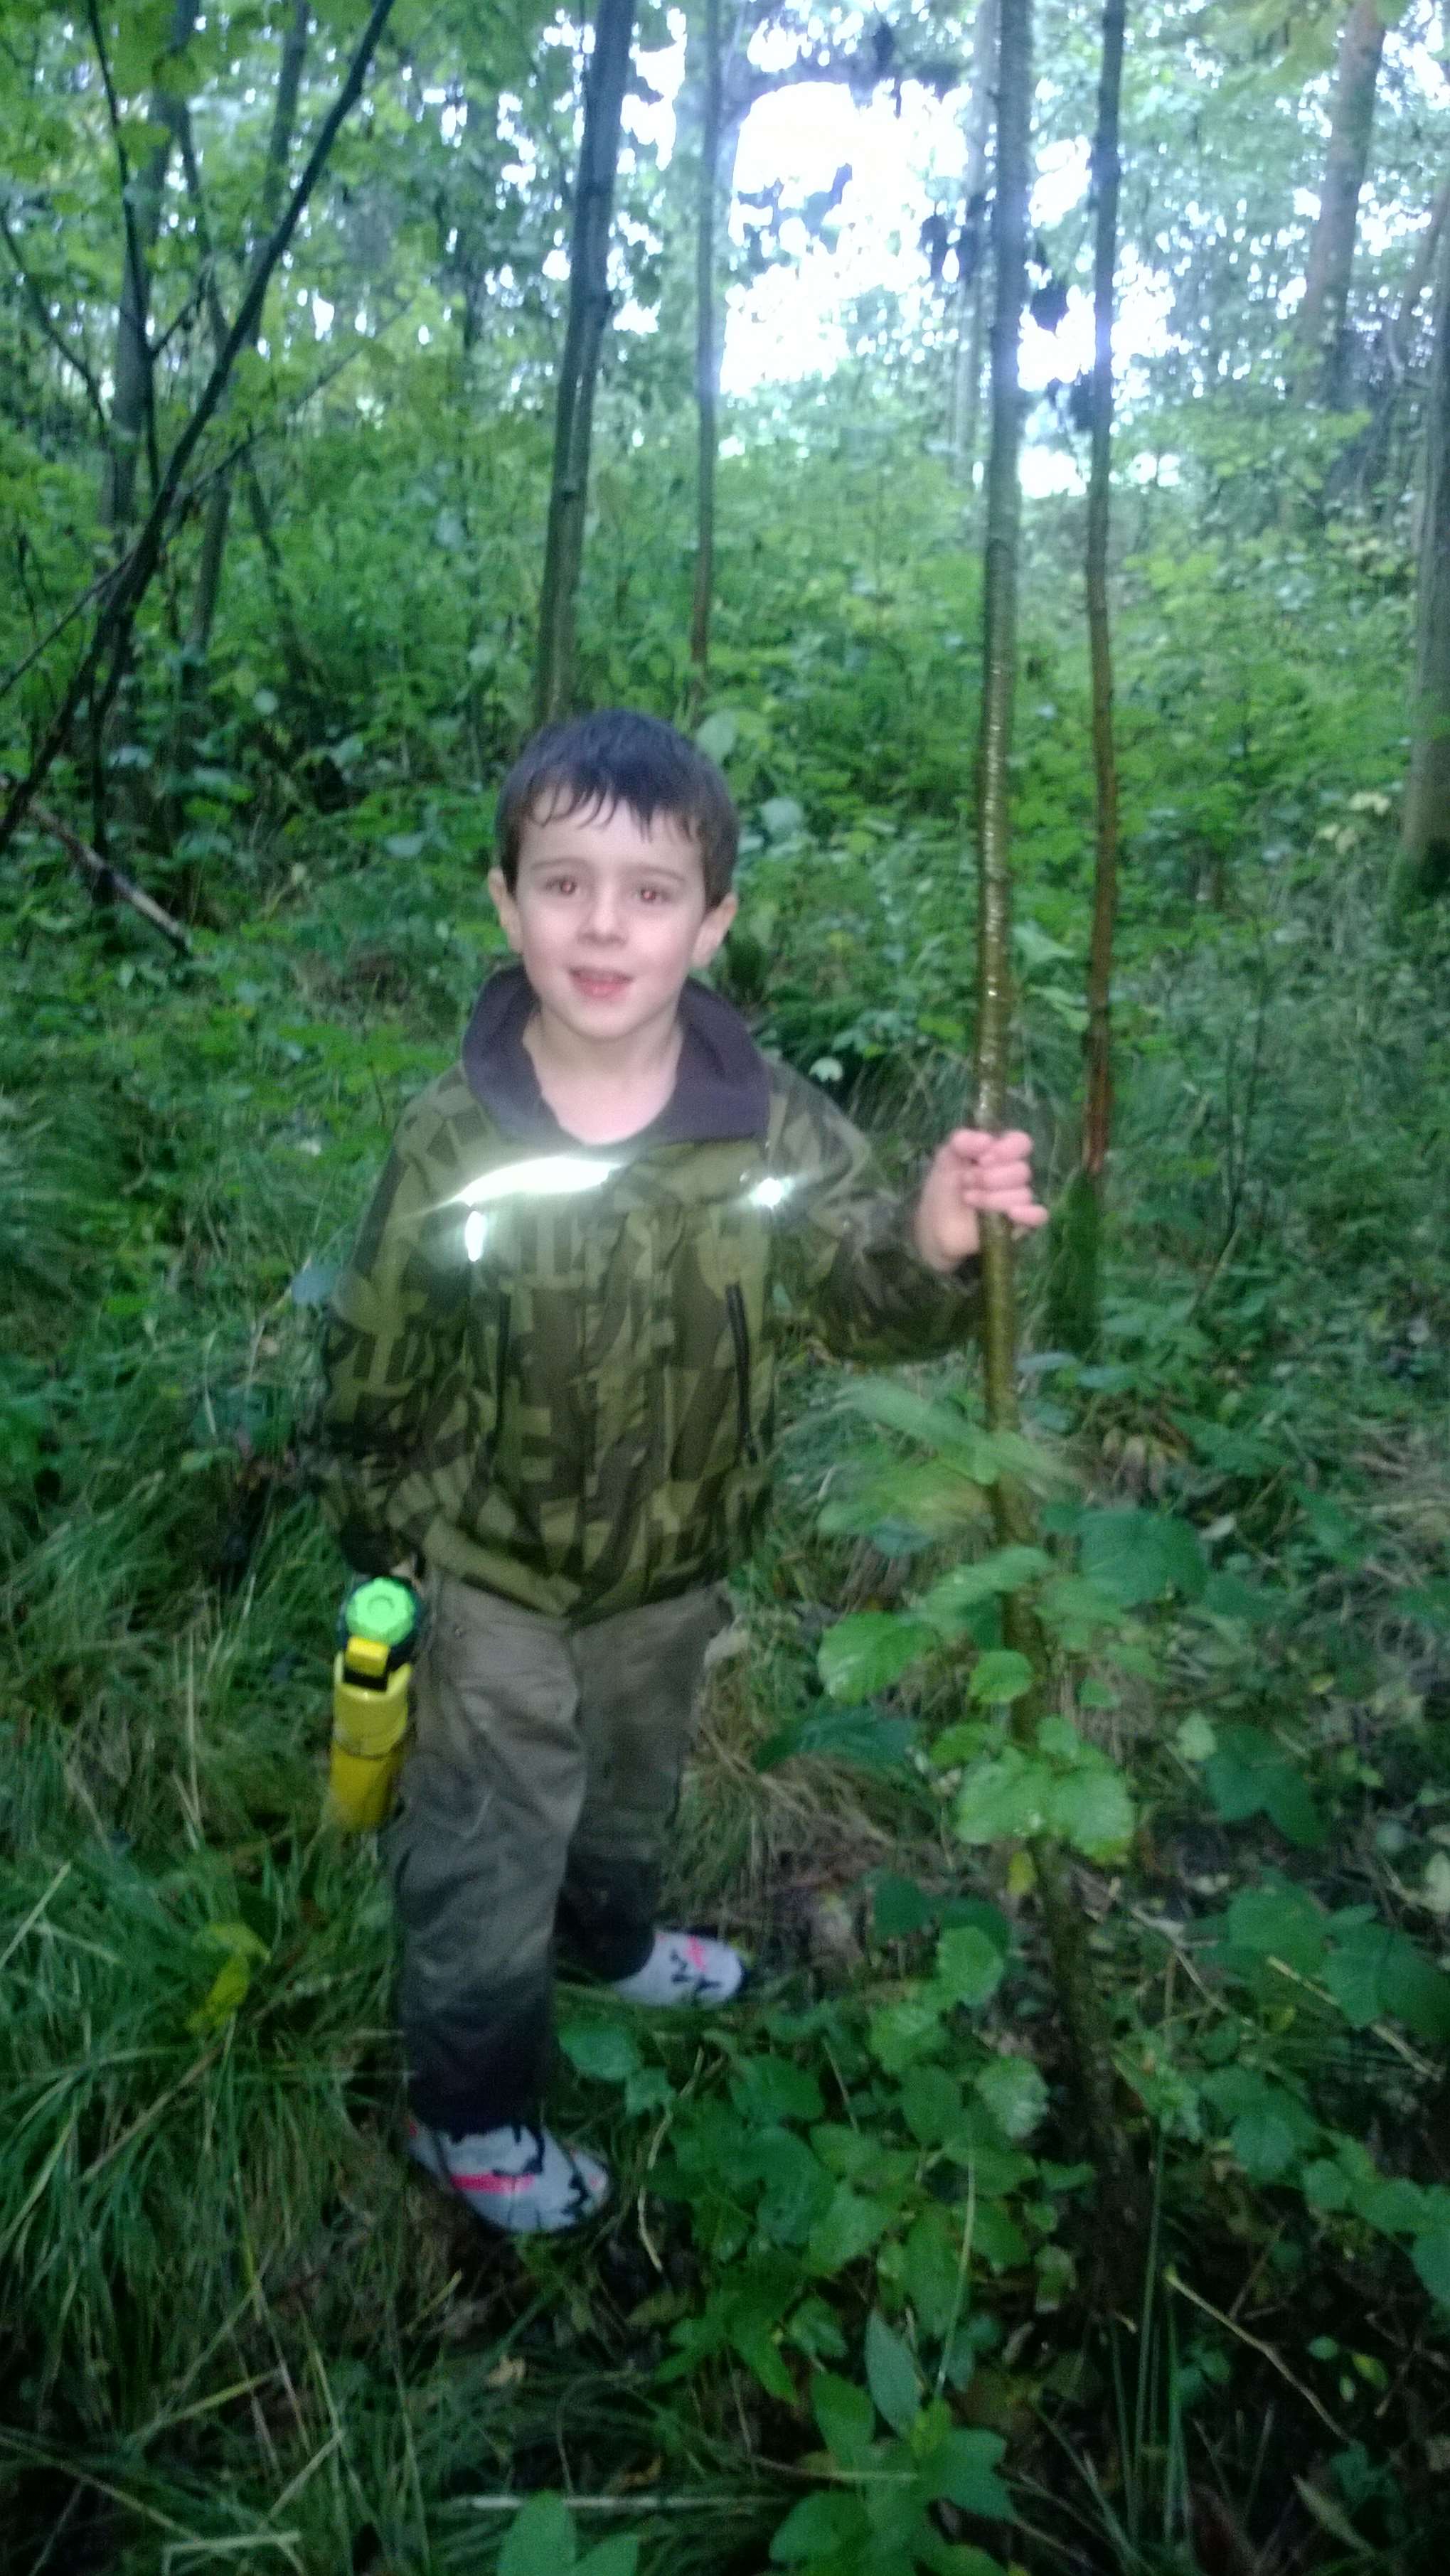
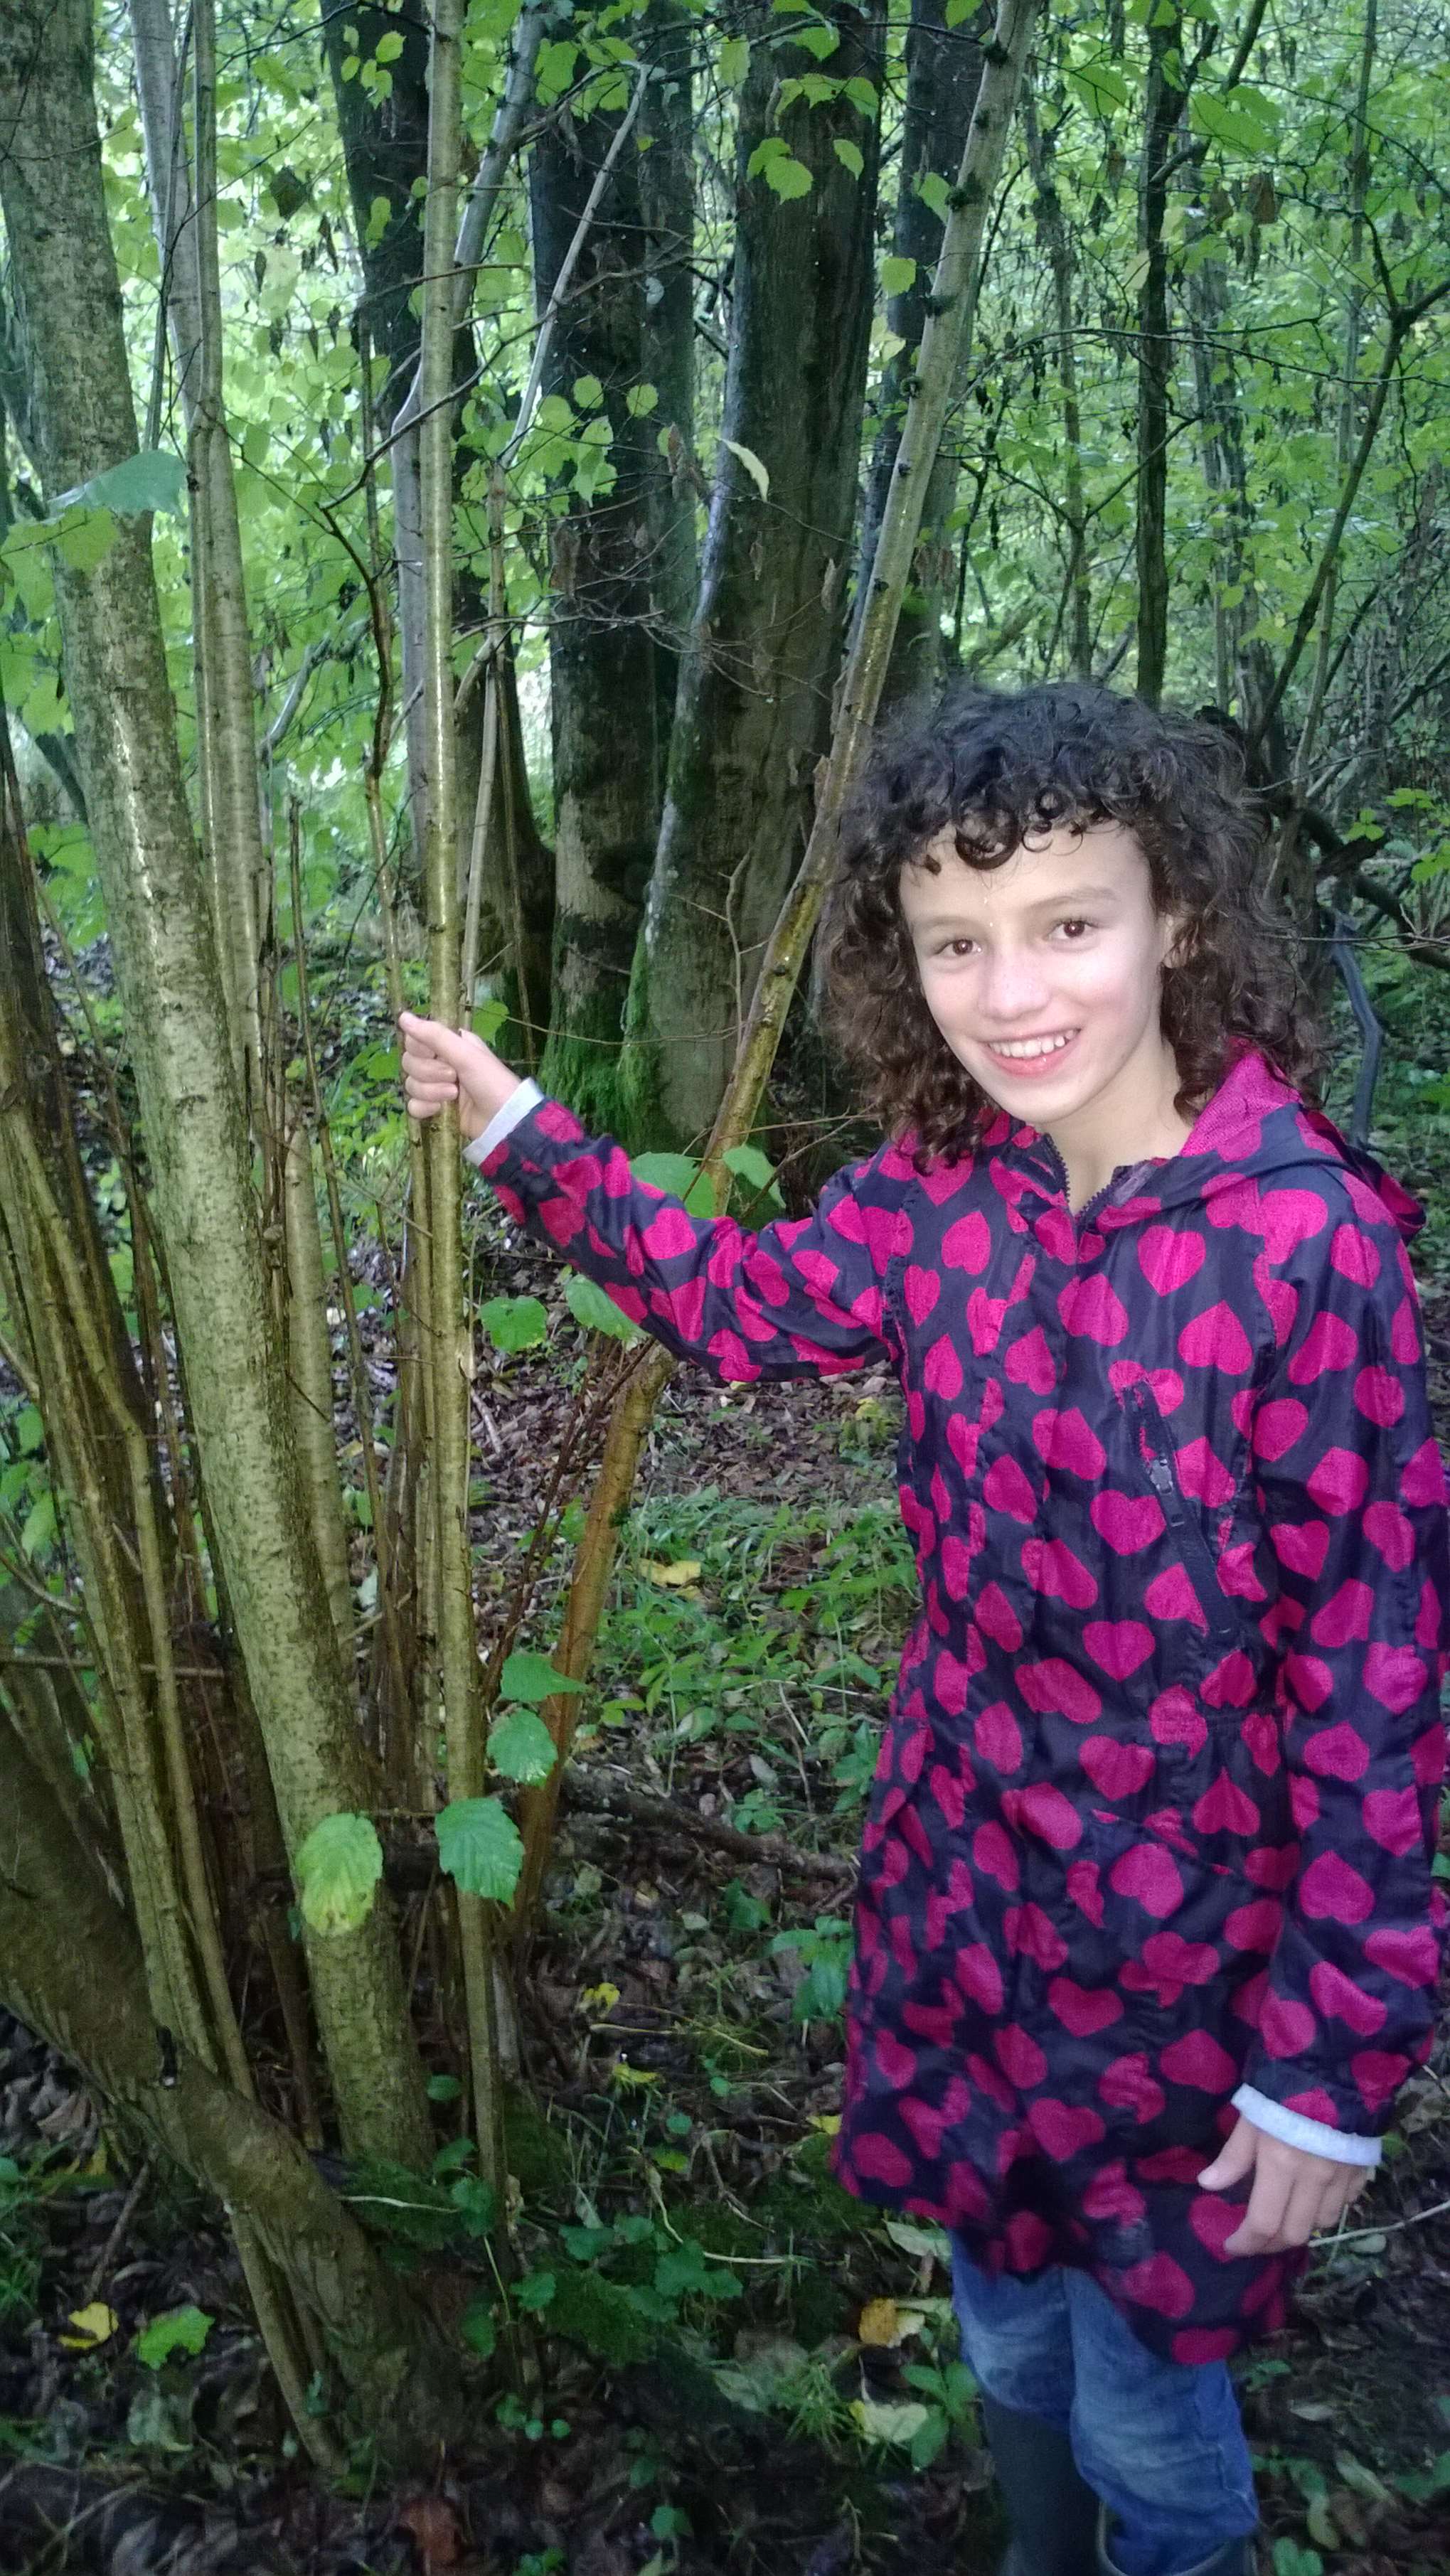
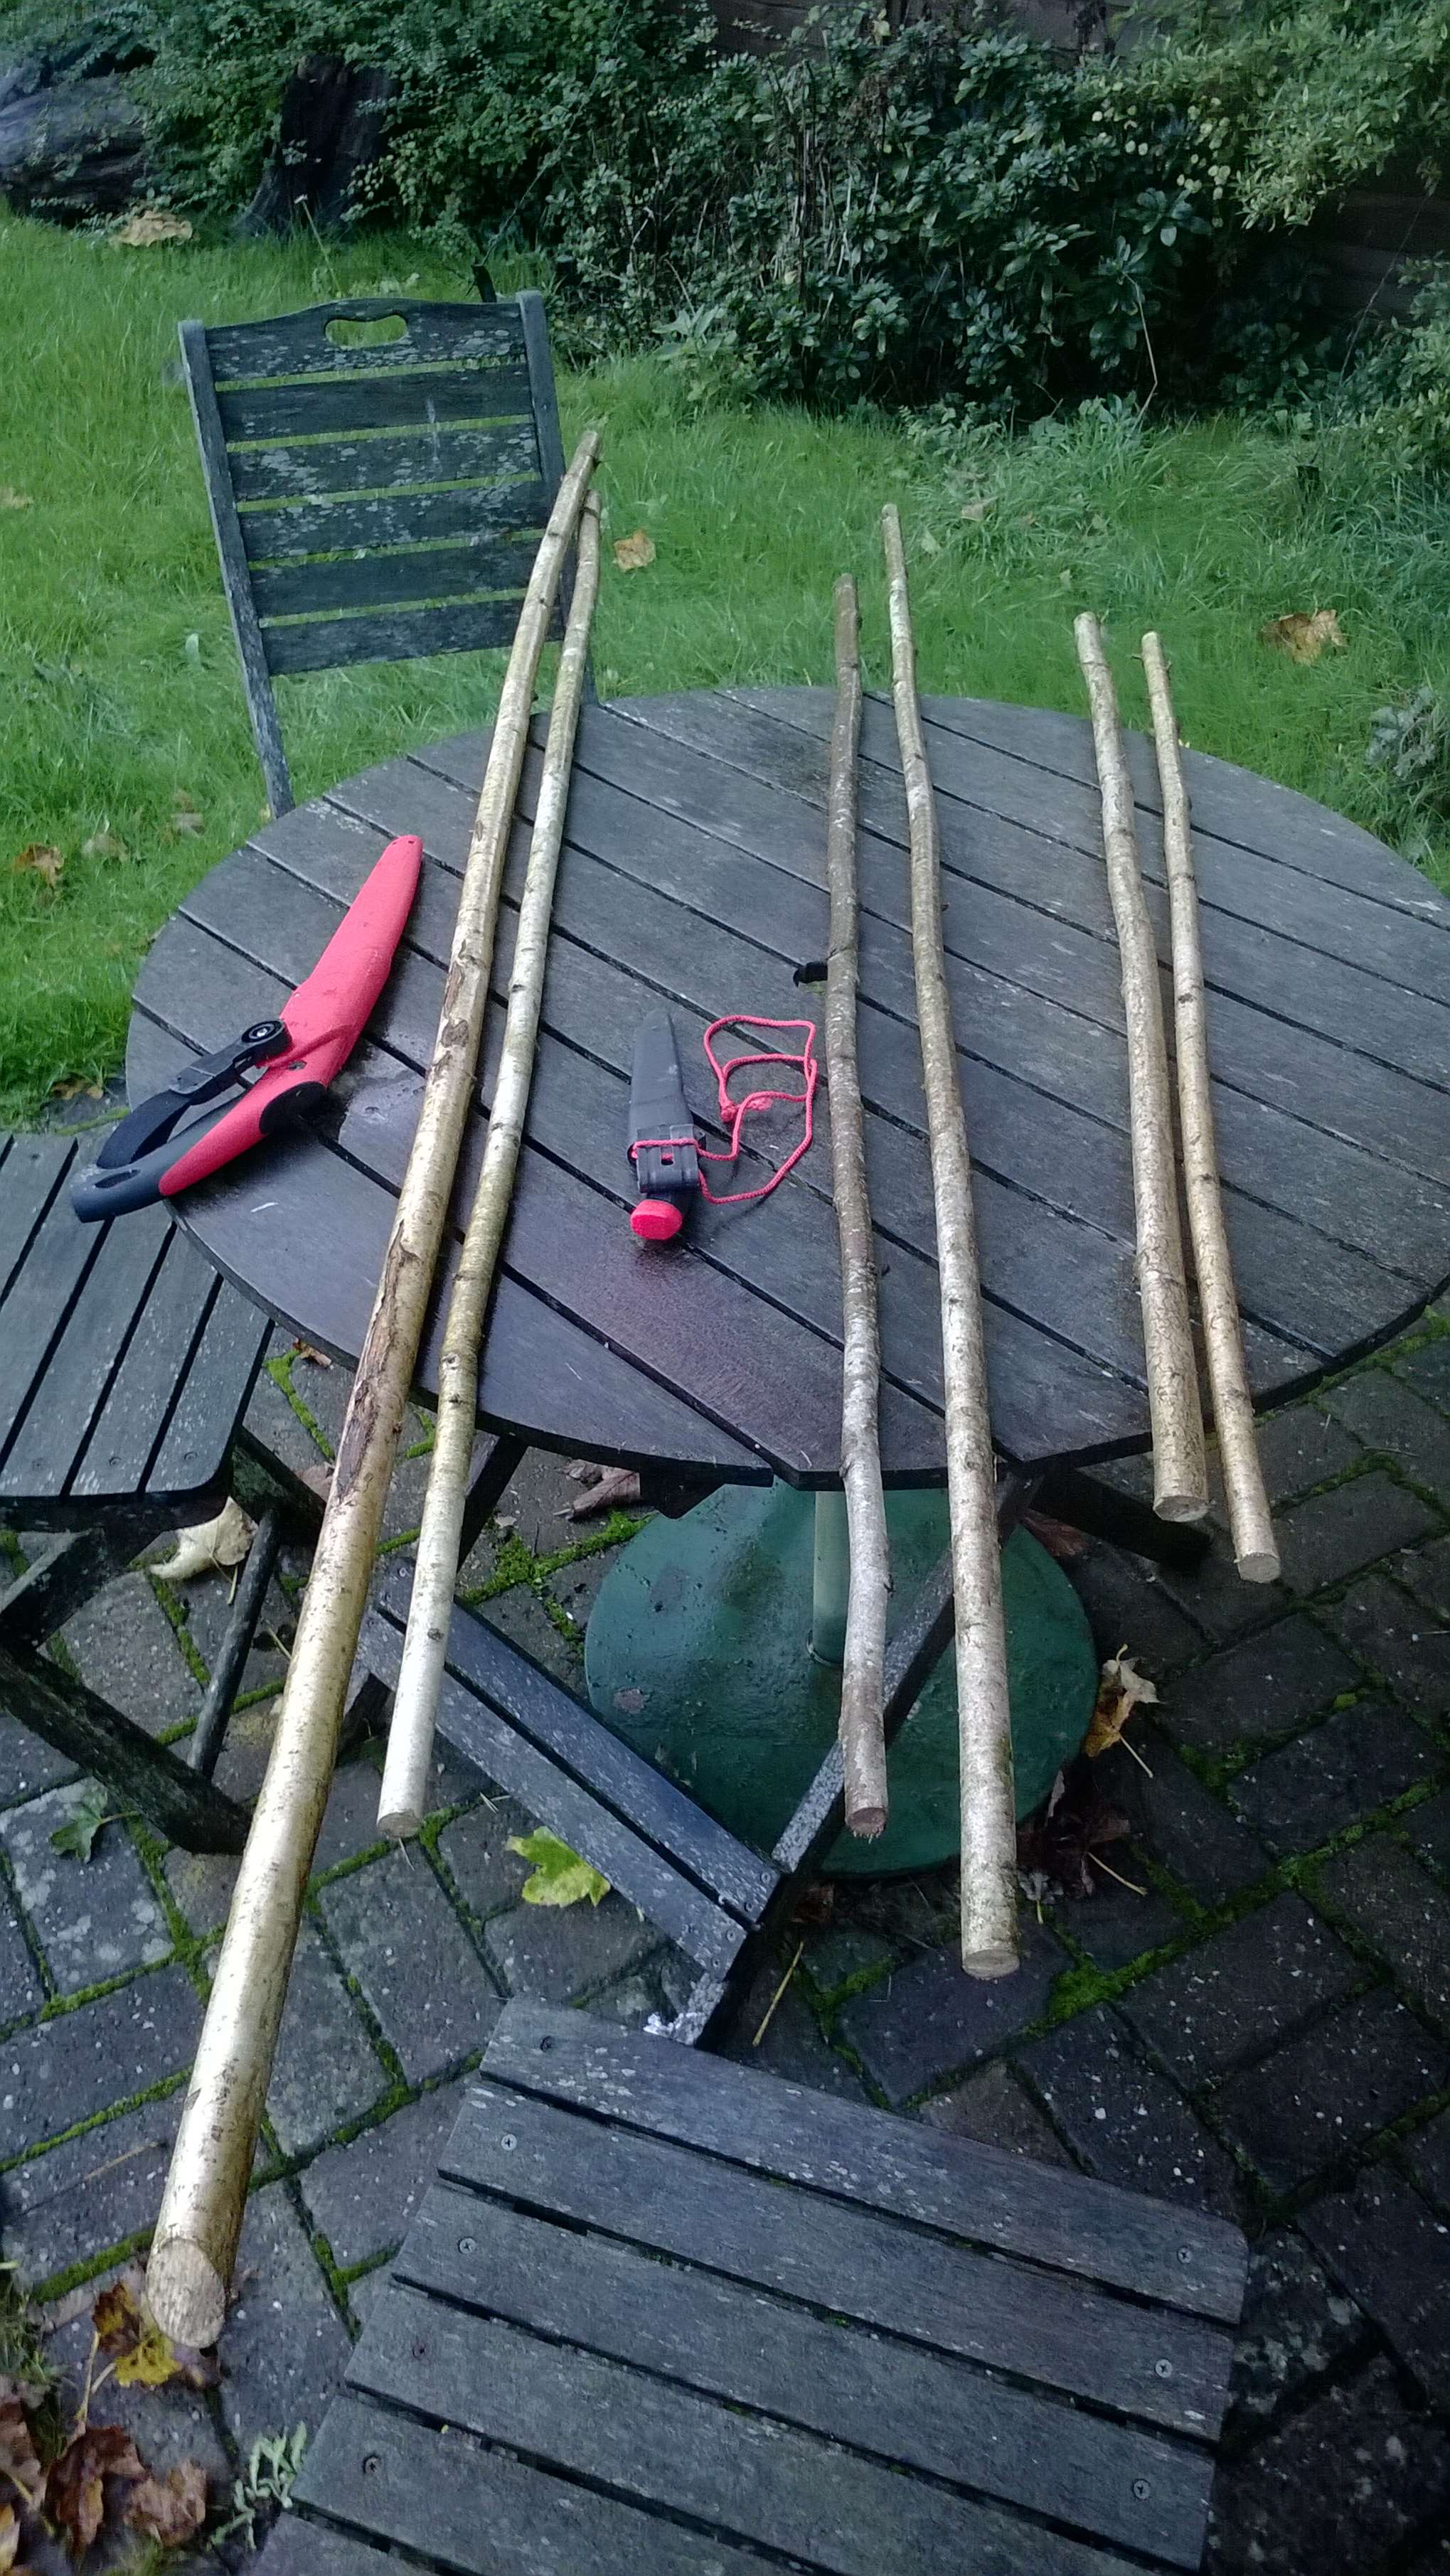
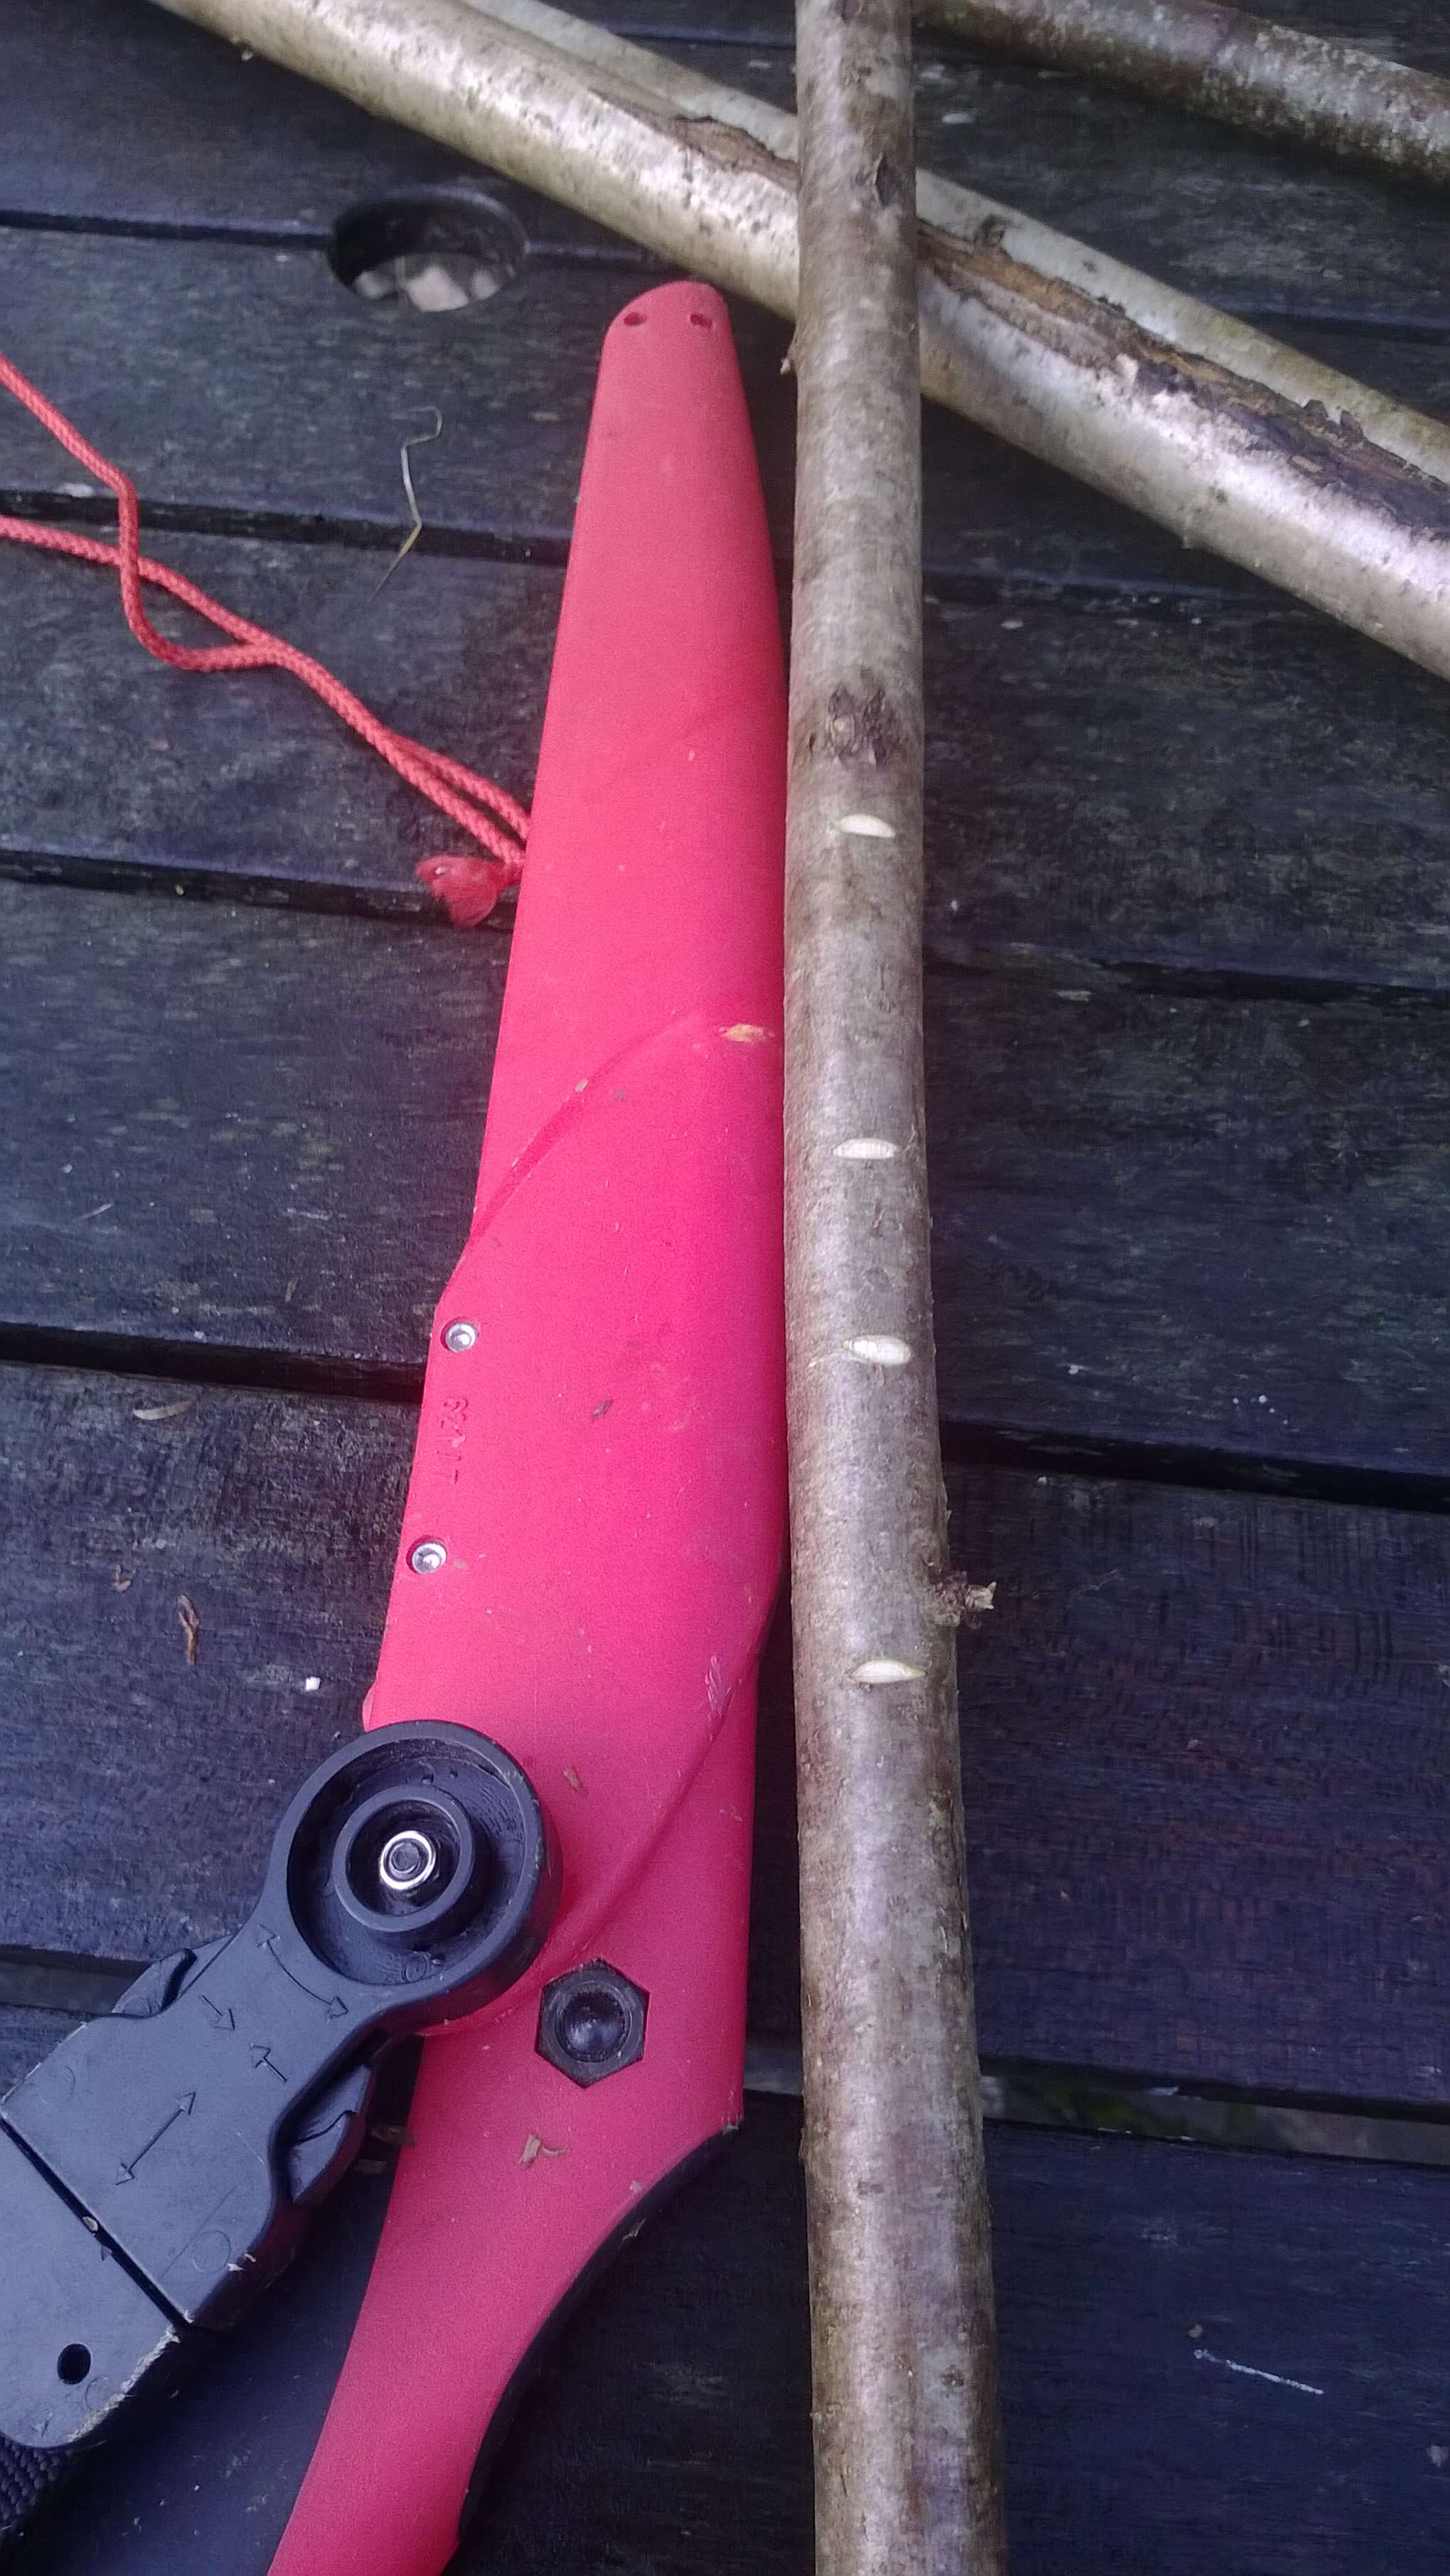
I typically use coppiced shoots of Hazel but I will use young Ash if it is available. I have tried Sycamore before but I found that this wood tended to snap easily.

I cut poles about thumb thickness in diameter (but use what you can find). I always make my cut at the base of the coppice so to stimulate regrowth.
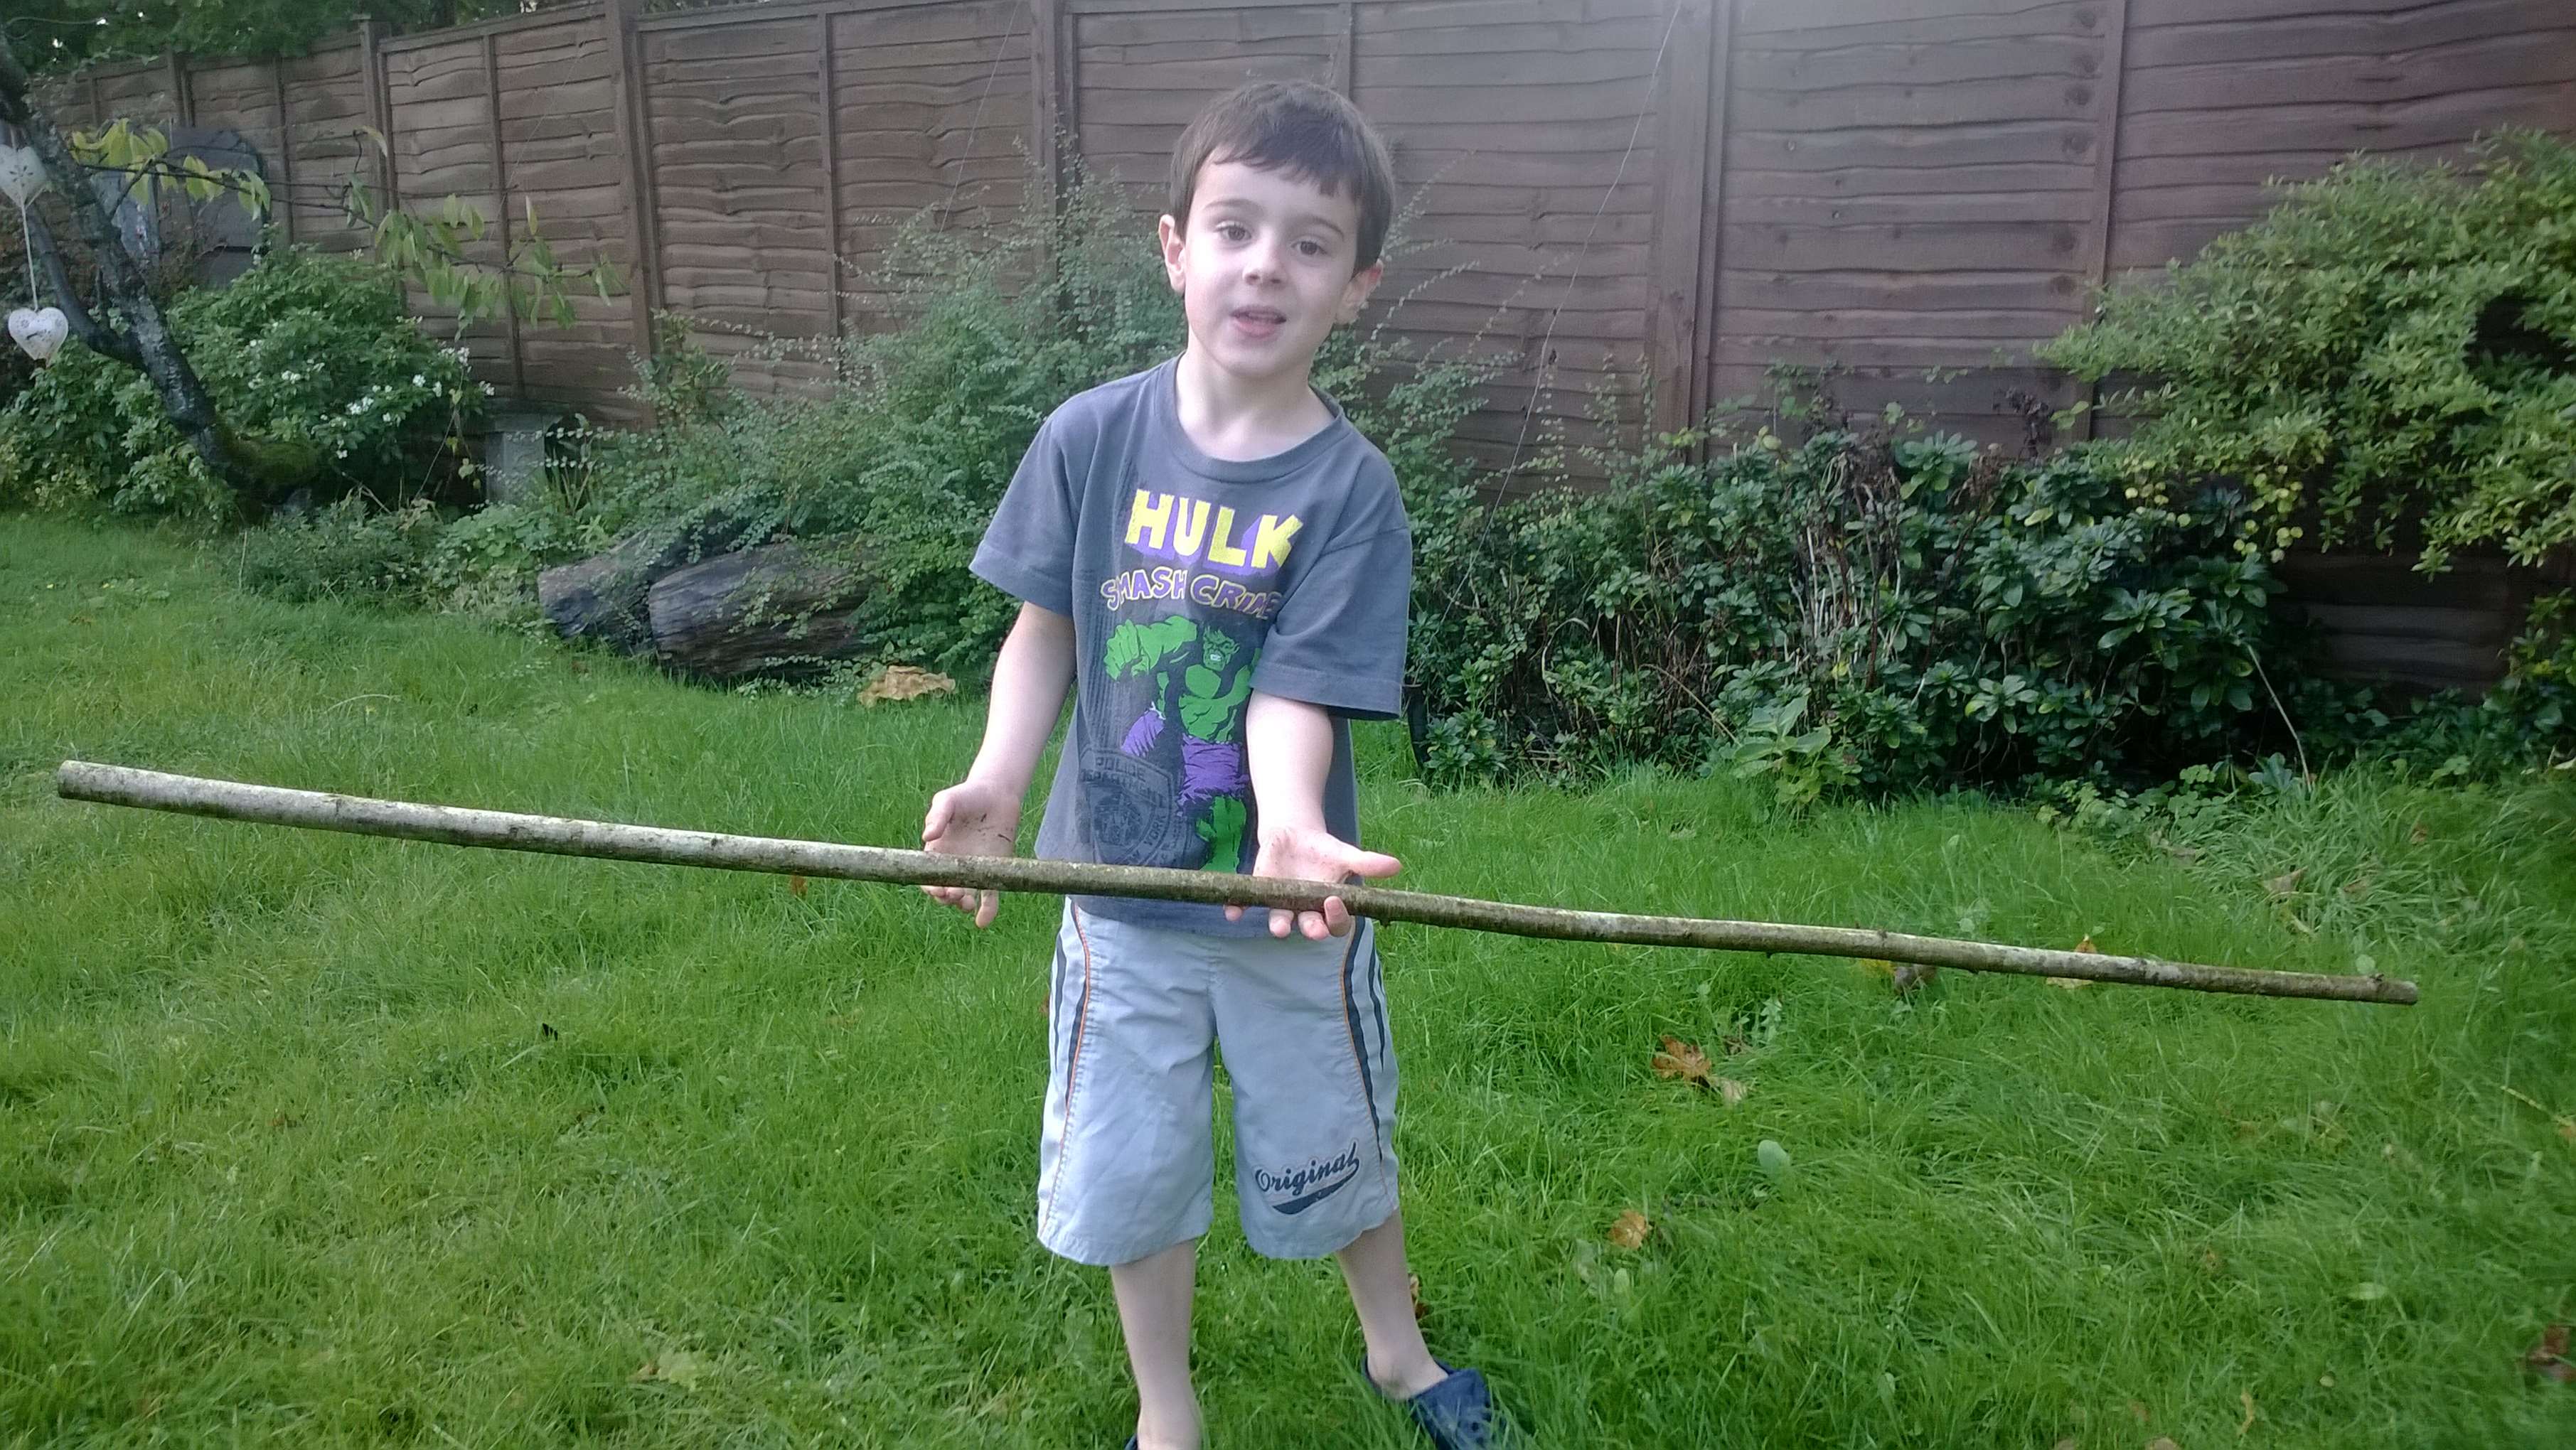
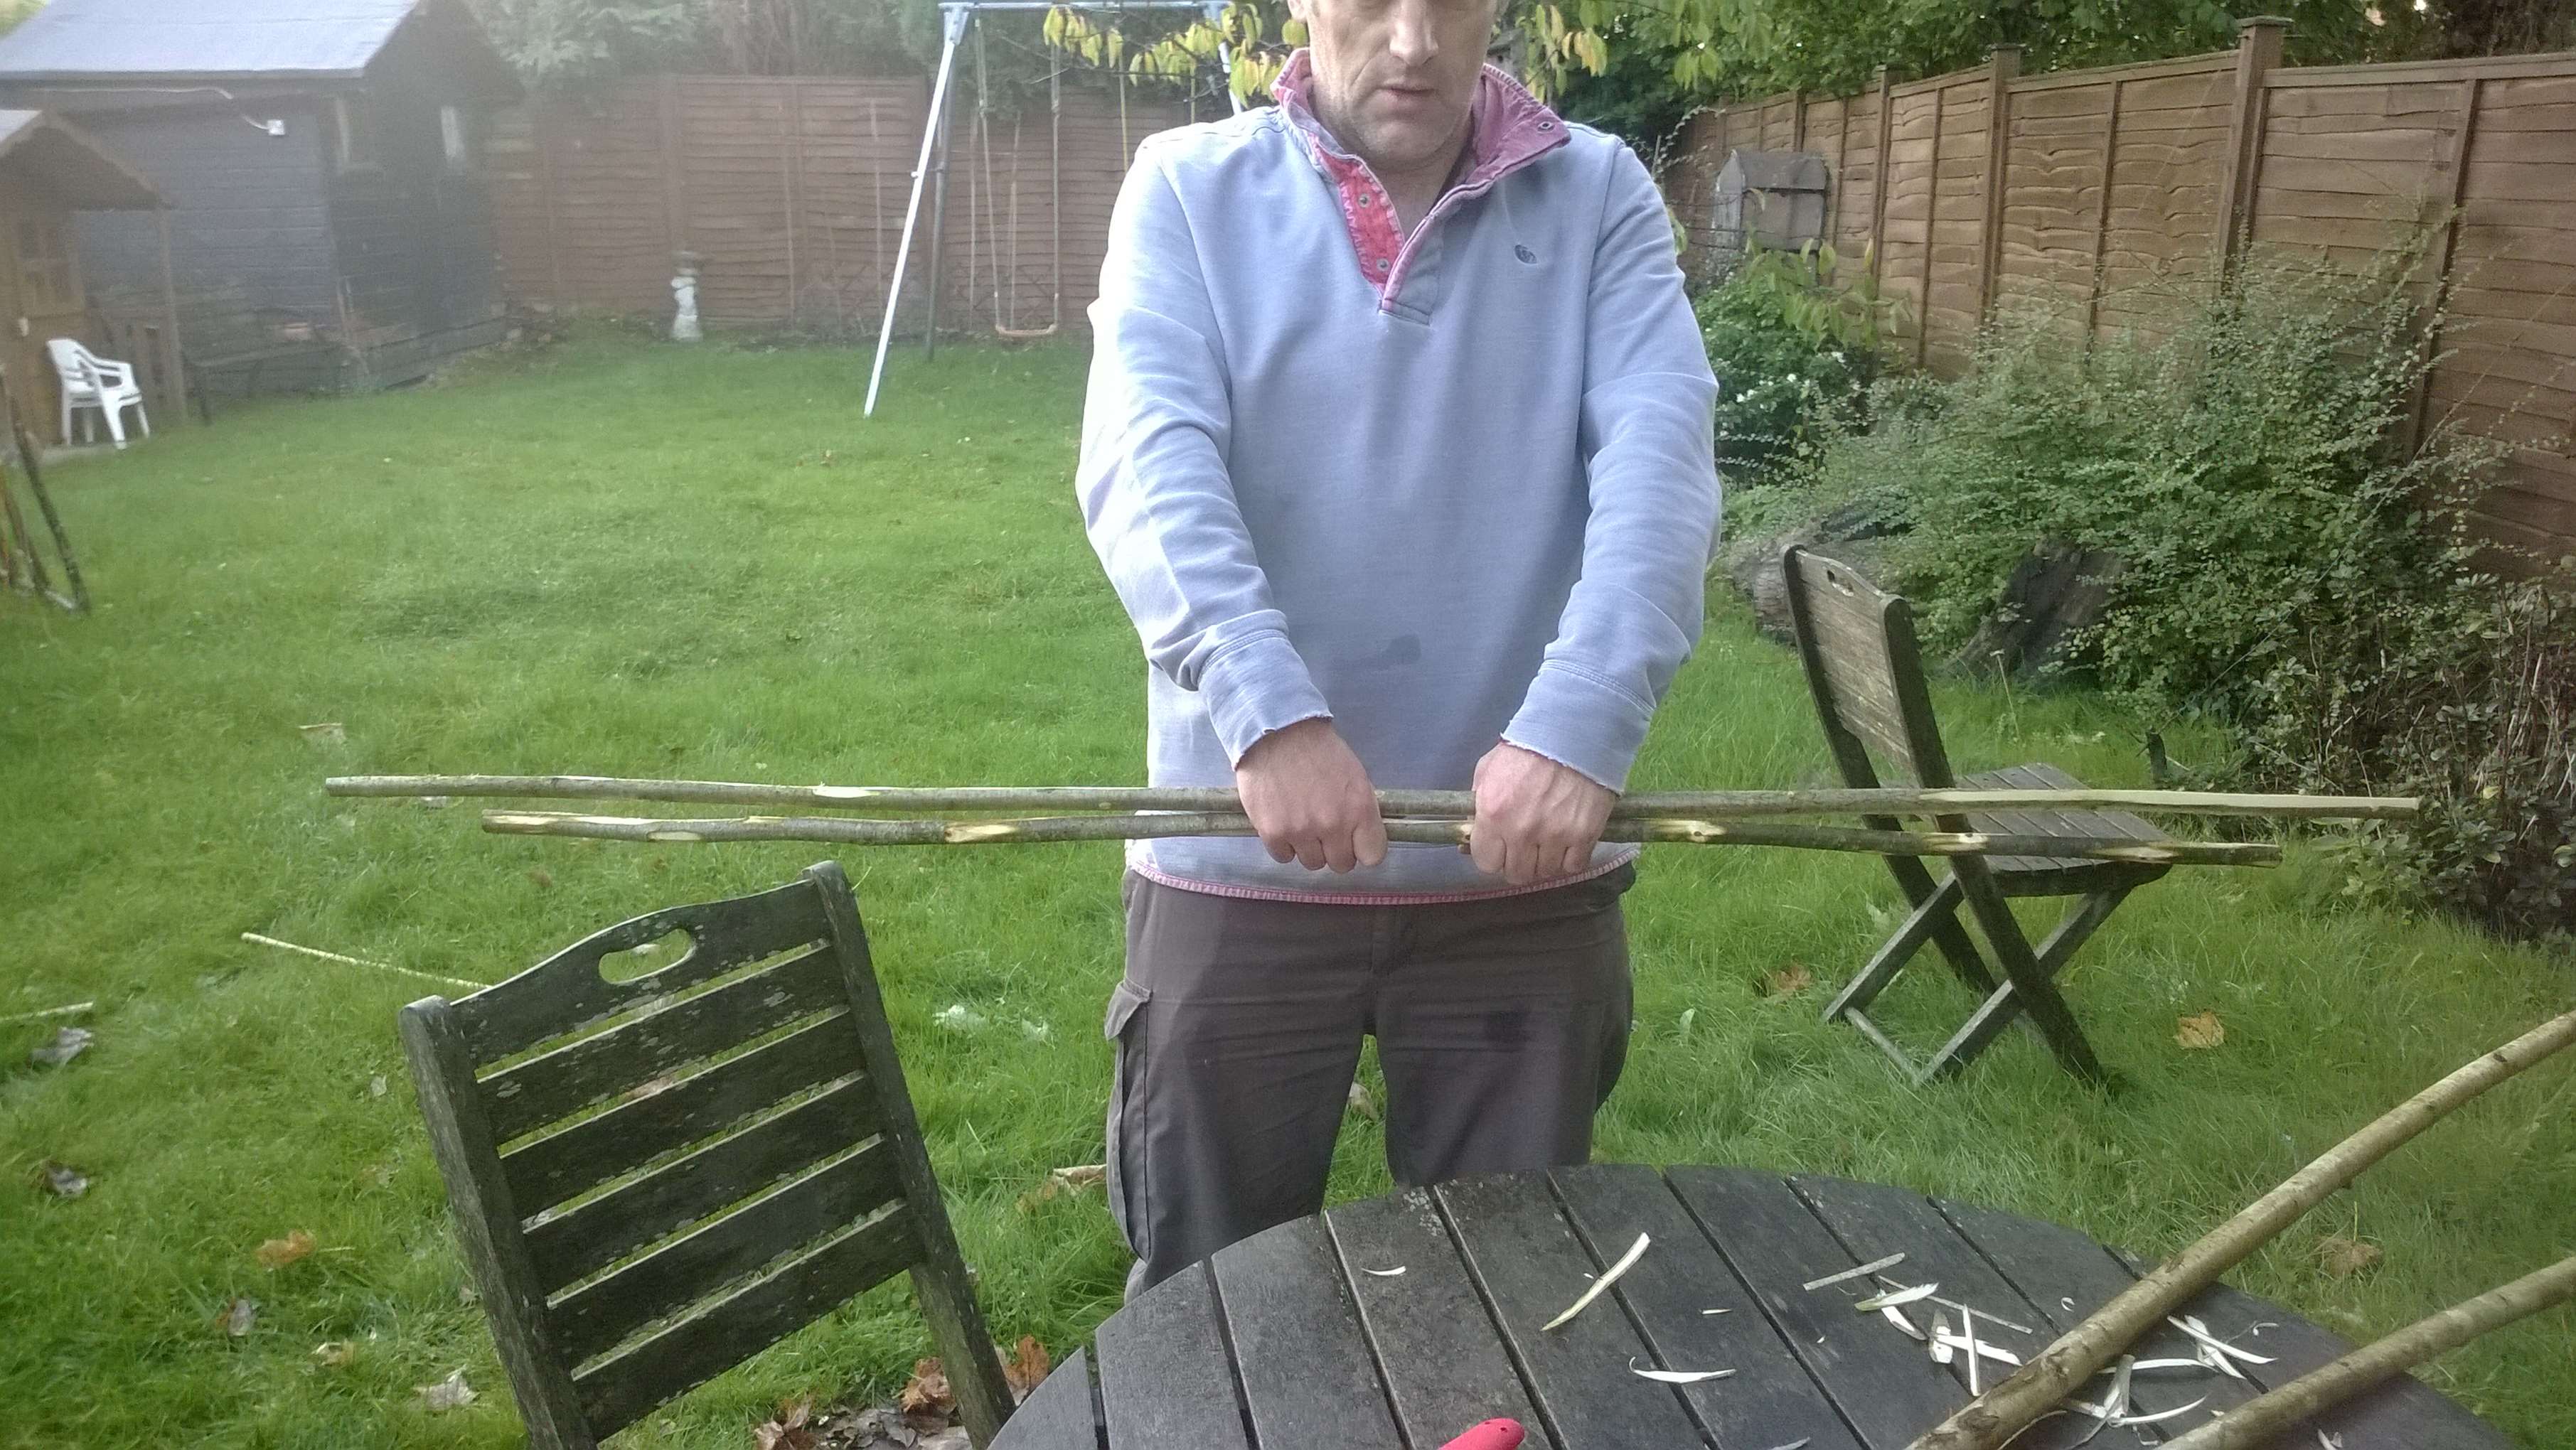
I like the Father pole to be as straight as possible but the Son can either be straight or curved. When making one for myself I cut the Father to the height of my chin. With younger children I normally make the bow just bigger than them. I have found if you make the bow too short they can snap quickly. For the Son I normally cut another pole about two thirds of the length of the Father.
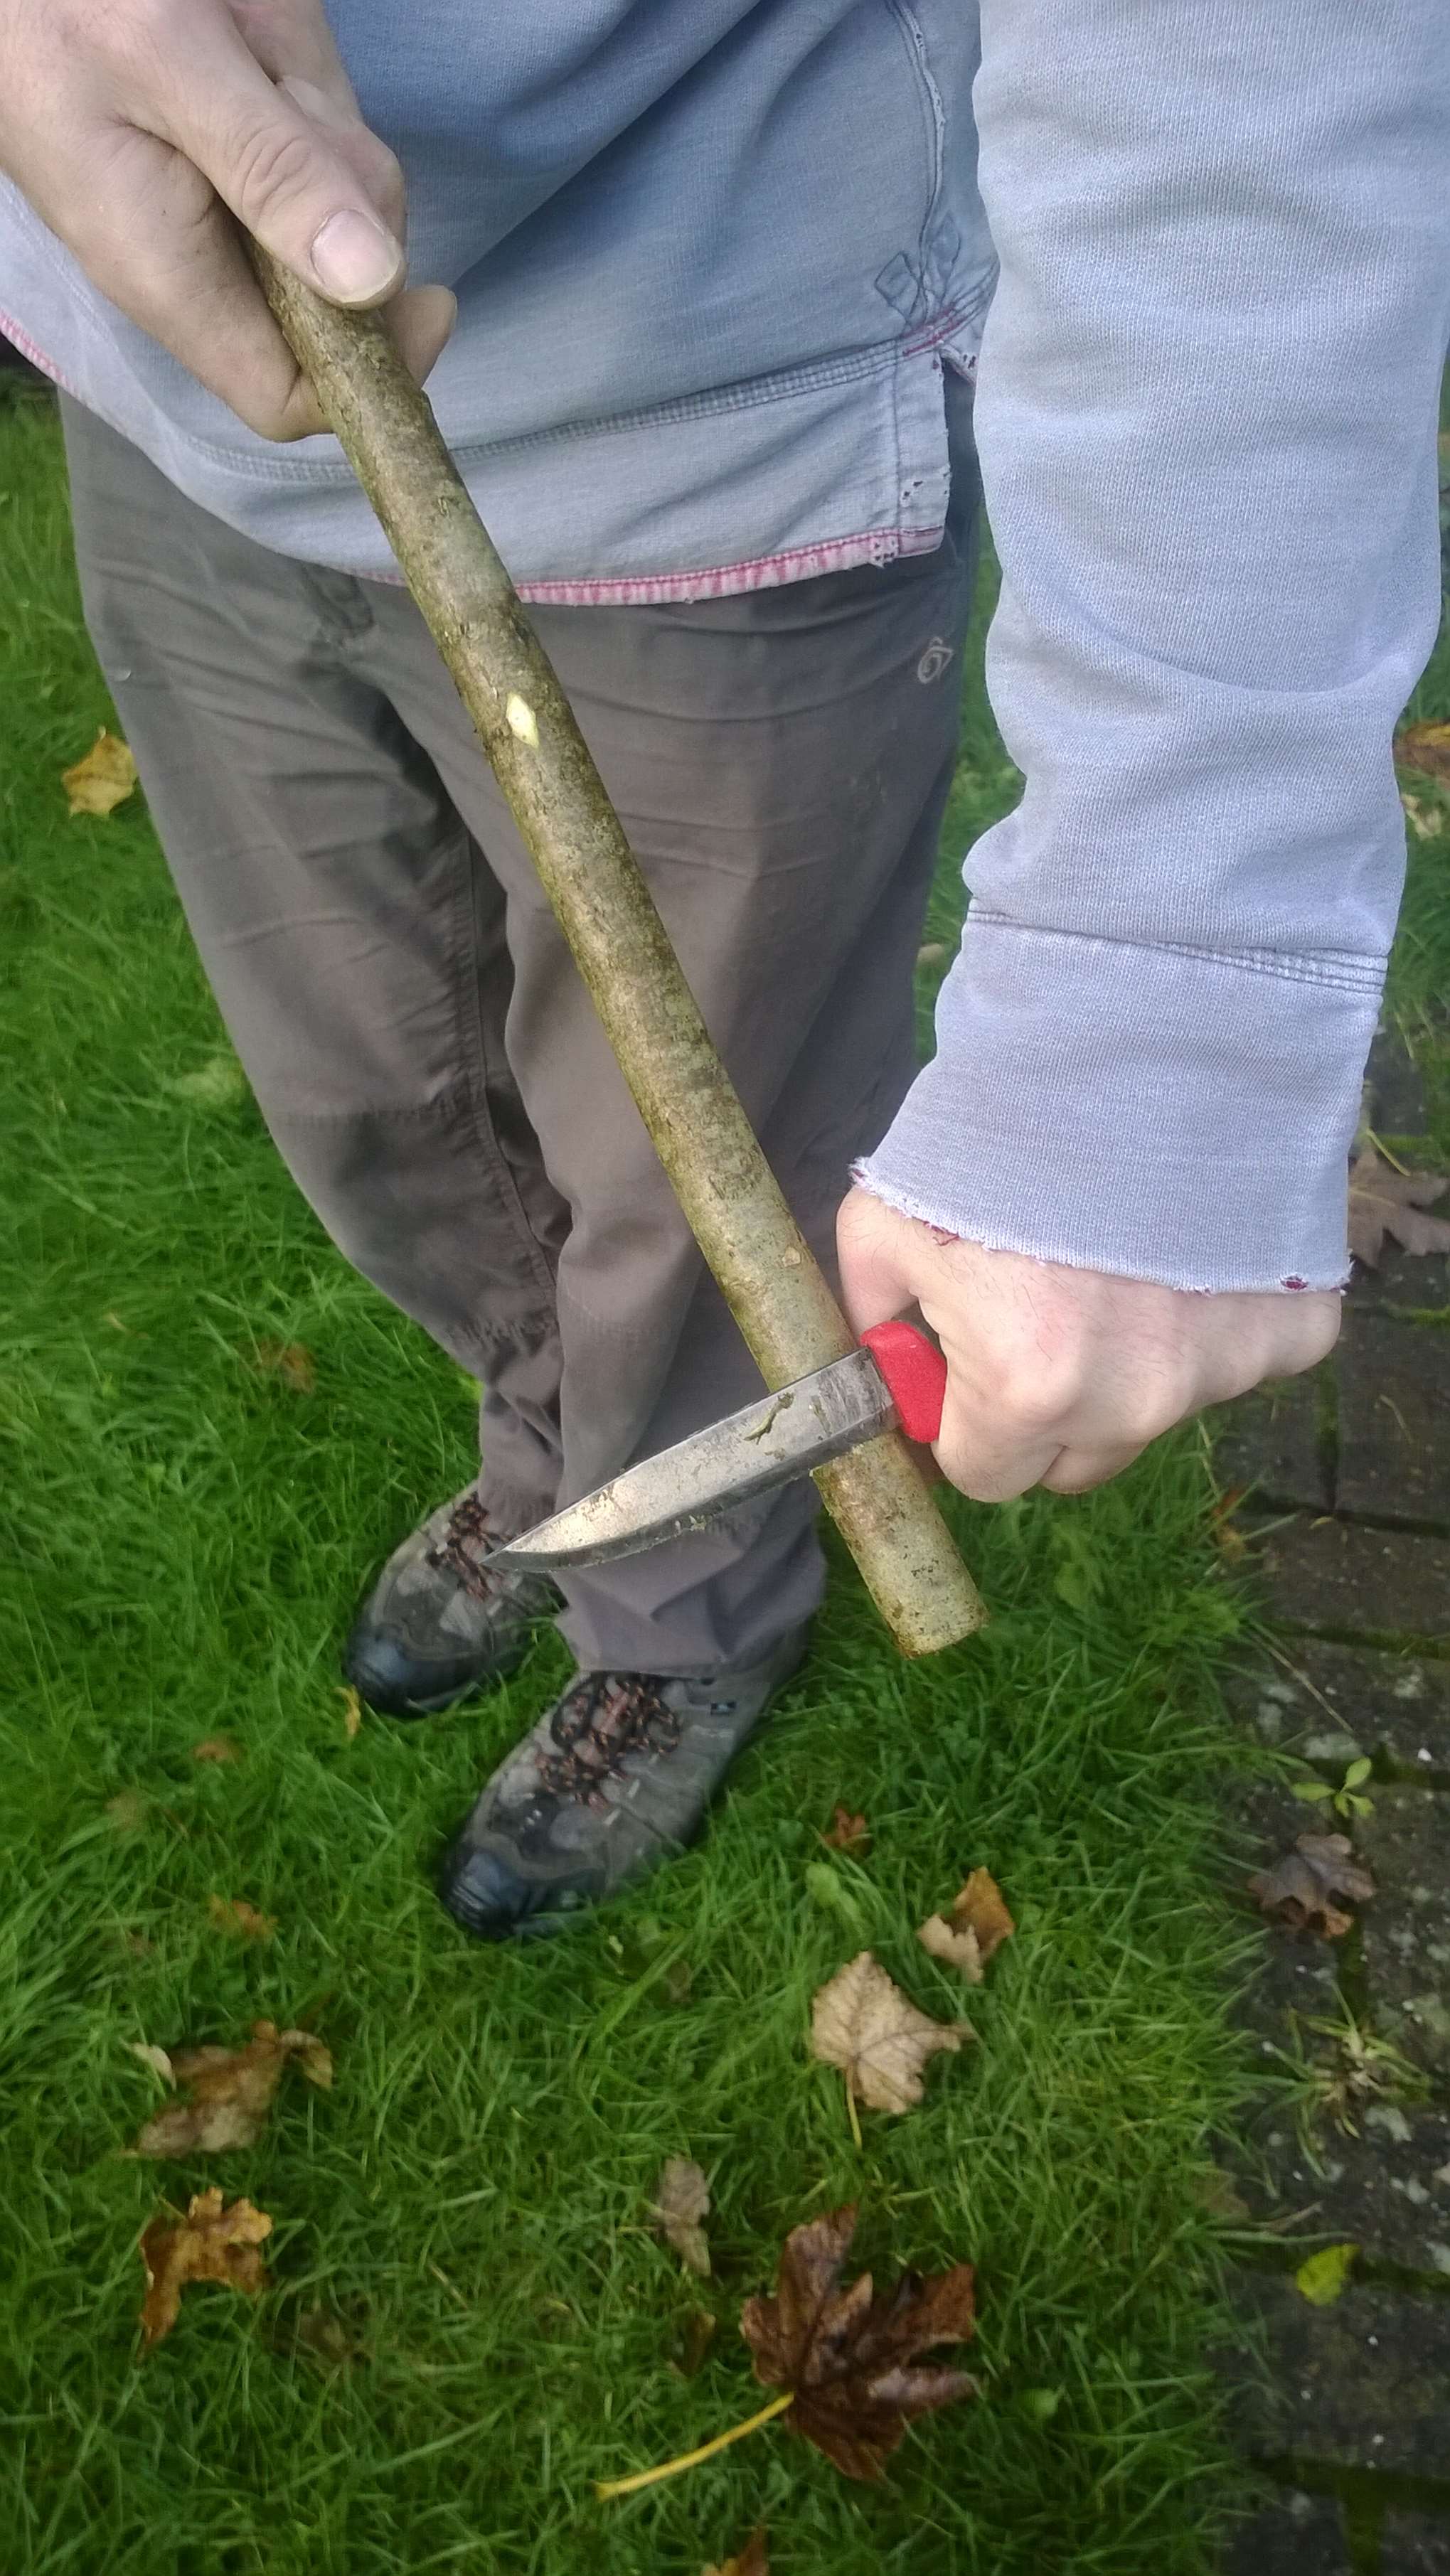
I work the Father first. I let the pole roll in my hand to determine the Belly and the Back of the Bow. To keep things simple the side of the pole facing the ground will be the Belly, the side facing the sky will be the Back. If you want to play about with recurve shapes feel free to switch things around.
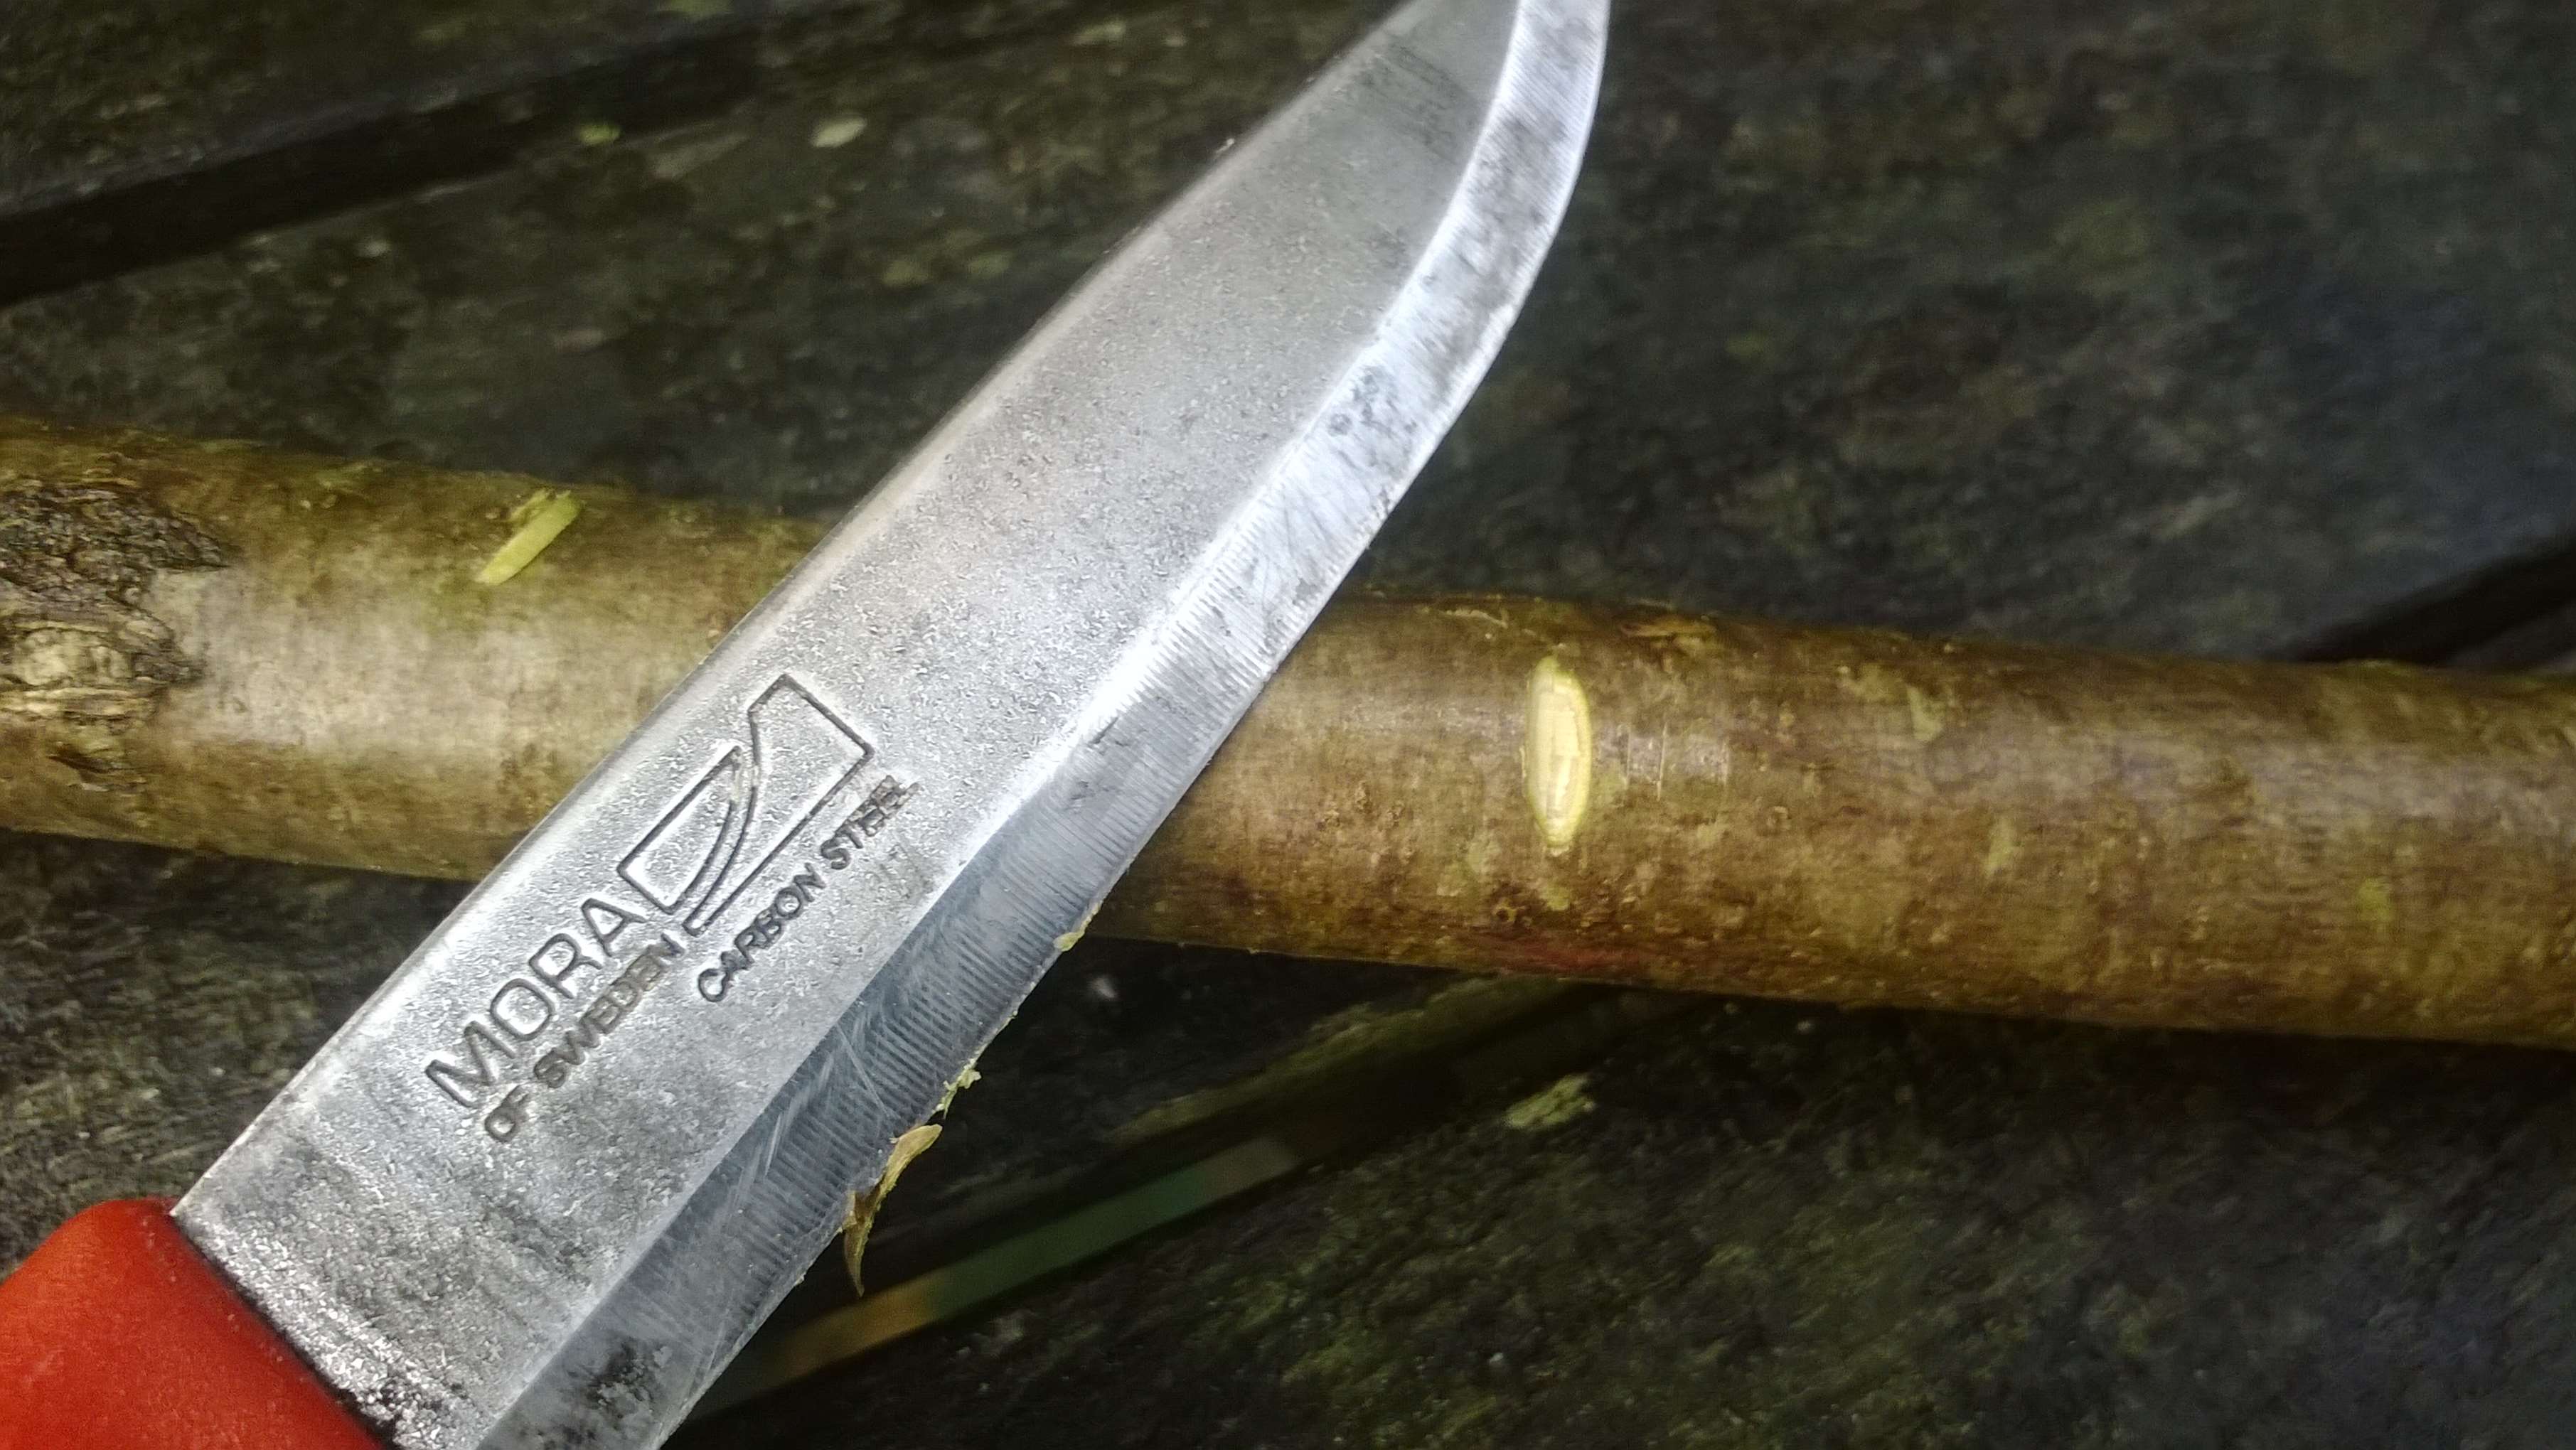
I then mark the Belly side with my knife.
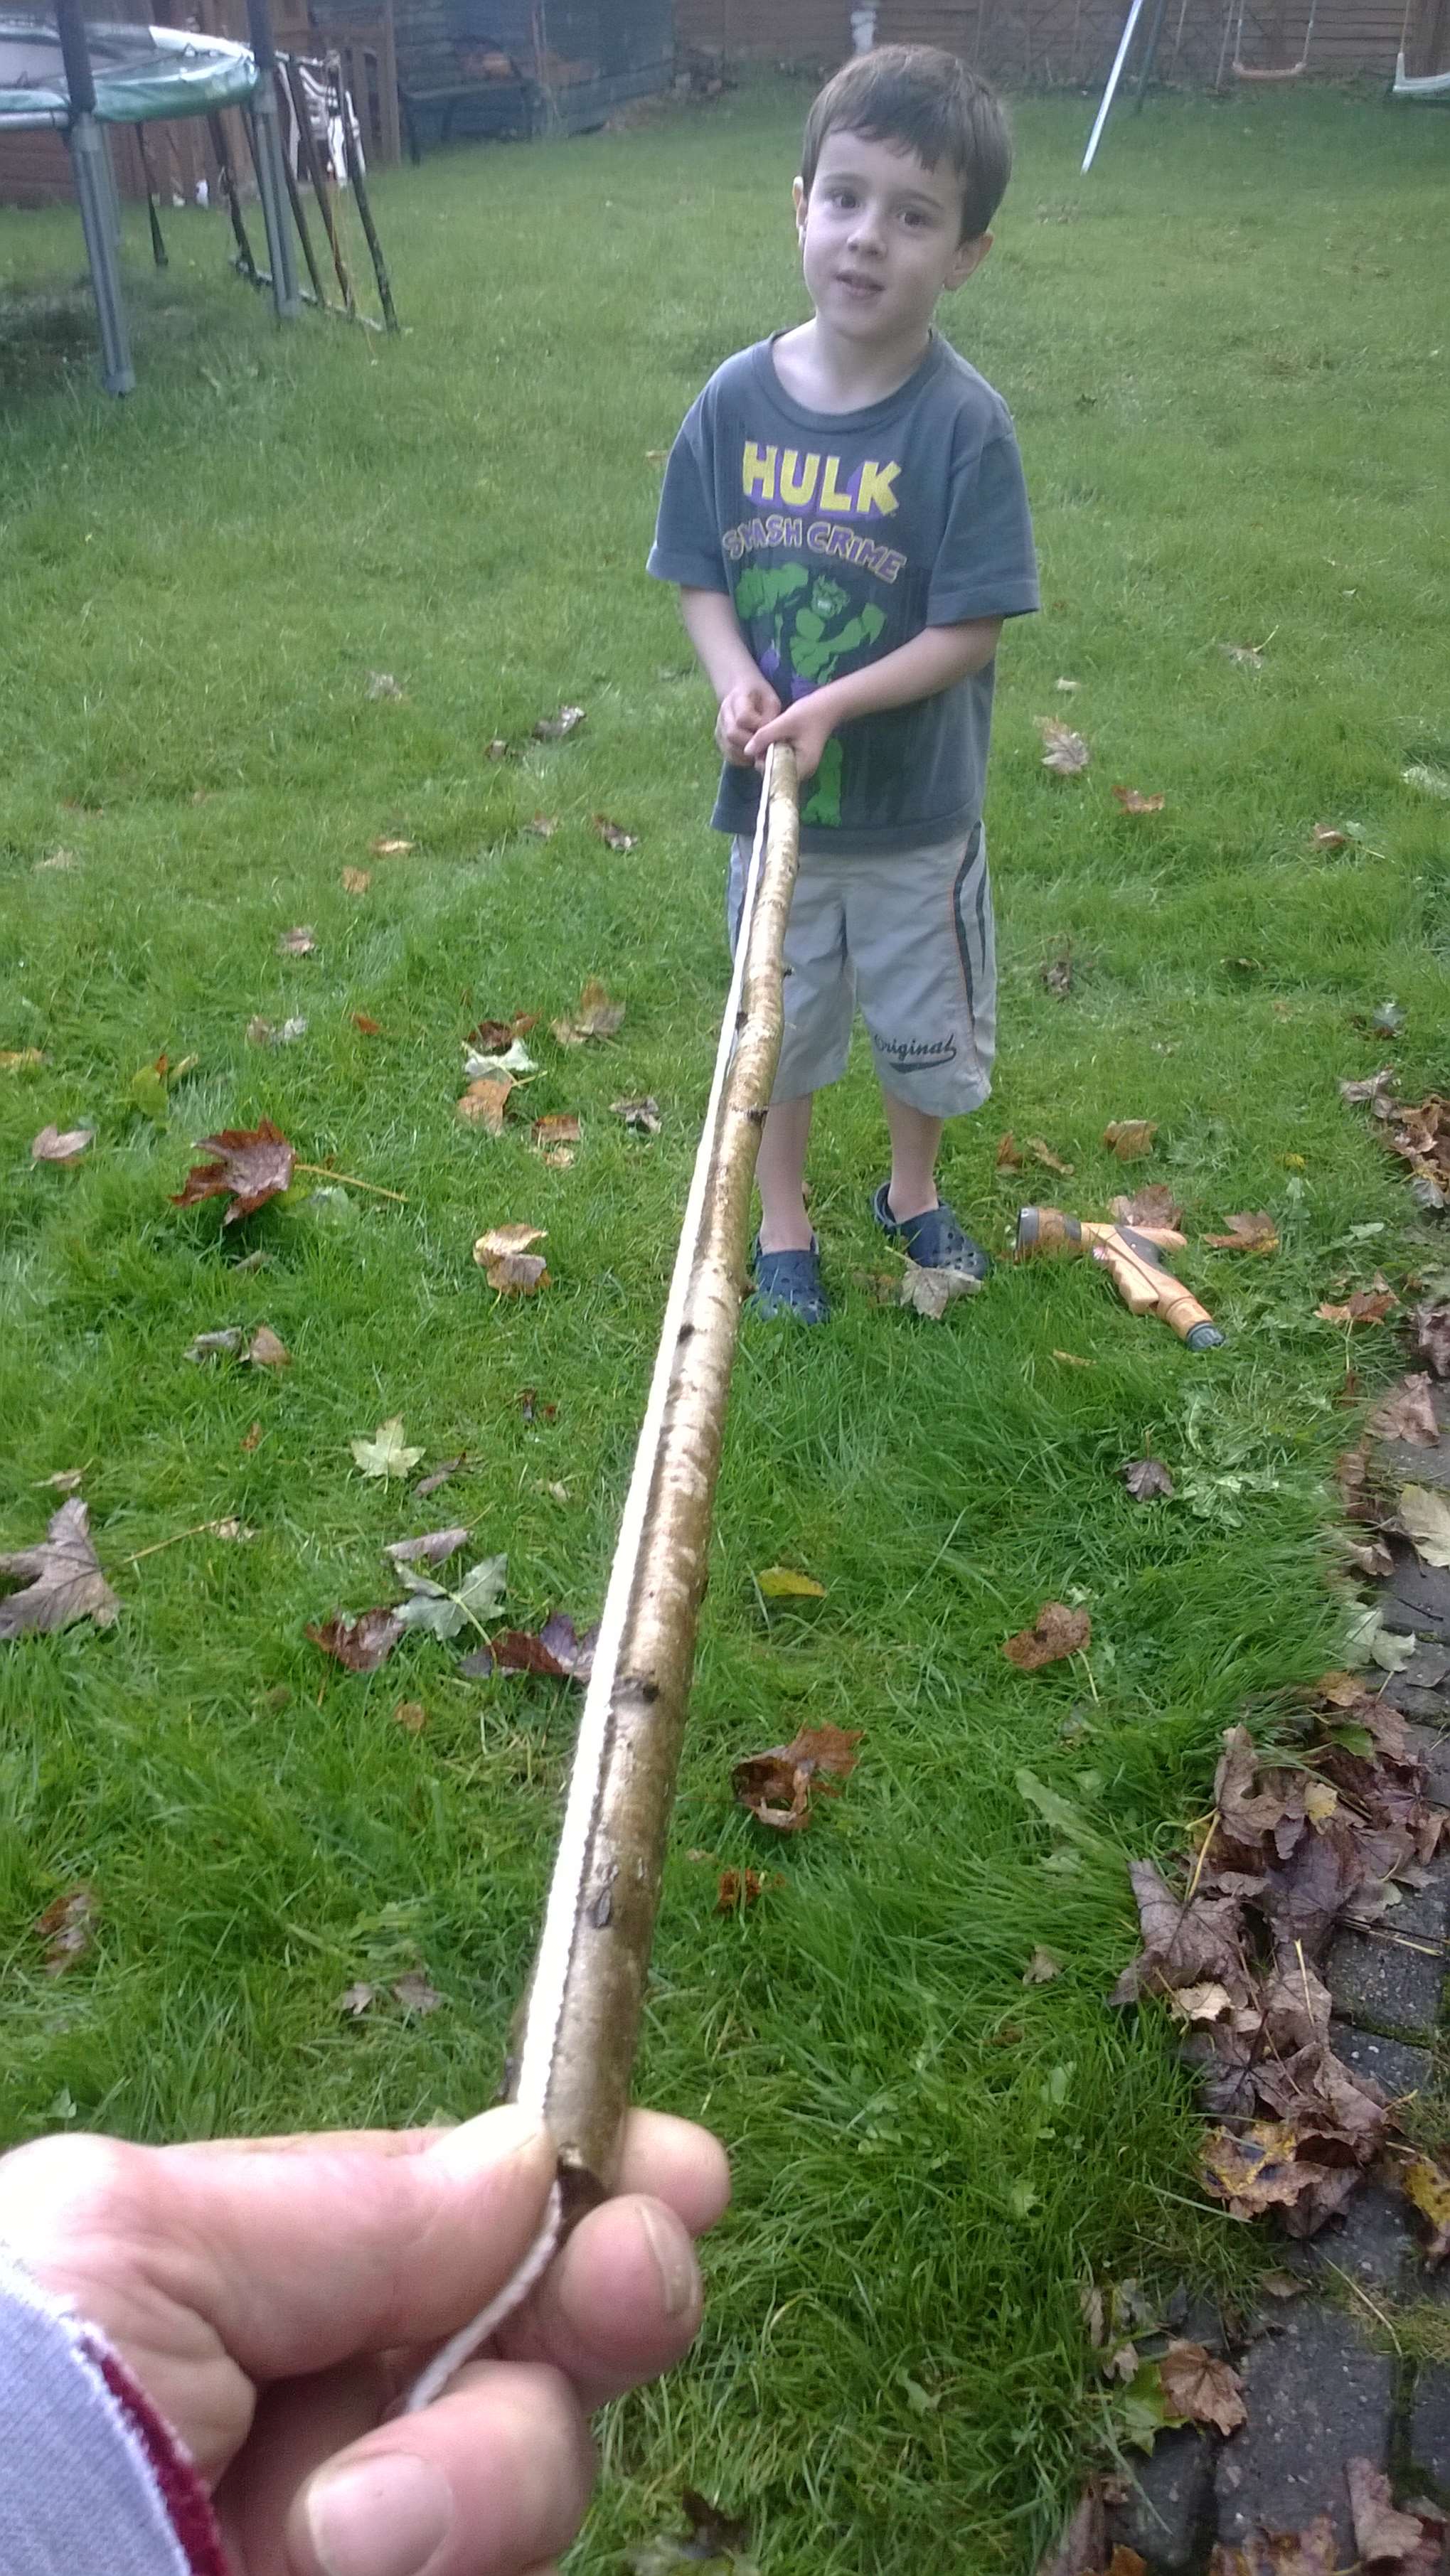
I use string to measure the length of the pole
Fold the string in half.
Lay the doubled up string back on (the Belly) the pole).
Make another cut on the Belly side to mark the centre of the bow.
Holding the pole in the middle with the Belly facing me I then make a mark on either side my fist to show where the handle area will be.
The marks I have made also help me to see clearly which part of the pole is the Belly at this stage. I want that as I am leaving the bark on this bow and I have found I can lose sight of pen or pencil marks on bark. If you take the bark off then pencil or pen marks will work well.
Getting that Curve
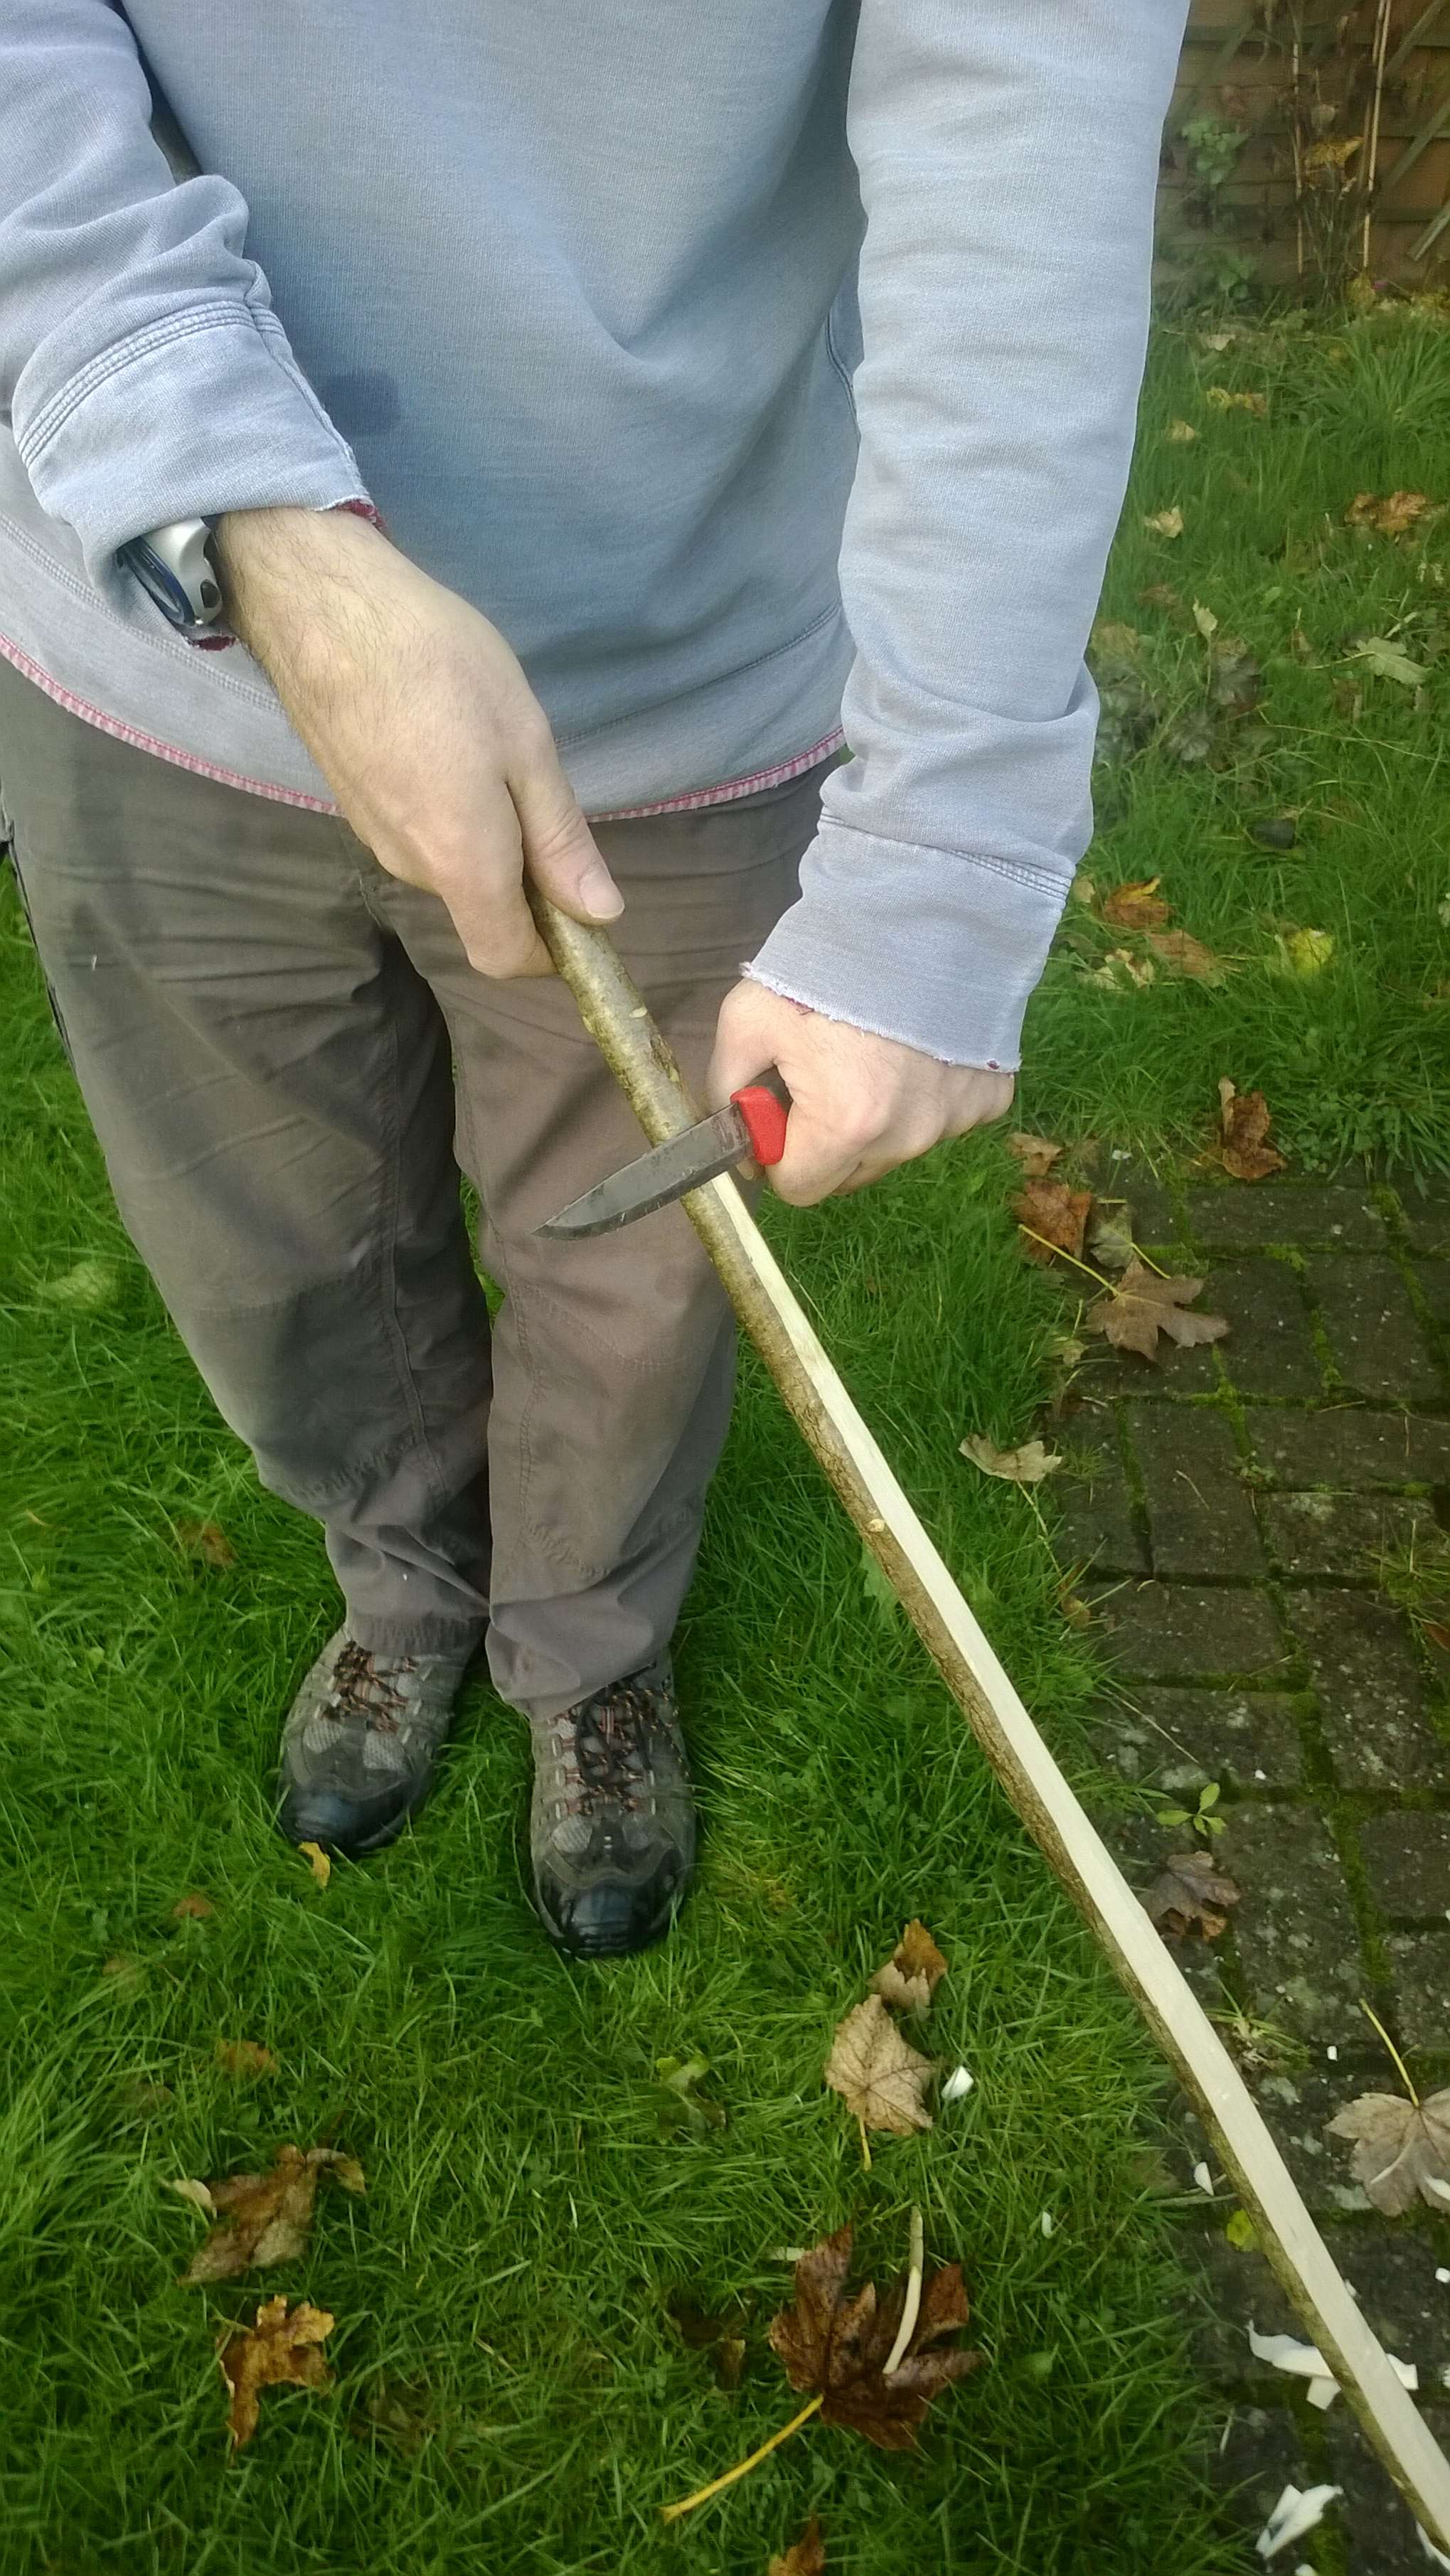
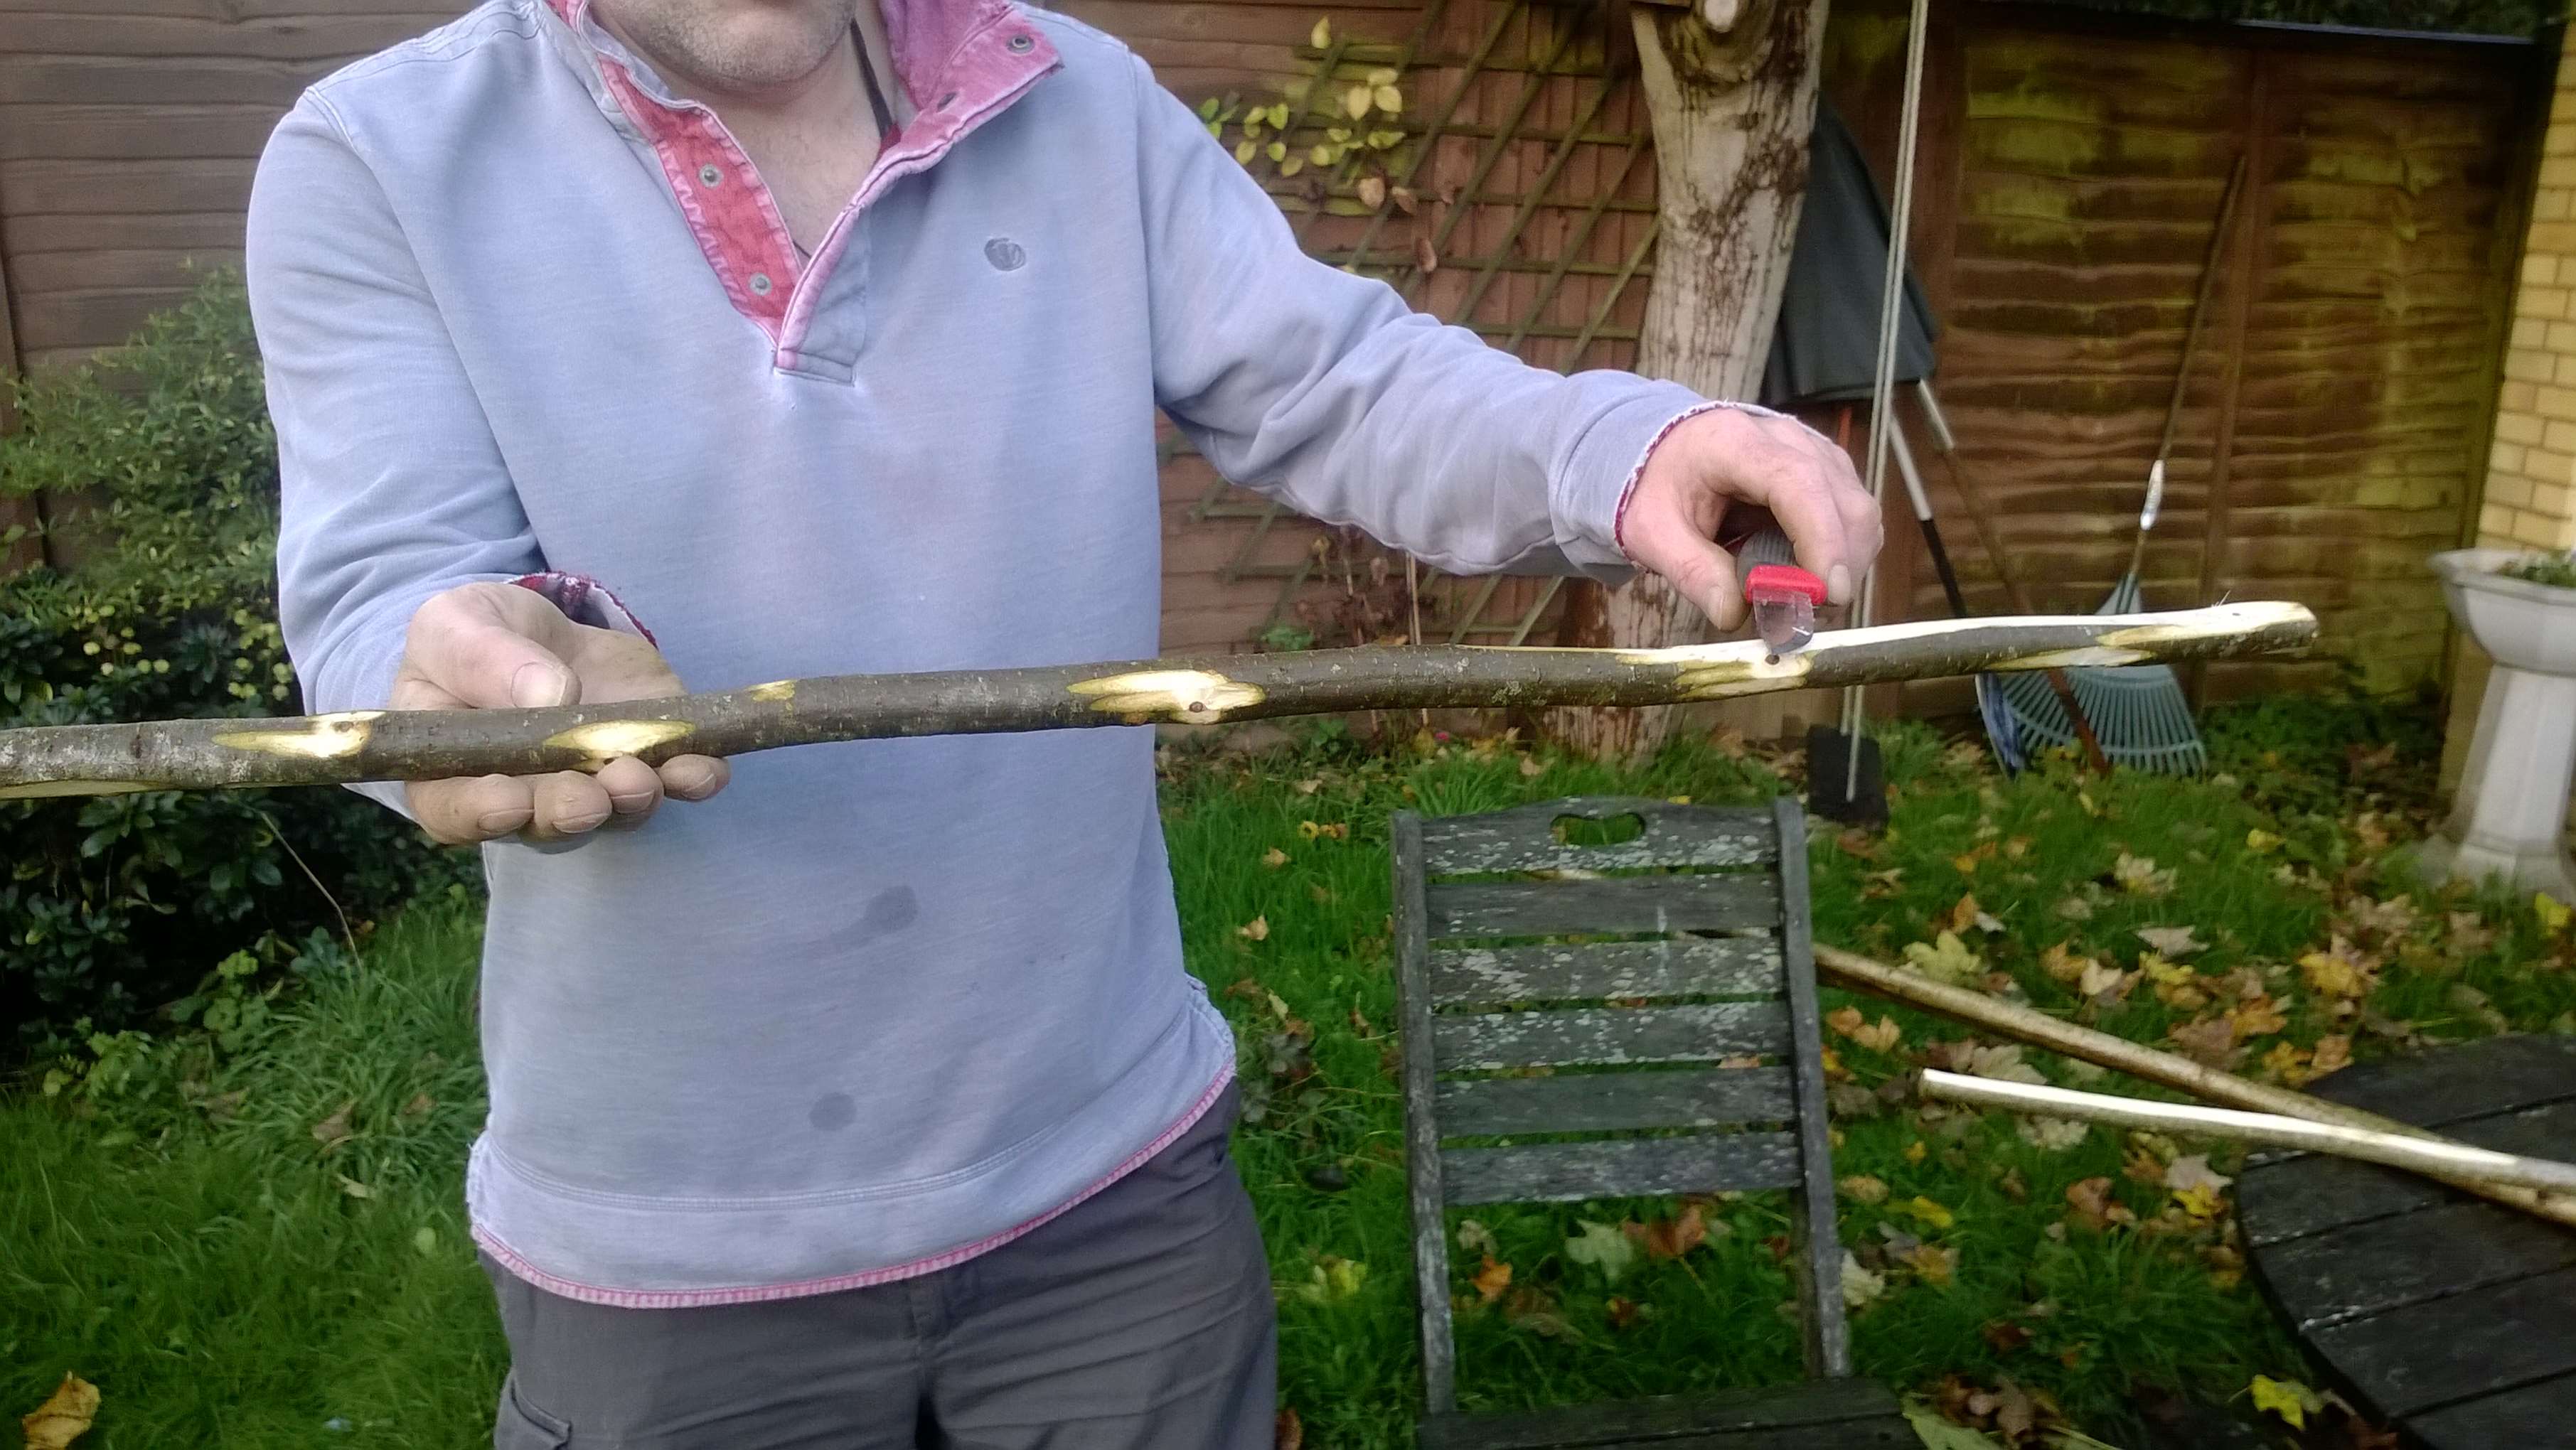
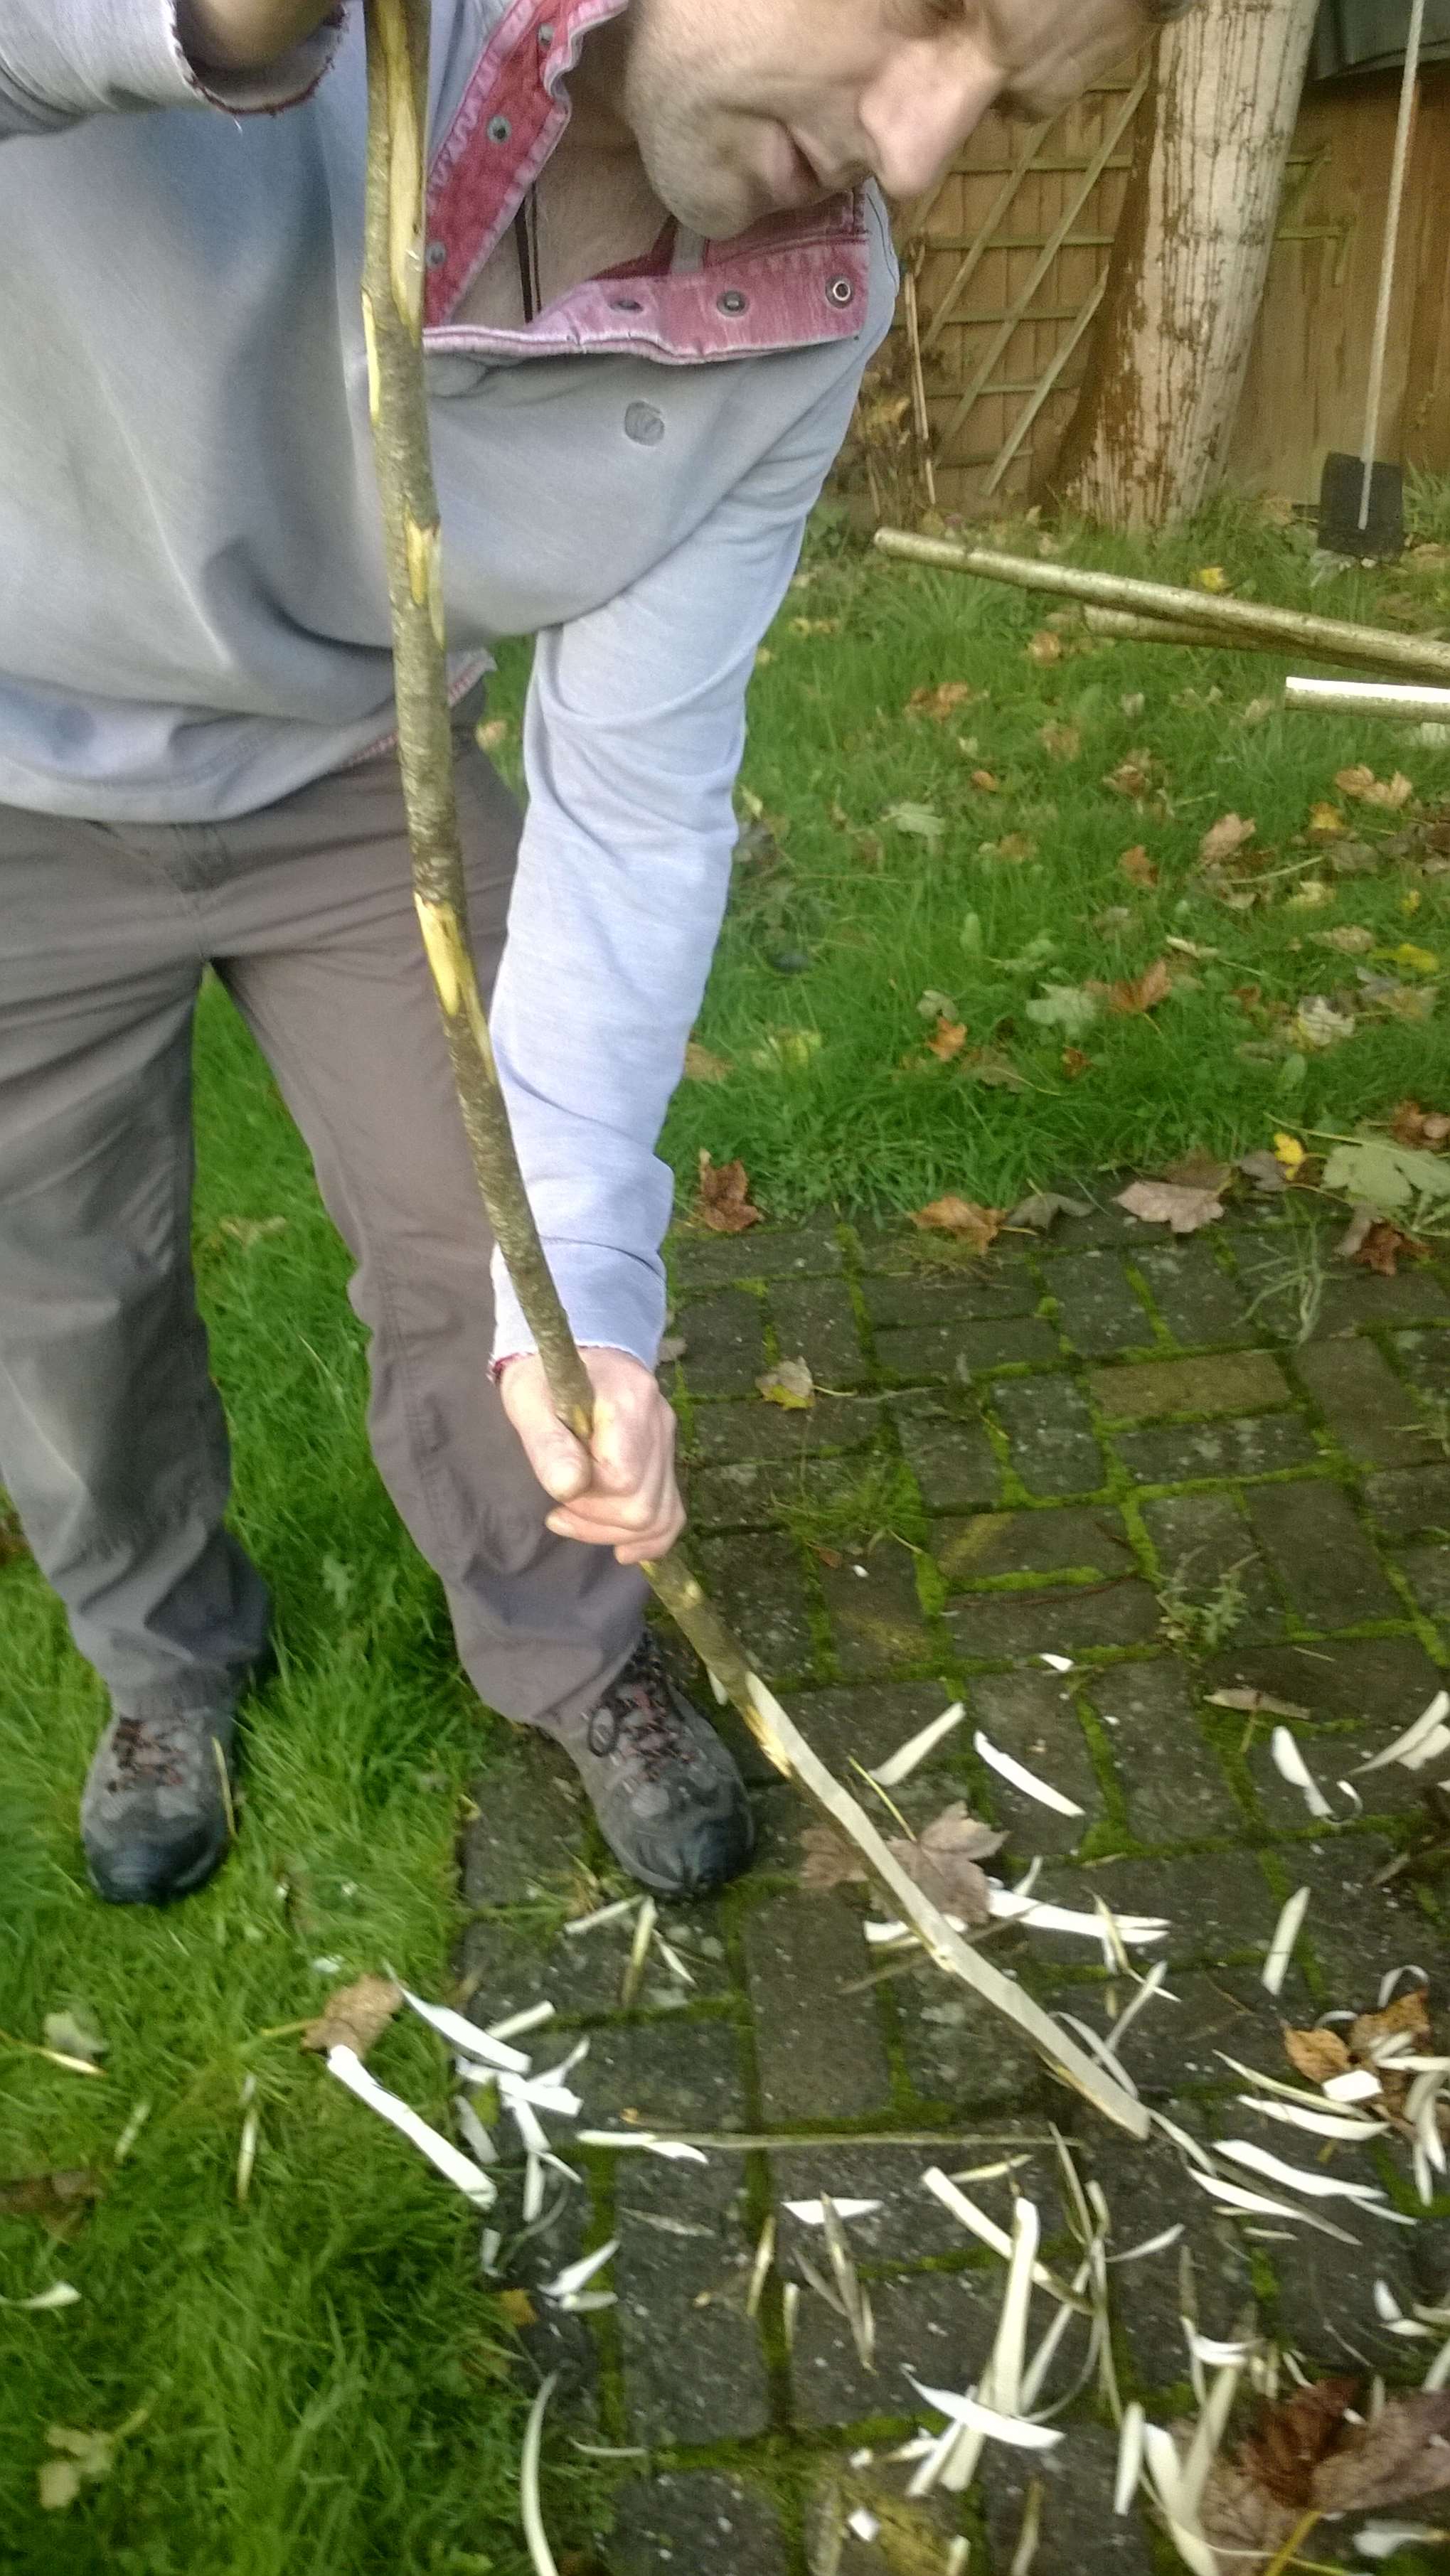
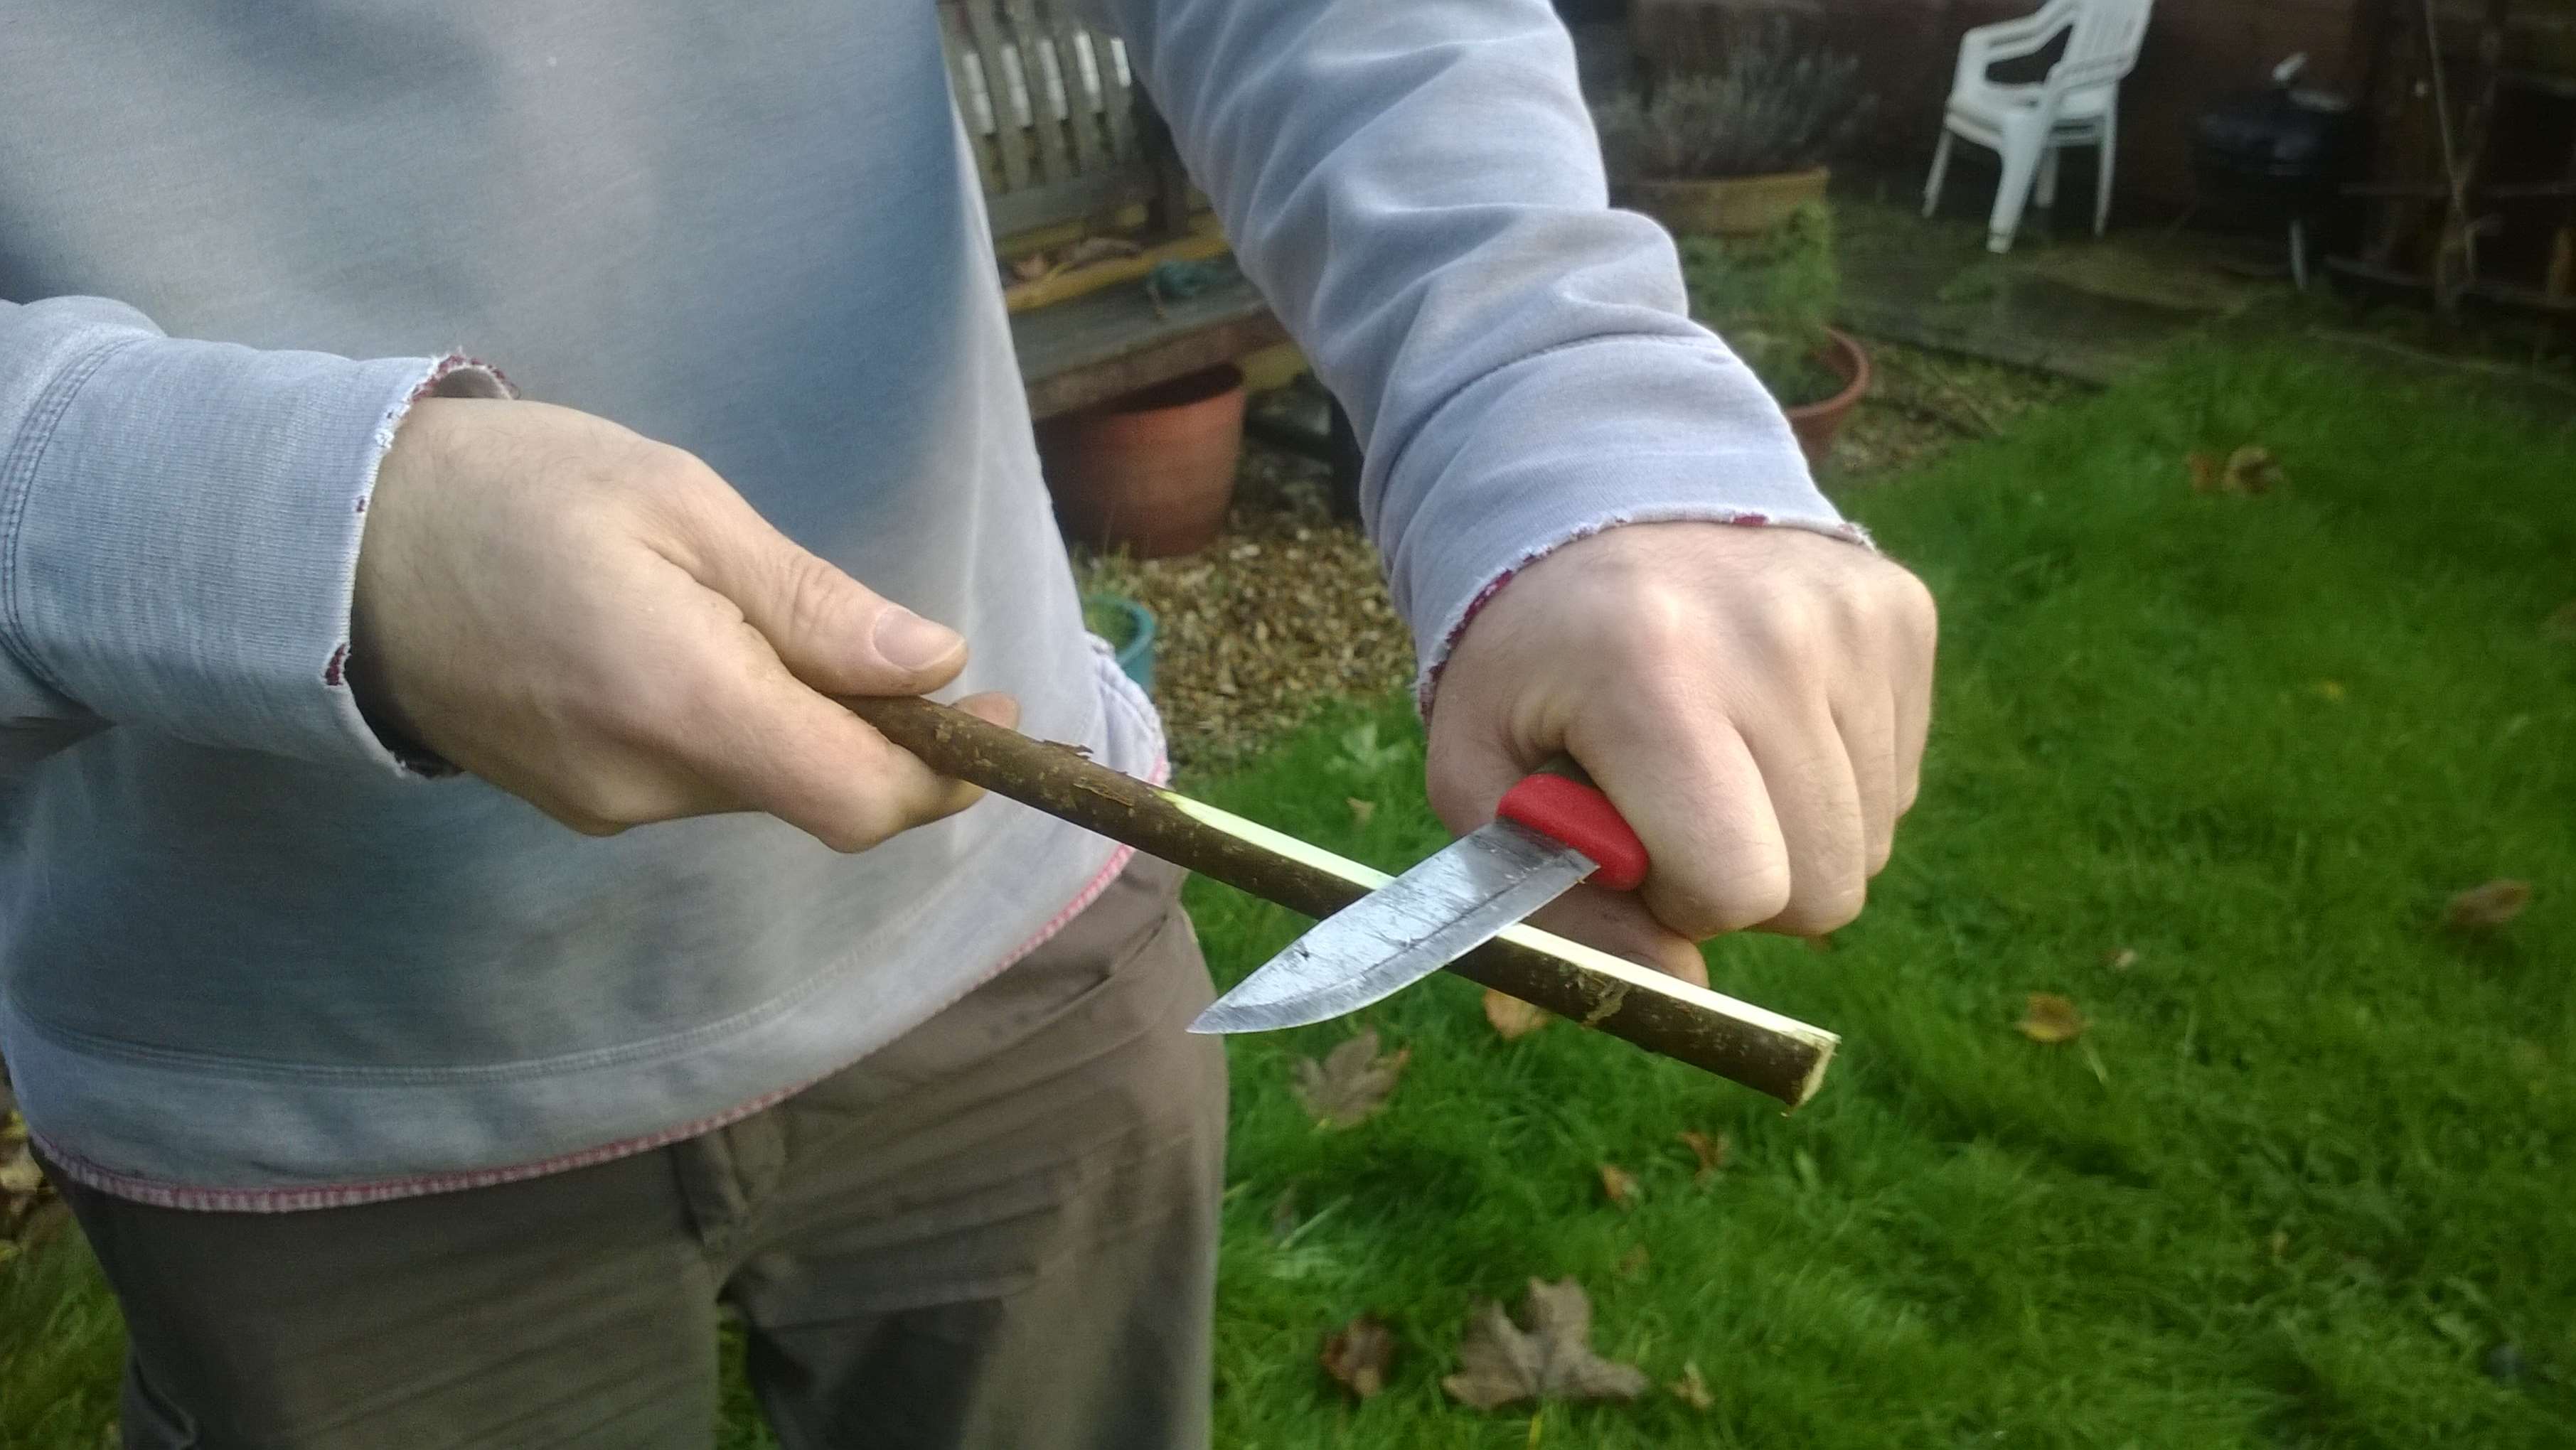
The next stage is to see if you can make both ends of the pole curve evenly. I usually find that the thicker end of your pole needs to be shaved down. I work from the end of the pole backwards to the handle area shaving off small pieces at a time. I will take off more wood from the tip of the pole than I will from the handle area. You want to have a tapered shape on each limb.
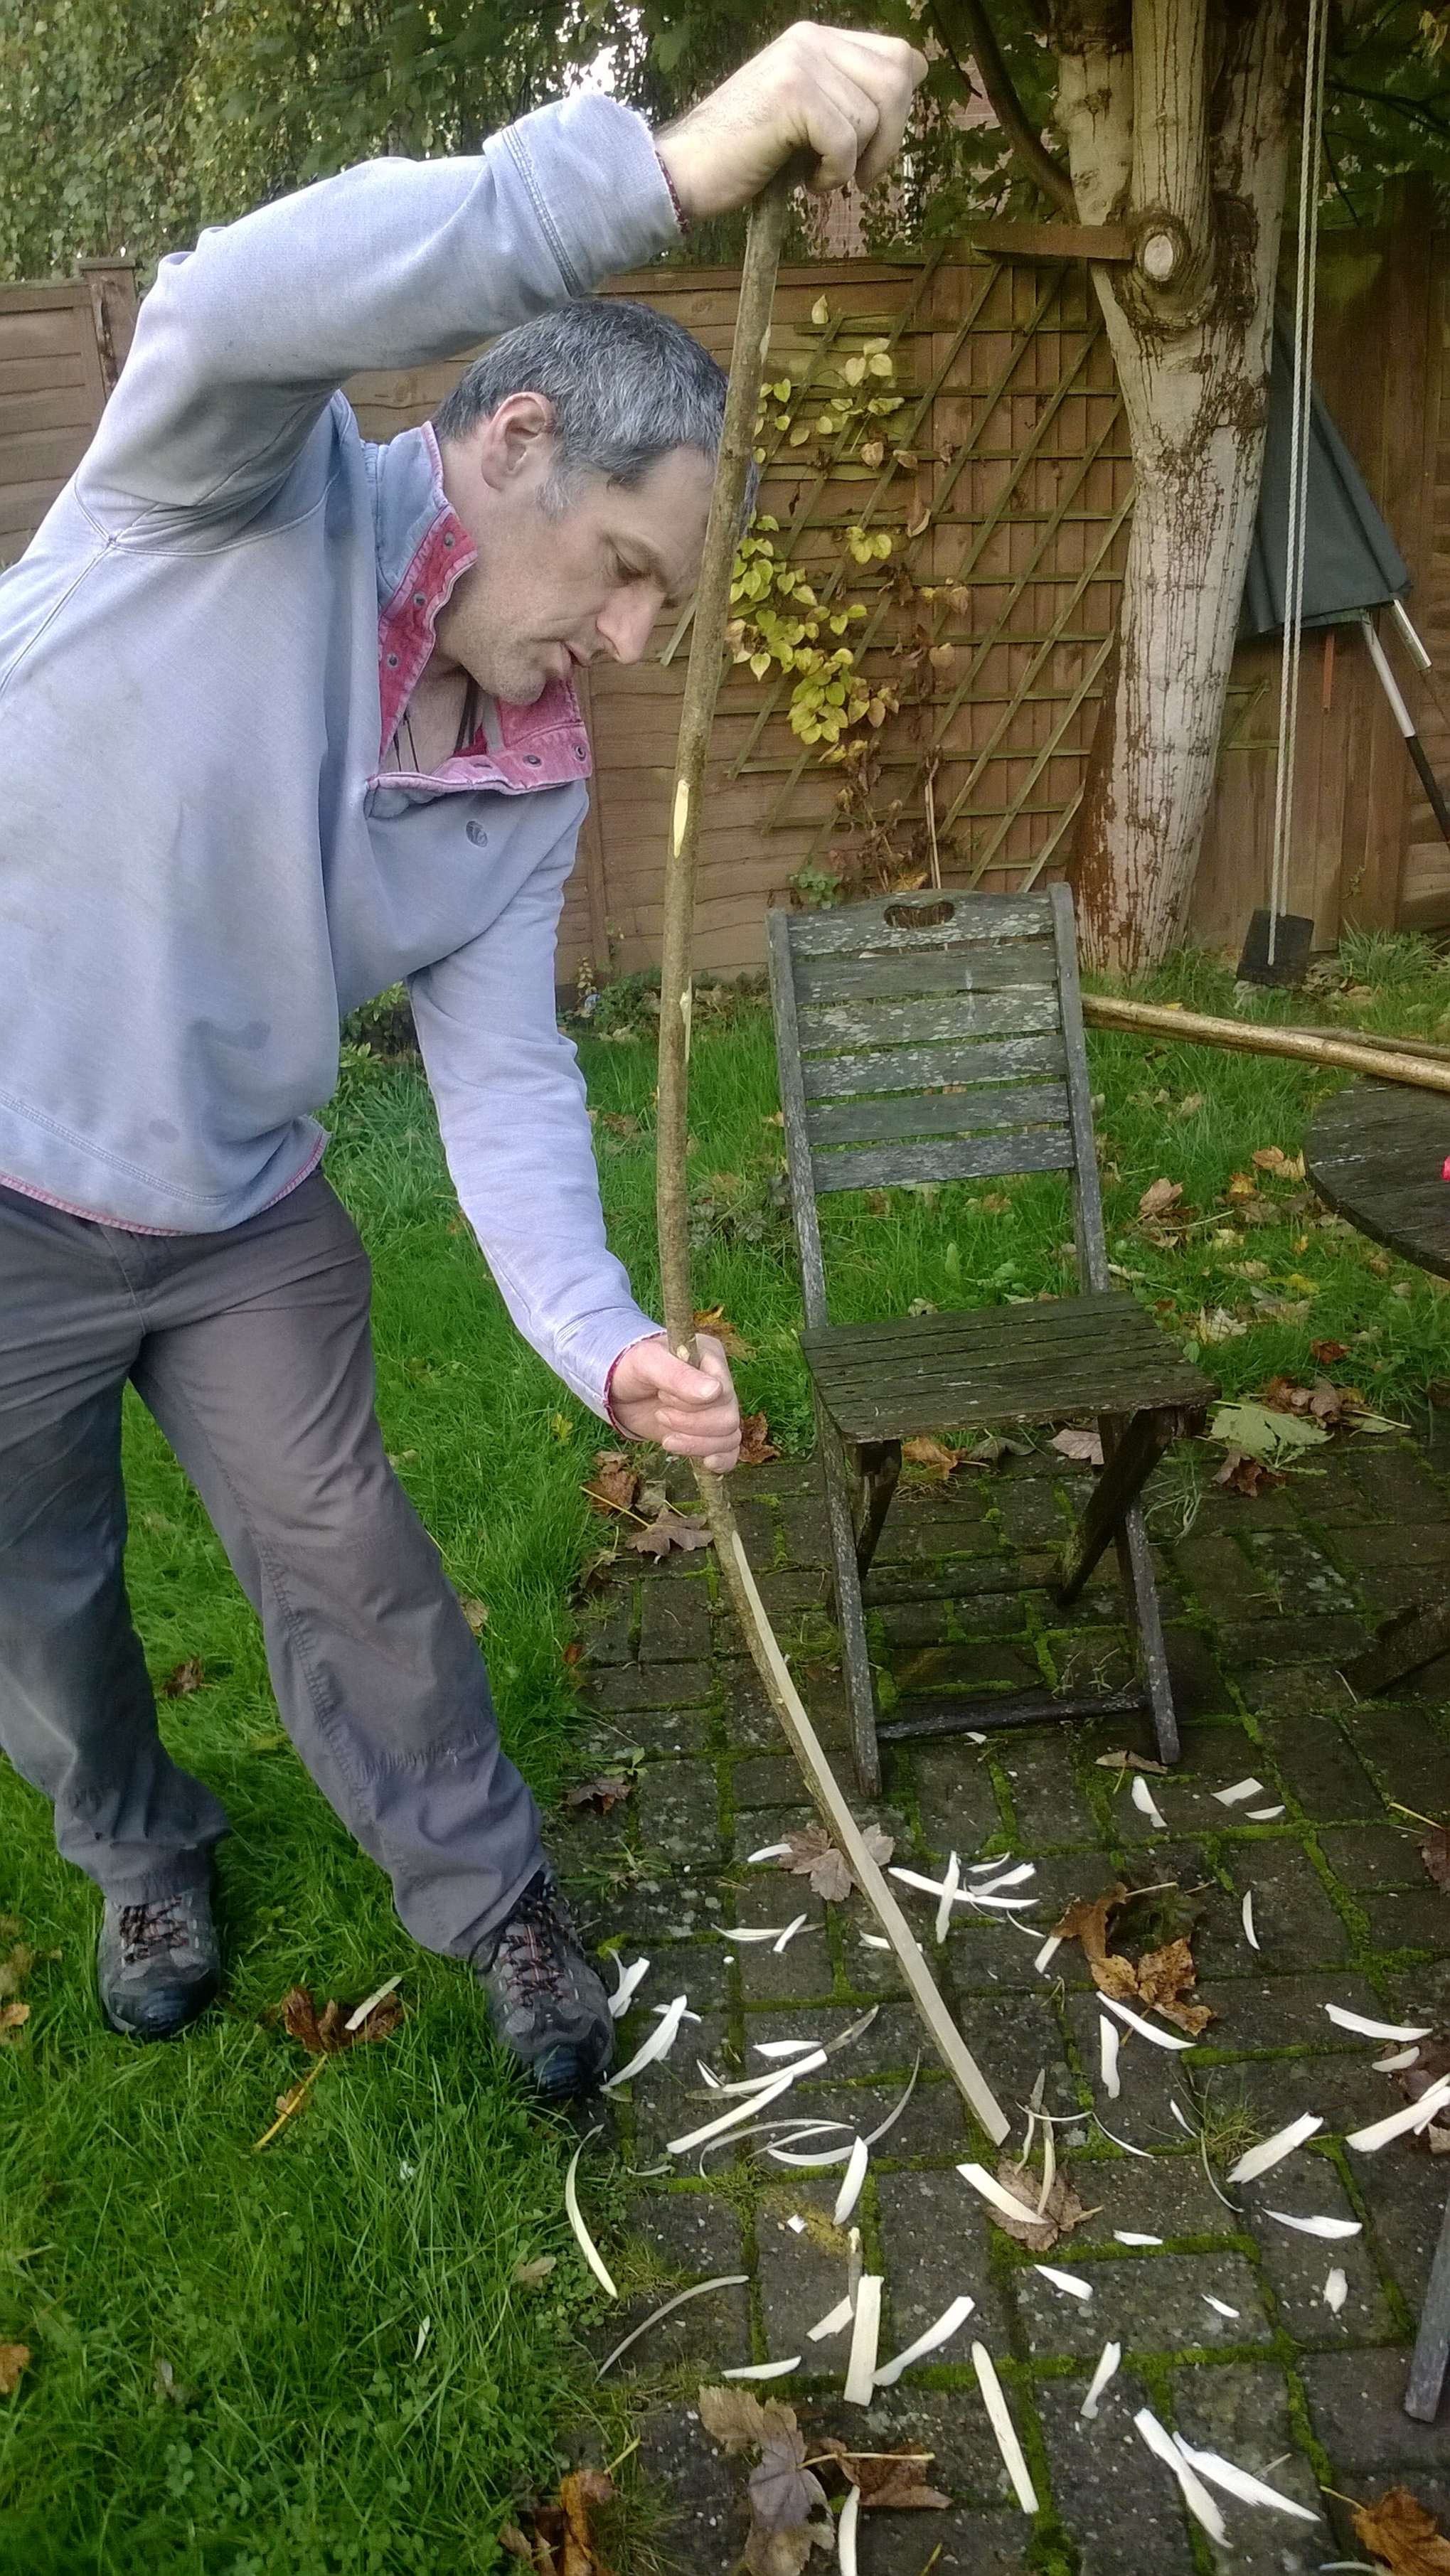
Keep testing the pole until you get a consistent curve on both limbs.

I do not like to go past the Pith of the wood as this will cause the limb to form a hinge and snap. If you are getting near the Pith then take some wood of the side of the limb.
Trim back the wood on both sides if needs be. If you can get a good curve then stop but it does not need to be perfect (you are not making a Longbow).
Cut the Son pole to about two thirds the size of the Father. I have seen though where the Son is very curved that it can be half the size of the Father.
I find the Belly of the Son as I did with the Father and mark it. Any trimming of the limbs this time is done on the Back of the bow and not the Belly. This is because the Back of the Son will be attached to the Back of the Father.
Mark the centre of the Son with string.
Trim the limbs (on the back) and test for a good curve.
Producing the X Wing
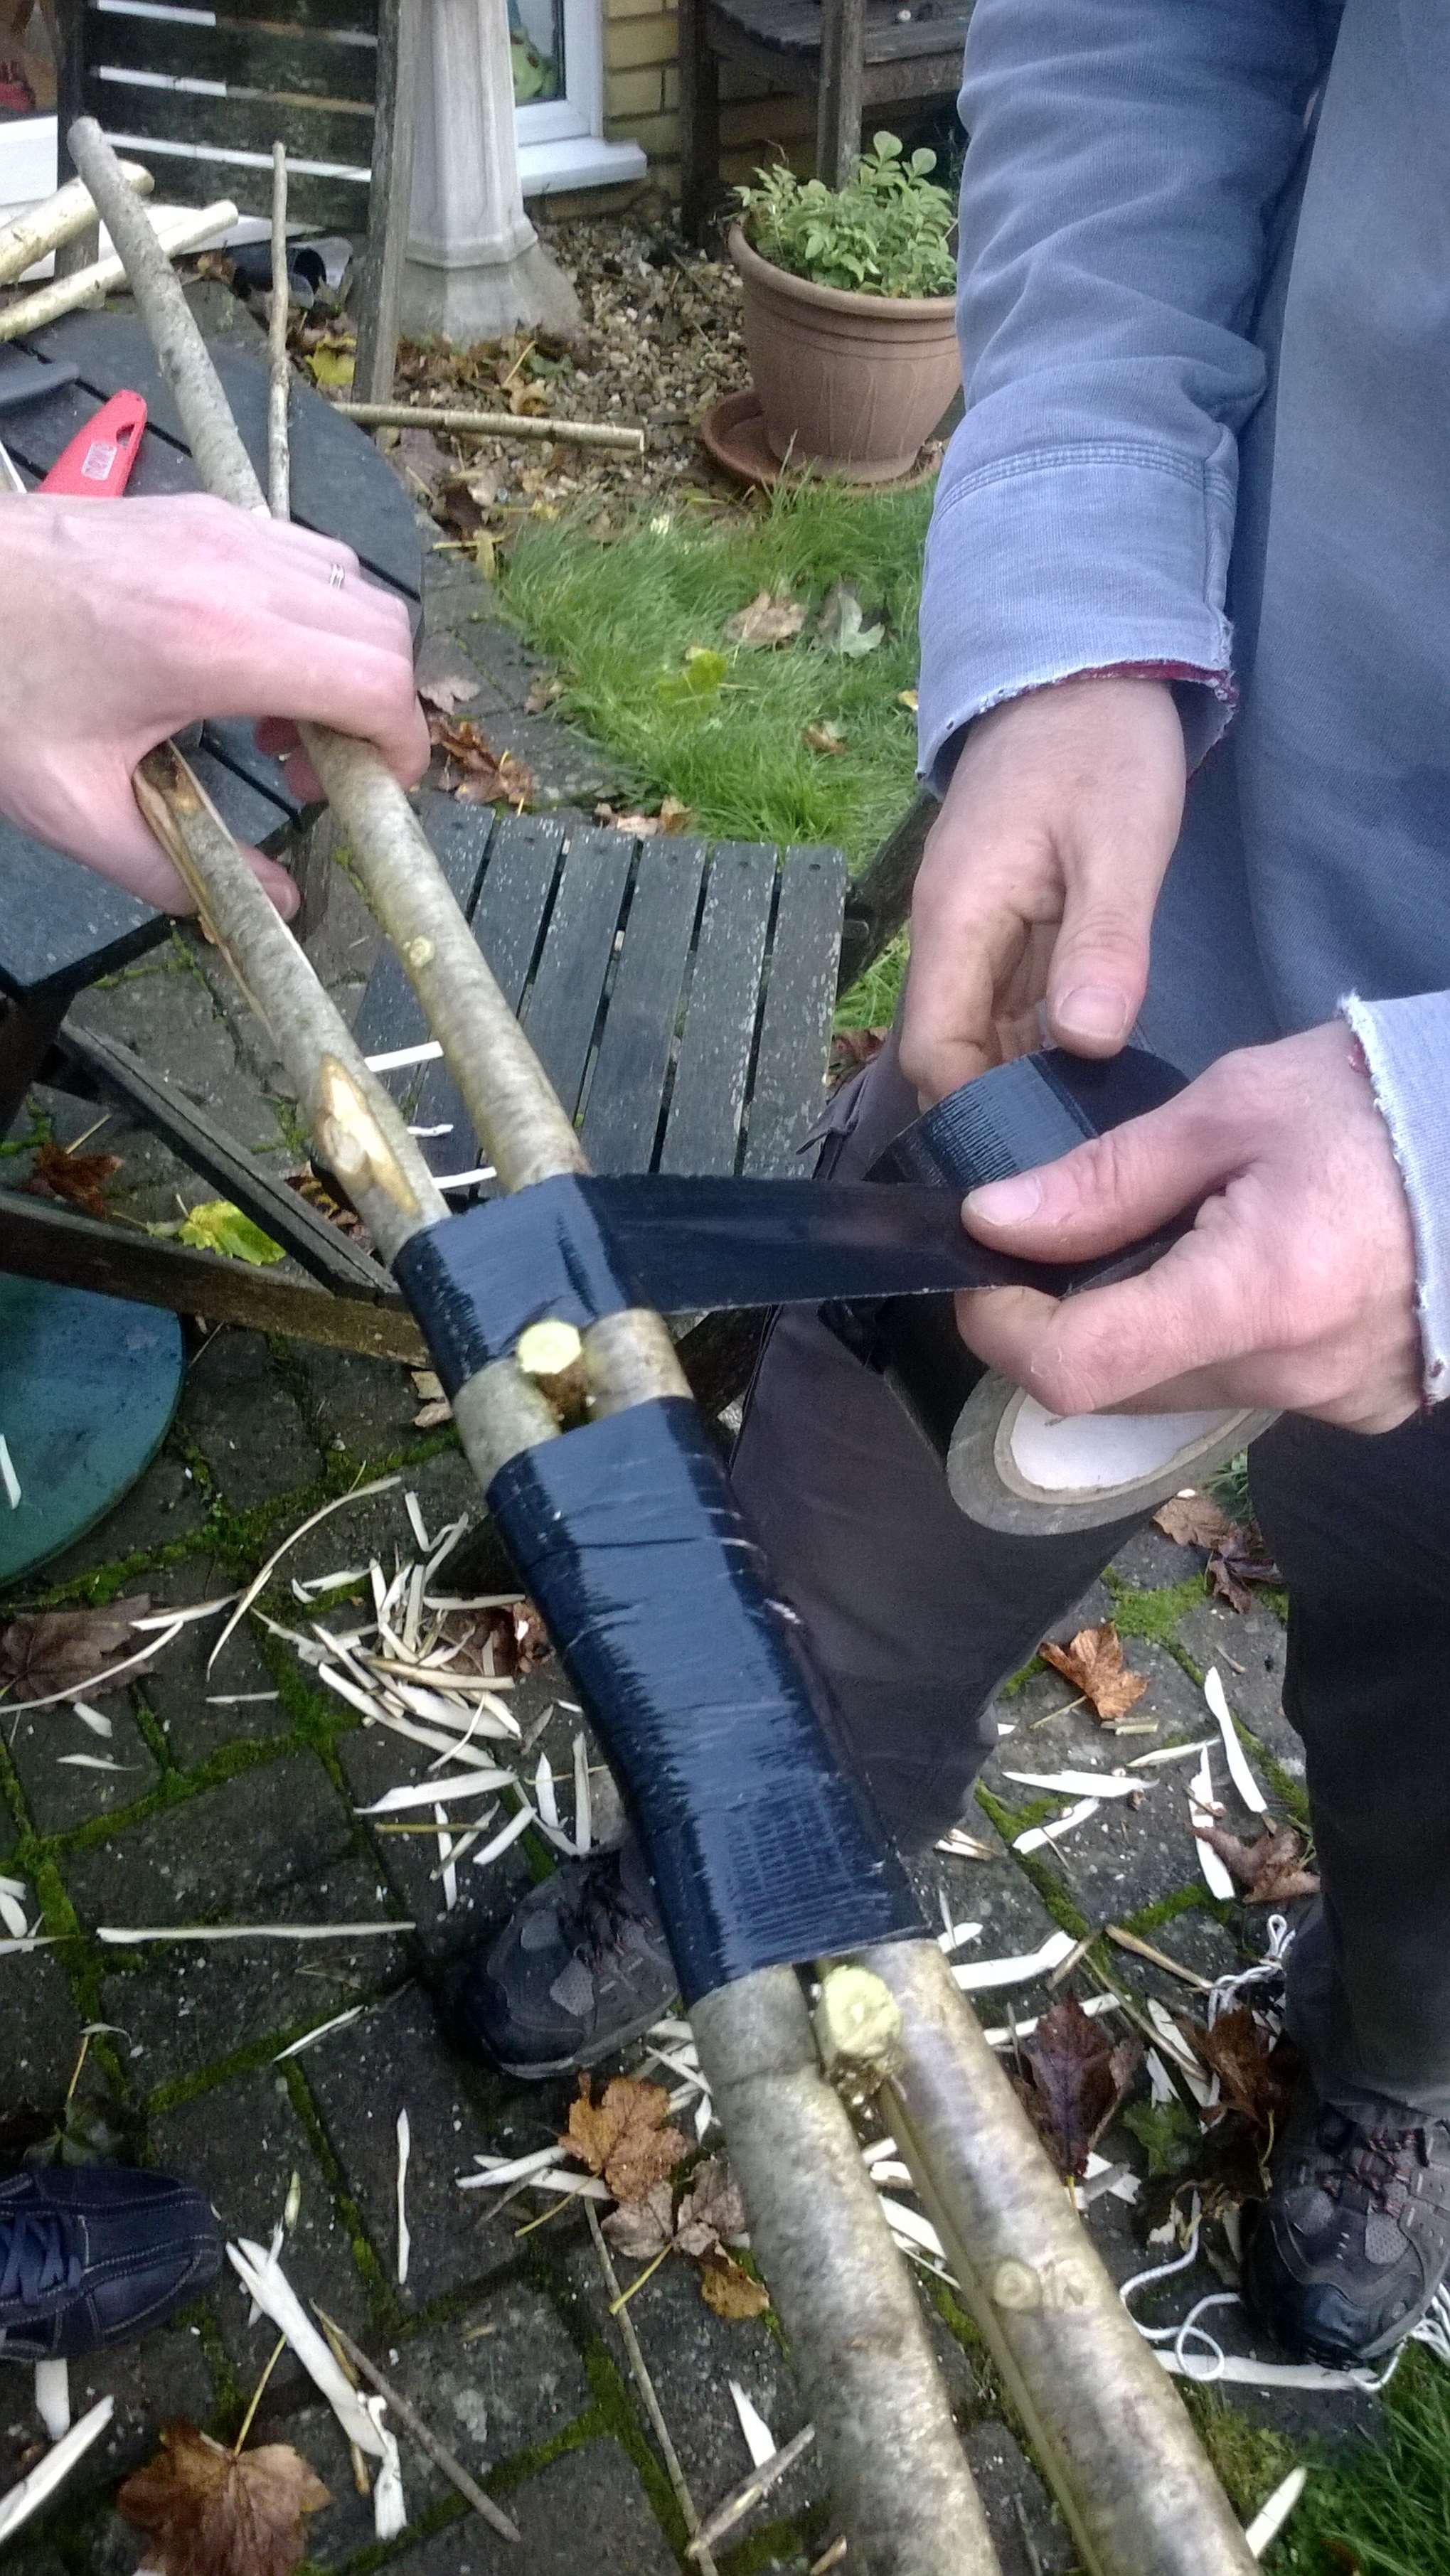
It is far easier to join the limbs if you have some help (thanks Roddy). I sometimes join the poles with a common whipping and sometimes just use strong tape. For this bow I am going to use tape and then at the end make a handle with a bit of whipping.
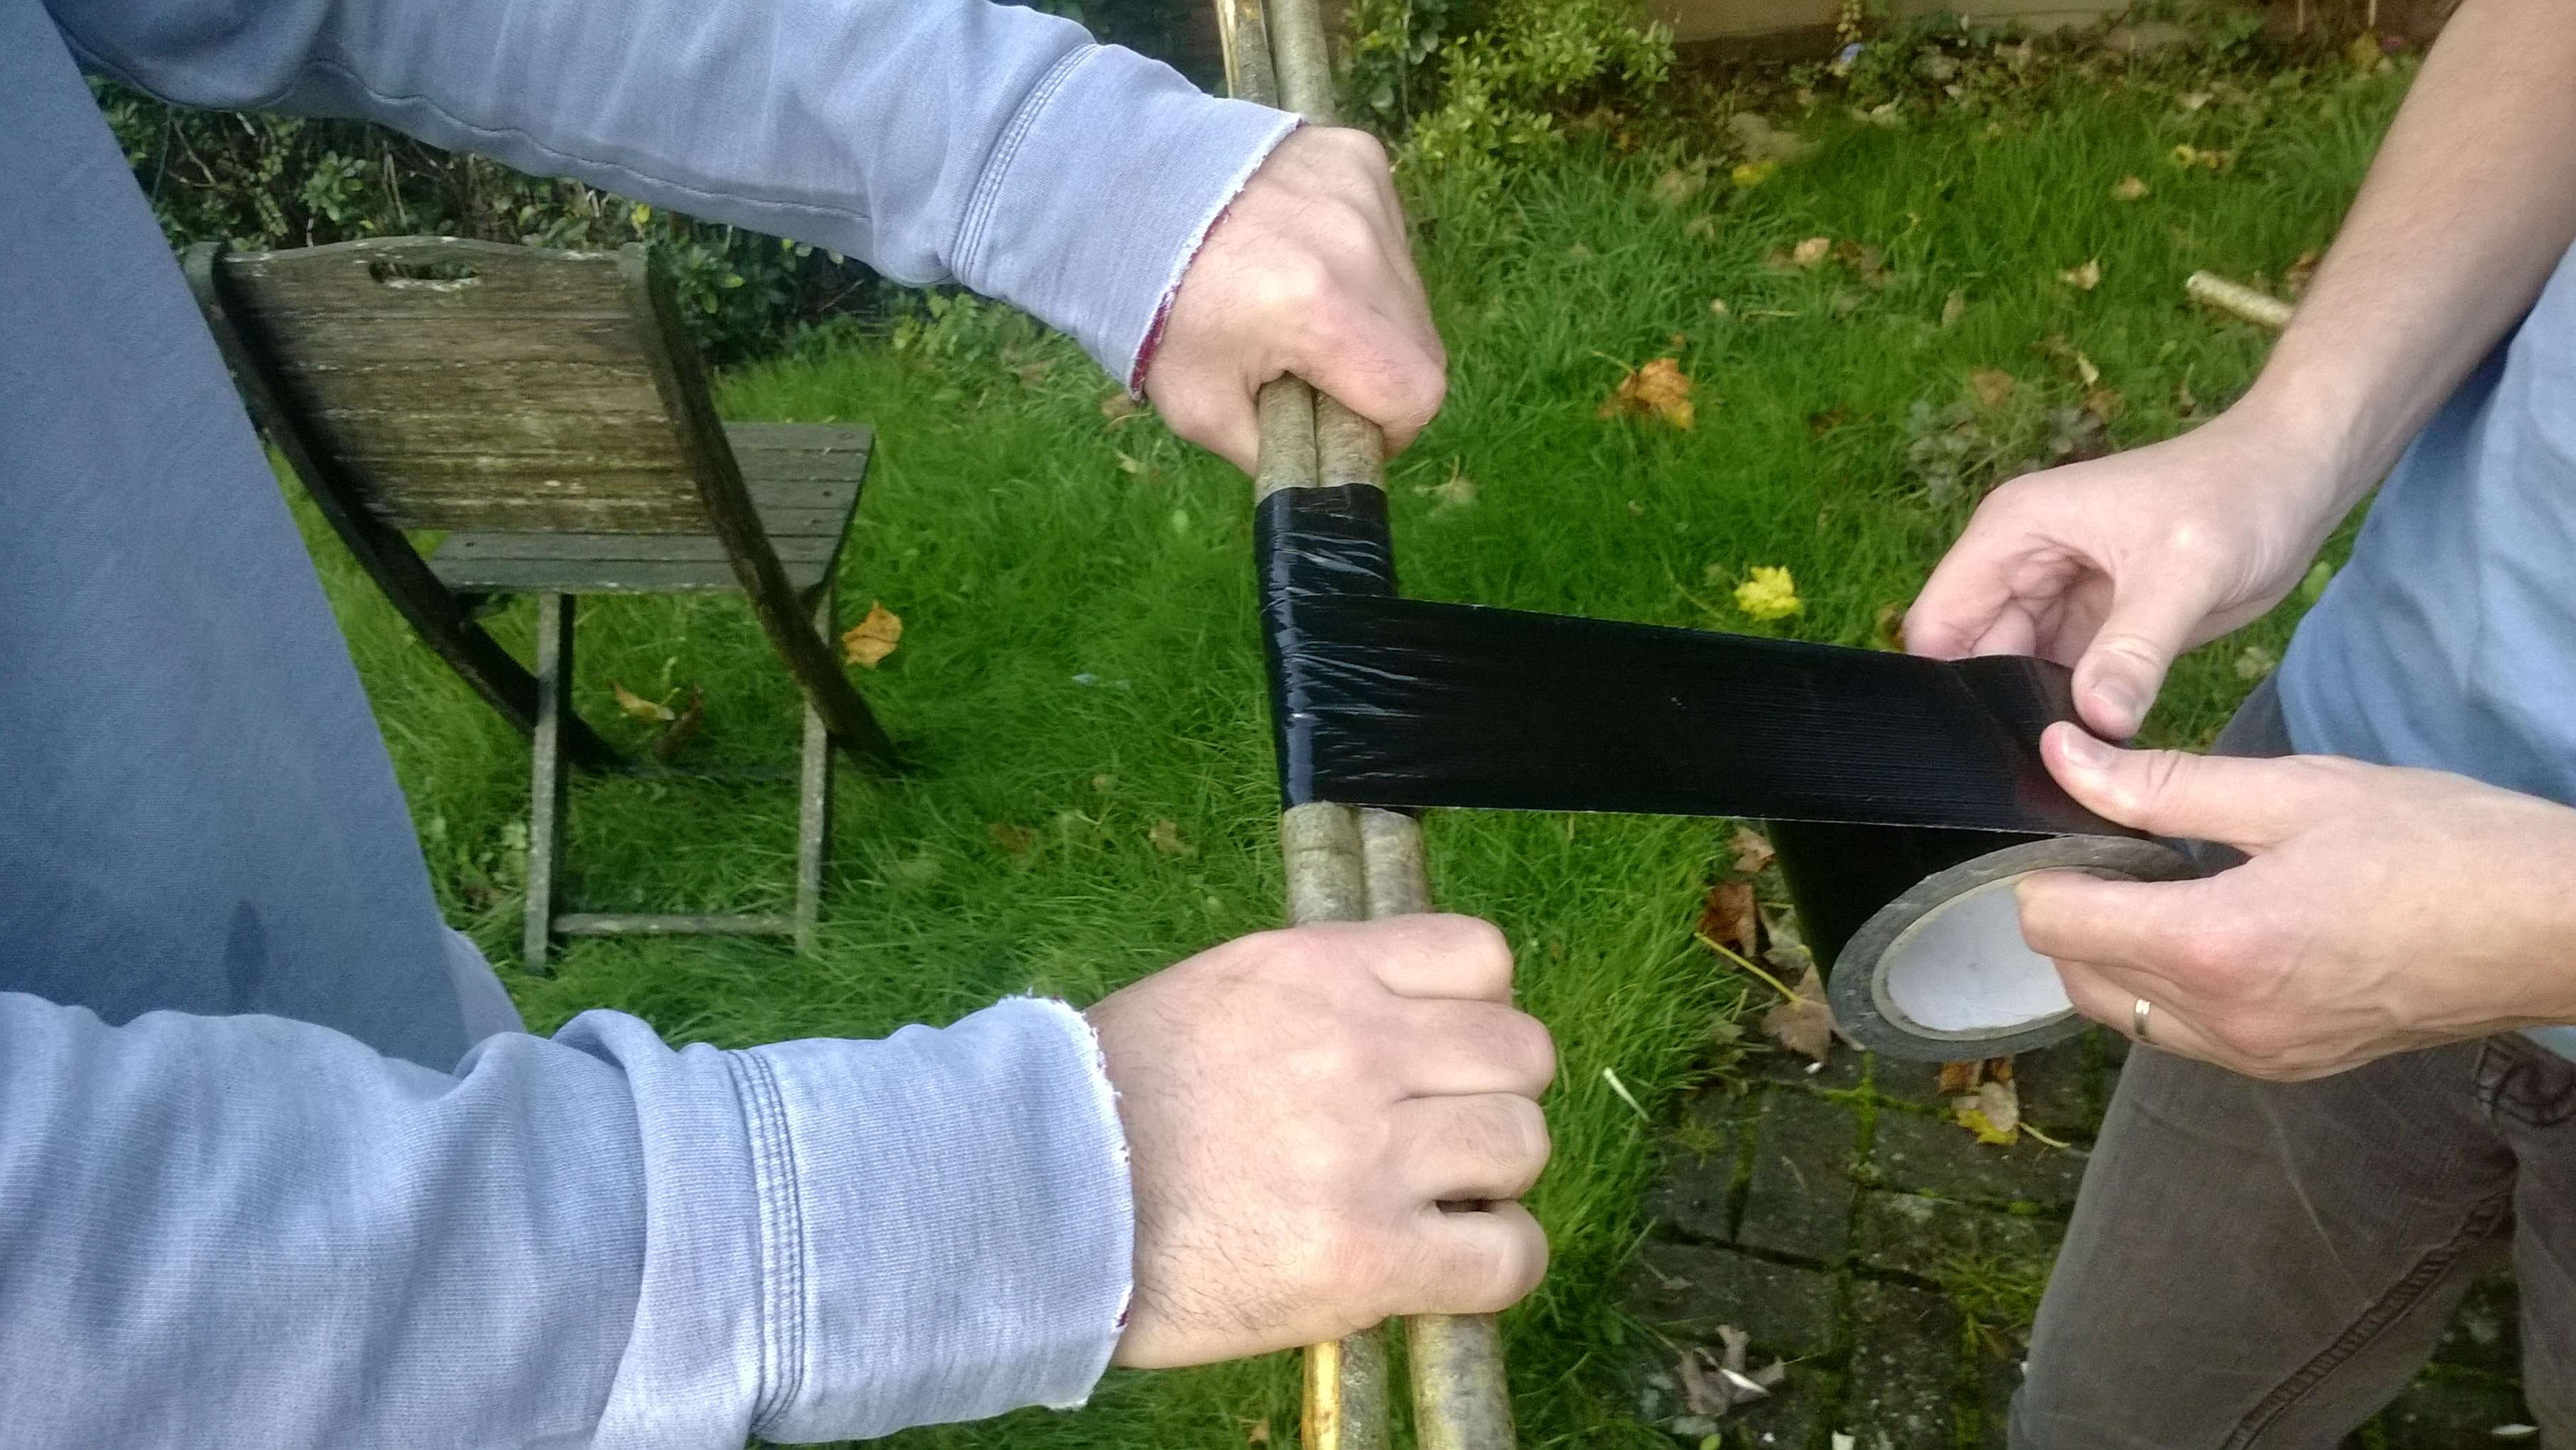
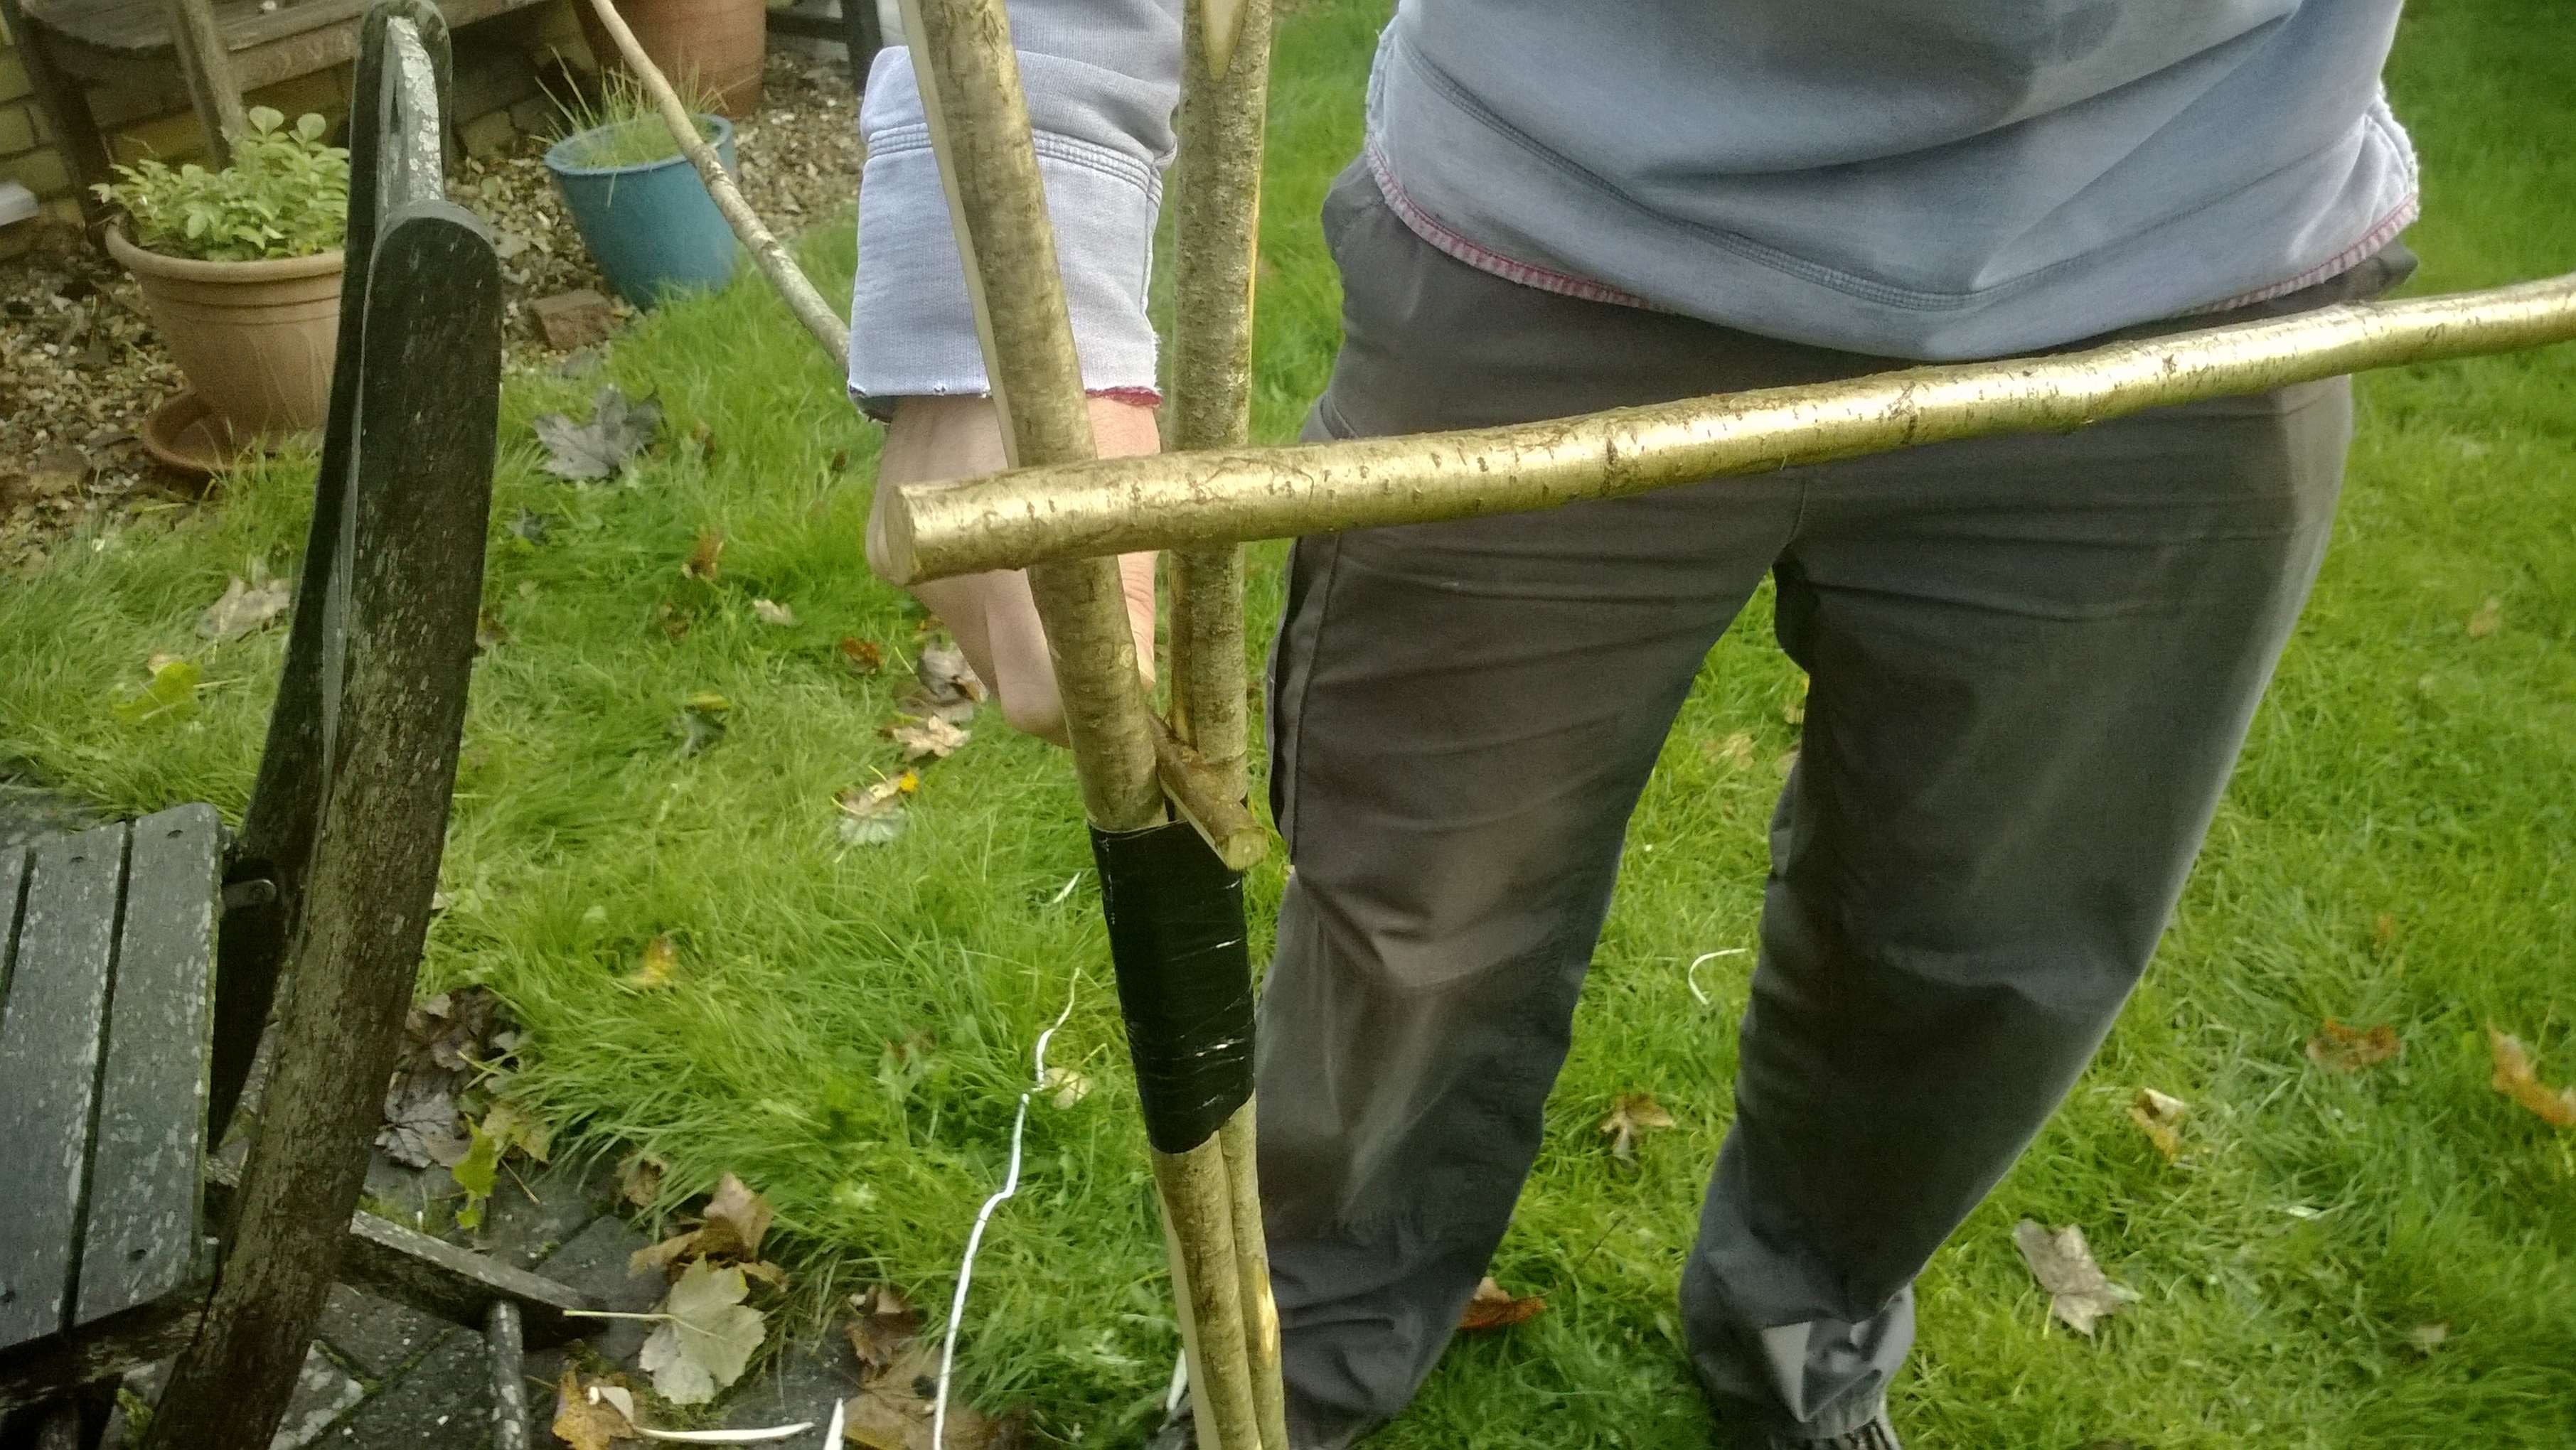
With one person holding the two poles (make sure the Backs of each poles are touching) the other person can attach tape. I find it best if you roll the poles rather than wrapping the tape. Tape the whole handle area.
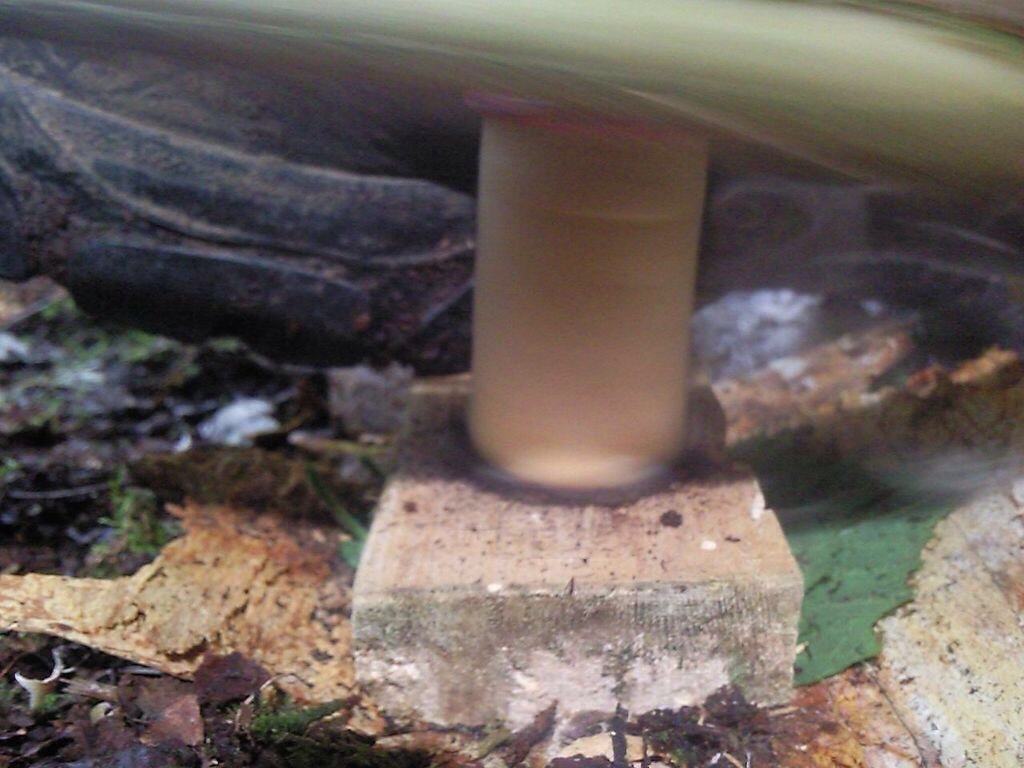
If the Son has a very pronounced curve you do not need to do the next step. Most of the bows I make have poles that are not very curved so I put spacers in near the handle. Take one small branch and trim if necessary.
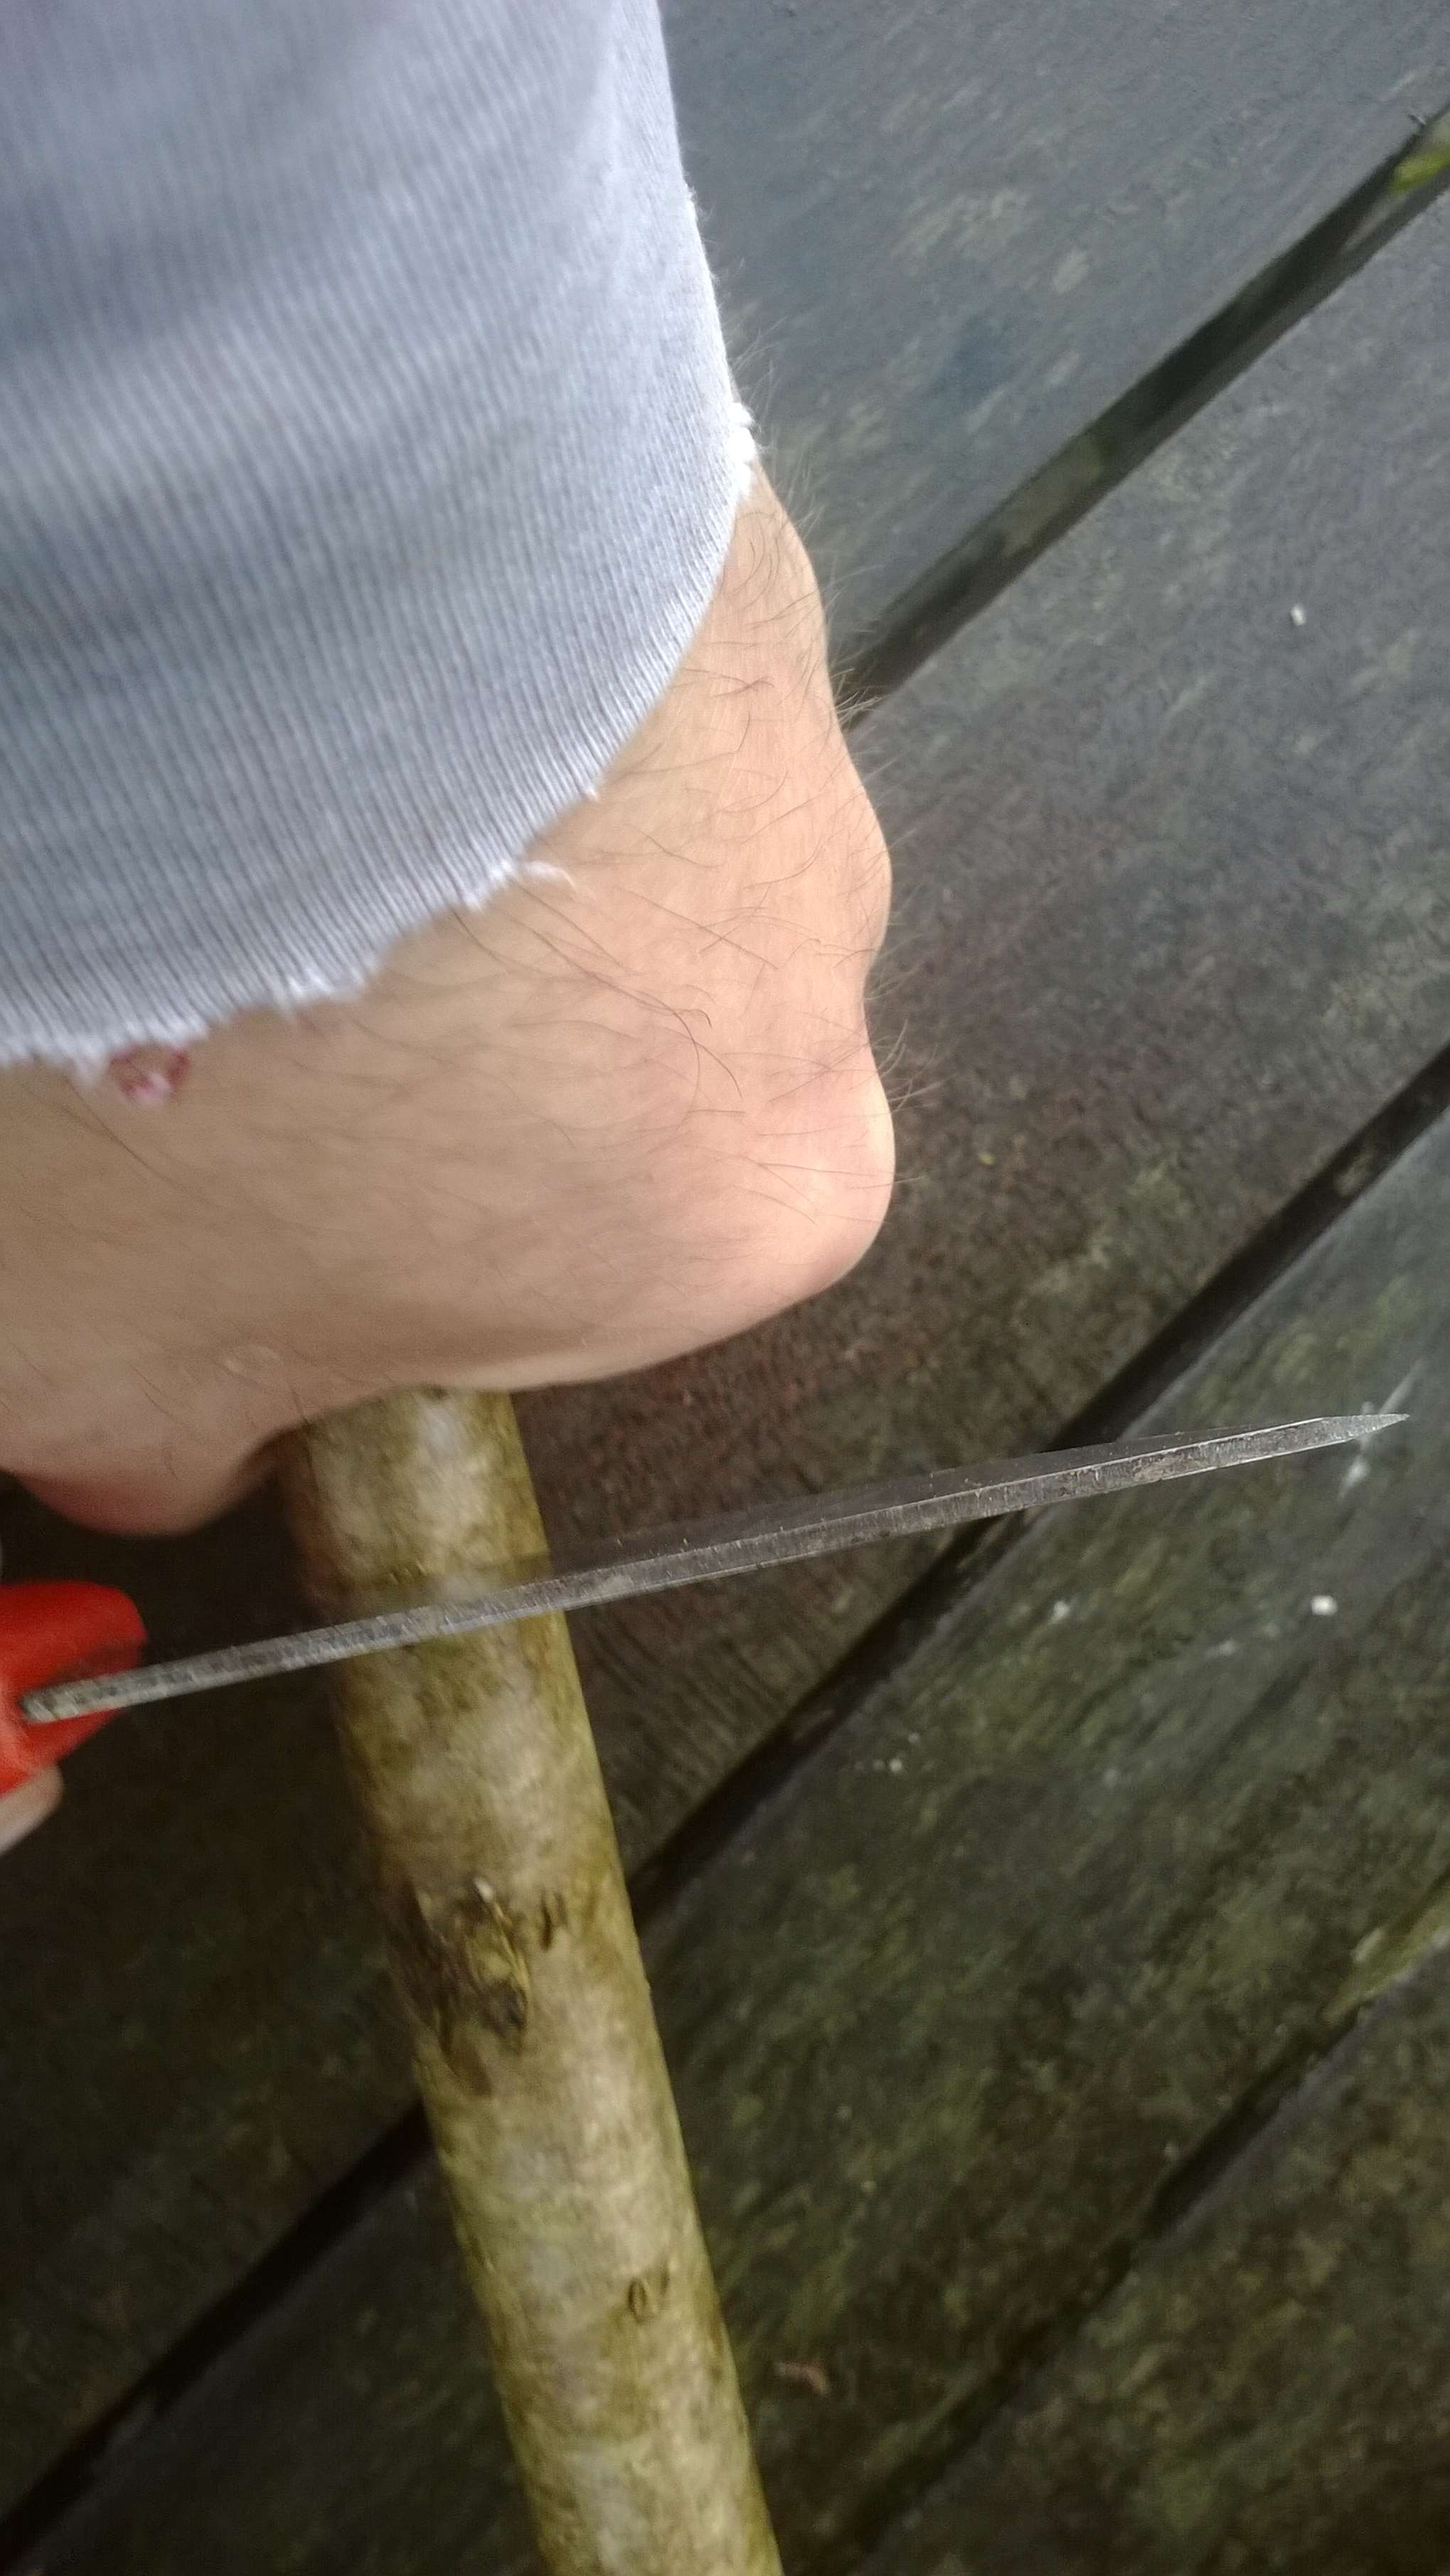
Then using a baton hammer the spacer down to the handle.
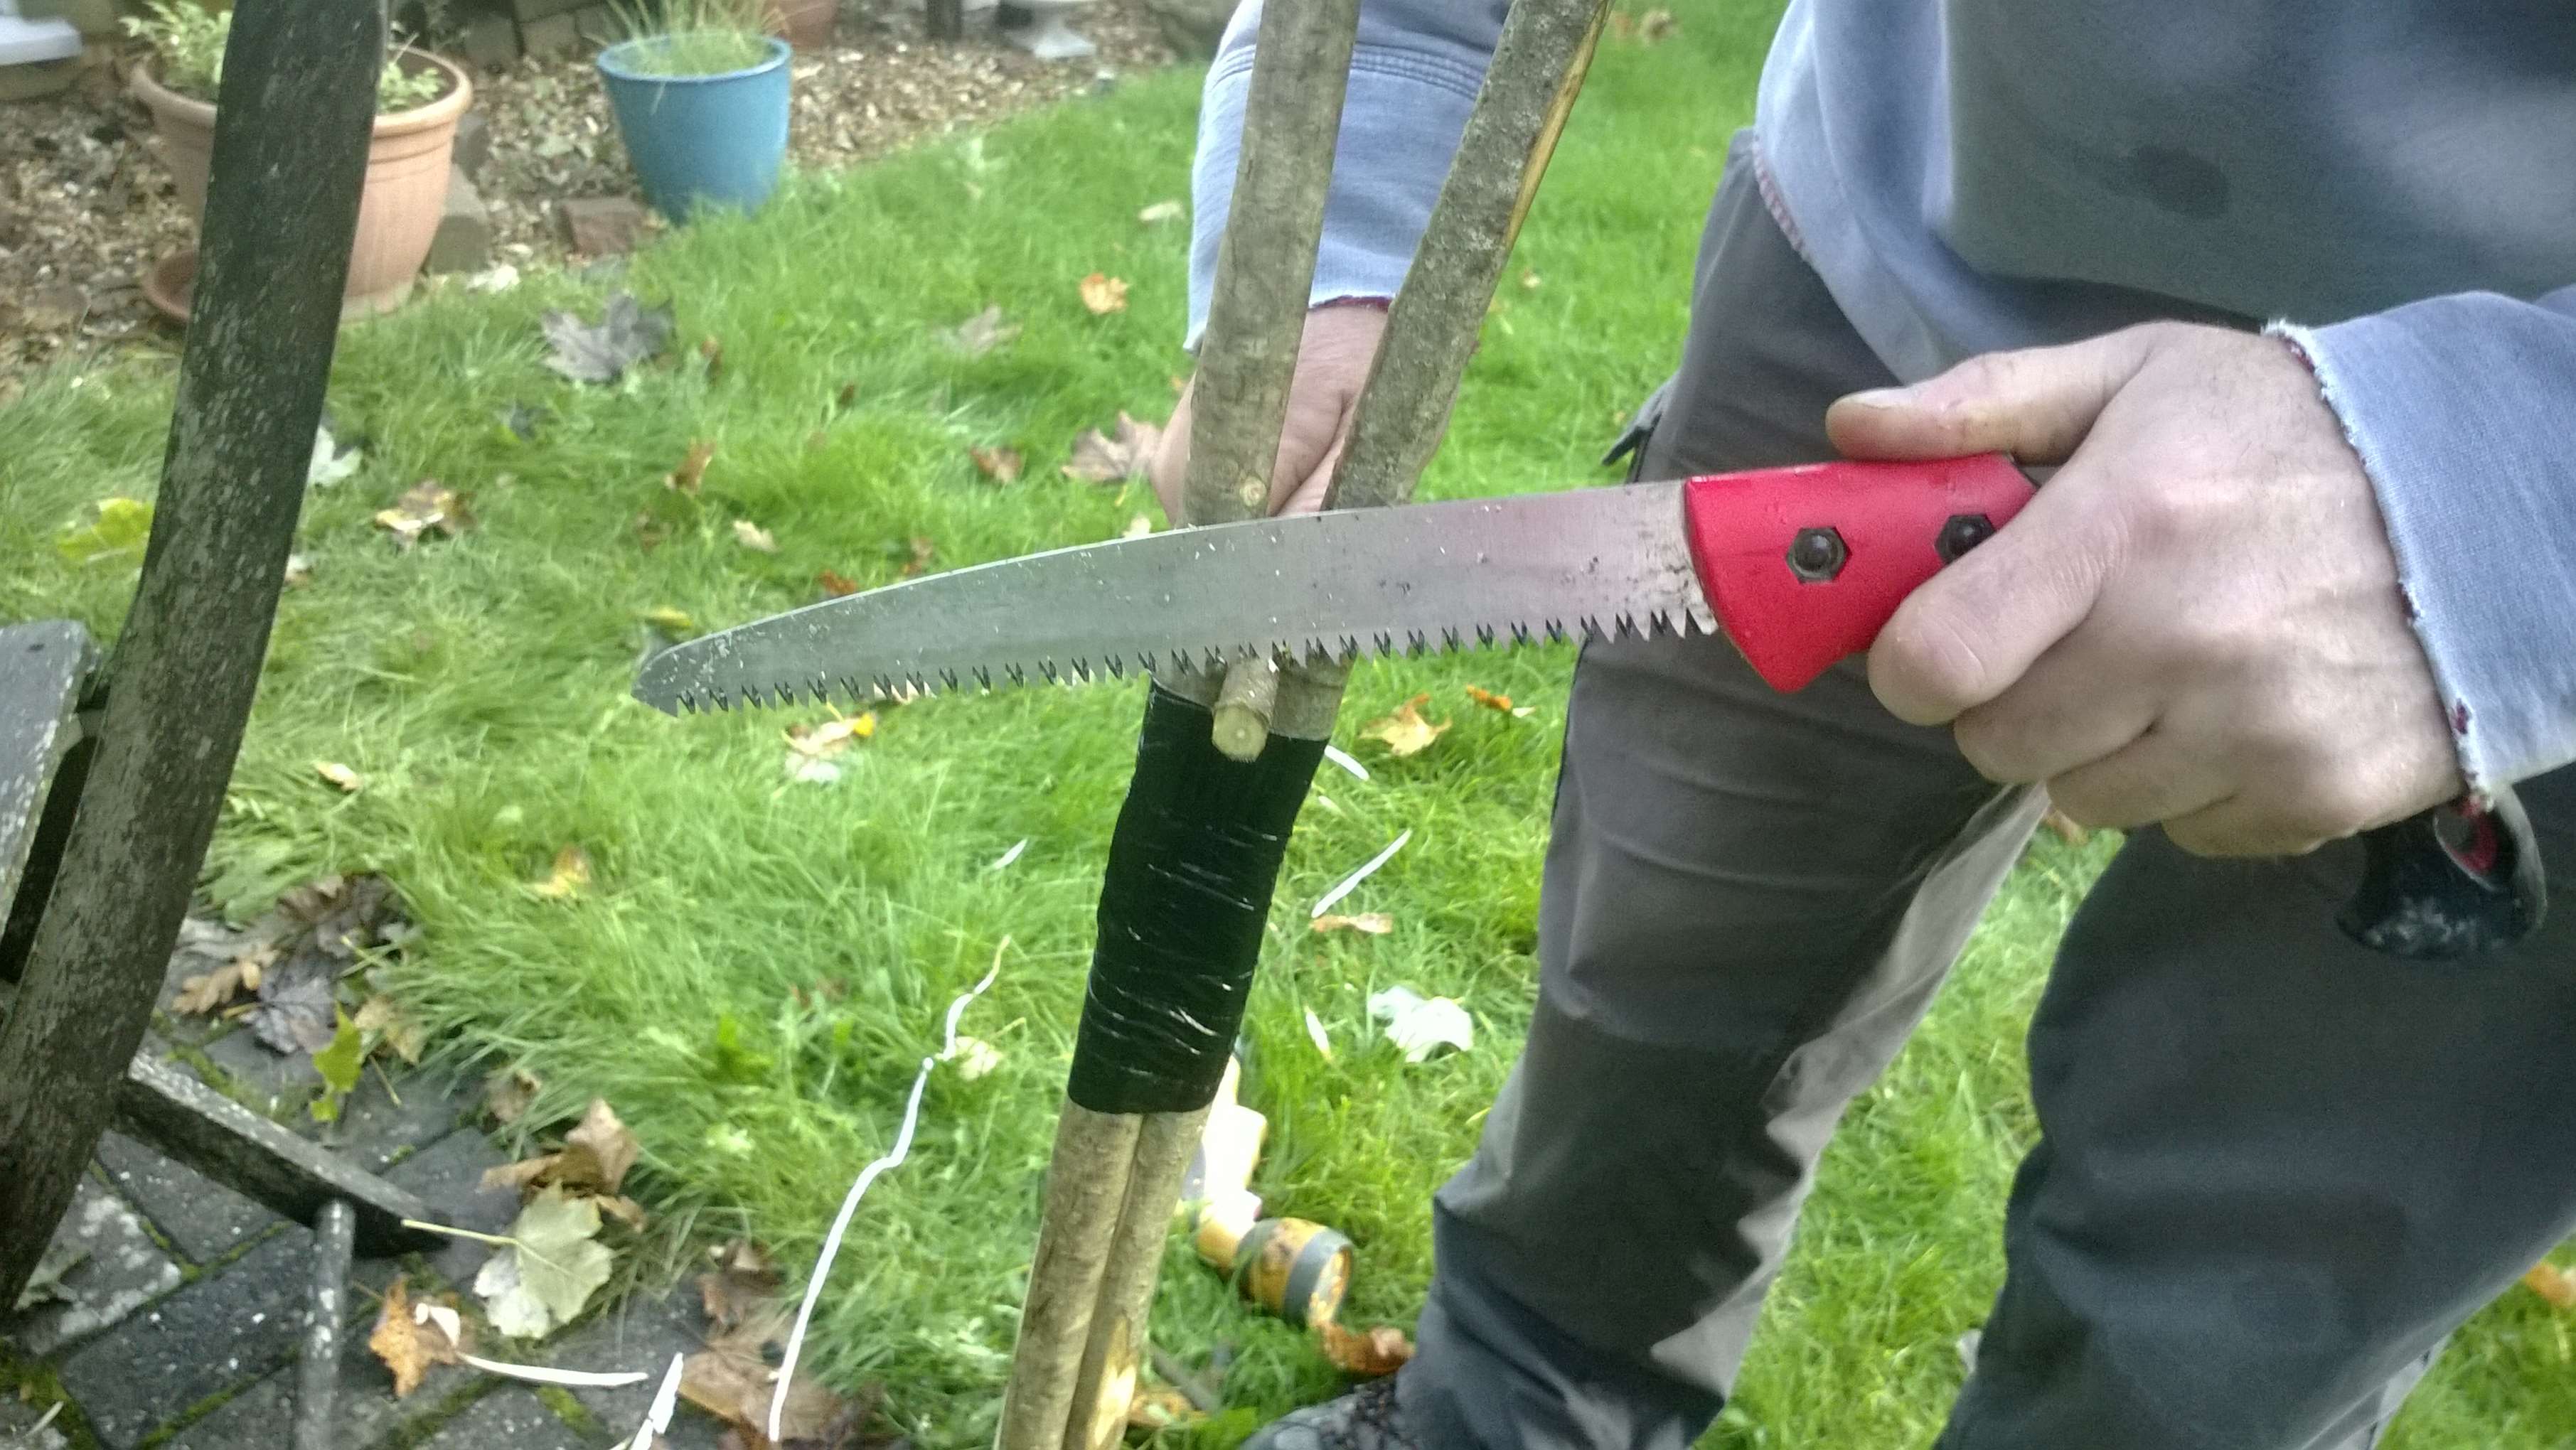
Trim the spacer. Be very careful to keep your hands clear of the blade here. Out in the woods I don’t always have a handy makeshift table to work on.
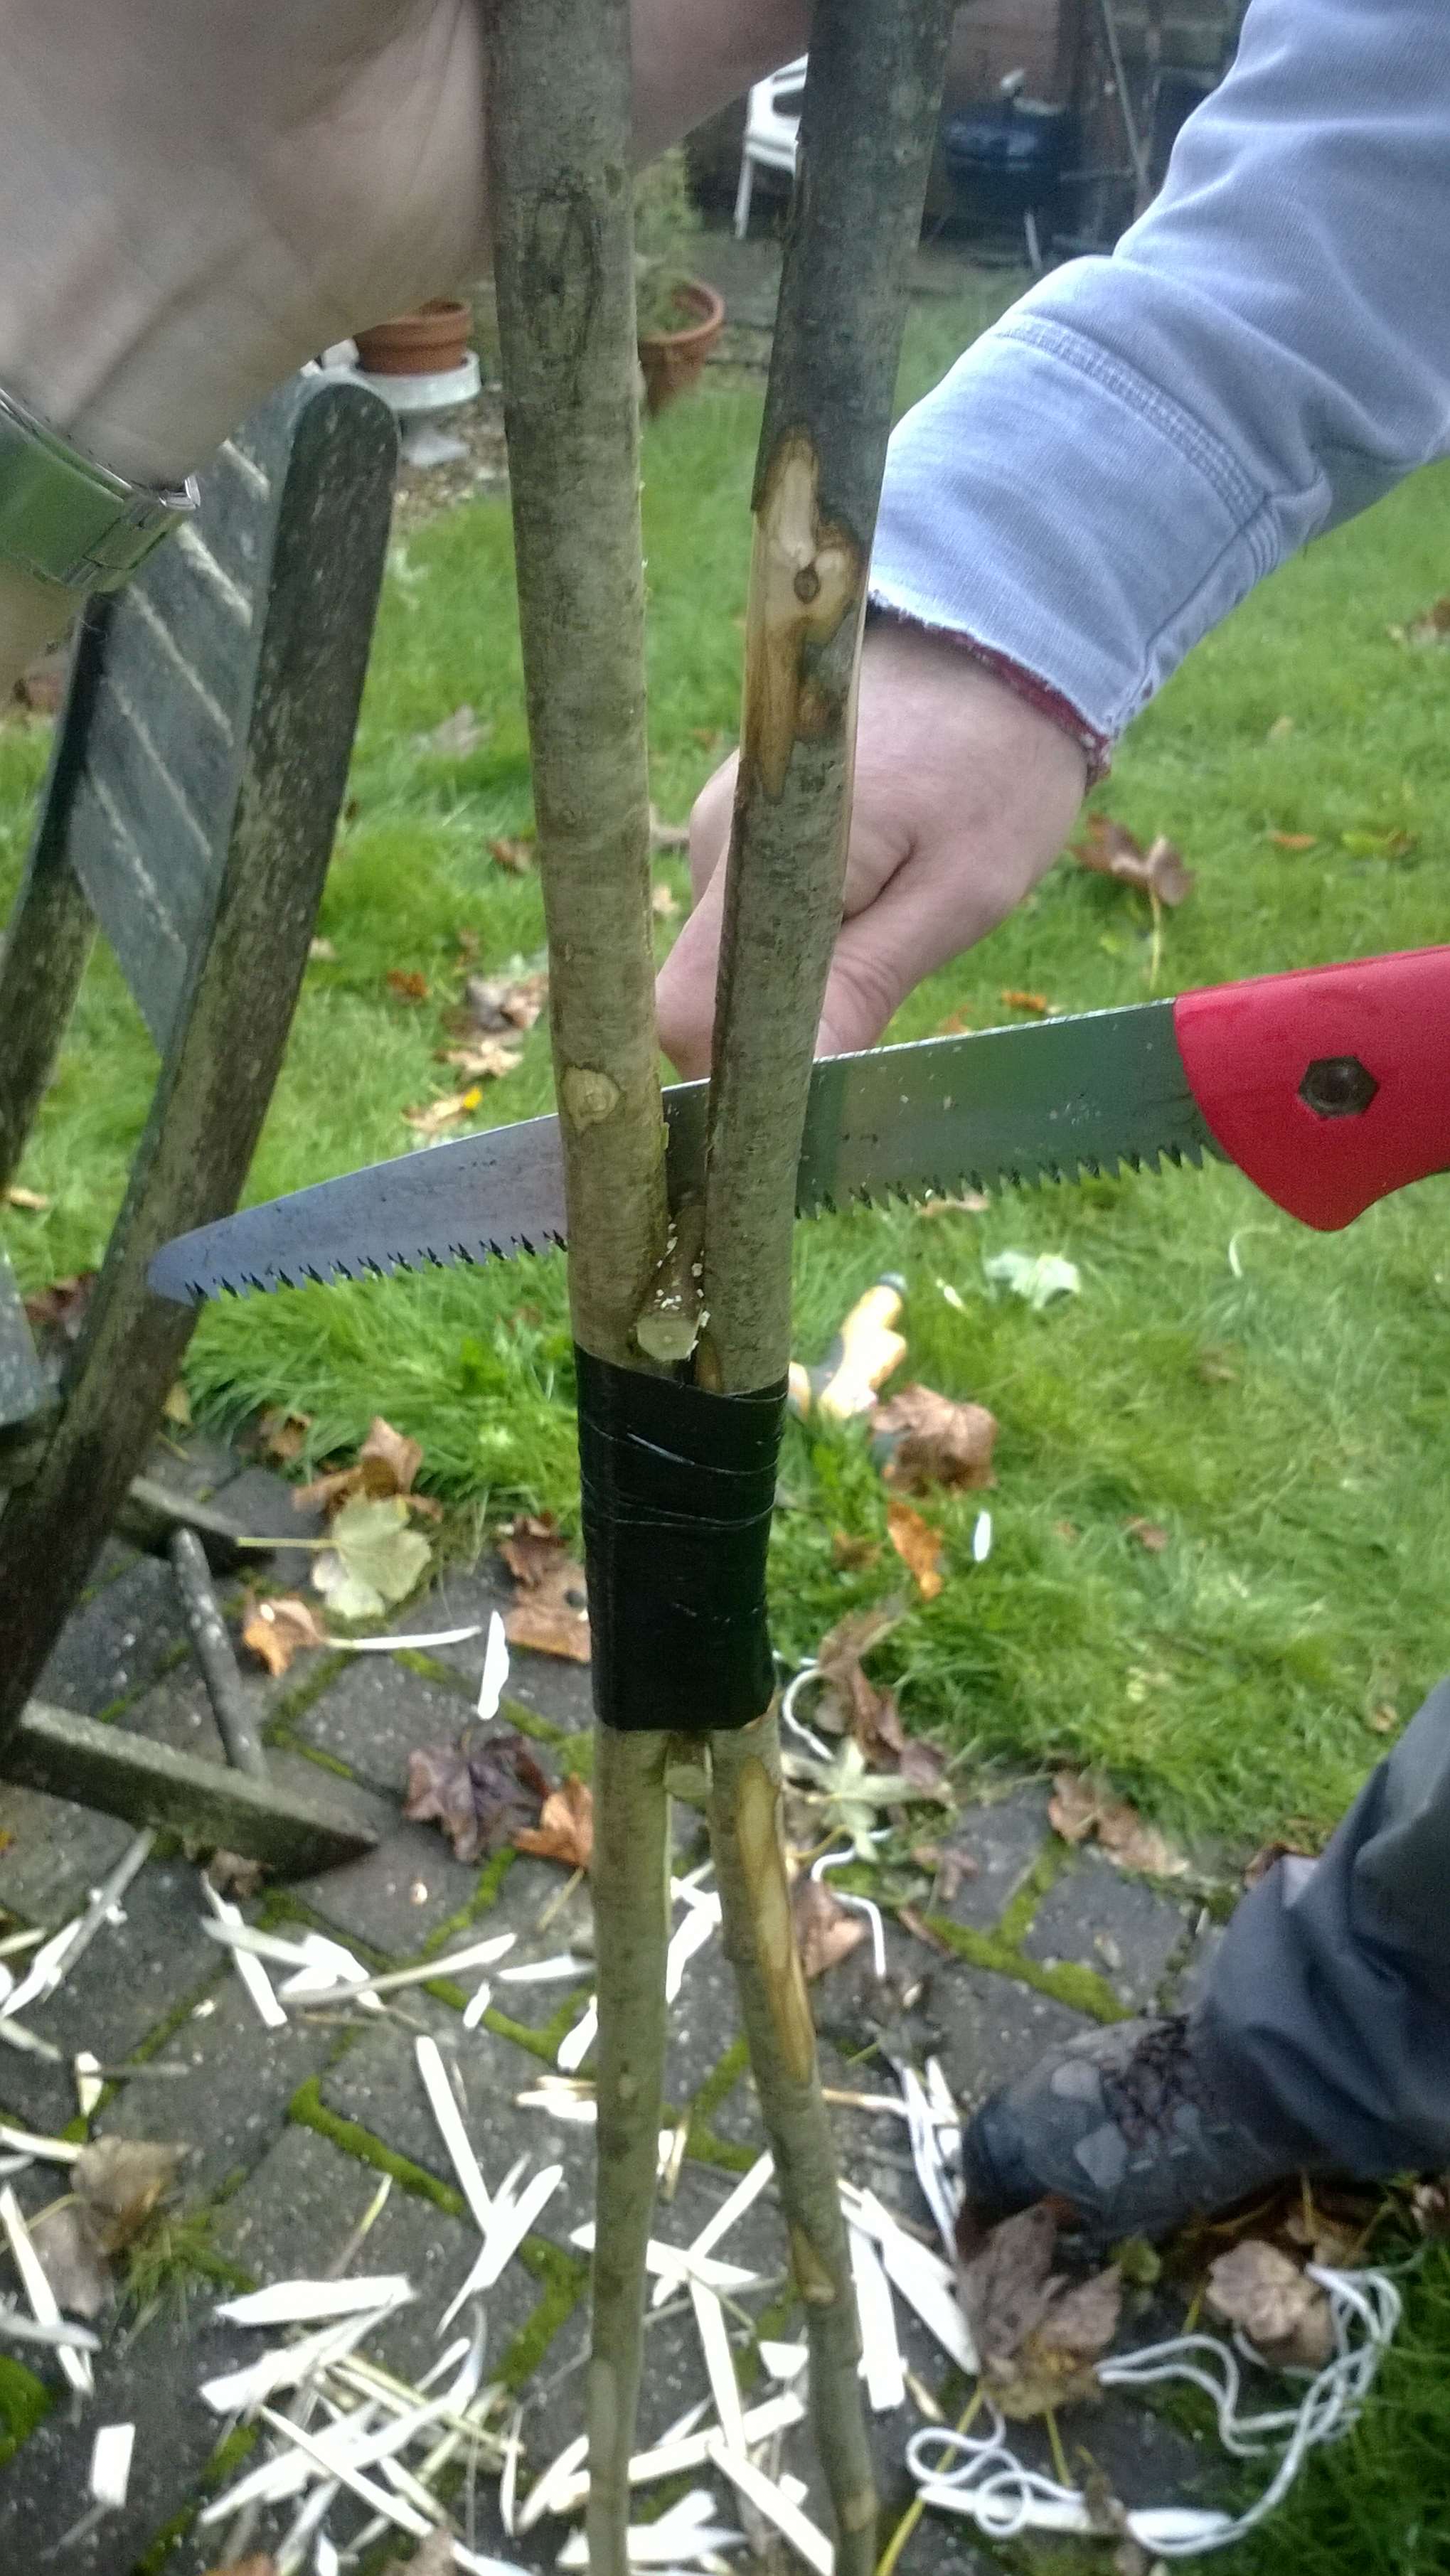
Repeat on the other side and you will find that the Son pole goes into a more pronounced curve.
Tape around each of the spacers to secure them (or whip them).
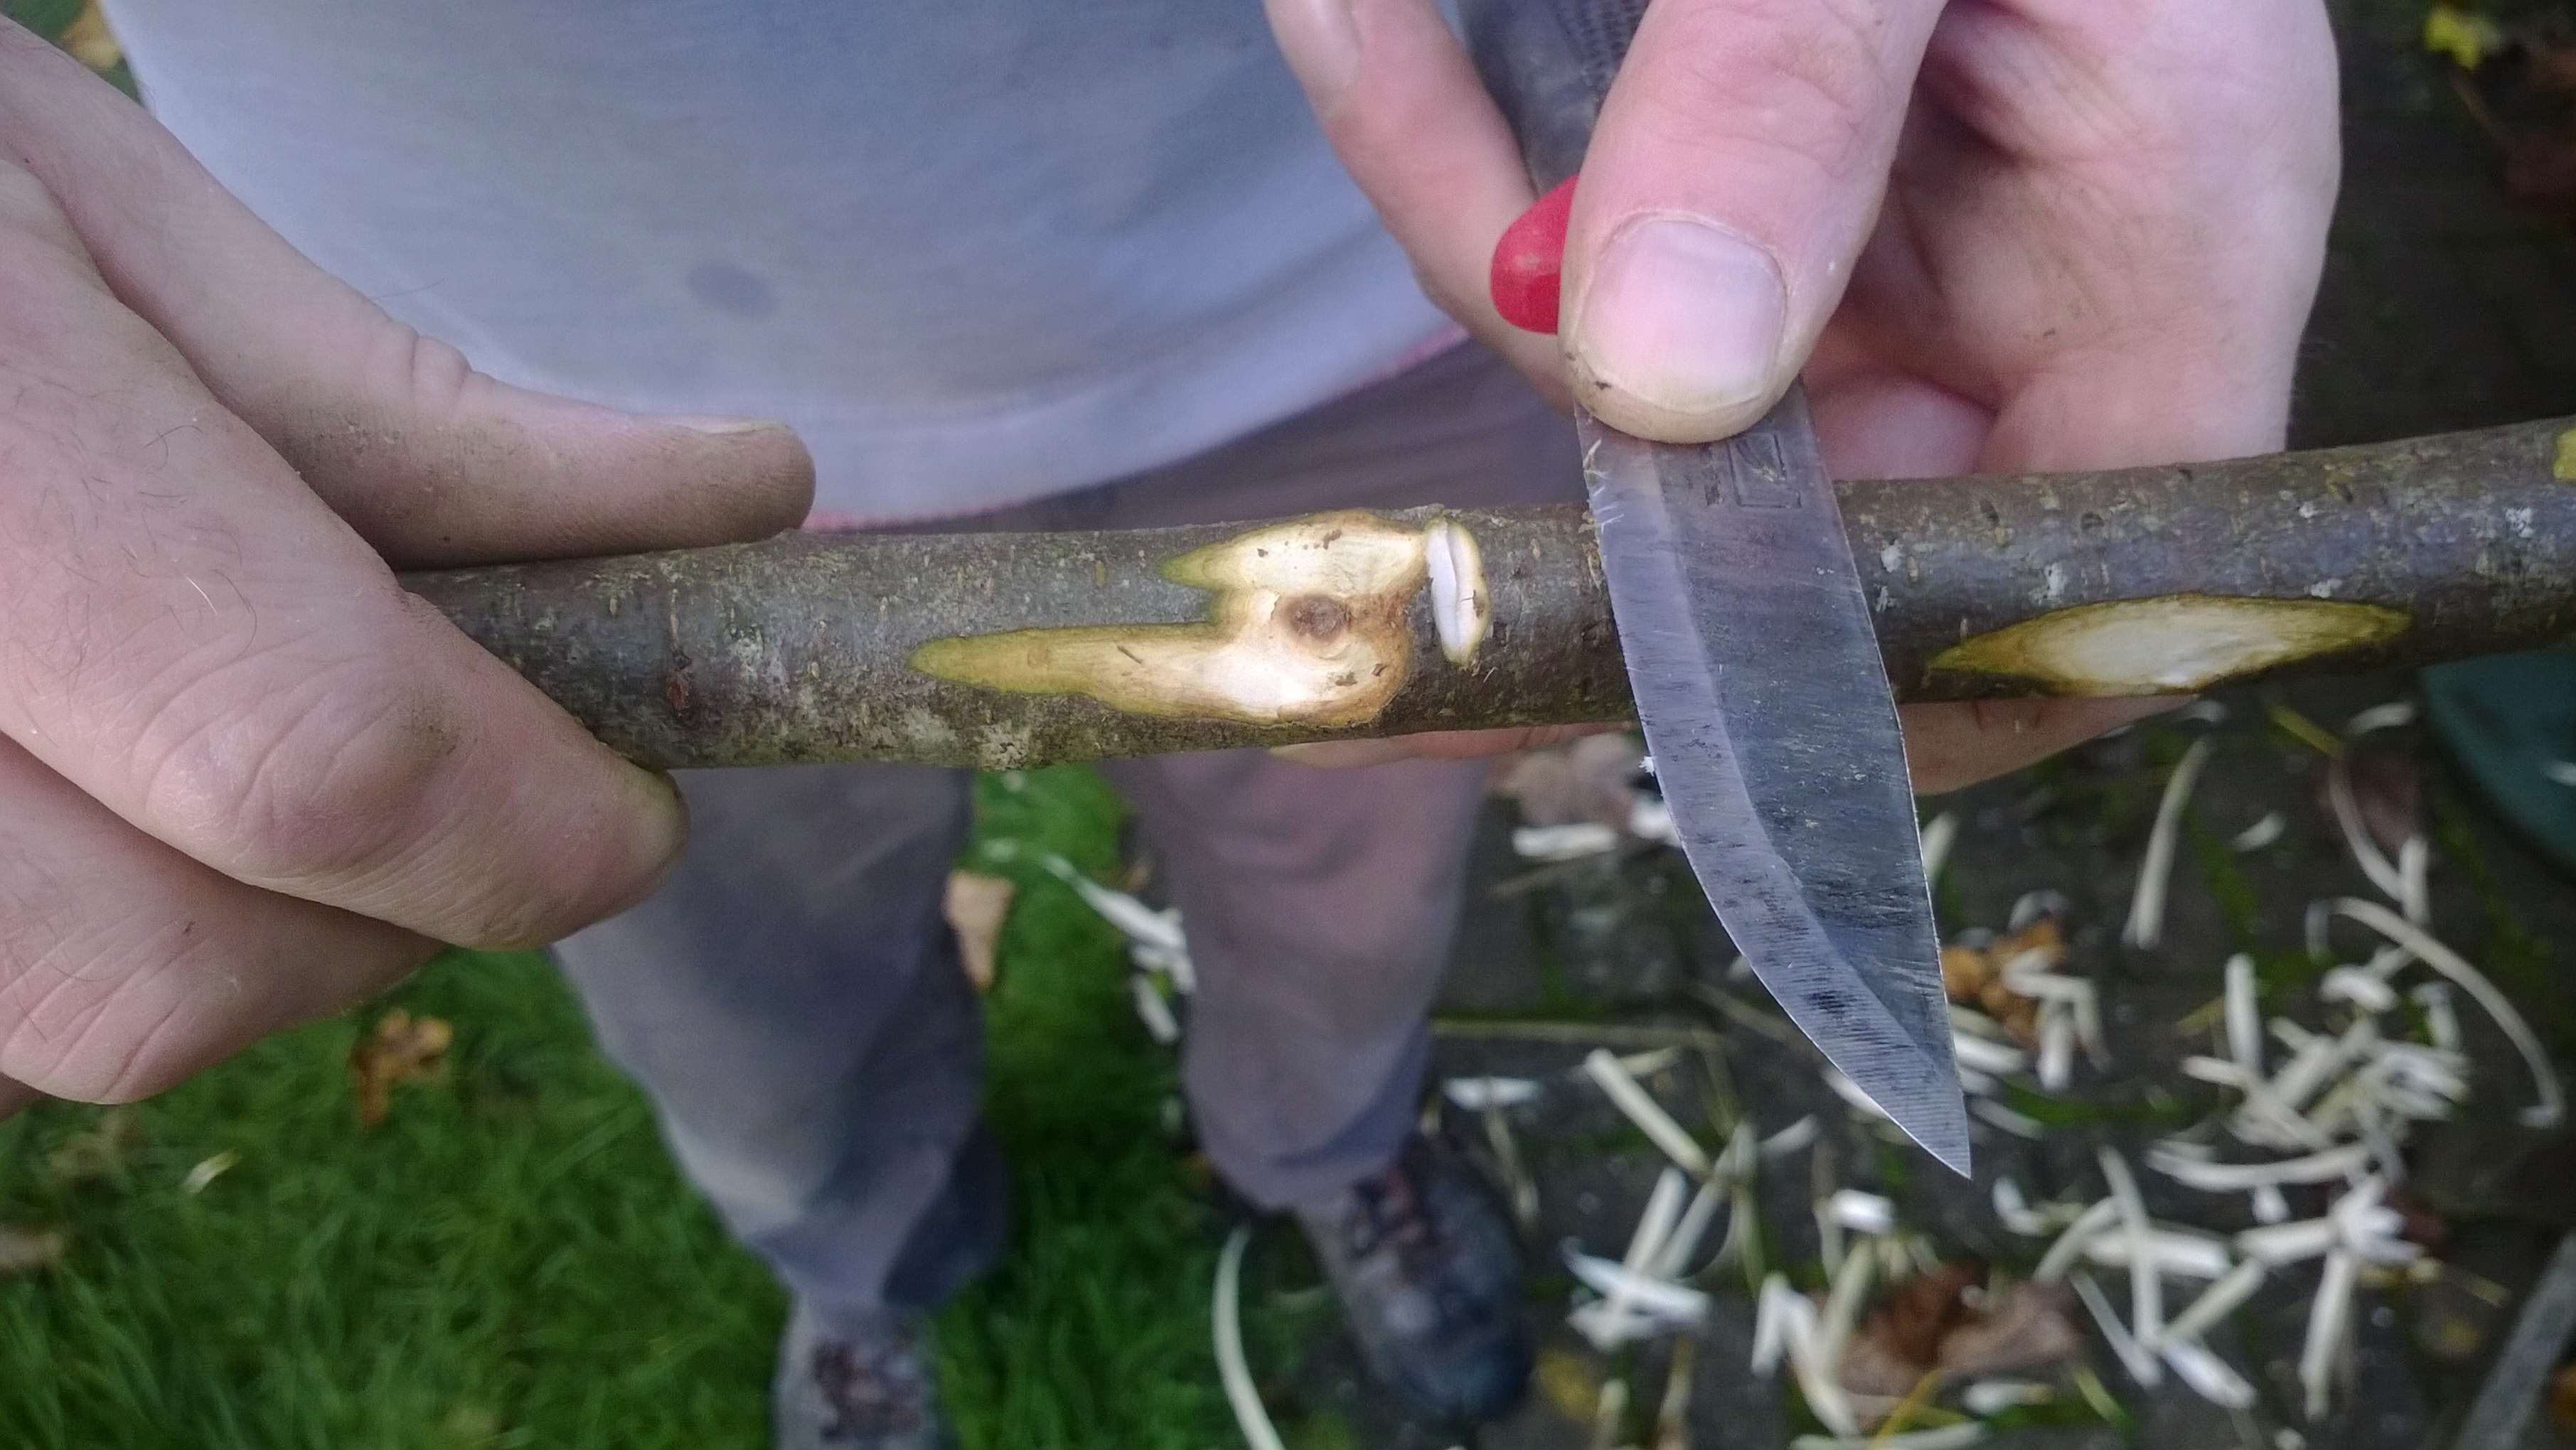
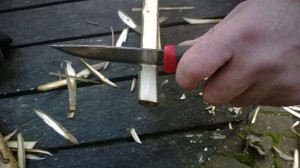
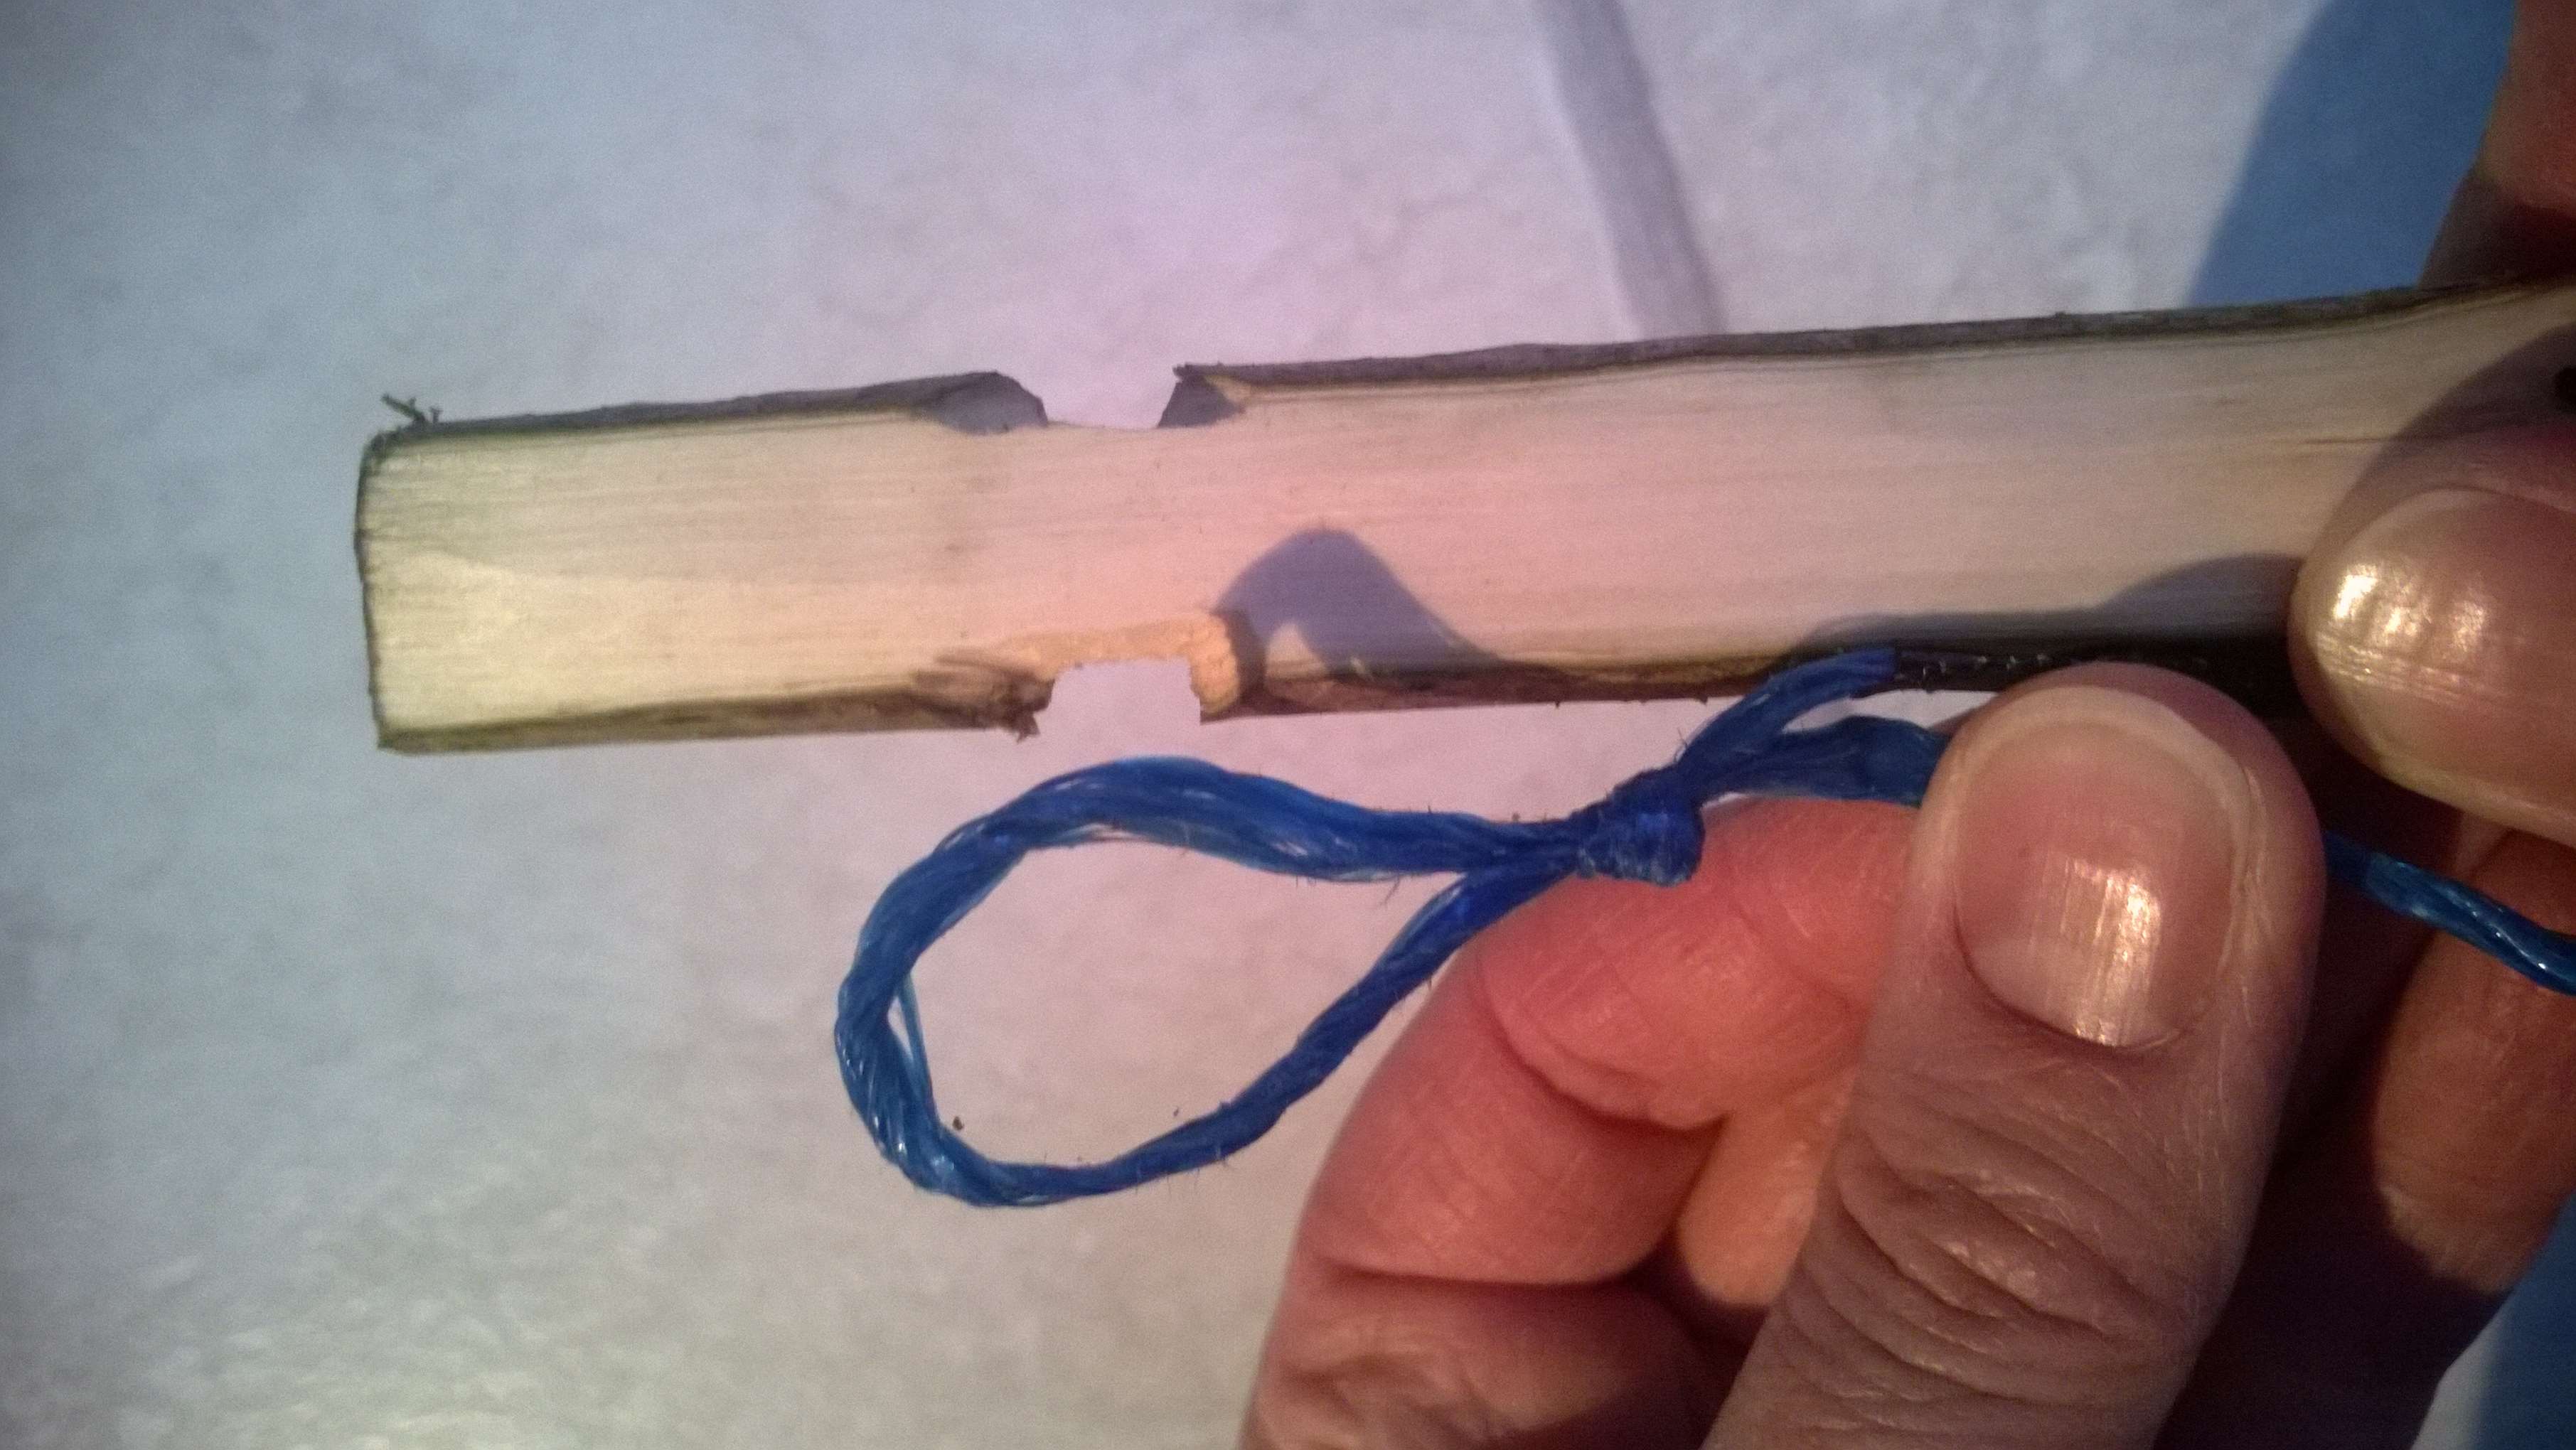
The Nocks
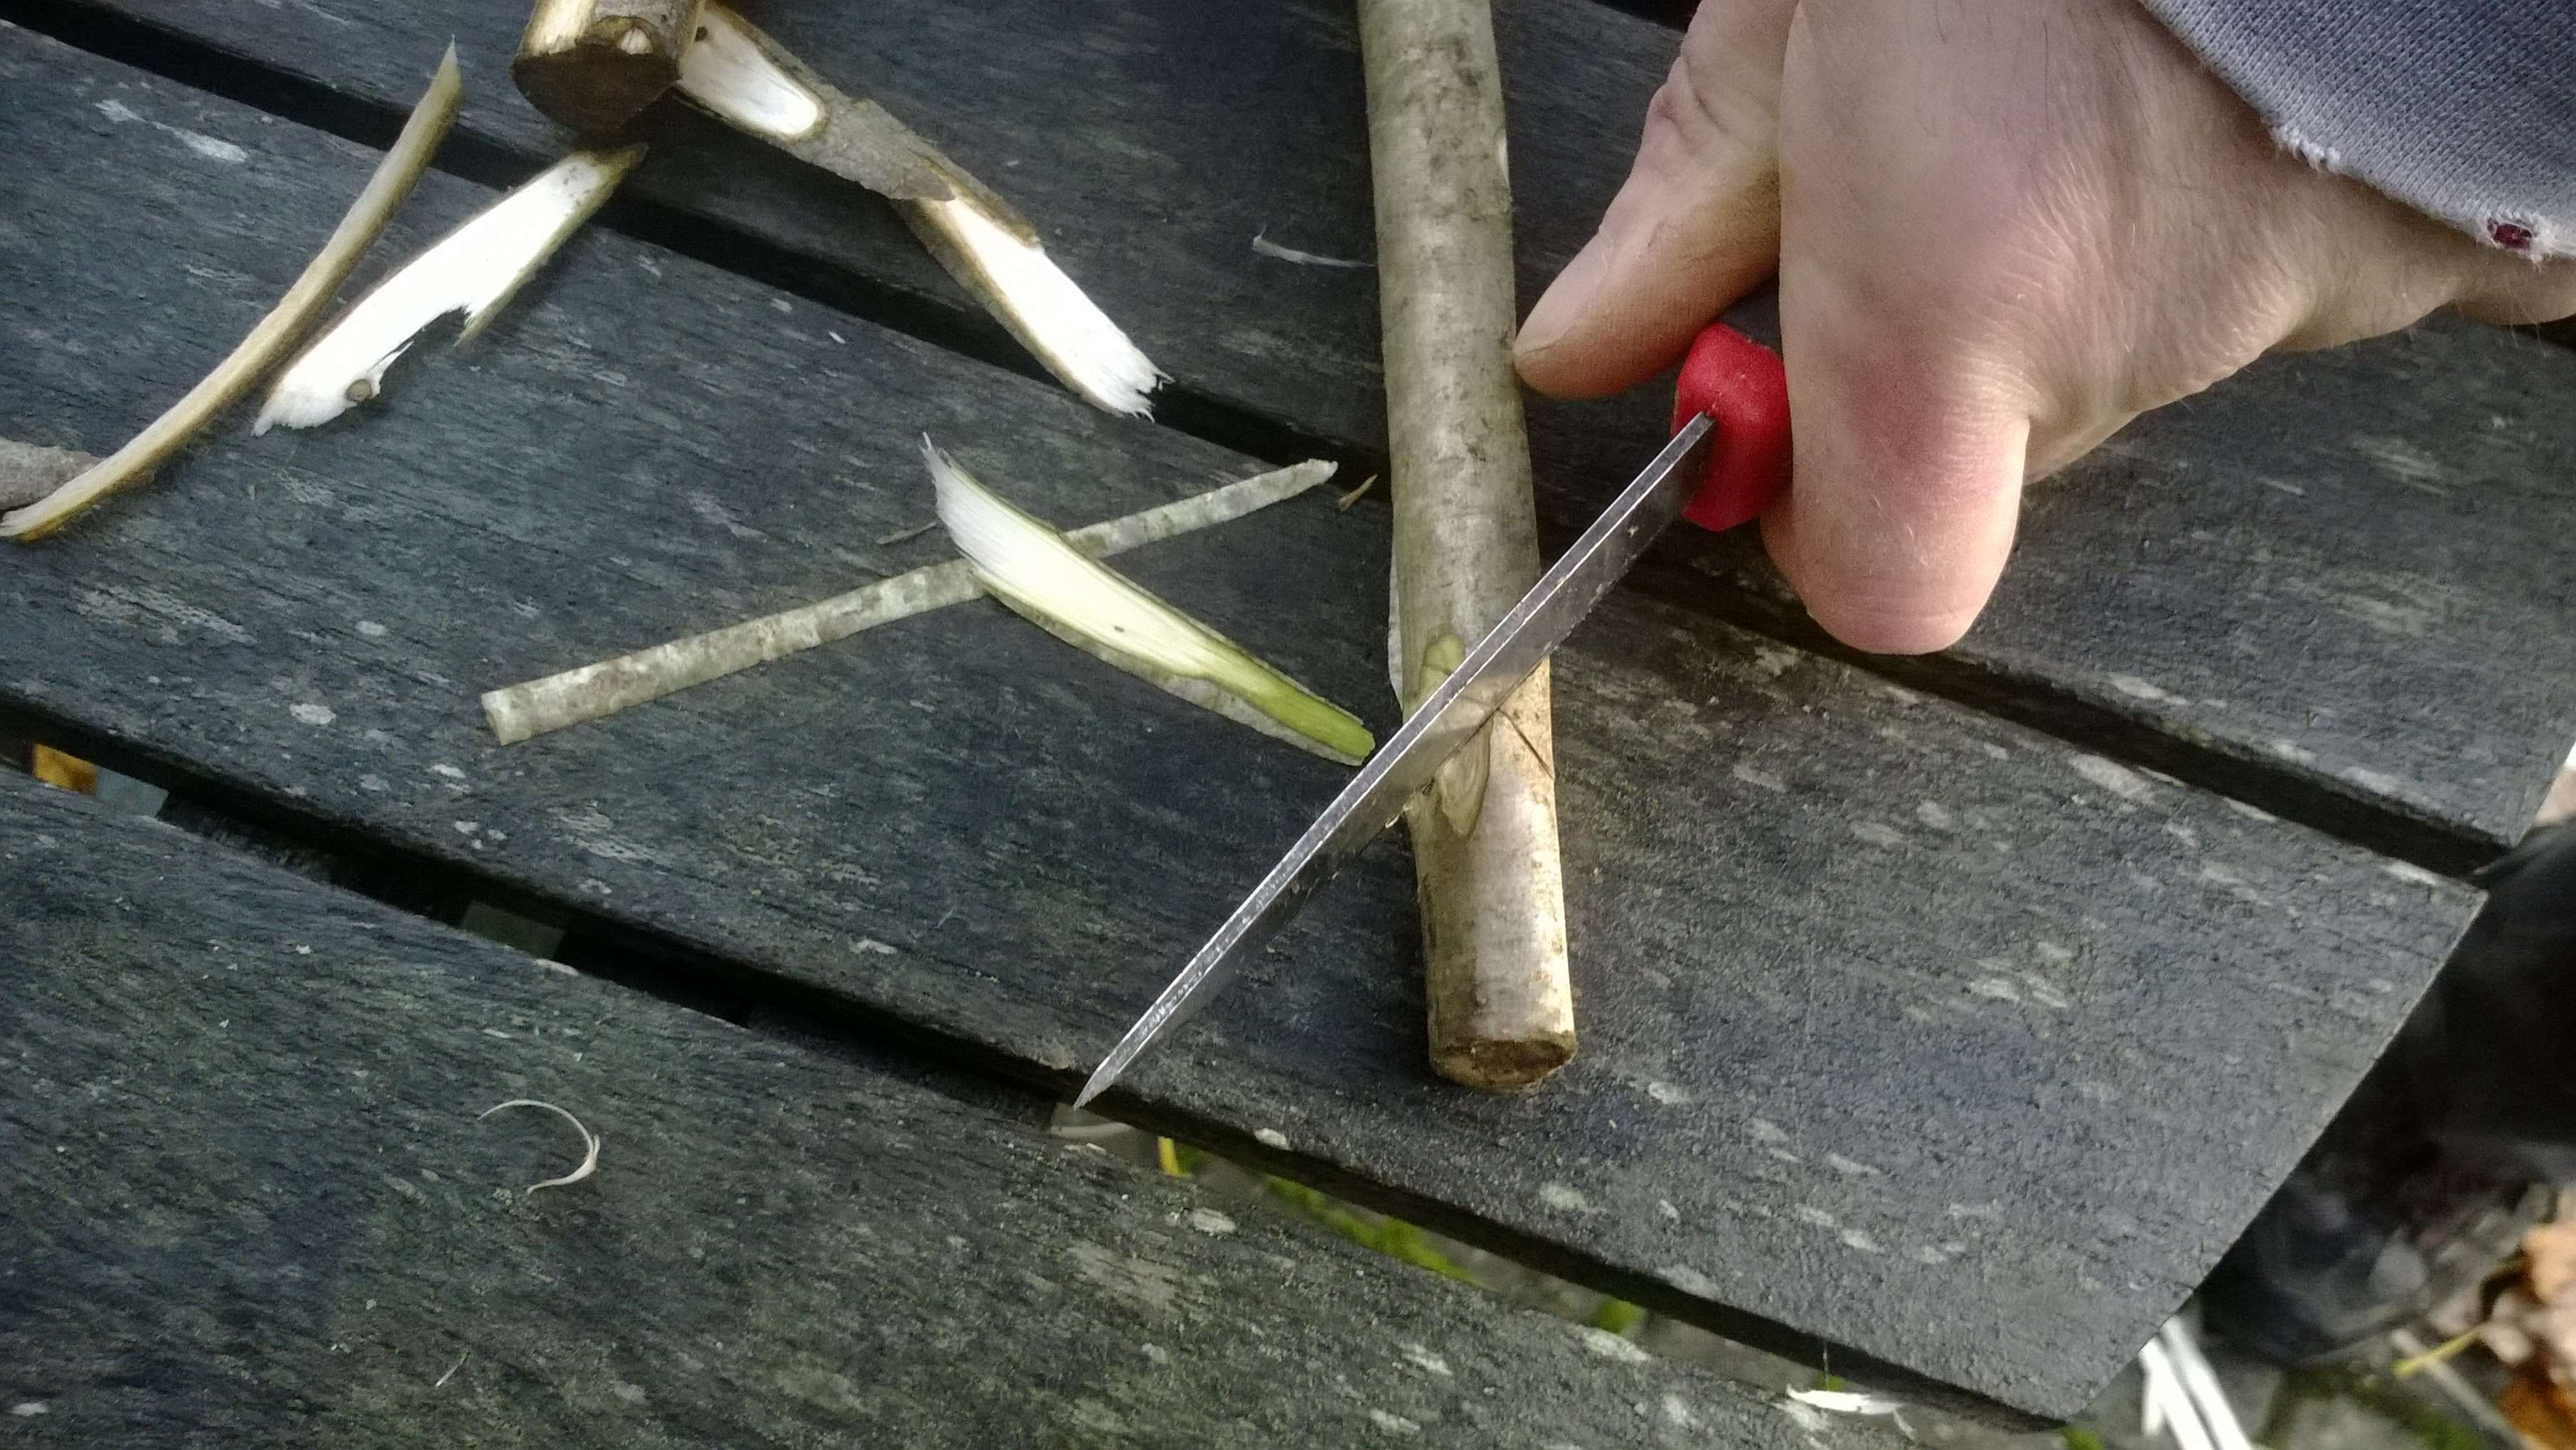
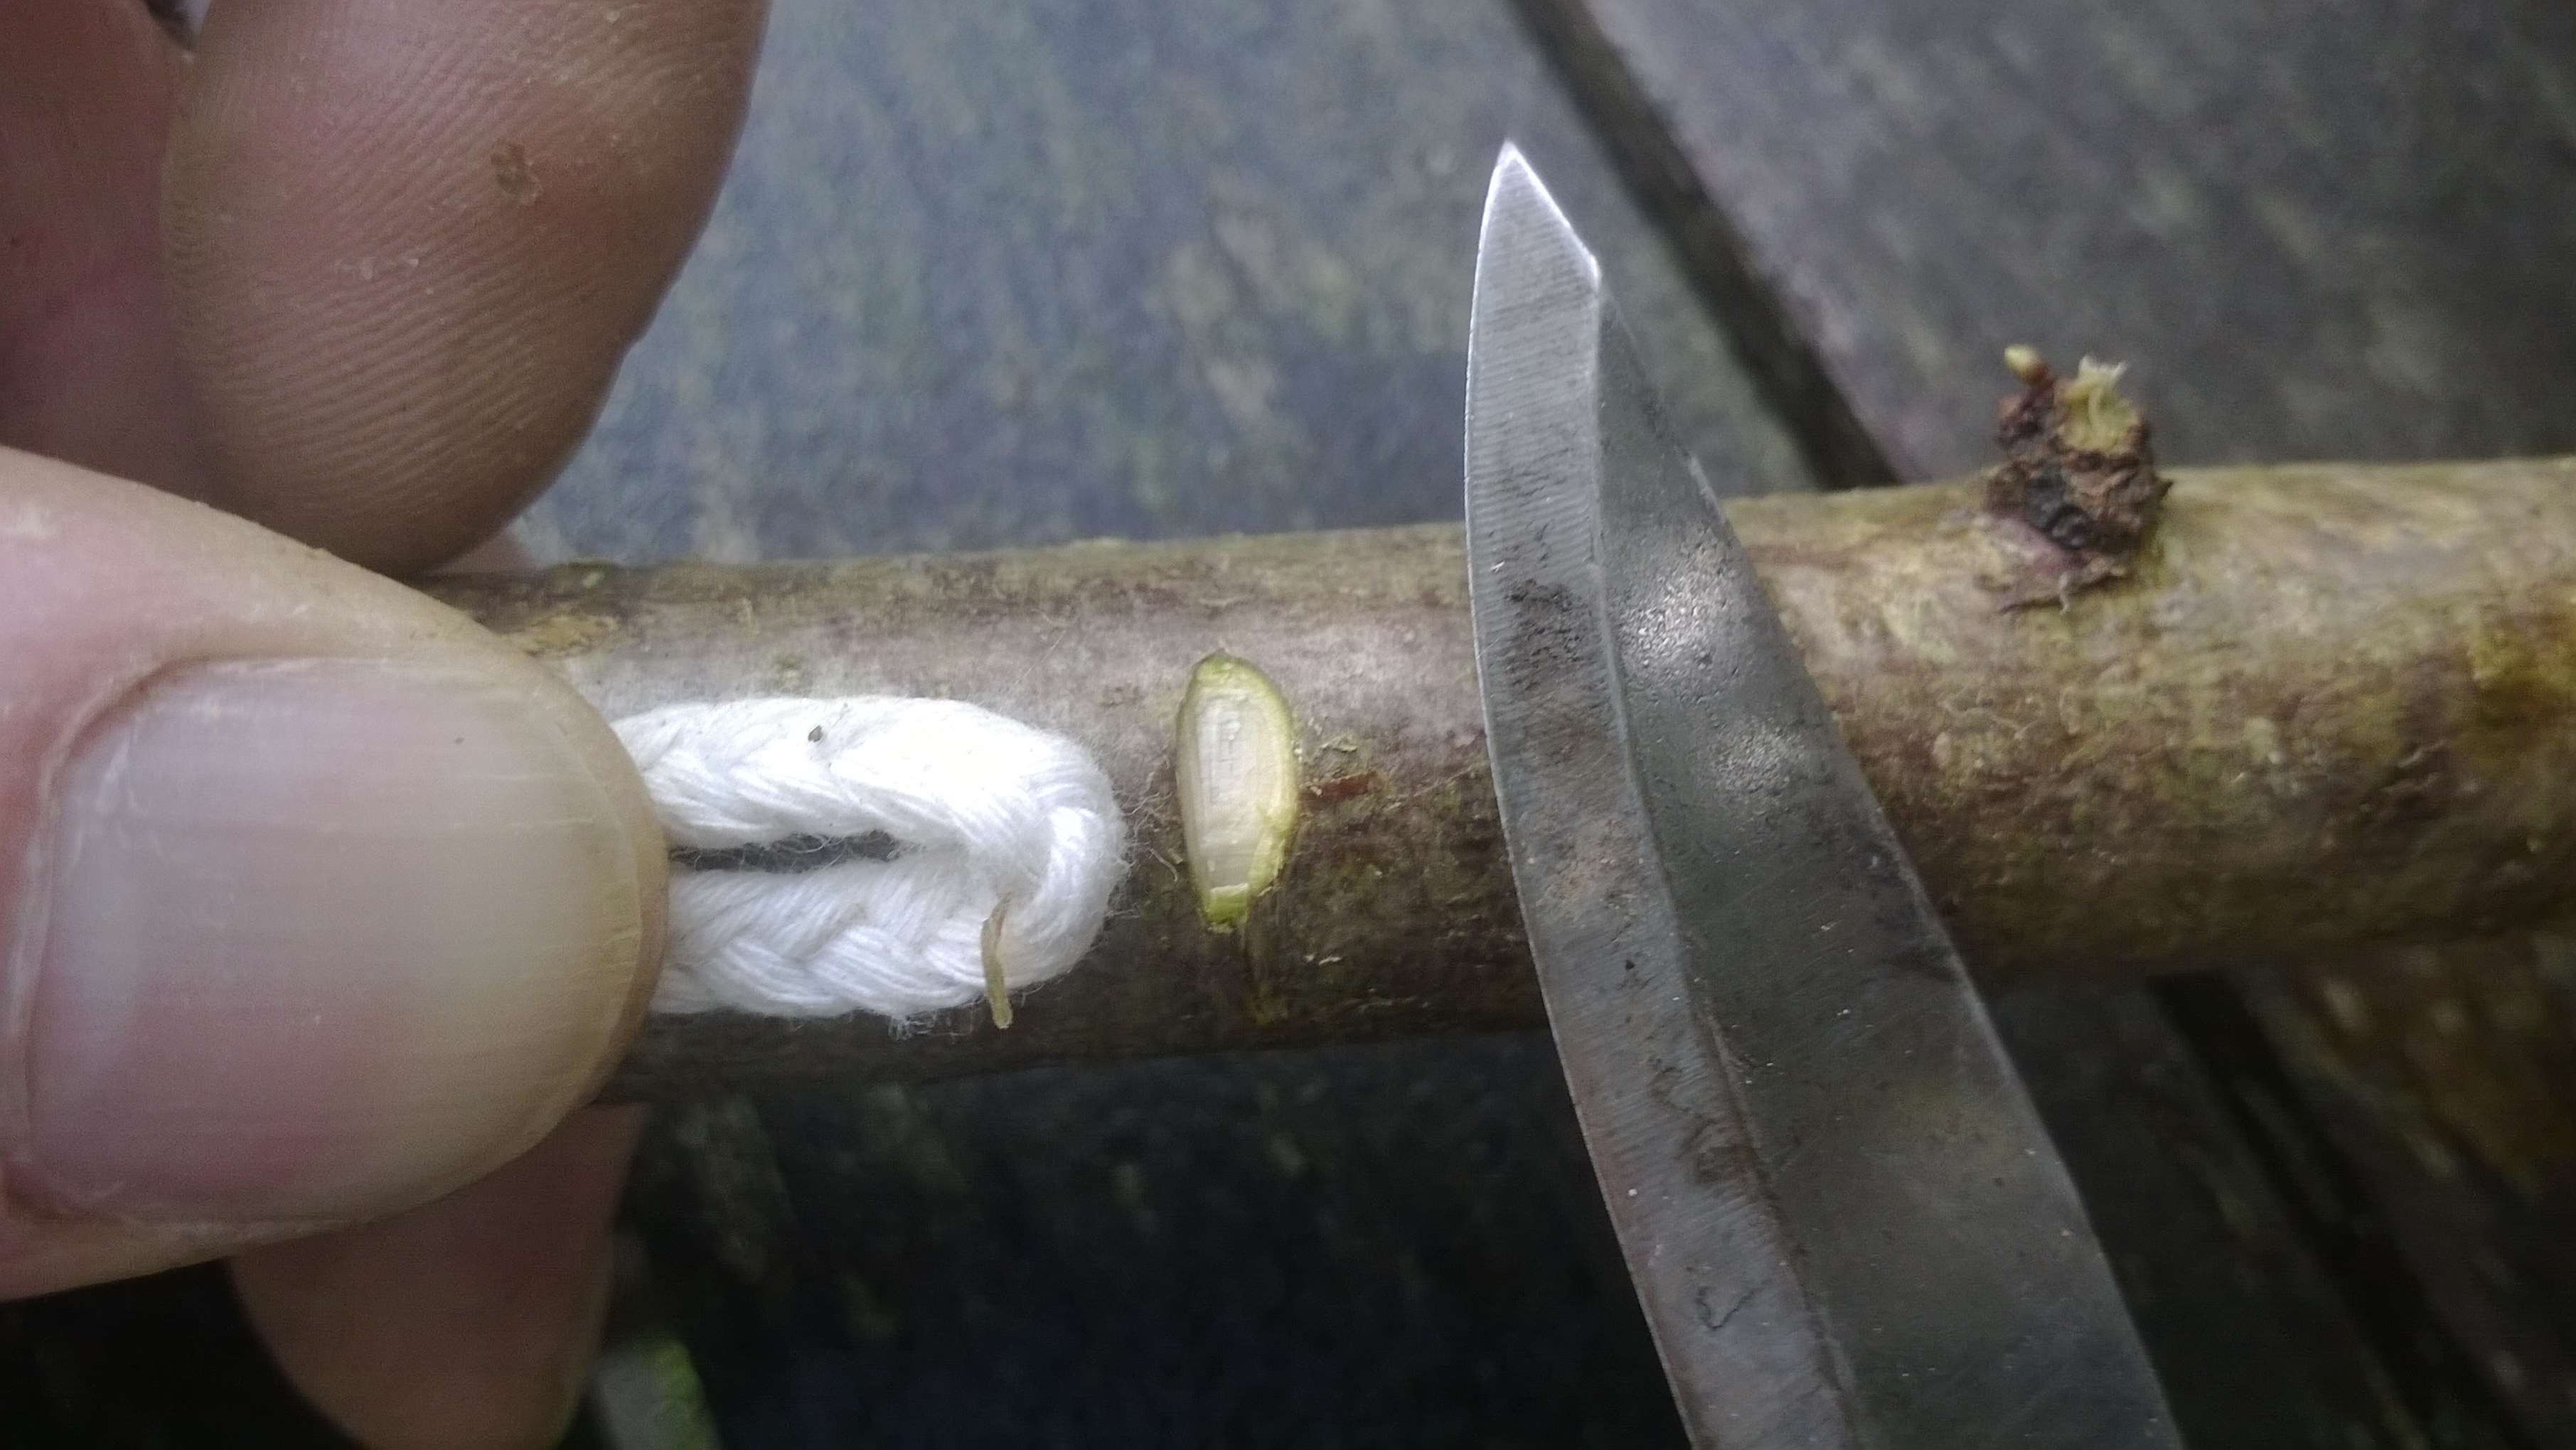
I then lay the bow on its side to work on the nocks. The nocks on the Father pole need for this type of bow to be in the shape of an X. This is to accommodate the string to the Son and for the main bow string. I firstly make an X cut.
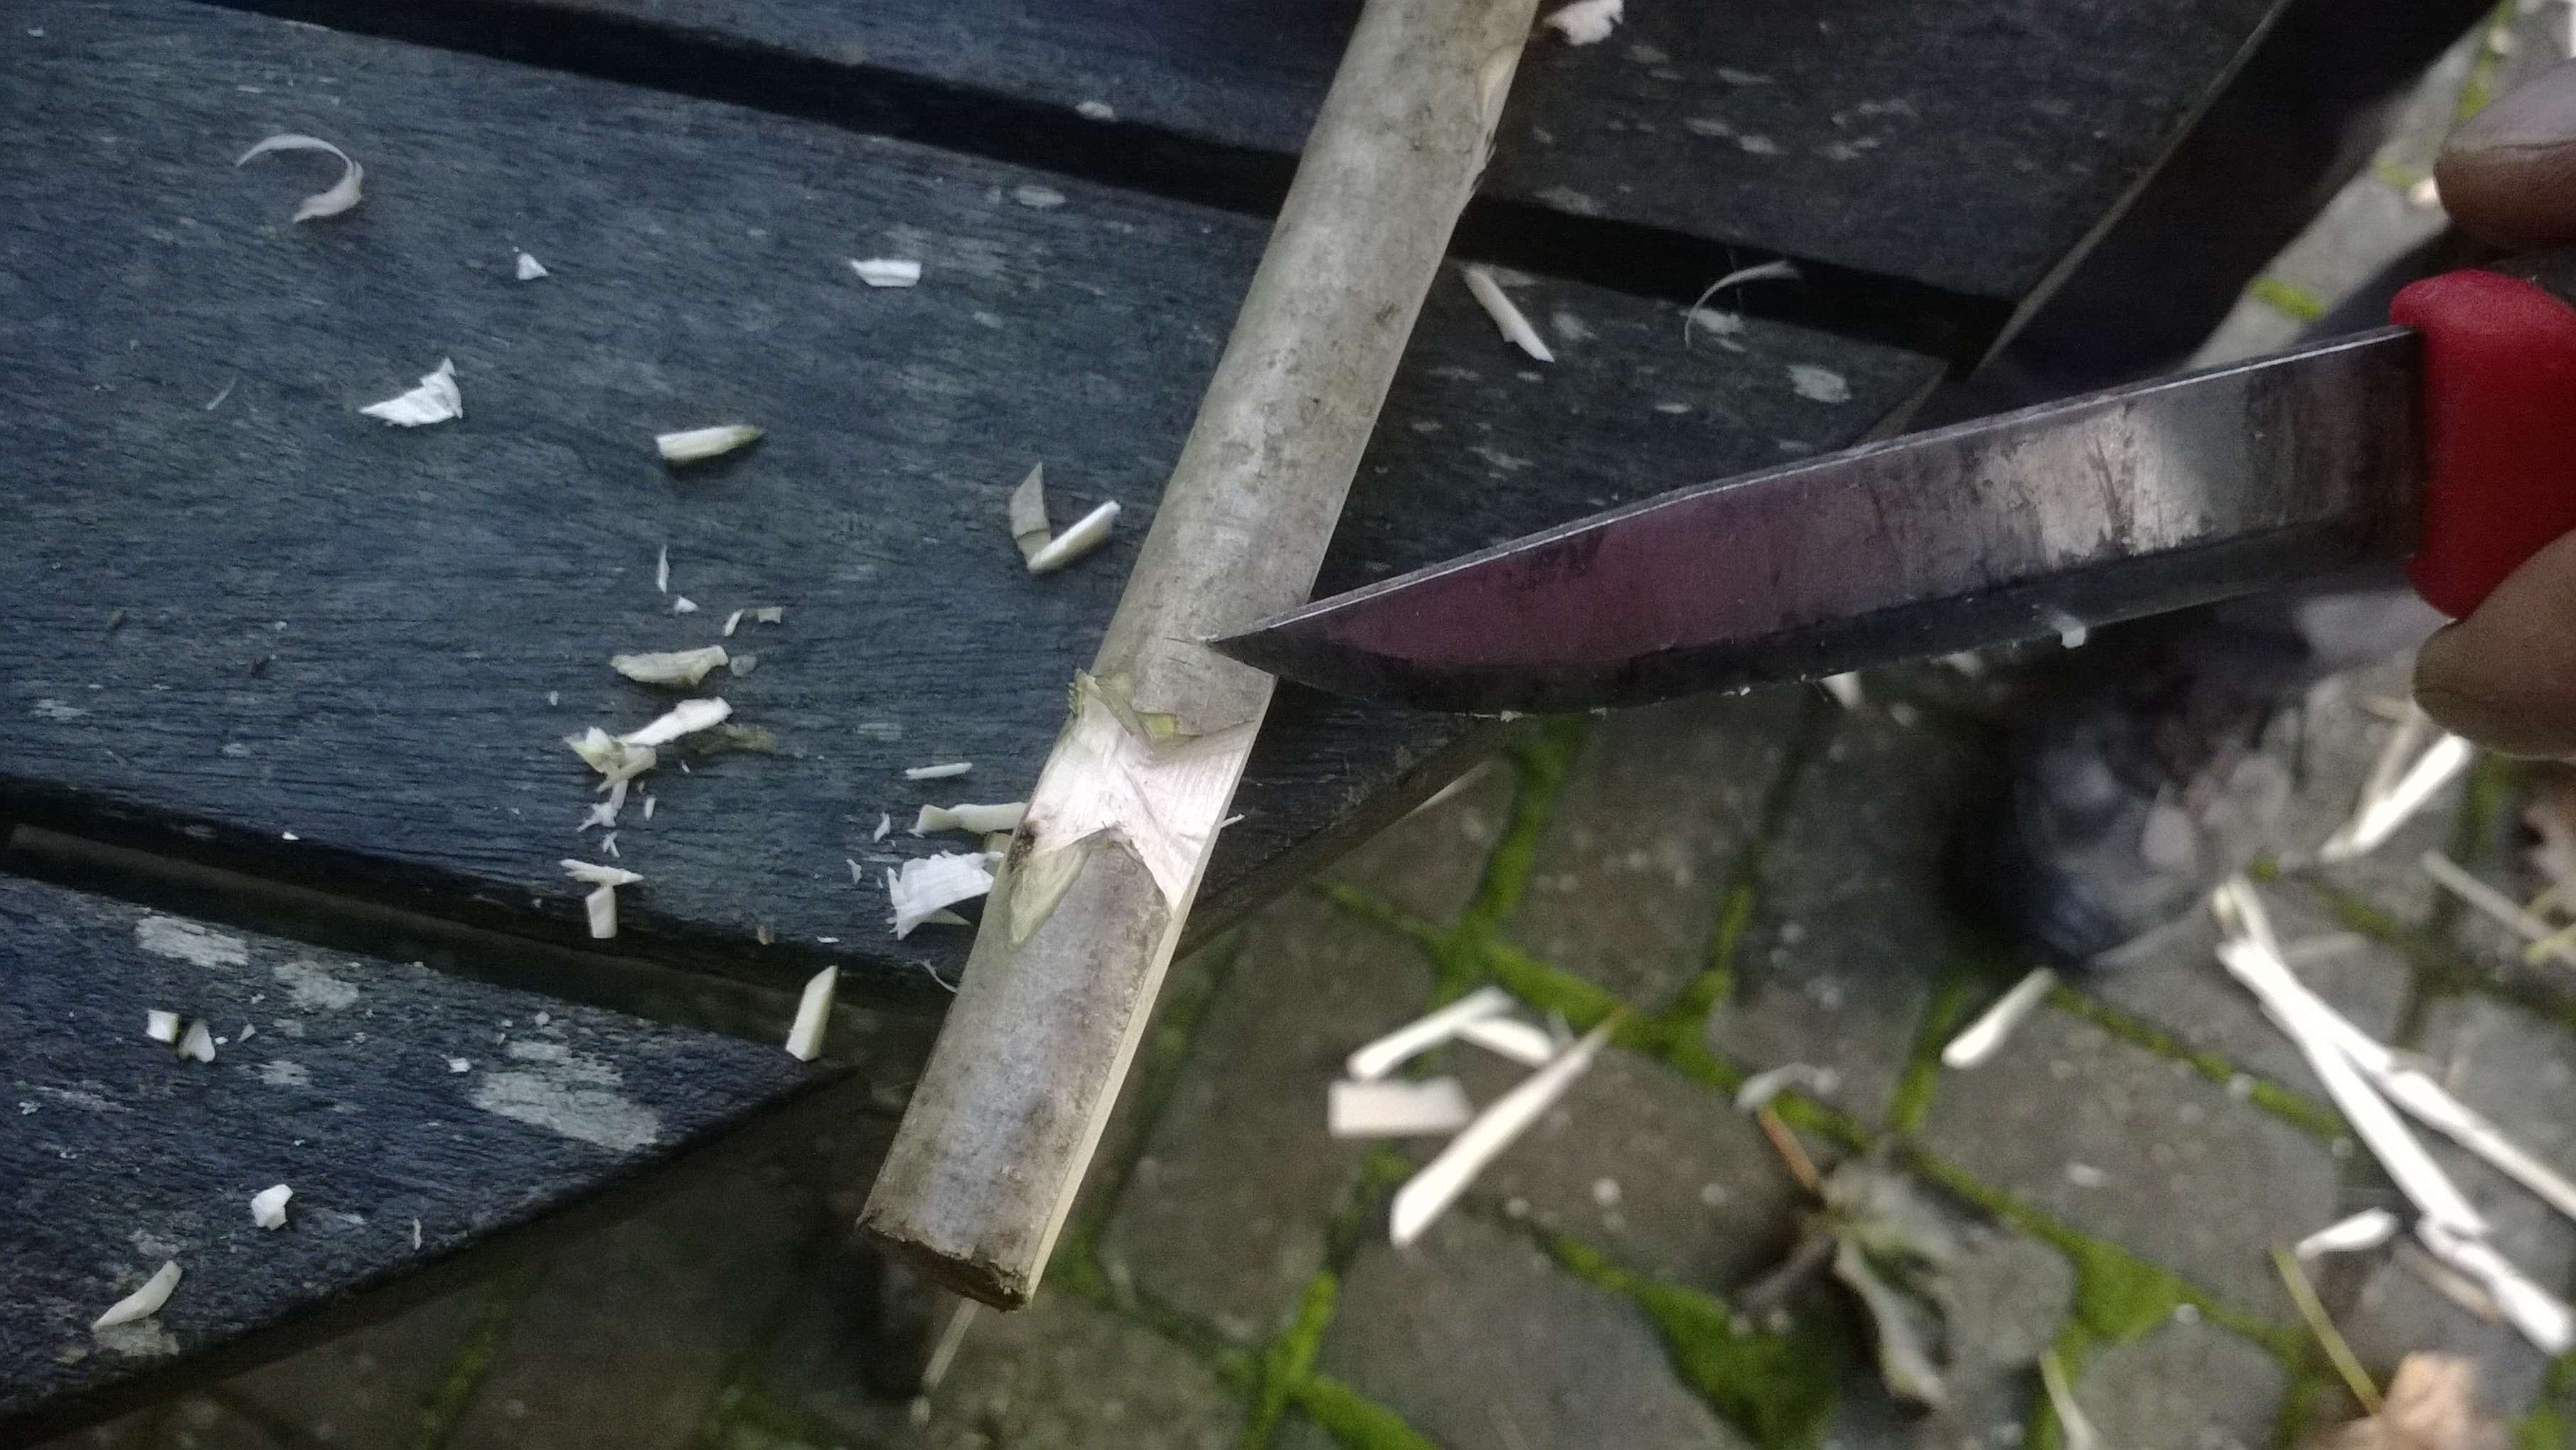
Then cut the knock out until I get this shape. Make the edges of the nock that are closest to the handle as flat as possible so as to catch the bow string when it is strung.
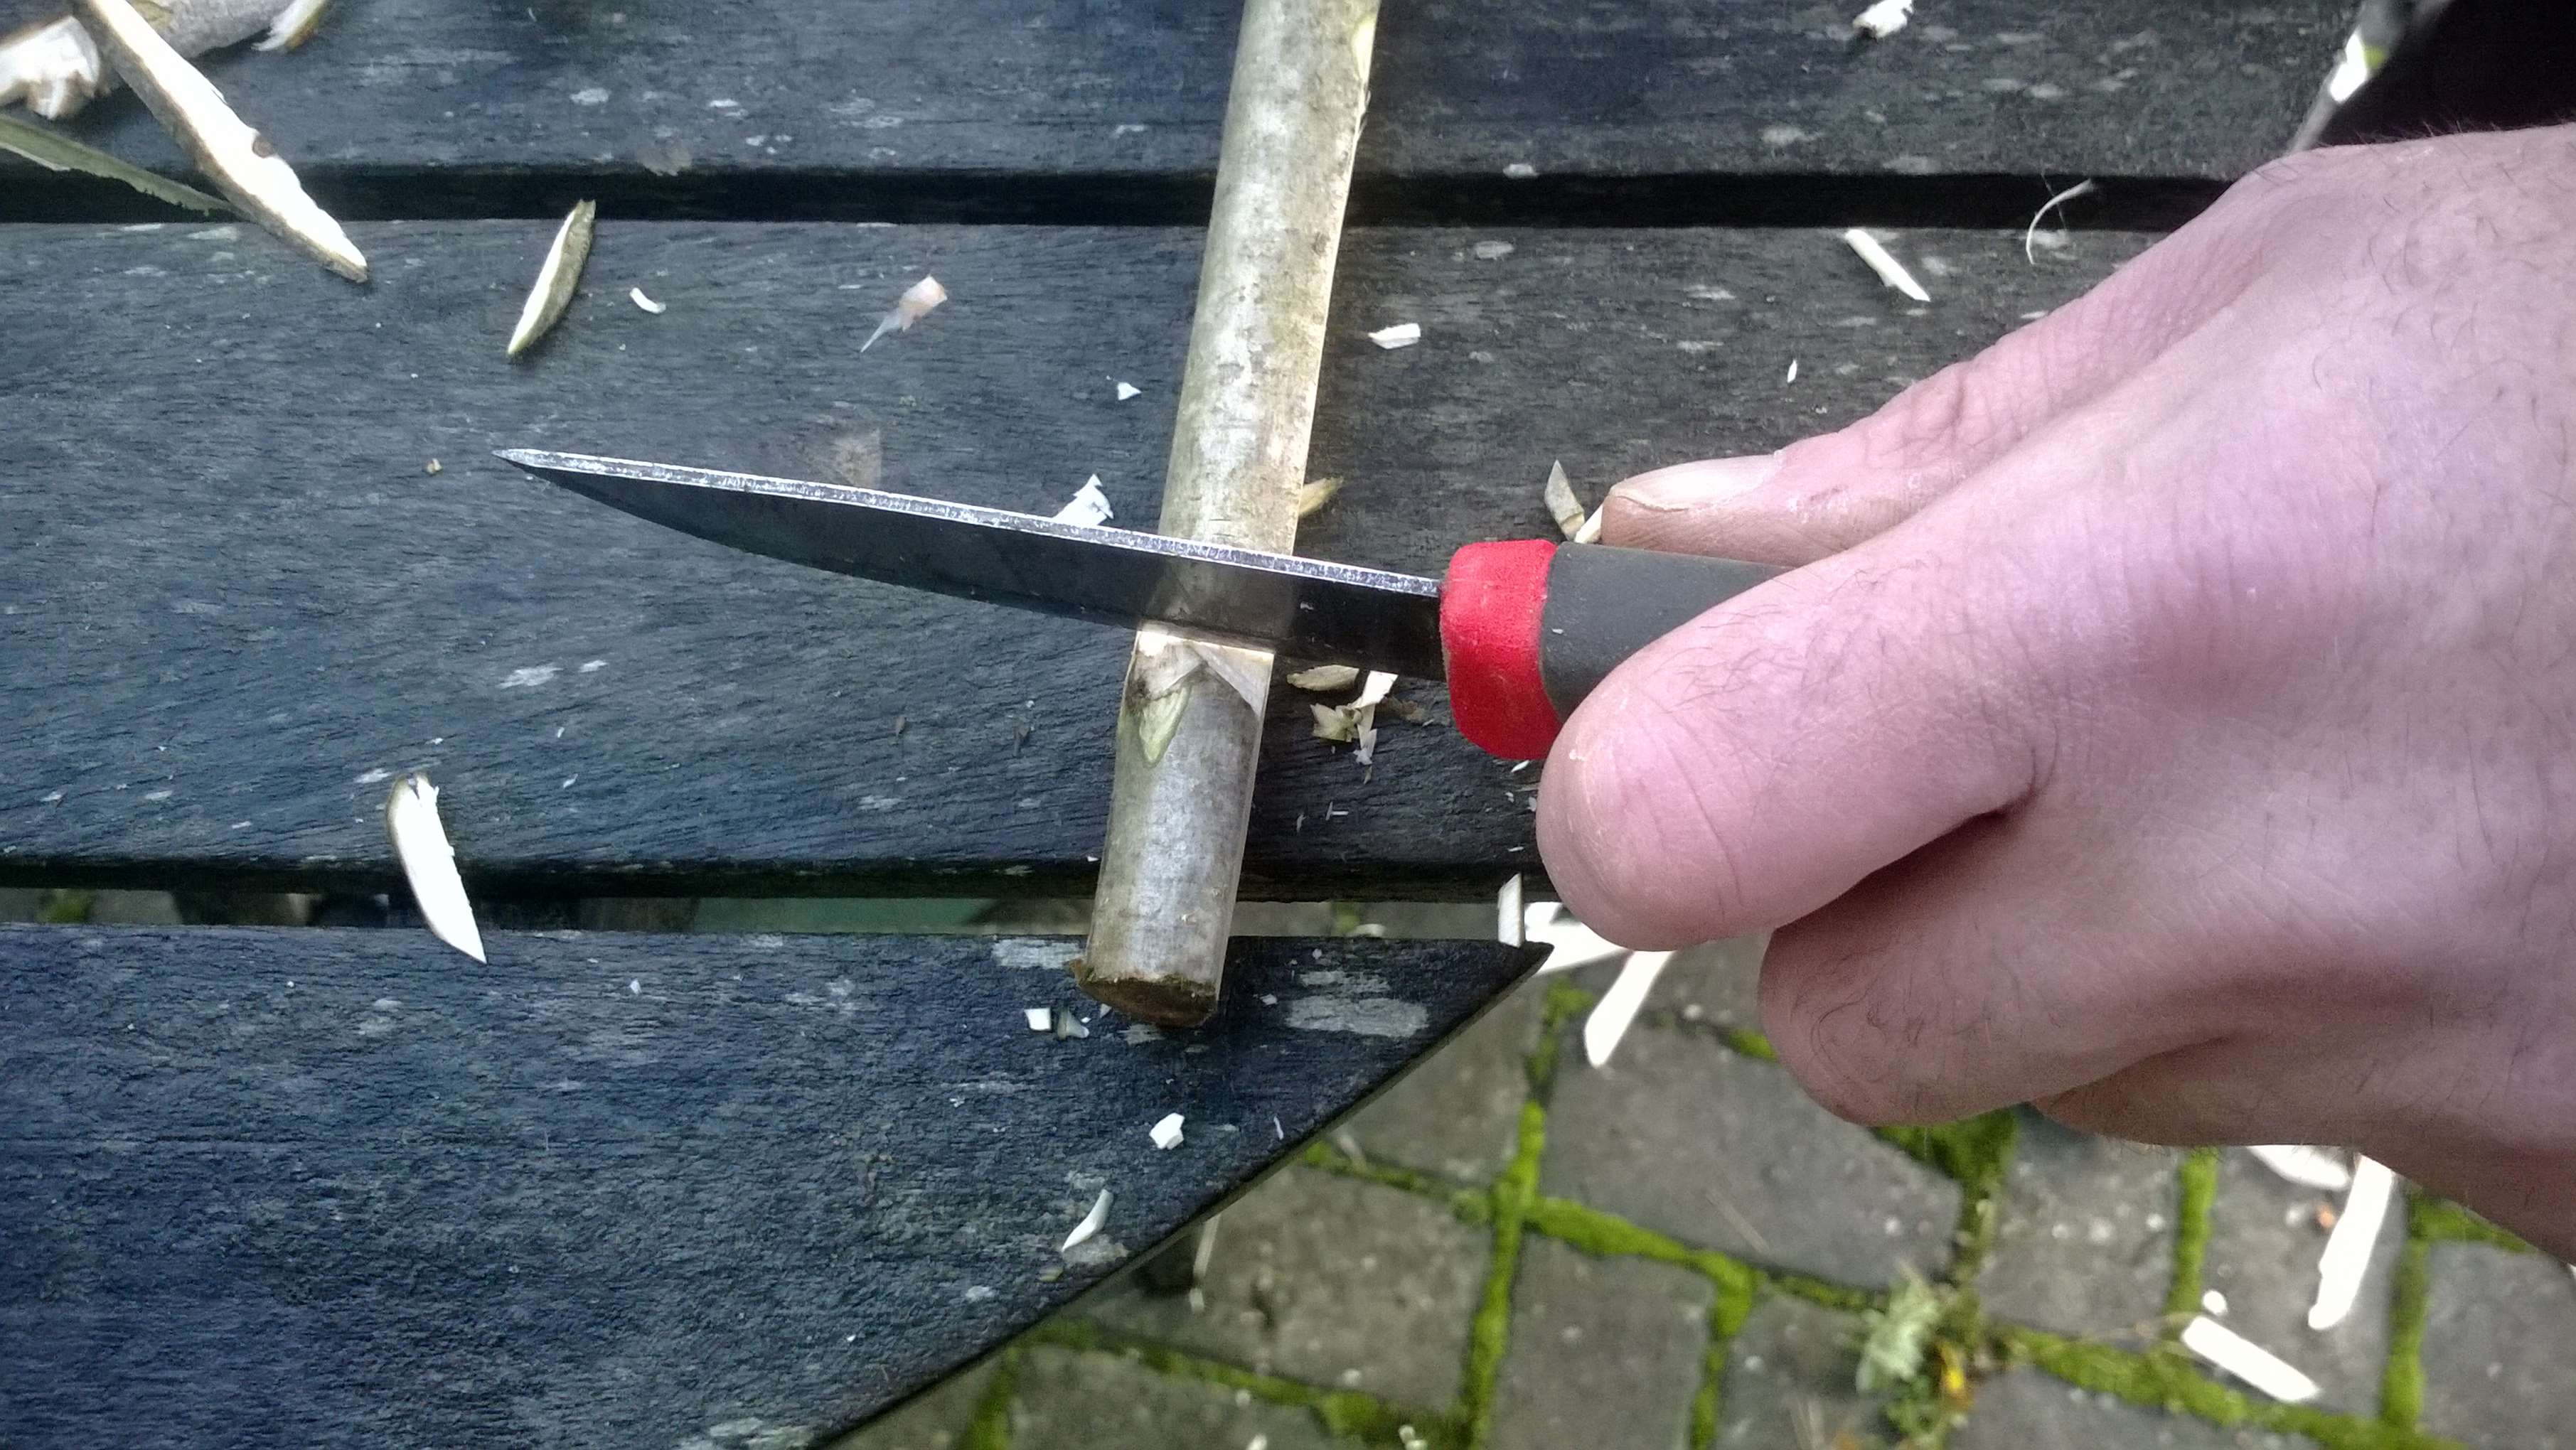
To make the nock on the opposite side of the pole roll the knife around the pole from the middle of your completed nock and repeat the cuts. Repeat the whole process on the other limb so you have four nocks.
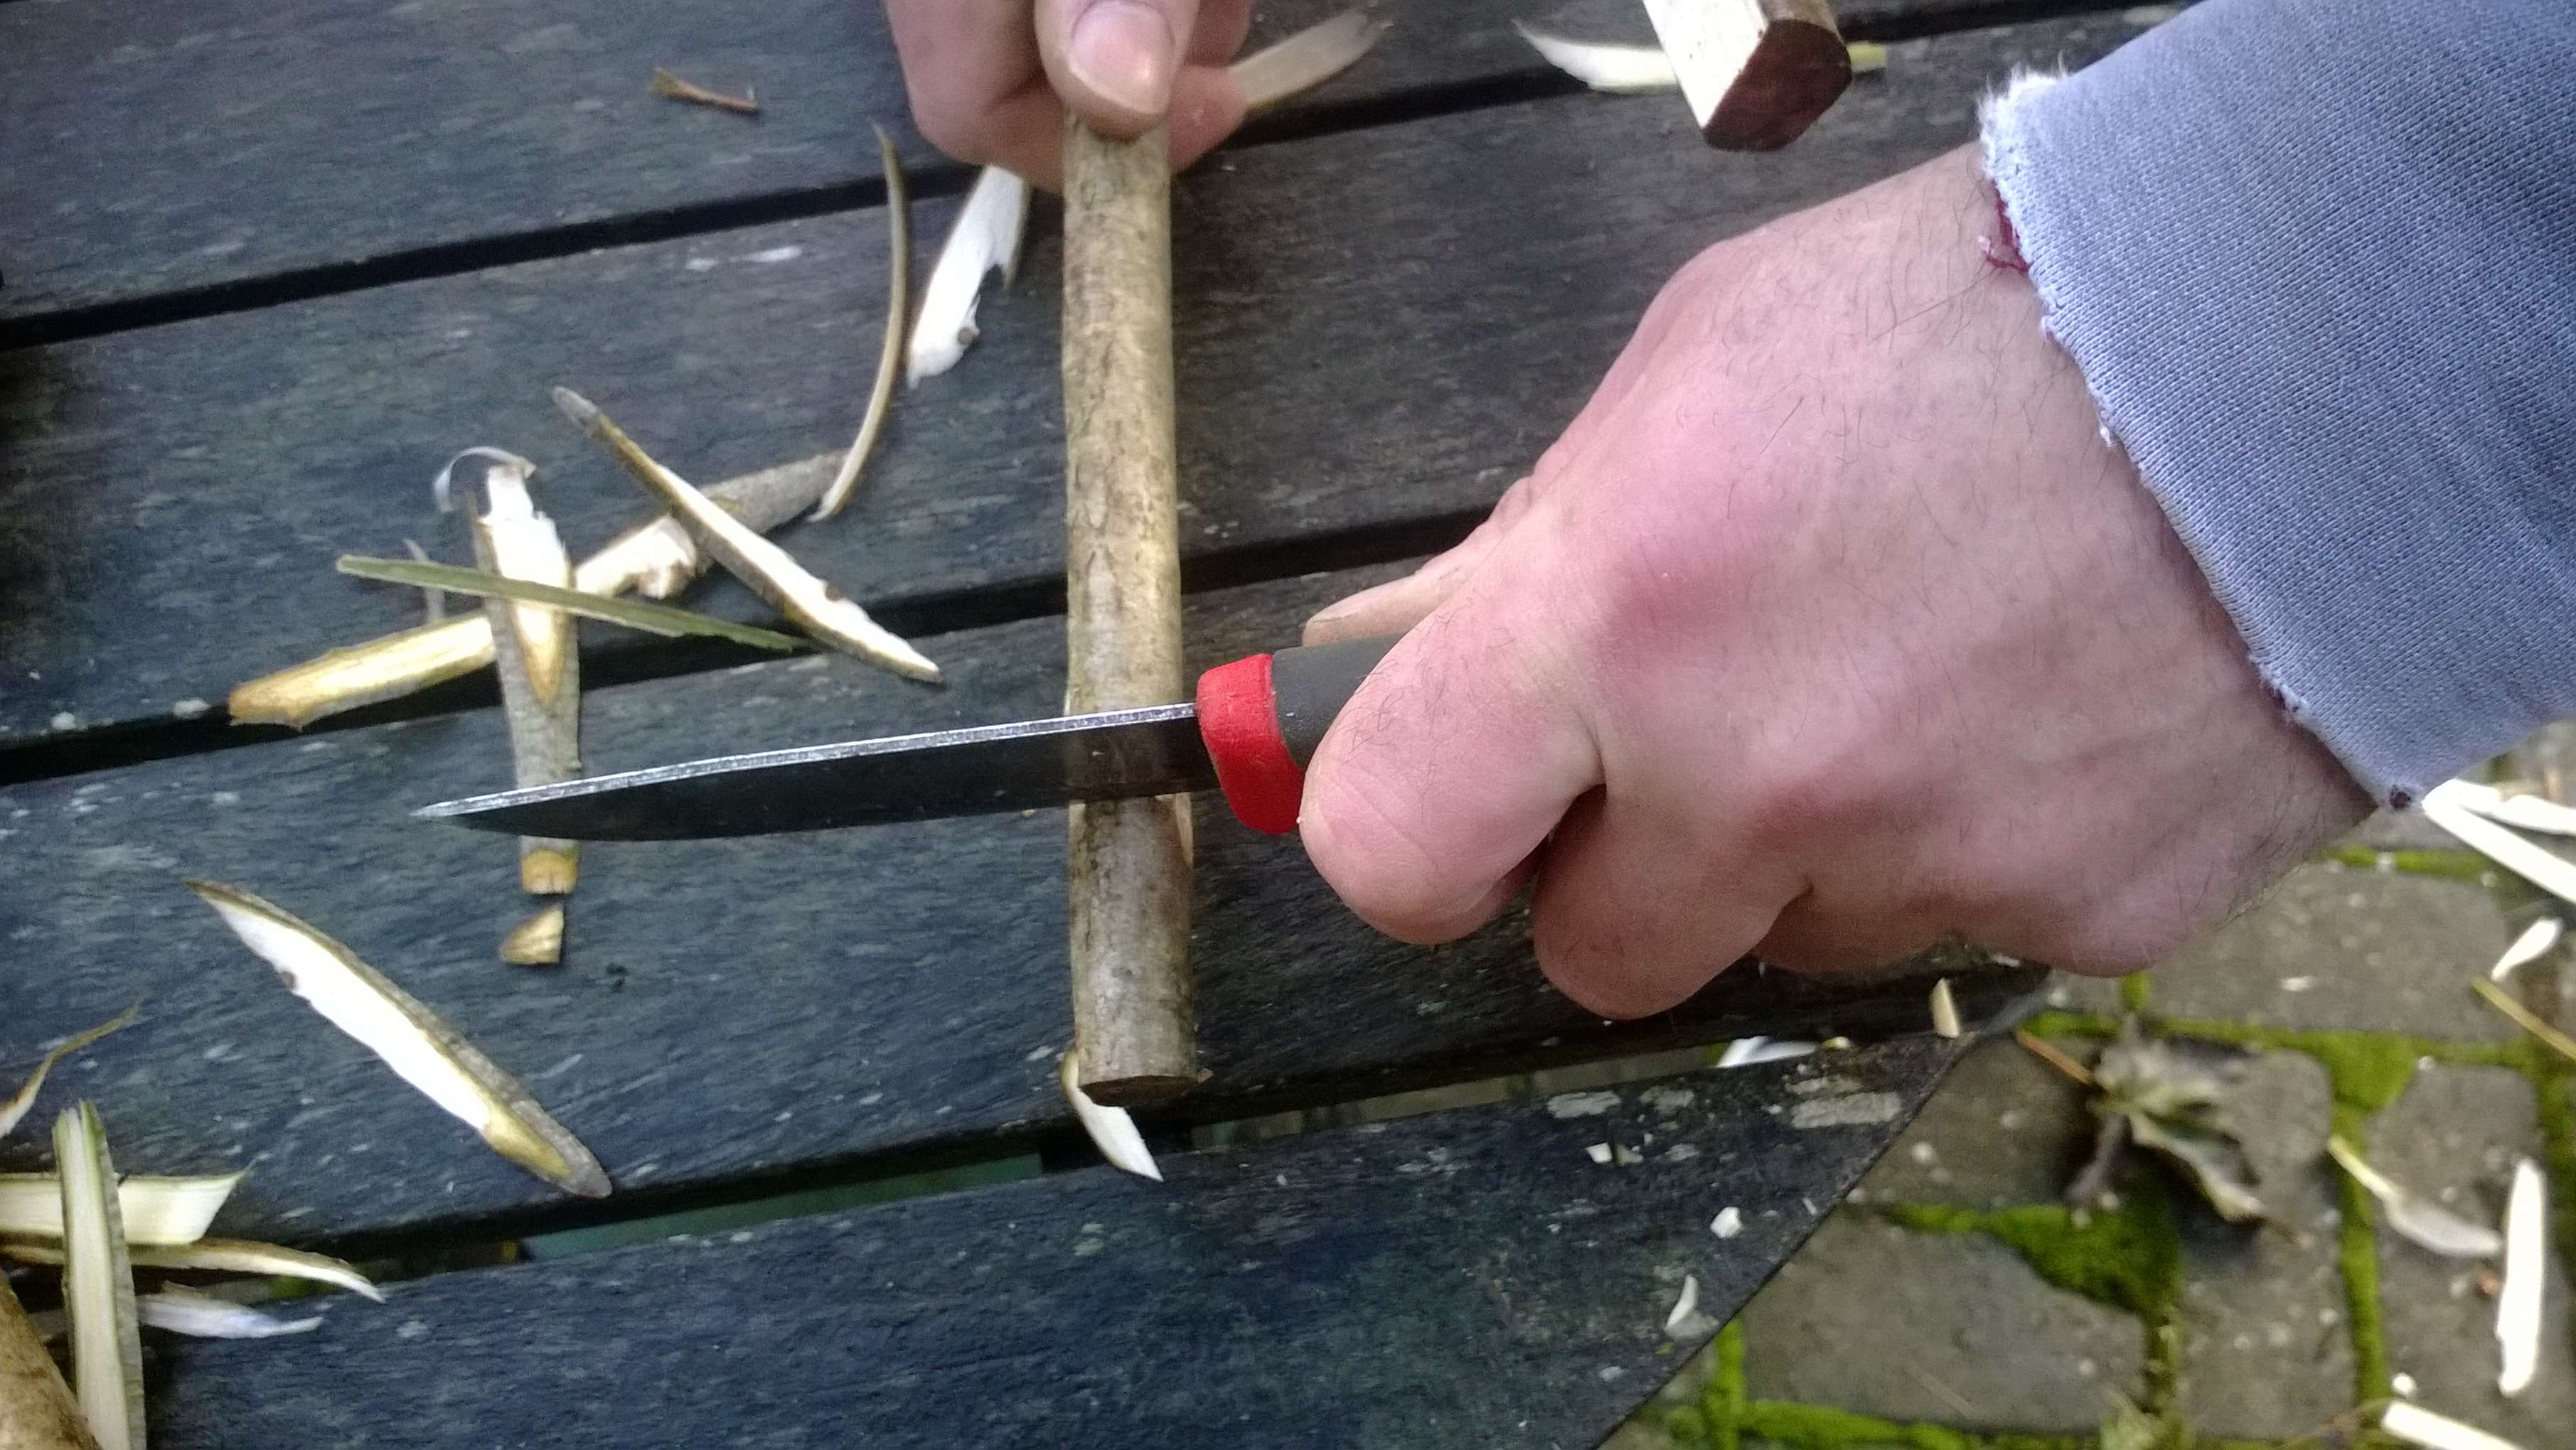
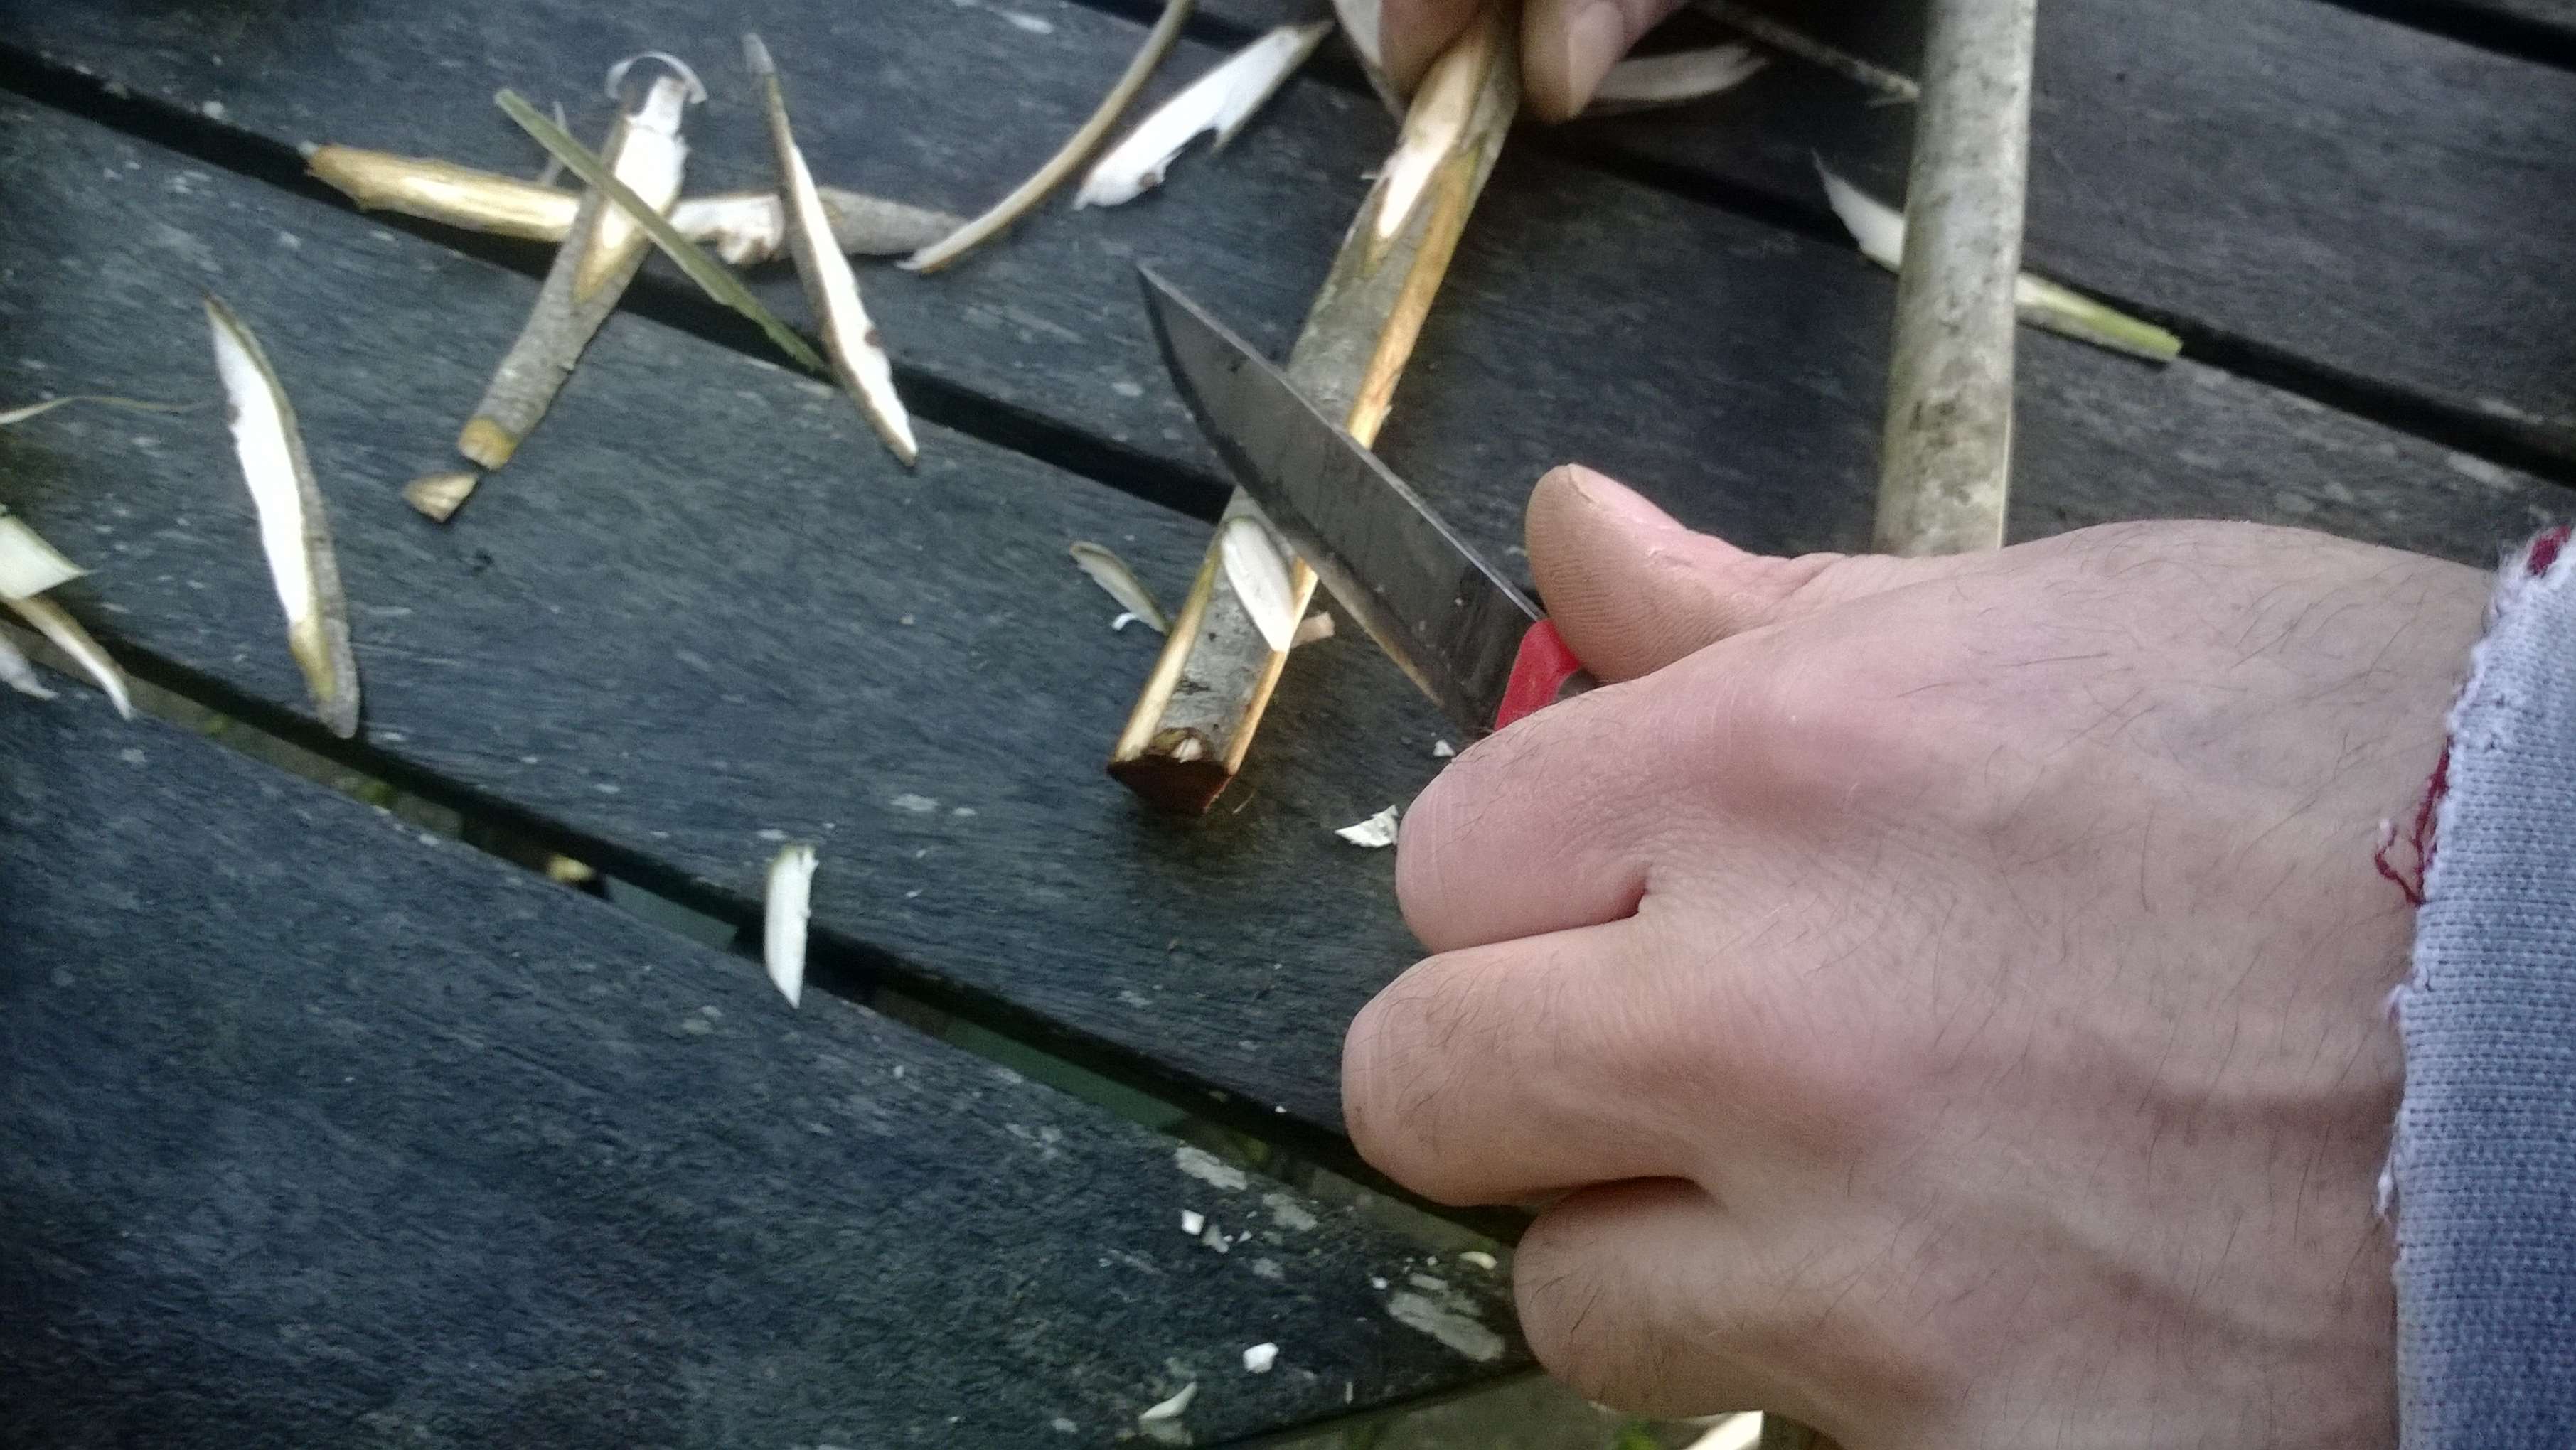
The nock on the Son should be pointing towards the nock on the Father. An X nock is not needed but just a single nock on each side. Remember to repeat the nock on the end of the Son.

Here you can see the nocks lined up. On some primitive Father & Son bows the Son limbs are tied of to the Father limbs about half way down the Father limb. I do not do that with these quick bows as I find the poles are not wide enough to incorporate a separate set of nocks half way down the limb. Experiment if you can though and let me know if it works for you.
Stringing up
Keeping things as cheap as possible I like to use Bailer twine for the string (thanks Phil). Either tie the ends off or use tape to seal the ends to stop it fraying. I like to use tape. Bailer twine has the benefit that it does not stretch under tension. Use whatever string that comes to hand but try to find something that does not stretch. In a primitive bow the string could have been made up of sinew broken down into fine strands and woven into cordage.
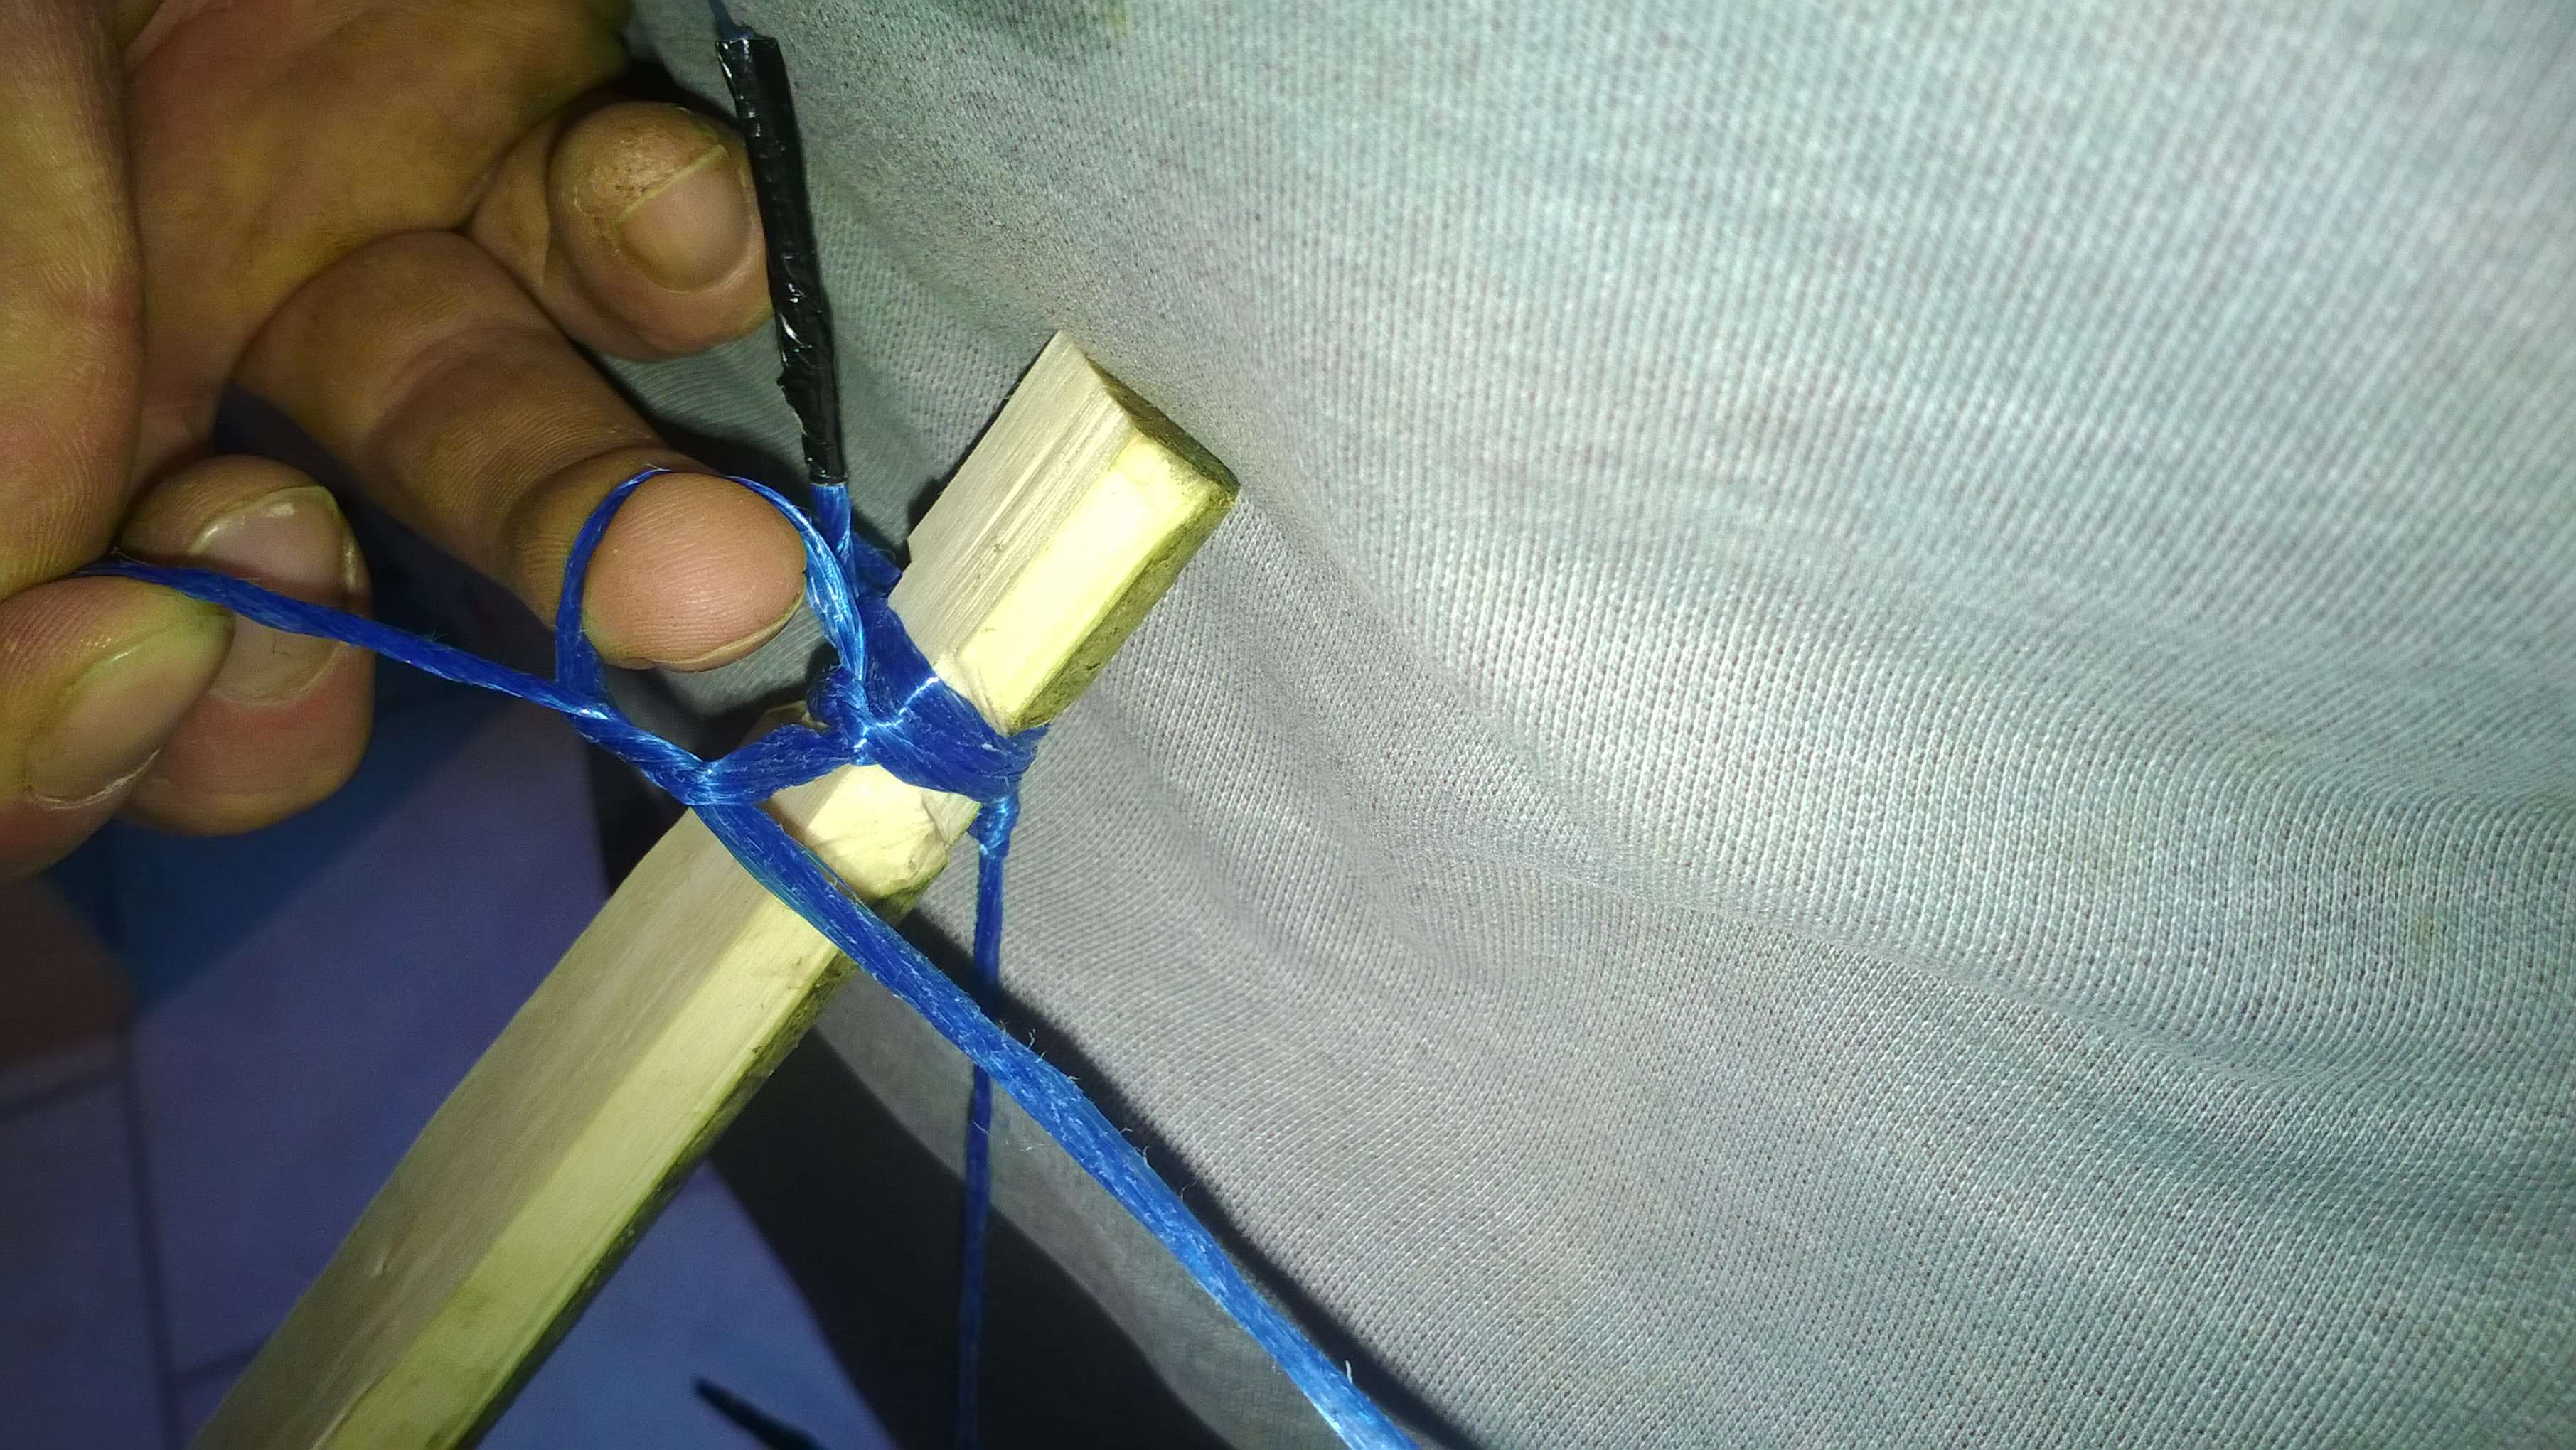
I decide firstly which part of the bow will be the top and which will be the bottom. On the bottom I attach the Son to the Father with string. Use knots that you can easily untie. Also the string needs to be taught but not overly tight.
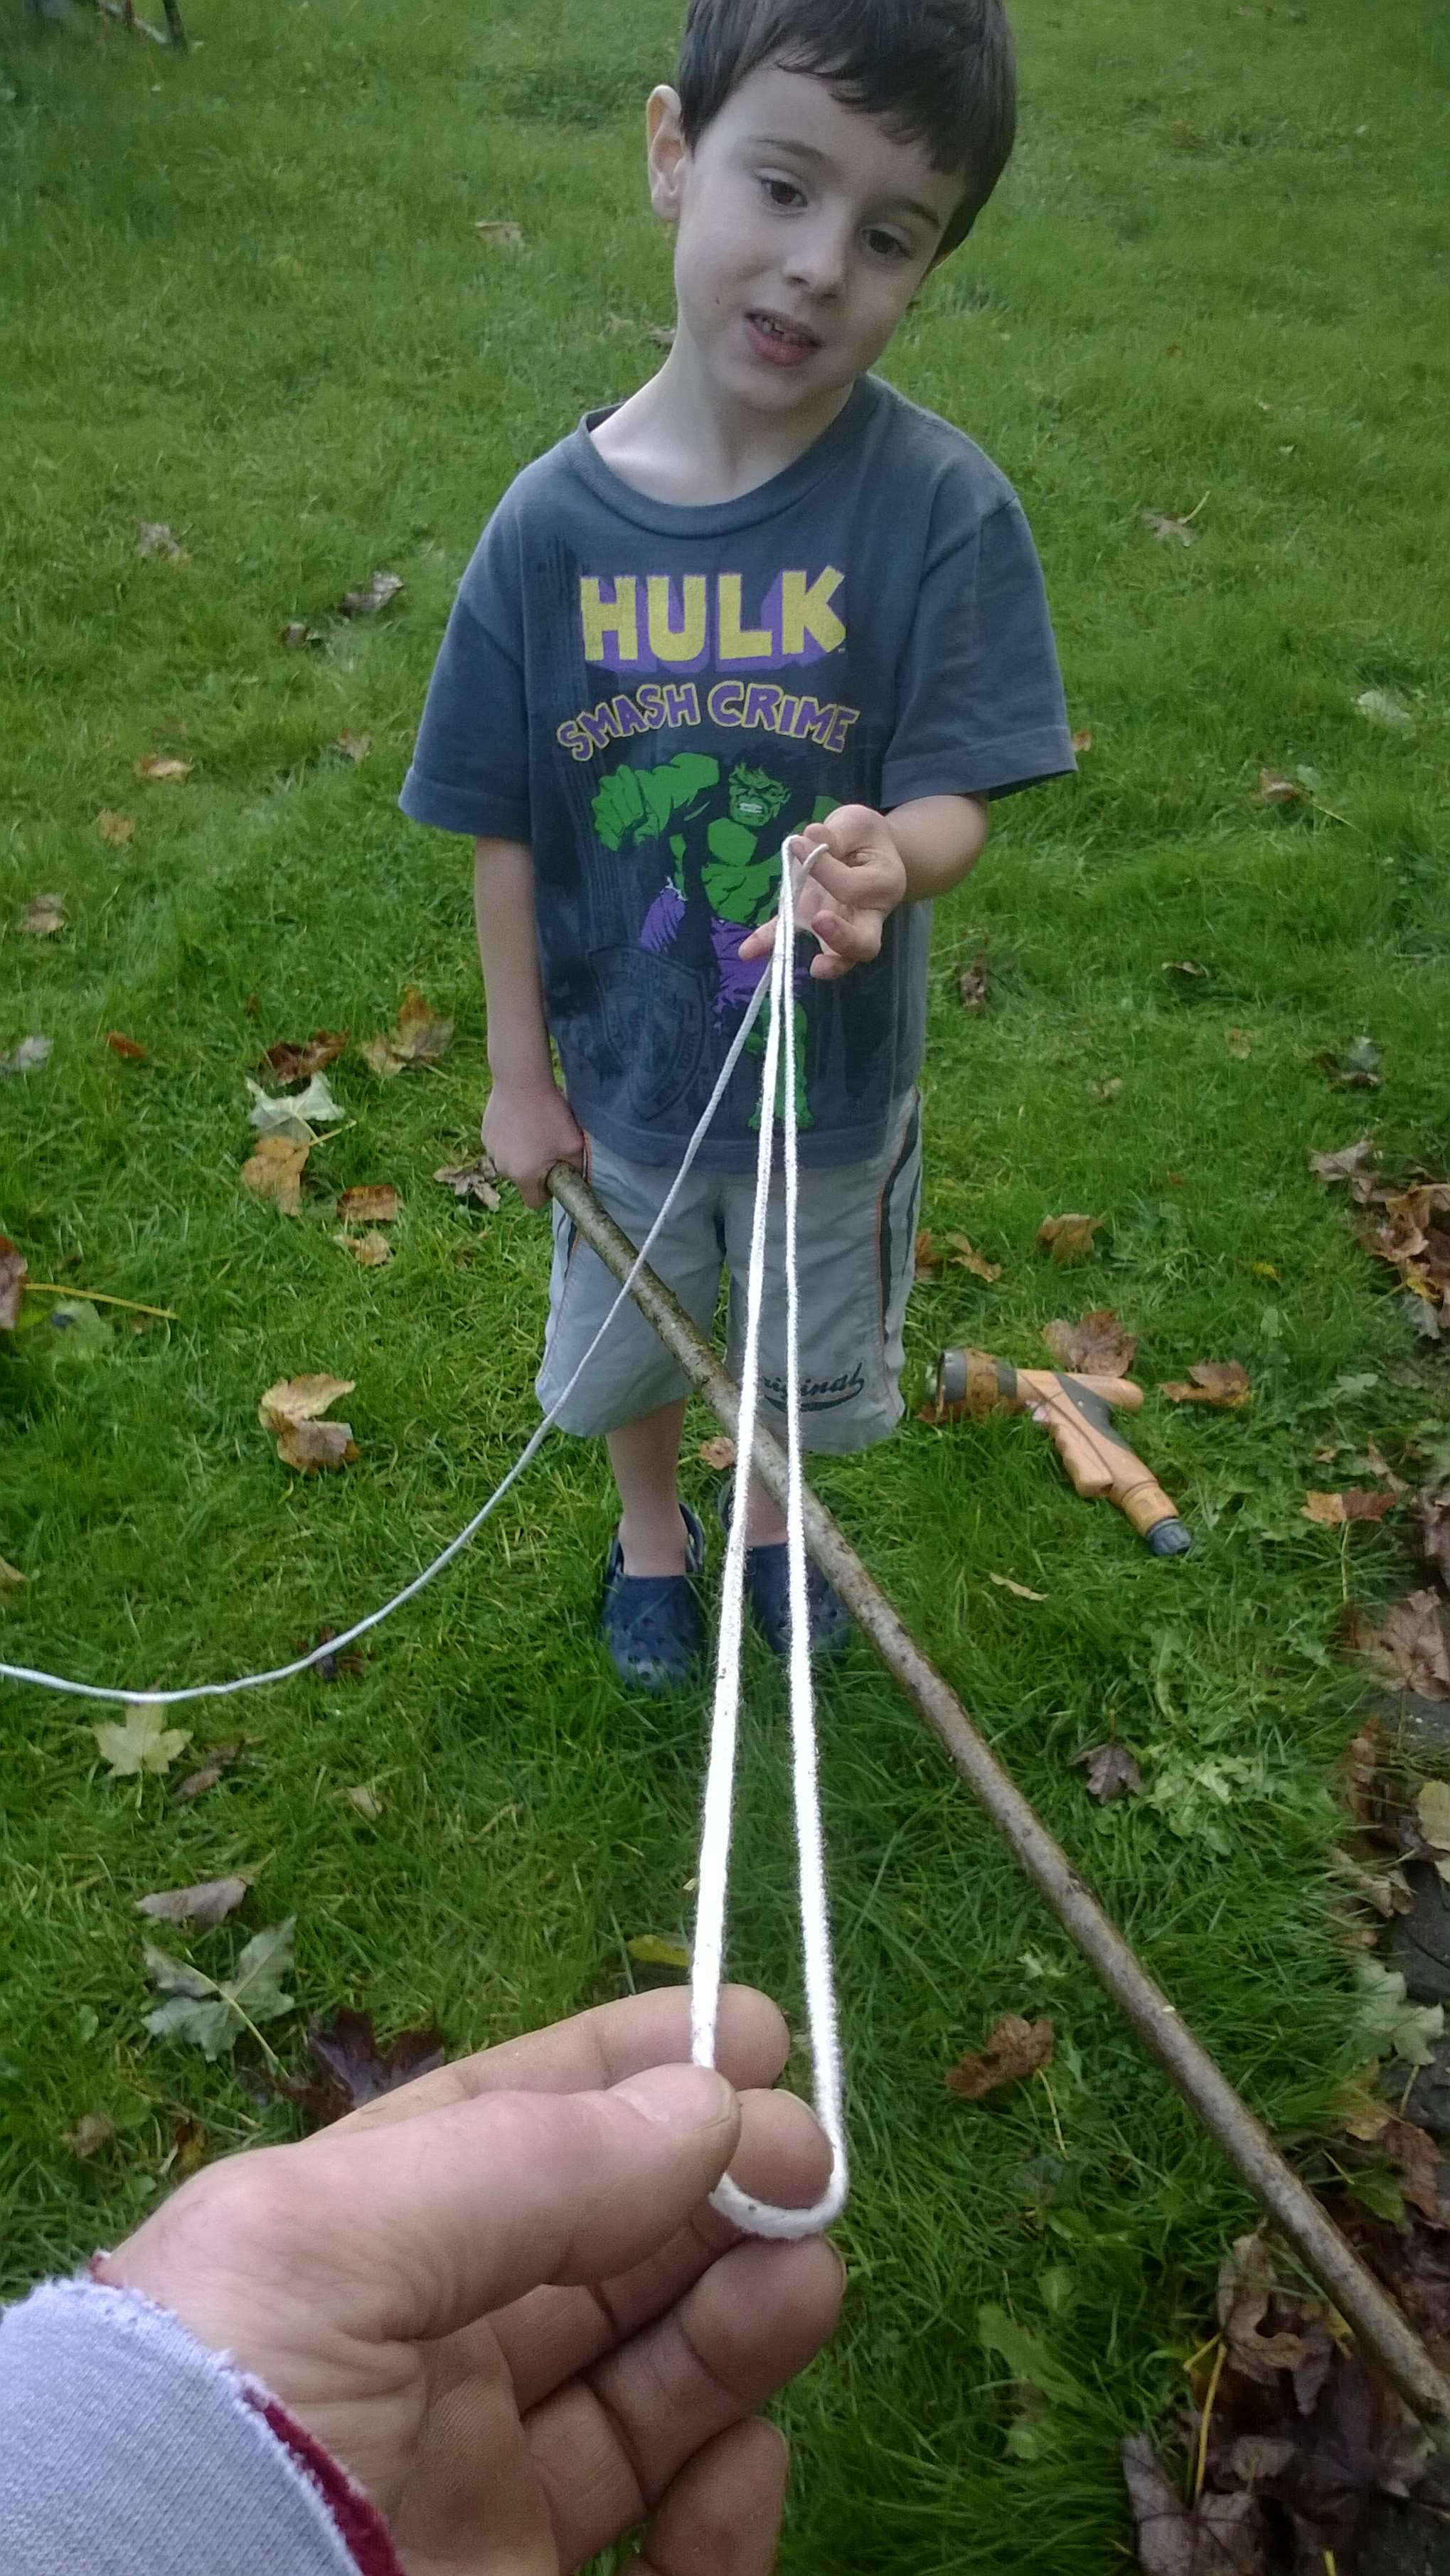
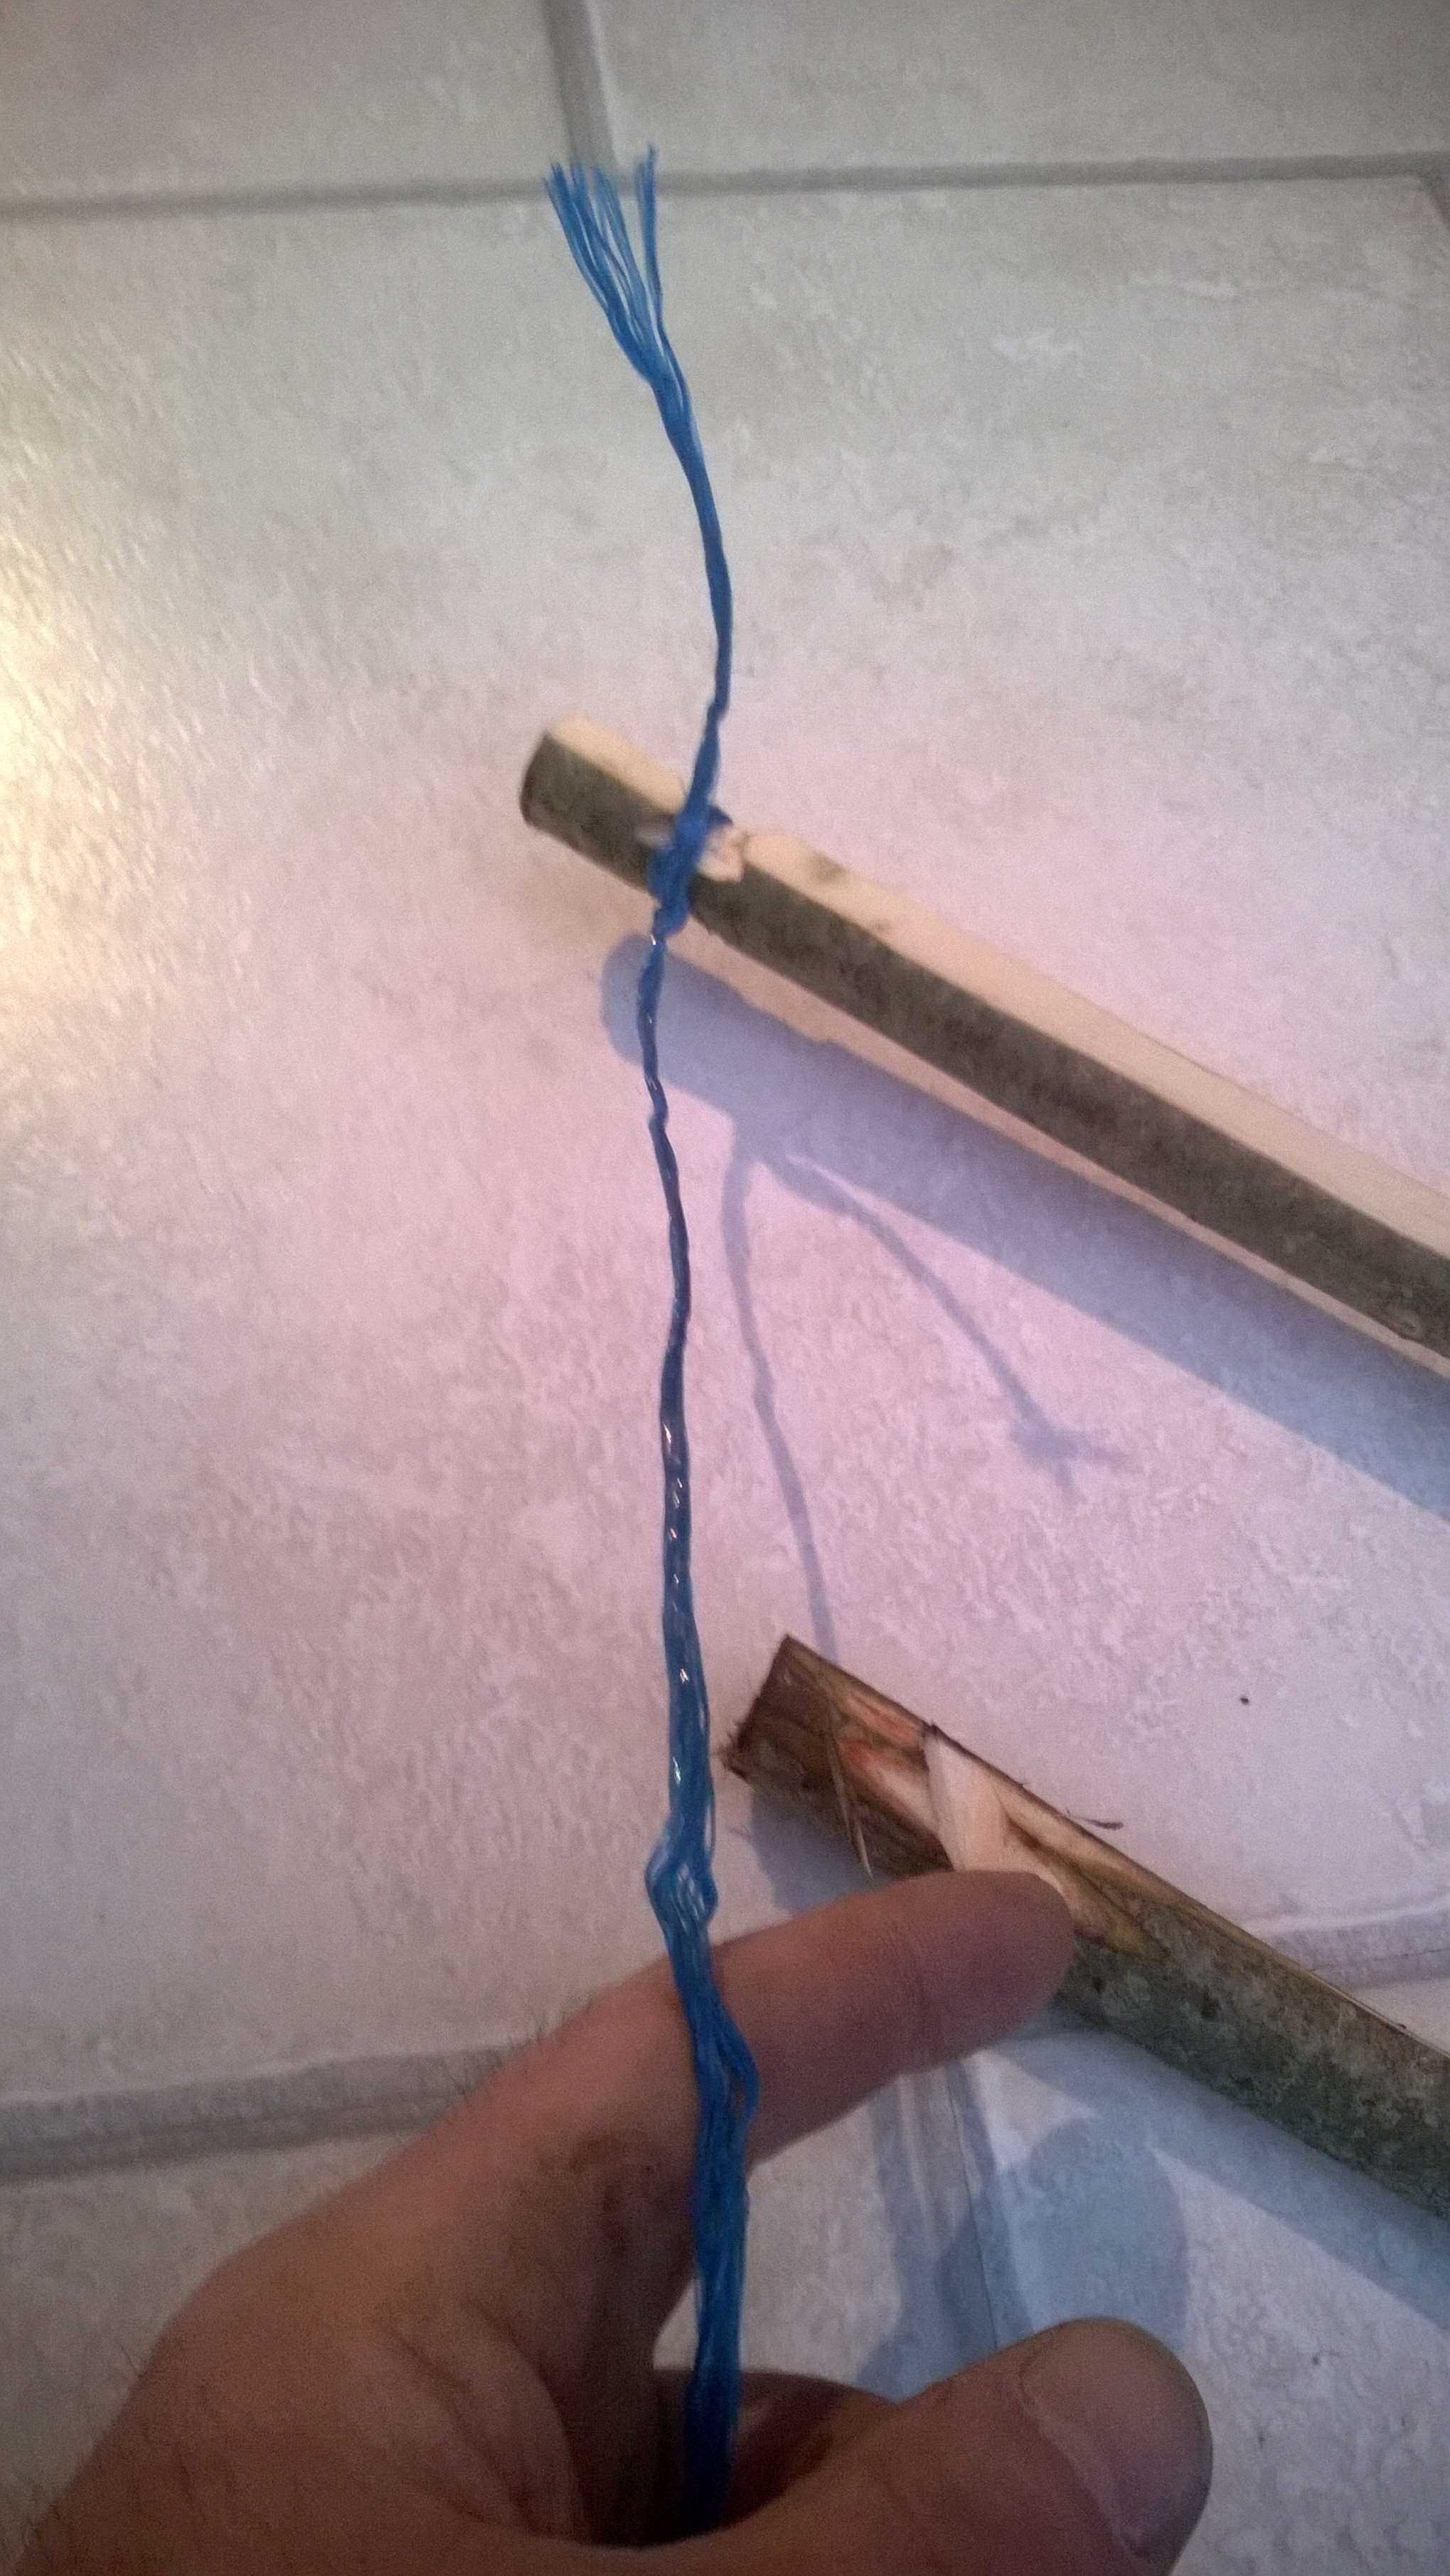
To make the main bow string cut a length about one and a half times the length of the bow and make a loop at one end. To make this loop I just made an overhand knot on the bight. The loop needs to be small enough to catch the nock when you string the bow but big enough to be slid down the upper Father limb when unstringing the bow. Try to keep the knot loose until you get the loop the right size.
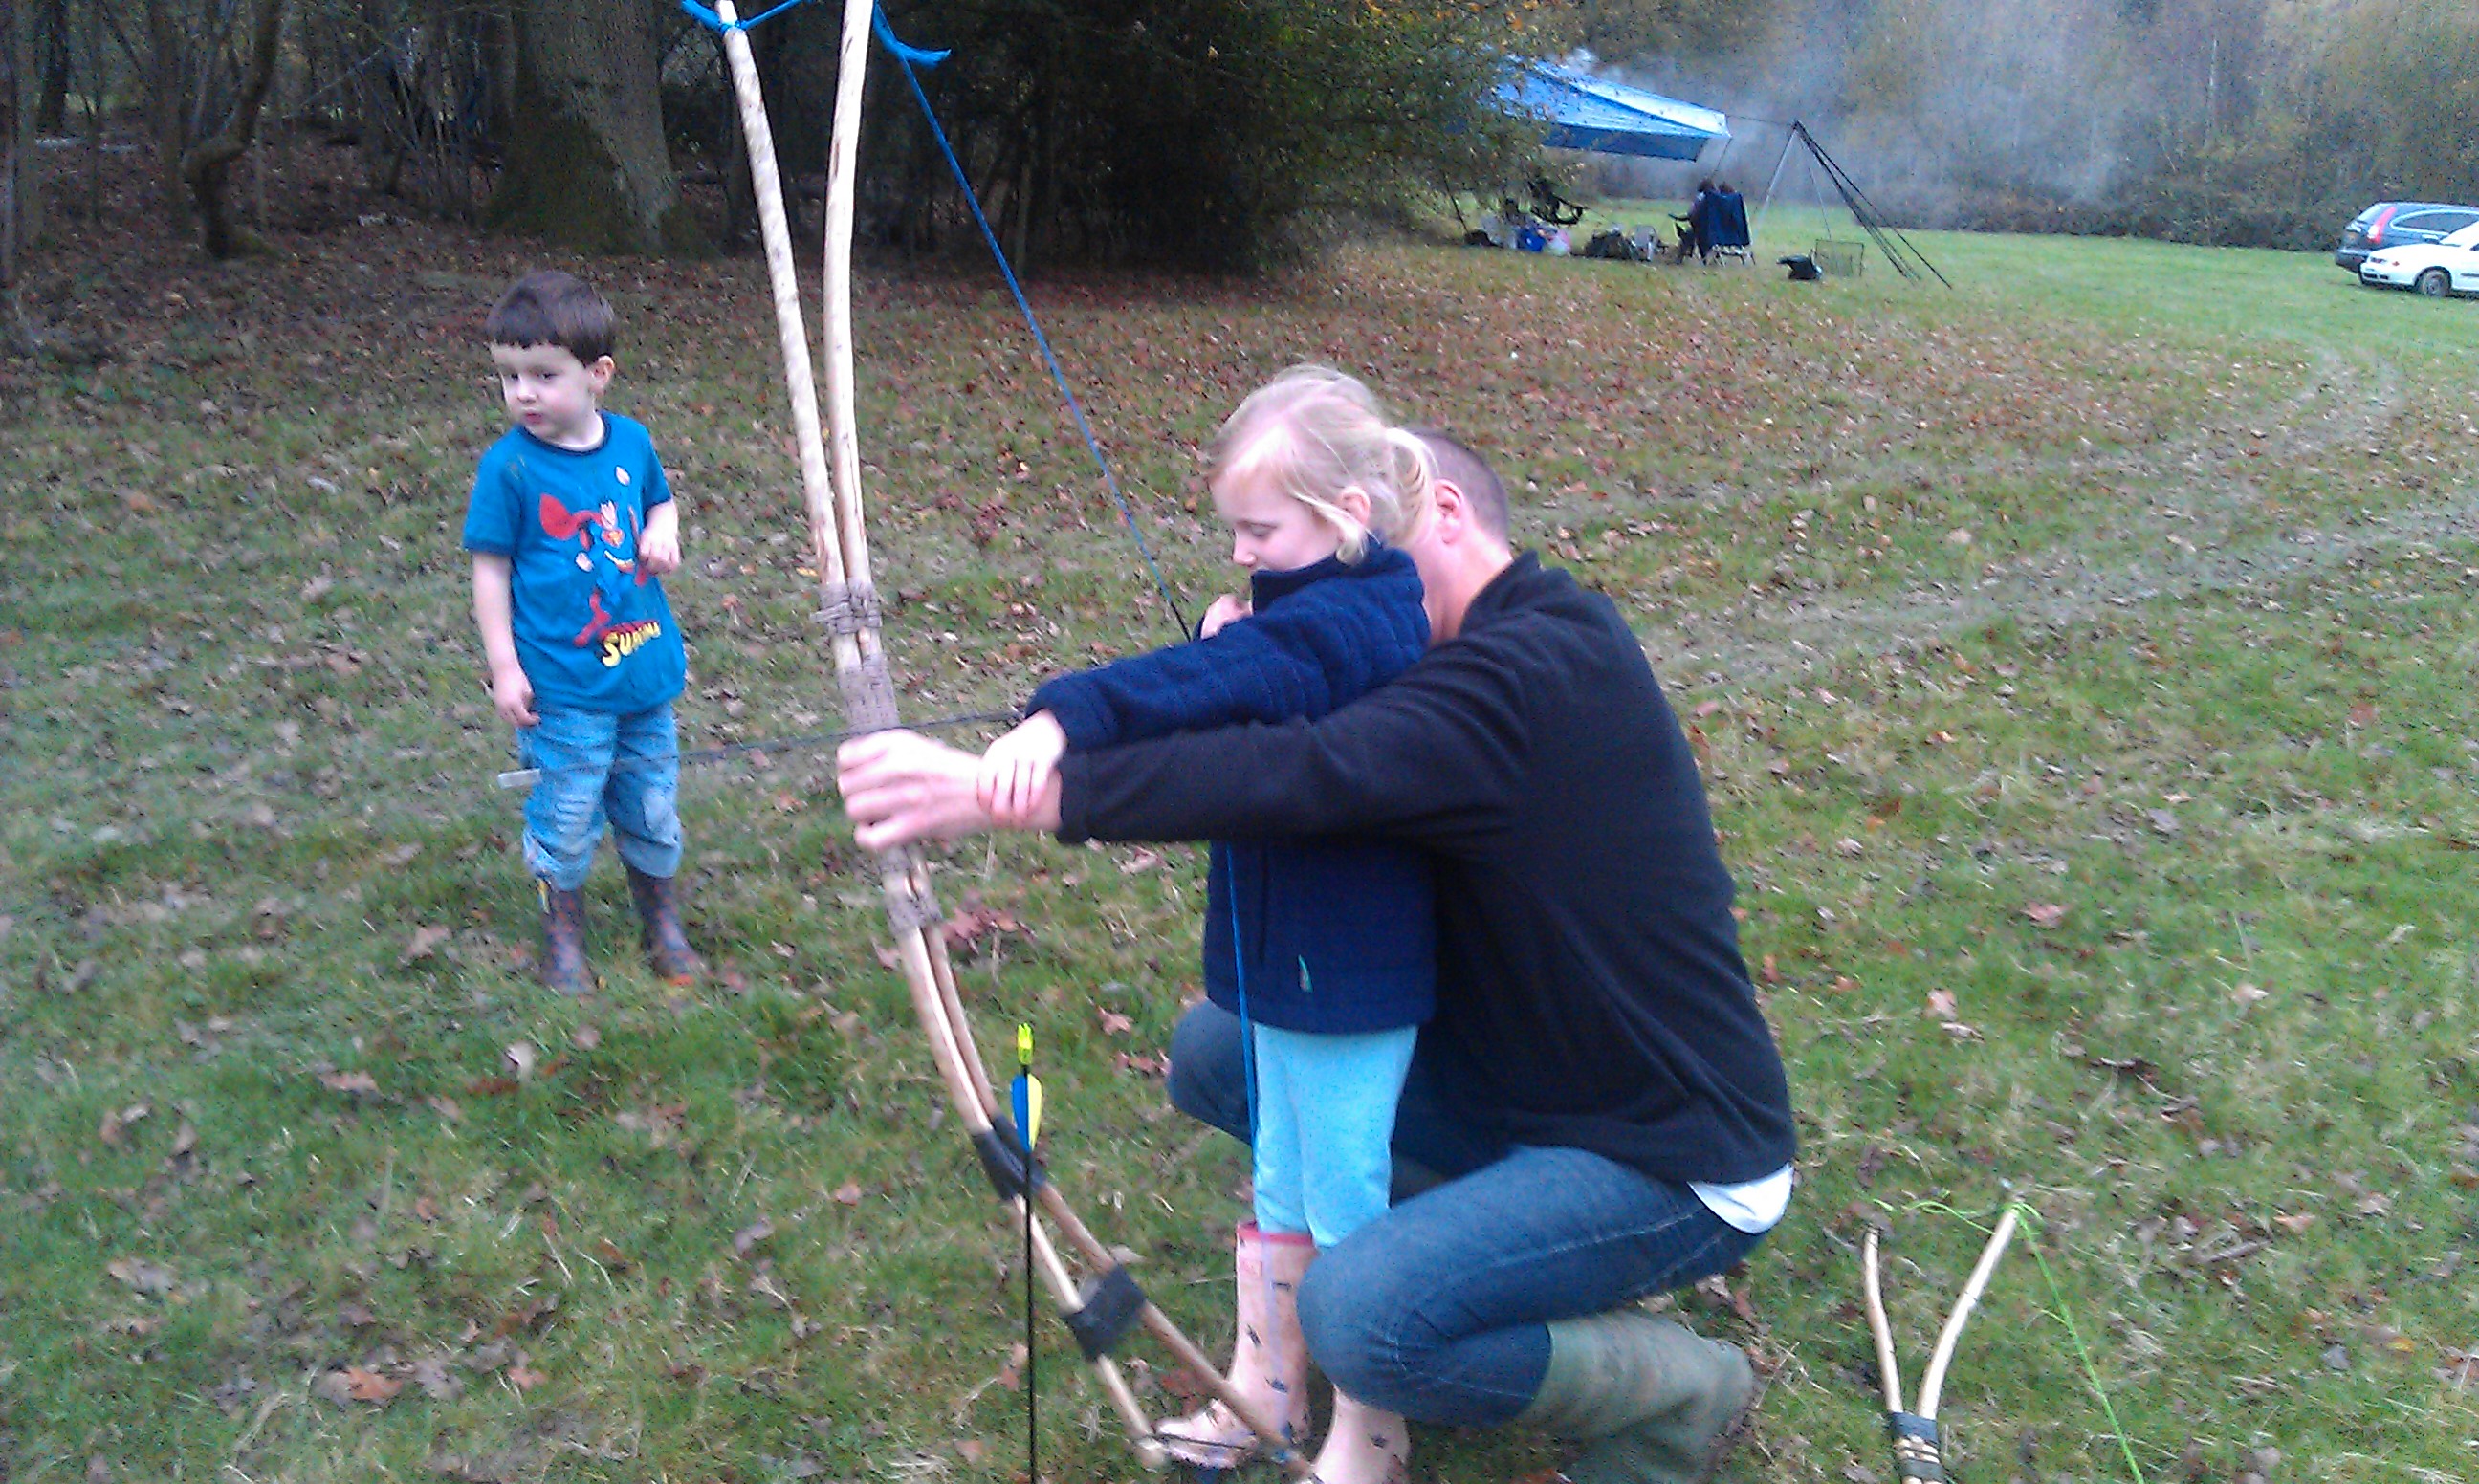
Get someone to help you measure how long you need to make the bow string (thank you Kate). With the loop attached to the upper Father limb hold it in place about one hand width down from the nock and tie a knot to the bottom nock on the Father pole. This will allow about a brace height of one fist.
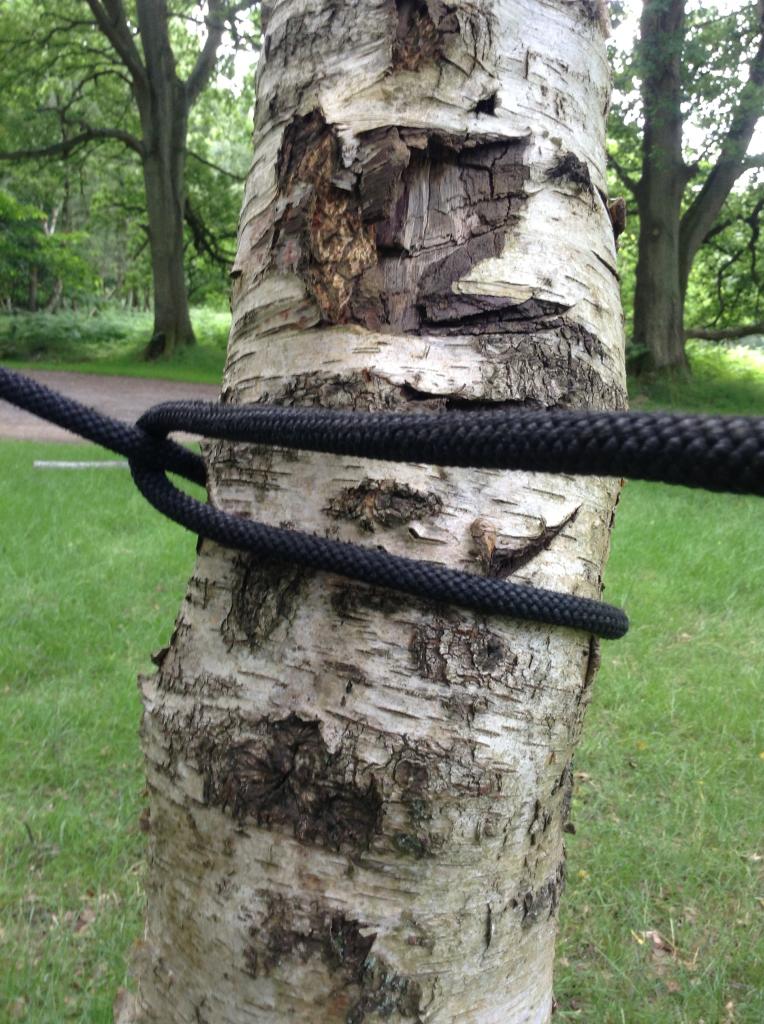
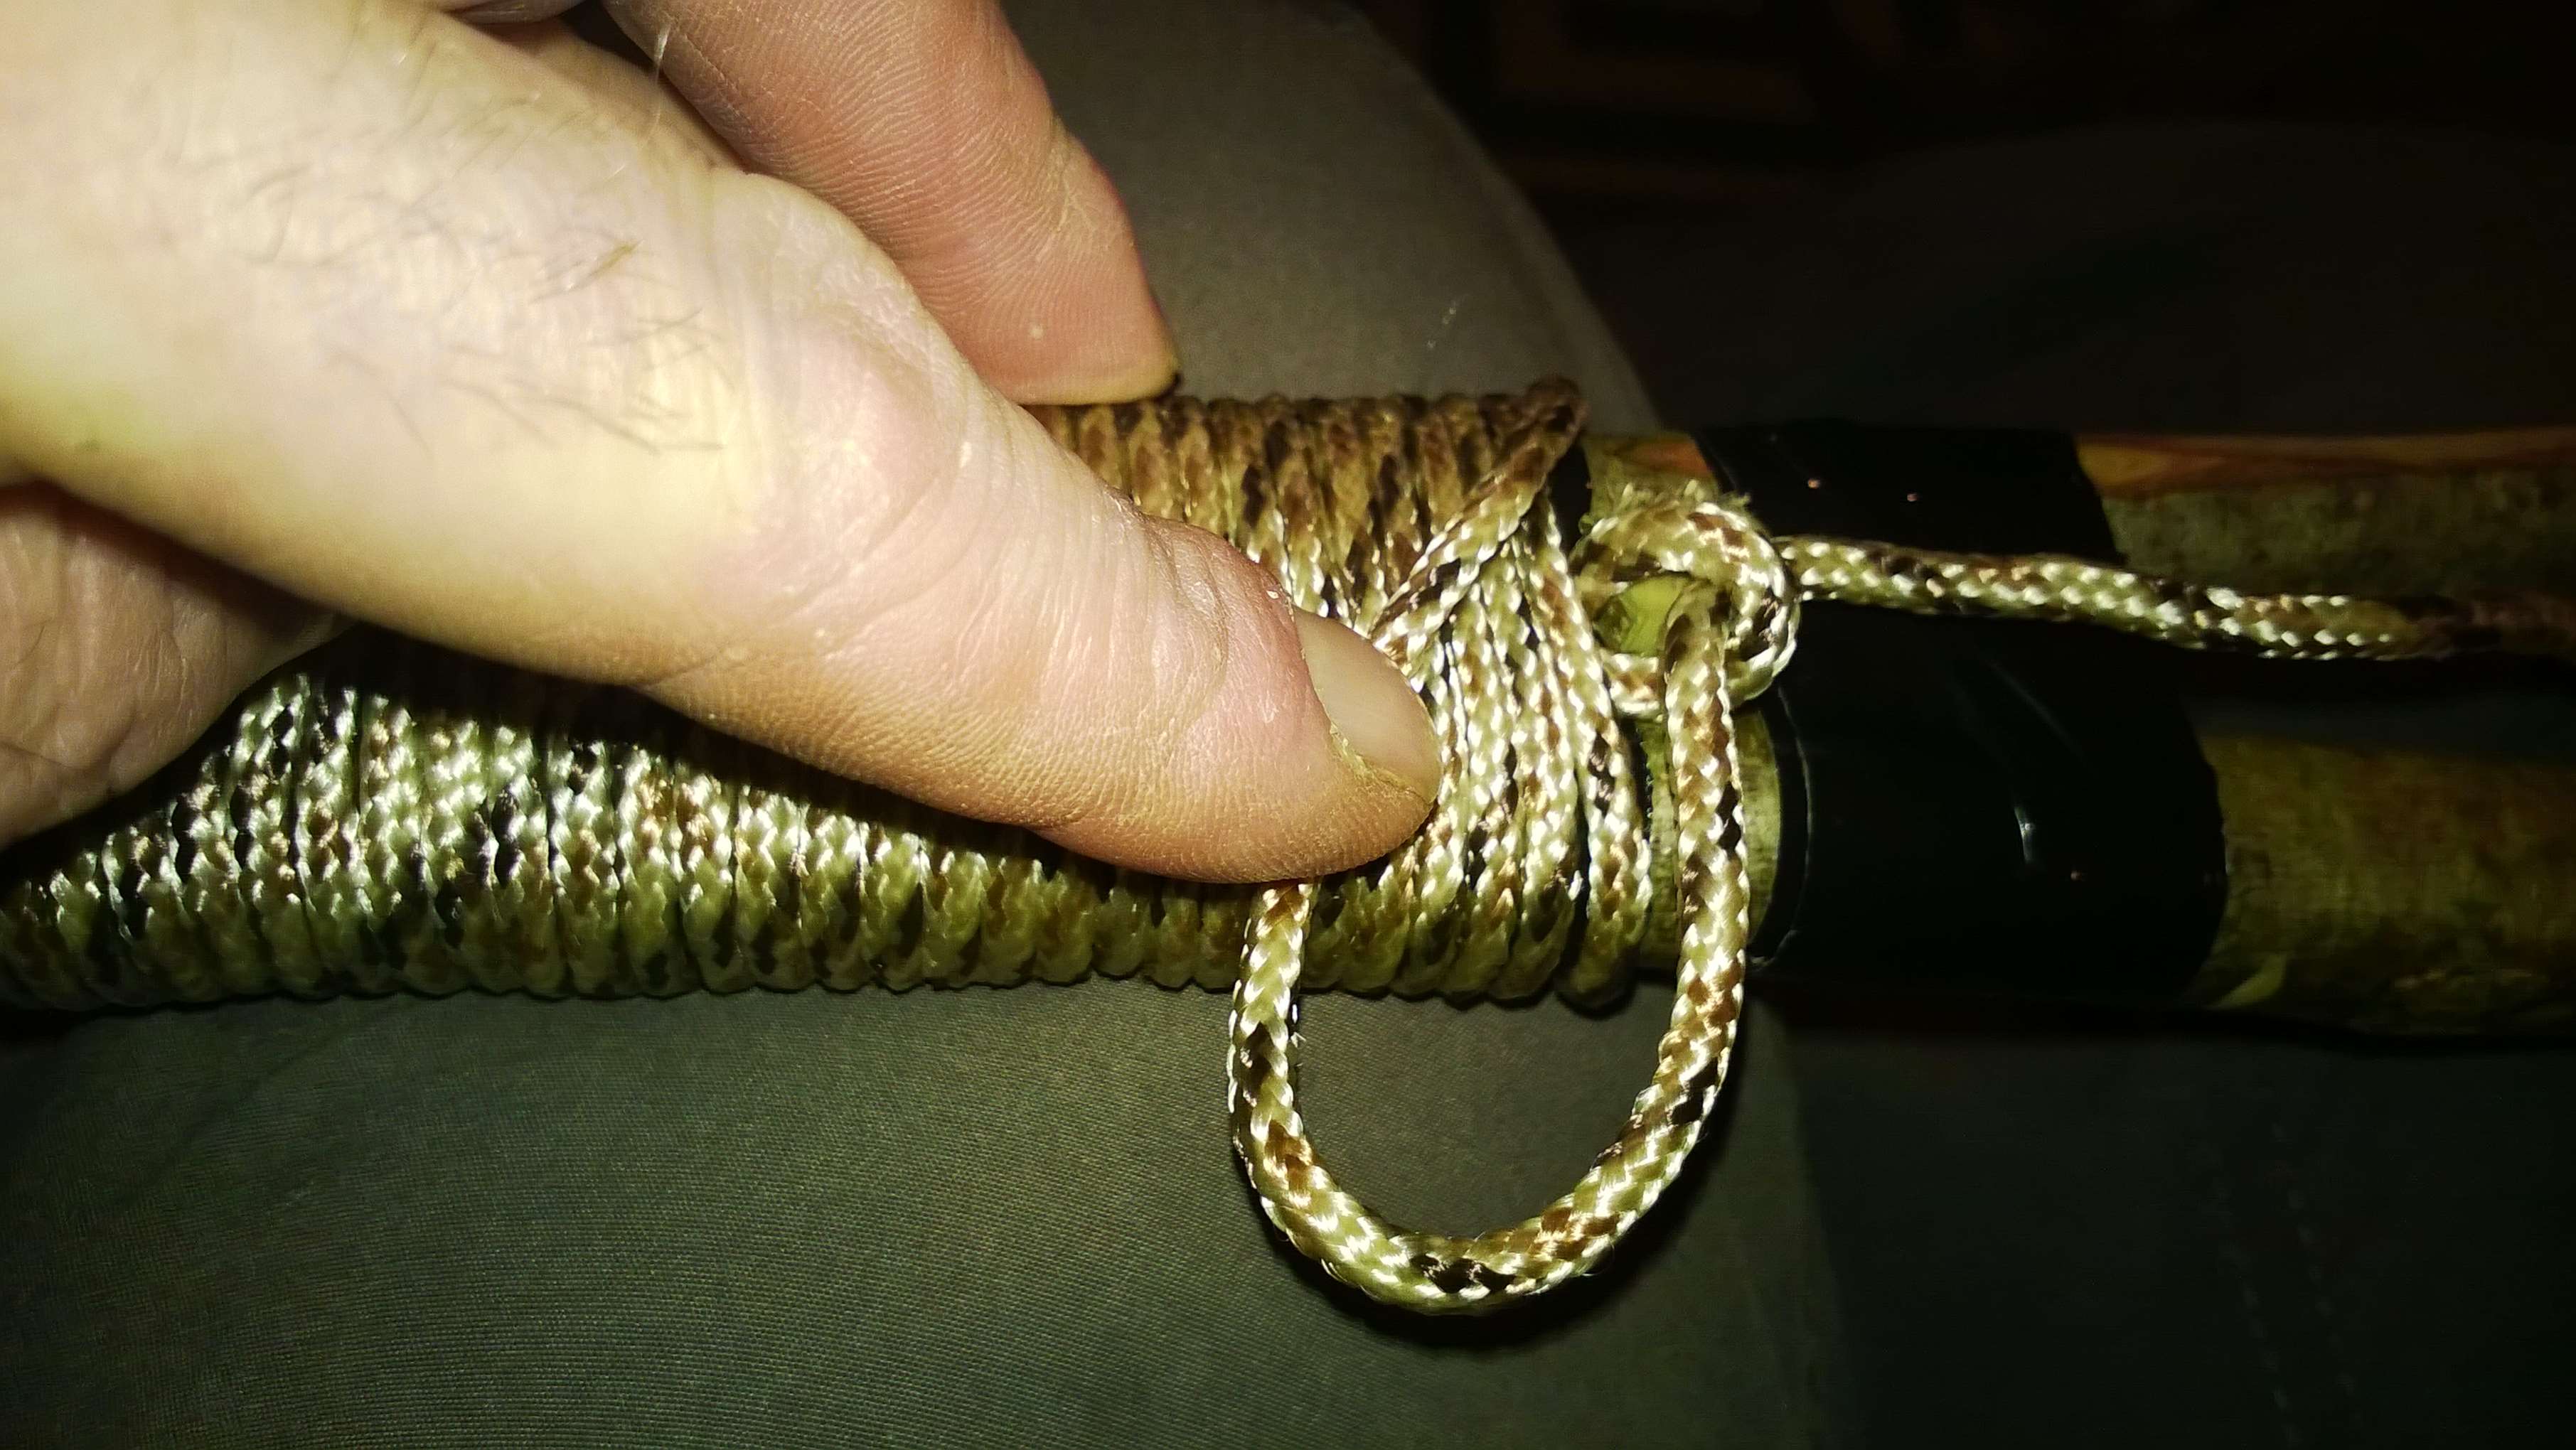
Again your knot should be able to hold under strain but easy enough to untie to make adjustments. I like to wrap the string around the nock then back on itself (shown in the enlarged example around the tree) then I wrap the remaining string a few times around the nock before finishing with overhand wraps or similar. This makes it easy to untie to make adjustments.
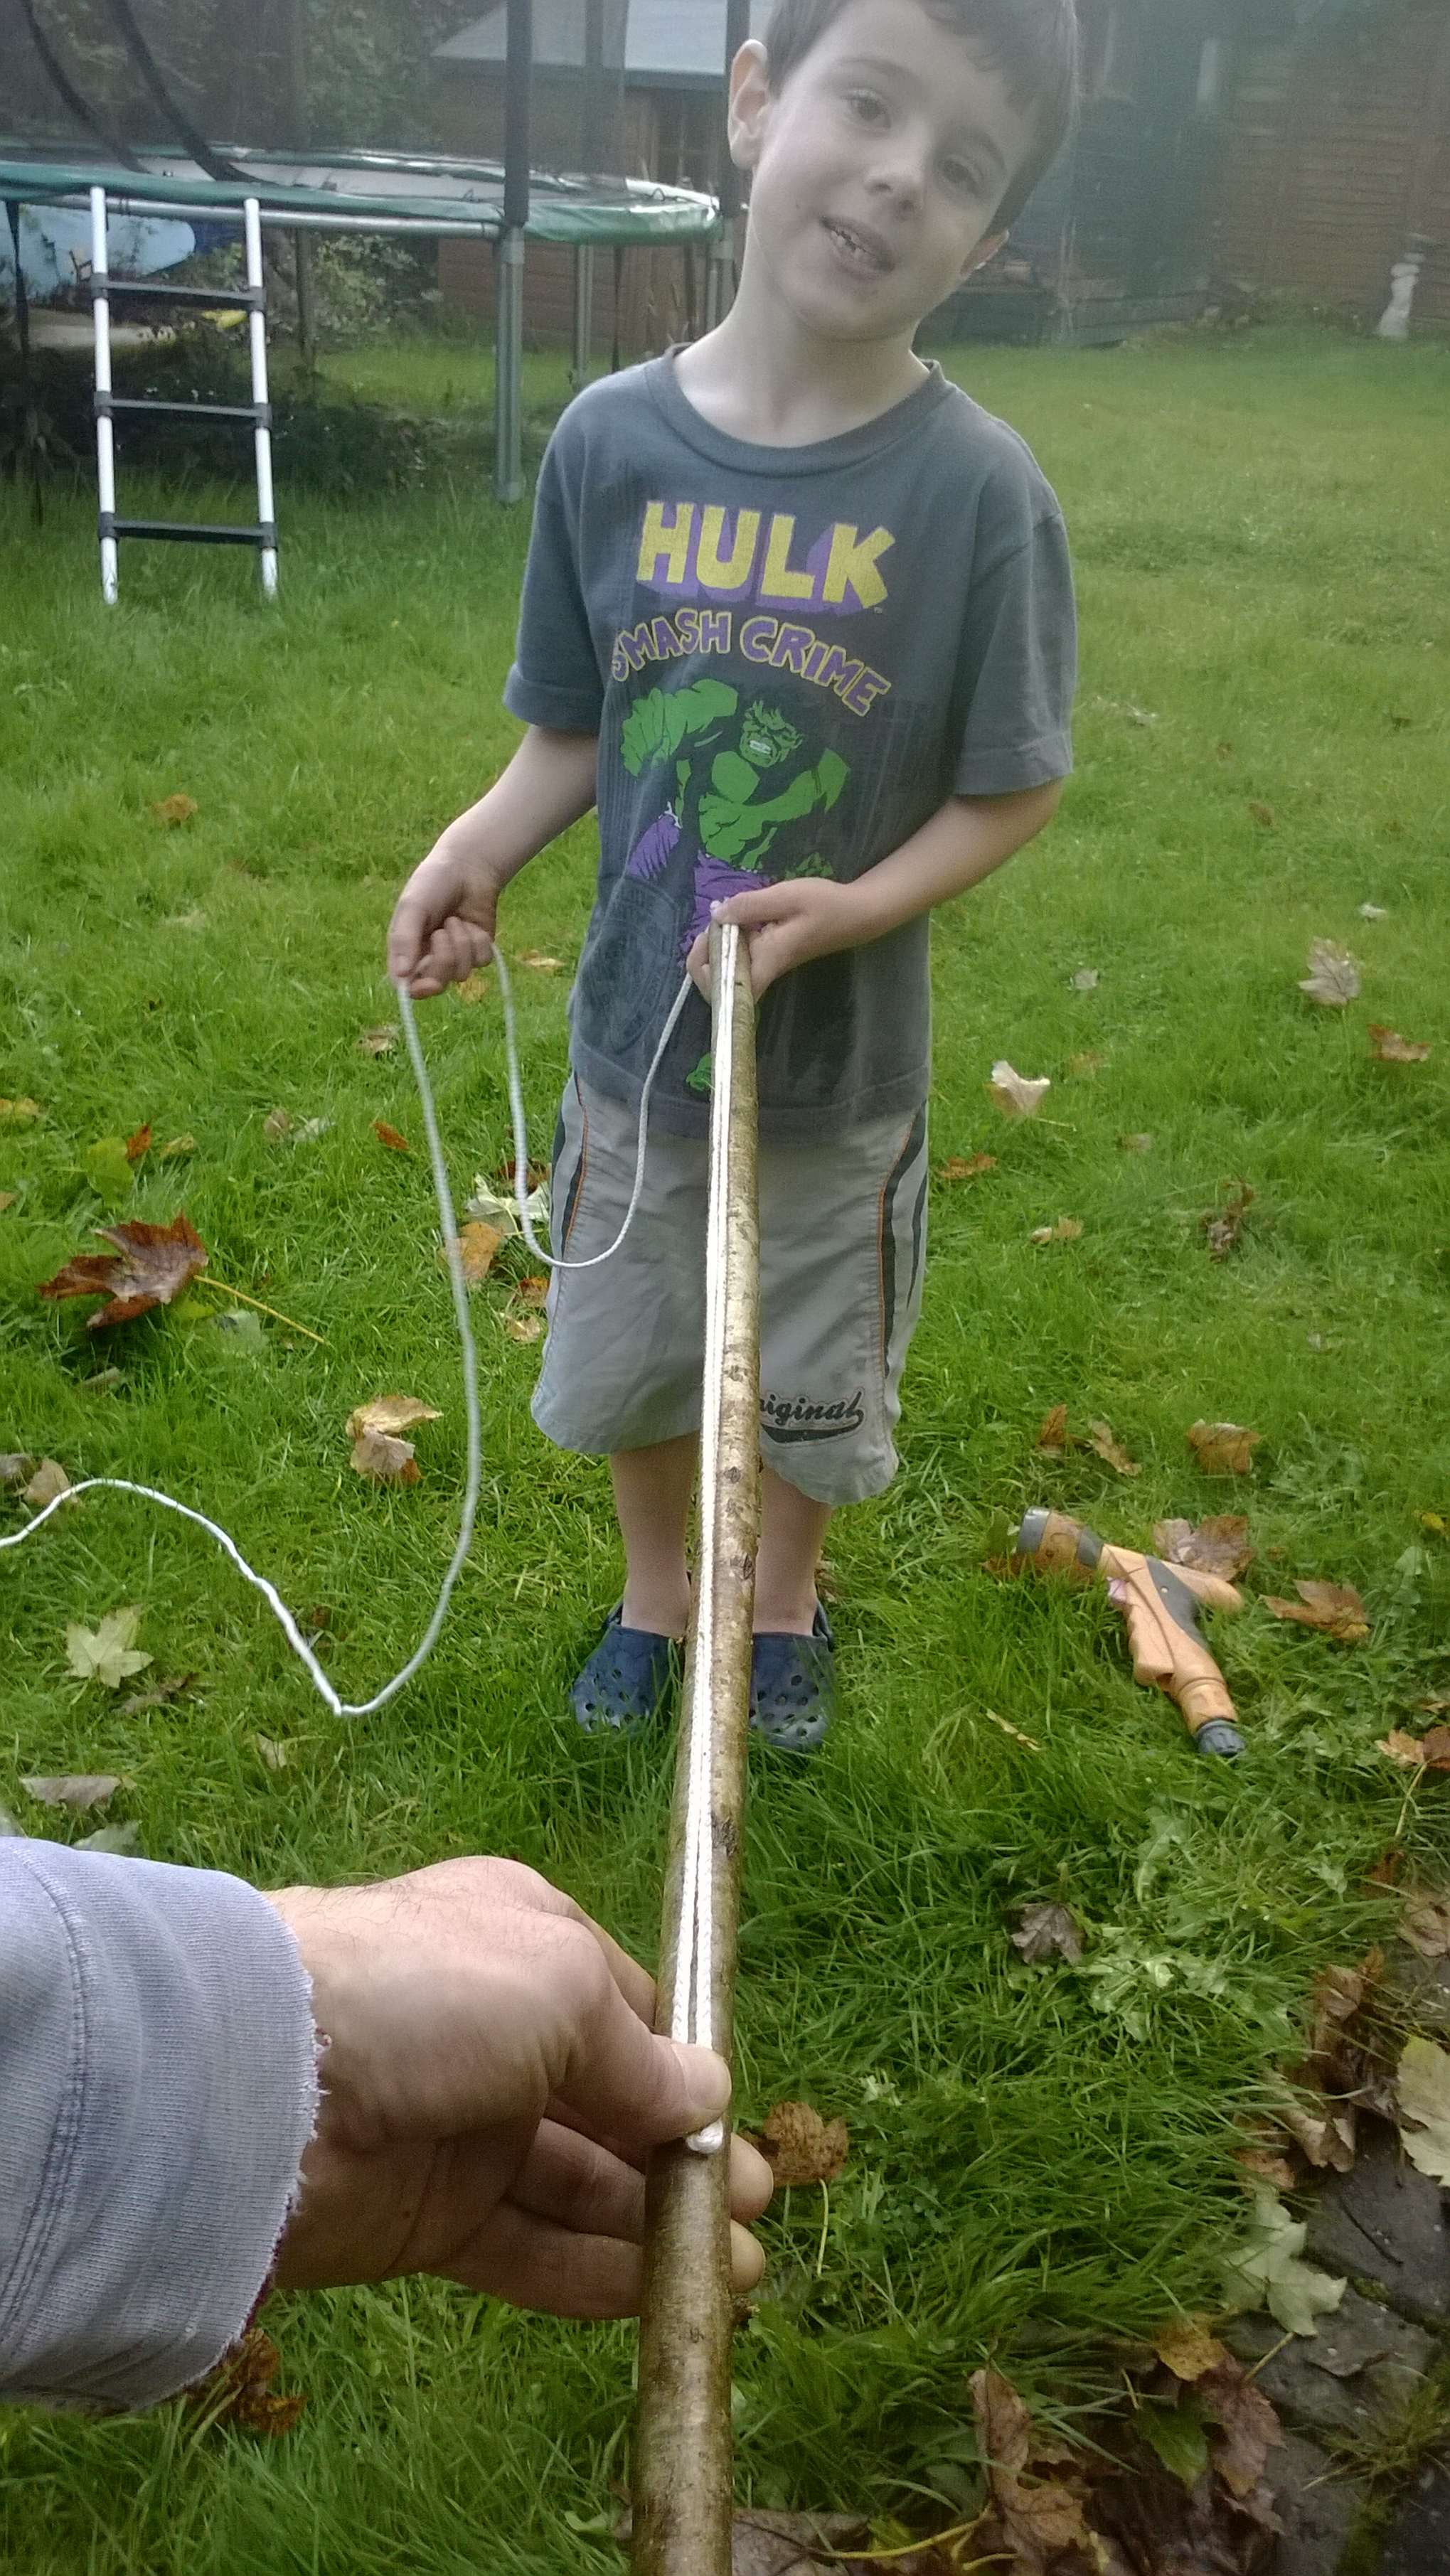
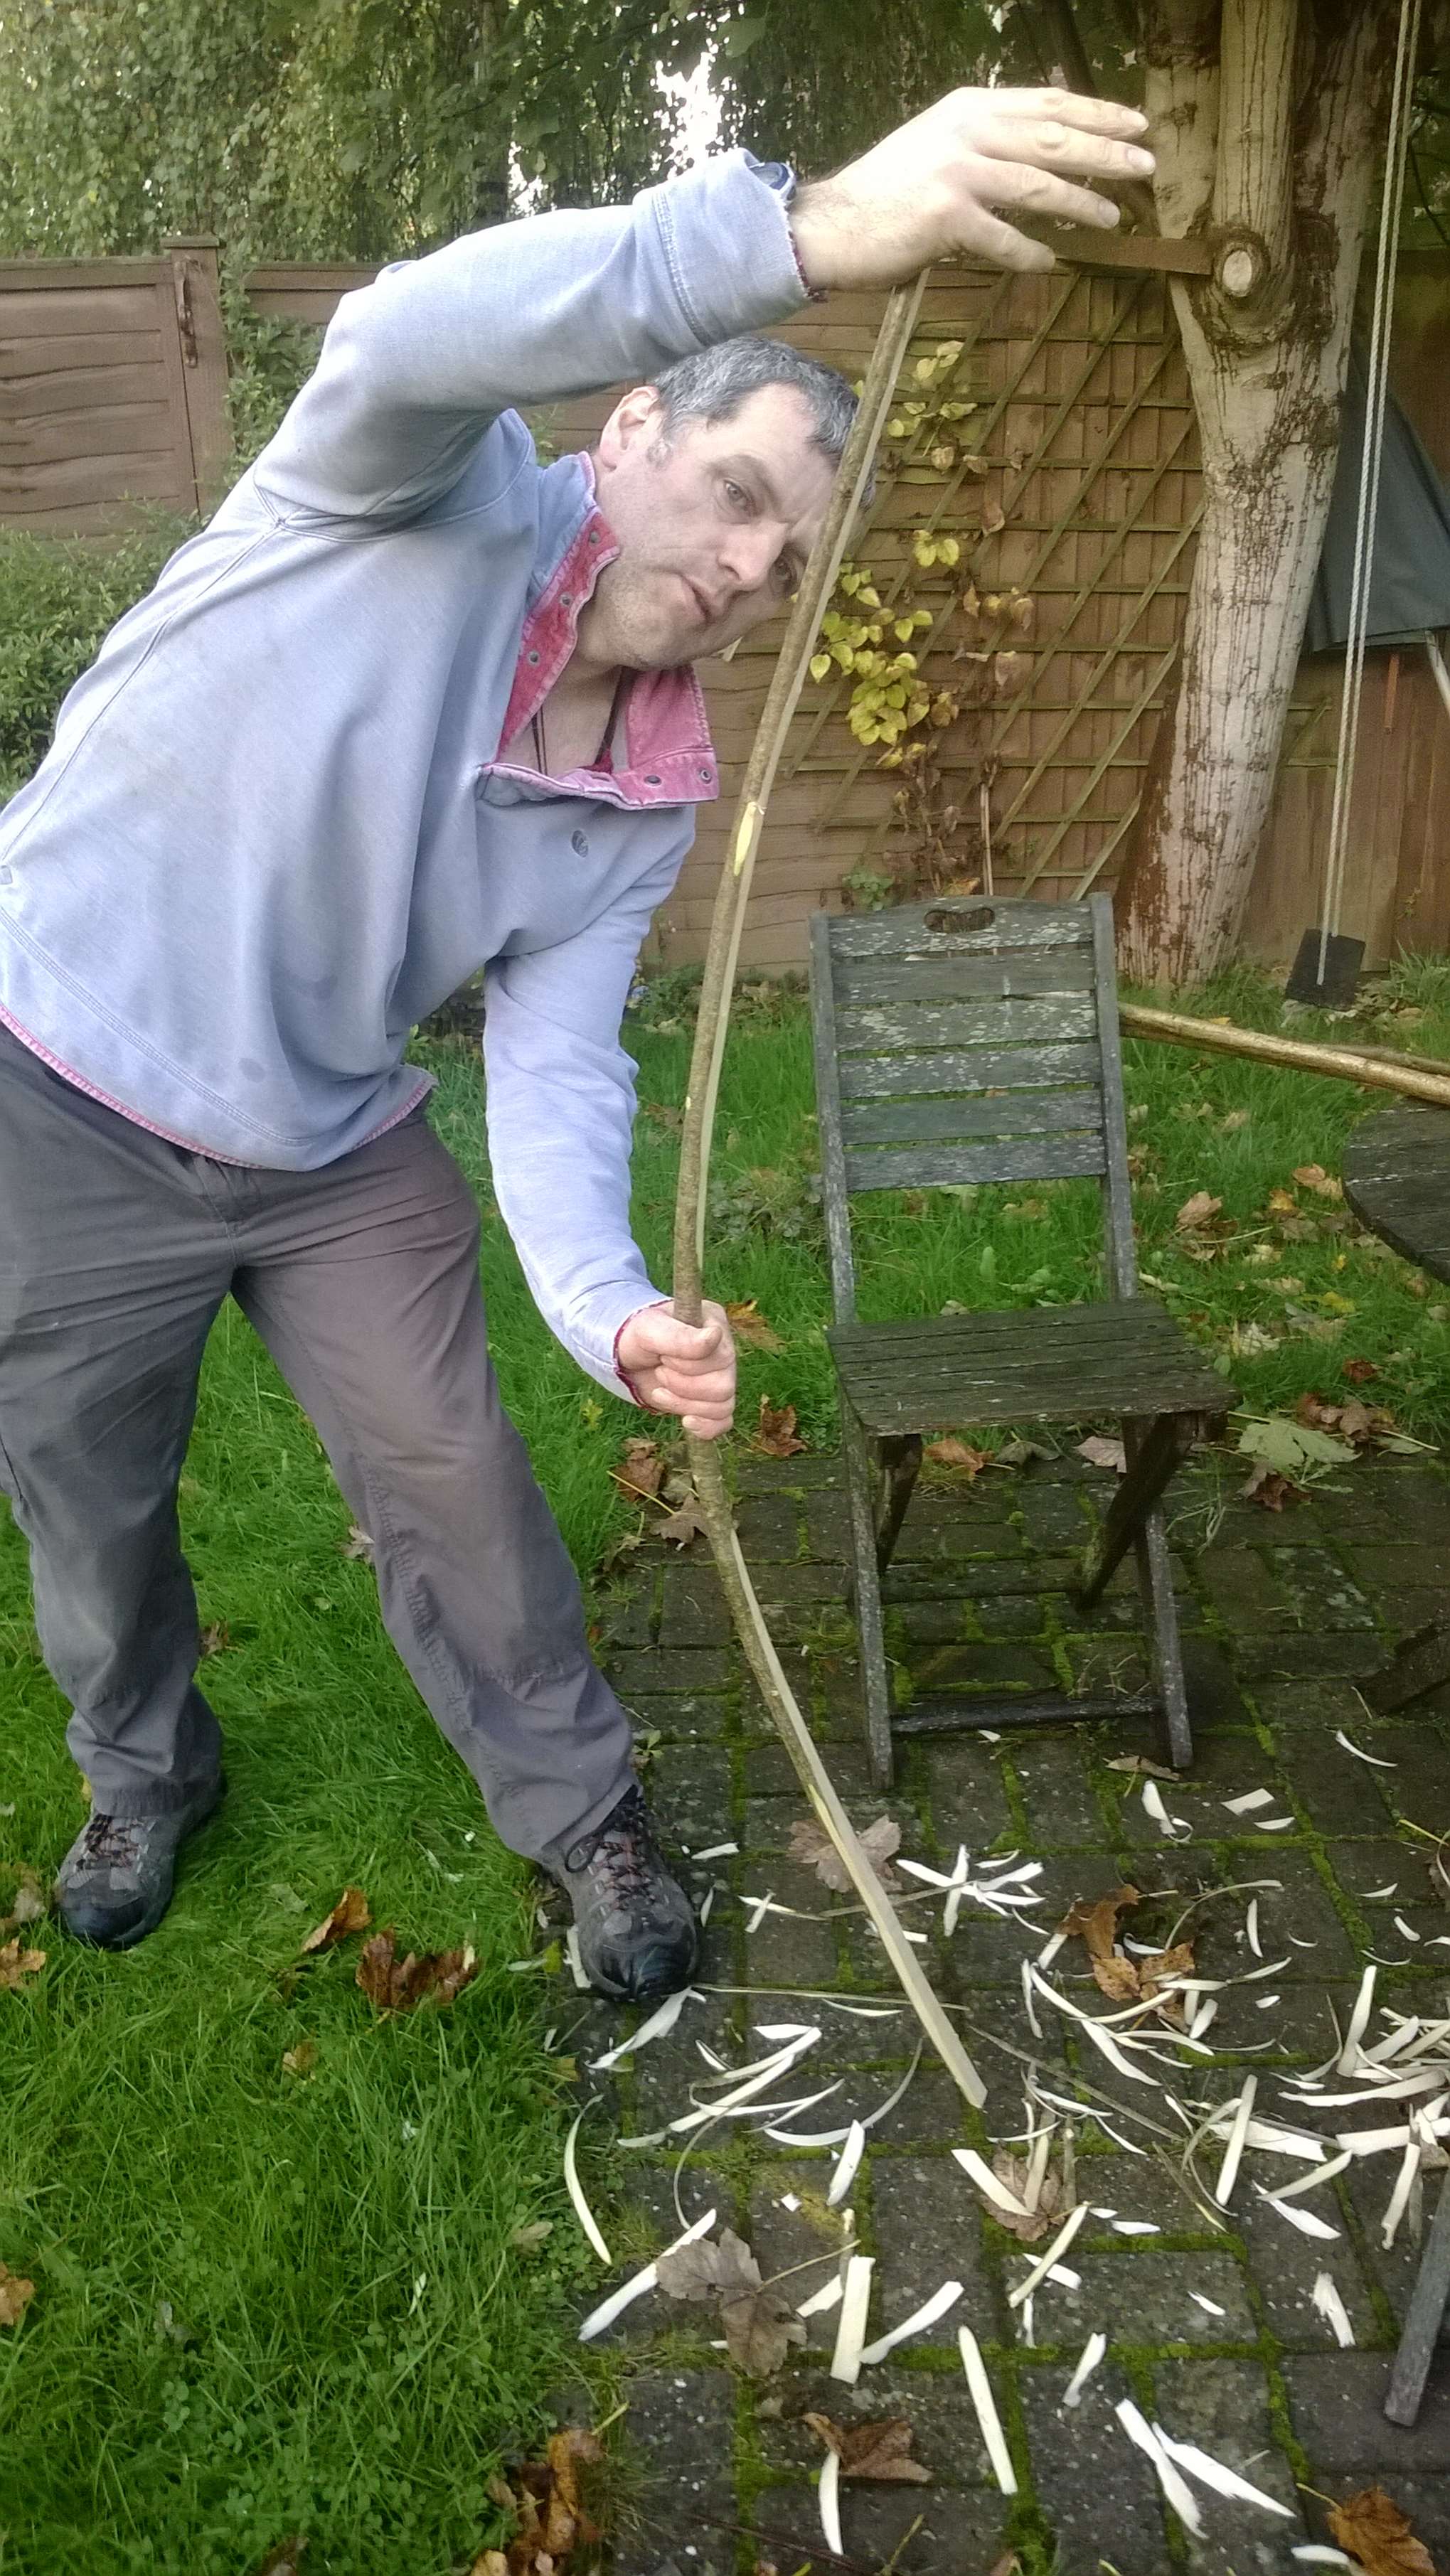
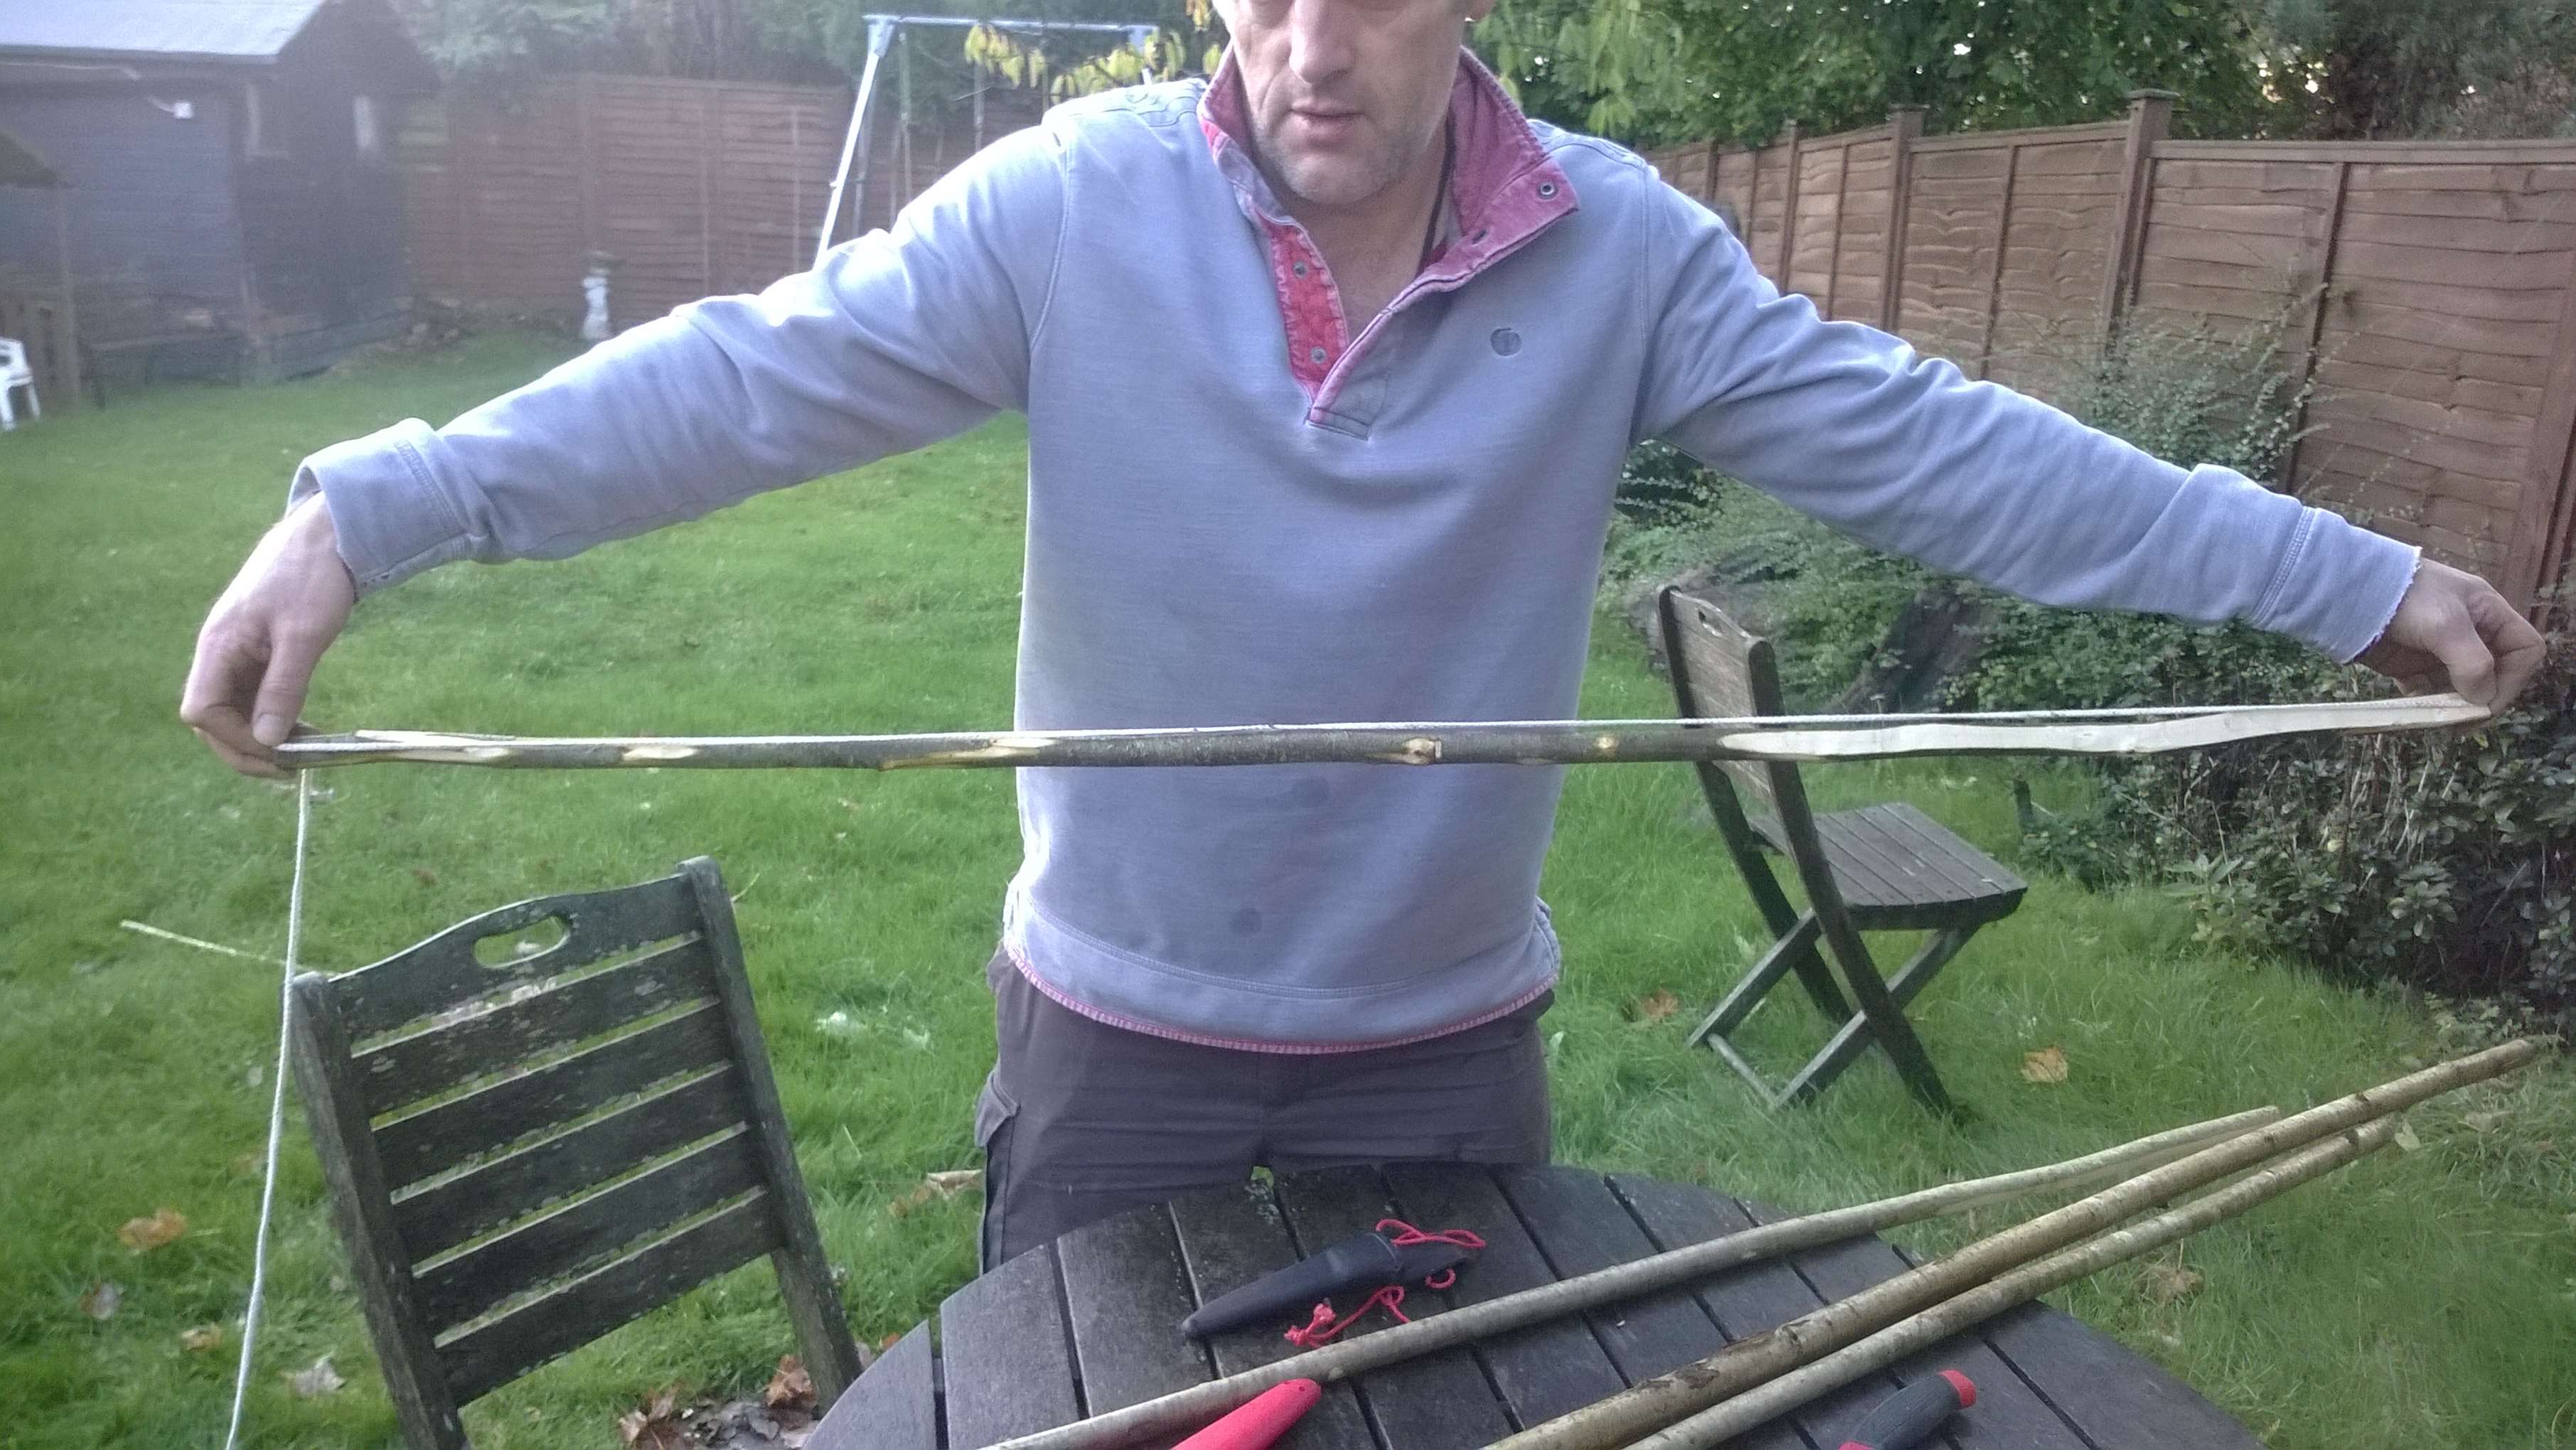
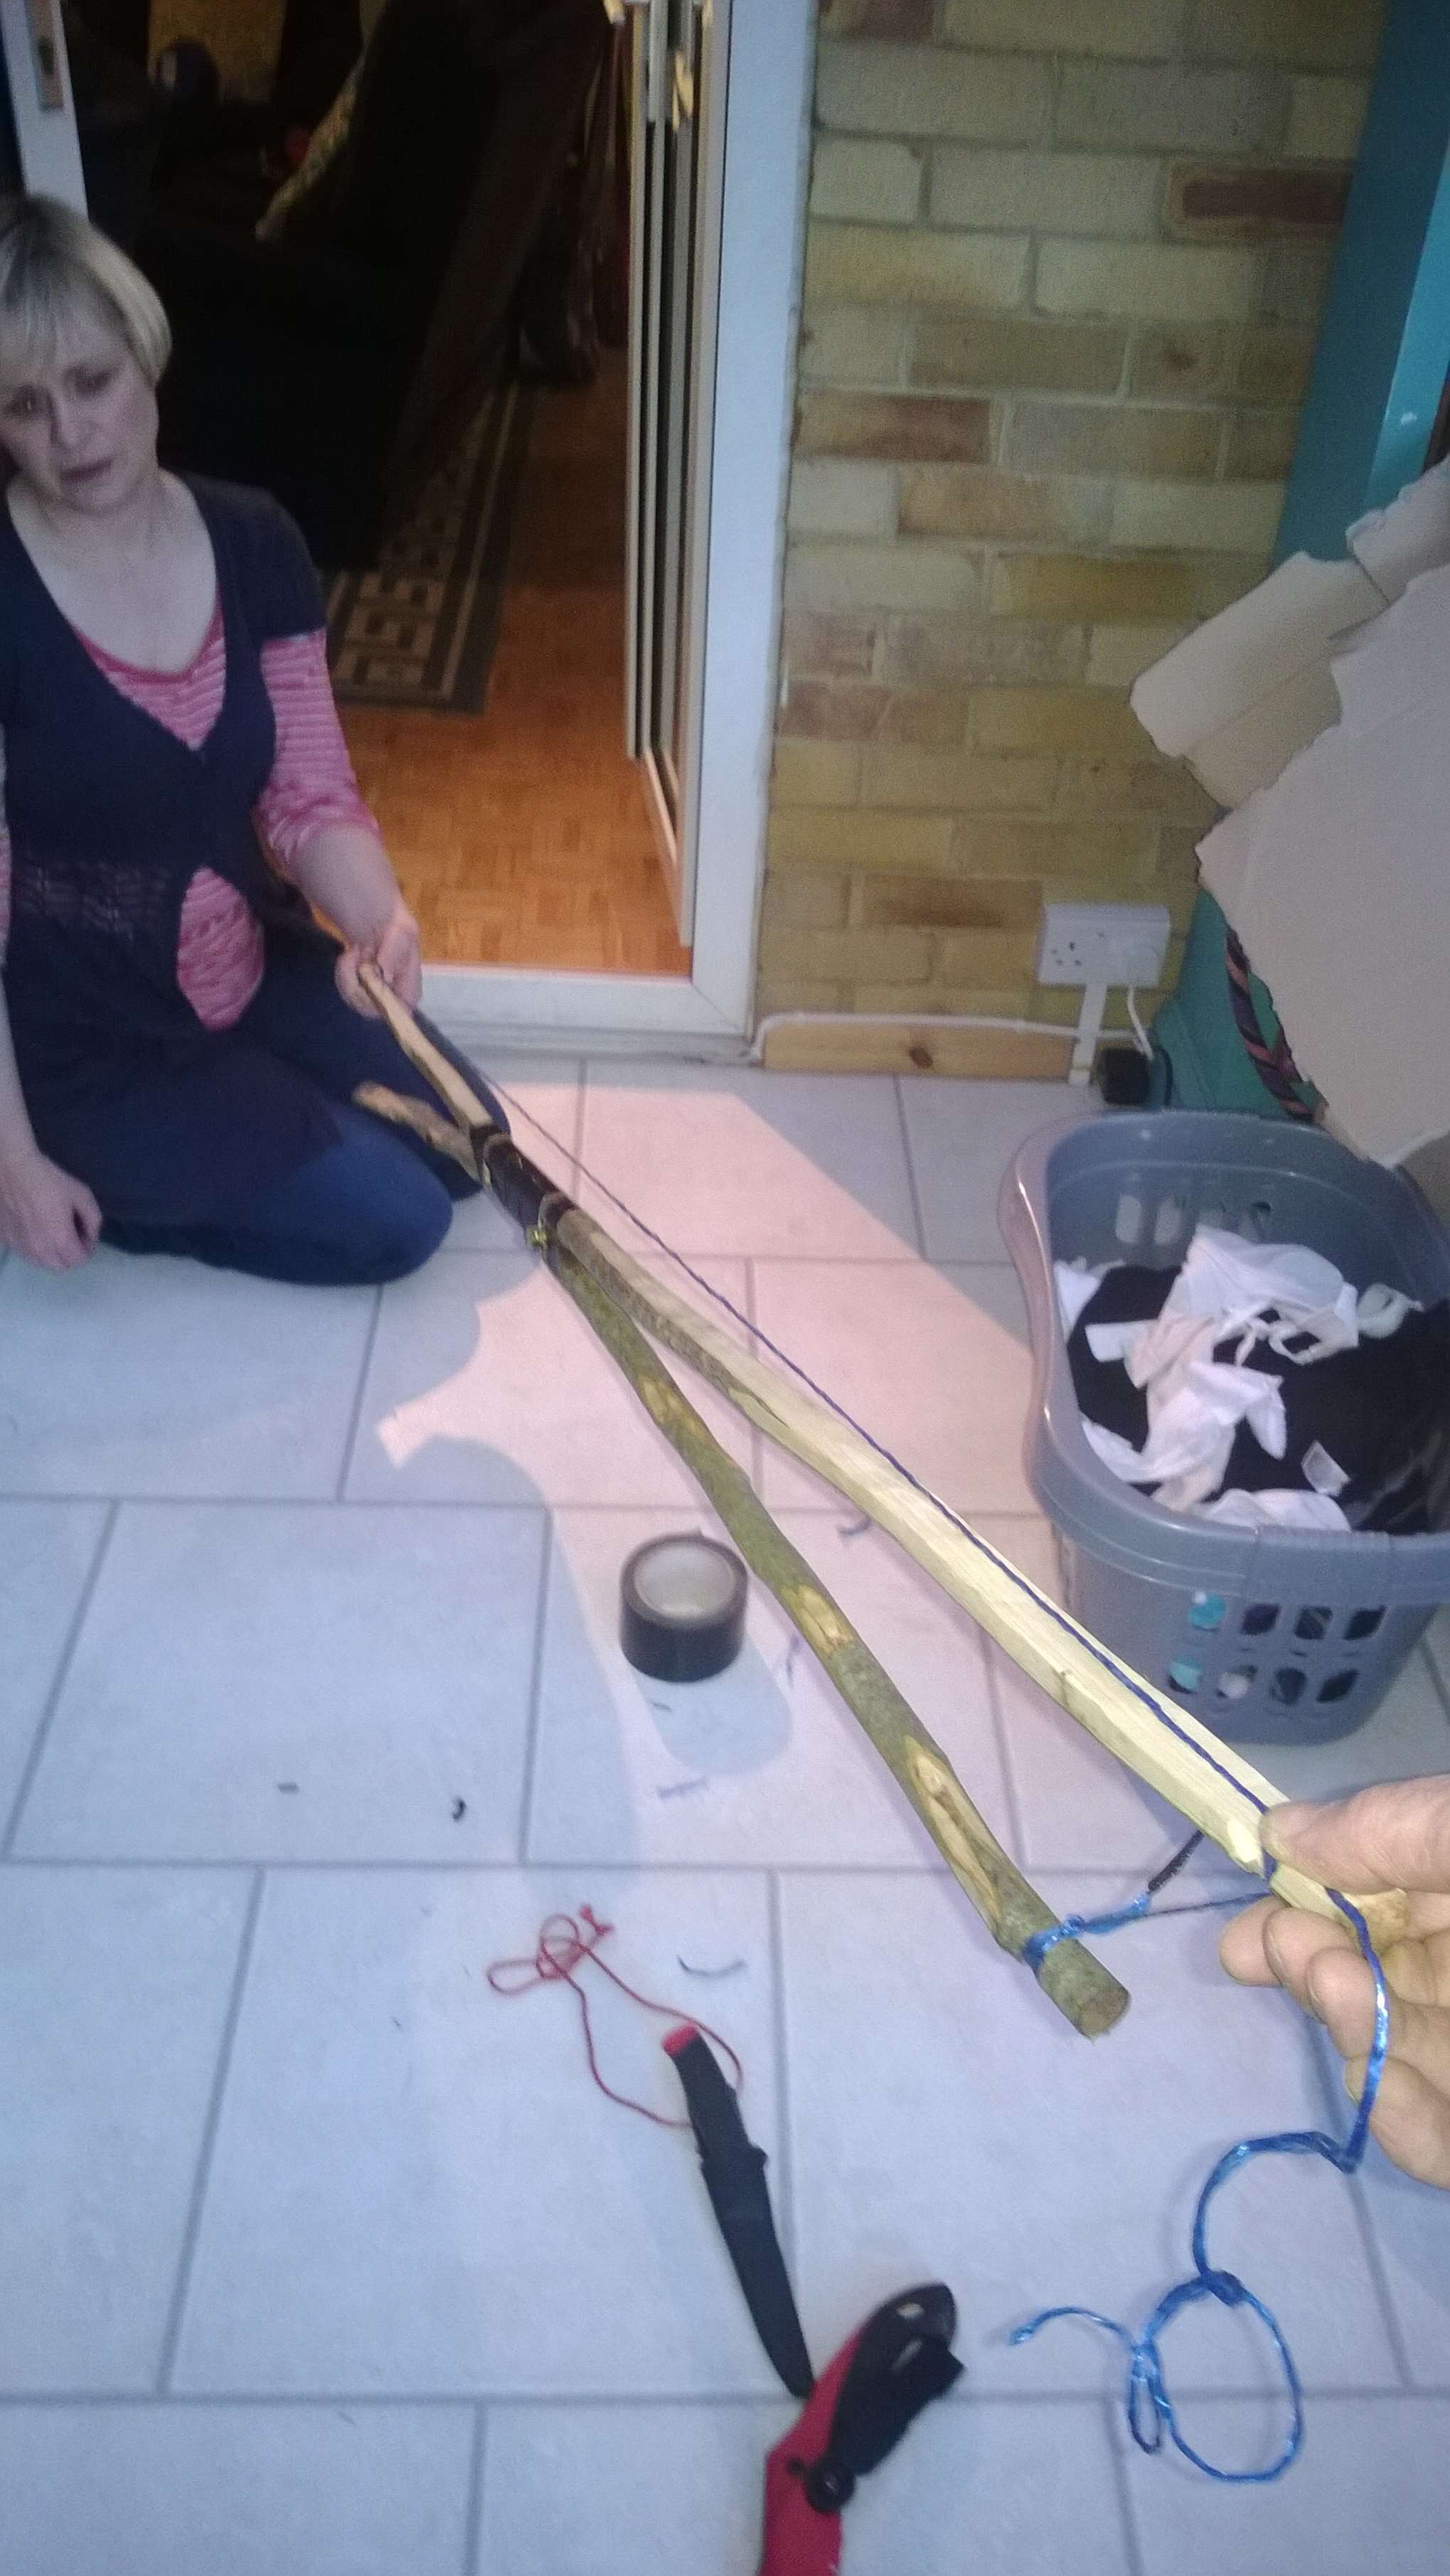
After warming the wood up by bending it from the middle slide the bow string loop up into the top knock. To do this I trap the bottom of the Father bow on my instep, hold the handle in one hand and with the other hand both bend the upper Father limb and slide the loop into place.
Ideally the brace height (handle to the bow string) should be a fist and thumb in height. You may need to adjust the string length to get this.
Then attach a piece of string to the end of the other Son limb and tie it off over the bow string loop on the father limb in a knot that will come undone easily. Try and get the distance of these limbs to match the distance on the other end. This way you can always brace the bow fully.
When unstringing the bow all you need to do then is untie the knot on the top Father limb (the string to the Son) and then slide the loop on the Father limb down towards the handle.
As Bailer twine can be hard on the fingers I roll tape onto the nocking area of the bow string (you may not need to do this if your string does not cut into your fingers).

The Handle
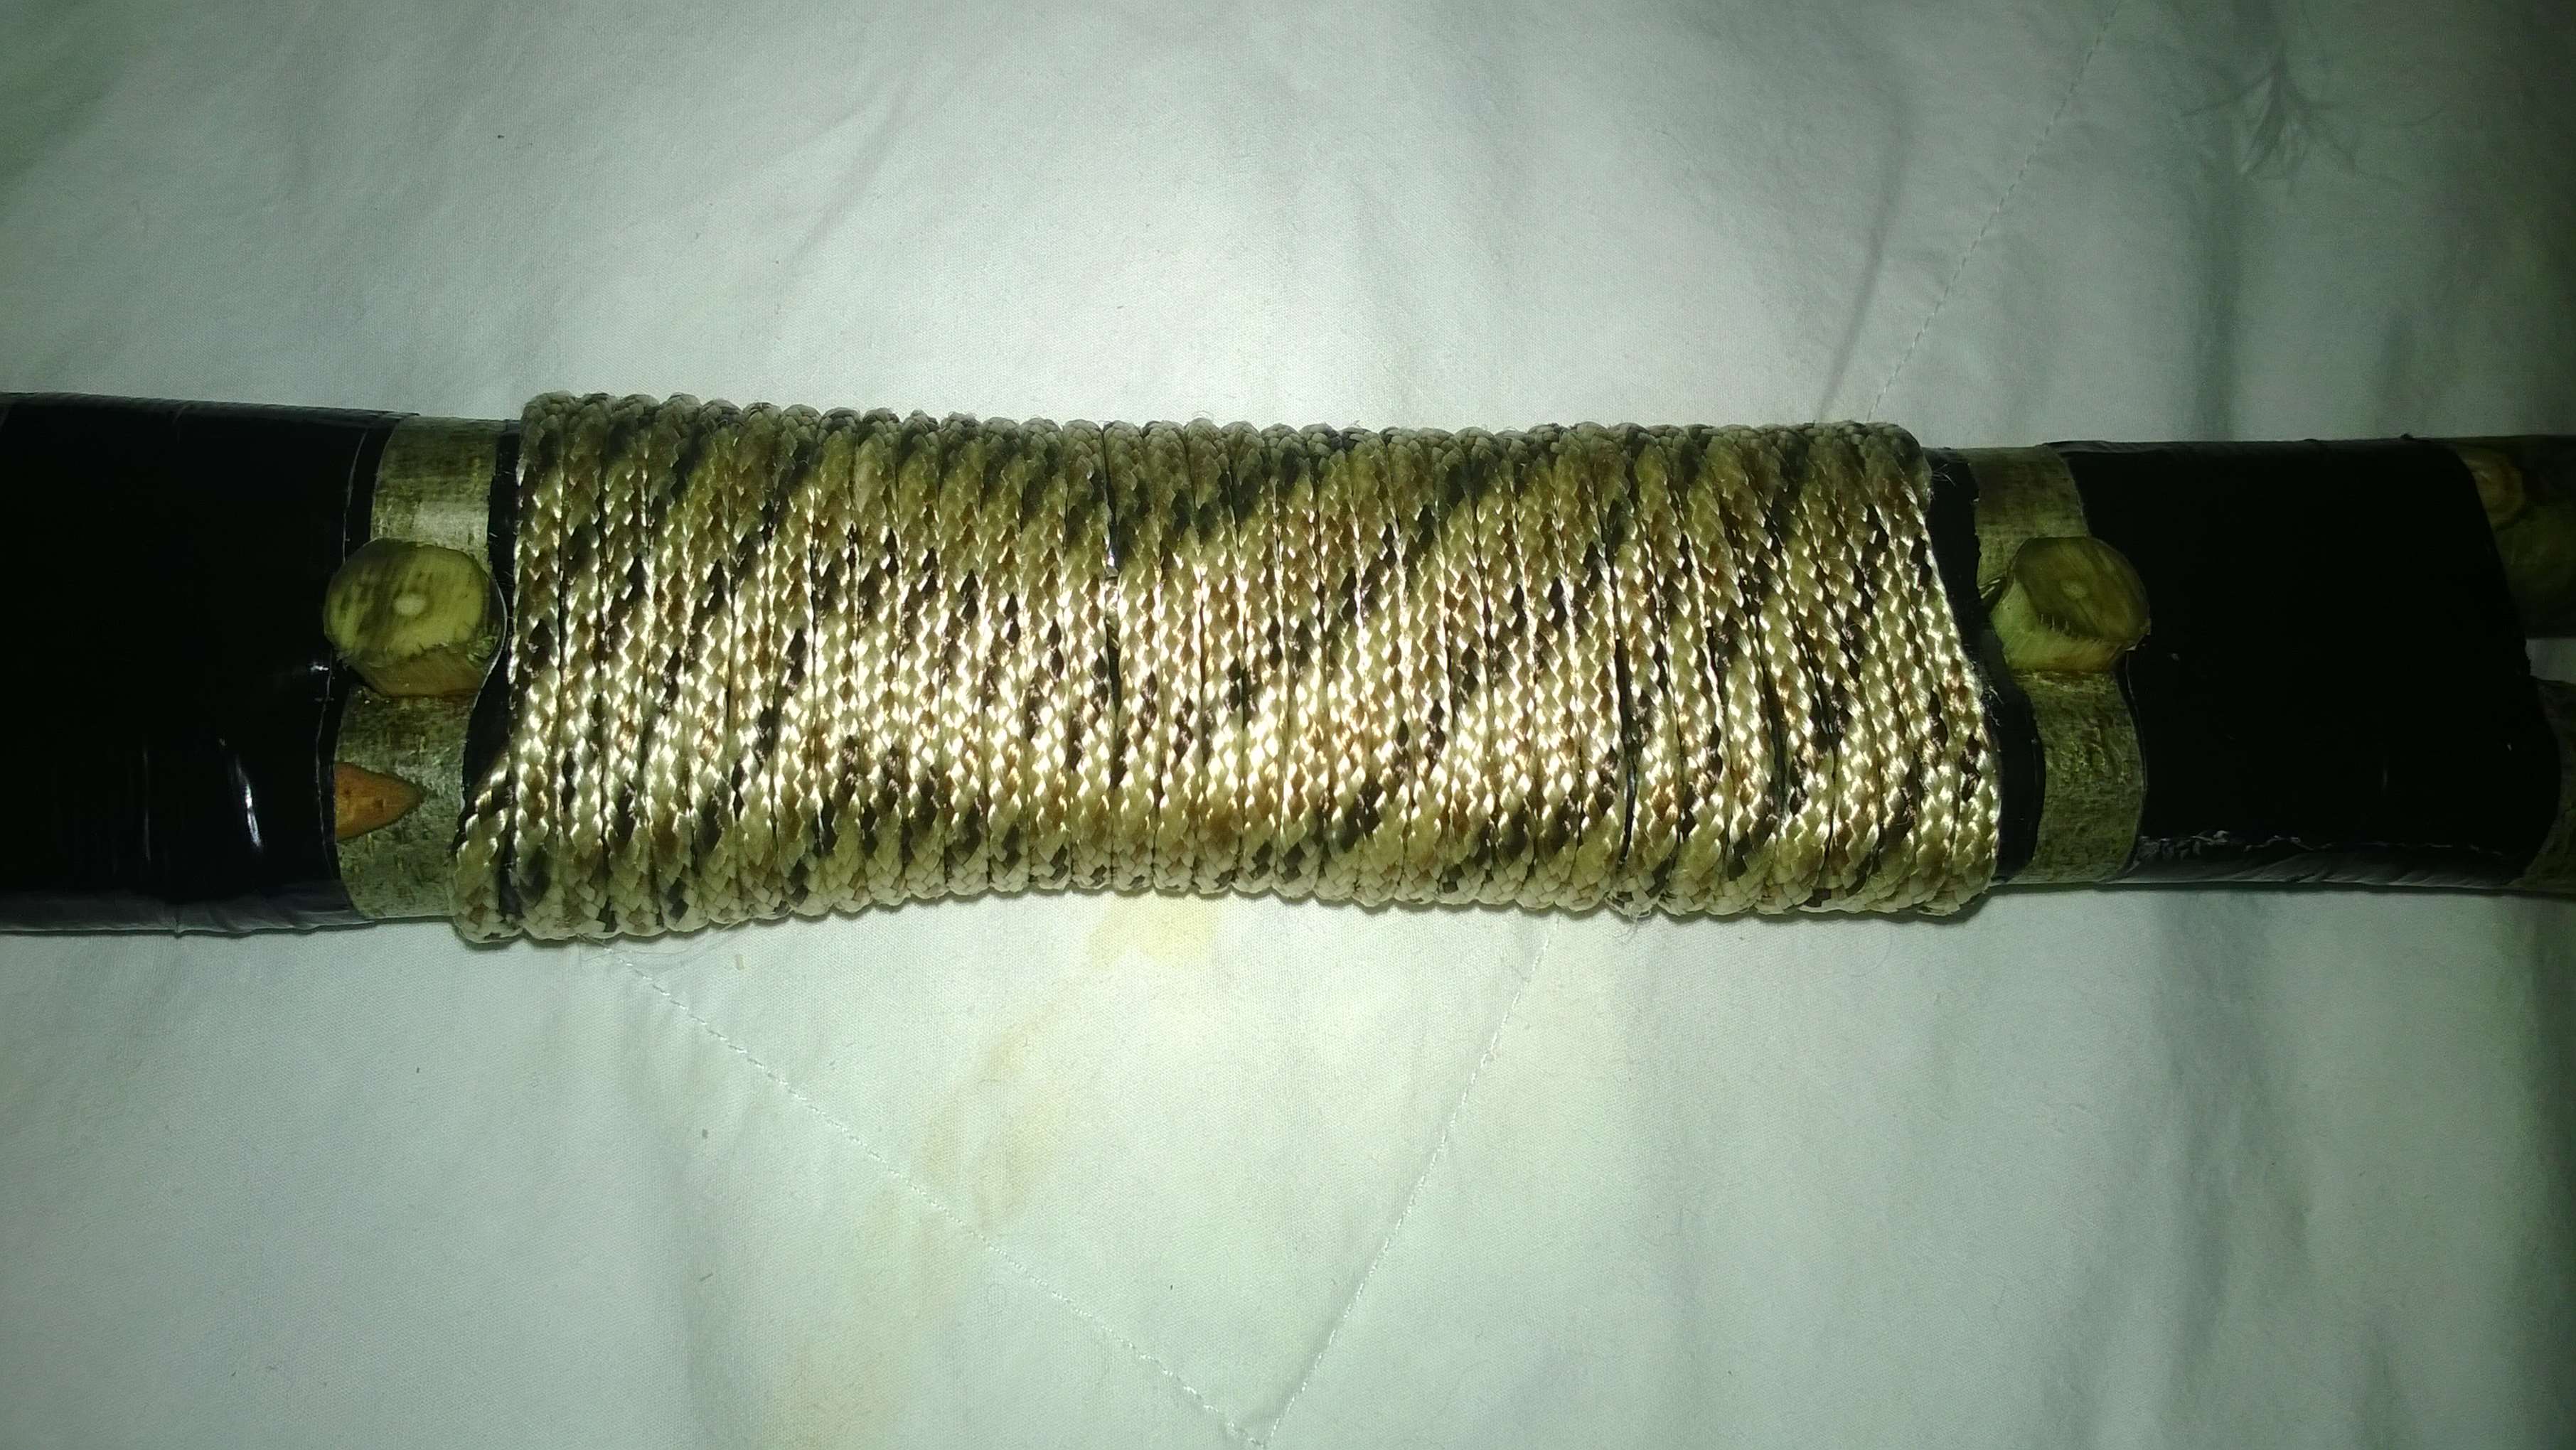
It is not a requirement but I like to make the handle more comfortable with some Common Whipping.
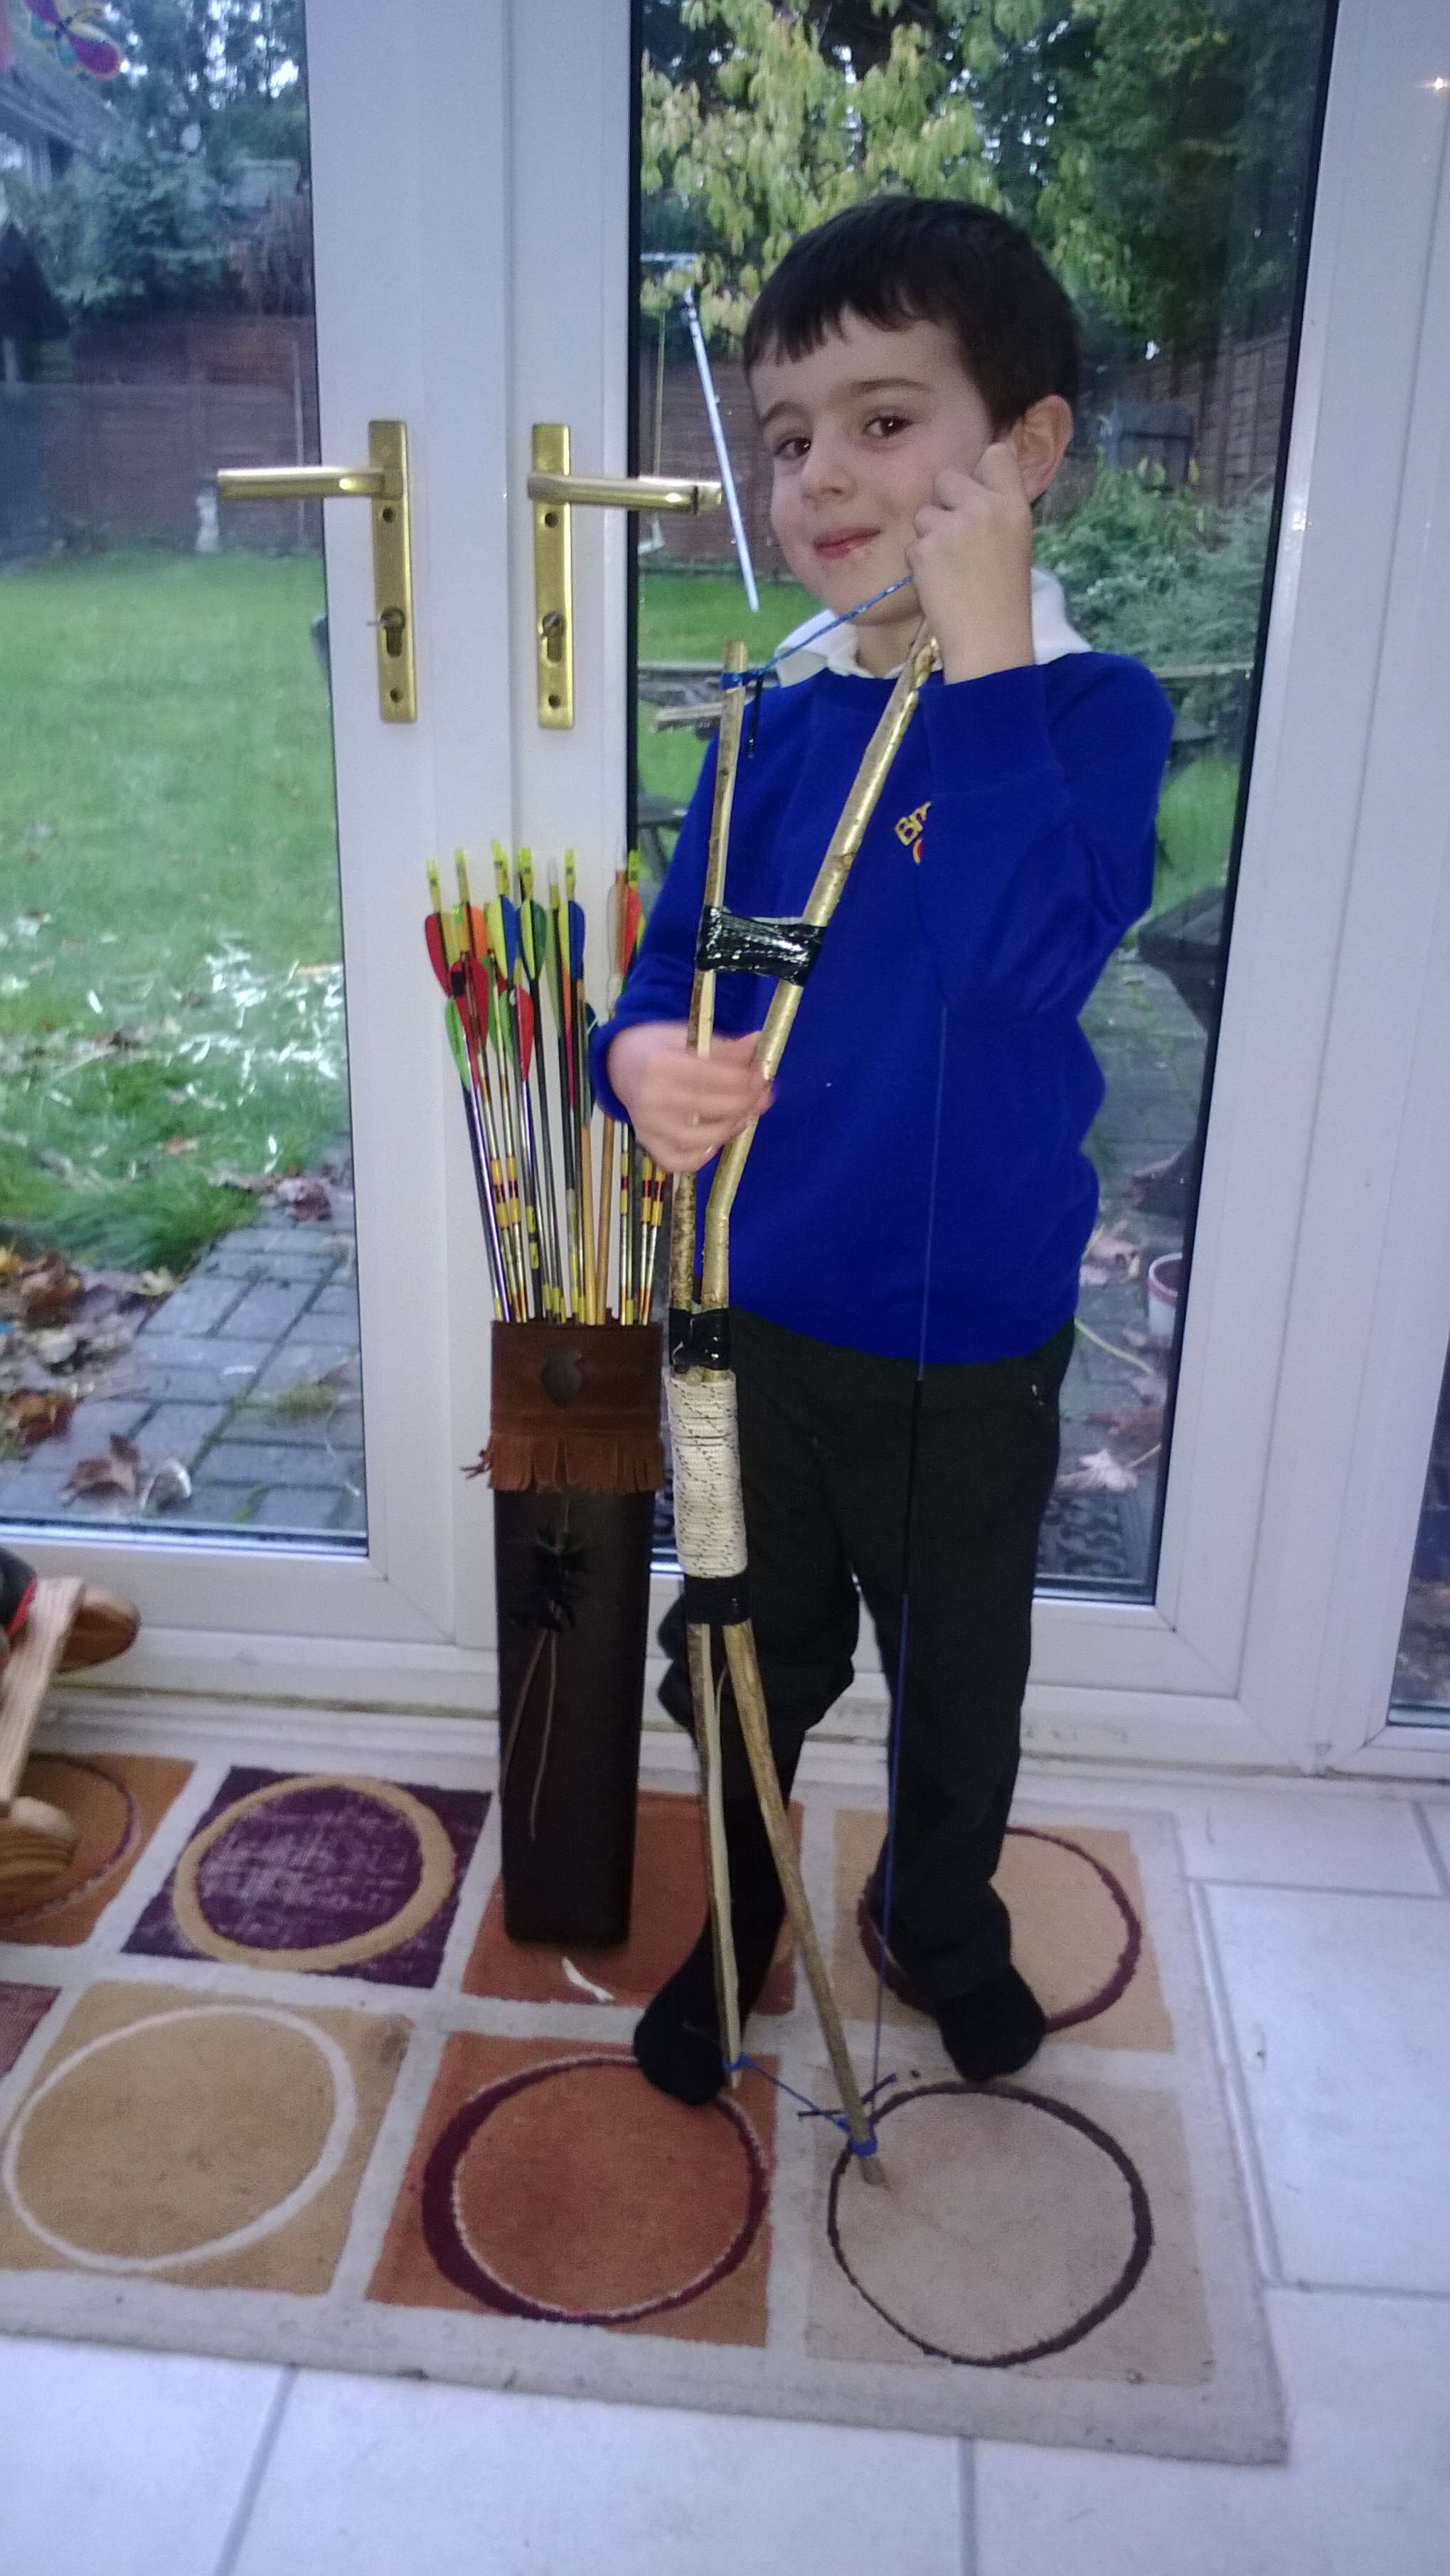
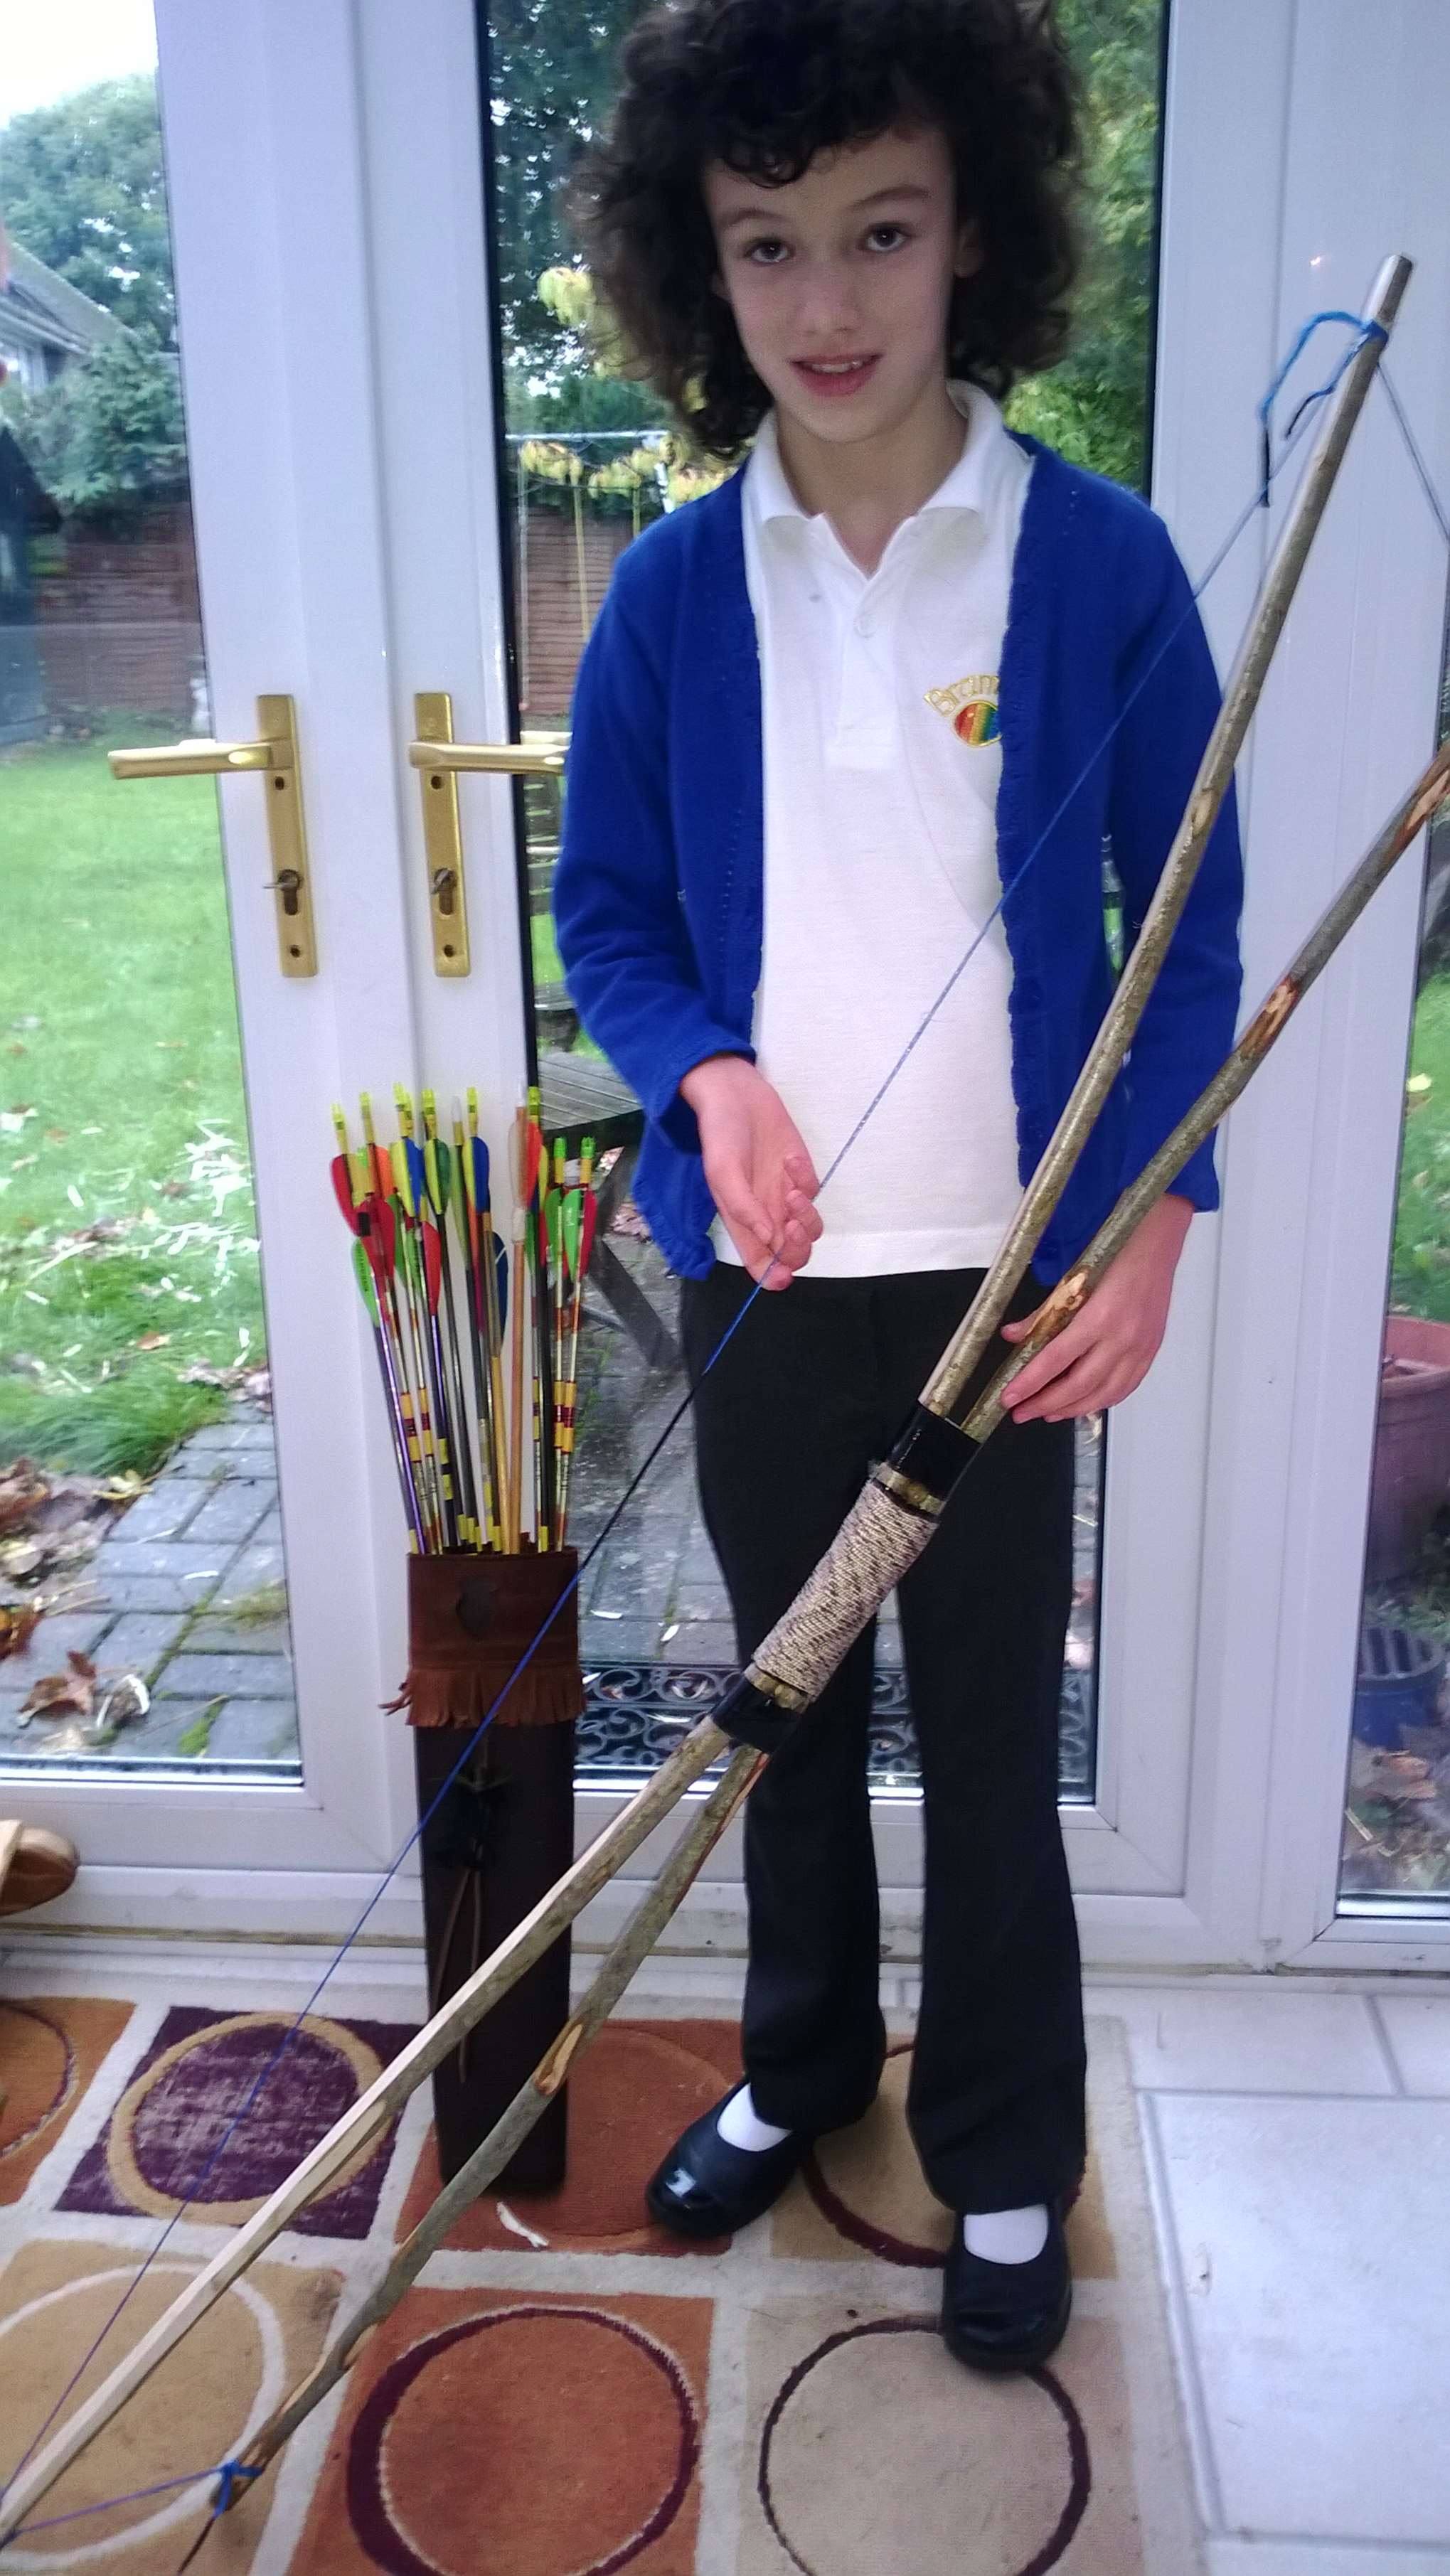
The Finished Bows
Two happy children looking forward to trying out their new bows. Finlay’s bow developed a hinge so I added some extra tape to support it. It still shoots well.
Bows in action.
This is just one way of making this type of bow but it has been tried and tested by hundreds of Sea and Marine Cadets over the years.
Good luck and it would be great to hear of anyone making one of these bows.
George
Links
Kepis Bushcraft video on a quick Father& Son bow
http://www.youtube.com/watch?v=AQIaZCuMzCM
Barry Minditch video on a primitive Father & Son bow
http://www.youtube.com/watch?v=NgIlr5xgC4E
Some history on the Father & Son bow
http://www.primitivearcher.com/smf/index.php?topic=10369.0
My first Sea Cadet trip this year was down to Pippingford Park in the Ashdown Forest. This is an MOD training area but as I like to think of it as one of the best playgrounds in the world.
We went down to practice some Bushcraft and train one of the younger instructors on some navigation skills.
I was with my friends Keith Coleman, Charlie Brookes and Emma Deasey.

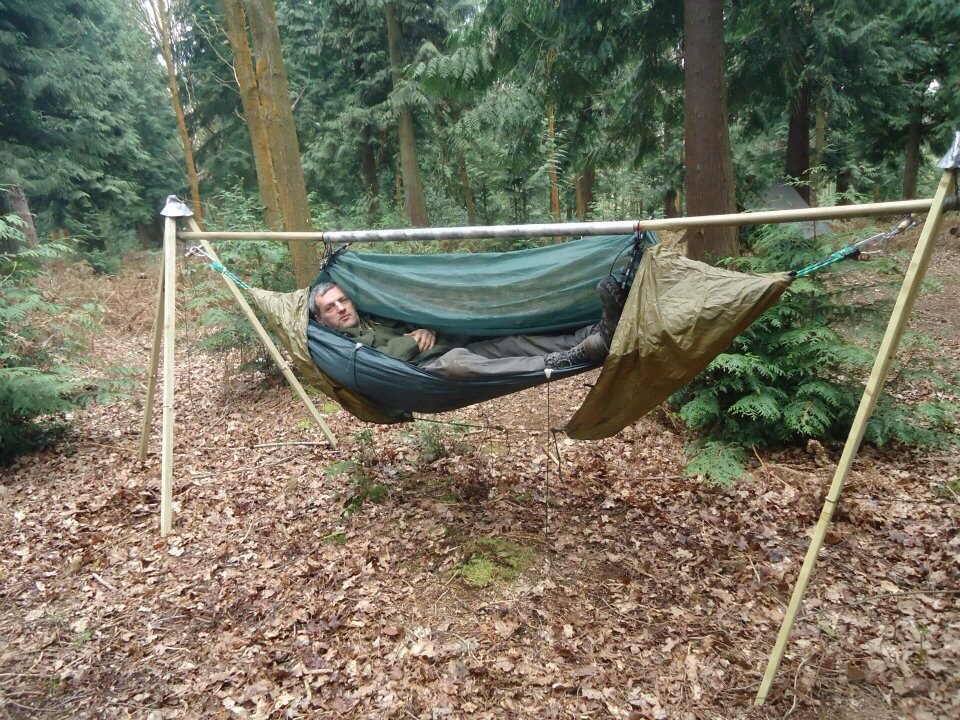
As we did not have any cadets to teach we took our time setting up our camp. We had our hammocks and a main tarp for a fire. It was a tad on the cold side but we had enough kit to stay toasty.
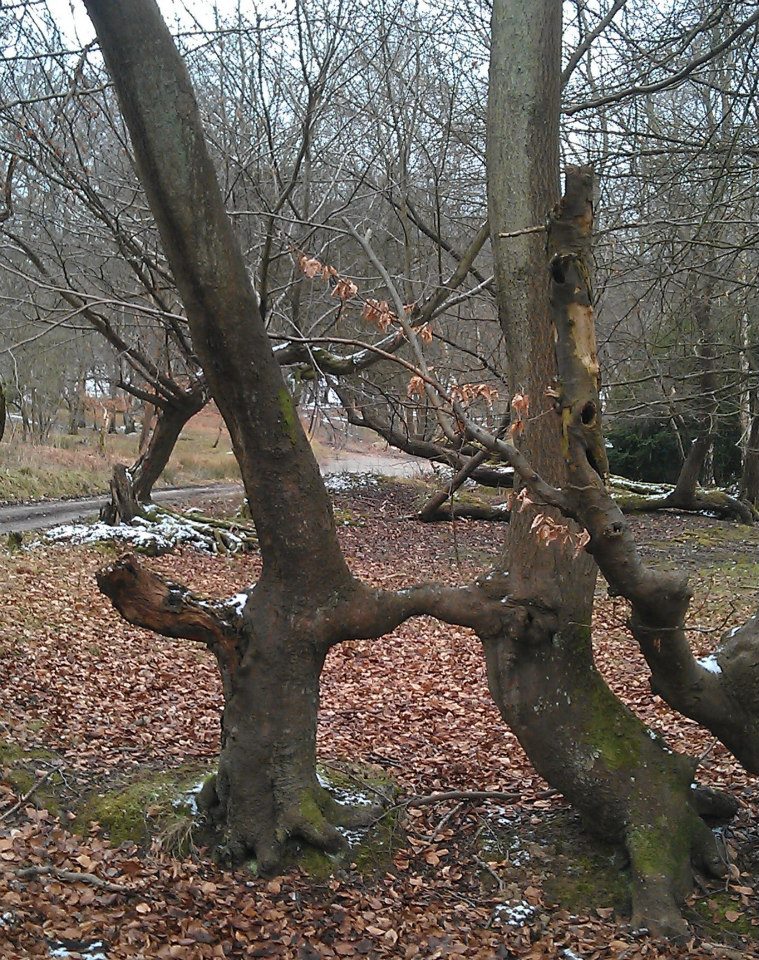
The site is full of great sites. One of my favourite trees is the Kissing tree.
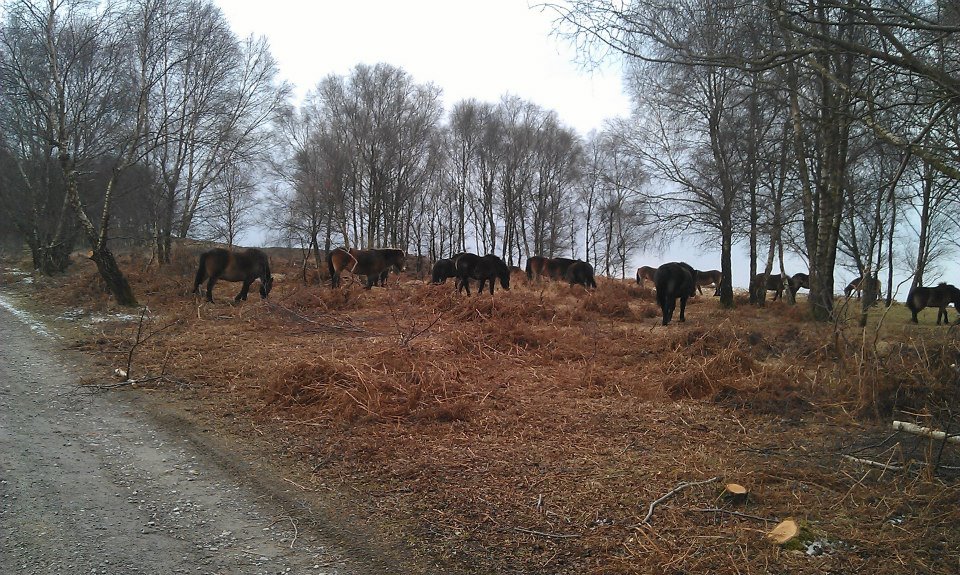
The MOD have brought Exmoor Ponies in to help manage the land. They are a hardy breed and are quite happy to graze the low quality grazing found here so helping to manage the landscape as heathland.
The park has over 600 Red and Fallow Deer so spotting droppings is not a problem. The droppings seemed to be pointed on one end and indented on the other so I took these to be Fallow.

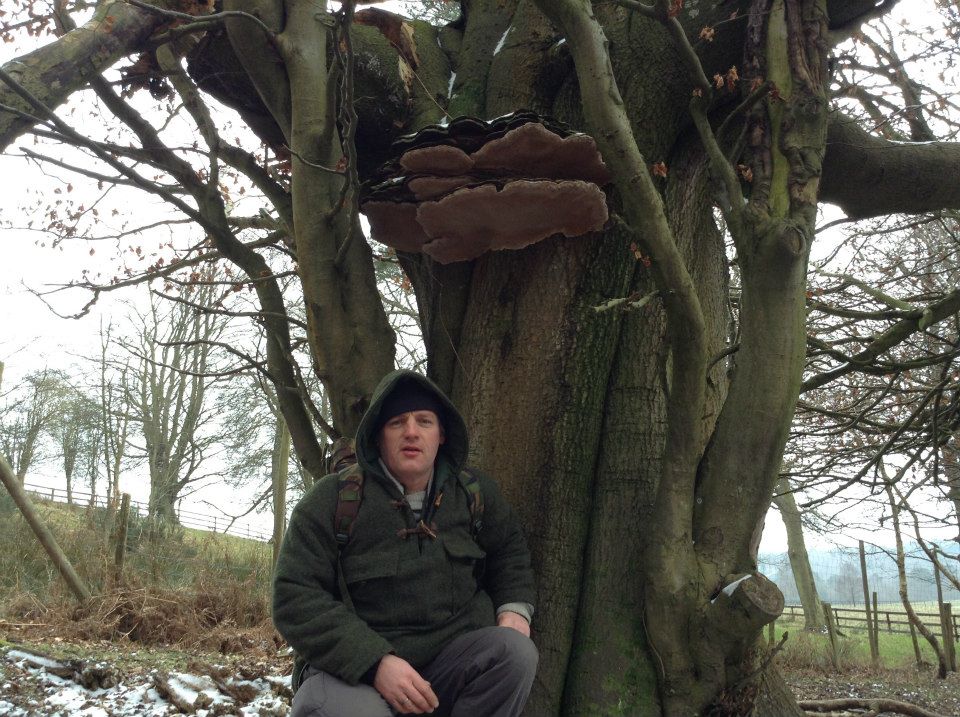
Some great fungus to shelter under.
Much of our time was spent mooching around and as usual we were always picking up material for tinder.

The park has six lakes to wander along and it was not long before we spotted something…………….
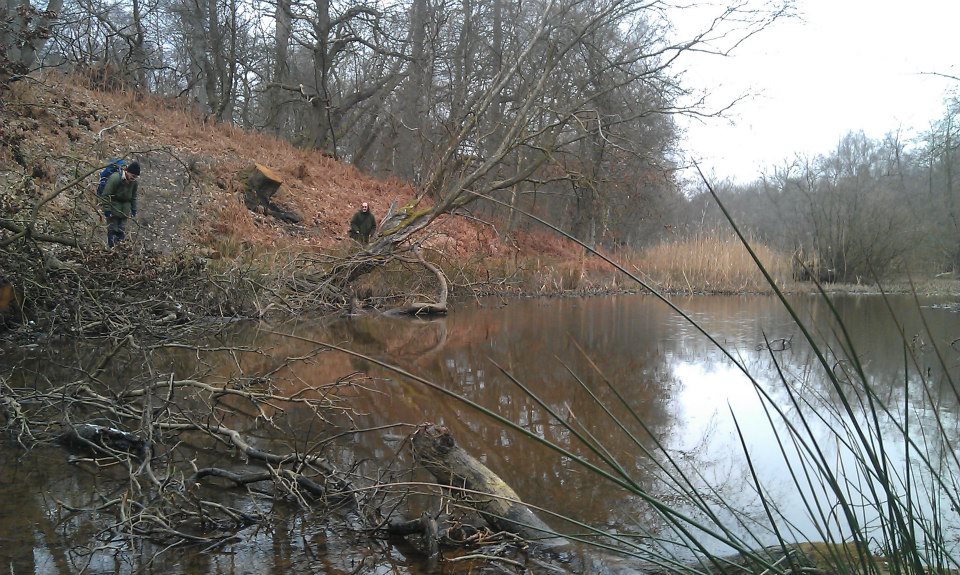
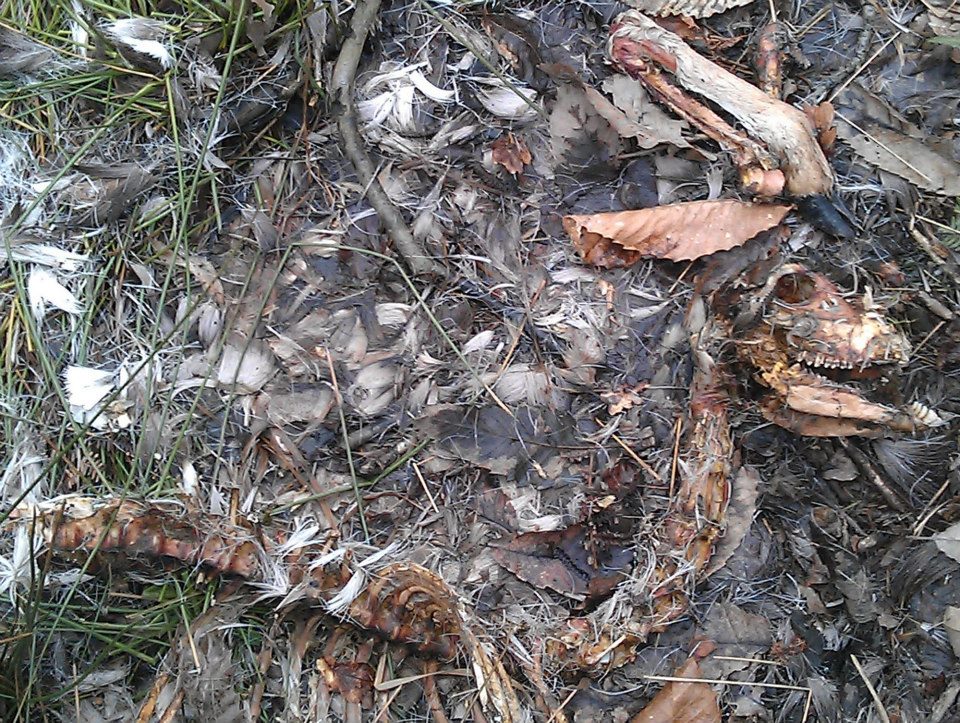
The remains of a Deer by the waters edge.
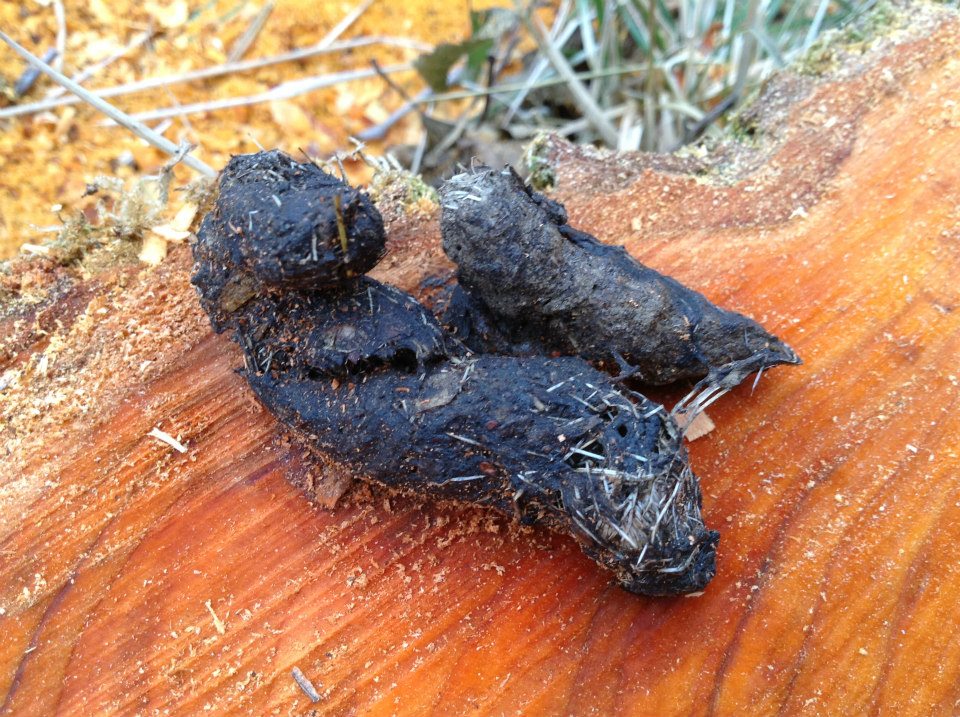
Further on on a stump I found some fox droppings.
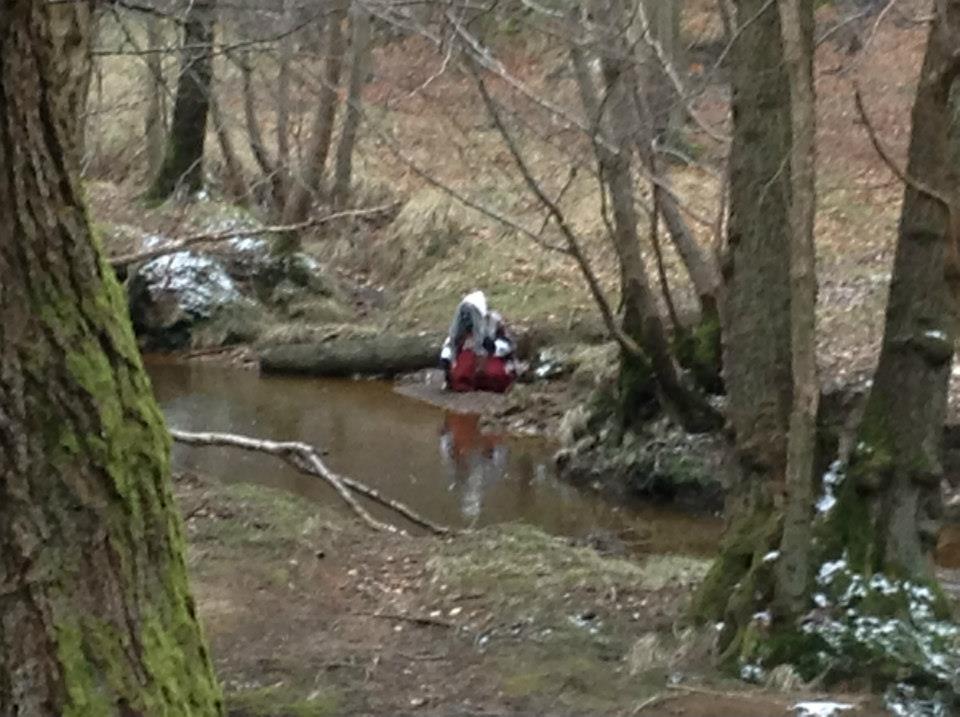
But the surprise was spotting the Witch of the Woods.
The park allows filming and this was a scene from the tales of Albion.
We had to try out our new hammock seats from UK Hammocks
These are great for instructors as you can stuff them in your pocket and pull them out wherever you are.
A new convert in Emma.
As Sea Cadet instructors to go hungry is a crime.
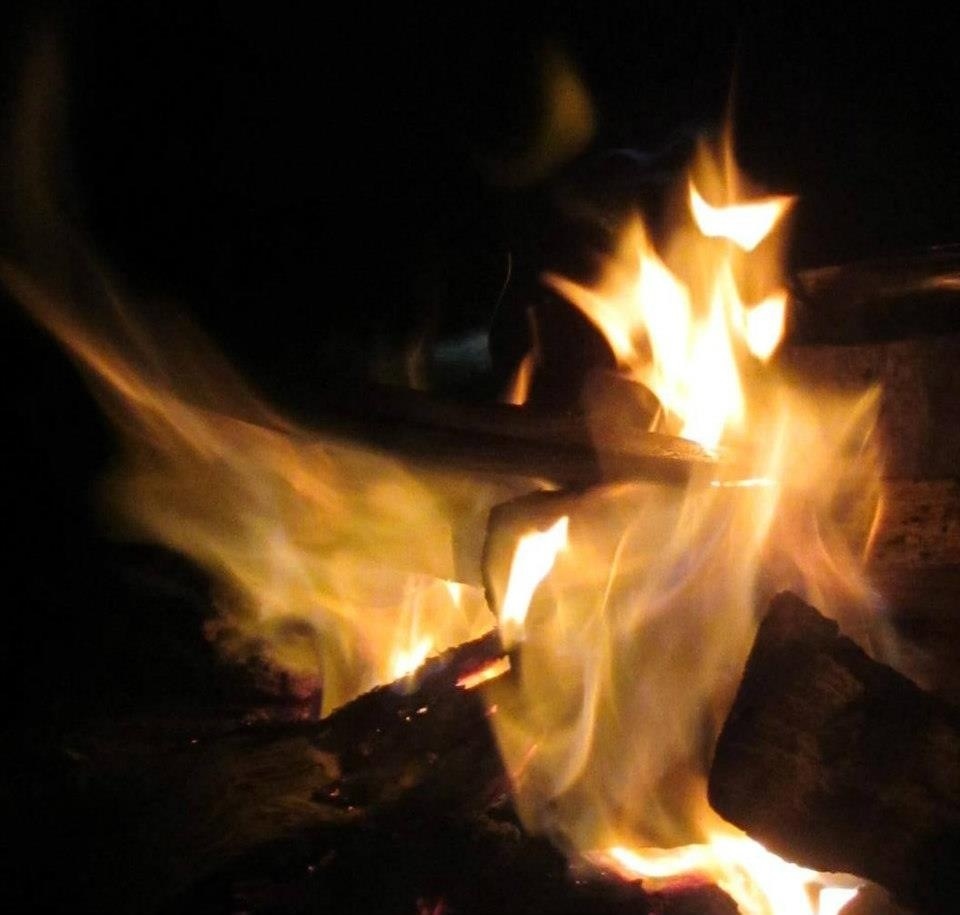
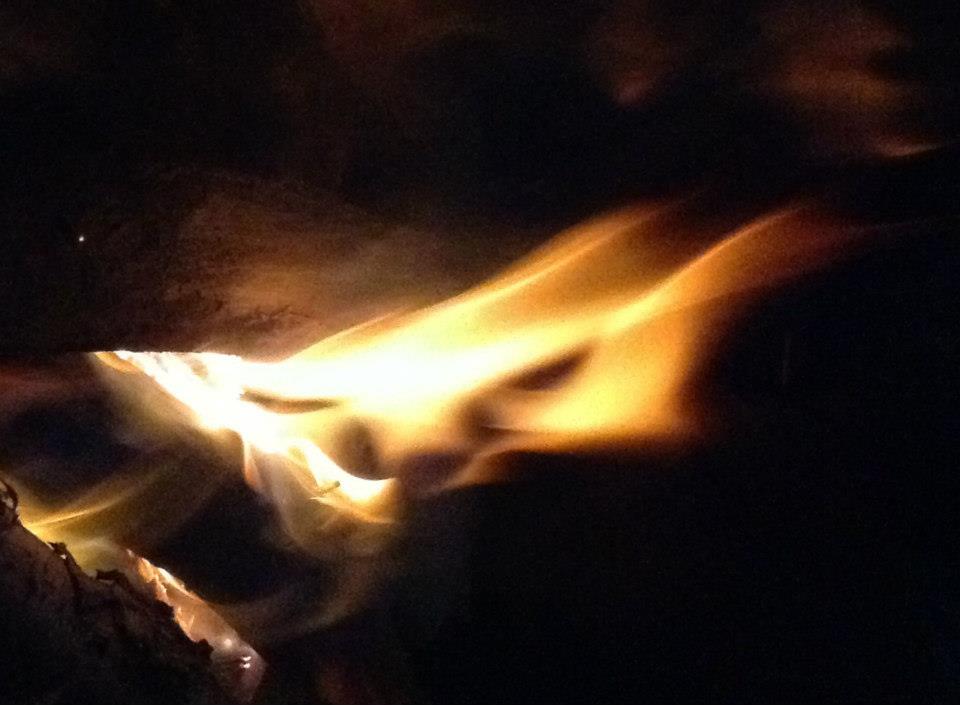
As usual I try and find Fire Faces in the fire.
The park is packed with archaeology. Please see the link below for further info on the park. This link is useful for all instructors bringing cadets here.
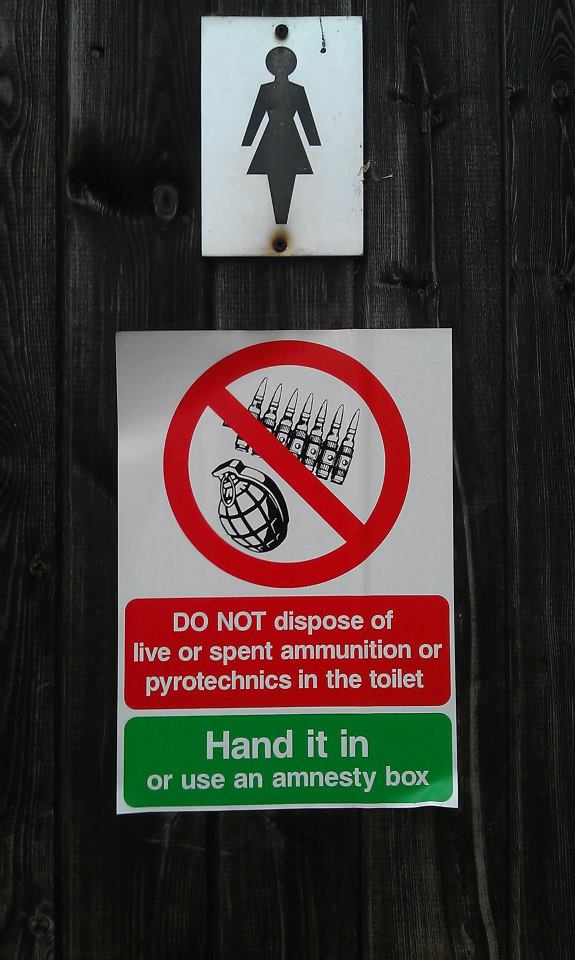
One thing you always have to remember is that you are on MOD land.
More information on the history of Pippingford Park can be found here – http://www.pippingford.co.uk/history
One wintry day last January while my kids and one of their friends were pelting me with snowballs I figured it was time for a little distraction for them.
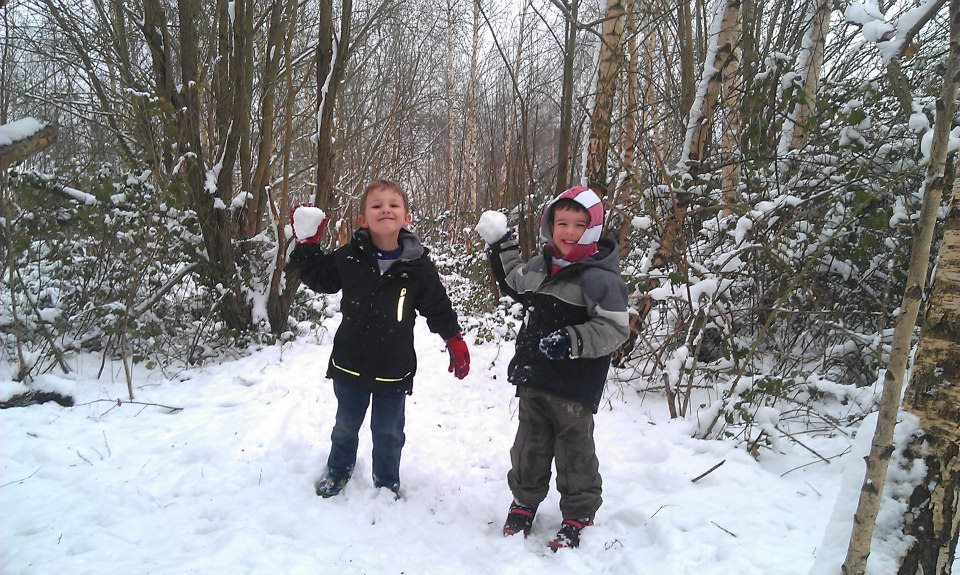
I asked them if they fancied helping me build a little home in our garden from snow.
As you could guess they were up for it. I like to think that given the chance most kids would be up for something like this.
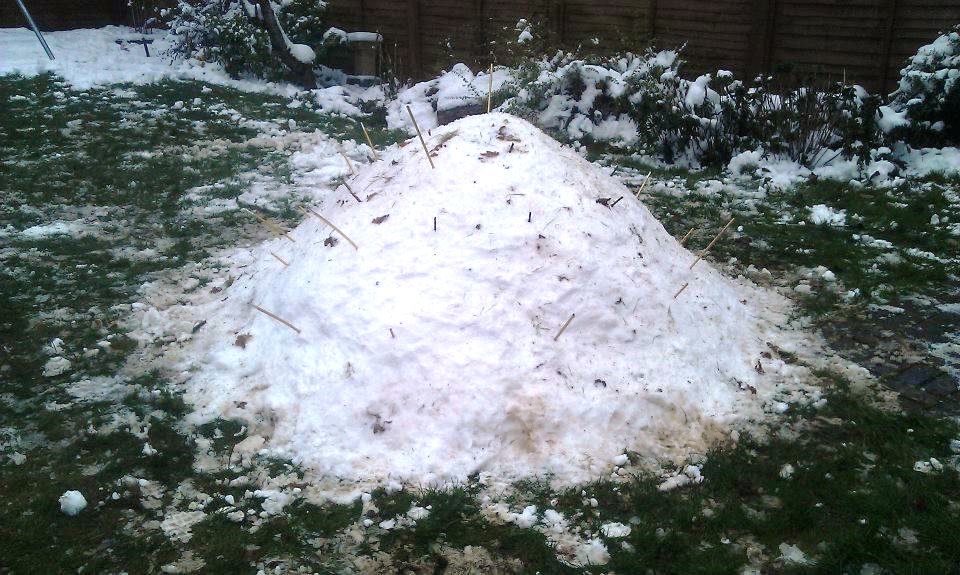
So off we started. We gathered up as much snow as we could to form a mound. You can produce a shelter like this quicker if you pack all your rucksacks into the centre and pile snow around them. Then when you dig it out you can just pull the rucksacks out. We just used snow though.
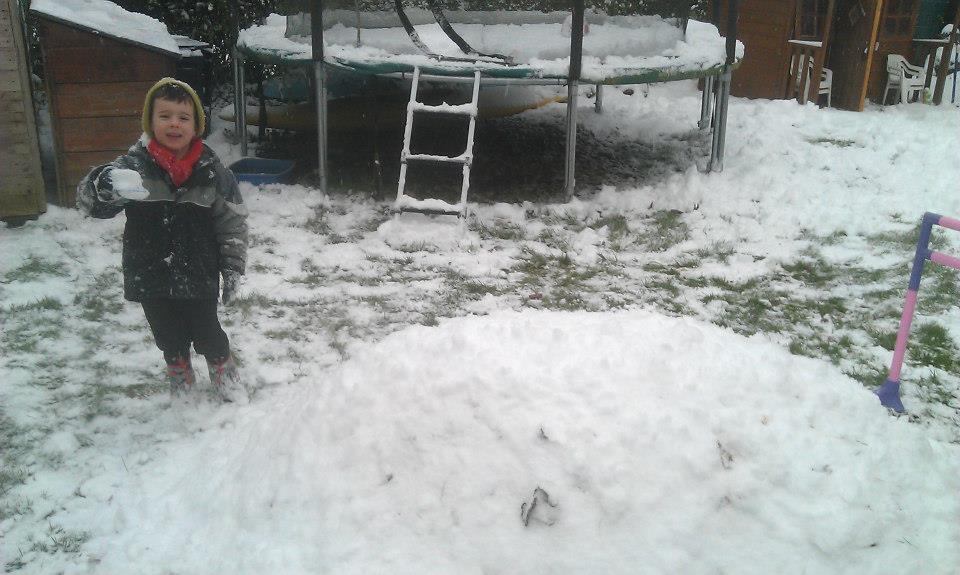
When you think you have enough snow piled up you need to compact it down as much as possible. I used the back of a spade for this. I have read that it is advised to let the snow settle for 24hrs but in any sort of survival situation make the best of what you have. I found that after really packing it down it was very strong. I am sure different types of snow will react in different ways.
I cut down a load of sticks and stuck them all into the dome to a depth of about 30cms with a little bit left protruding at the surface. This is helpful when you are excavating the snow out.
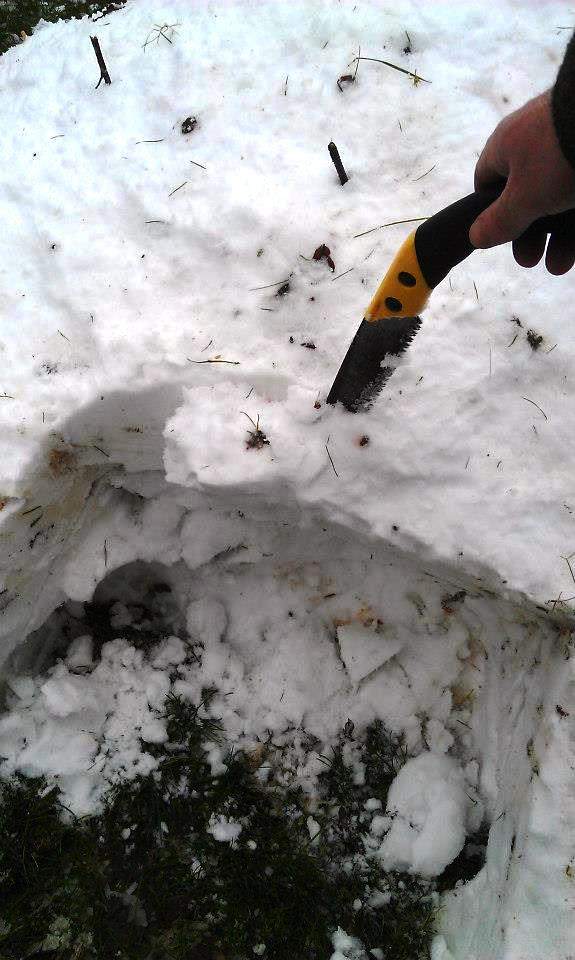
I used a saw and spade to dig the snow out.
When I came into contact with one of the sticks I would stop excavating that area and move on.
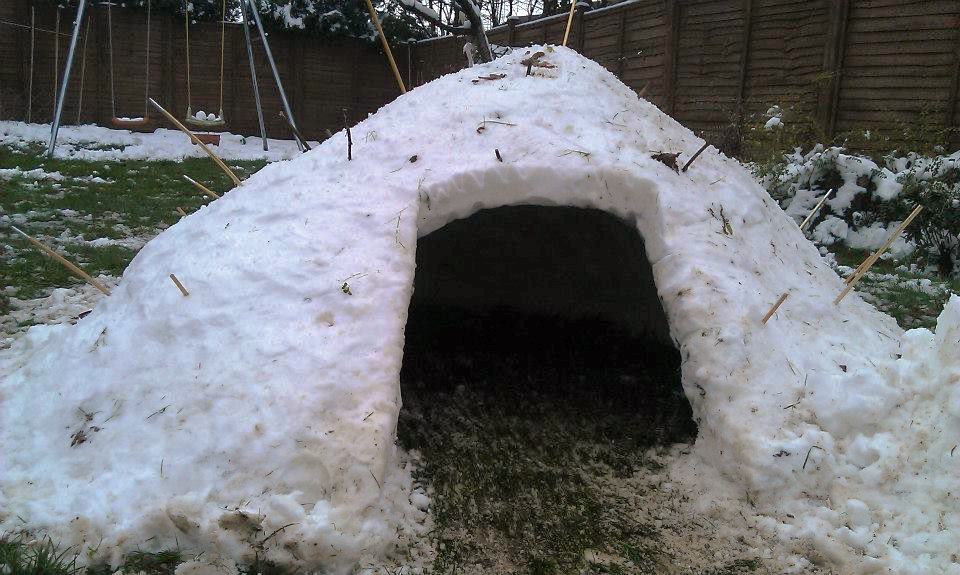
The main bulk of the interior of the Quinzhee came out easily but I did spend quite a while smoothing the inner surface down. Both to ensure the snow was still packed well and to stop any drip points forming.
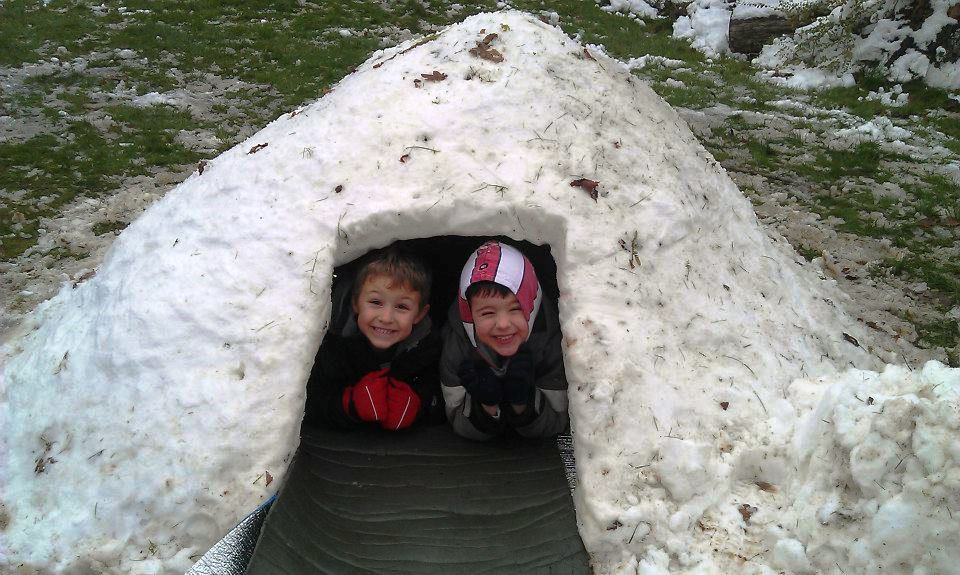
My daughter is lying fully flat here. When I tried it I had to curl up slightly.
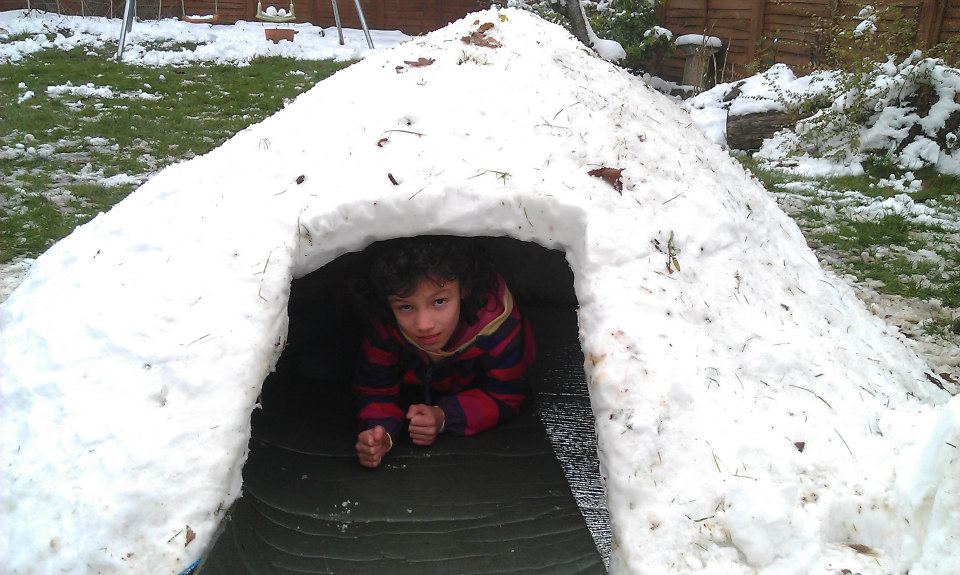
The boys were happy.
The structure stayed up for about a week before the thaw made it to unstable for the kids to go into it.
Cheers
George