
Welcome to Part 5 of this series on bushcraft candles.
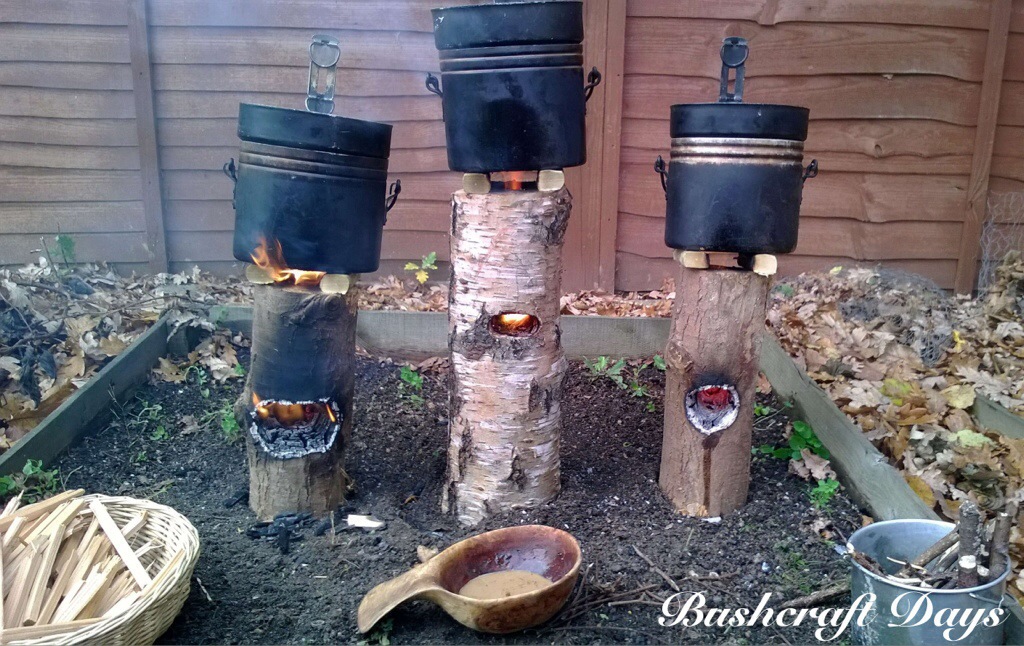
Take one log, drill a couple of holes, add some combustibles and strike a match – you have yourself one Log Rocket Stove.
After building the Fire Face Candles I was intrigued by Marcels Workshop video on You Tube (link at the end of the post) where he mentioned that his candles would make good stoves. I was sure that they would but after seeing another You Tube video by James Hookway using a slightly different method I was unsure which one to use. So this post is not just a How To…. on building a Log Rocket Stove but it is also a report on comparing the two types.
I wanted to investigate these stoves as I felt that they fitted in well with the Finnish/Swedish Candle theme of this series. I also added a third stove to test out using a damp log just to see if it would work.
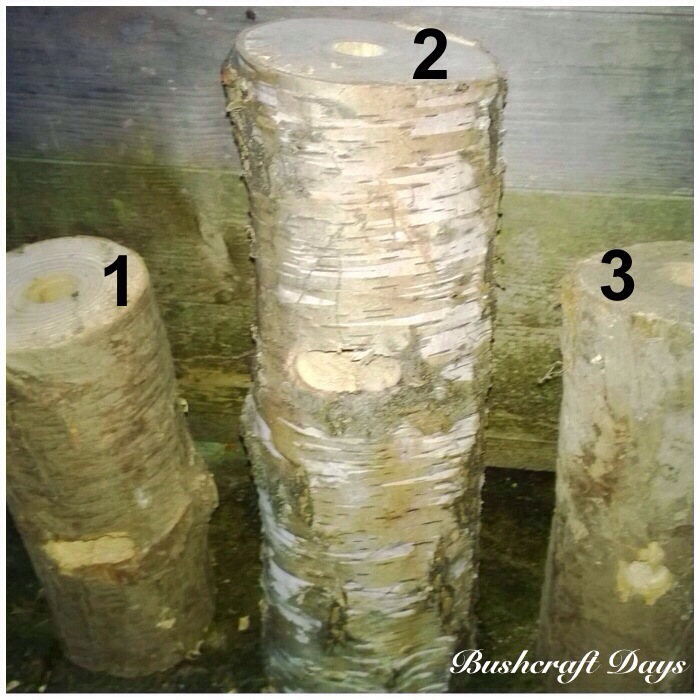
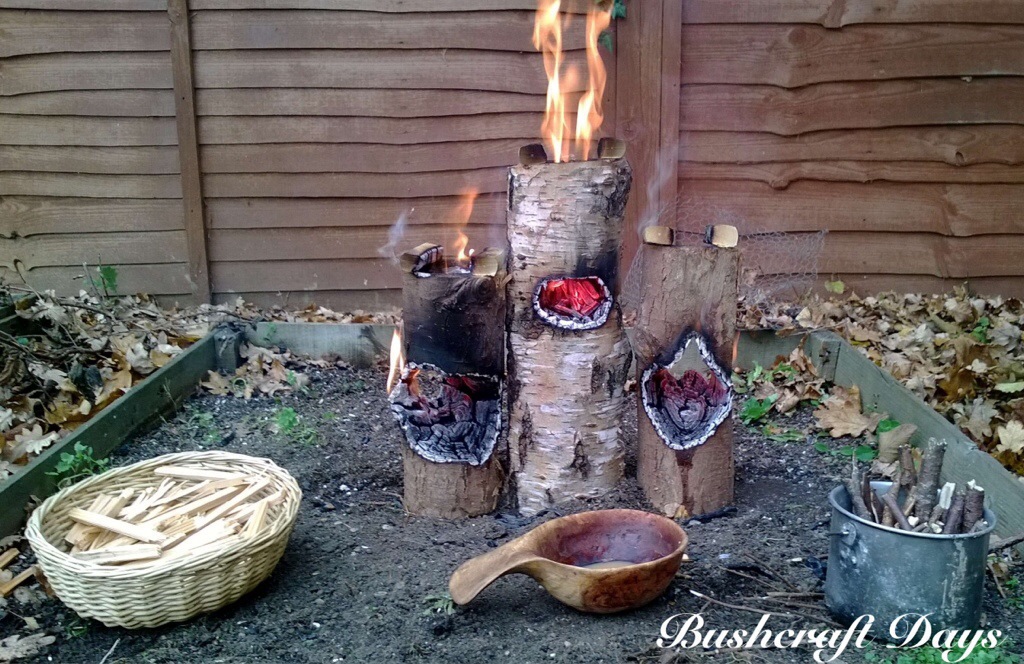
I have numbered the stoves 1), 2) and 3)
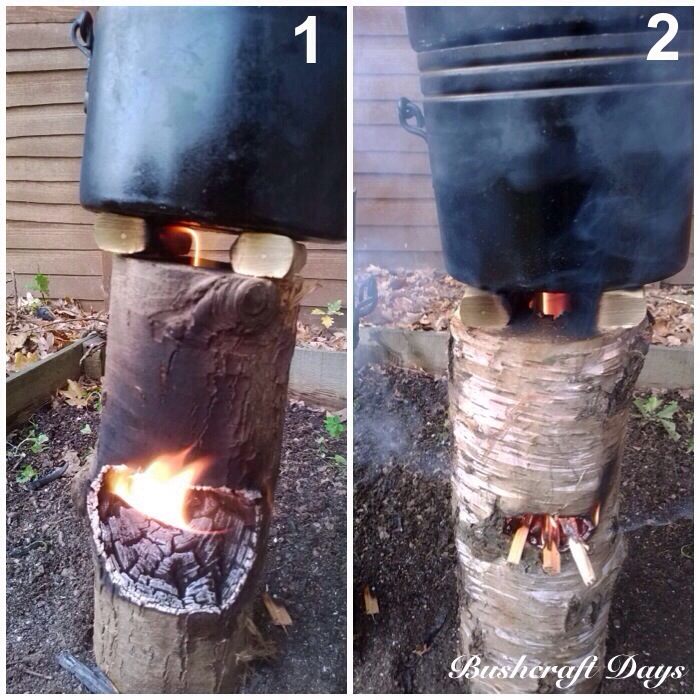
1) A dry western red cedar log to be fed with dry kindling
2) A damp birch log to be fed with damp twigs picked off the ground
3) A dry western red cedar log fitted with a wick and filled with wax
I should have tested each log separately but for ease of photography I decided to test all of them at the same time.

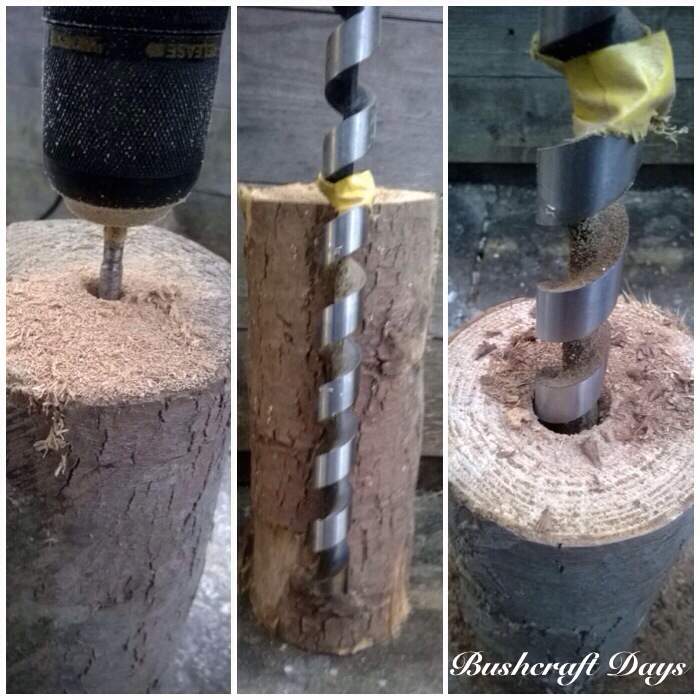
I drilled a small pilot hole into the centre of each log with 12mm drill piece. Then after marking my 24mm drill piece to the required depth I drilled out the main chimney.
While drilling I secured the log between my feet but if you do not feel comfortable with this method I advise securing the log to a workbench.
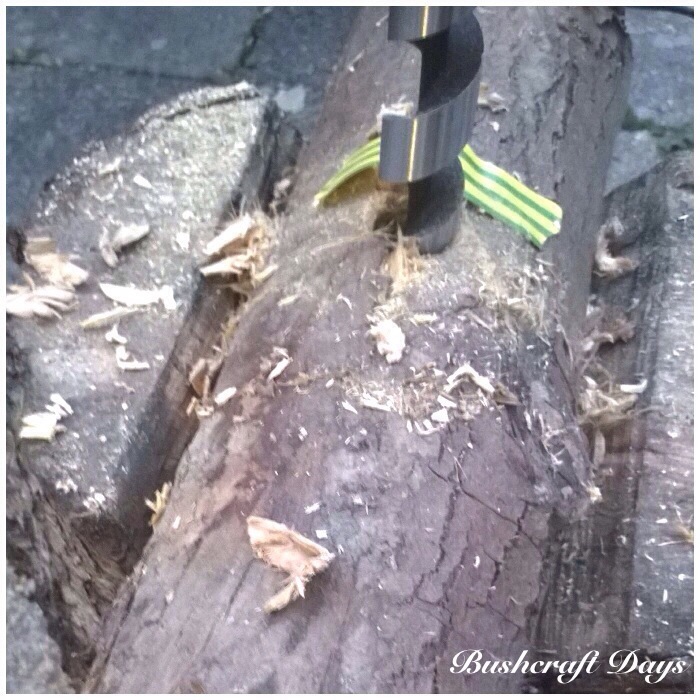
Next you need to measure where the burn chamber will be. I normally mark the log somehow (with tape this time) above the base of the chimney. This will create a small chamber in the burn area you can fill with combustibles for your fire and still allow plenty of airflow into the stove.

Again after securing the log, drill into the side at your marked spot until your drill piece enters the chimney. For stoves 1 & 2 I drilled two holes (side by side) to create a wider burn hole to feed kindling into the burn area. For Stove 3 I only drilled one burn area hole as I would be using a wick in the stove.
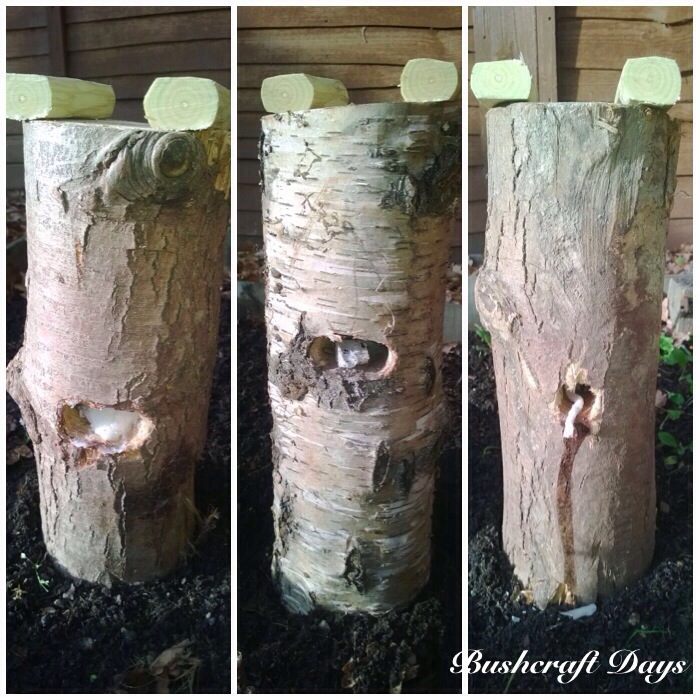
I used a knife to trim the excess wood in the burn areas of stoves 1 & 2.
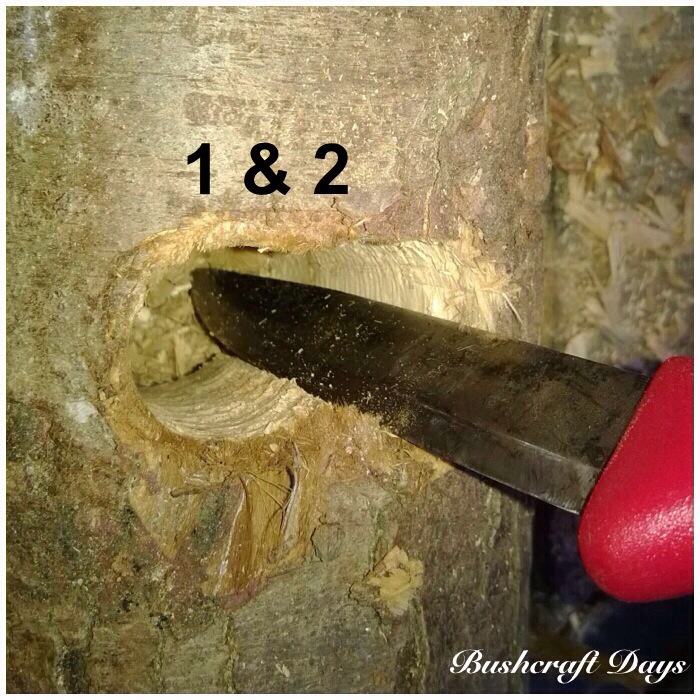
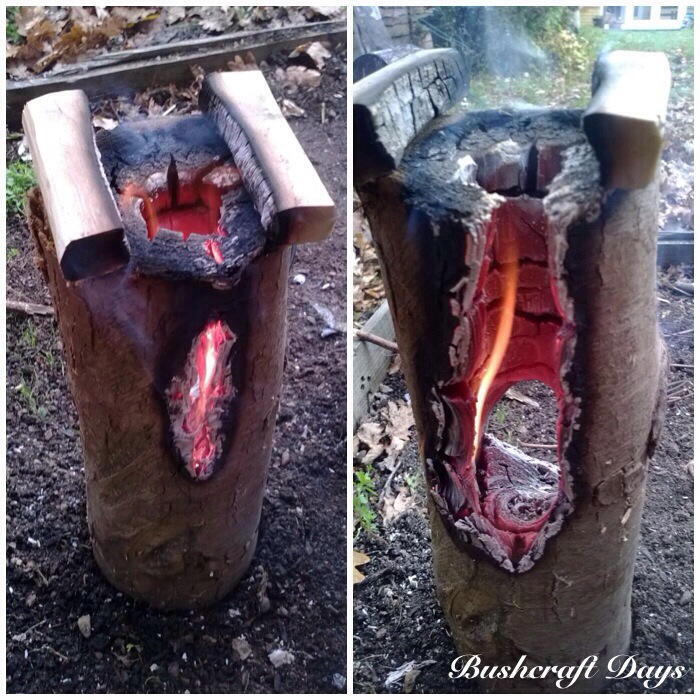
The finished burn area holes.
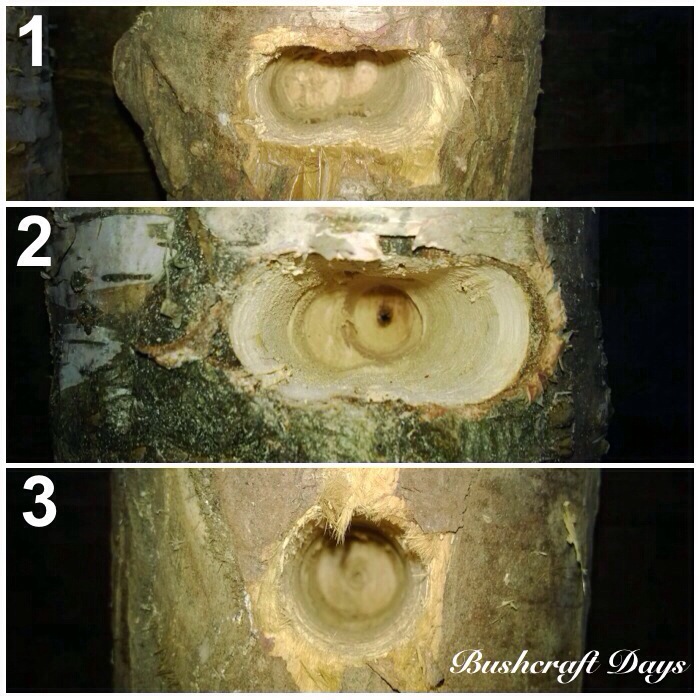
Here you can just see the holes at the top of the logs where the chimneys are and the holes for the burn areas.
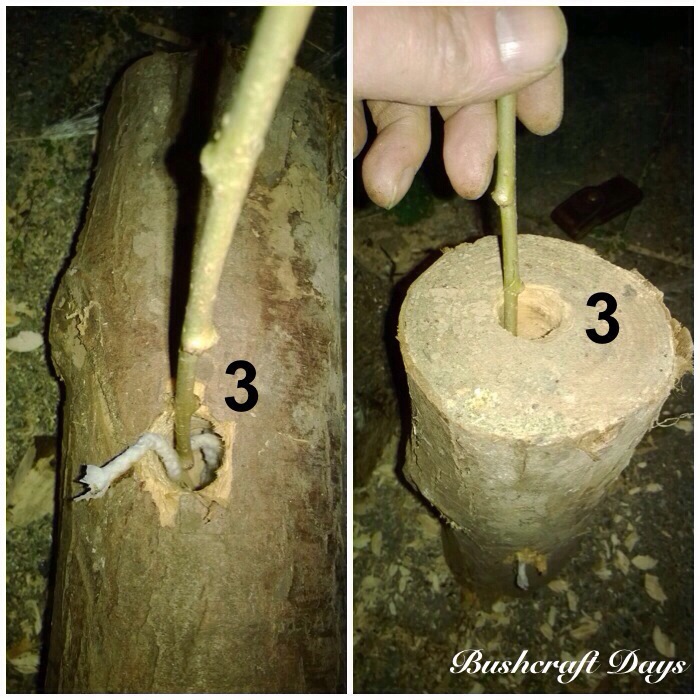
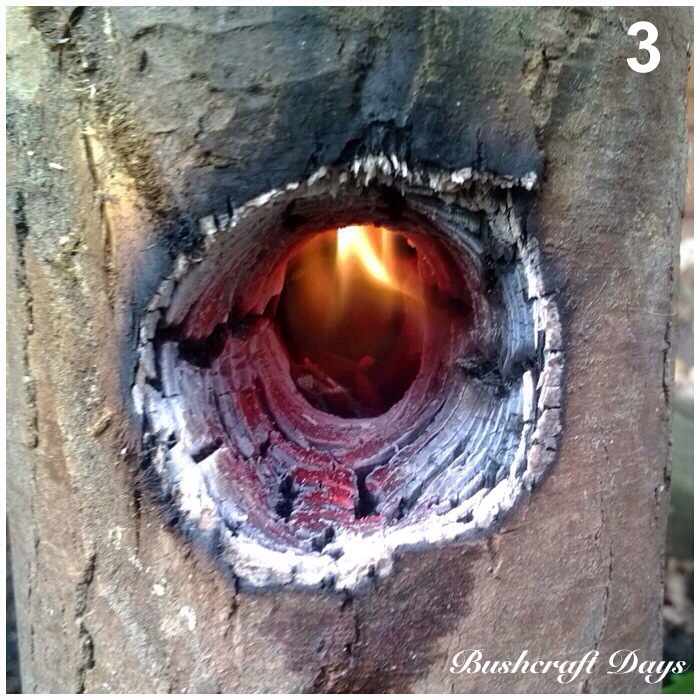
Stove 3 – I melted some candle wax and dipped a wick into it, ensuring the wick got fully soaked in wax, and then inserted it into the stove. I used a pair of pliers and a stick to push the wick into the burn area hole and then from the top pushed all the excess wick into the well at the bottom of the chimney.
I decided to try combustibles I would normally find in my bushcraft bag.
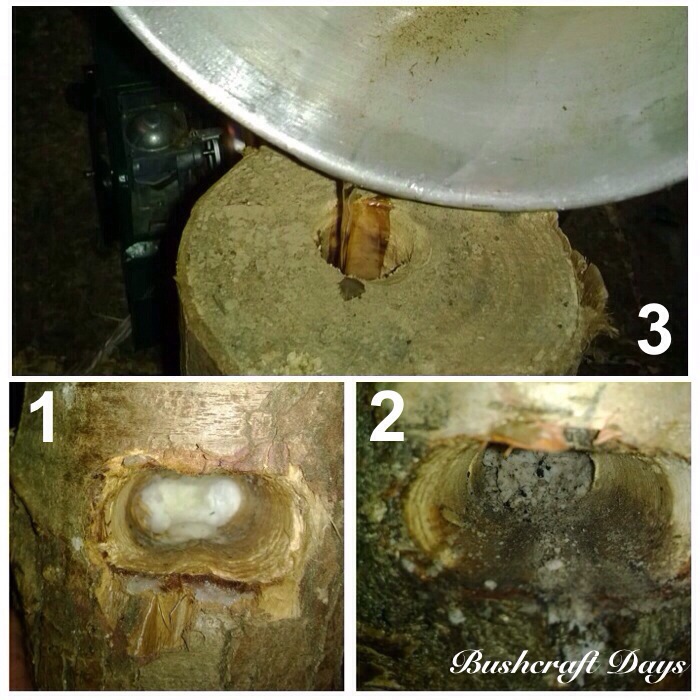
I stuffed Vaseline coated cotton wool into stove 1, crumbled fire lighters into stove 2 and pored melted wax into the well of stove 3.
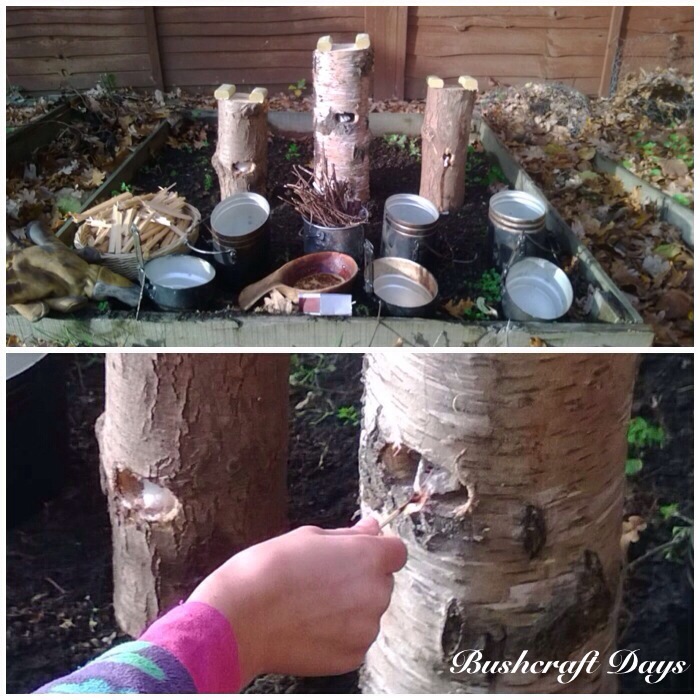
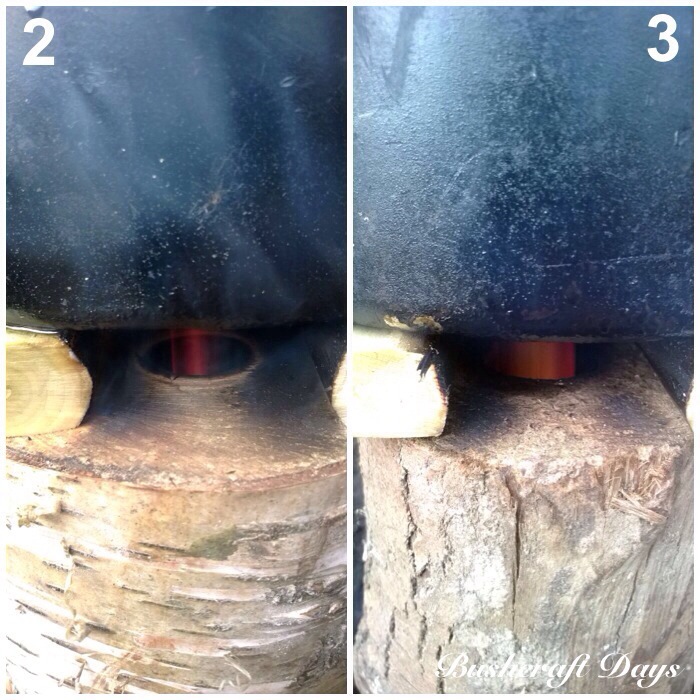
I cut and trimmed some green hazel to act as pot stands and placed them all side by side in the garden.
There was very little wind again that day so I made sure I had a chopping board handy to use as a wafter.
I decided to feed dry split kindling into stove 1, damp twigs into stove 2 (stove 2 was also a damp log itself) and stove 3 would have only the wick and wax.
My daughter lit each candle with one match each.
I needed to keep an eye on each stove (this is why I should have tested each one separately) as each one went out in turn as I was dealing with another. After relighting they all managed to stay alight. Stove 3, which had the wick, needed no further tending whatsoever.
Stoves 1 & 2 required constant attention to maintain the flame in the burn area. Too much kindling choked the air off, too little and the flame died out.
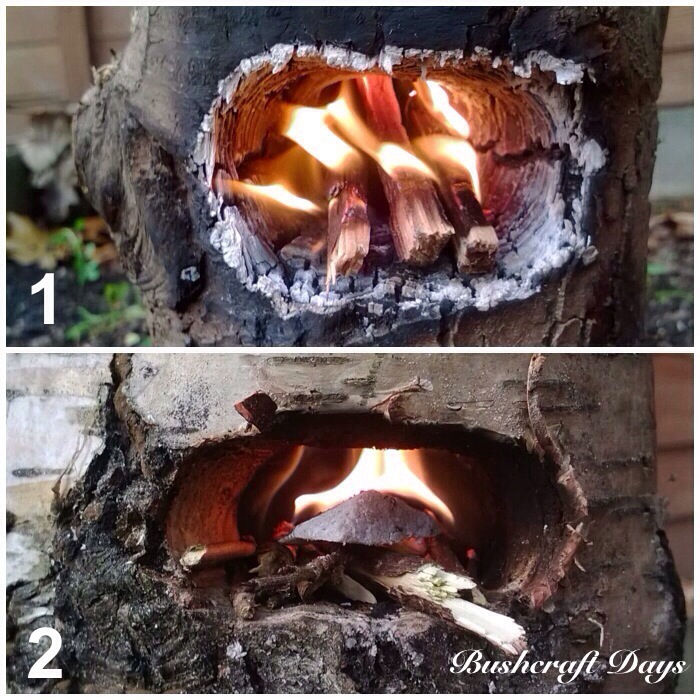
At this stage the burn area of the log started to burn but not much of the chimney, so I relied on feeding twigs into the burn area to keep the stove going.

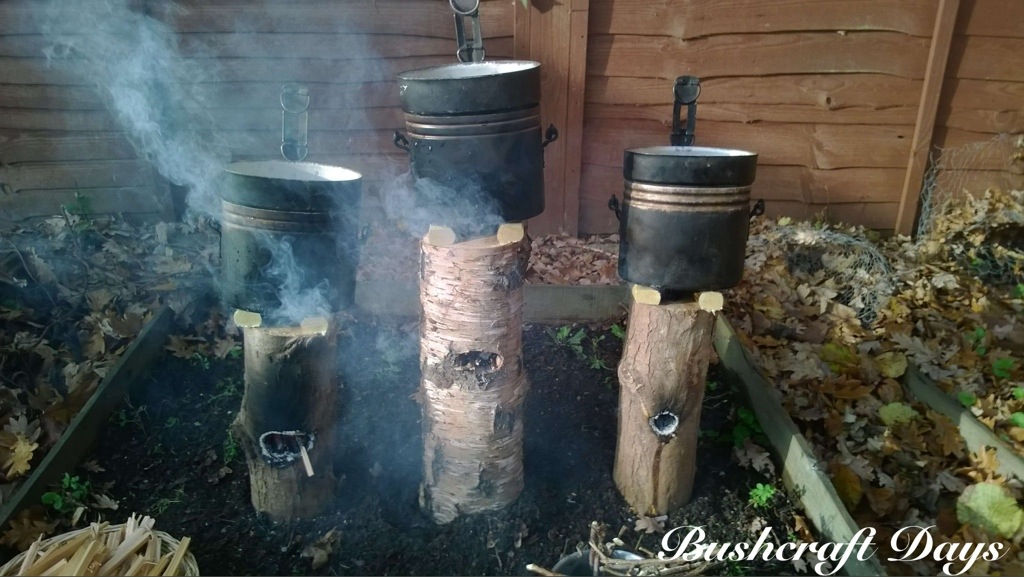
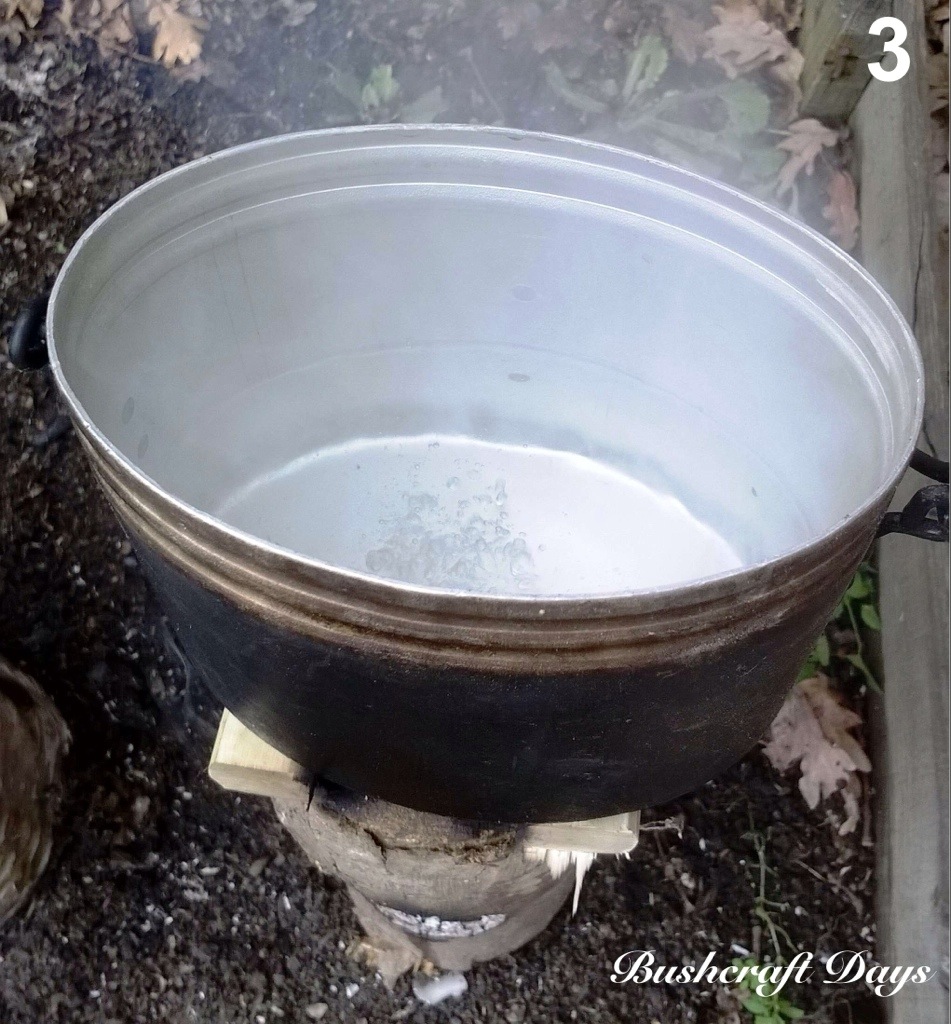
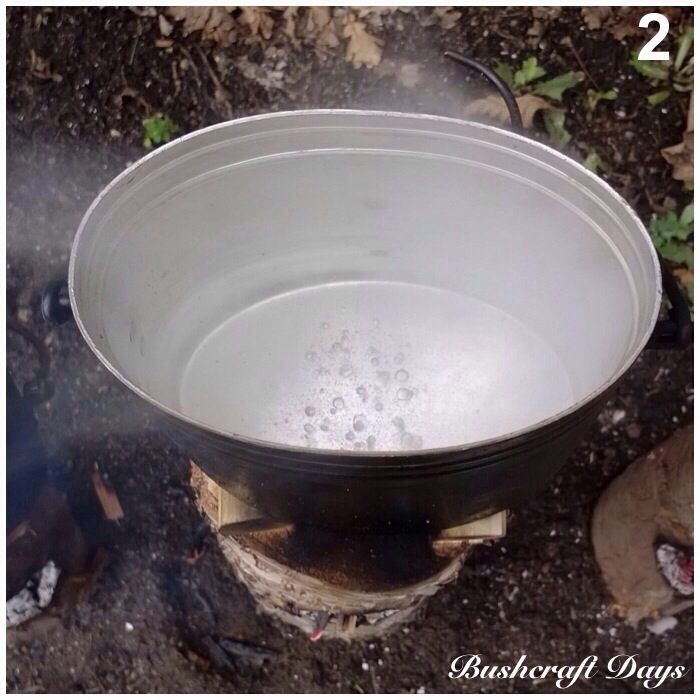
After 10 minutes I put the pots on. Each had half a litre of cold water in them. Stove 3 was going well and needing no tending as the wick was well alight now. Stoves 1 & 2 were still struggling and requiring constant attention. At this stage stove 2 was still giving off a lot of smoke as the wood around the burn area dried out.
After 15 minutes stoves 1 & 2 started going well with the burn area in stove 1 getting bigger.
Stove 3 was getting stronger and stronger with no help required.
The flames were steady now under the pots.
After 20 minutes even stove 2 (the damp log) was going well.
25 minutes after ignition (20 minutes of heating) the first pot was boiling.
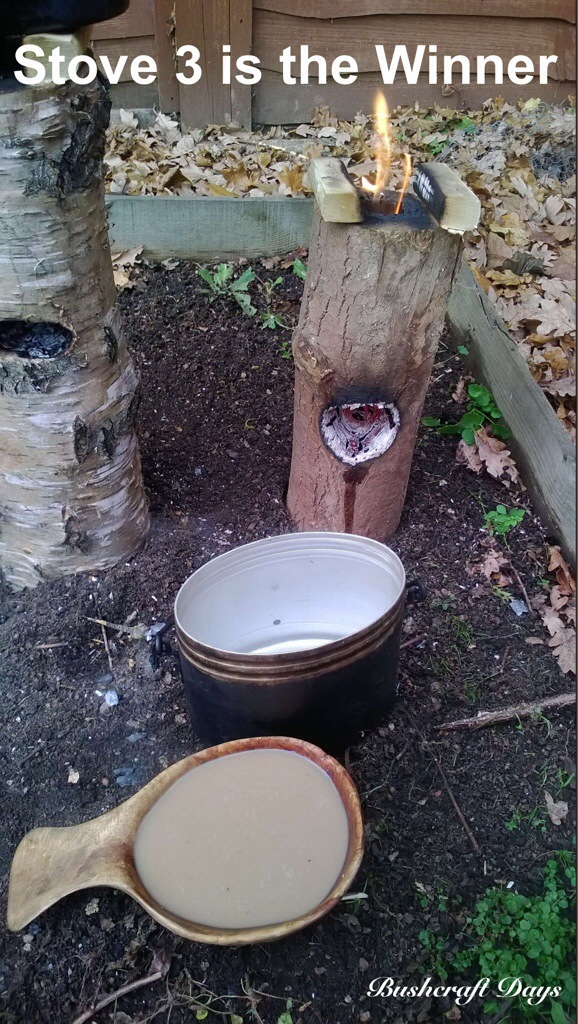
Stove 3 was the winner as it had held a steady flame throughout. With a little bit more wind I think we could have knocked a few minutes off this time.
Stove 1 was fully lit now (the chimney wall was burning well) and did not need any more kindling. The burn area had widened to a point that you could not easily add any more fuel (it just fell out) but all it needed was a bit of wafting to keep the flames going. Again if the wind had been there I think this stove would have performed much better.
I had given up on the damp twigs in stove 2 by now and added some of the dry split kindling I had been using in stove 1. This made a vast difference and the stove suddenly burst into life.
Five minutes after coming to life stove 2 had boiling water with stove 1 shortly after. These two stoves I feel would have performed much better if I had been giving them individual attention rather than trying to keep all three going, photograph them and analyse what was going on (I find the multi-tasking thing difficult!).
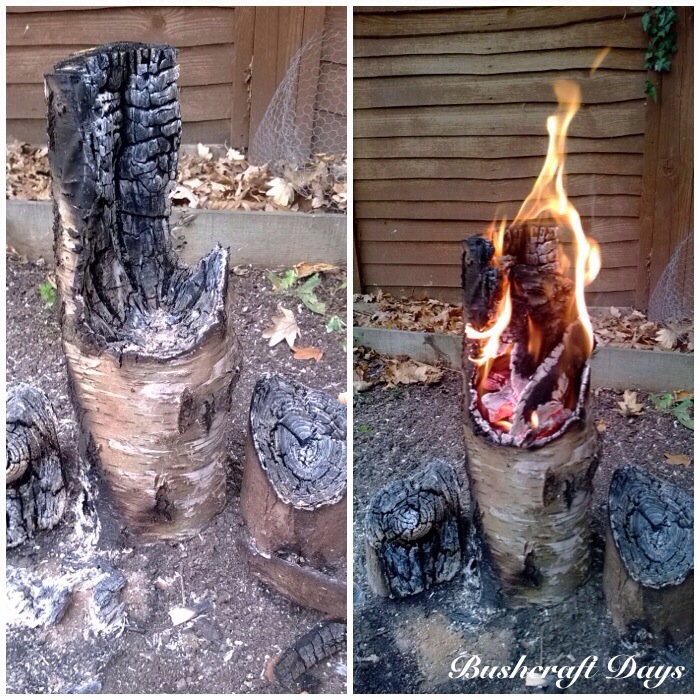
An hour after ignition, winning stove 3 had burnt right through to the back.
I started to add dry kindling into the top of stove 2 and we had a proper candle now.
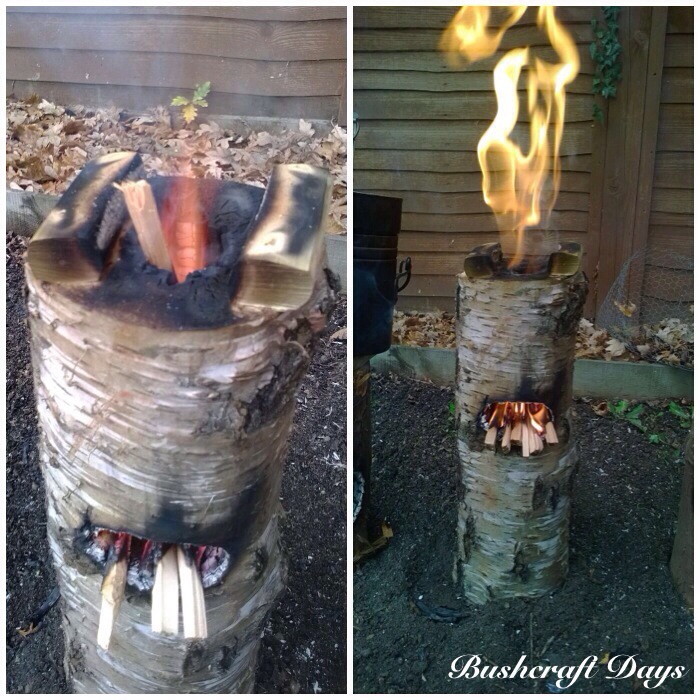
After one hour I would have said that stoves 1 & 3 were a bit too delicate now to use as stoves. Stove 2 was still going well but I had to waft the other two to get the flames you see in this picture as there was still no wind.
Two hours after ignition all the stoves had burnt out. I put all the fallen pieces of wood into stove 2, gave it a quick waft, and away it went again.
I thoroughly enjoyed doing this experiment with the three stoves but in retrospect I should have either tested each stove separately or had some helpers to tend individual stoves.
Given time (and some more logs) I will be redoing these stoves and seeing how they operate on their own and with a bit of wind. I also want to get myself a drill piece about 35mm wide as I feel that will help when it comes to larger log stoves.
Definitely not a stove for the ultra-light bushcrafter but one to be chucked into your wagon before going on a trip.
I will make a few more up for the New Year and bring them to some of my courses to see what people think of them.
My thoughts on each stove
Stove 1) Did not perform well without wind and the burn area became unusable quickly. When given steady wind by wafting this stove worked well and soon the chimney area was alight. It took longest to boil the water but that was because the flame kept dying out as there was no wind and I was too busy with stove 2 to keep it fed with kindling. I wonder if a large dry log (possibly of a harder wood) would be better for this type of stove rather than the small one I used.
Stove 2) As I expected, this stove took longest to get going. Everything was damp (log and twigs) so I used a number of broken pieces of fire lighter to keep it going. When I started to use the dry kindling the stove really took off. This stove was also bigger than stove 1 so the burn area was bigger and I think that helped it to perform better.
Stove 3) Apart from needing to be re-lit at the beginning, this stove was a dream to use as it required no maintenance. The wick that is encased in wax in the well of the stove ensures ample burn time for the log itself to light up.
Summary
There’s a lot of detail here but actually the principle is very simple:
Take one log, drill a couple of holes, add some combustibles and strike a match – you have yourself one Log Rocket Stove.
Cheers
George
Links
Hello Bushcraft. In your experience, what is the smallest diameter log that can work with a Swedish candle? thank you!
Hi Susan
I try to work with logs that I can get both hands round with the tips of my fingers just touching (if I am using an axe to split them). Really big logs need a chainsaw generally.