everything you need to light your fire is under your feet
Need a fire? – Need tinders? – Look under your feet – that is what I say to my students when it comes to this basic human need.
With a little bit of patience you can take much of the leaf litter you find on the woodland floor and turn it into a toasty fire.
A number of years ago my friend Richard Neal (aka Rich59 on BCUK) was chatting with me around our campfire at the BCUK Bushmoot and he suggested an idea around lighting a fire using only what he could find on the woodland floor.
Richard and myself both have a keen interest in all things ‘fire’ and so in no time whatsoever we had collected a range of damp dead leaves, processed them down and soon had a decent fire going – breaking all the rules on having to use dry tinder.
This How To…. is about how we went about it all.
Processing
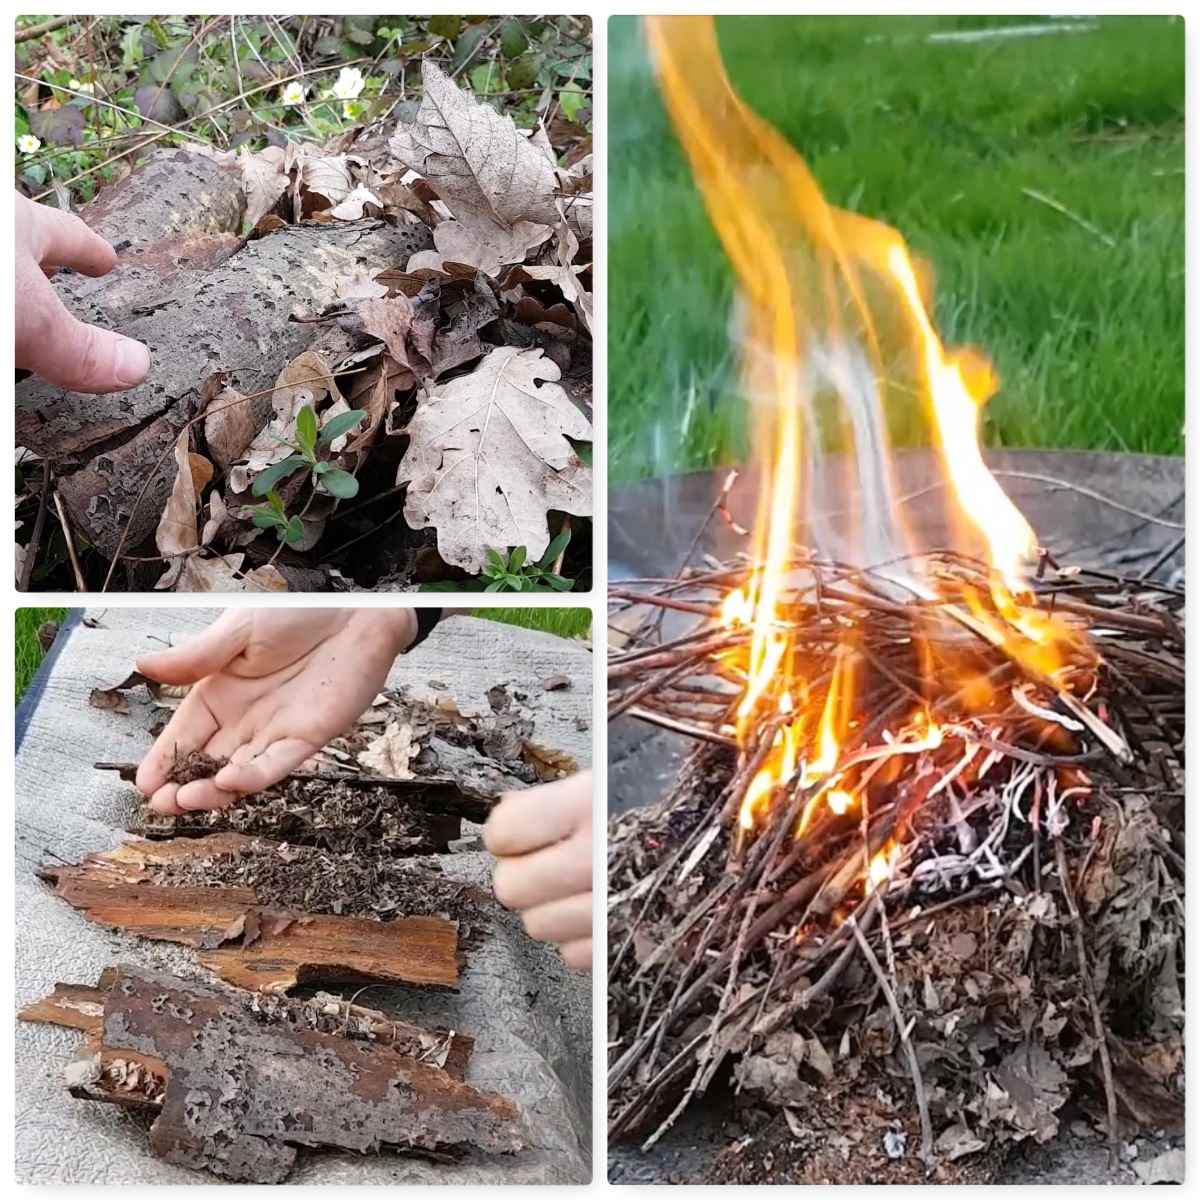
Gather a good bundle of dead leaves from the top layer of the leaf litter. You may need to do this over a wide area depending on the amount of leaf litter but collect the driest leaves you can.
Here in the UK even the driest leaves are still pretty damp on most days but don’t worry about that. Try to collect some rotted pieces of bark too as they will be useful in the processing stage.
I take small bundles of the leaves and start to rub them in the palms of my hands. I let the small pieces that break off from this rubbing fall onto one of the pieces of bark. After a short period of time I’ve accumulate quite a pile of crumbled leaf litter.
Once I stop seeing any crumbled pieces of leaf falling I put the skeletal remains of the leaf into a separate pile. (Spare pieces of bark are also useful for covering your leaf bundles when you have any wind trying to blow it all away.)
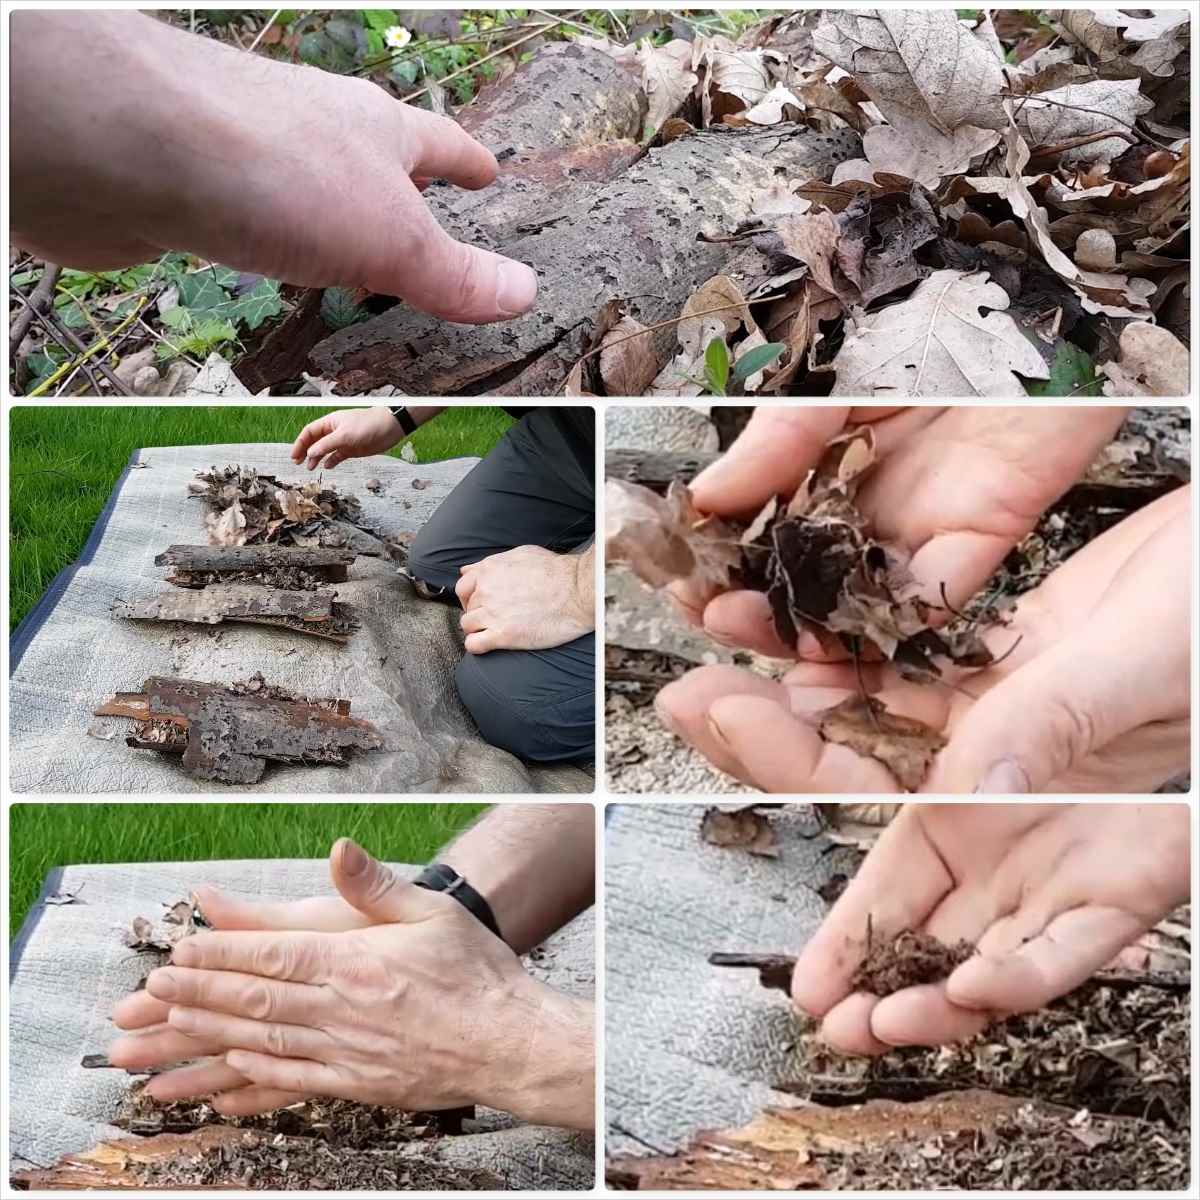
I carry on rubbing all the leaves until I feel my two bundles of fine and skeletal remains are big enough. Then I spend a little while longer rubbing handfuls of each bundle again to dry them out as much as possible.
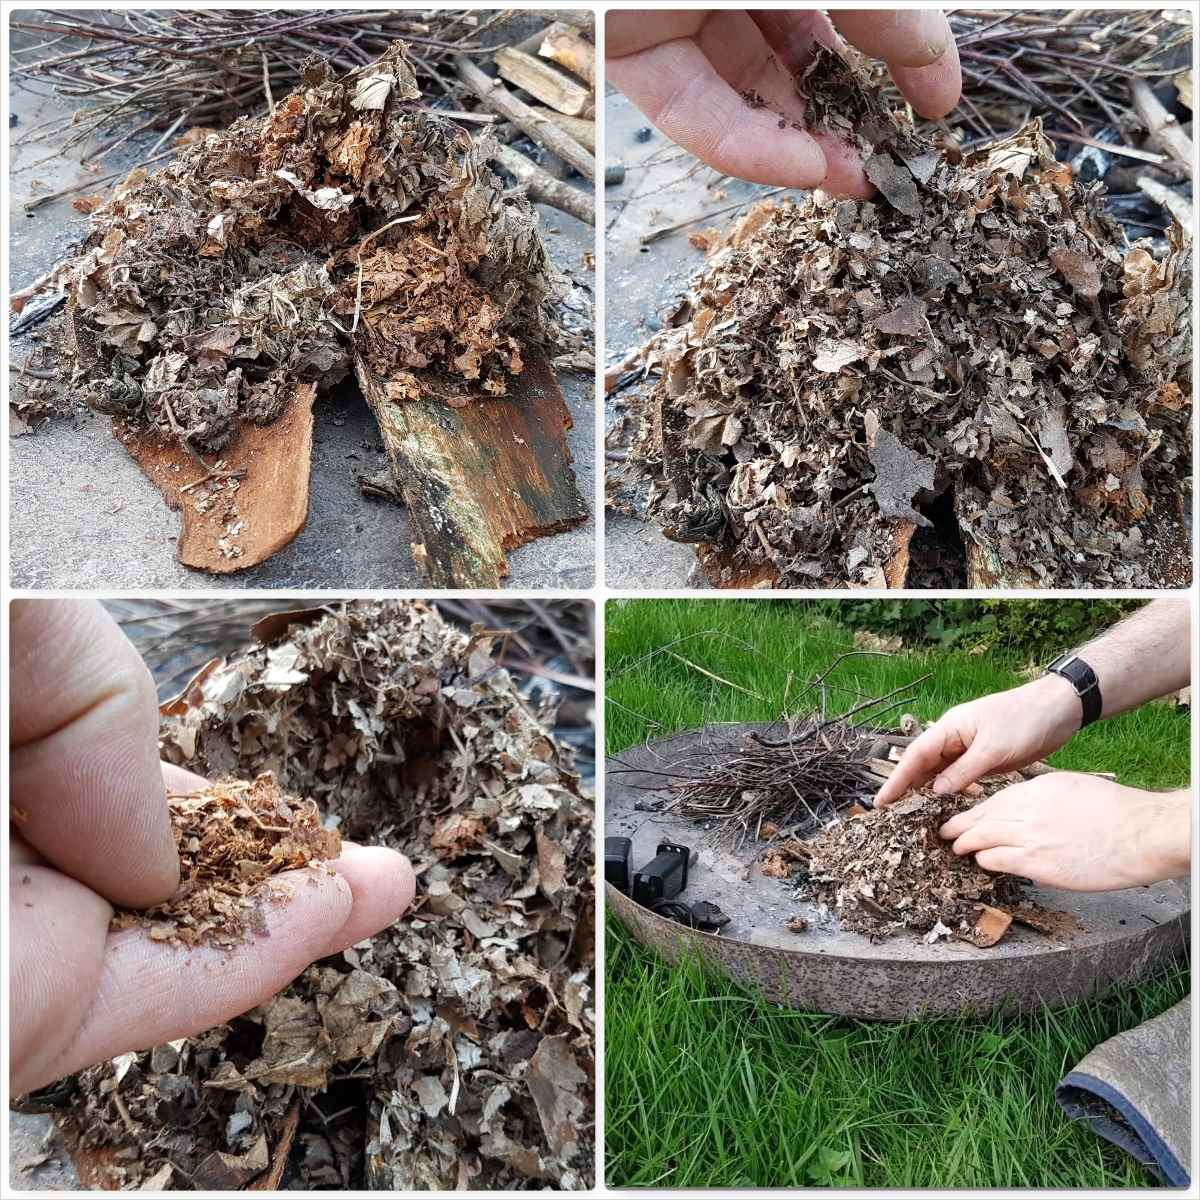
When I re-rub the fine material I make a 3rd bundle from the finest leaf litter that falls out from between my palms. It is important that you have this finest 3rd bundle as that is the material that will eventually start to smoulder and burn first.
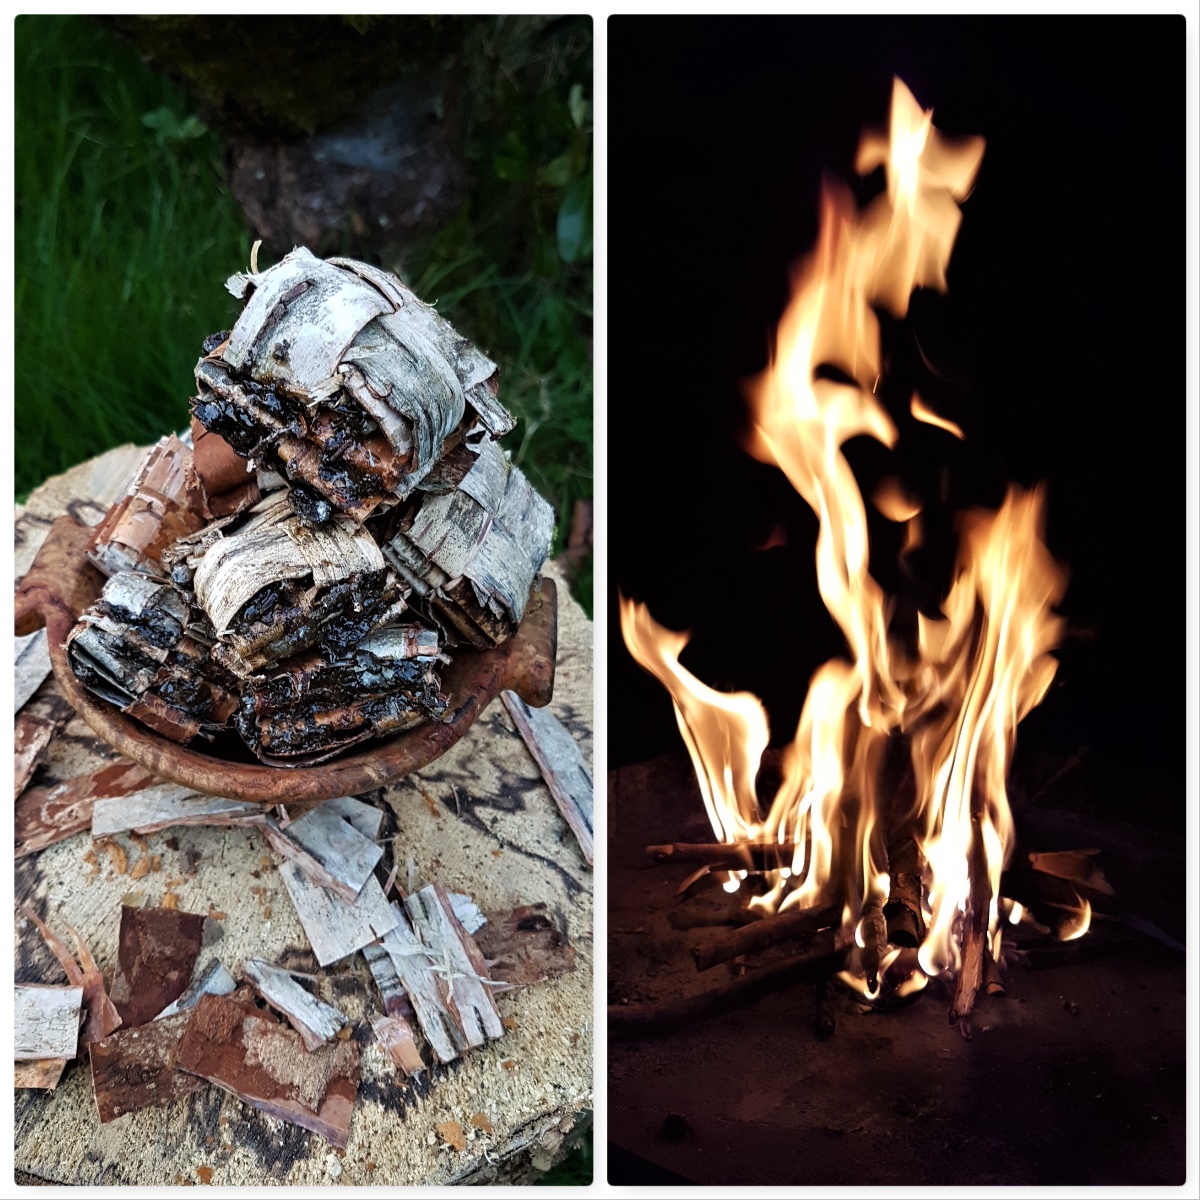
The Tinder Pile
I like to make a nest of the skeletal remains of the leaves first on top of my pieces of bark. Onto the top of this I add the mixed grade crumbled pieces of leaves, working the skeletal remains of the leaves around these crumbled pieces to support them.
Into the side of this pile I then make a hole with my finger and fill it with the finest pieces (the 3rd pile) of leaf litter that I have processed.
If the wind is causing you a problem at this stage keep a piece of bark handy to pop onto the top of it all and keep it from blowing away.
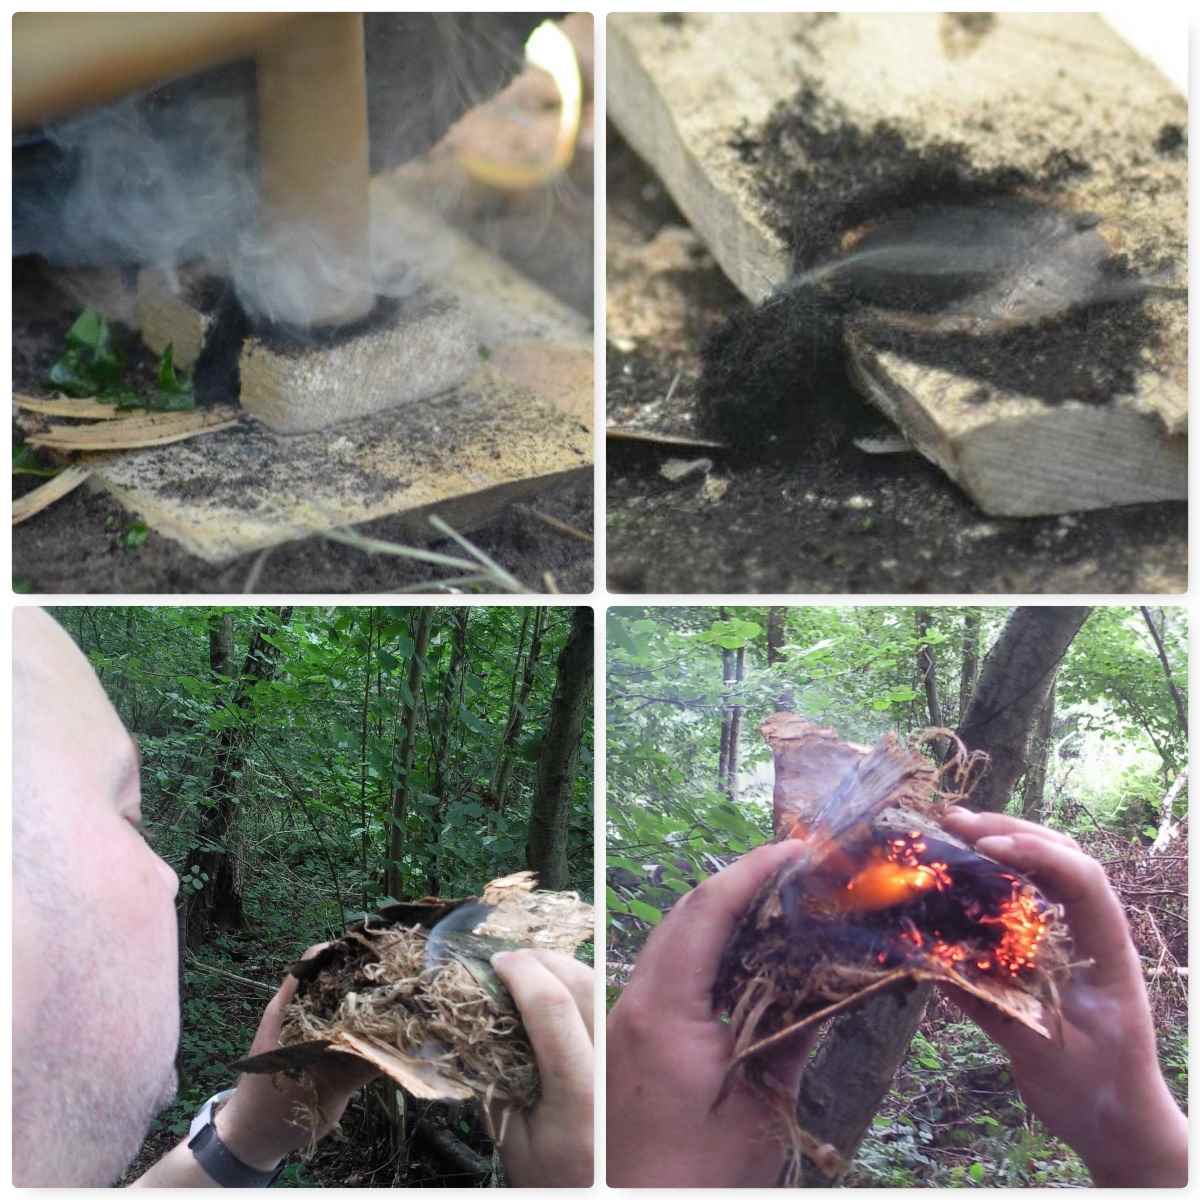
The Ember
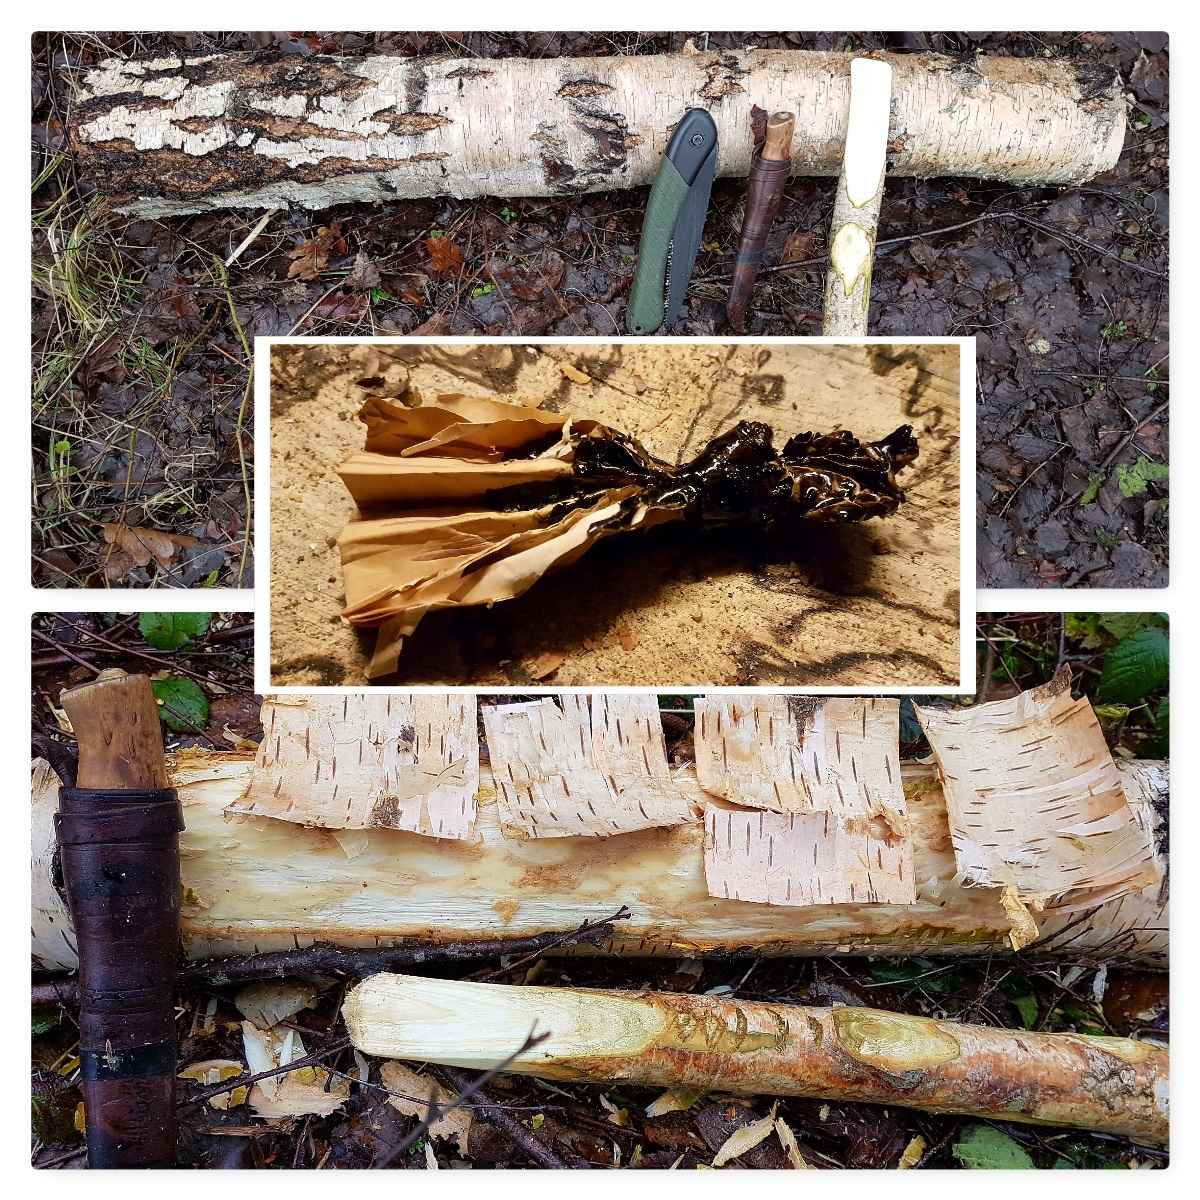
For this fire I used a Cramp Ball (Daldinia concentrica) to get it going. I also regularly use char cloth and embers from a bowdrill or handrill. Try experimenting for yourself and let me know what works for you.
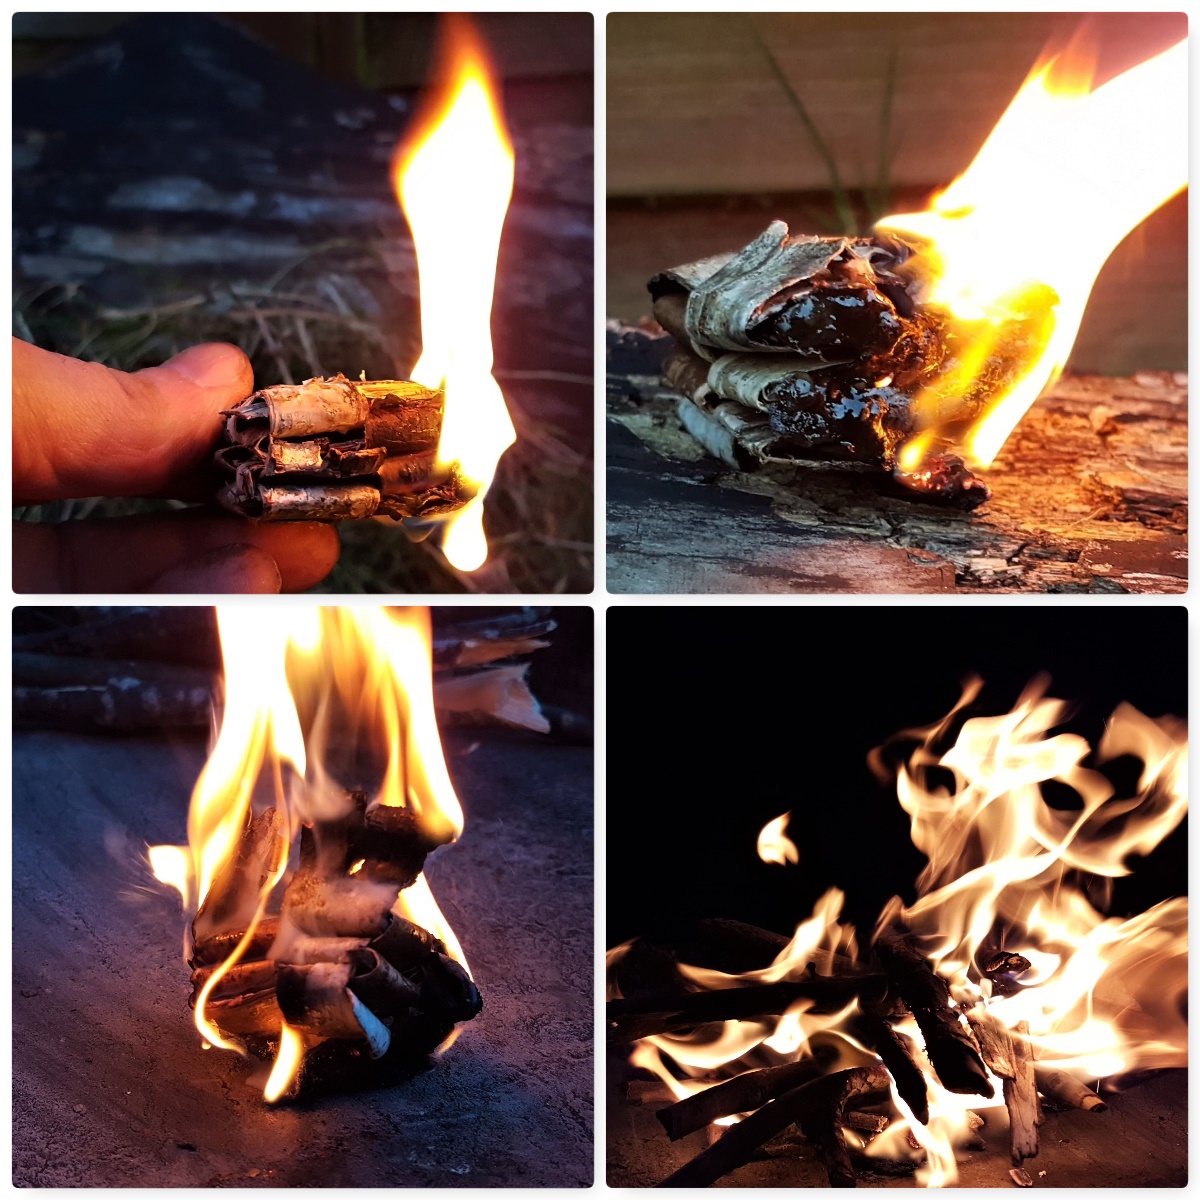
Once I had sparked up the Cramp Ball I popped it into the middle of the finest material and placed my bark on top of it all to keep everything in place.
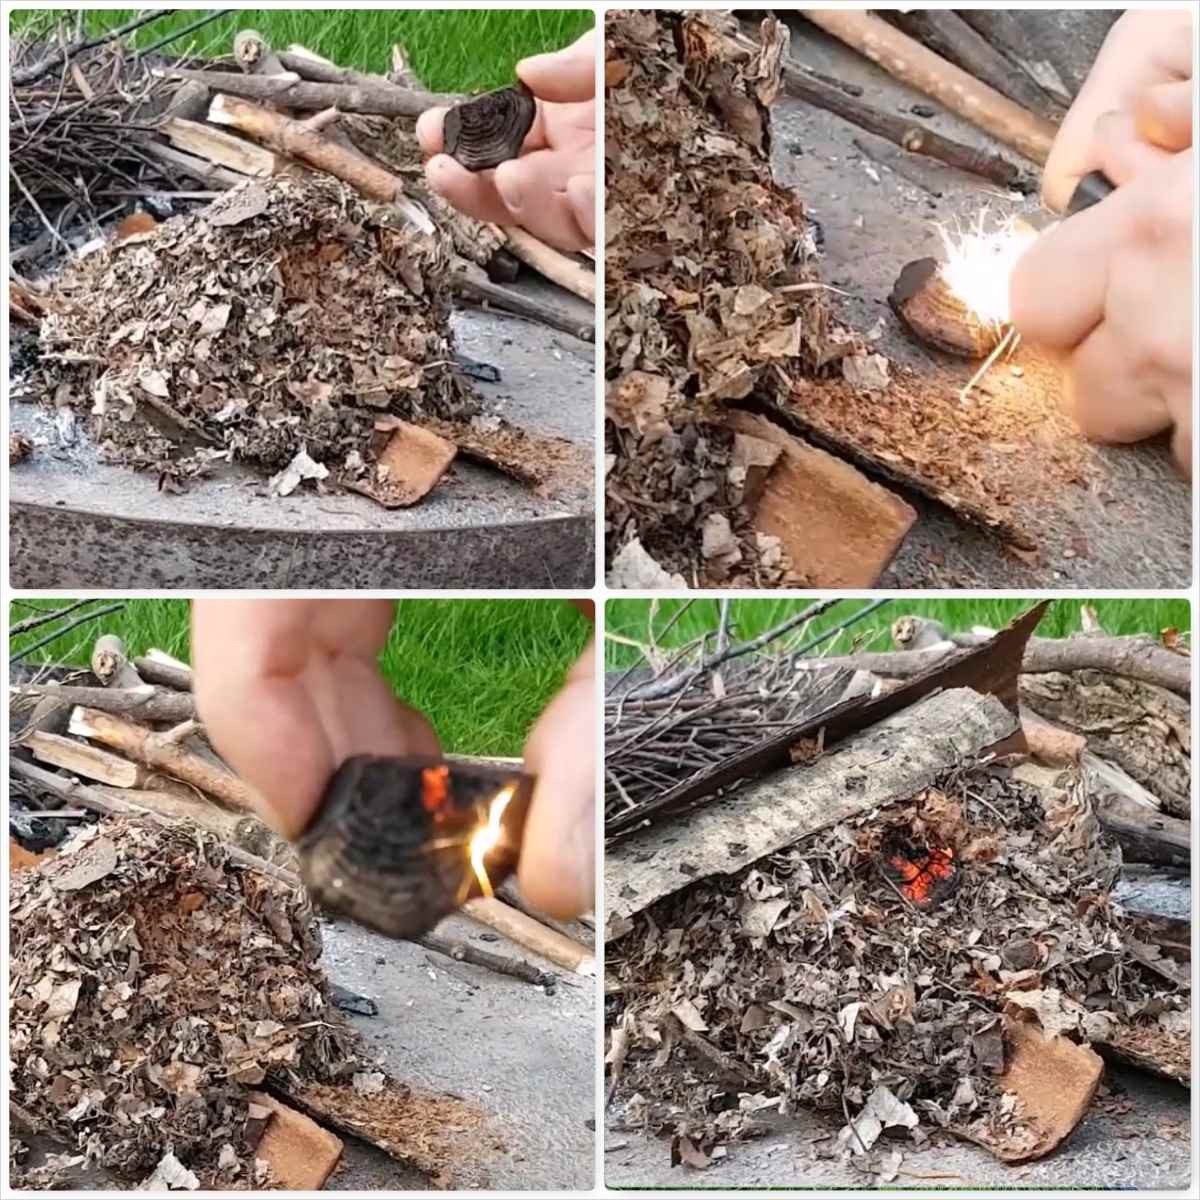
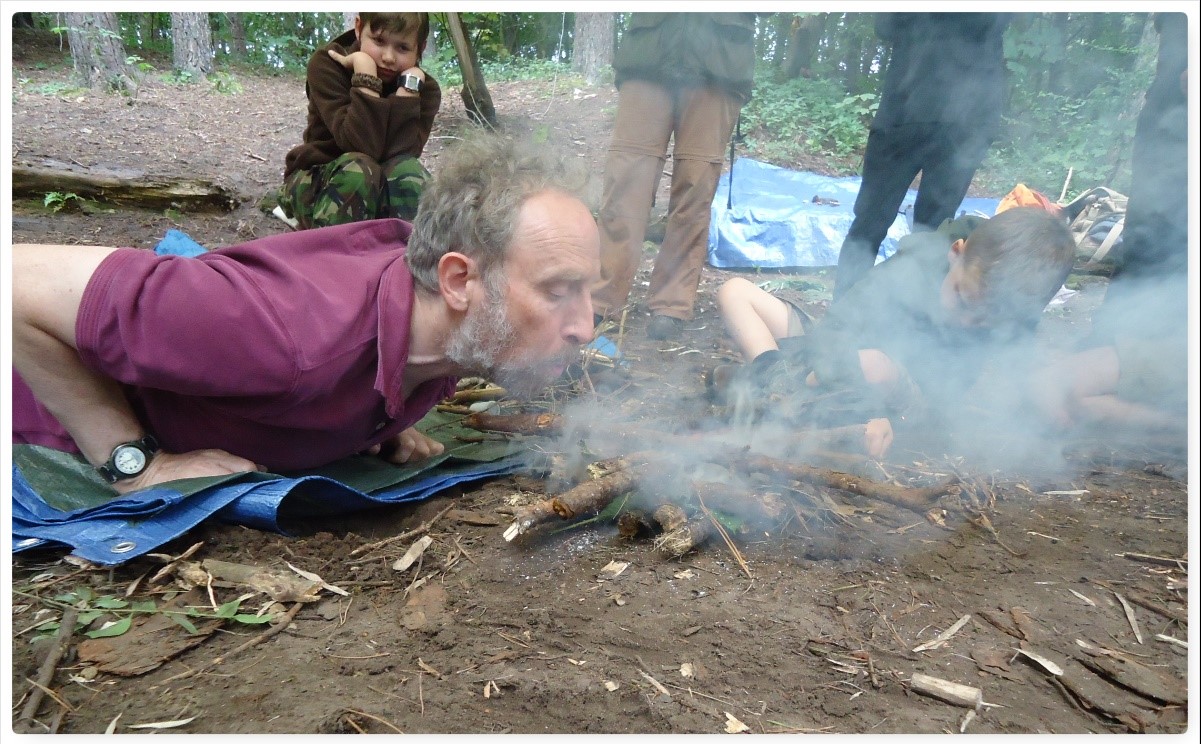
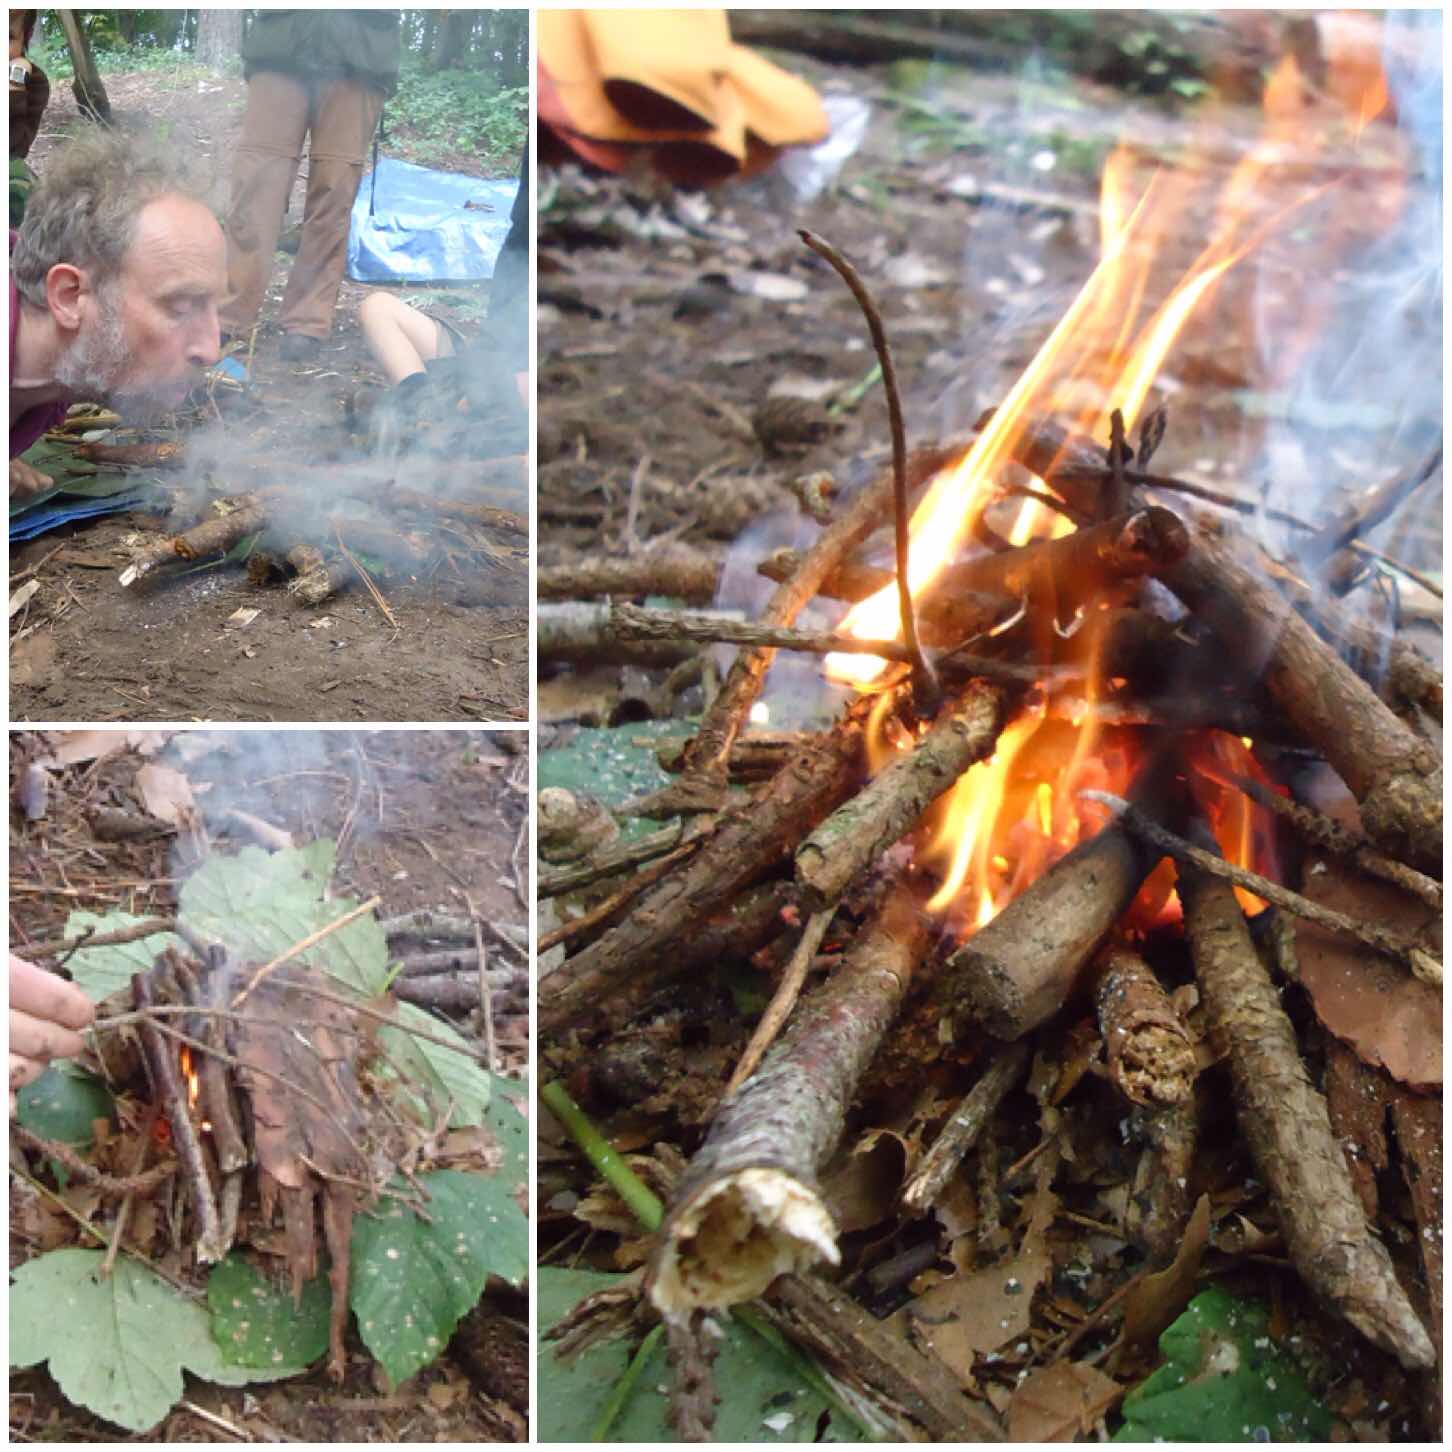
Spreading the Heat
Watching what is happening with the wind (position yourself so the smoke is not blowing in your face), start to blow gently into the centre of the bundle. The trick here is to warm up the leaf litter around your ember so that it dries out enough for it to start to smoulder.
You might get the odd flame or two here but they tend to die back quickly. Keep taking your time (I have taken up to 20 minutes doing this with very damp tinder) and the leaf litter around your initial ember will eventually dry out and smoulder.
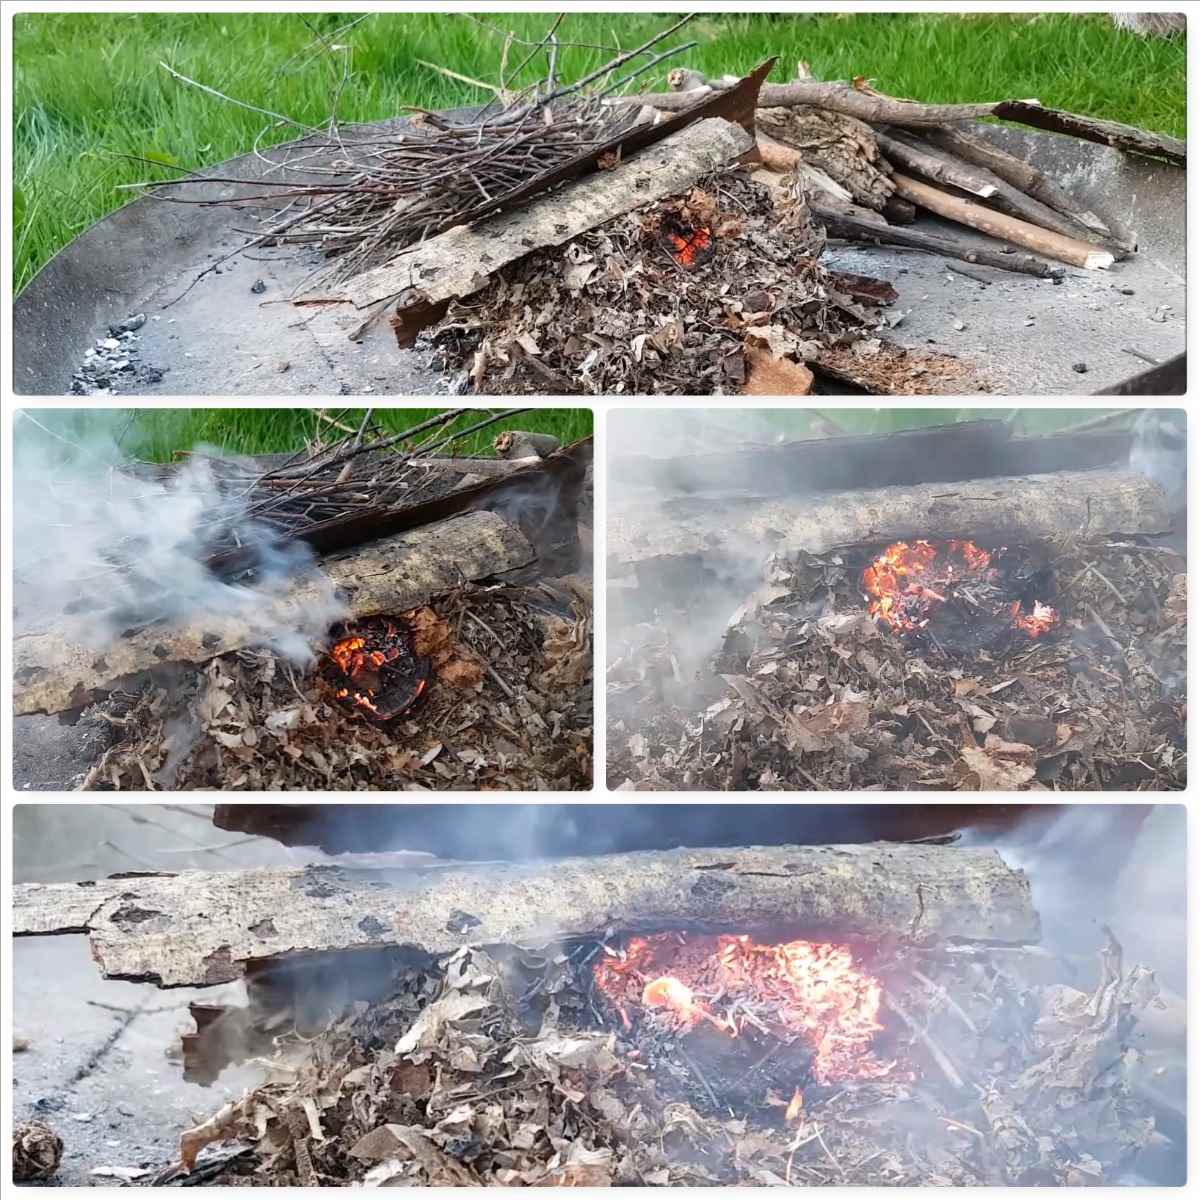
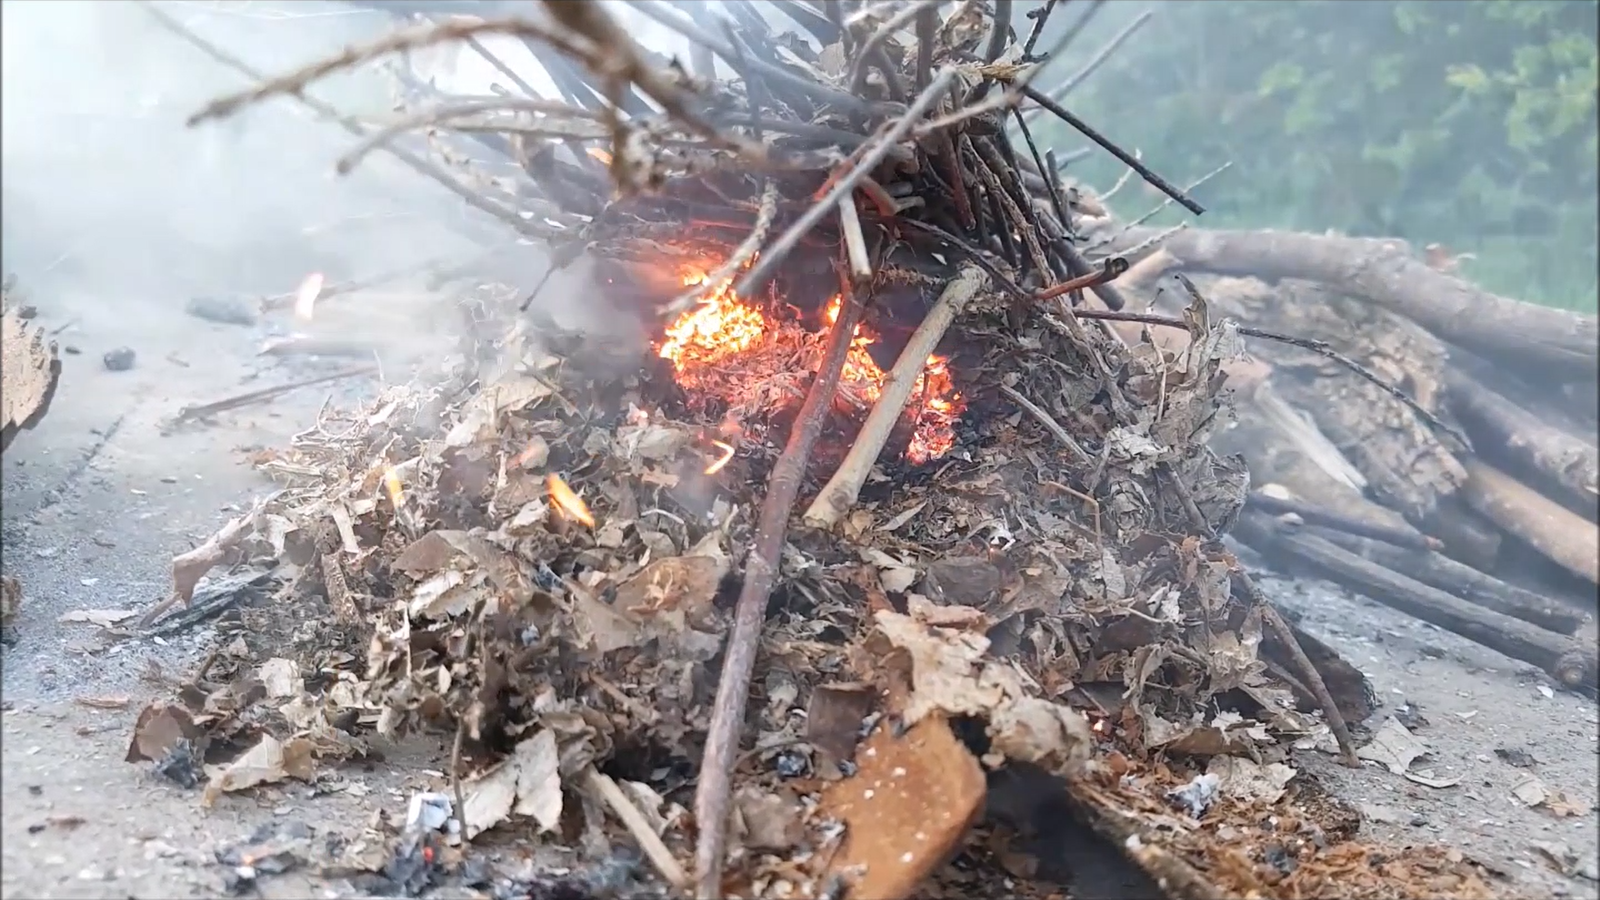
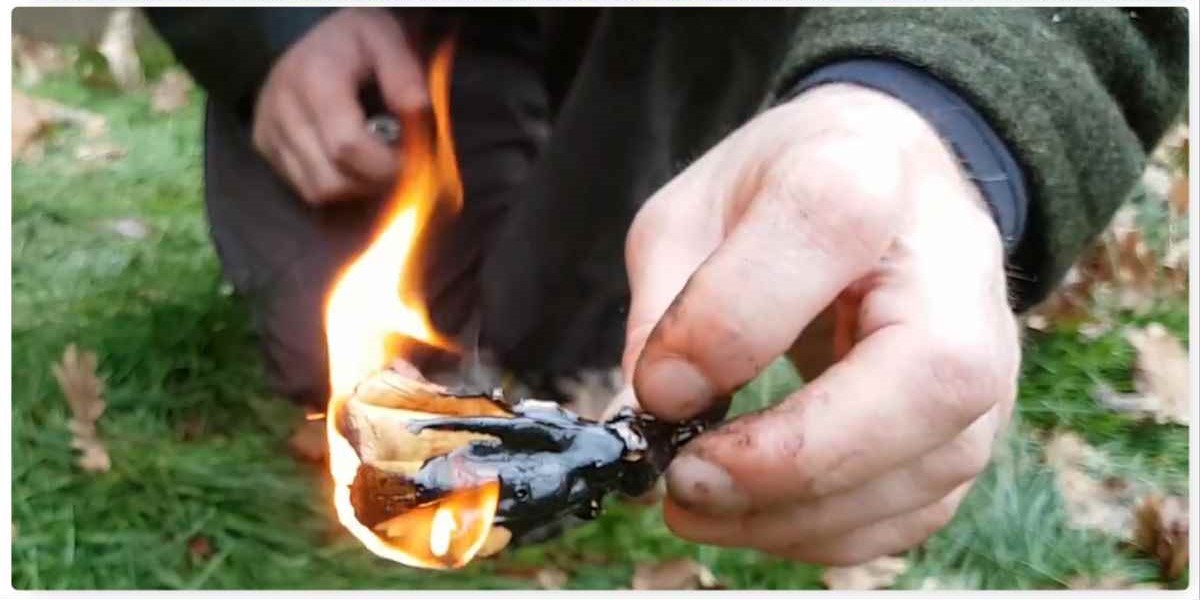
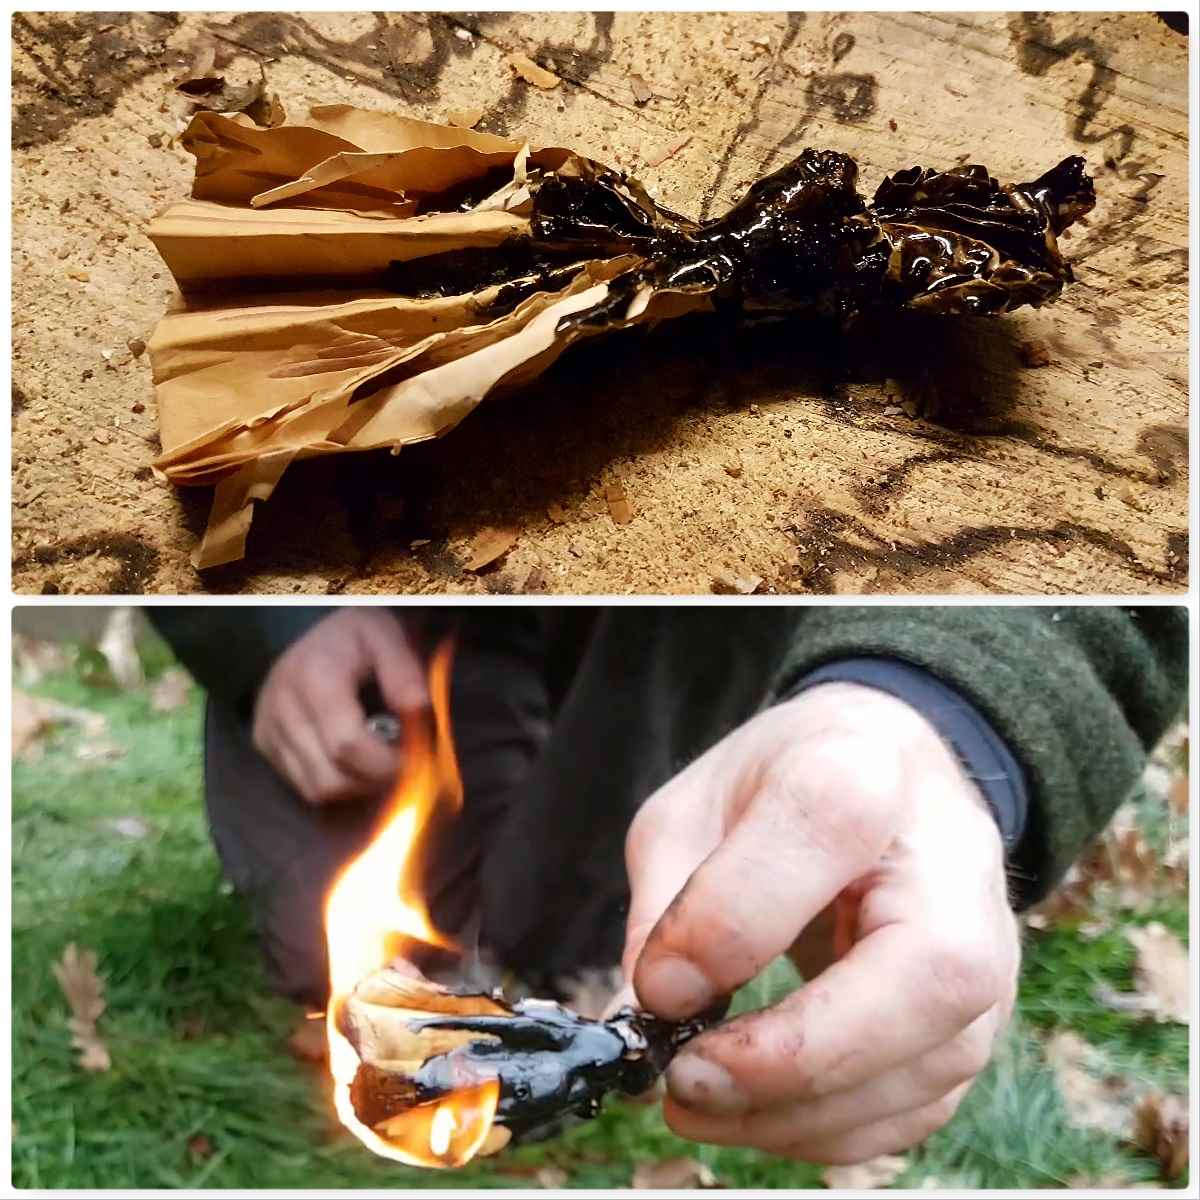
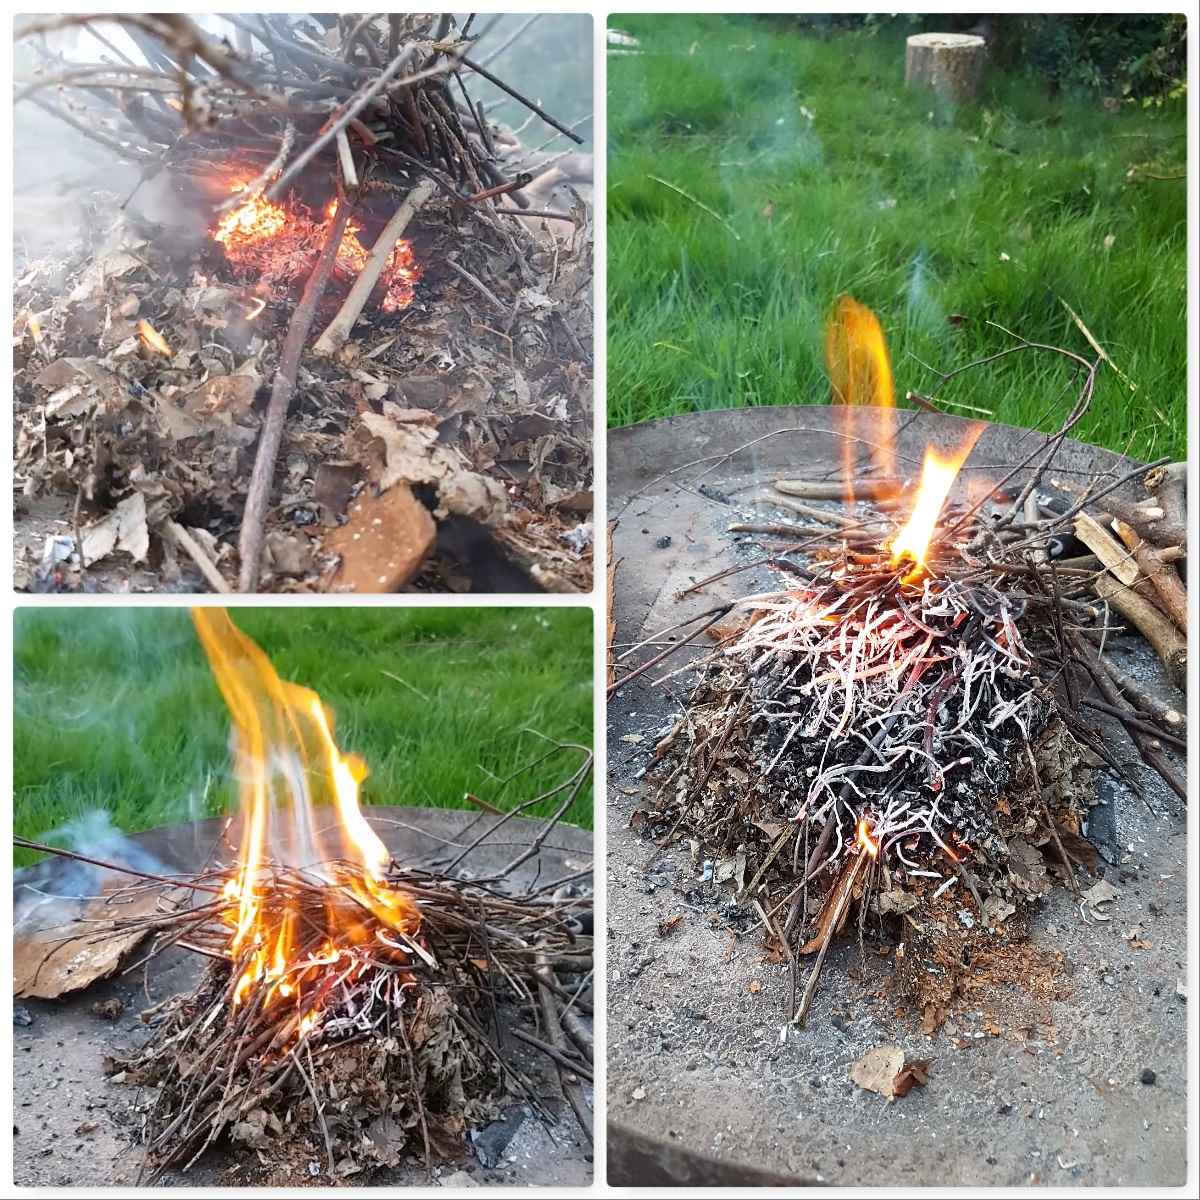
Catching the Flames
Once the flames you produce start to last for longer, remove the top cover of bark and add a pile of the finest dry twigs you can find to the top of the pile. You might have to gently blow a few more time but you will soon have some beautiful flames licking their way through your twigs.
Remember also to have all your other grades of wood ready to add to the fire as it sustains itself – it would be a real shame to lose it all at this stage for the sake of poor preparation.
Variations
Instead of using bark to lay your leaf litter on try using large green leaves.

No bark or green leaves? Use small branches to lay everything on and to cover your pile.
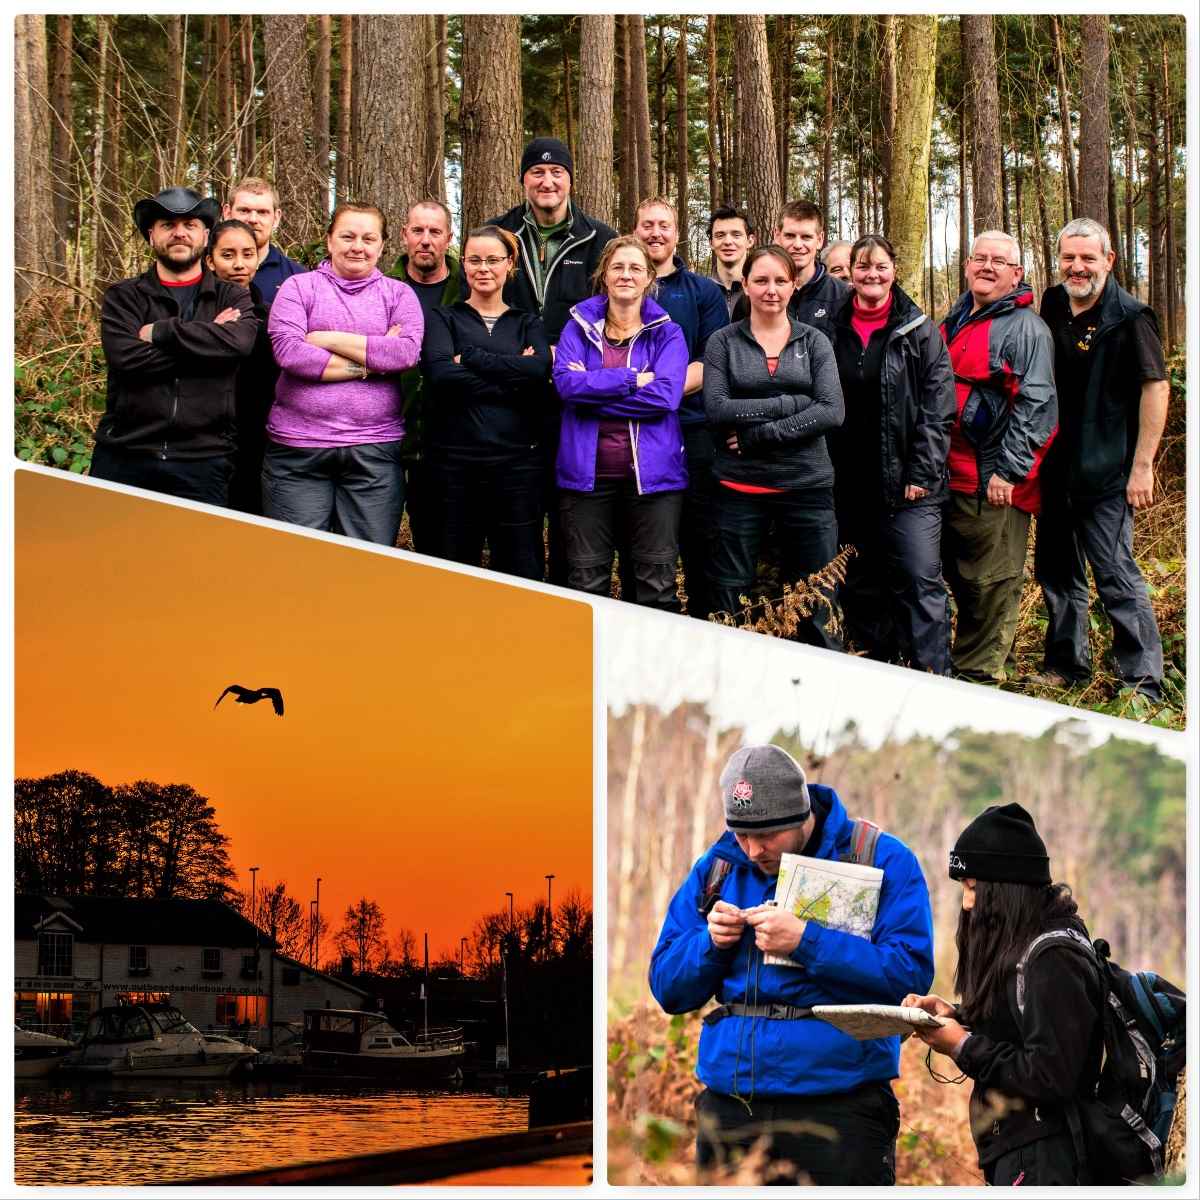
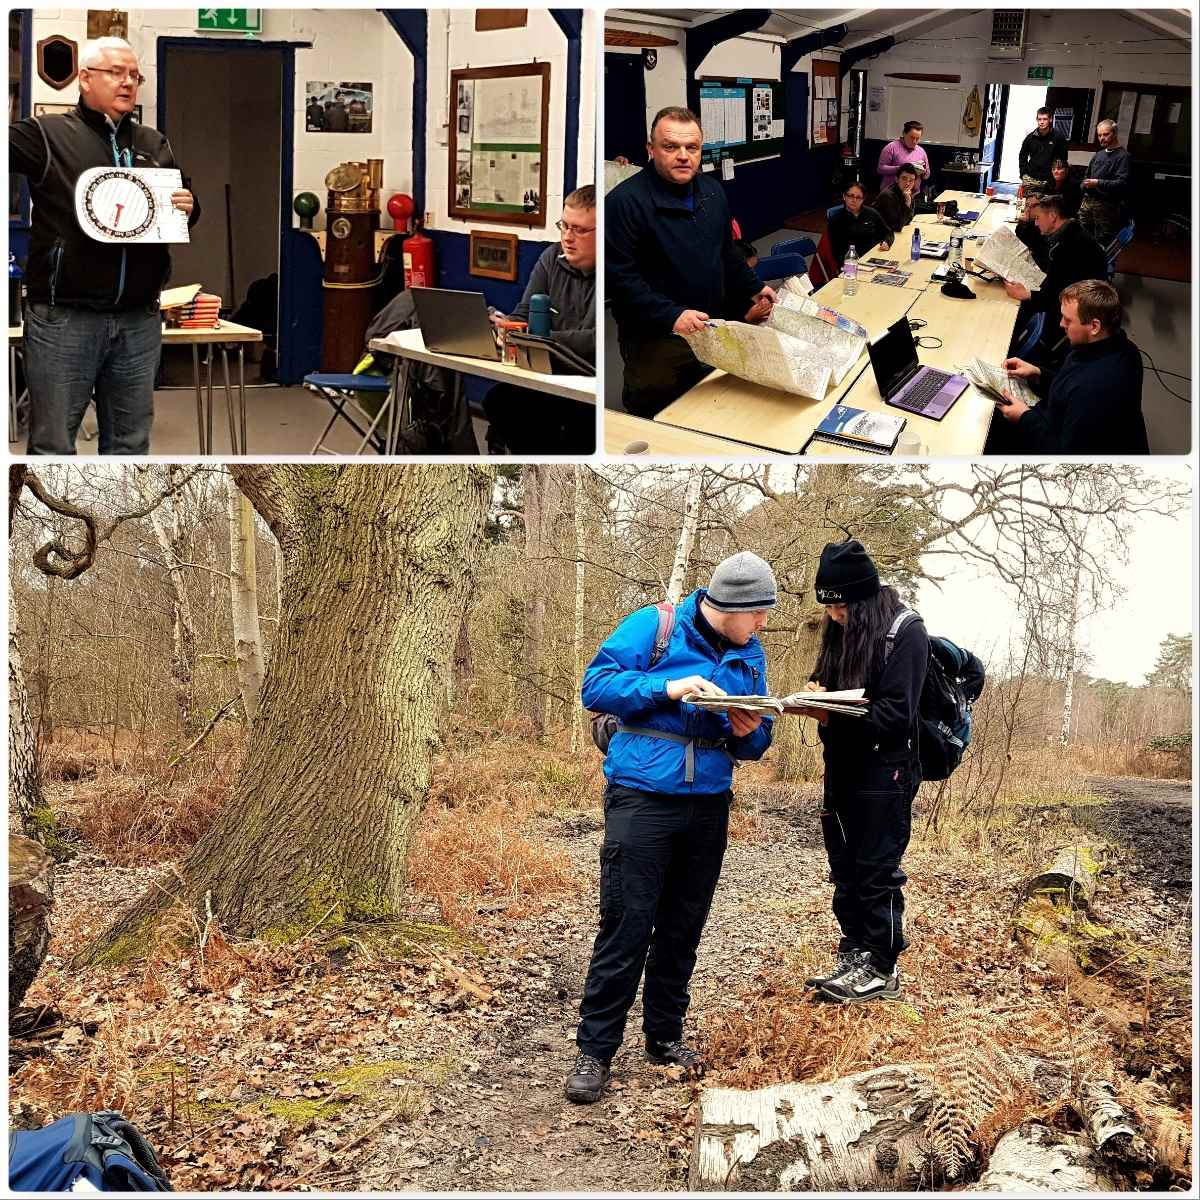
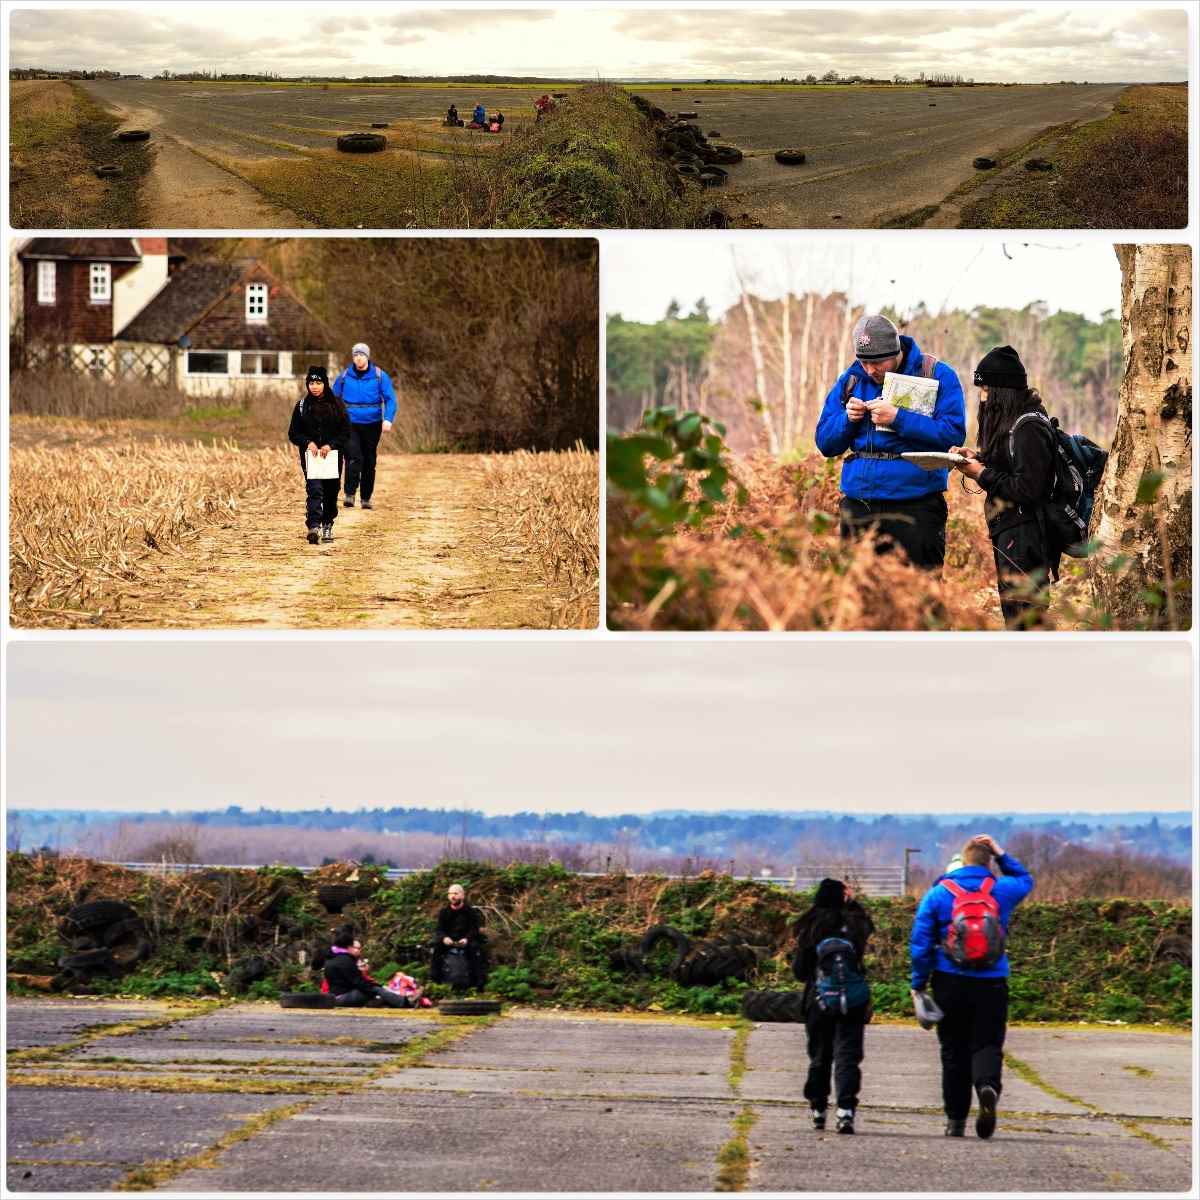
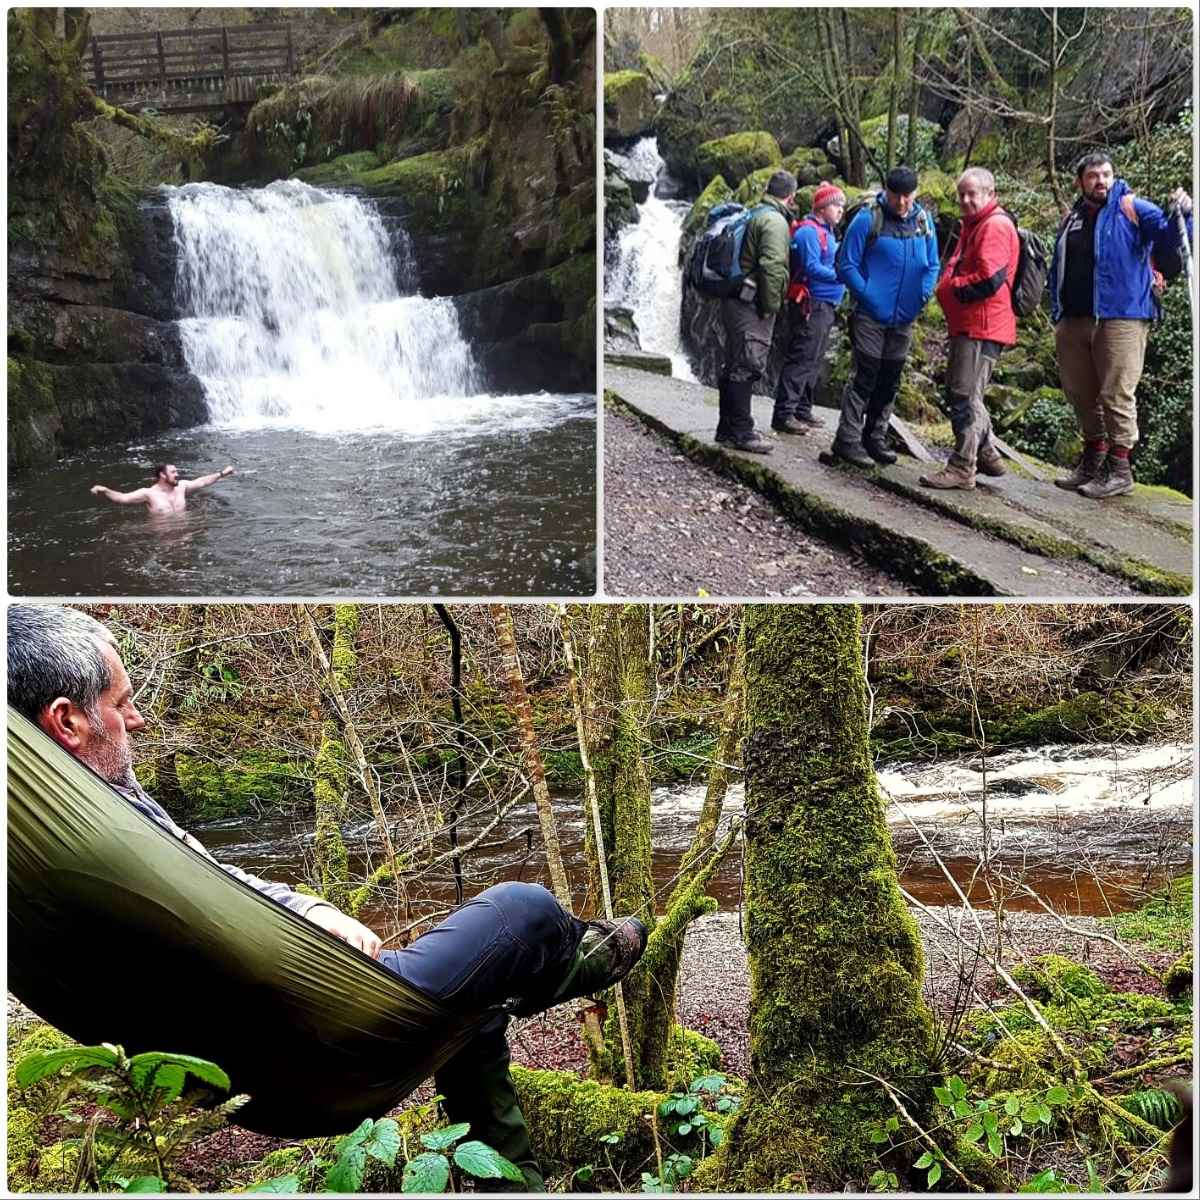
Finally test yourself like I did with my friend Mark Beer – get out into the woods and collect everything for making your fire (including making a bowdrill or handrill) and get your fire going using damp tinders.
I made this video for you to see the whole process in action.
Happy gathering, and remember that everything you need to light your fire is right under your feet.
Cheers
George