
Spend time on preparing your candle and the payback will be a beautiful column of flame that will captivate any audience.
Read on to see how…………
A favourite evening activity of mine while in the woods is to build a large torch to light up the area around my campsite, and this version has a dual purpose as a handy self-contained stove too.
This type of log stove is commonly referred to as a Swedish Candle in the bushcraft world, but there’s some debate over its origins. Some history I have come across it is that it was used by Finnish soldiers during the winter war of 1939/40 between Finland and the then Soviet Union as a quick way of cooking in deep snow. Soldiers would just ski up to a dead standing piece of wood, cut it to size, split it and put a wedge in the split. After setting a fire in the split they would place their billy can on top to heat up the contents.
In dry arctic environments, dead standing wood does not contain much moisture so catches light easily. In our more maritime environment in the UK we have more moisture in our dead wood so it takes a bit more work to get a fire going. I use a lot of fluffy stuff (eg cotton-grass heads, thistledown or common reed heads), birch bark, spruce or pine resin and anything else I can find to get it going. When you finally succeed though it makes an excellent alternative woodland TV.
On a number of courses I have attended the instructors used chainsaws to make the vertical cuts. This makes the job very easy and you can set up a number of them around the camp quickly.
I do not have the luxury of owning a chainsaw so I had a trawl around You Tube and came across a good video from Hobbexp on making one of these candles without the use of a chainsaw. A link to that video is at the bottom of this post. I took a number of attempts to get a system that works for me but as you can see from the results it is worth it.
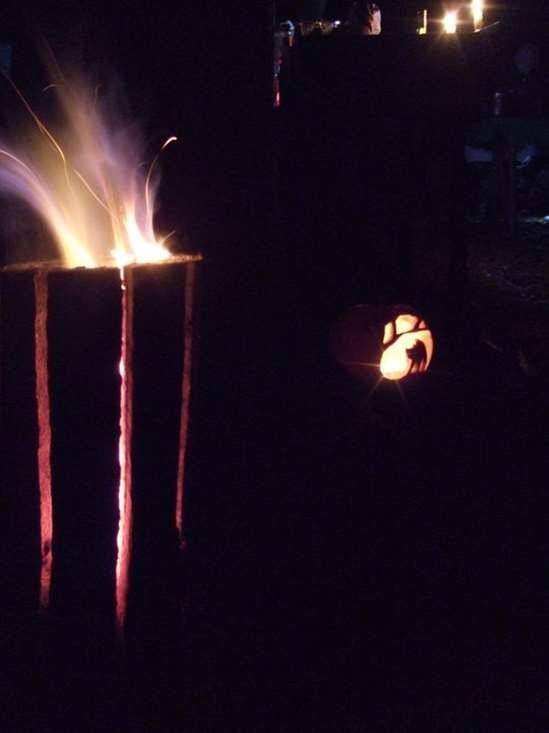
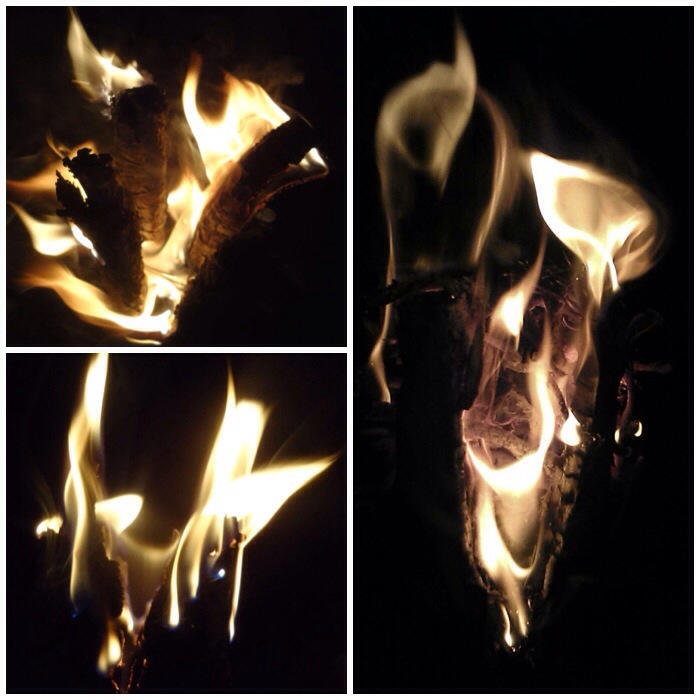
Some of the pictures you can get are quite stunning. This is from my Fire Face collection and I call it the Seahorse.
I typically use a length of well-seasoned birch as my candle but any wood that’s not too hard would work. As I never seem to find the ideal piece of dead standing wood when I need it I always keep a little stock in my store to bring along to camps.
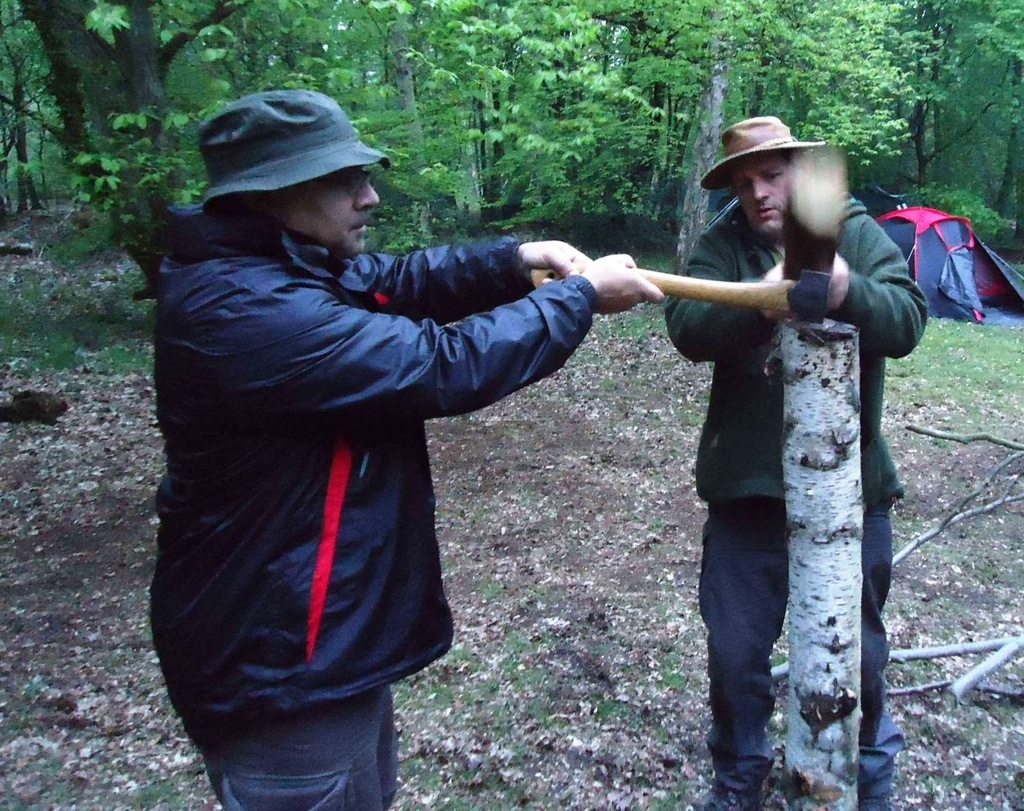
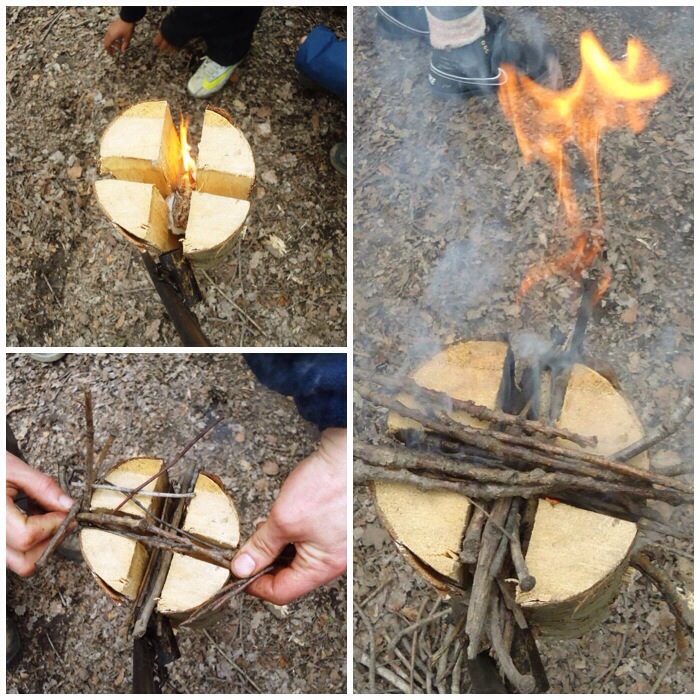
First, split the wood with an axe and a batton. Be very gentle with the first few taps of the batton to make sure the axe does not slip.
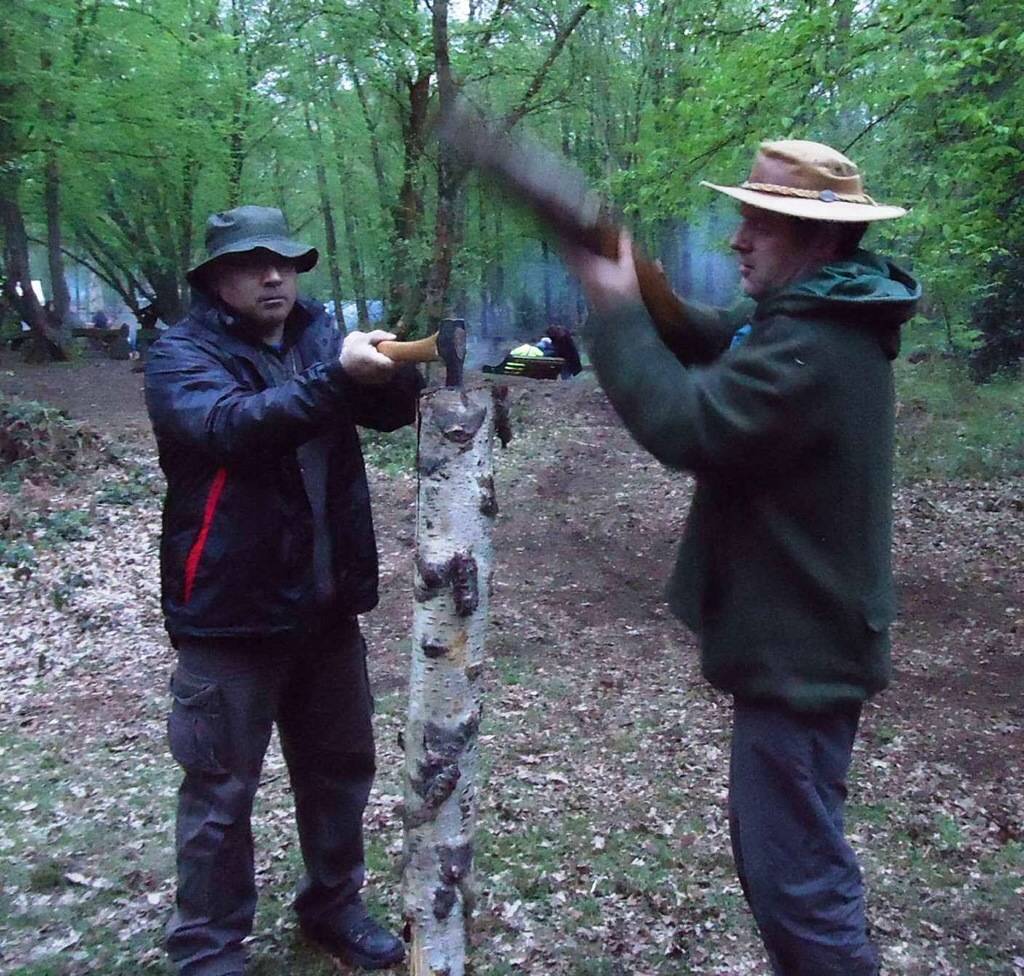
Create the first split to a depth of about 50 or 60cms then create another split at 90 degrees to the first. To make the candle stand up, rest it against something that is not flammable (I sometimes use a cooking tripod) or dig it into the ground.
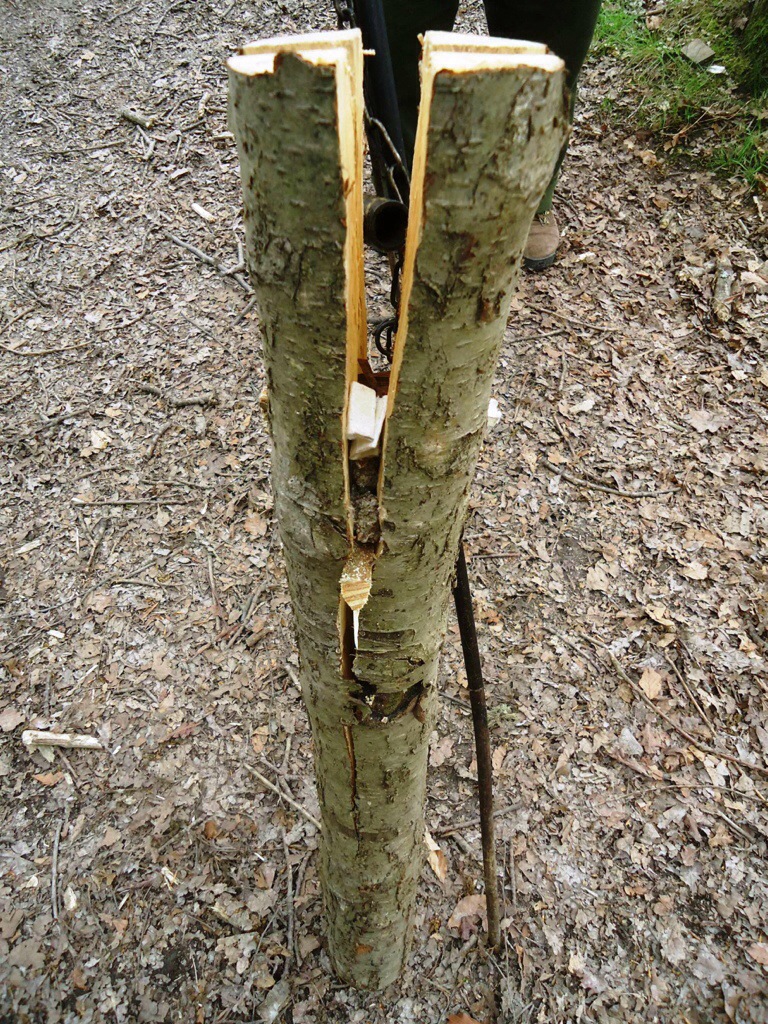
Once the candle is in position, add a green wood wedge down each split to keep the four parts of wood separated, then you’re ready to light your candle.
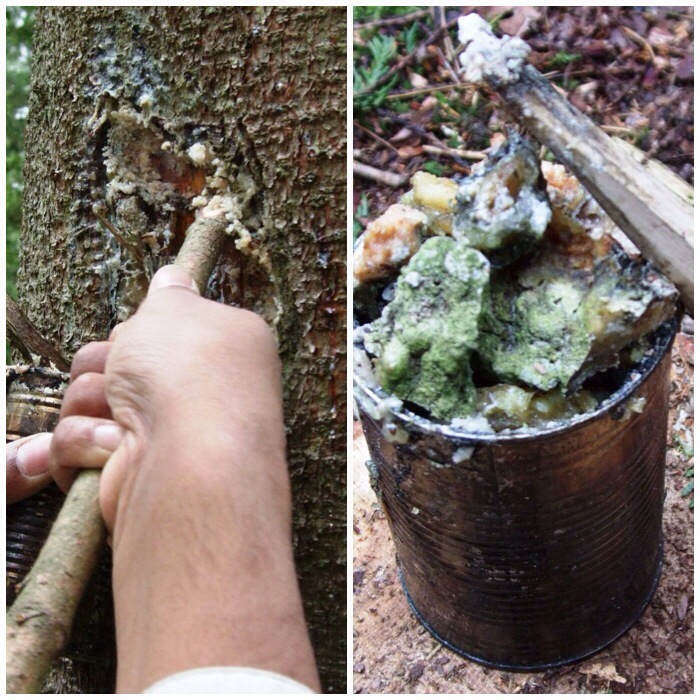
One of the best aids to lighting a fire is resin. I collect it when out and about in conifer plantations, using a flattened stick to prise it off the tree. It makes it much easier and also you do not need to clean your hands or knife so much. Adding lots of resin to the split keeps the initial flame going for longer, giving the wood time to catch.
Here you can see the green wood wedge keeping the split open and the start of the build-up of tinders. Tapping the green wedge in can make the log split a bit more – as you can see here – so be careful that you don’t allow the split to run all the way to the bottom.
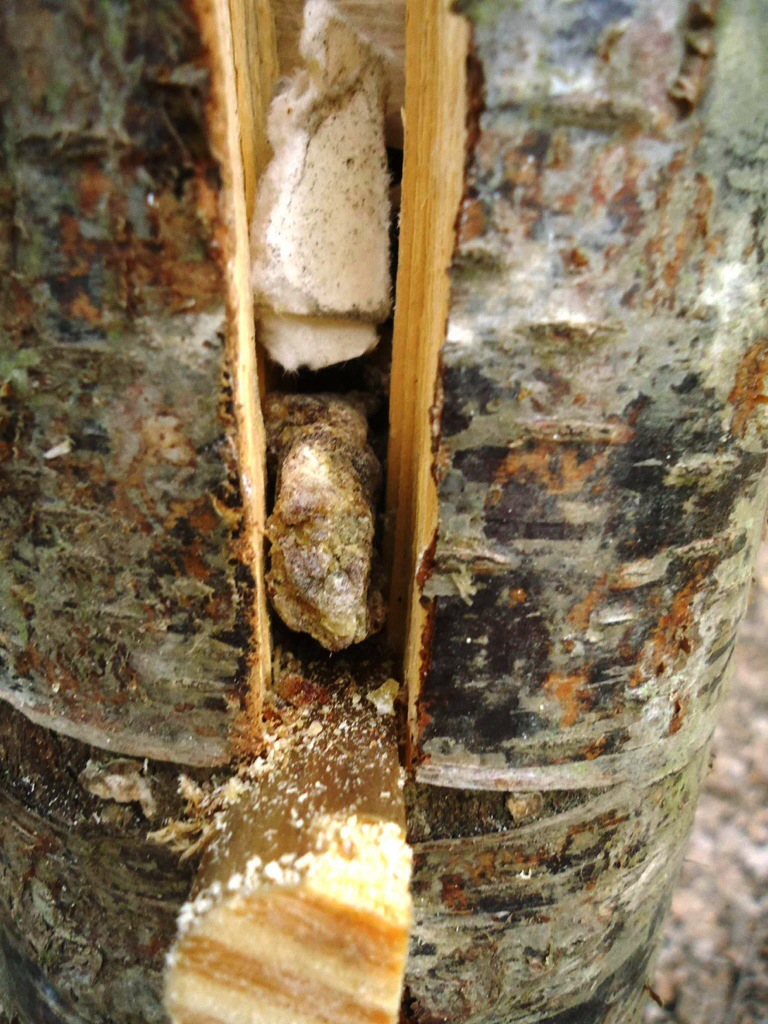
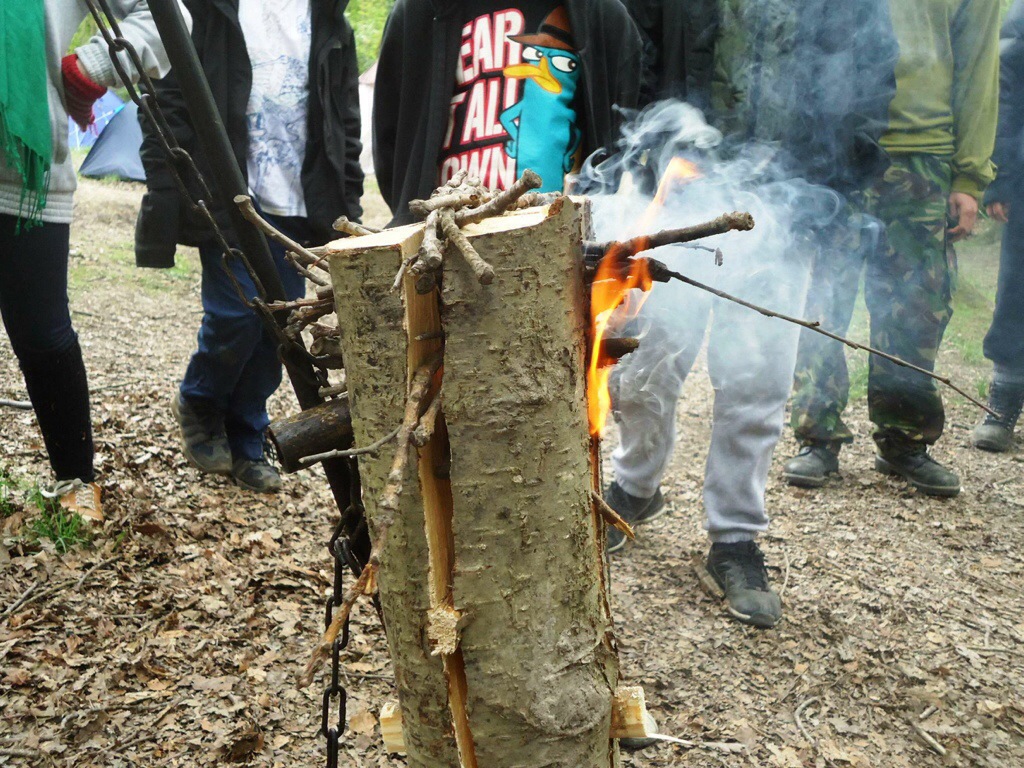
Here you can see I have placed some resin in the split along with some paper impregnated with pig fat. Keep building up different layers of tinders.
I started the fire in this candle with only a small amount of tinder at the bottom of the split to demonstrate how poor the flame would be.
The flame was very slow in building up and when I placed small twigs on the top it dampened the flames down. (Instead of small twigs it is better to use dry pine needles as they are very flammable.) Starting the fire at the bottom will work, but you will need to spend far more time tending it; better to start the flame higher up as shown below.
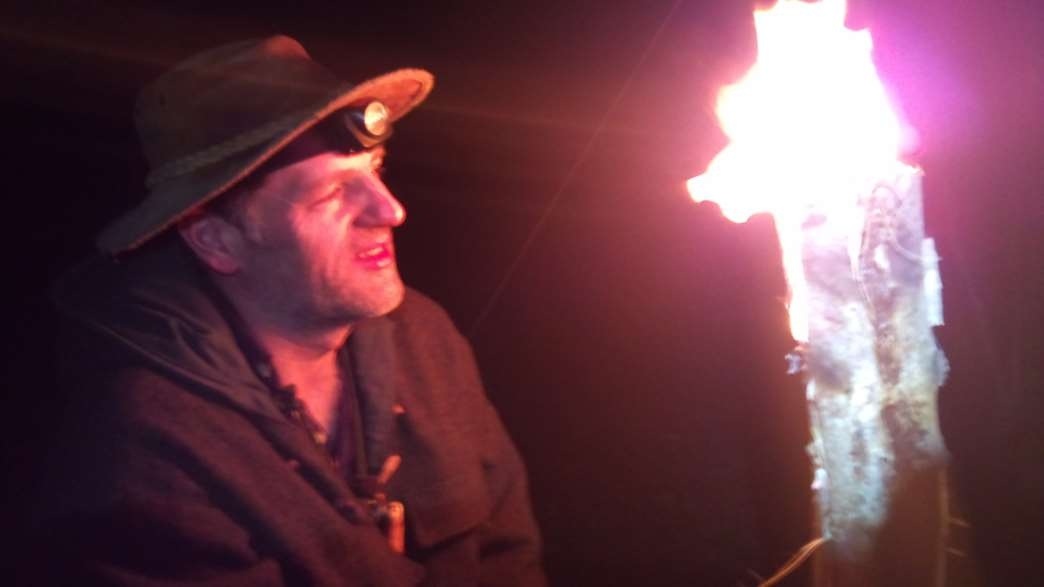
Just remember the saying about the 7 P’s – Prior Preparation and Planning Prevents Pretty Poor Performance. Spend time on preparing your candle and the payback will be a beautiful column of flame that will captivate any audience.
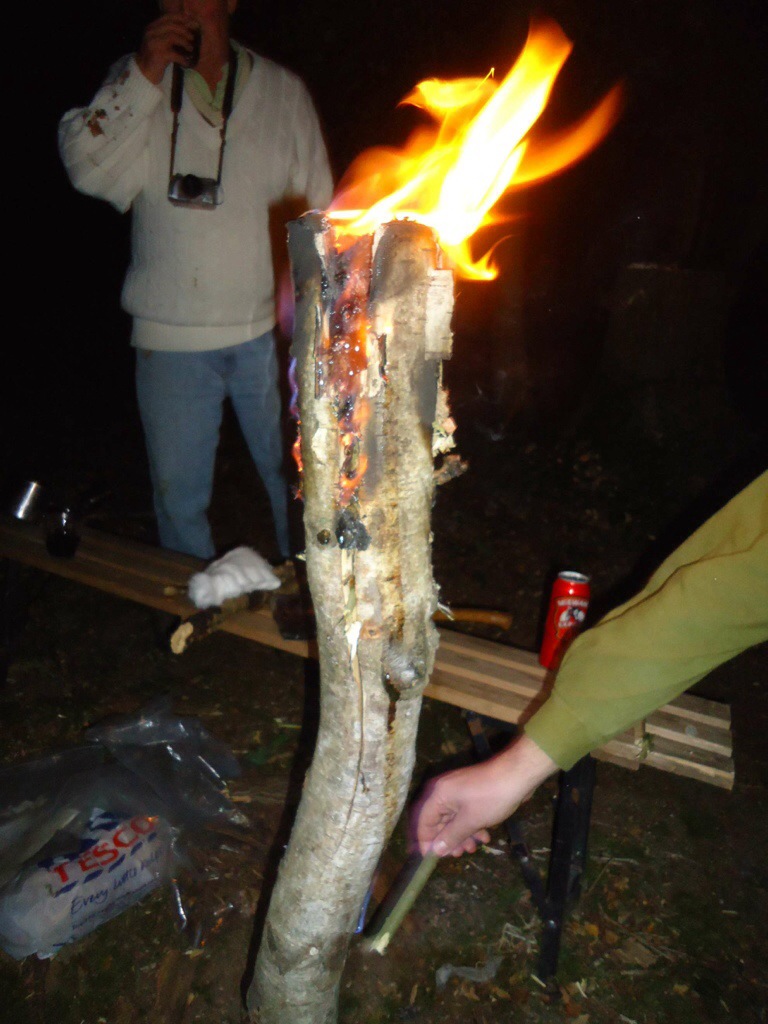
Here I have built up lots of layers of resin and birch bark and lit the flame from the top. I don’t know the physics of it but if you start your fire at the top and let it burn down through the layers it works much better.
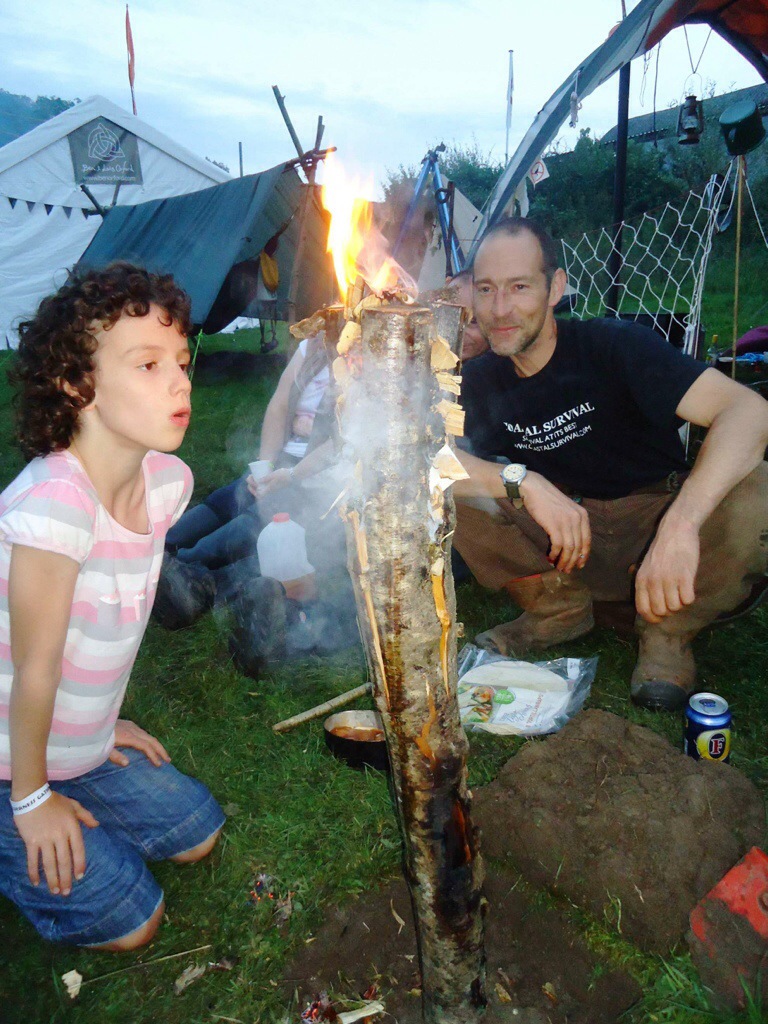
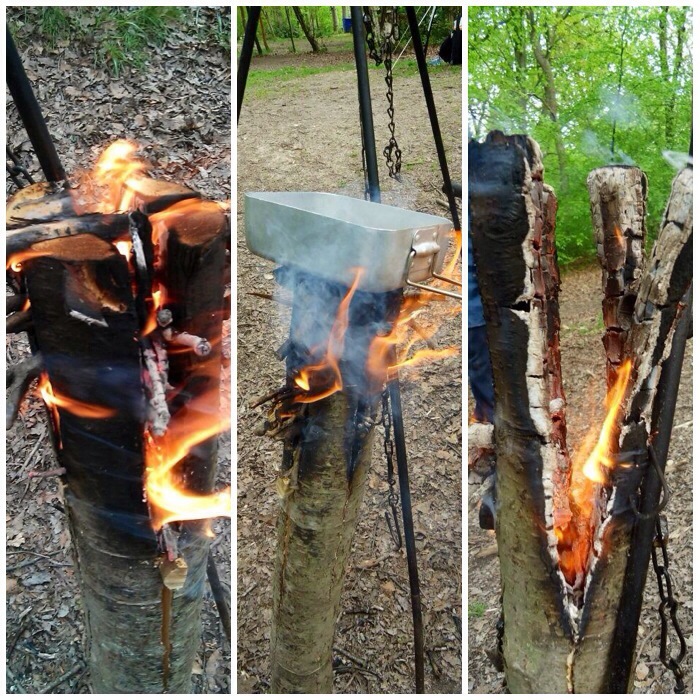
A well-lit candle now and an ideal place to boil water for a brew.
I have gotten some fantastic pictures from these candles.
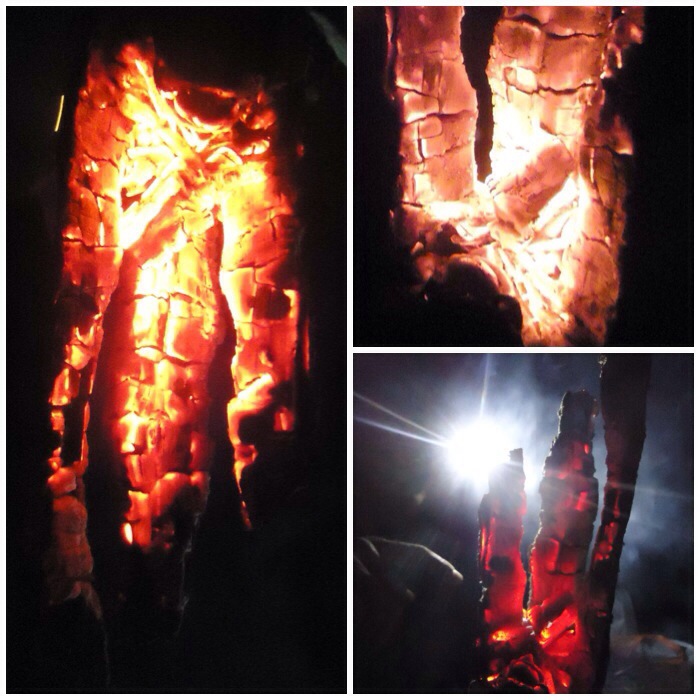
Even the embers are beautiful.
The beauty of this set up is that if you keep adding tinder, resin and small twigs this candle will last a good couple of hours.
I have been experimenting with a couple of alternative candles today and will post the results of my thoughts on them in Part 2 of this How To…. soon.
Cheers
George
How To…. Build a Finnish/Swedish Candle – Damp/Wet Wood – Part 2
I haven’t seen this done for years, so long ago I’d forgotten about them. Brings back memories of scout camps with one burning each night to ‘be the beacon of the camp’.
…and no, we didn’t use a chain saw either!
P
Maybe we could arrange to set one up Phil.
Hi, I was wondering, can I attempt the Swedish candle with a log only seasoned for a month or should the log be completely dry? Thanks!
The drier the better. If it is damp then it will take more fuel to get it going.
Cheers, George