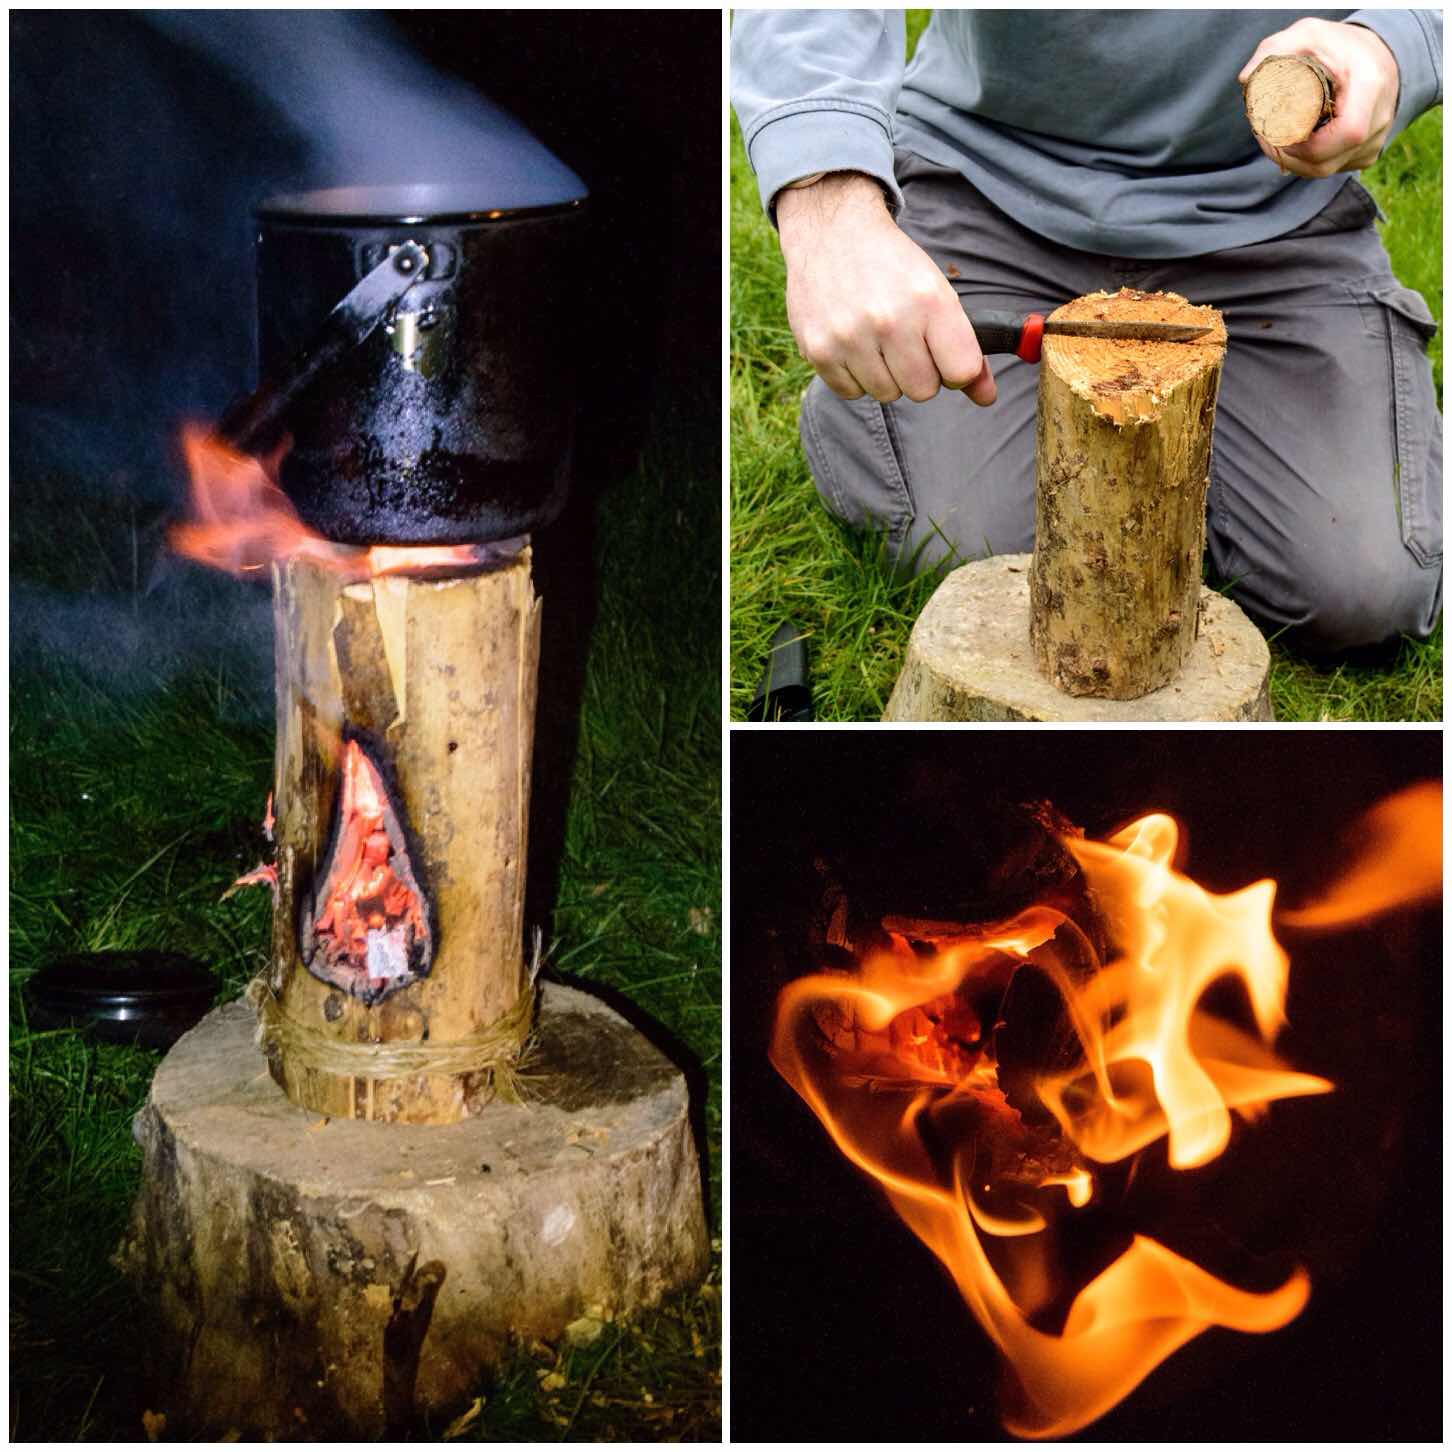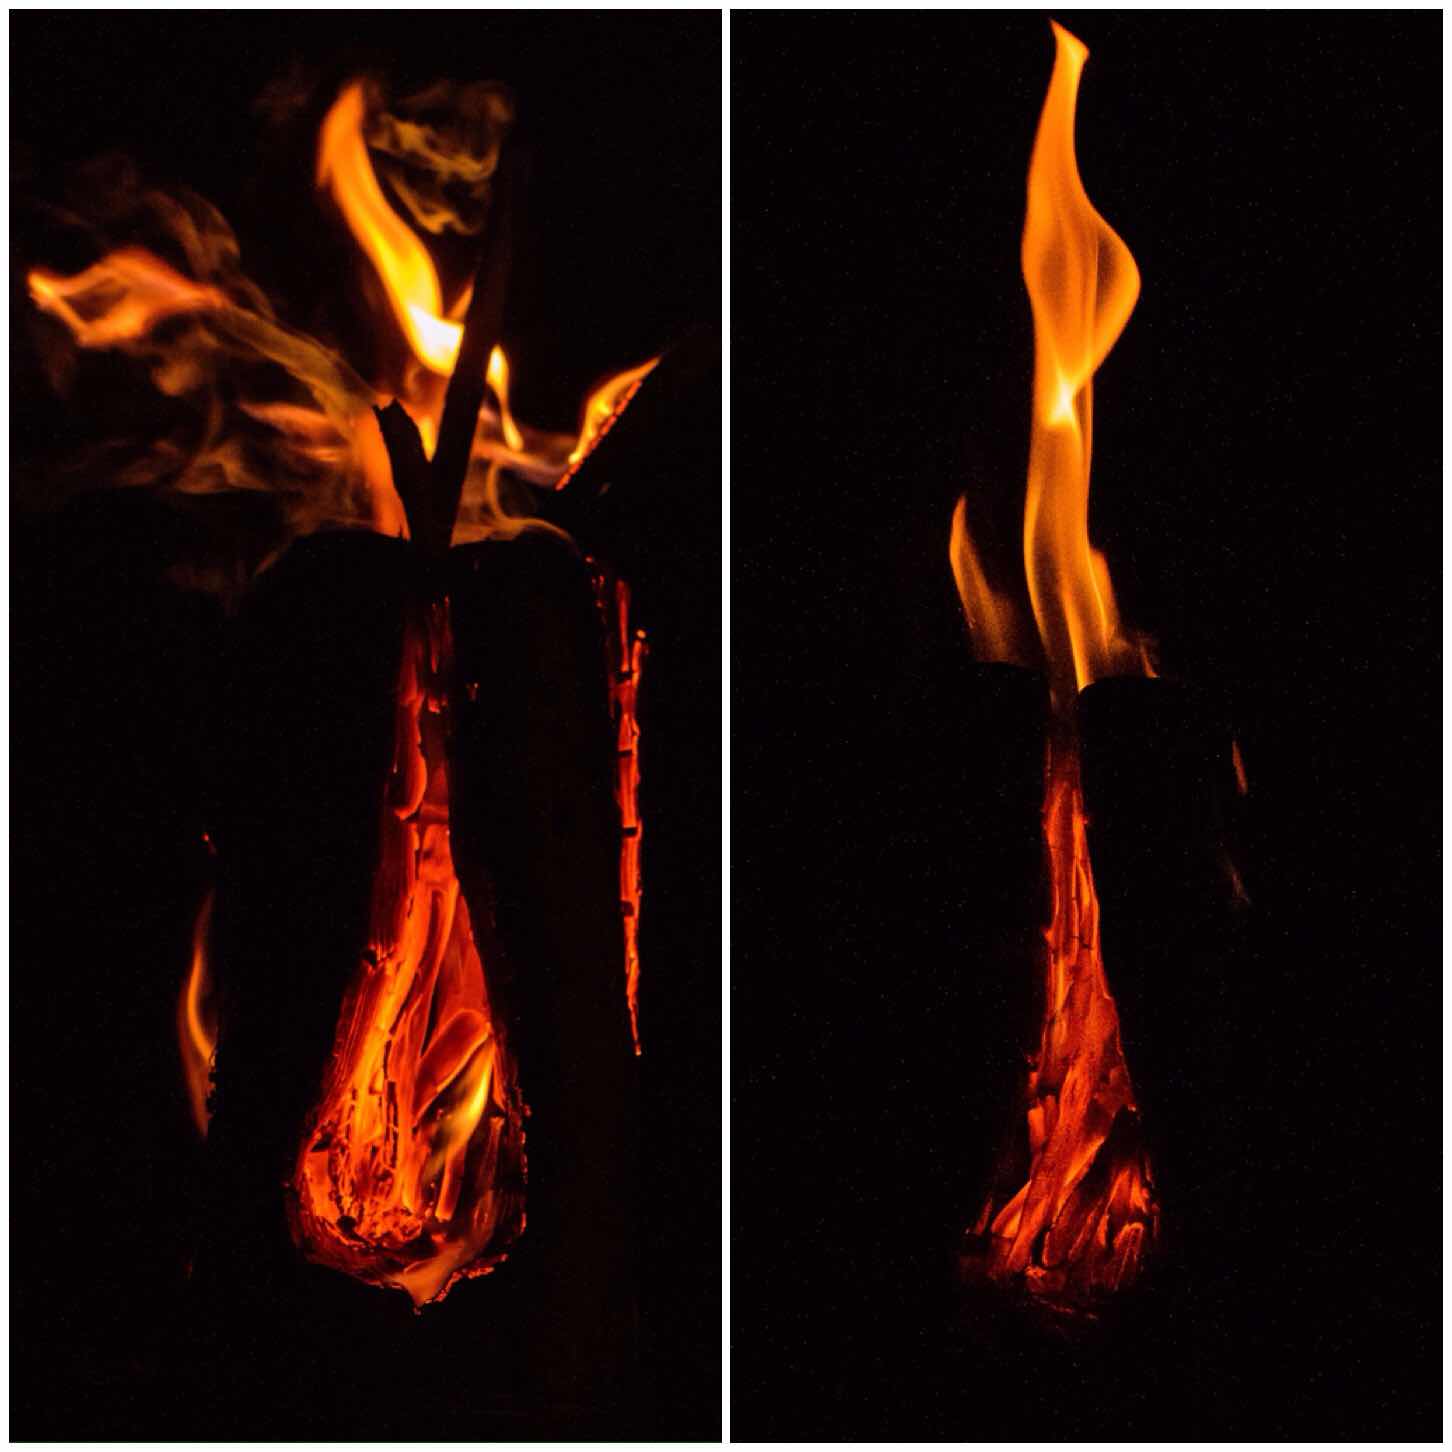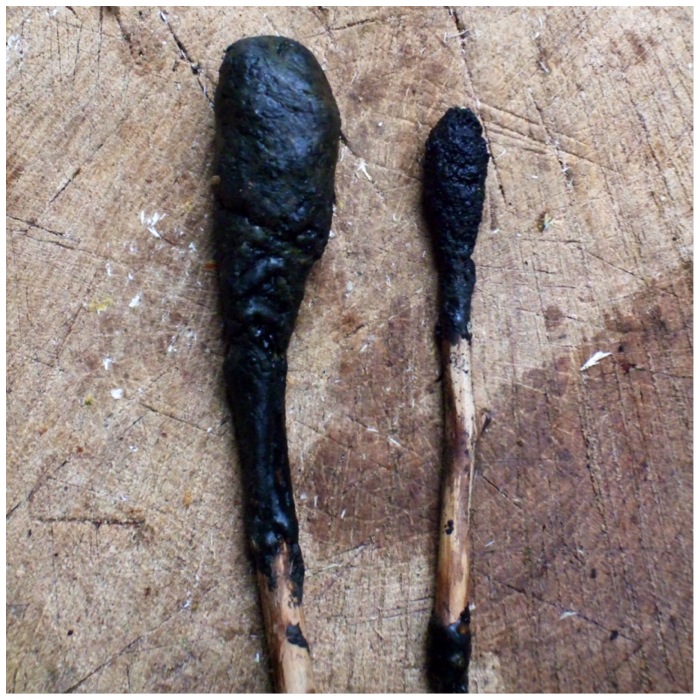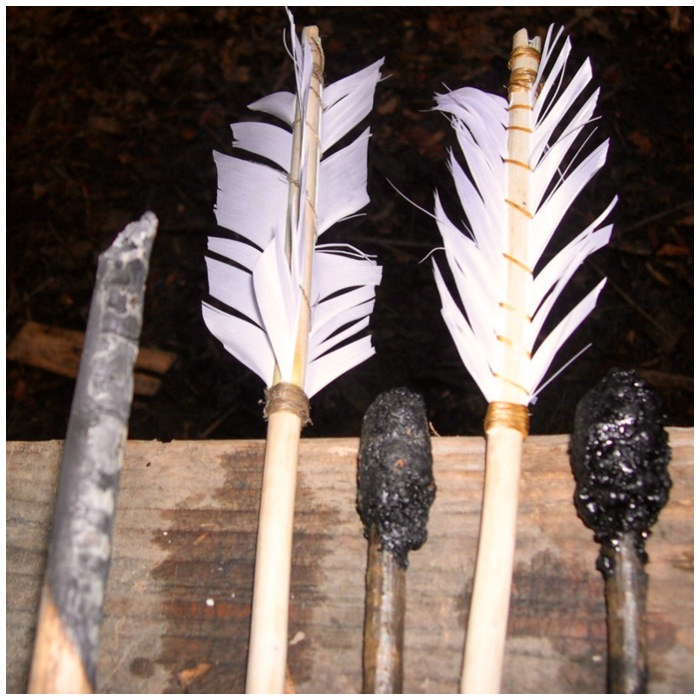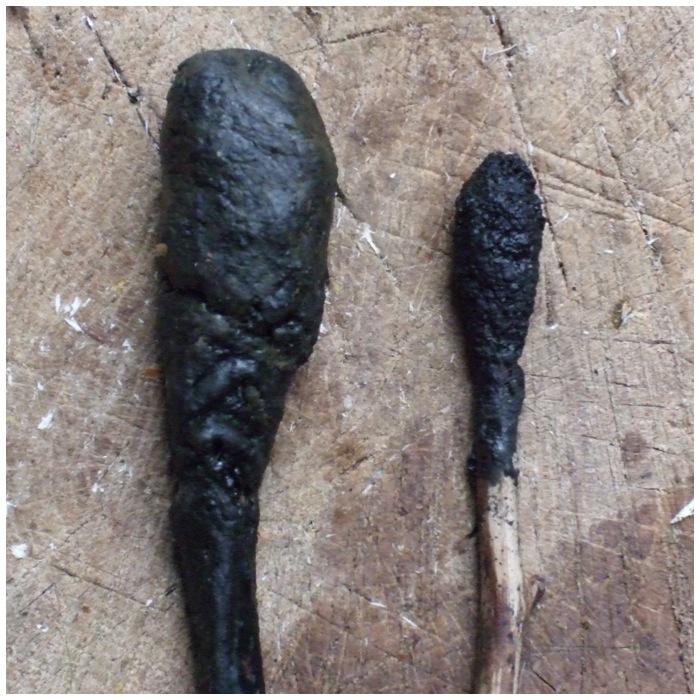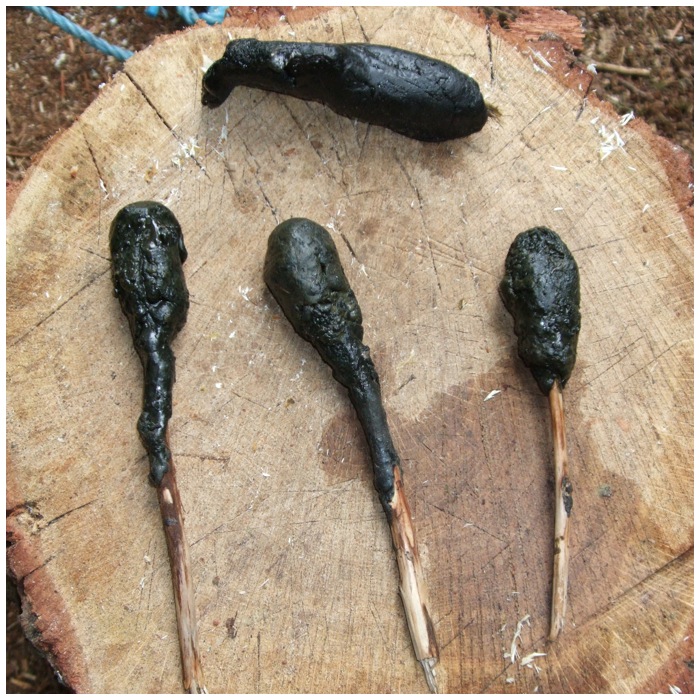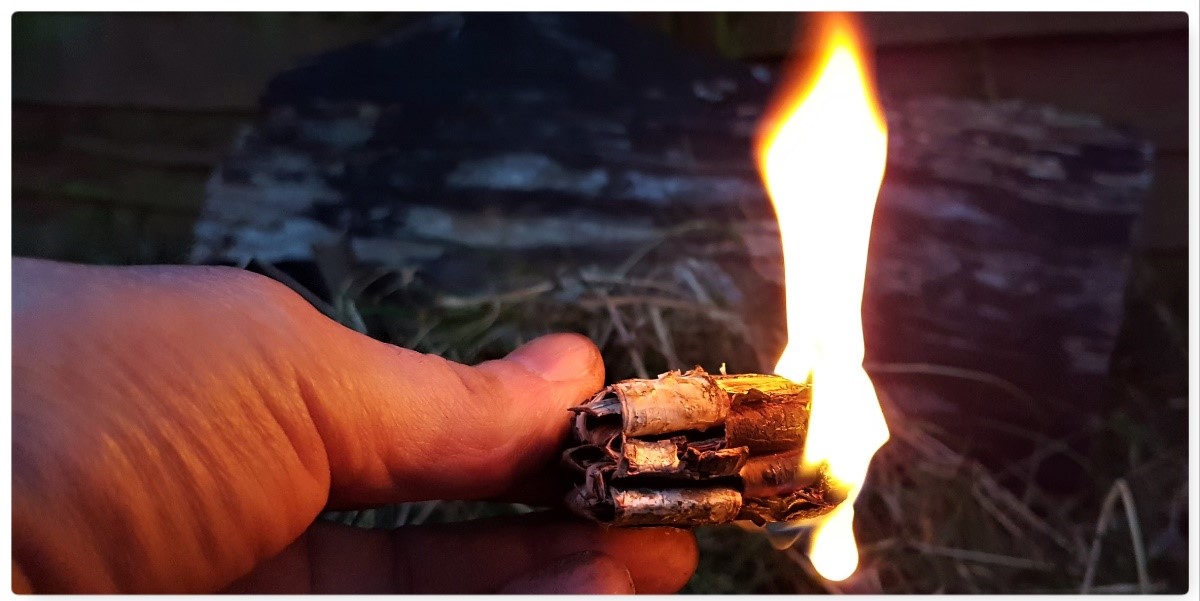
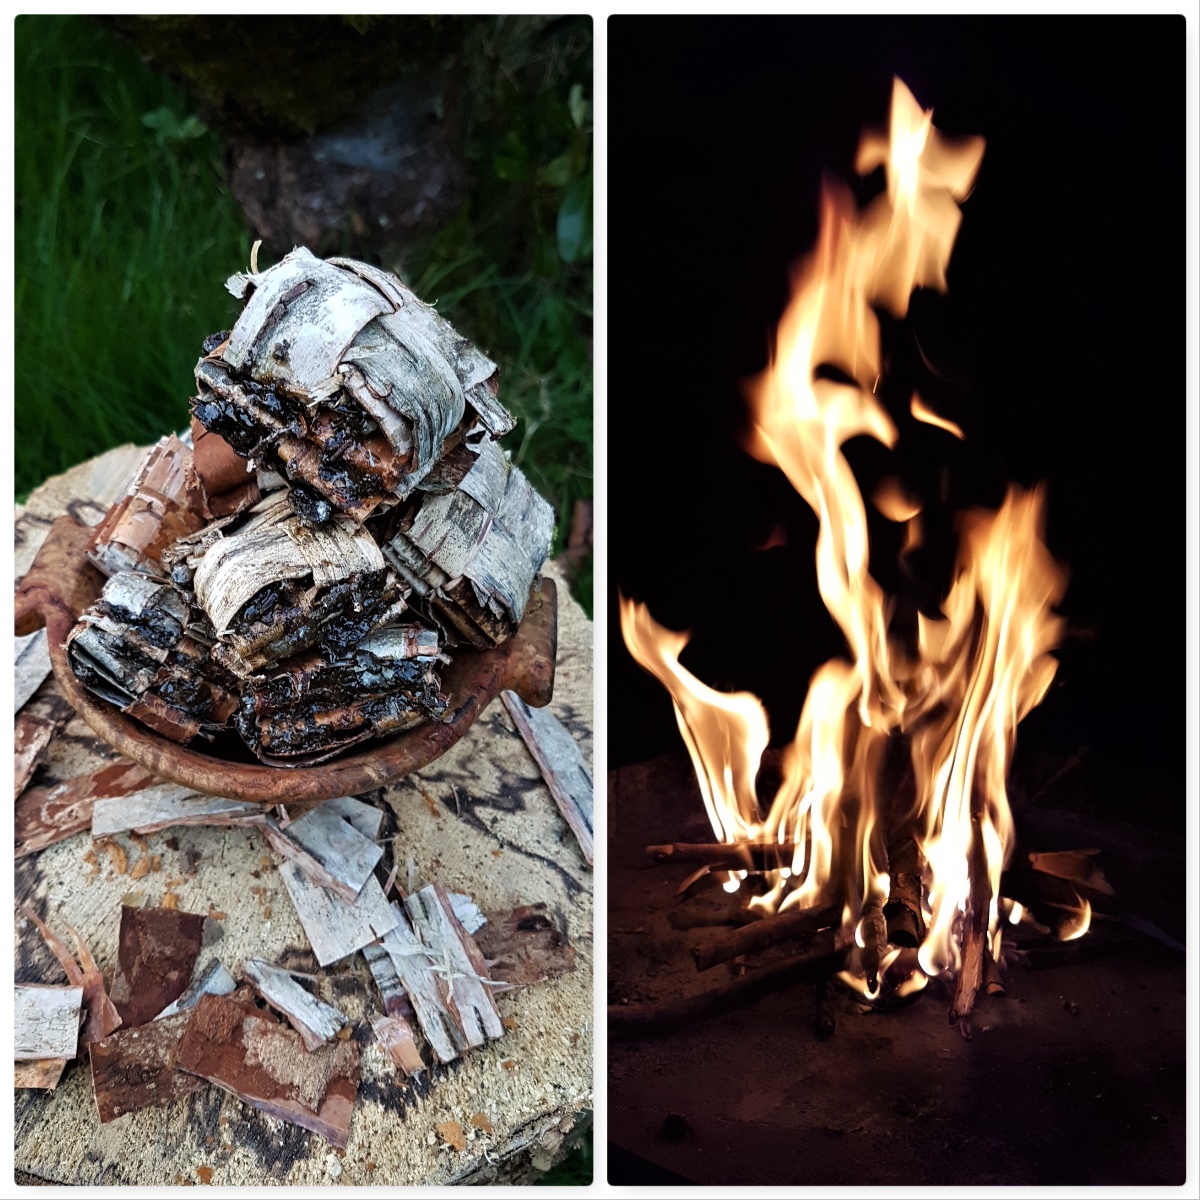
they burn long and fierce
Apart from making baskets and sheaths out of bark I have been experimenting these last few years with weaving bark into natural firelighters. I came across a post on Bushcraft UK by a member called Woodwalker on these firelighters from 2010 – he called them Woven Kindling.
I have since added spruce resin to mine and liken them more to Natural Frelighters as they burn long and fierce. This is the second part in my two part series on natural firelighters – the first being my post on Birch Bark Fire Fans.
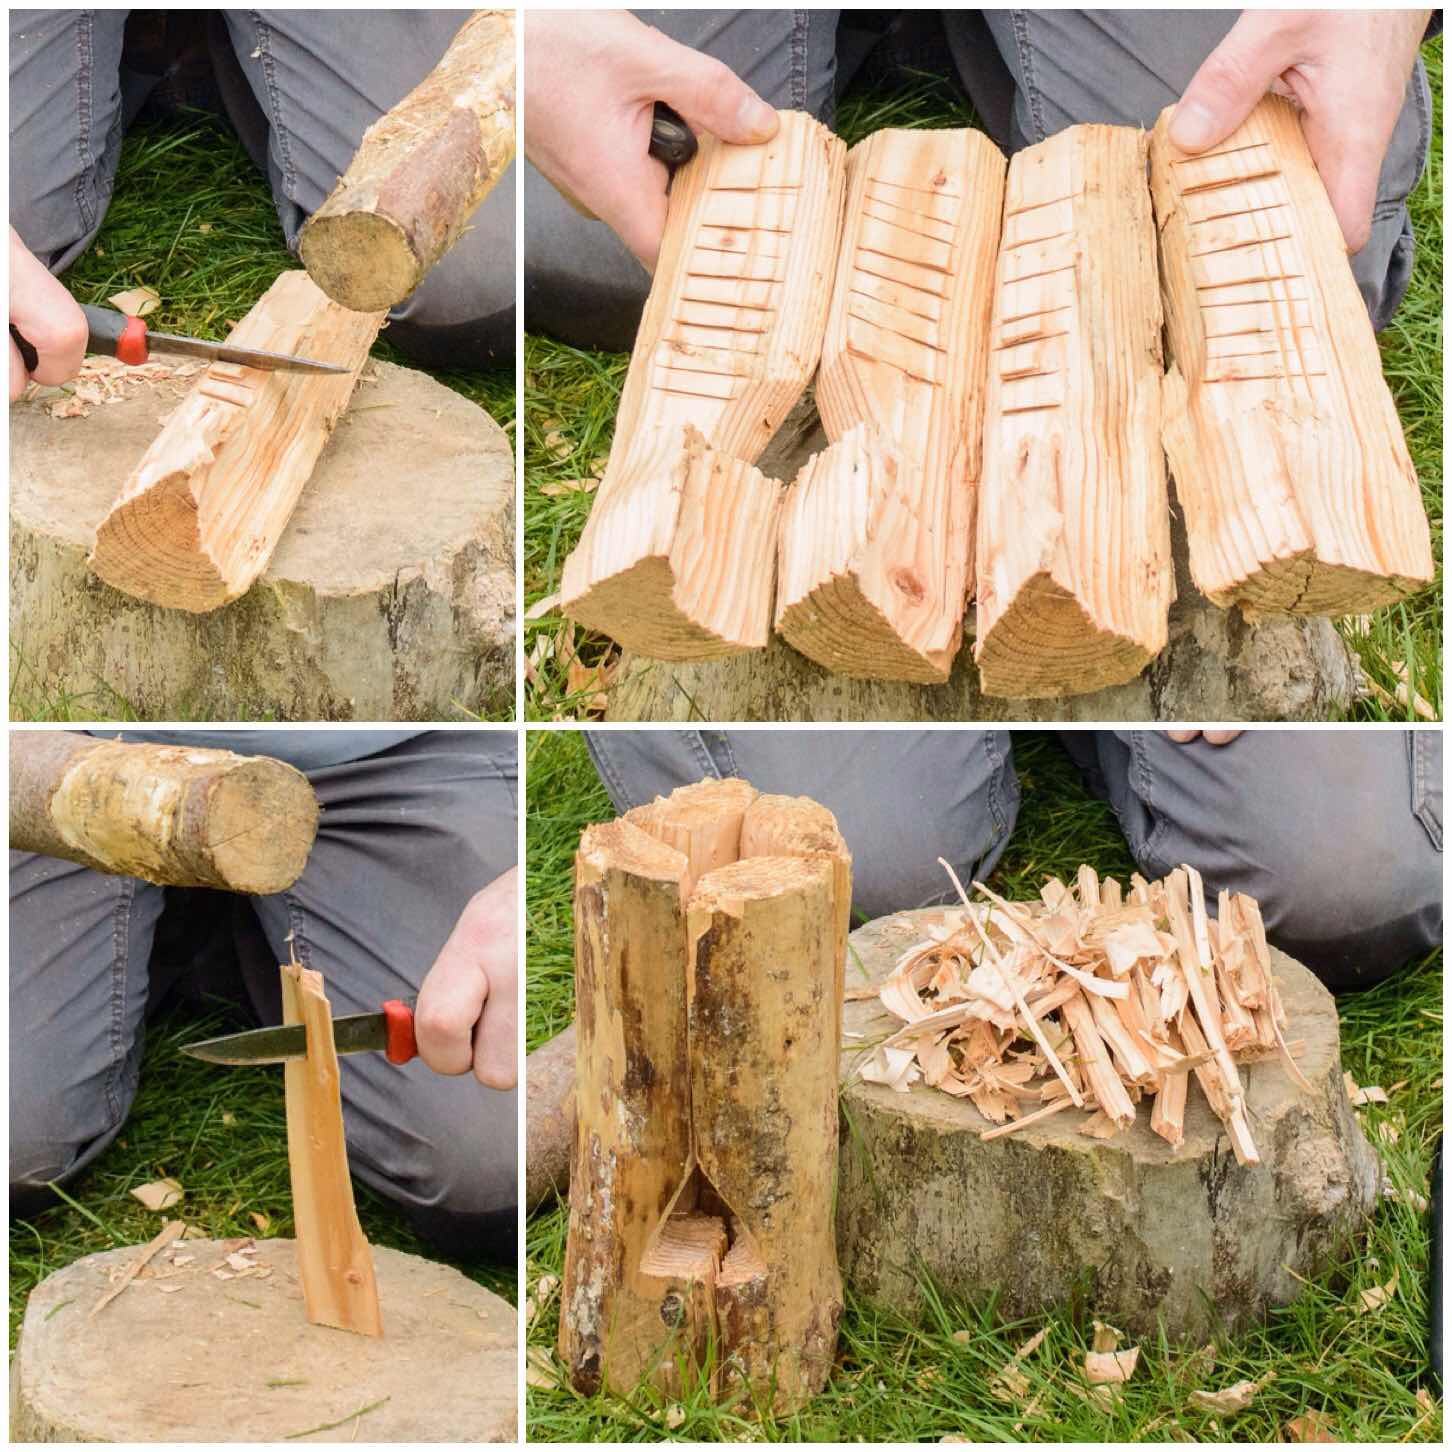
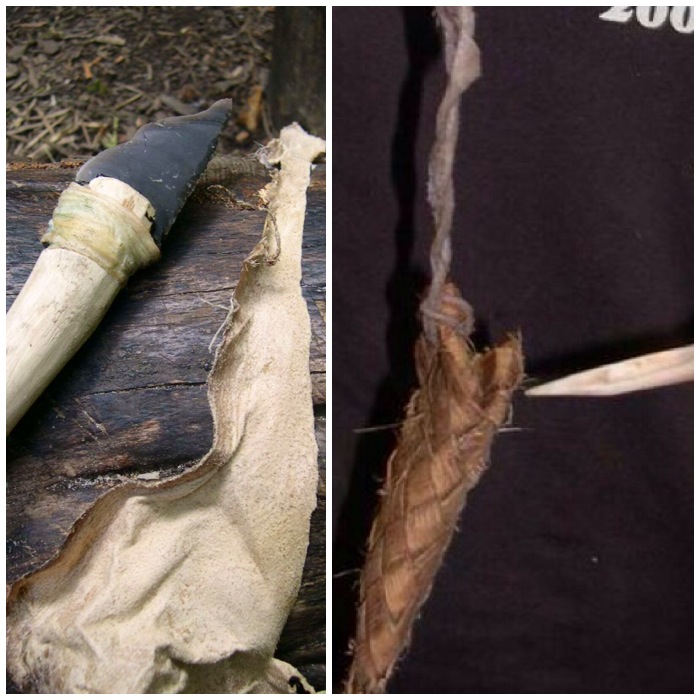
Removing the bark
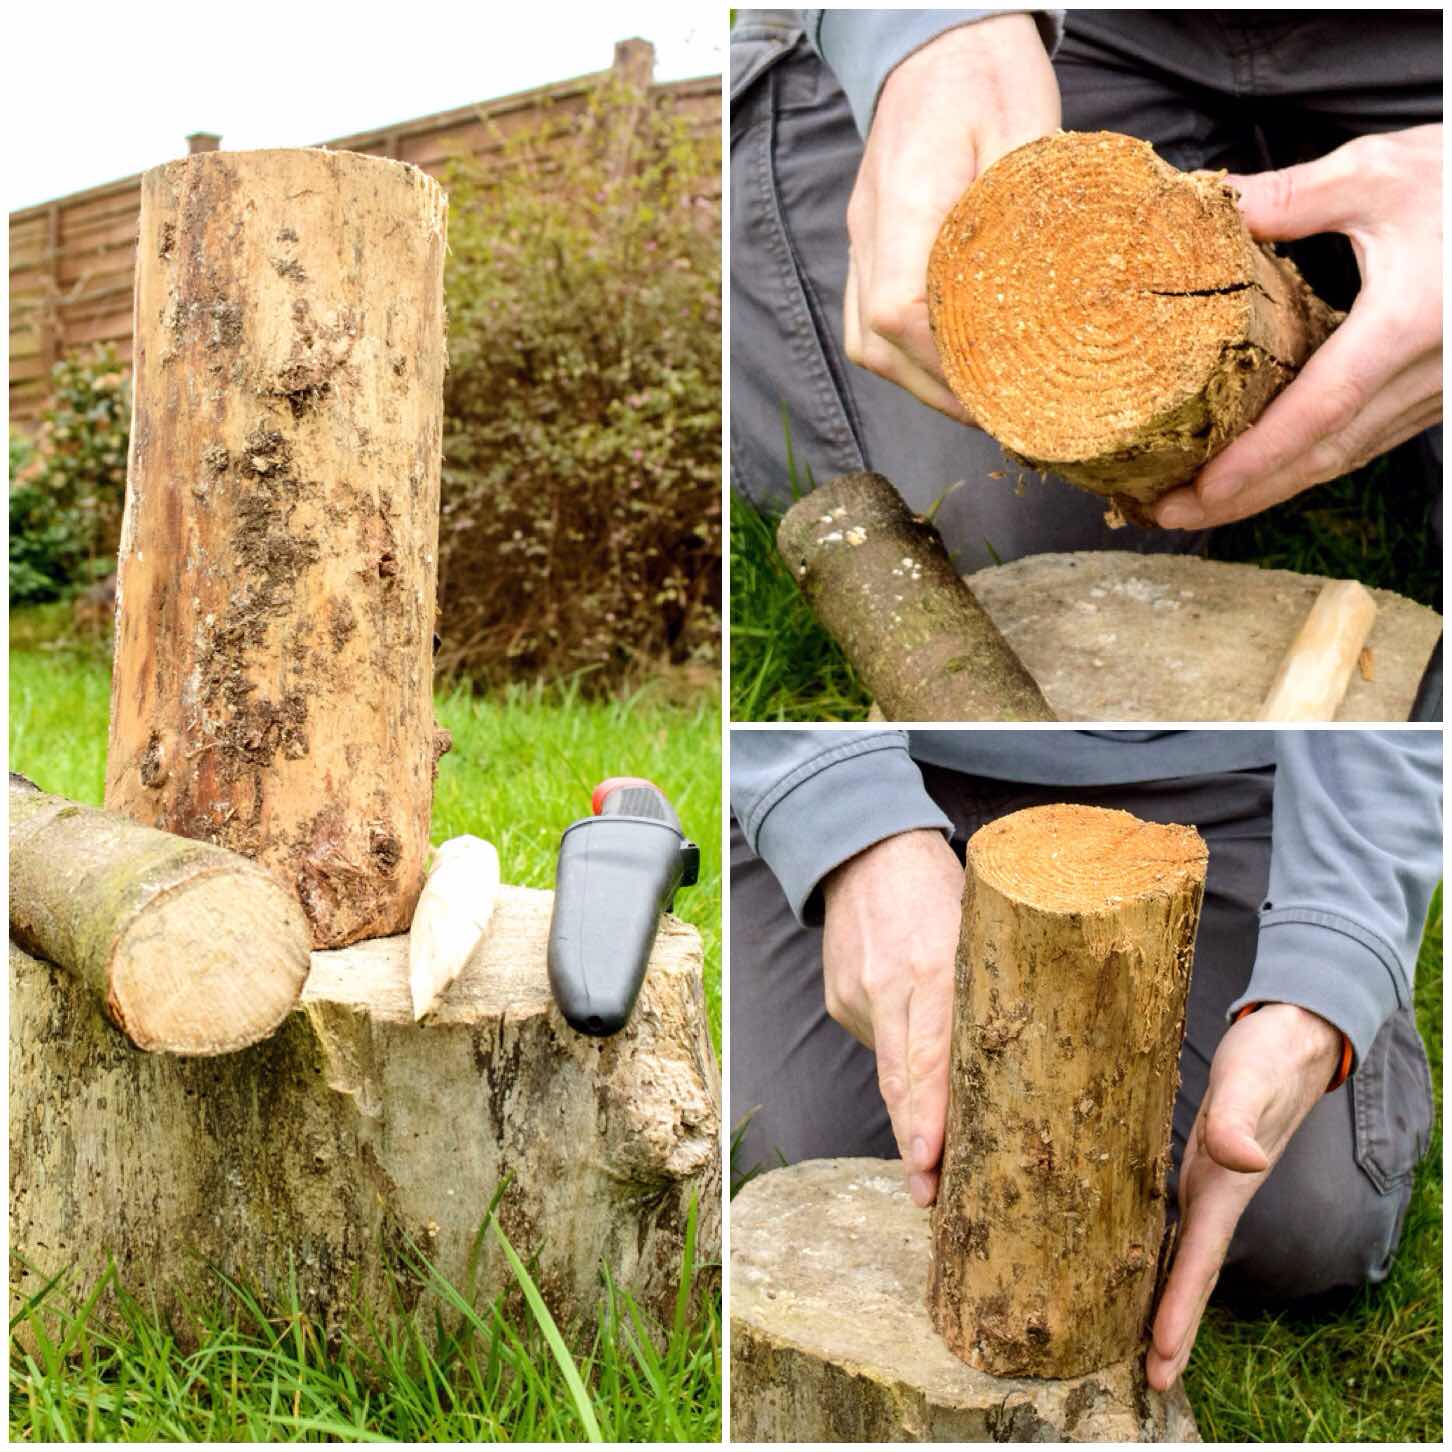
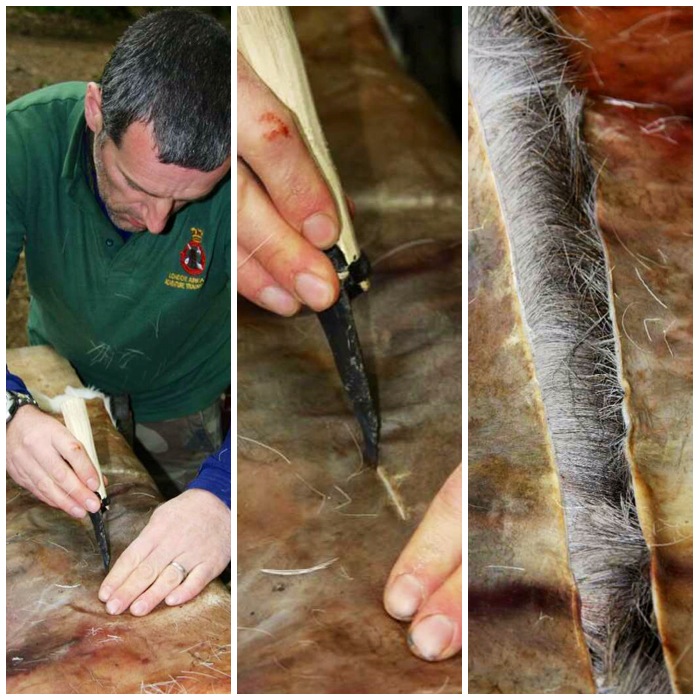
If you can find a semi rotten fallen birch log the bark tends to come of easily so just pull of the what you need. If you use semi rotted logs just take a little piece from as many different logs as you can as these logs are home to many different invertebrates.
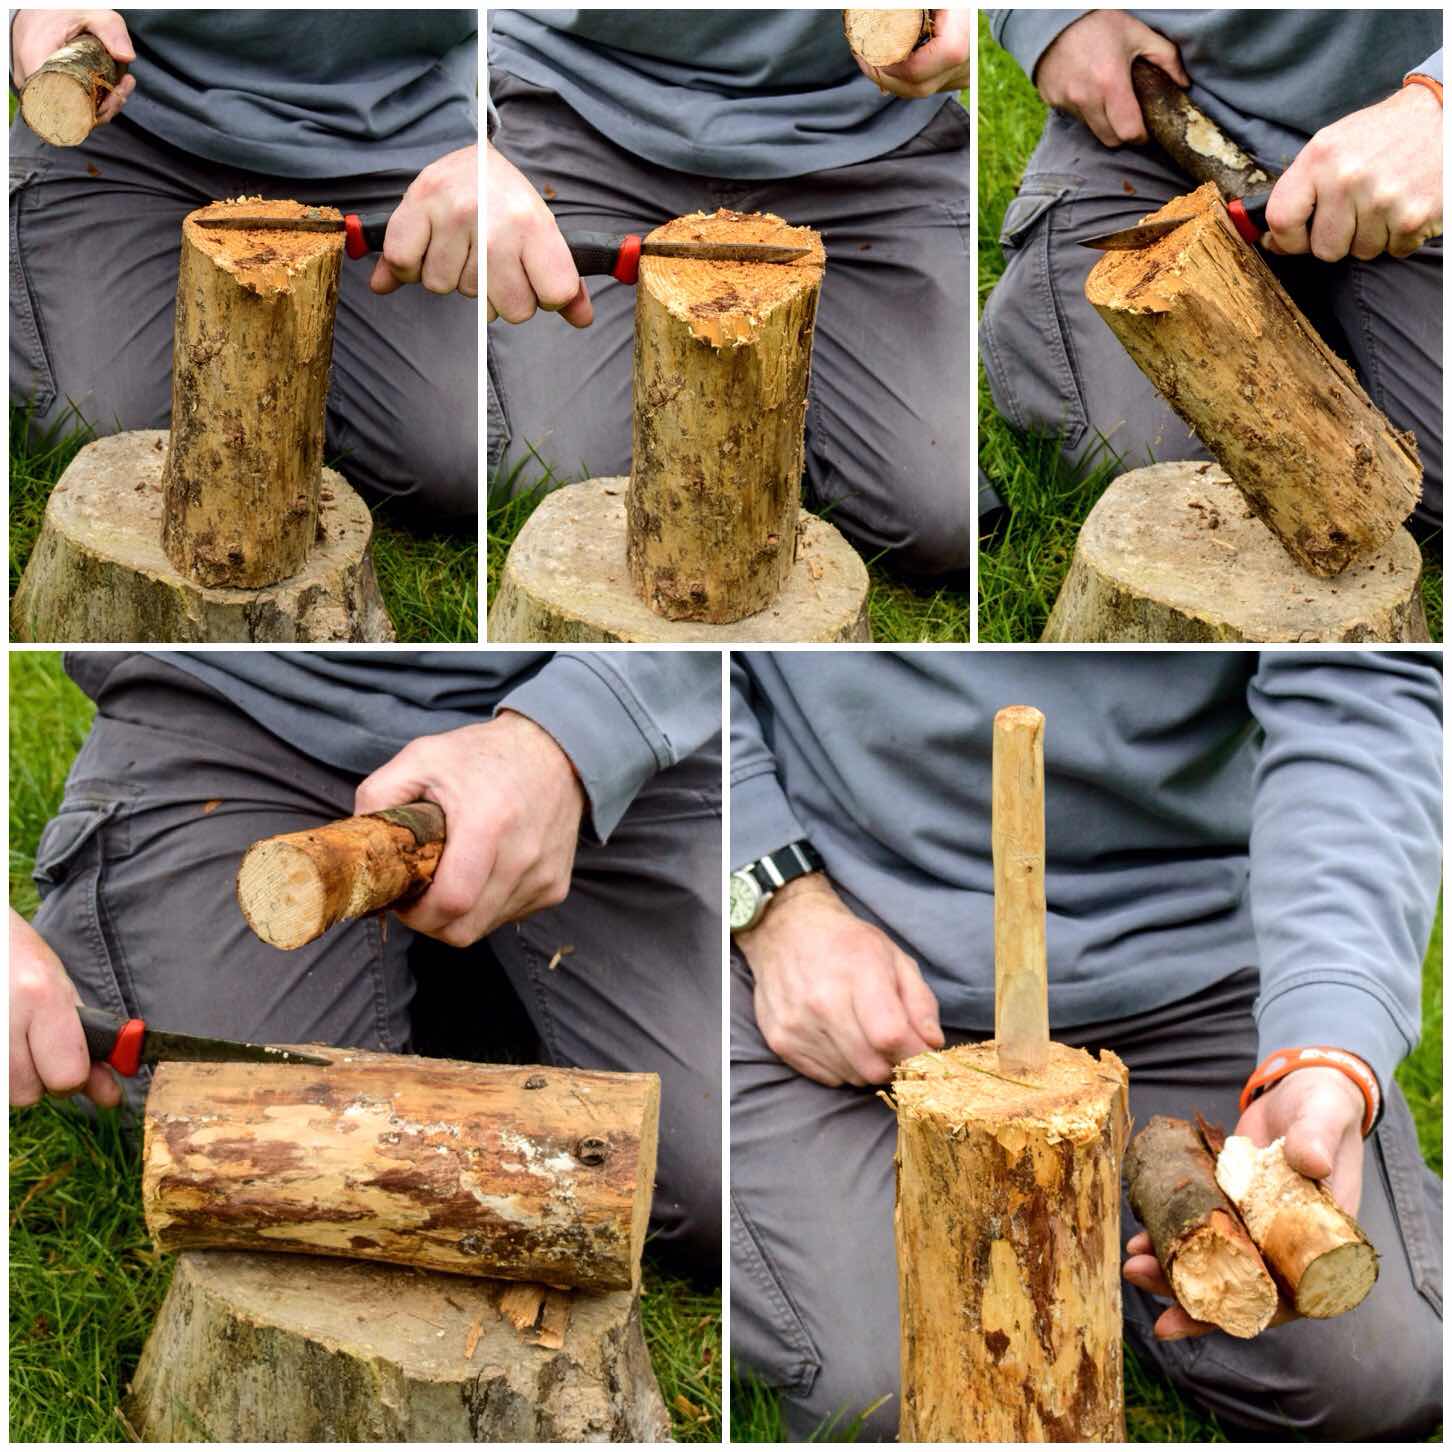
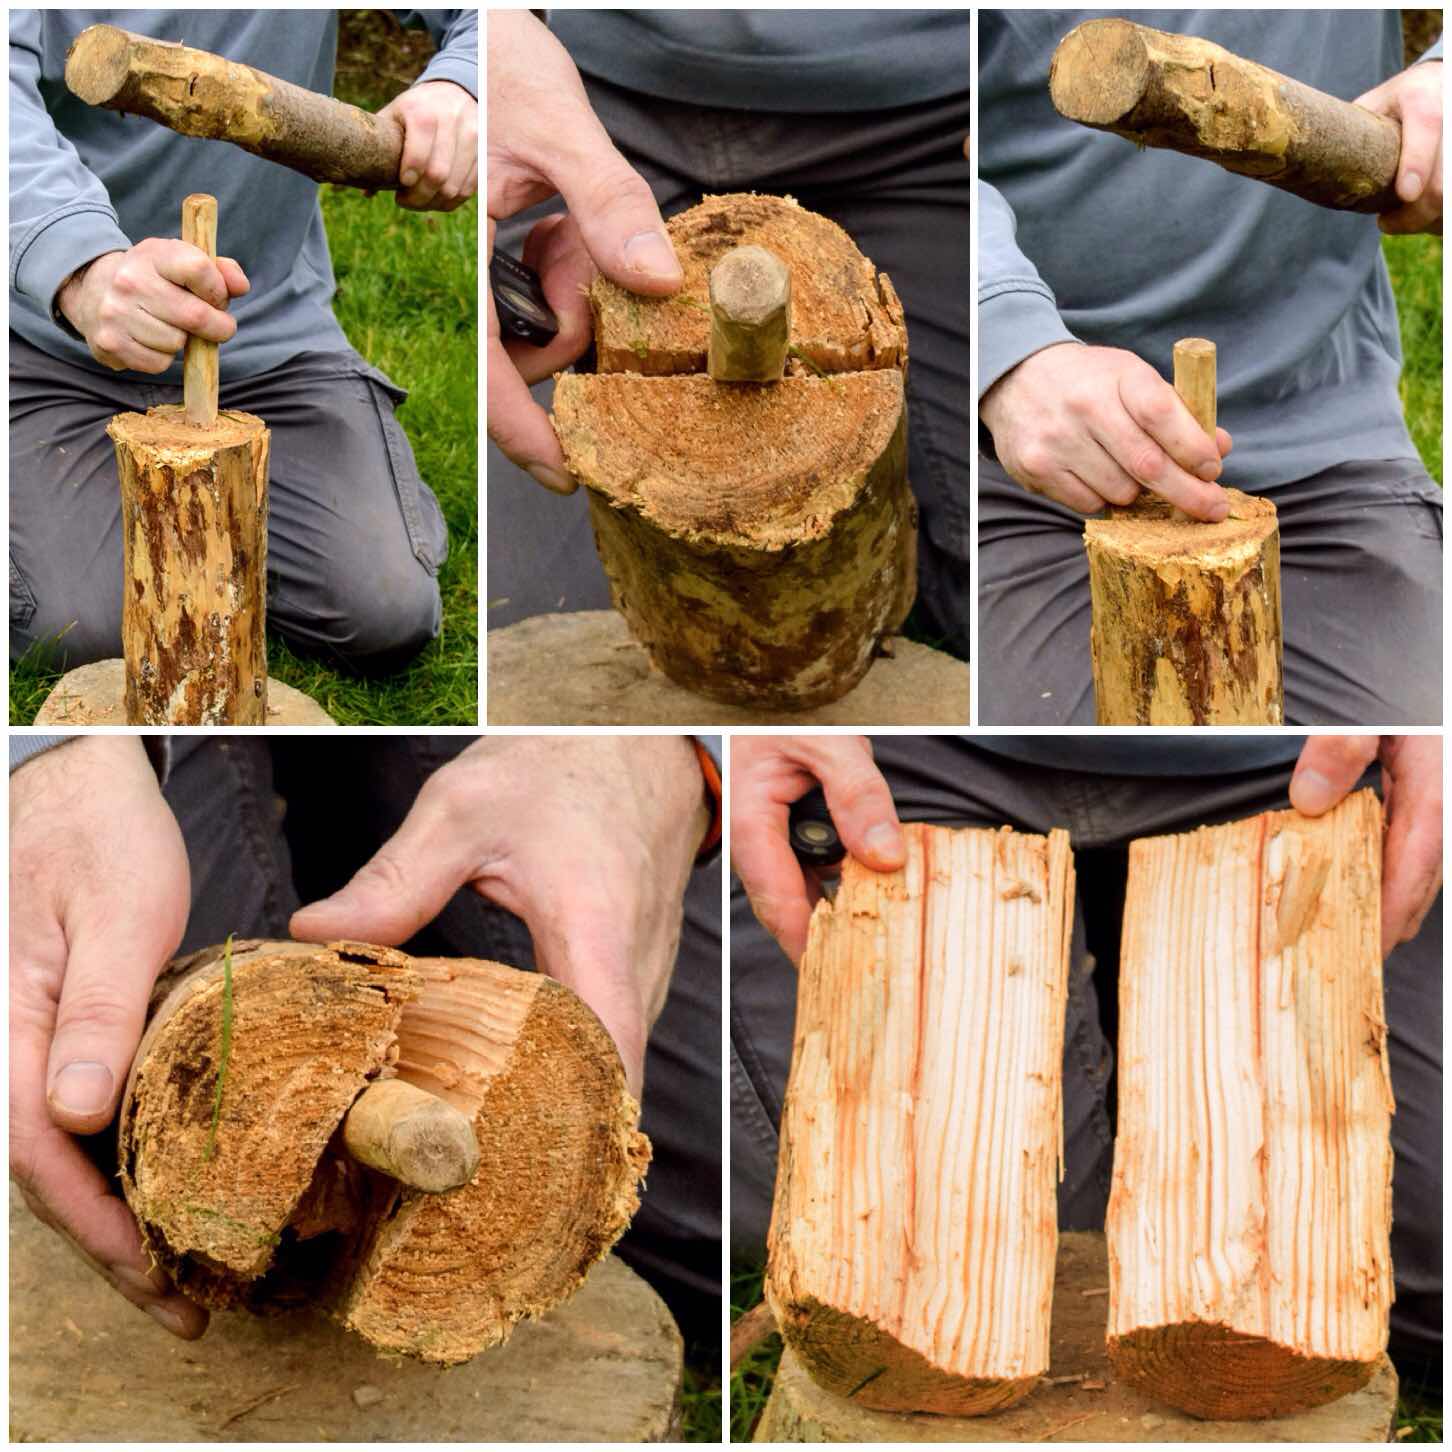
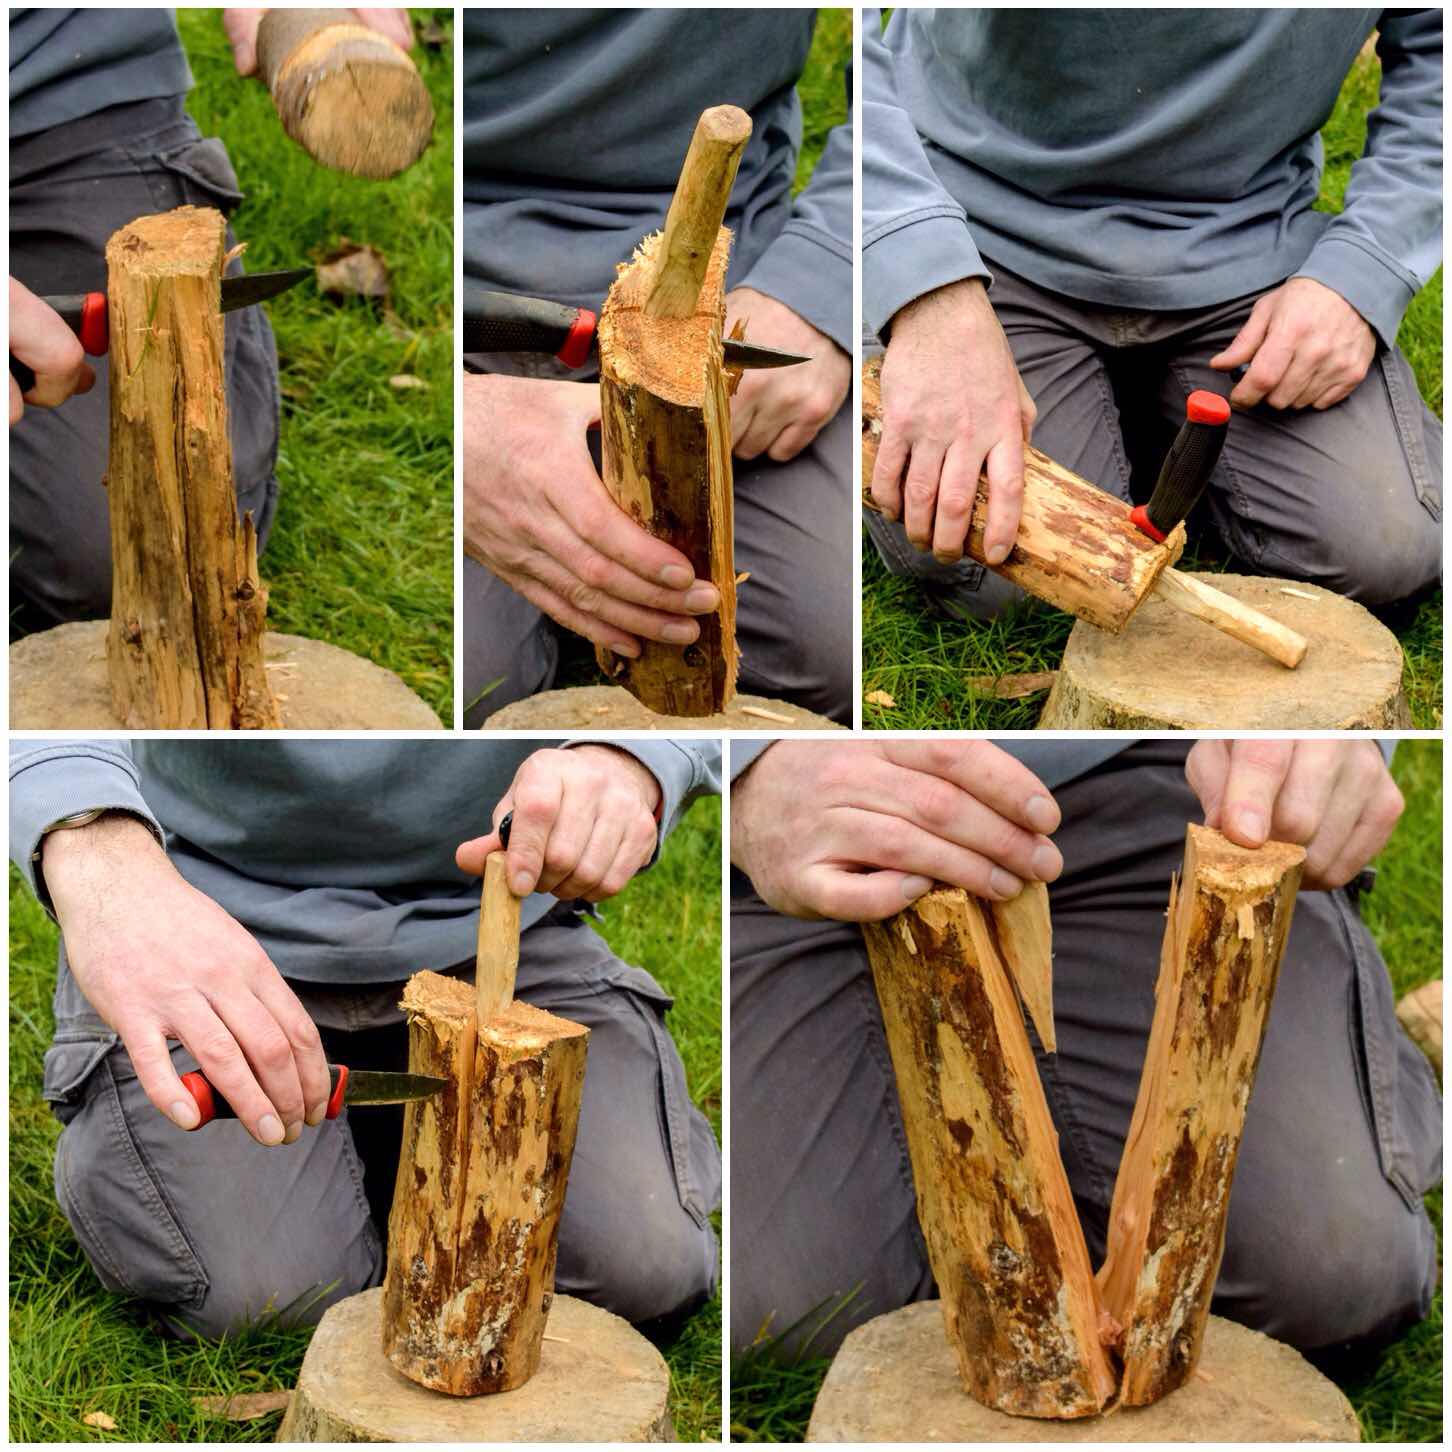
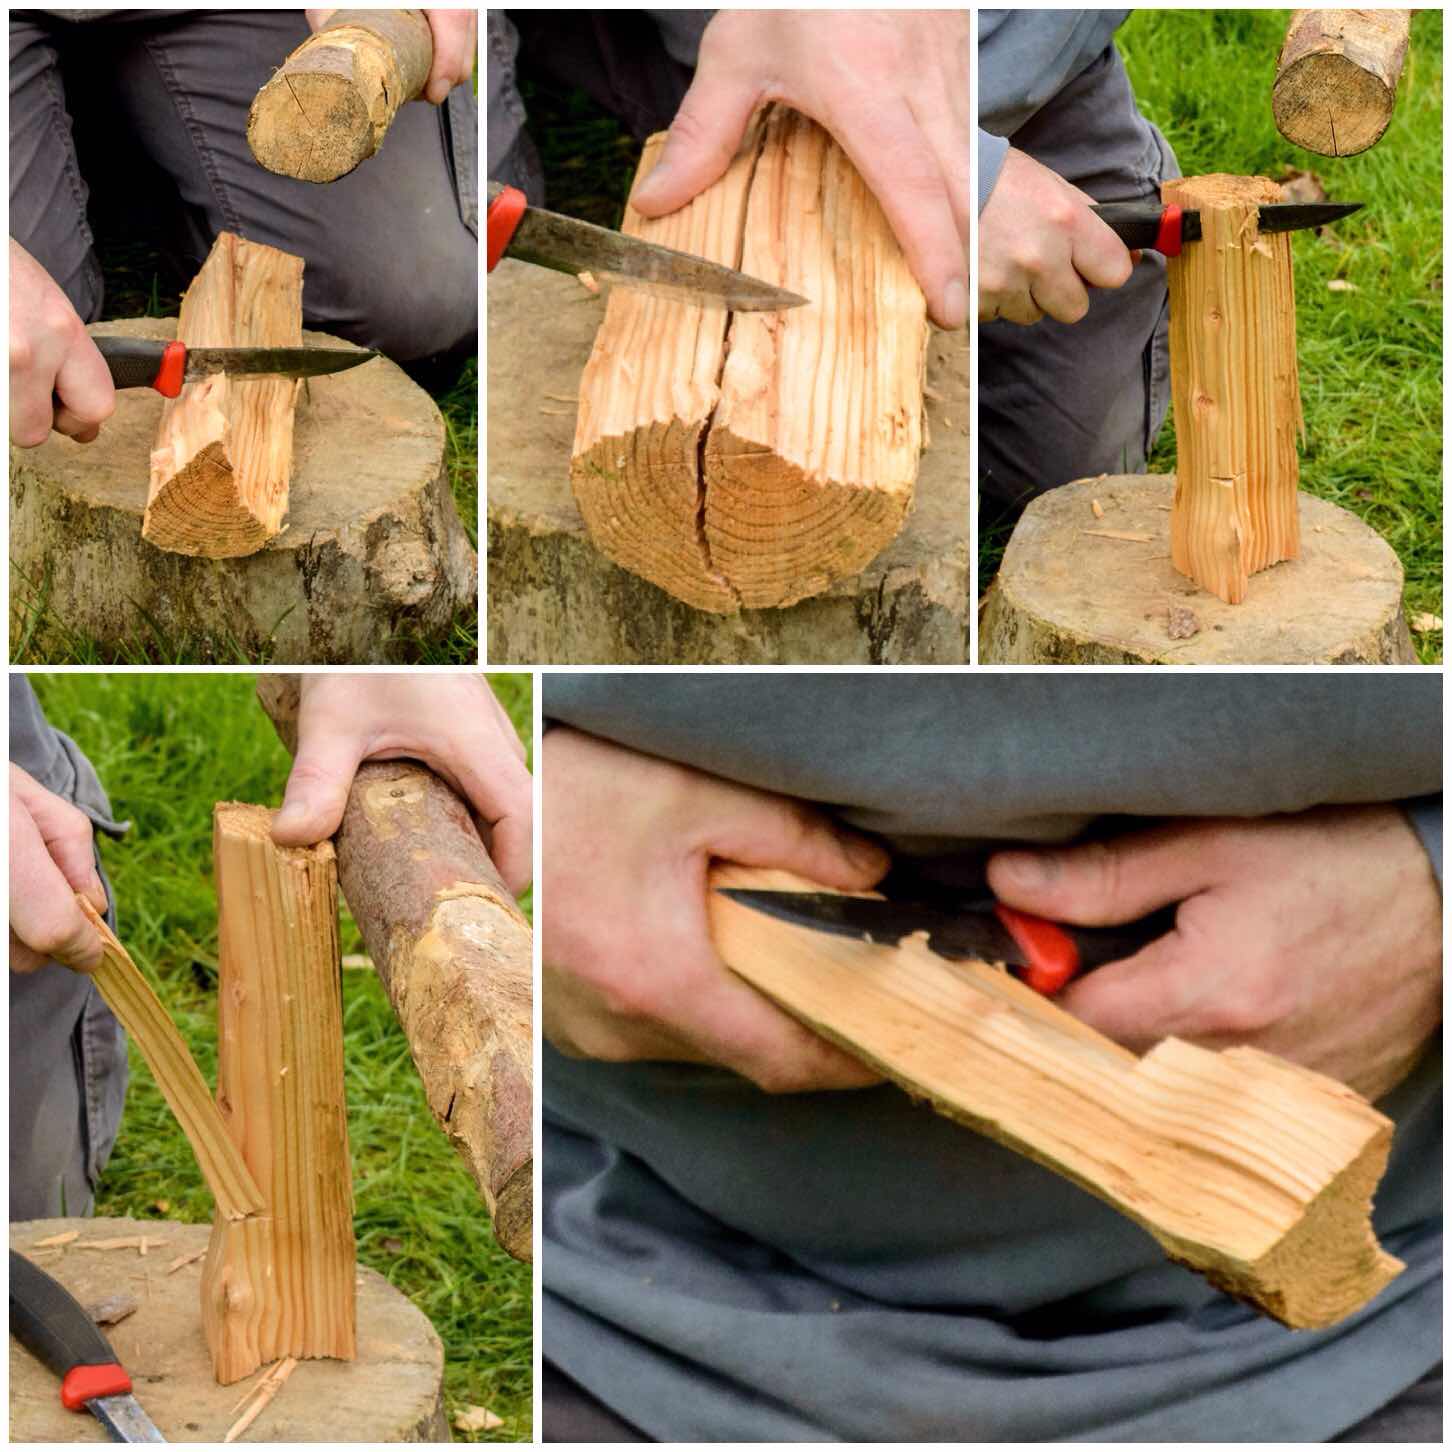
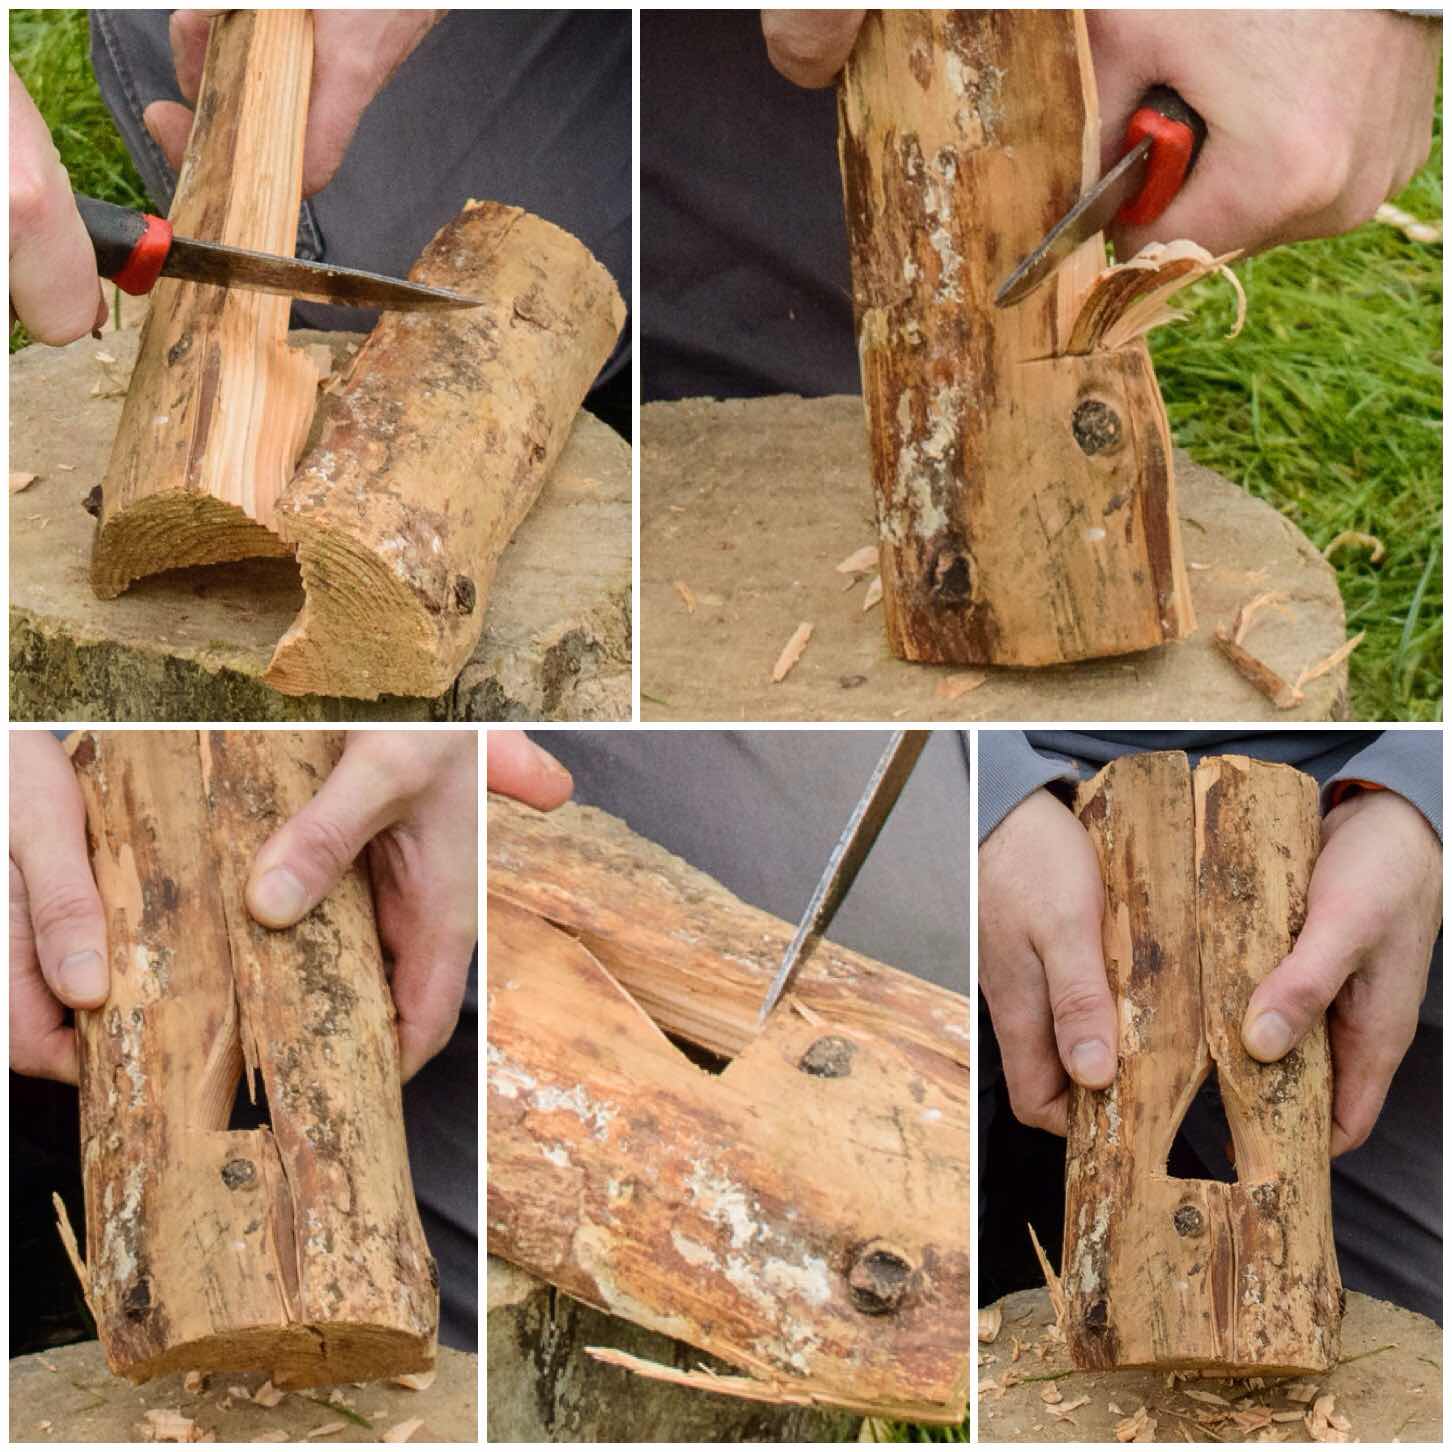
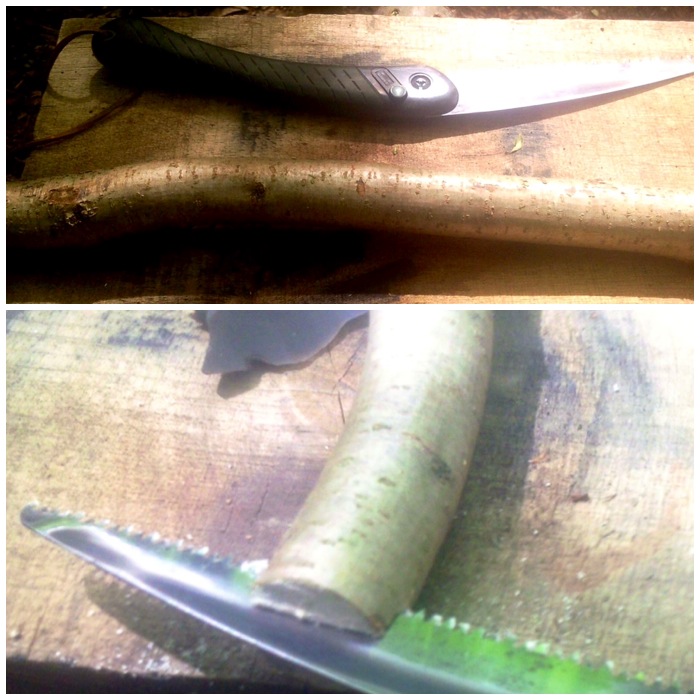
If the logs are freshly fallen then I use my knife to score out the area I want to cut out (ensure it is a smooth an area as possible). If the bark does not peel off easily I batton it with a small log to loosen everything up before prising it off with my knife. I go into the specifics of removing the bark in more detail in my post on the Birch Bark Fire Fan. The main thing is to take your time when the bark does not come off easily.
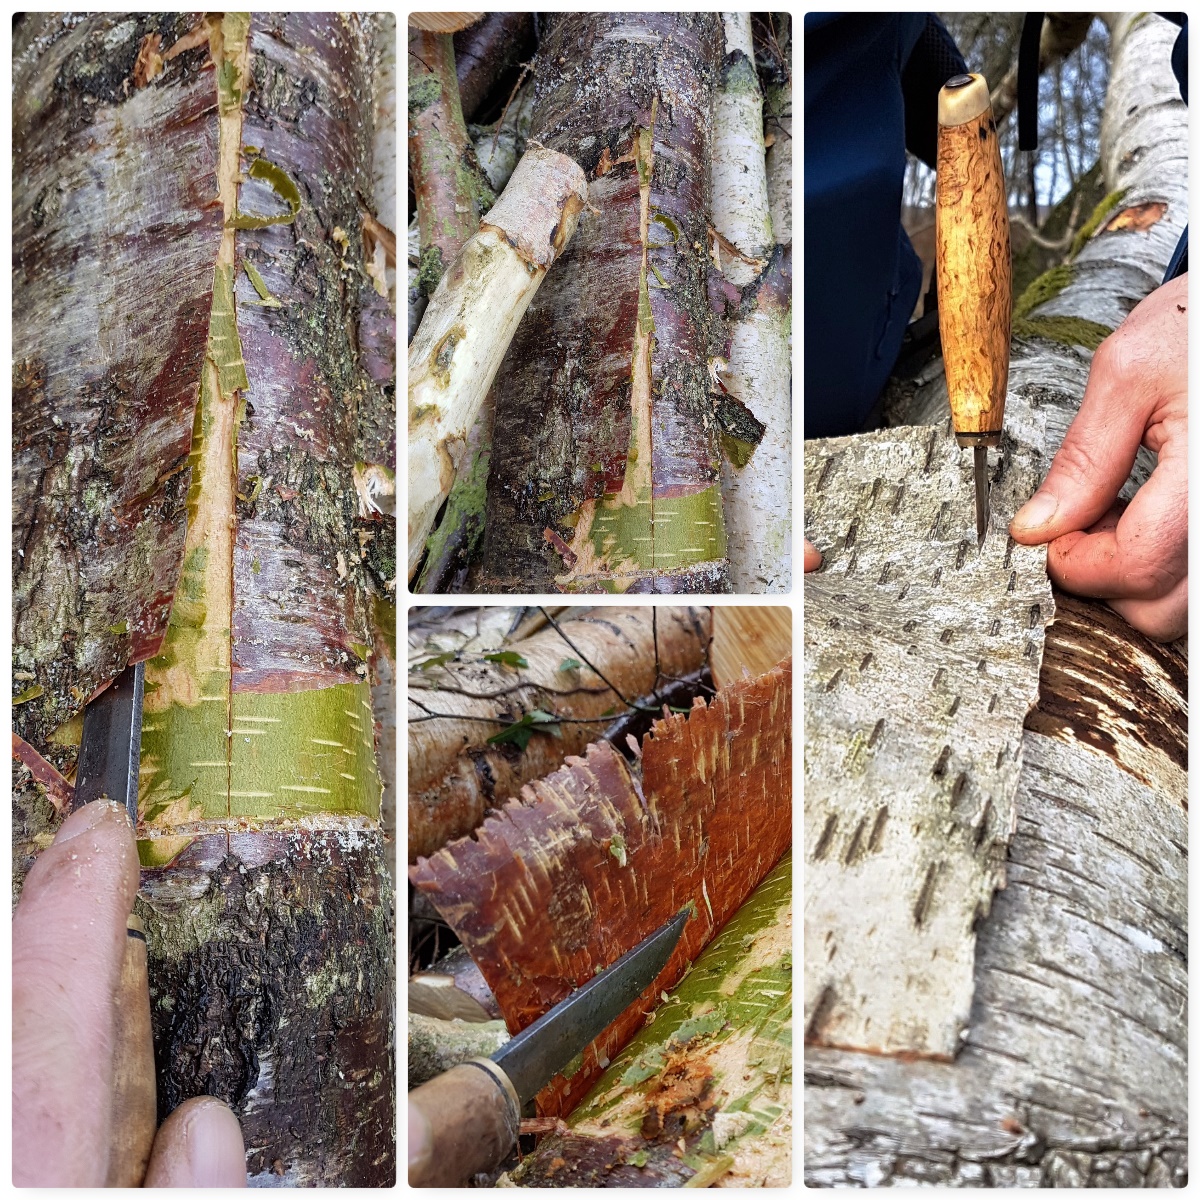
Once I have my section of bark I will either peel it by hand into strips of about 1 cm in length or if I am feeling the need to be very accurate I will tap my knife into a log and use that as a tool to cut the bark into even strips.
Locking the strands together
1. To make one firelighter you need four strips of birch bark. I use strips about 30 cm’s in length and 1 or 2 cm’s width.
2. Fold each strip in half – the folded end is called the closed end and the end with the two tails is called the open end.
3. Slide one closed end between the open end of another strip so it sticks out by 2 or 3 cm’s. In the picture below in section 3 you can see a T shape is formed.
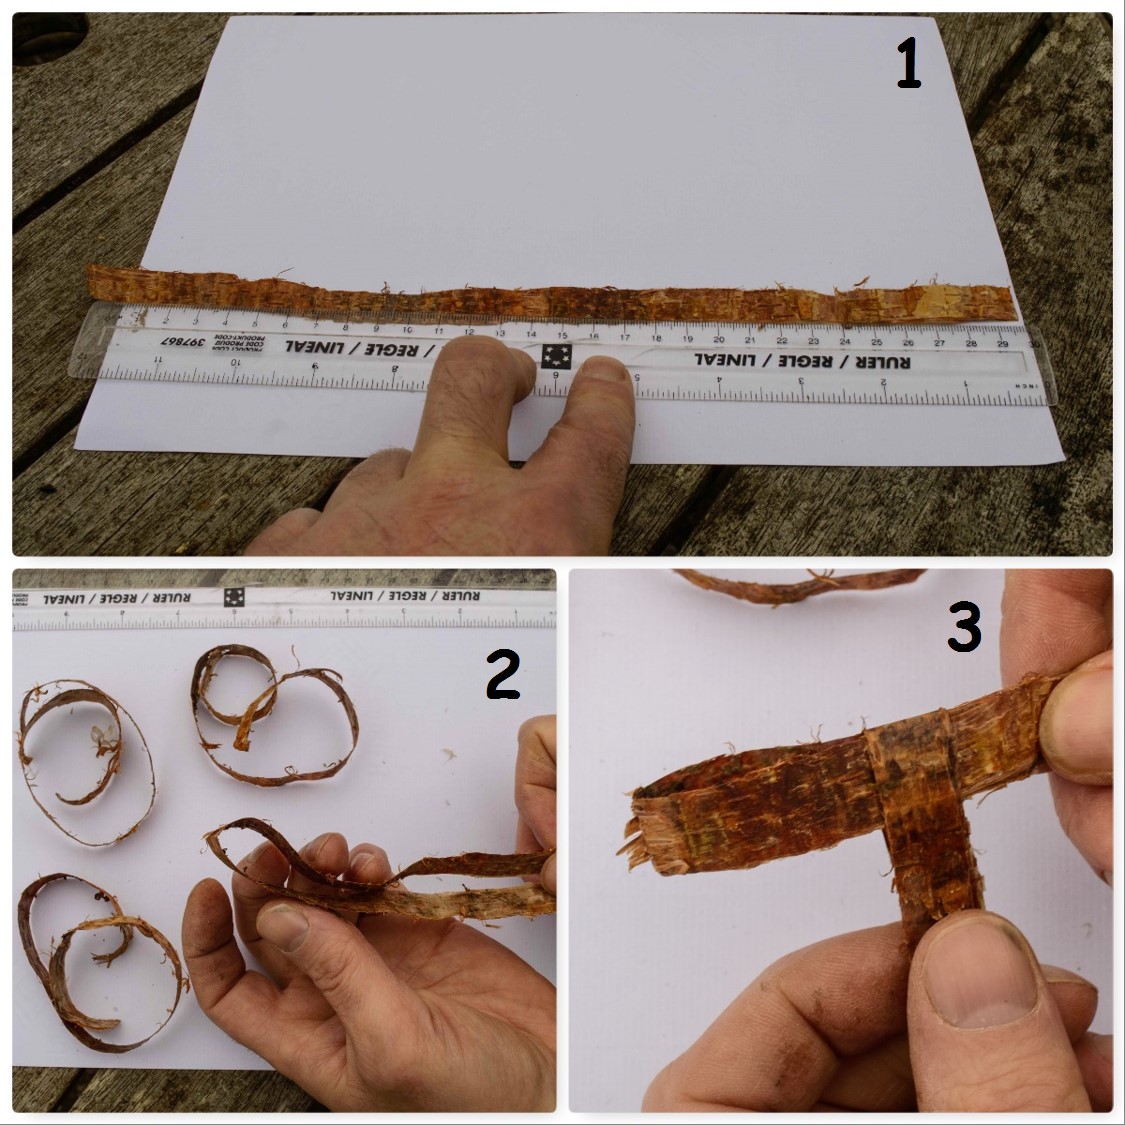
4. The closed end of a third folded strip is added to the upright part of the initial T shape to lock it off.
5. A fourth folded strip is added to the third strip to lock it off and the tails are threaded through the protruding loop of the first strip.
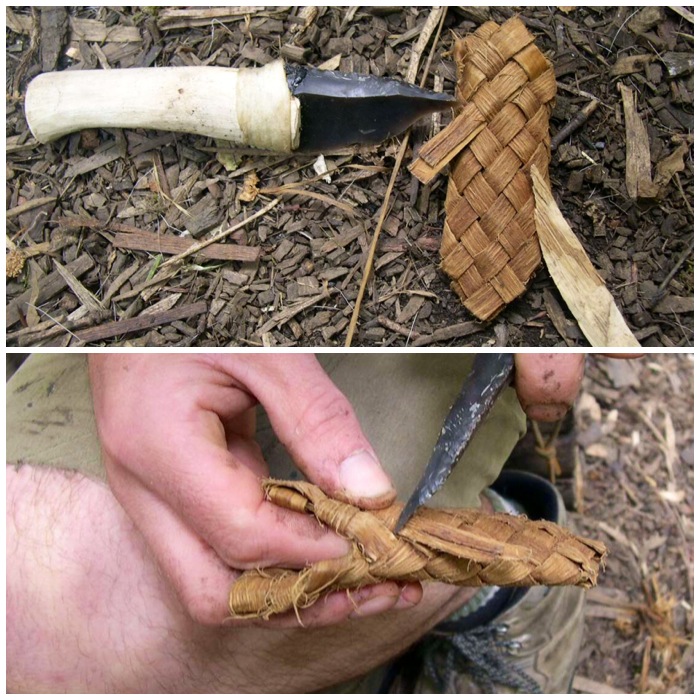
6. All the strips should now be locked off.
7. Pull everything in tight.
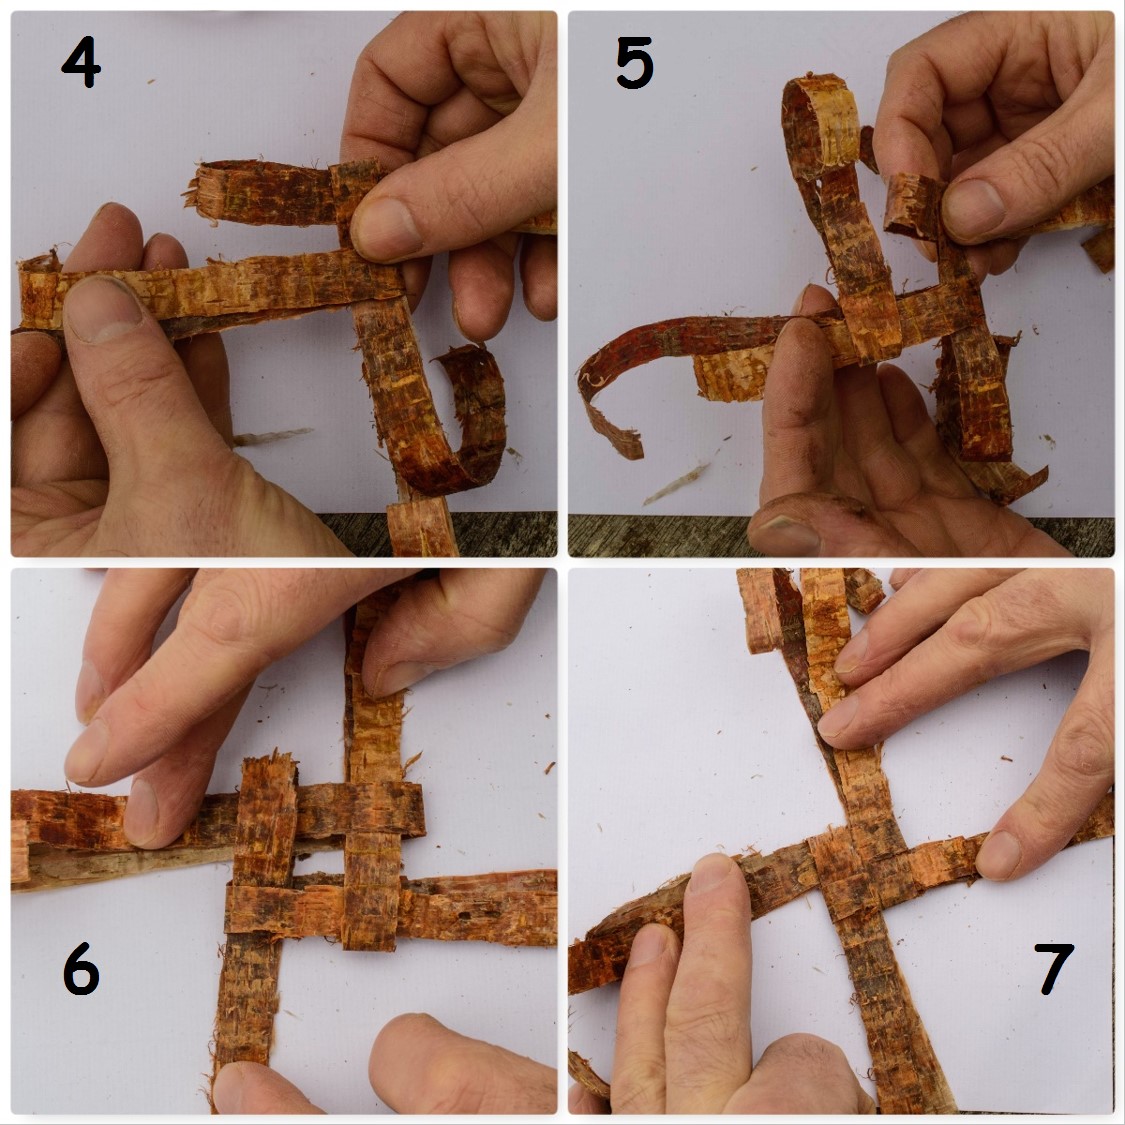
The Four Strand Crown
The firelighter is formed by weaving a Four Strand Crown knot. I have added the arrows to help you visualise what I am doing. Important – There will be two strips of bark at each open end. Only use the top strip of each open end when you begin the weave
8. To begin the knot fold one of the strips over. In section 8 I chose to fold the top strip on the left over first.
9. The strip is folded over to the opposite side.
10. To secure that strip in place I folded the strip at the top over this first strip to secure it in place.
11. This top strip (now at the bottom) was secured in place by folding the right hand strip over it.
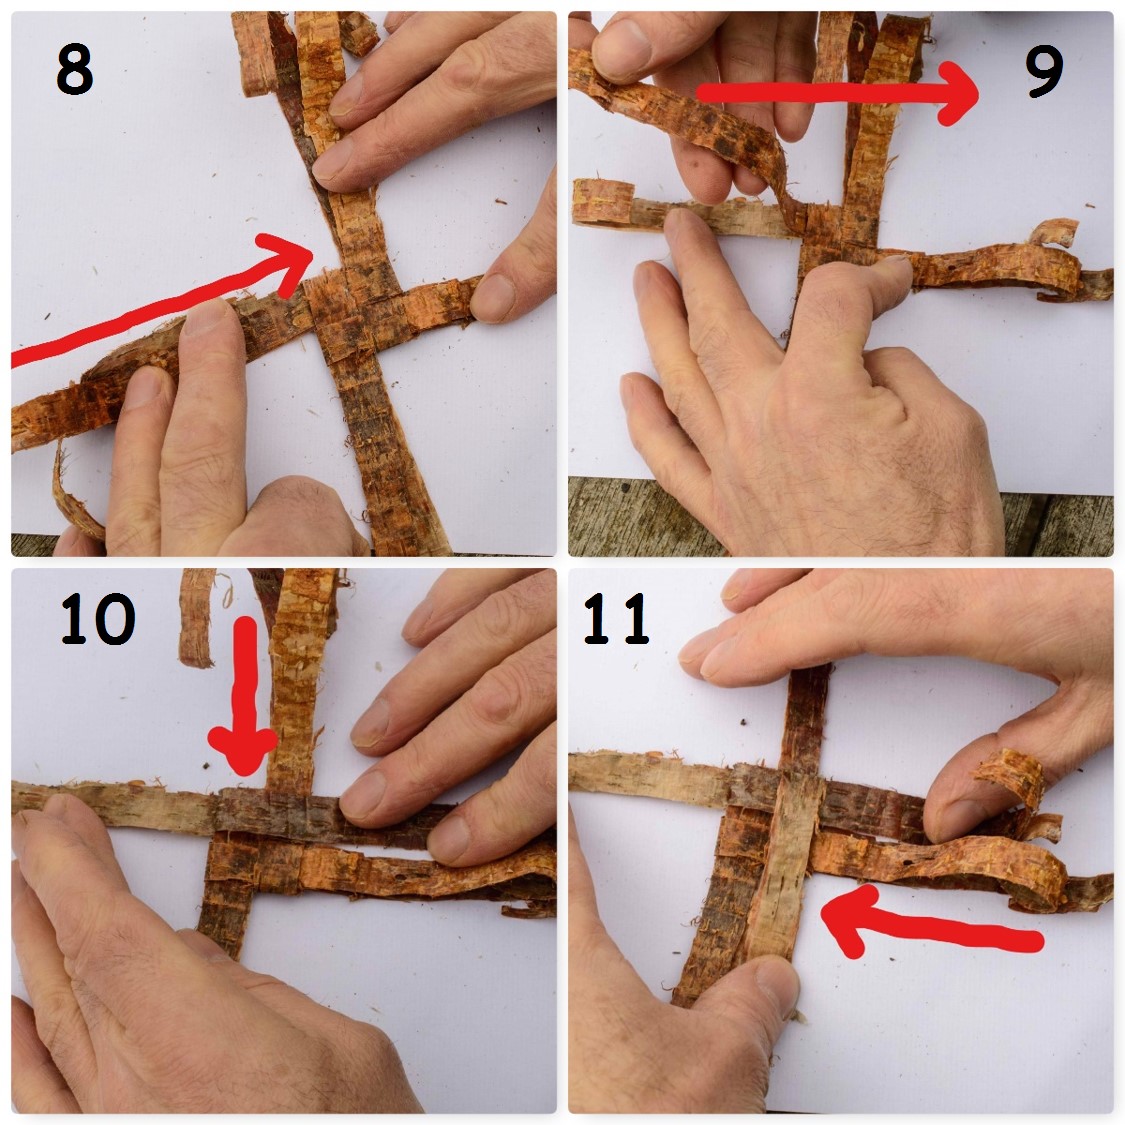
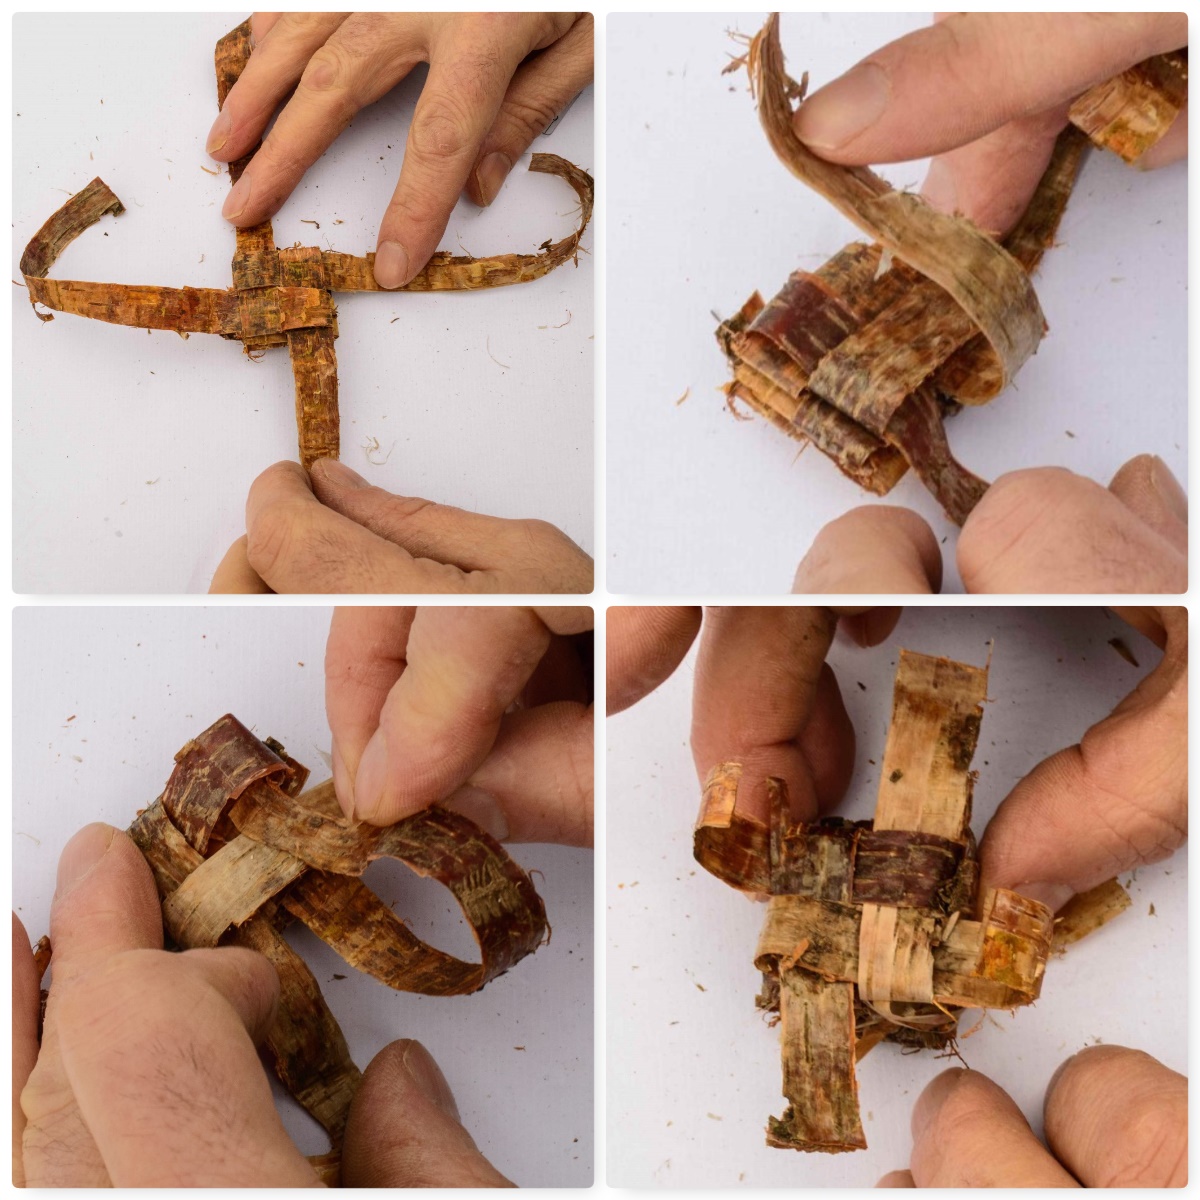
12. To secure the fourth strip loosen the first strip slightly so that it forms a small loop by its fold – known as an eye.
13. Feed the tail of the fourth strip into this eye.
14. Pull the tail of the fourth strip in tight.
15. Repeat from step 8 to 14 again to form another layer of weave.

Flip the whole piece over and begin the weave on what were the bottom strips. Once you run out of bark to fold over tuck in the ends into a suitable slot or trim them off with your knife.
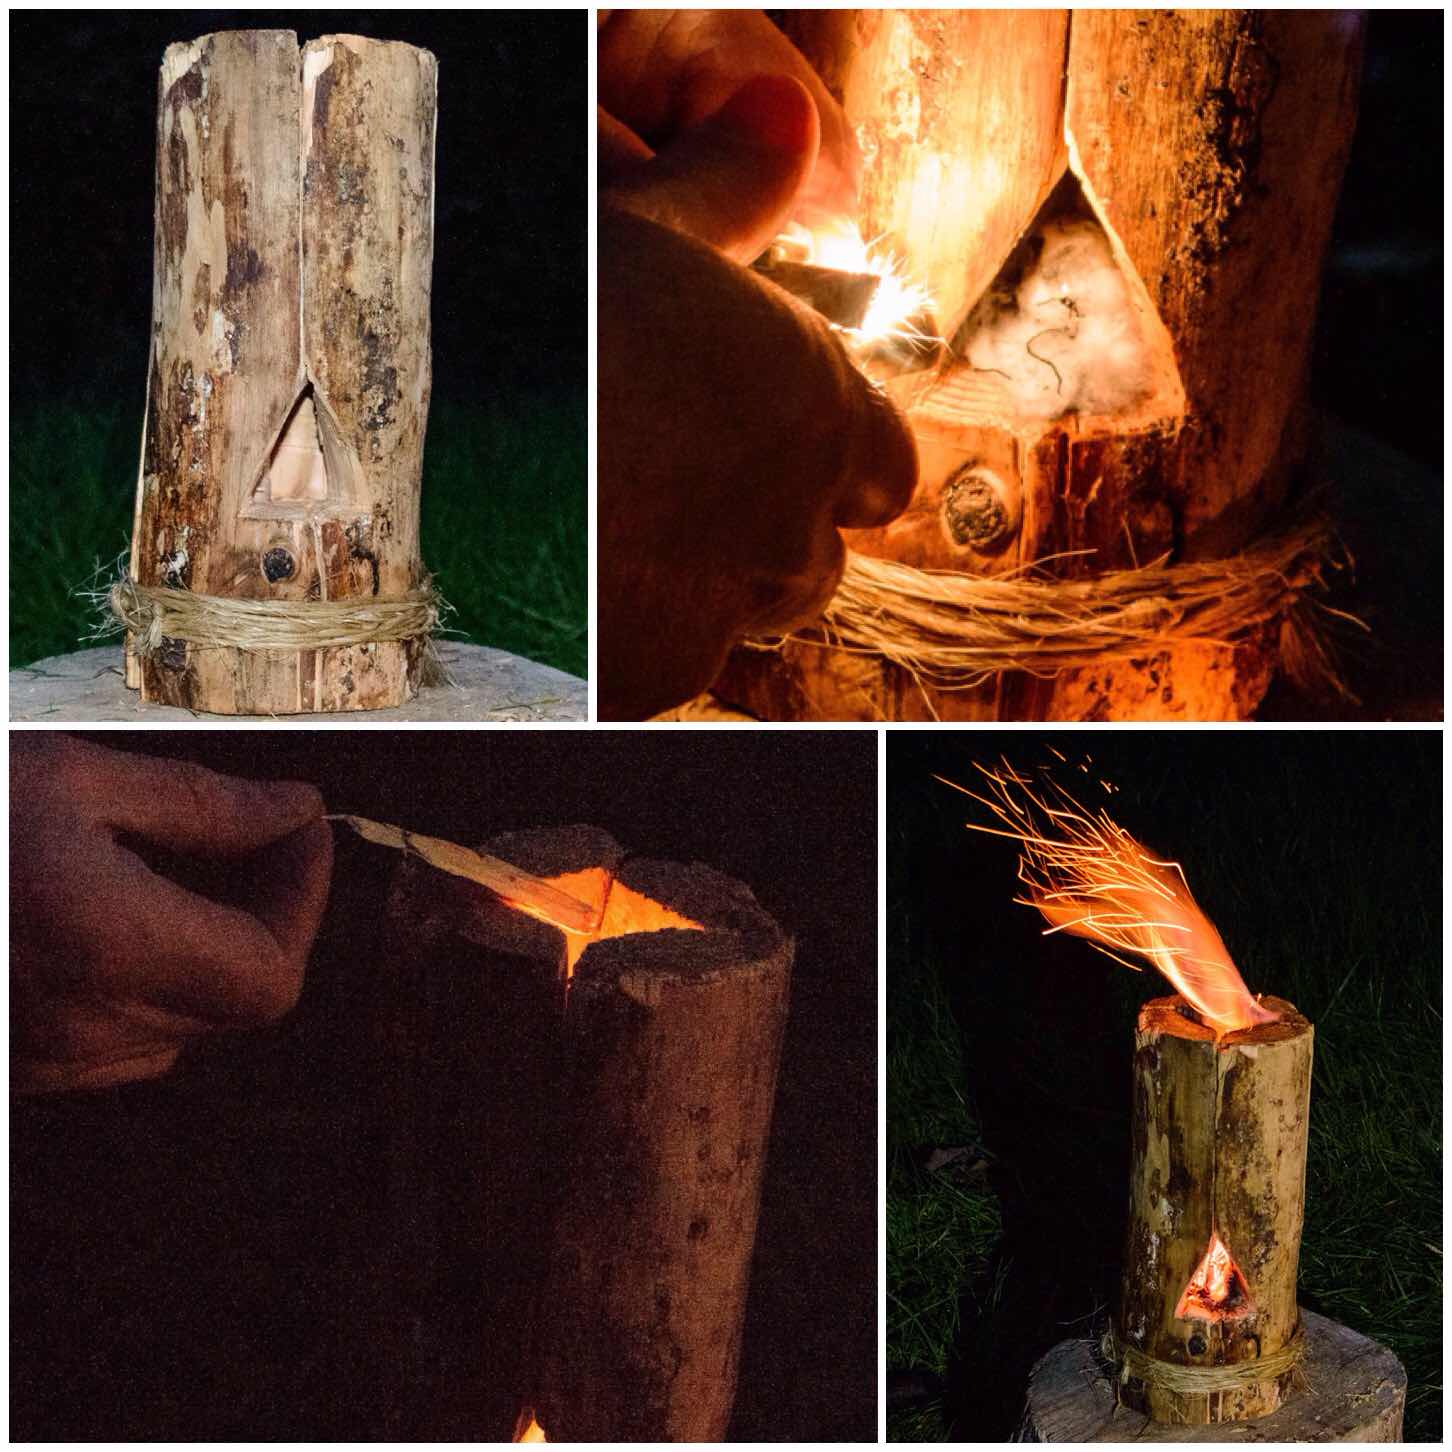
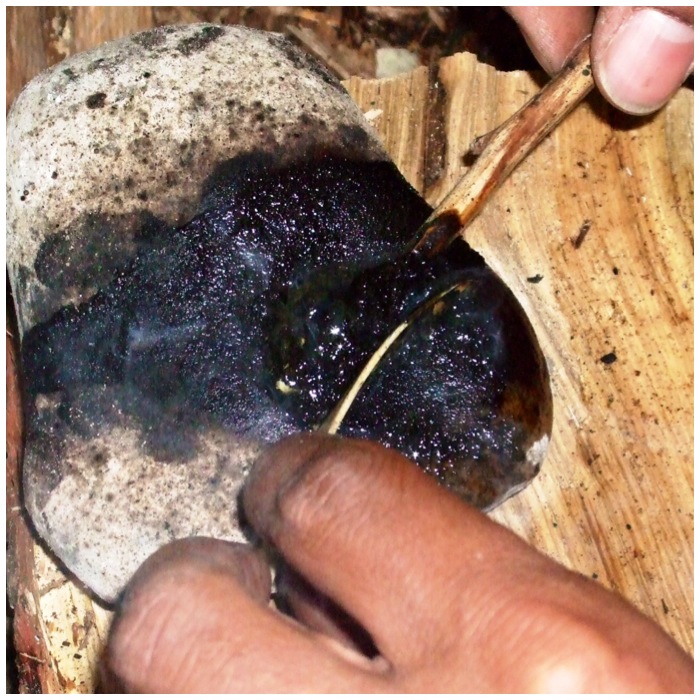
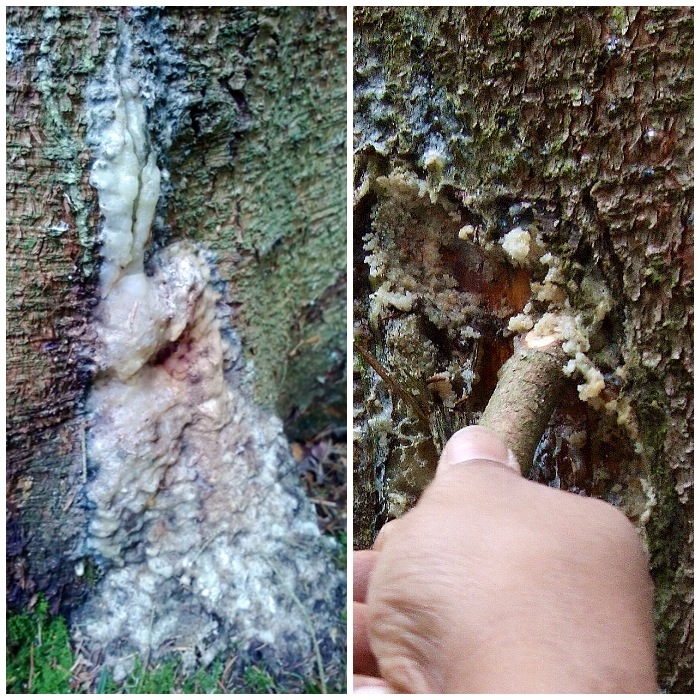
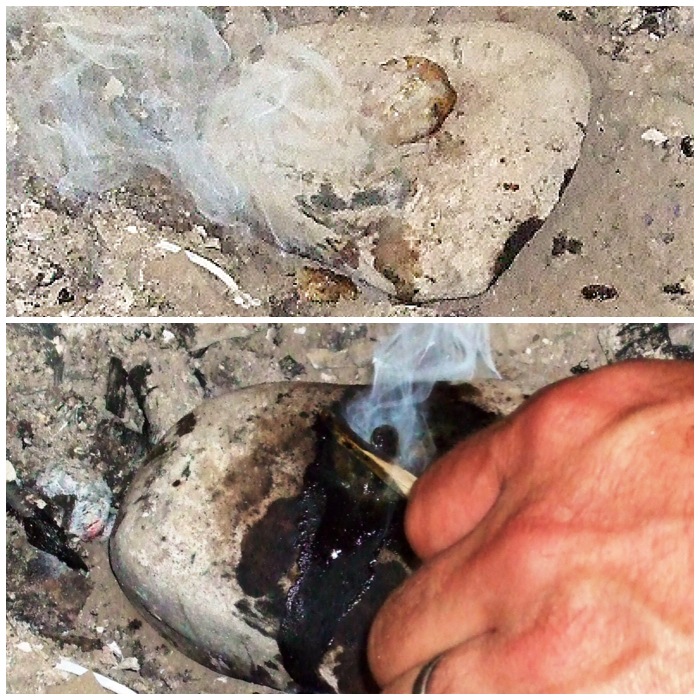
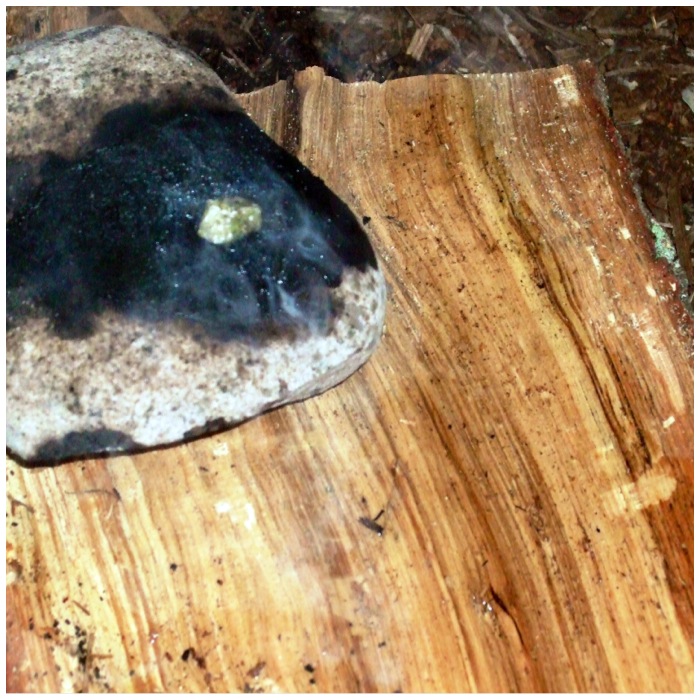
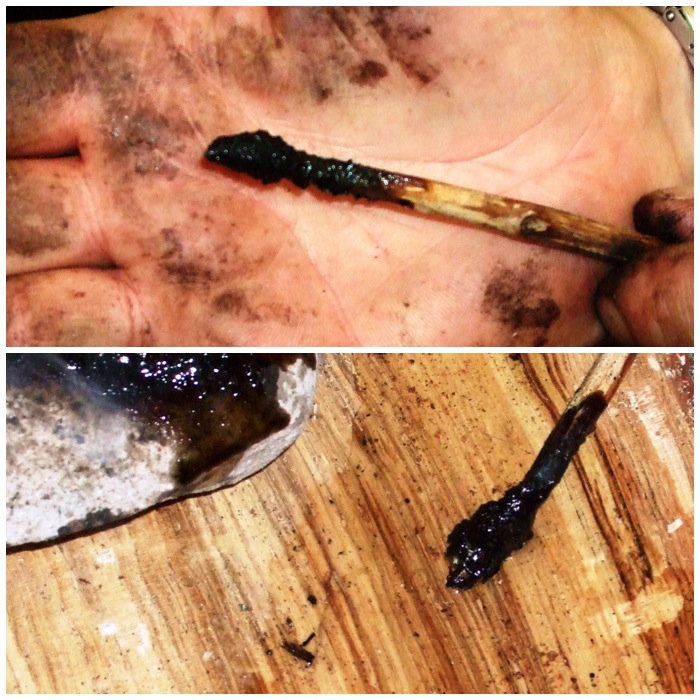
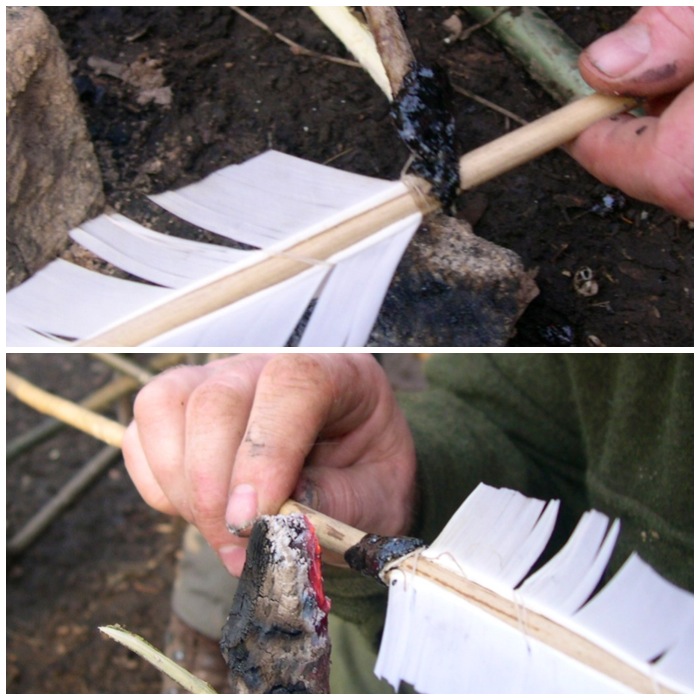
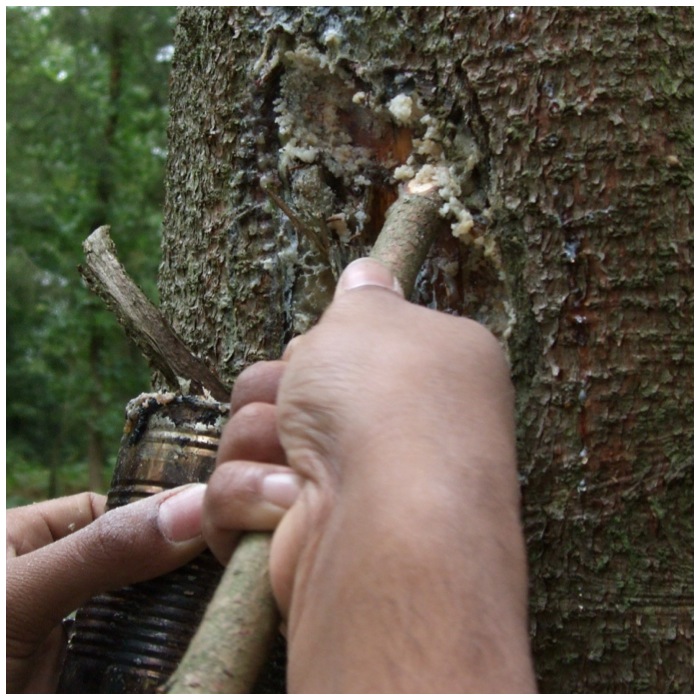
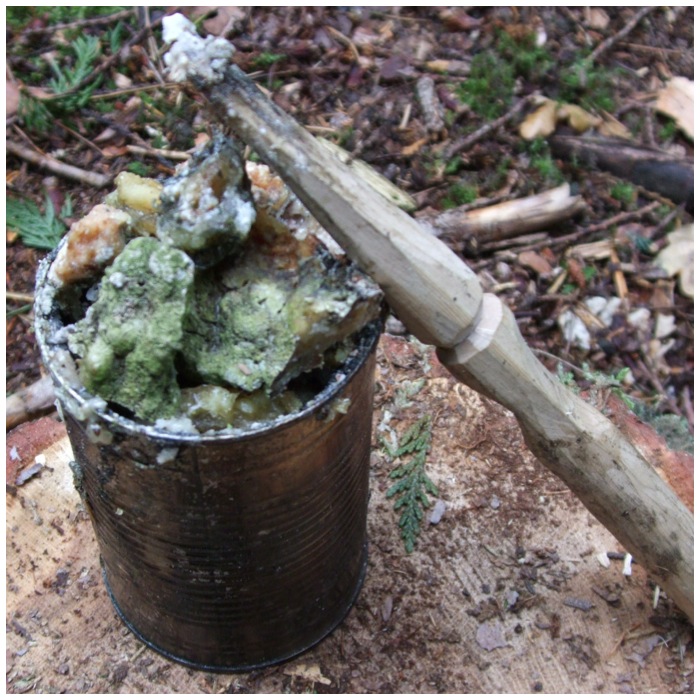
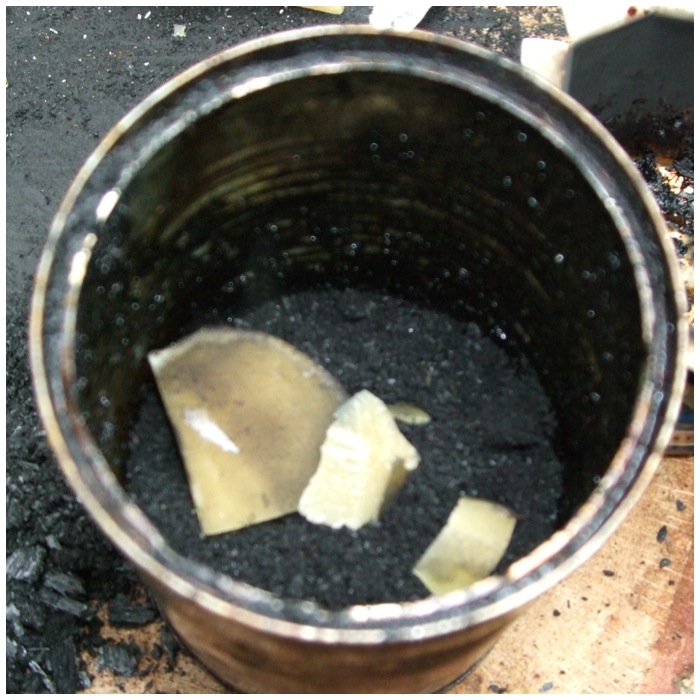
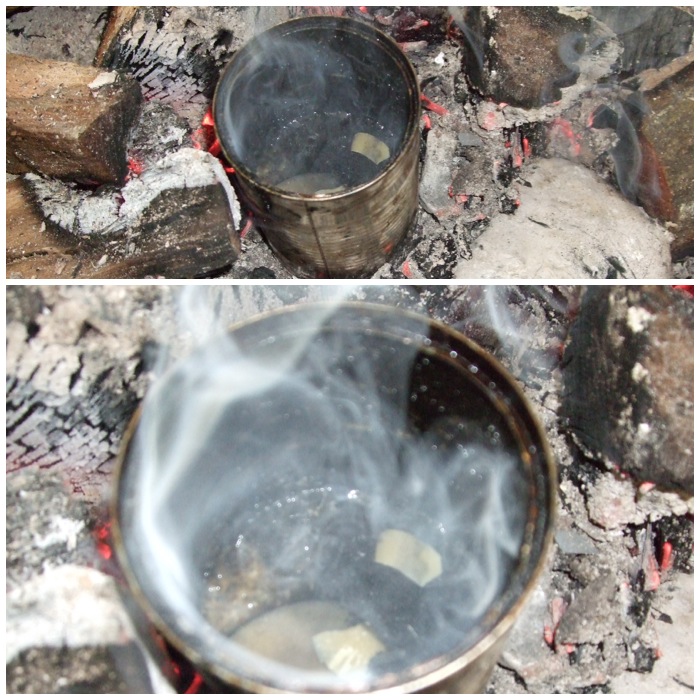
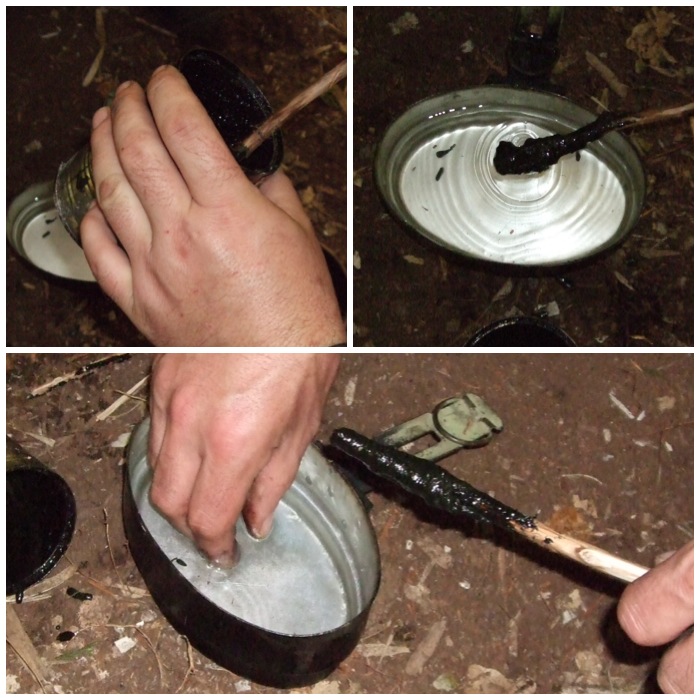
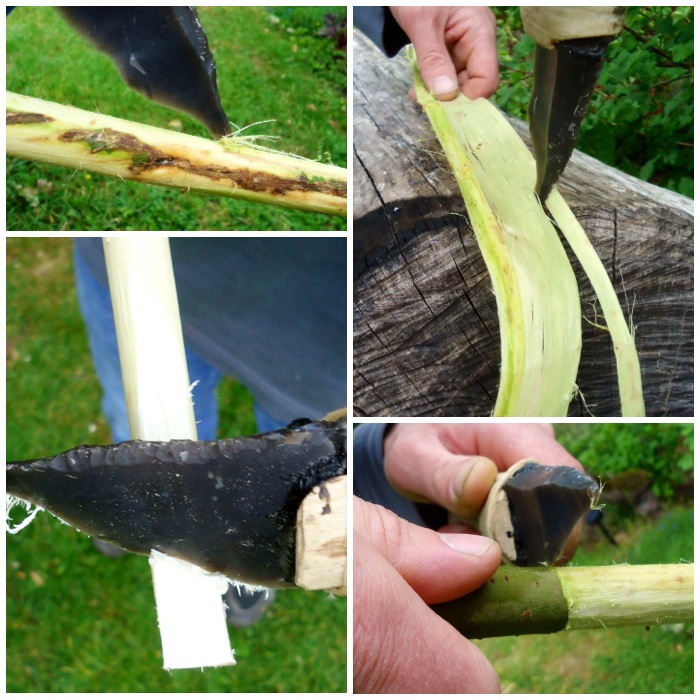
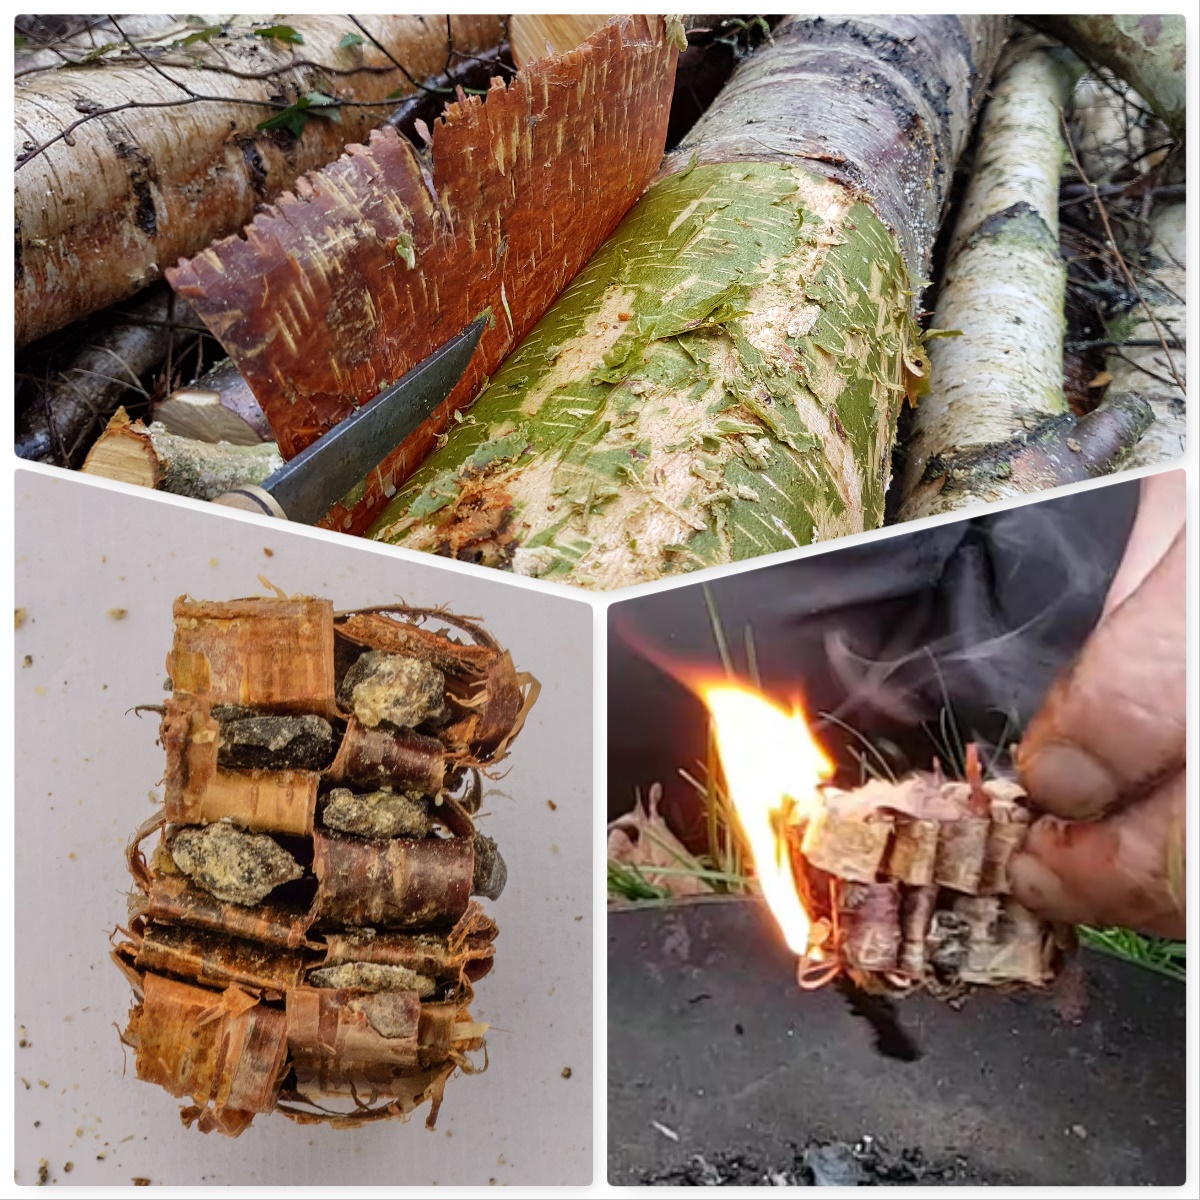
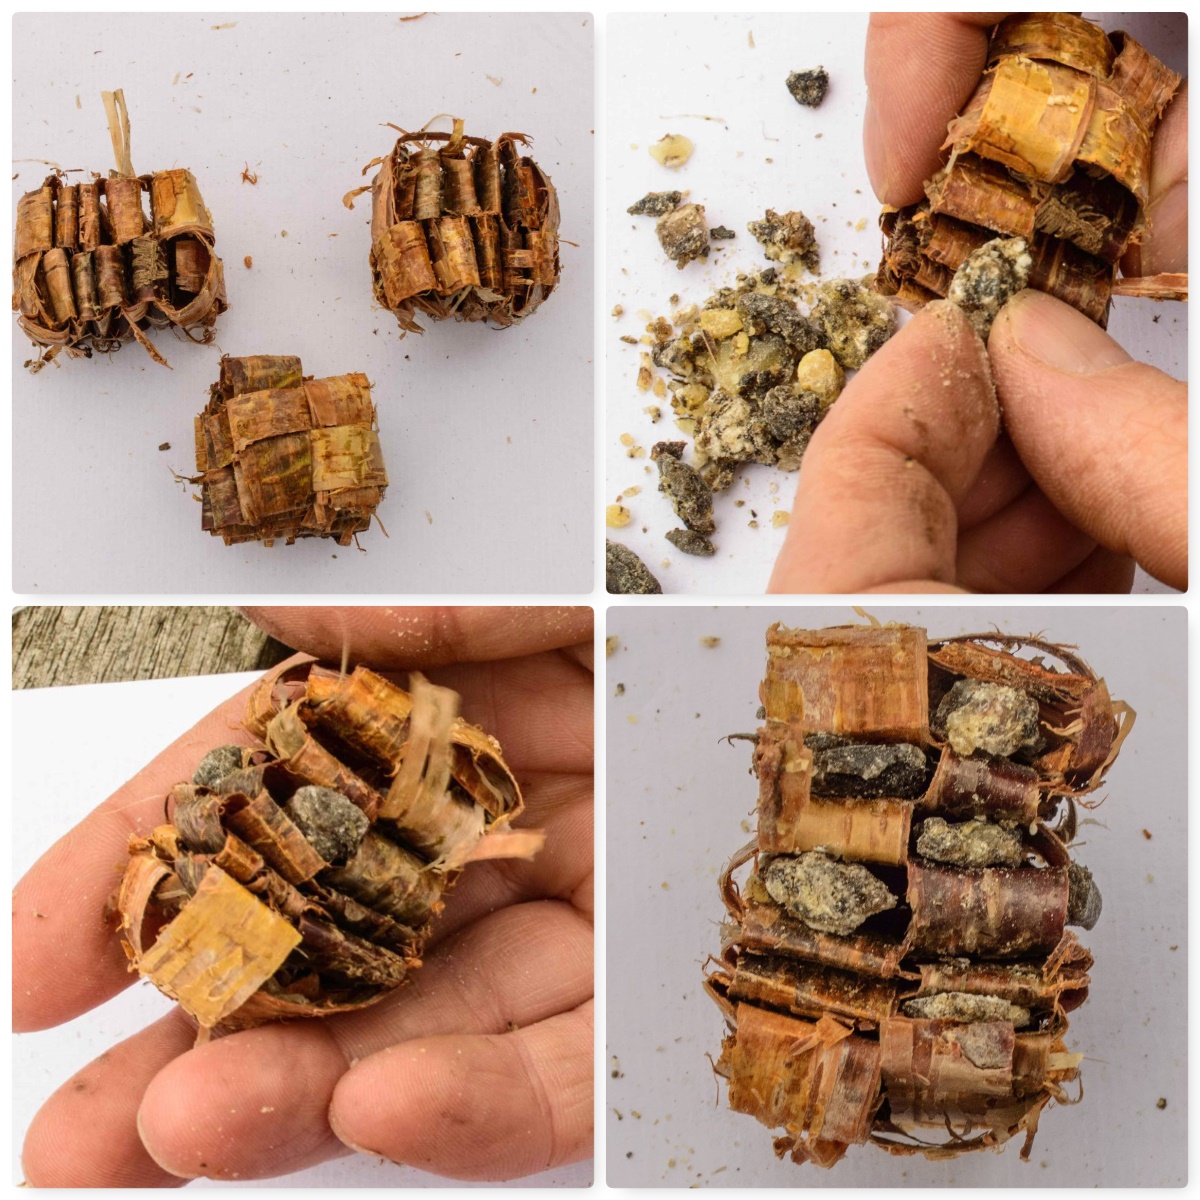
The Resin
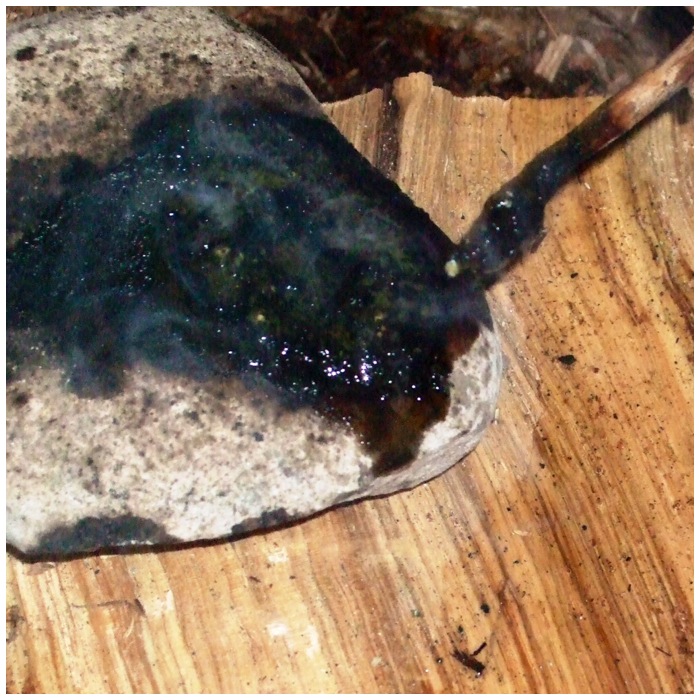
These little firelighters take only a minute or two to make but they can burn for far longer if you add some resin to them. I use spruce resin as it is plentiful here in the UK (again I discuss harvesting resin in my post on the Birch Bark Fire Fan in more detail).
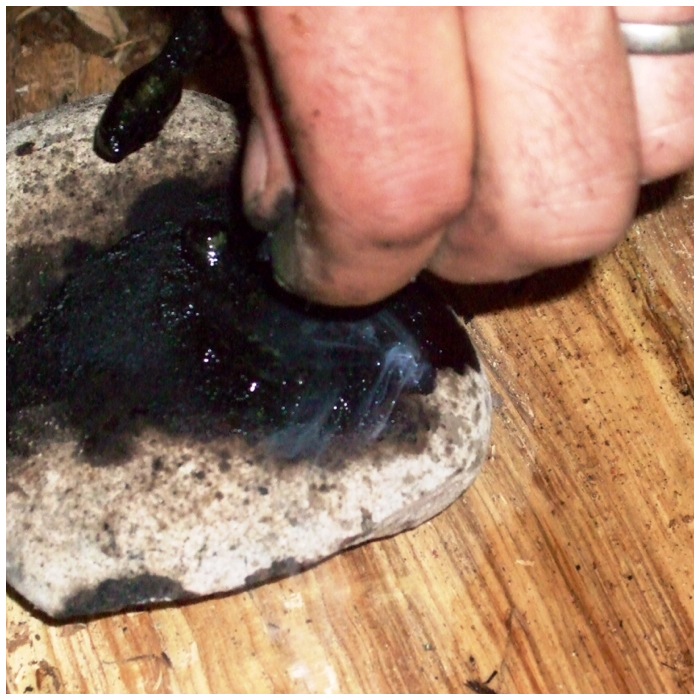
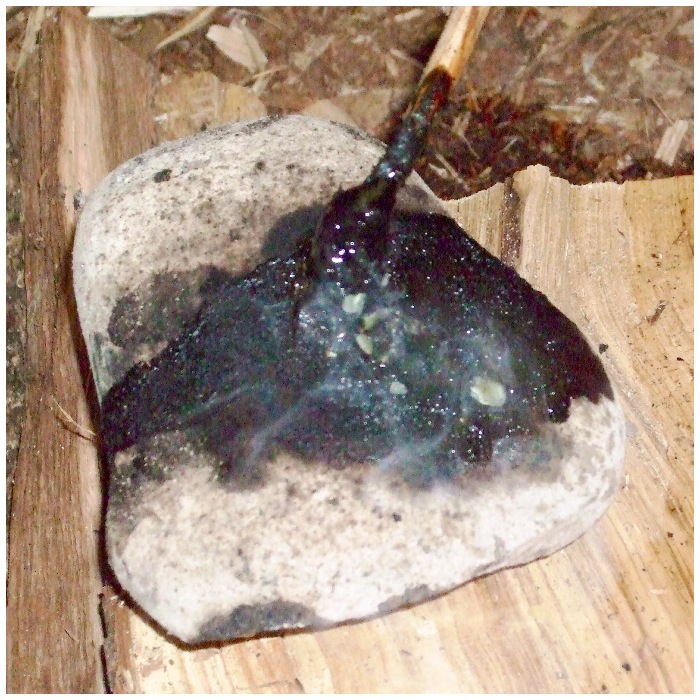
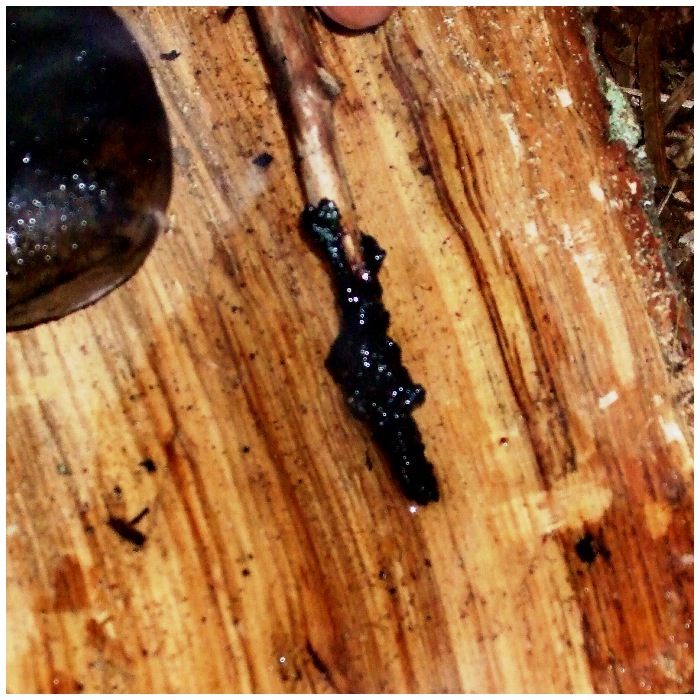
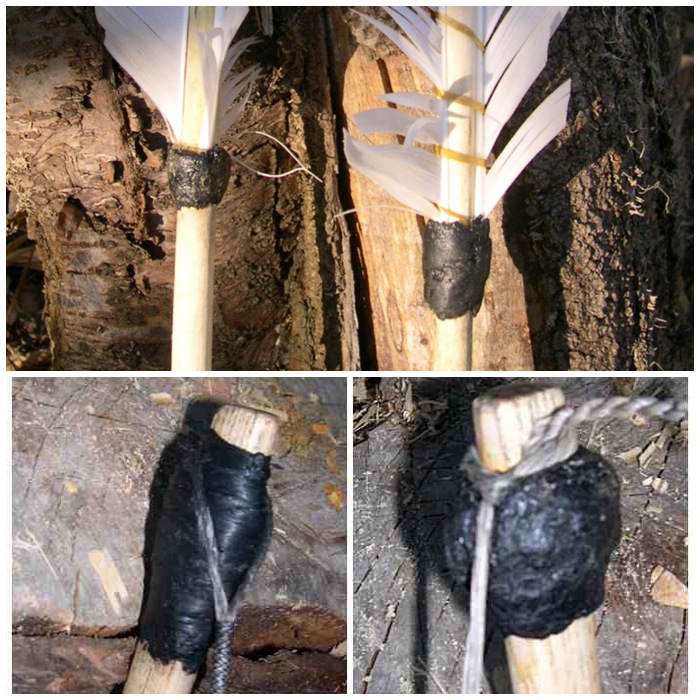
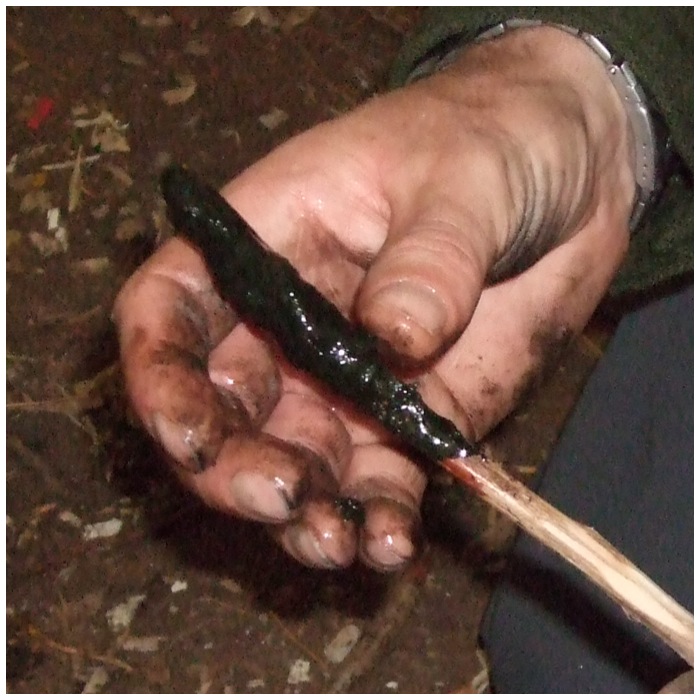
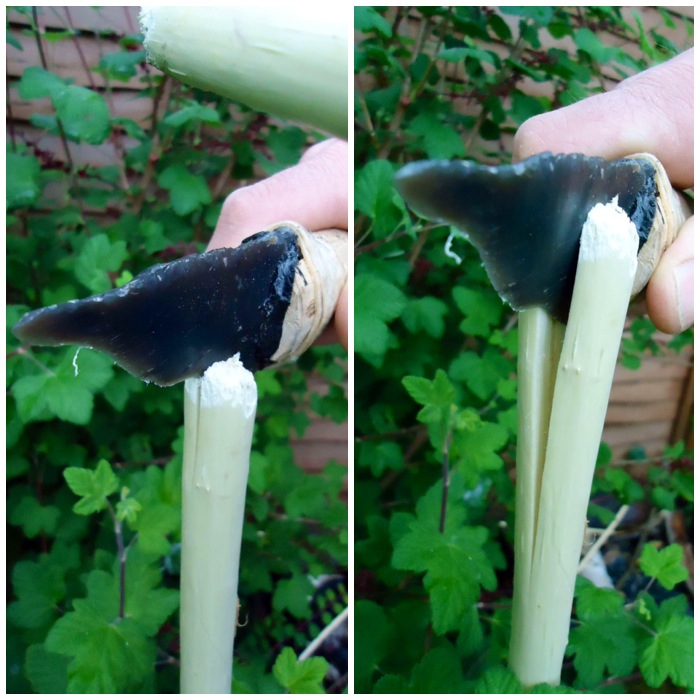
I break of little blobs (it can get messy if the resin is runny) of resin and insert them into the little slots formed by the weave and that is basically it (use as much resin as you can).
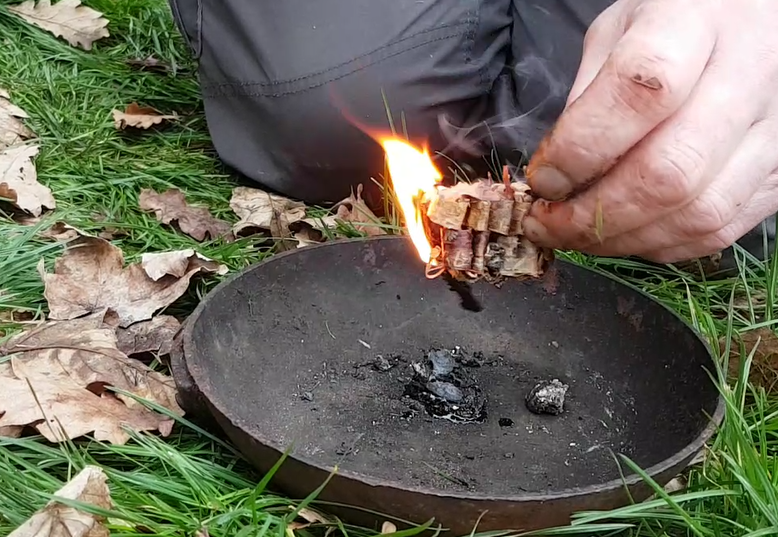
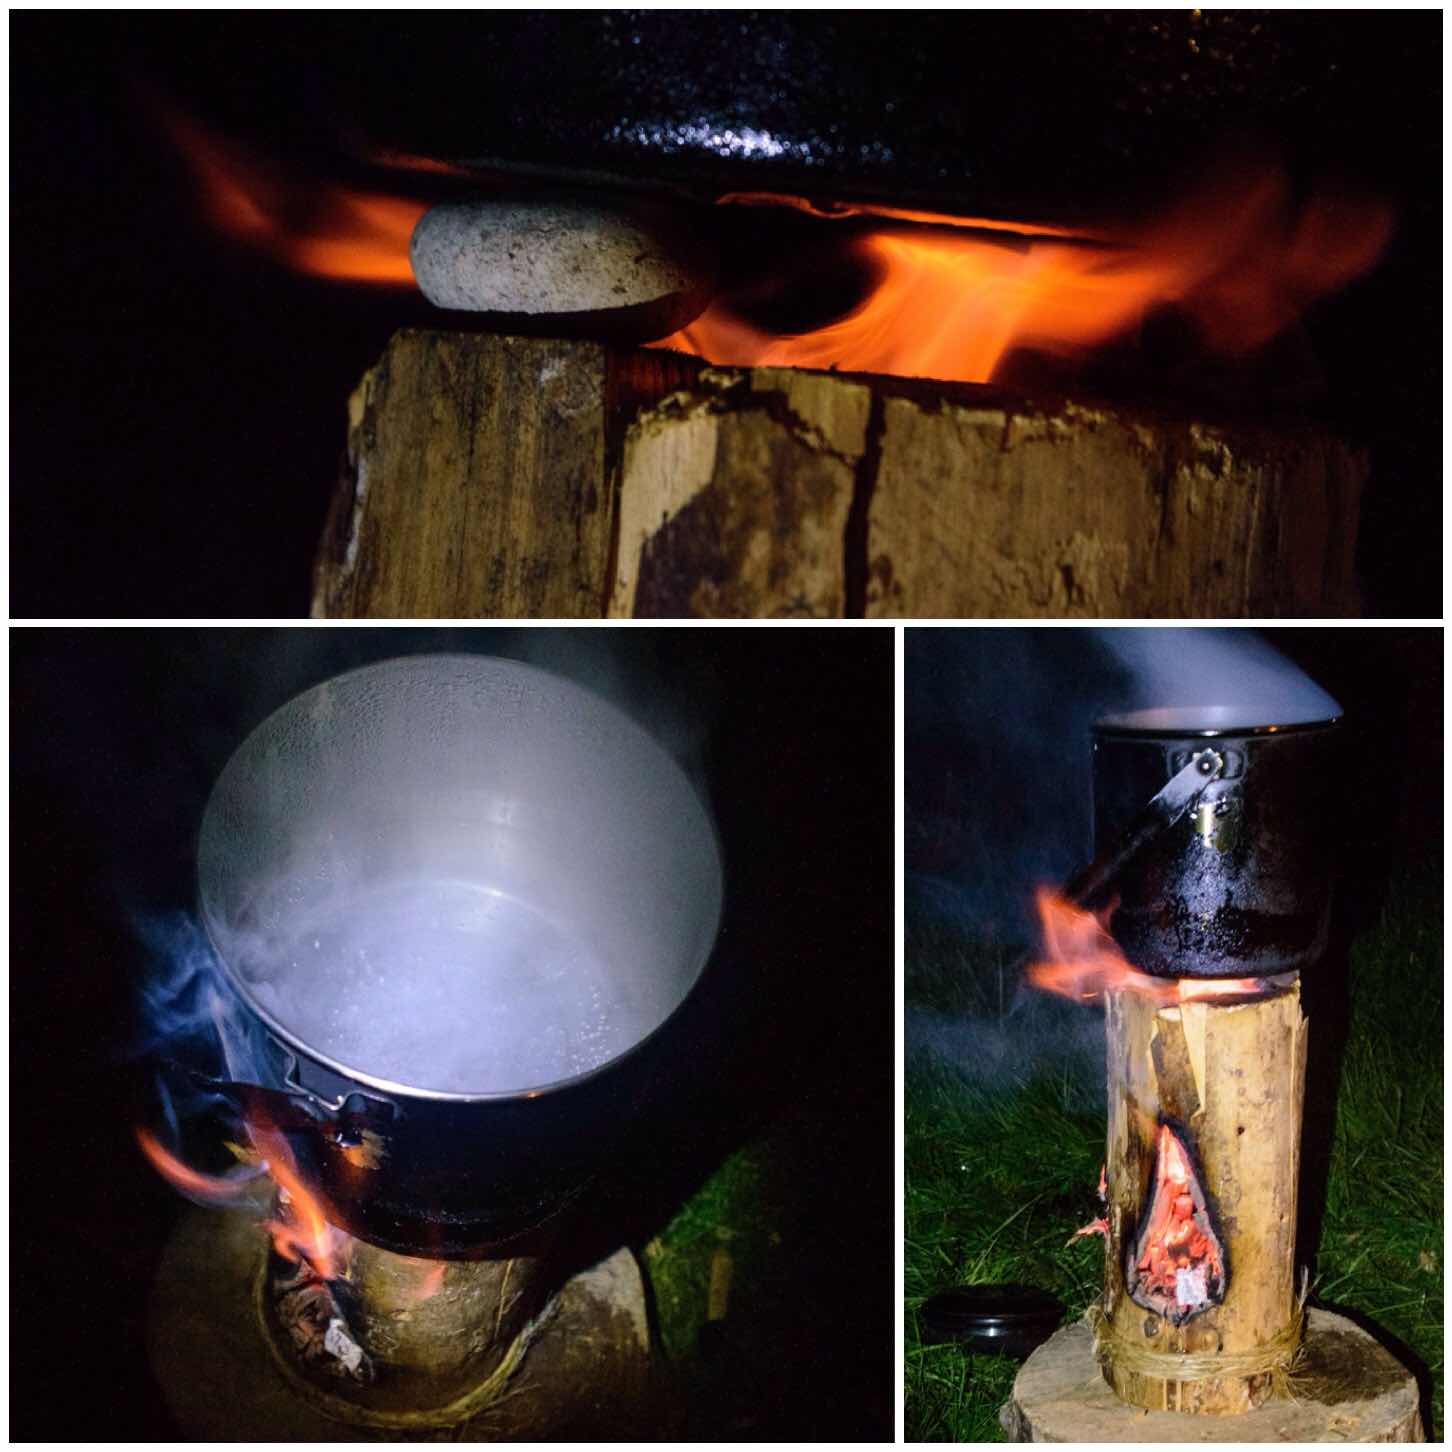
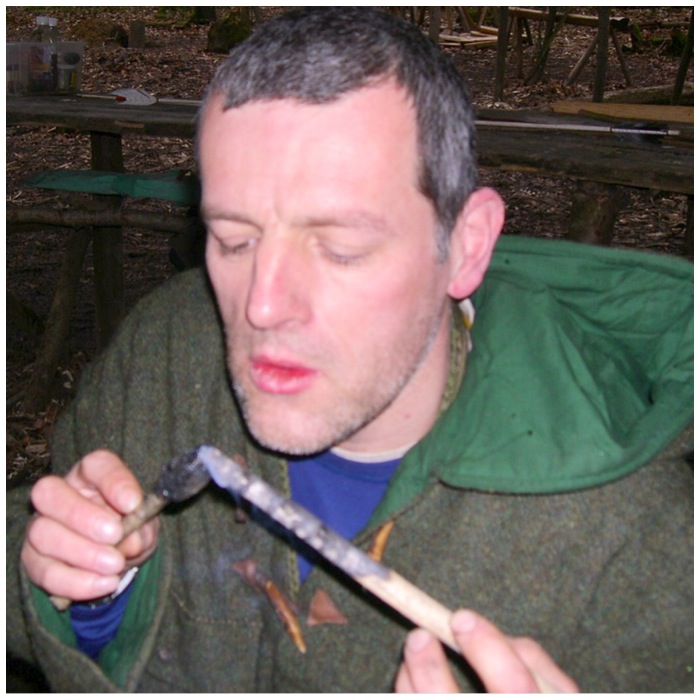
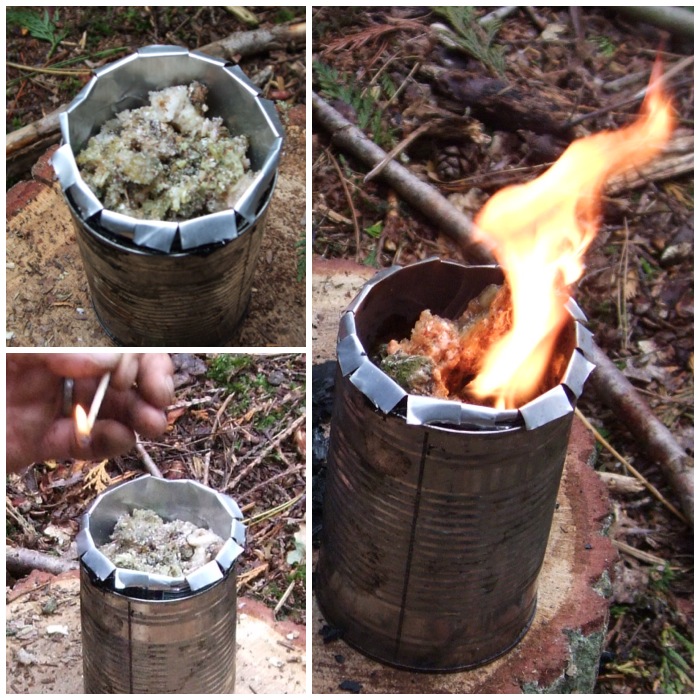
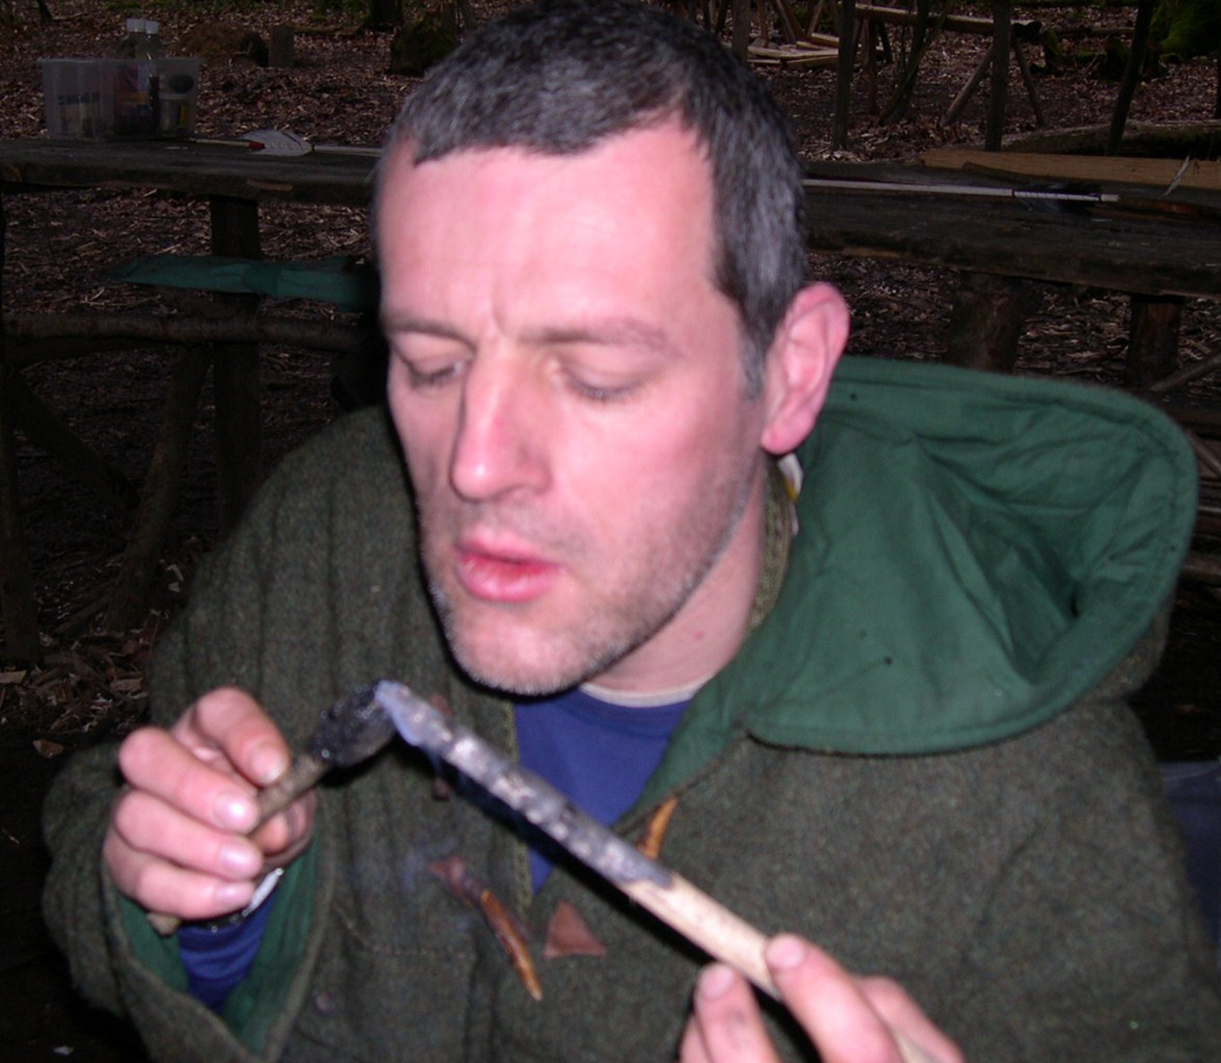
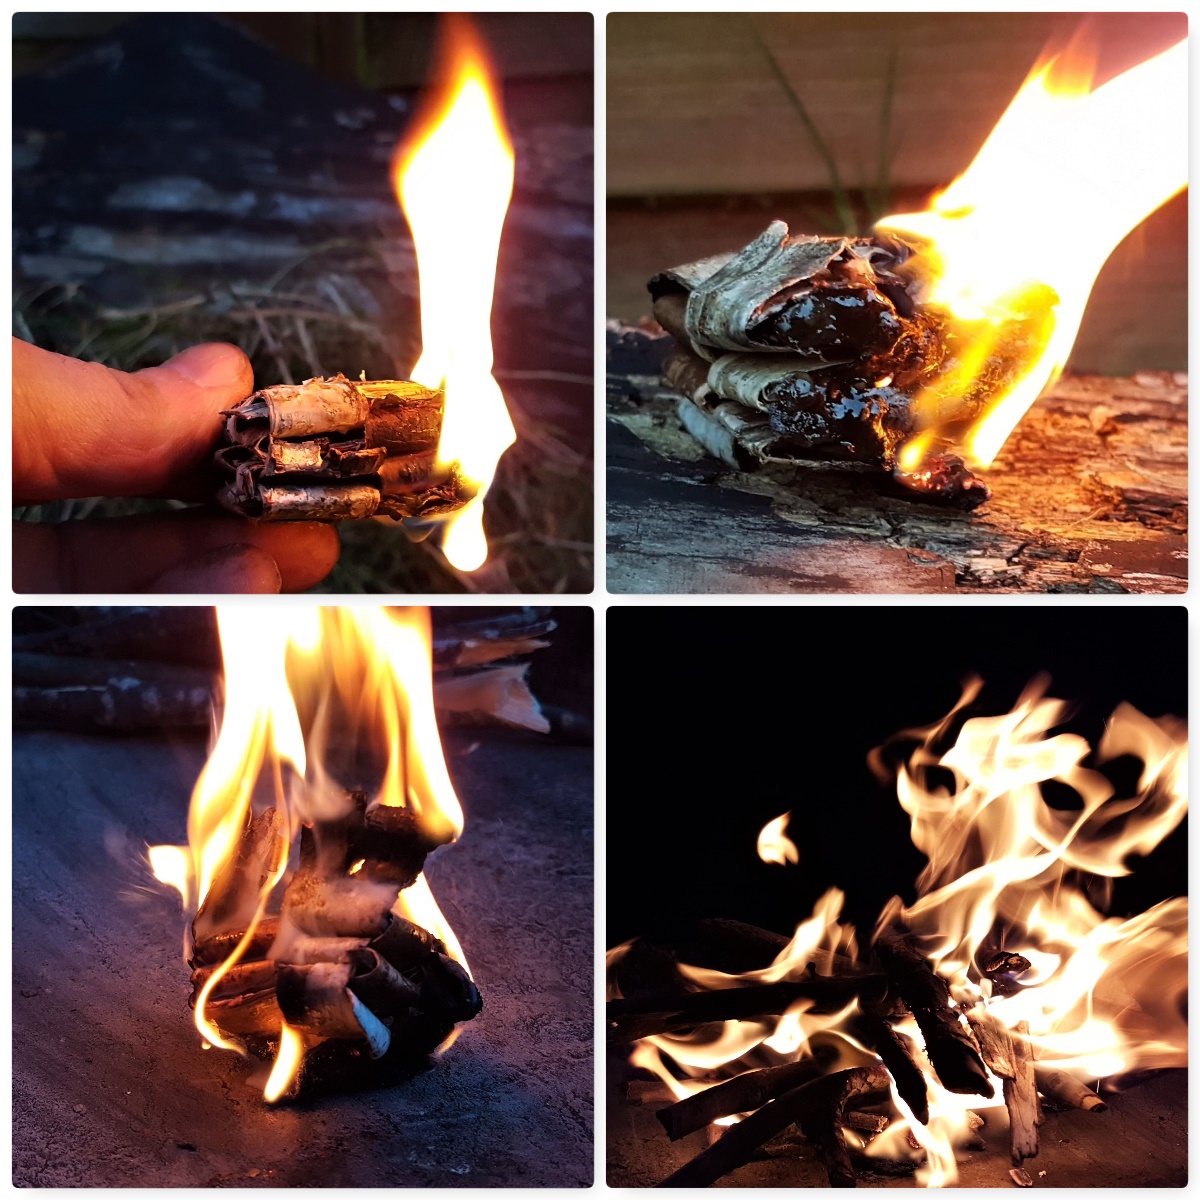
When lit these firelighters burn easily for over 5 minutes so giving you time to build your fire without resorting to using fine tinder and just small twigs. I can easily hold the firelighter for the first minute before it becomes to fierce to hold.
Once it gets going and the resin is well lit then it I go no where near it with my fingers. I like to use them first thing in the morning when I do not want to faff about with collecting tinders and just get a brew on.
I prep mine in the evening while sitting around the fire and pack them away for when I need them. If you are looking for a viable alternative to modern firelighters then these are ideal – if you are always a purist and insist on foraging for your tinders every time you light a fire then maybe they are not for you.
For those that like a video intead of the step by step I put this short video together to explain the process.
Cheers and happy weaving.
Geprge