10 Reasons to Bushmoot – 8/10 – Fire in Fun Forms

The Moot will have something for you – be that firesteels, bowdrills, handrills, pumpdrills, bamboo fire saws or the secret art of lighting fire from damp tinder

Many many years ago I stumbled upon a website called Bushcraft UK and realised that there were many folk out there just like me, struggling to get to grips with all the different ways of making fire.

The results on the site only took me so far so I was even happier when I spotted a thread on the Bushmoot. This was the second Bushmoot way back in 2005.

Since then I have discovered many different ways of making fire when out and about. This post is about just some of the ways we make fire at the BCUK Bushmoot.

Photo 29-11-2015, 21 31 23
Bushmoot Fire

Firesteels

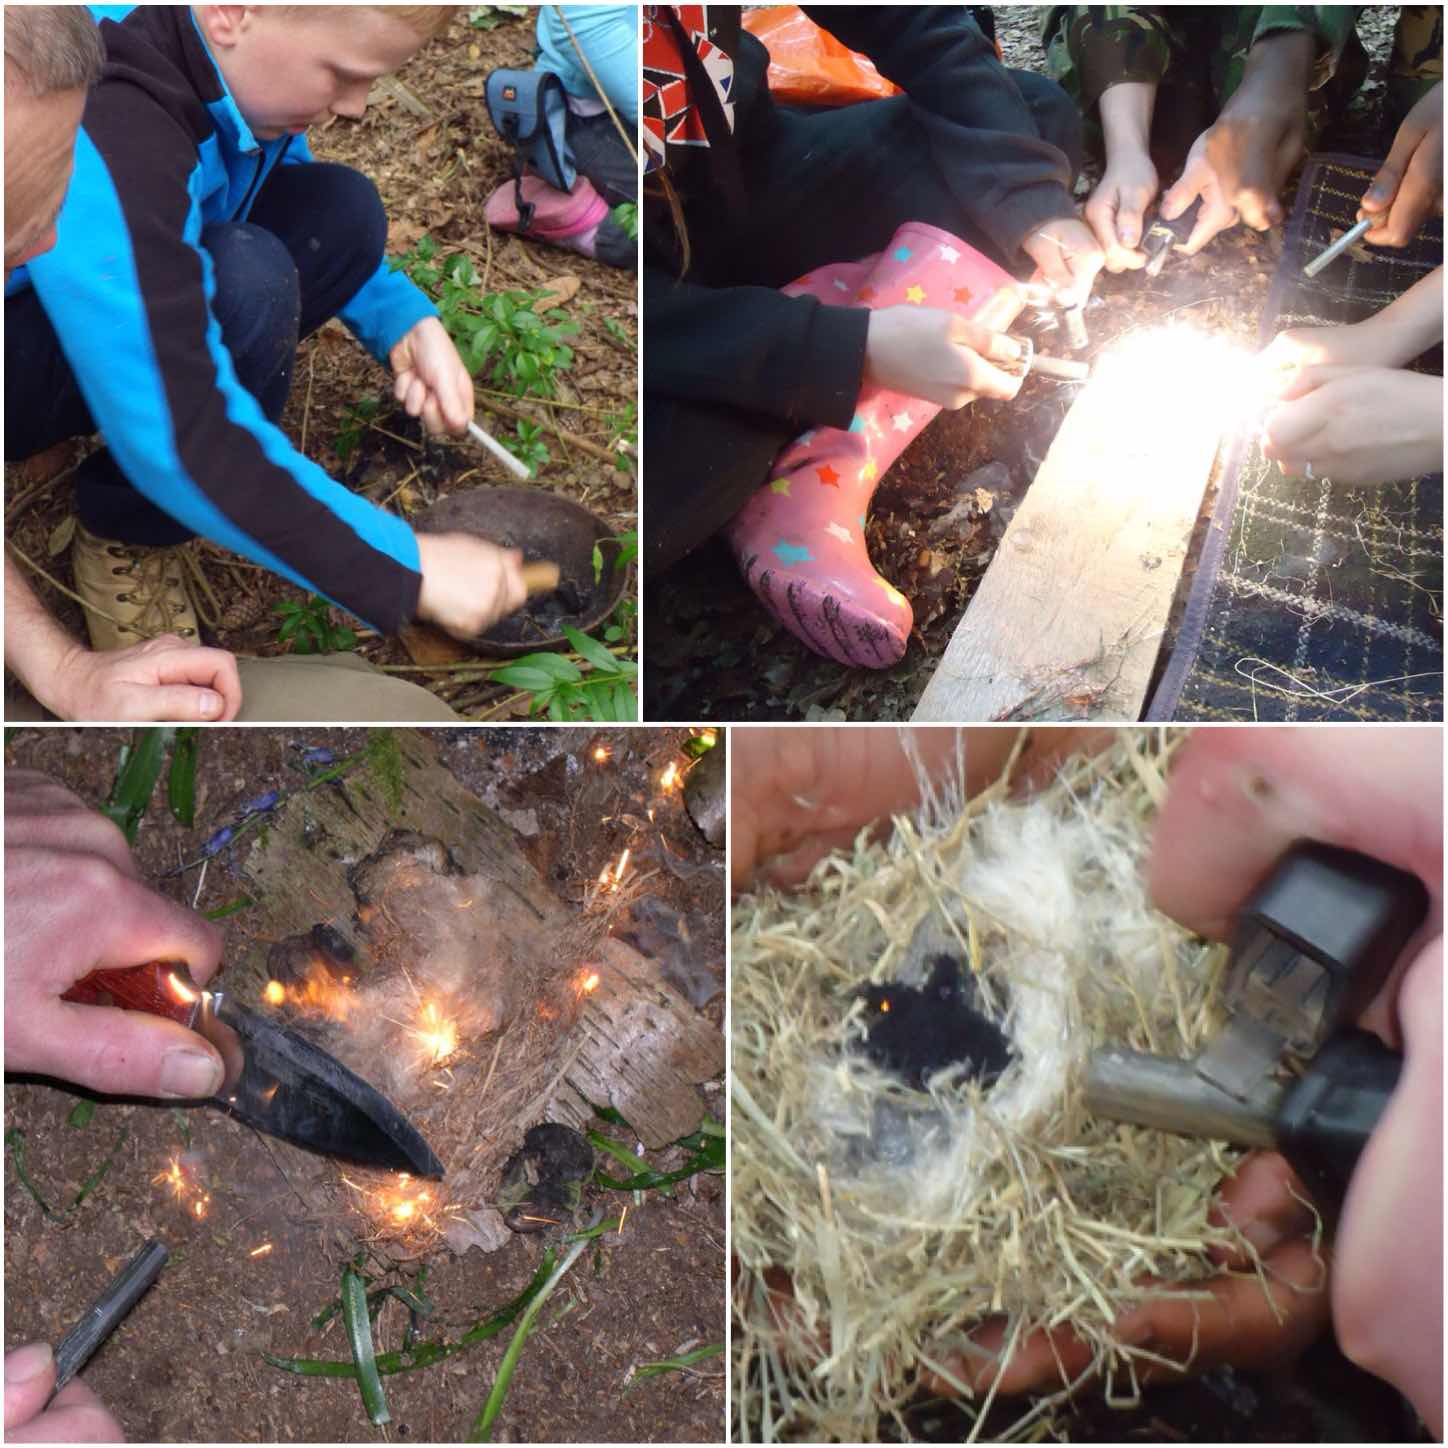
One of the most common methods a bushcrafter will use to light a fire is a Firesteel, so there are plenty of people willing to share with you how they use theirs and explain what tinders they use.

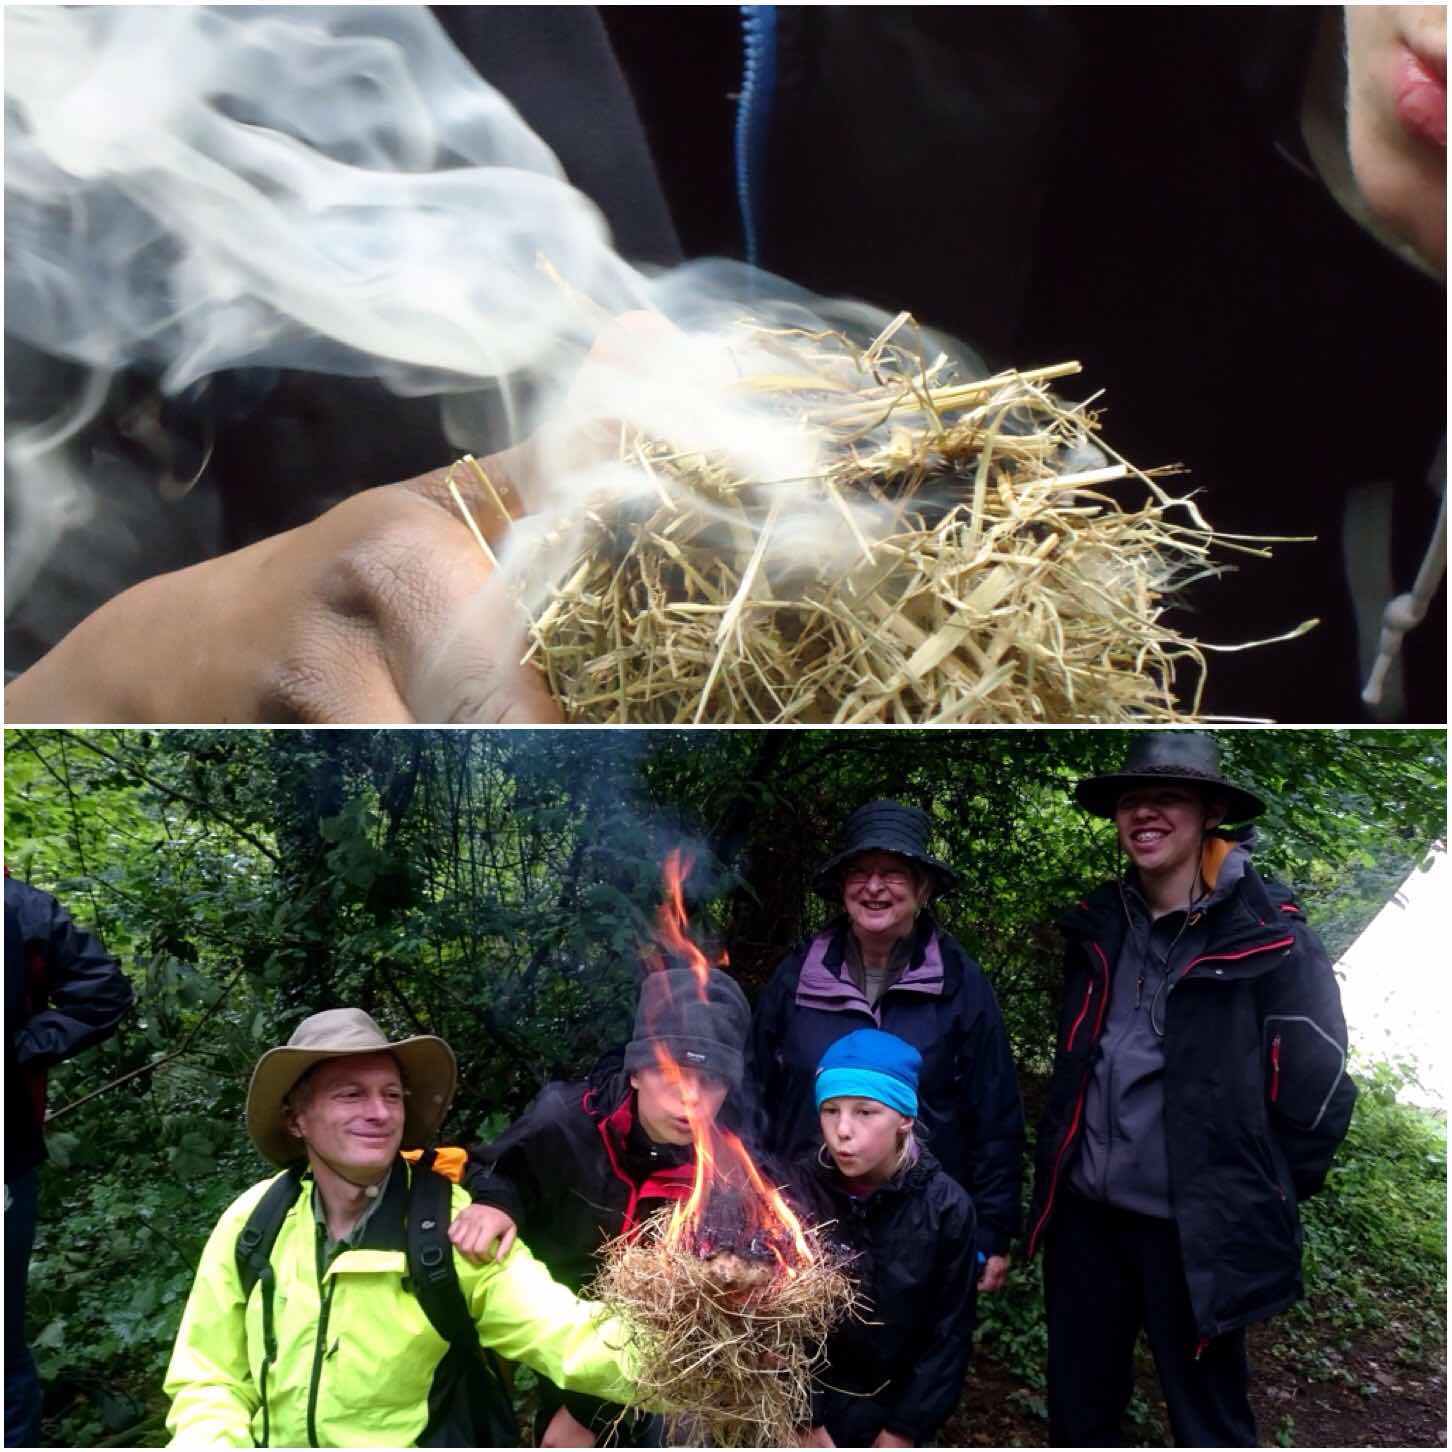
We have included the use of Firesteels into our ‘Starter Course‘ at the Moot.  They are easy to use and the kids love them. When teaching very young kids (pre school) I liken them to creating Fairy lights and this seems to catch the children’s imagination.

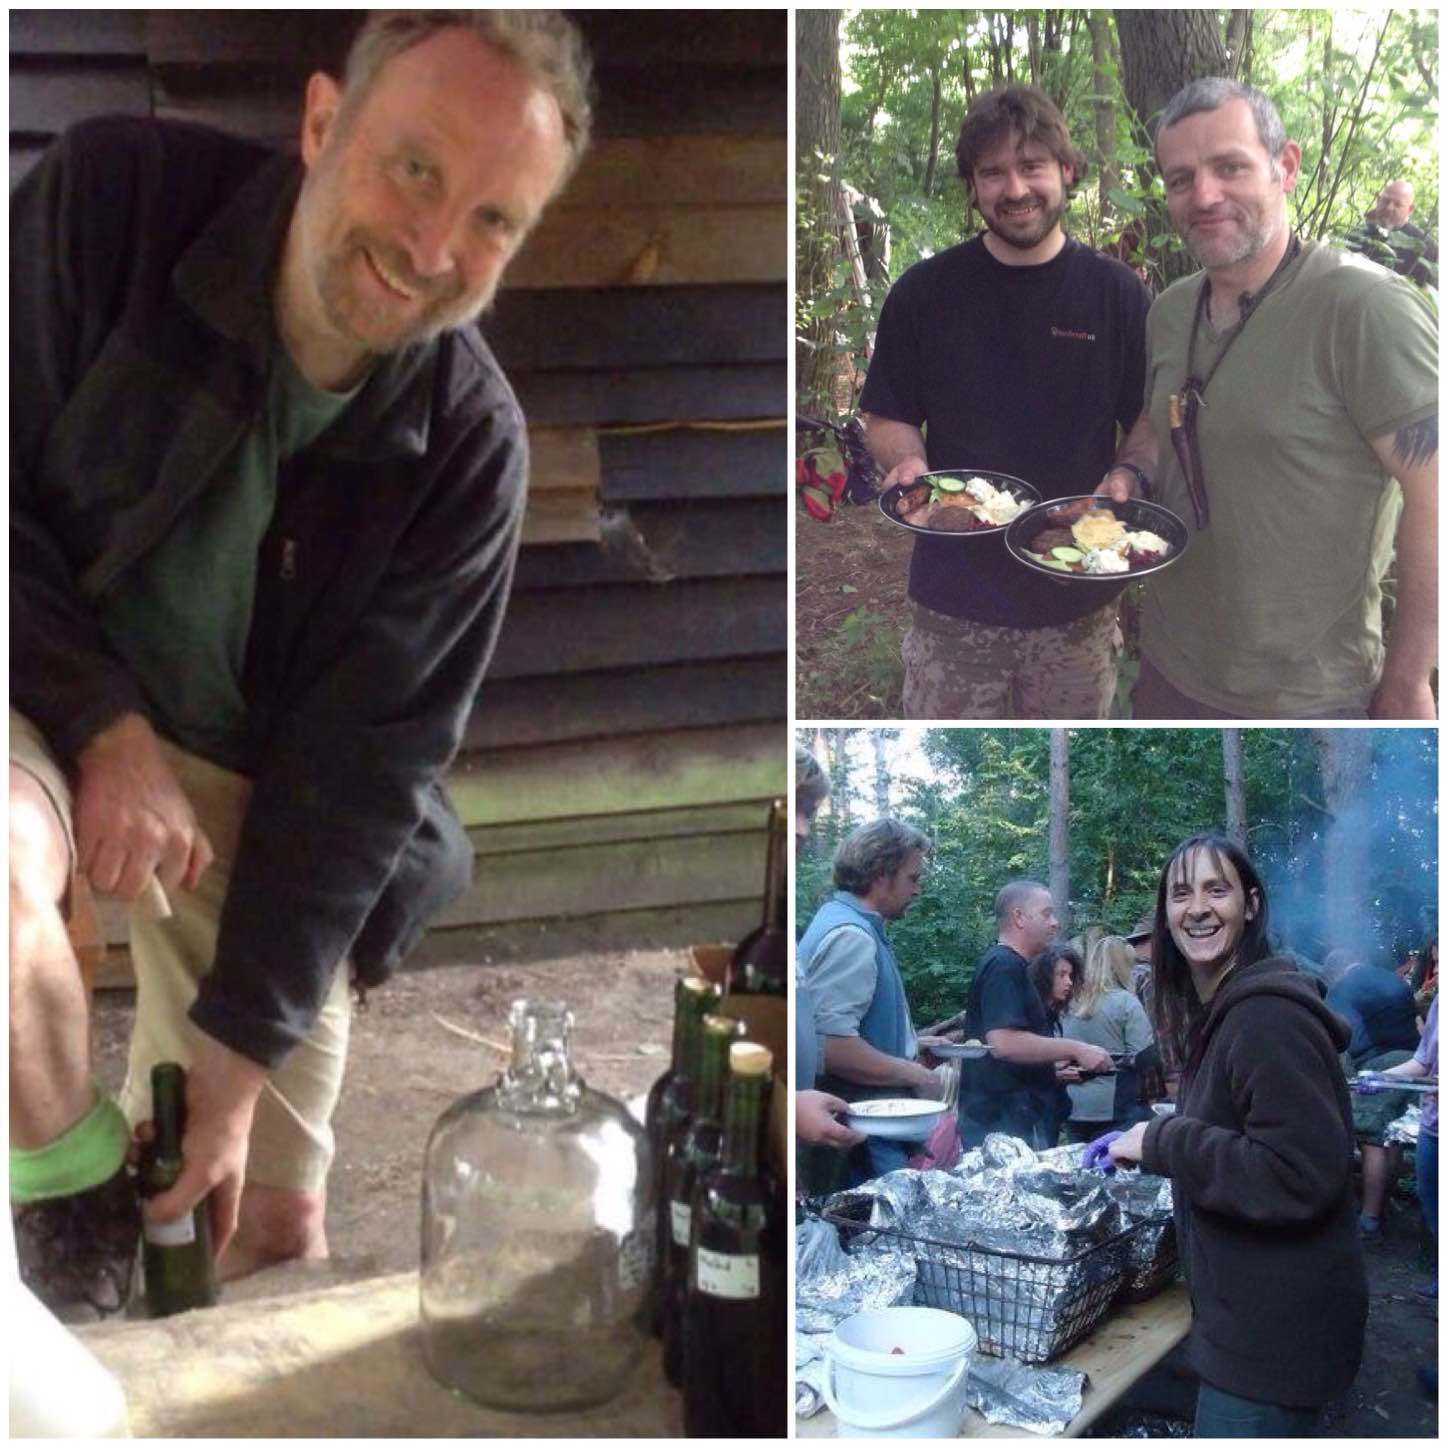
The first person to teach me to use a Firesteel  properly at the Moot was Kevin Warrington (Laplander’s Natural Lore Blog) and after I attended his bowdrill class he asked me to come back and assist him with fire-making the next year. We have been good friends ever since and I have to thank Kevin for getting me started on the road to instructing others in the world of bushcraft.

Photo 29-11-2015, 22 15 08
Fairy Lights

The Starter Course

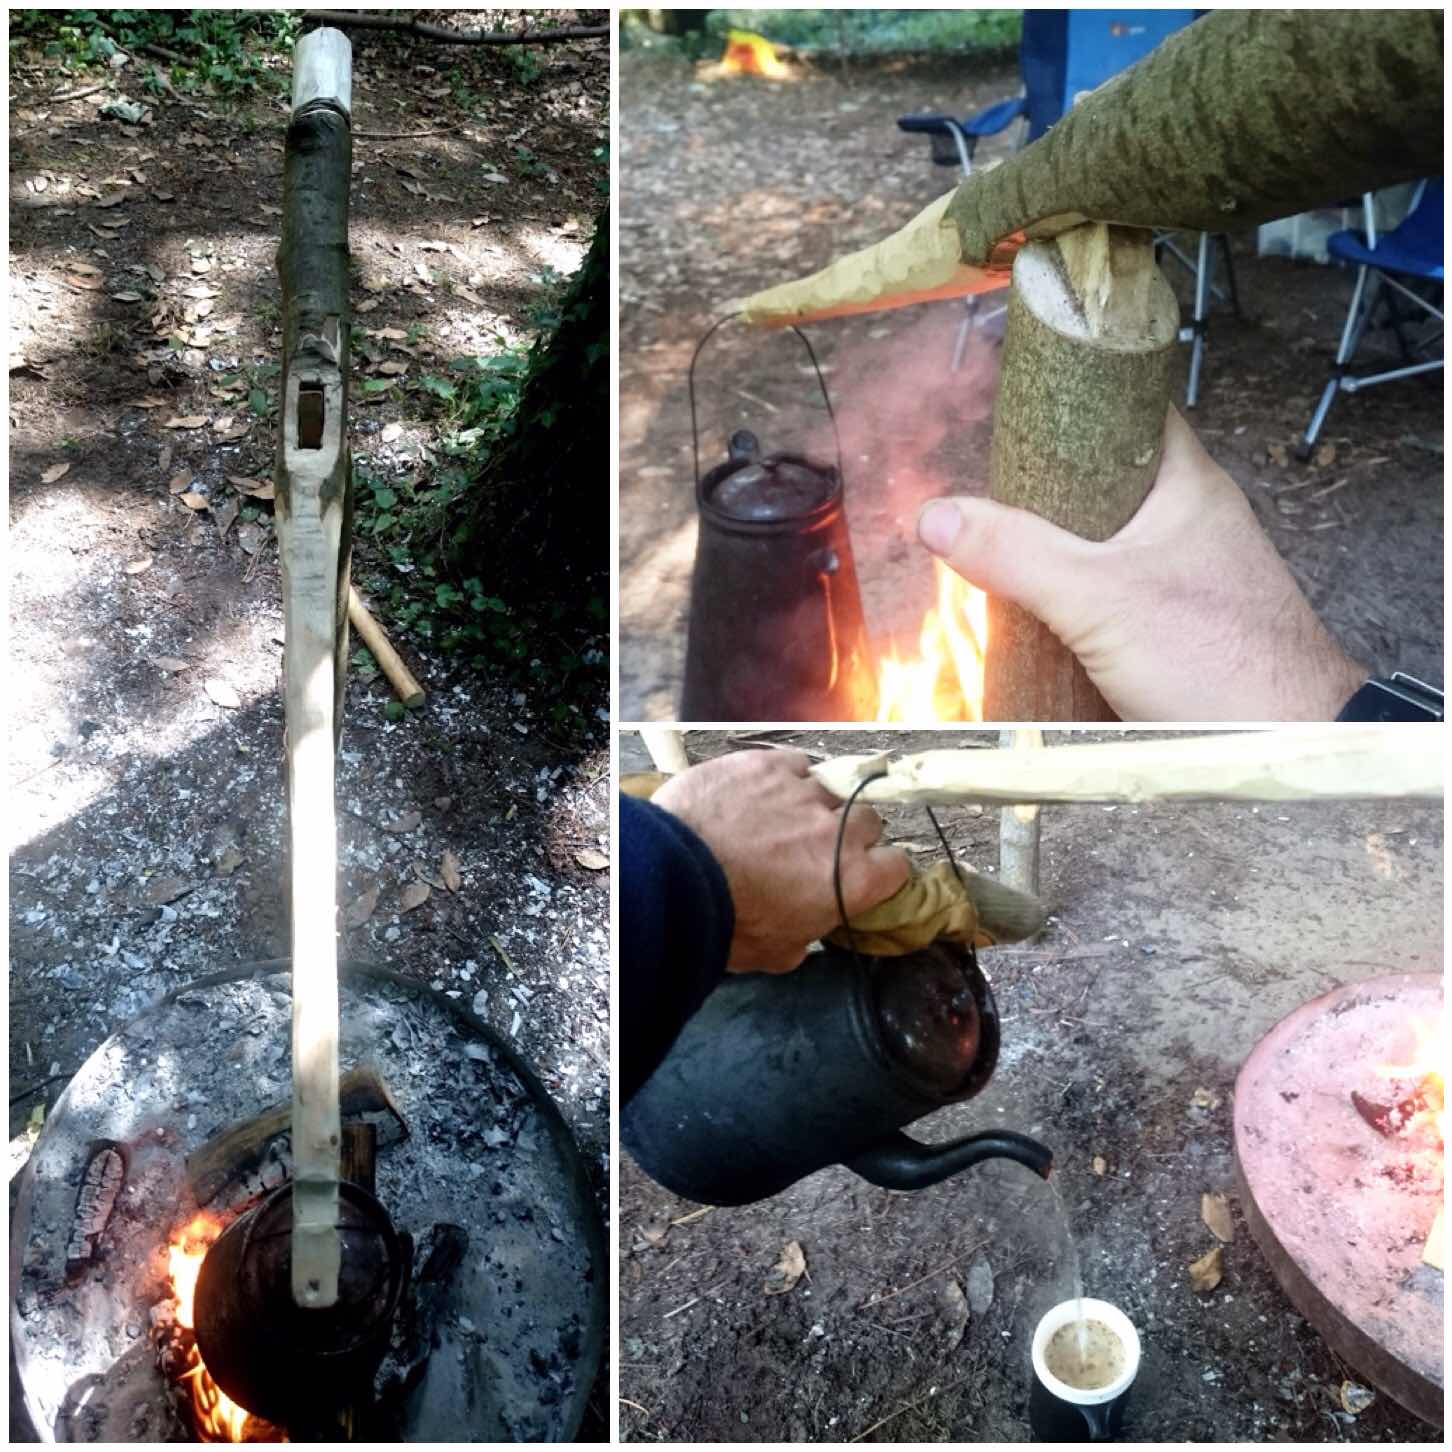
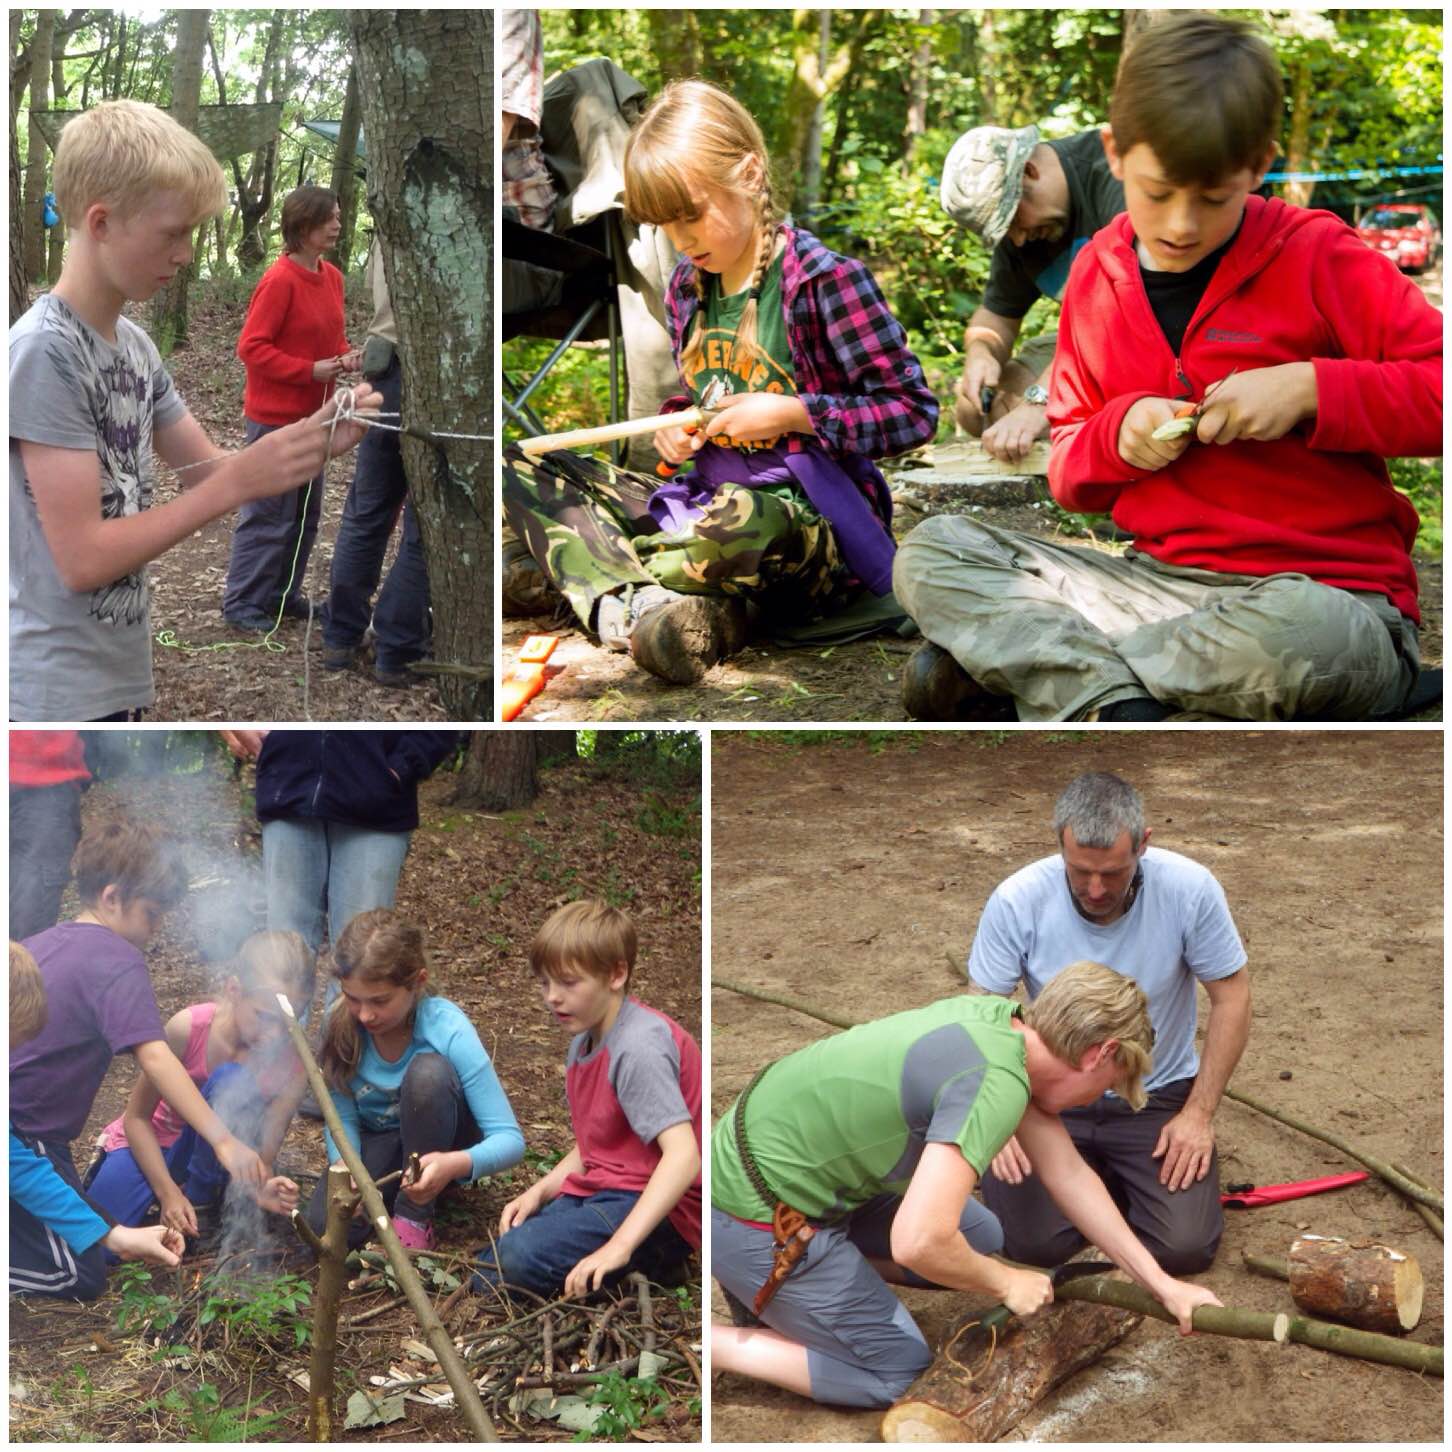
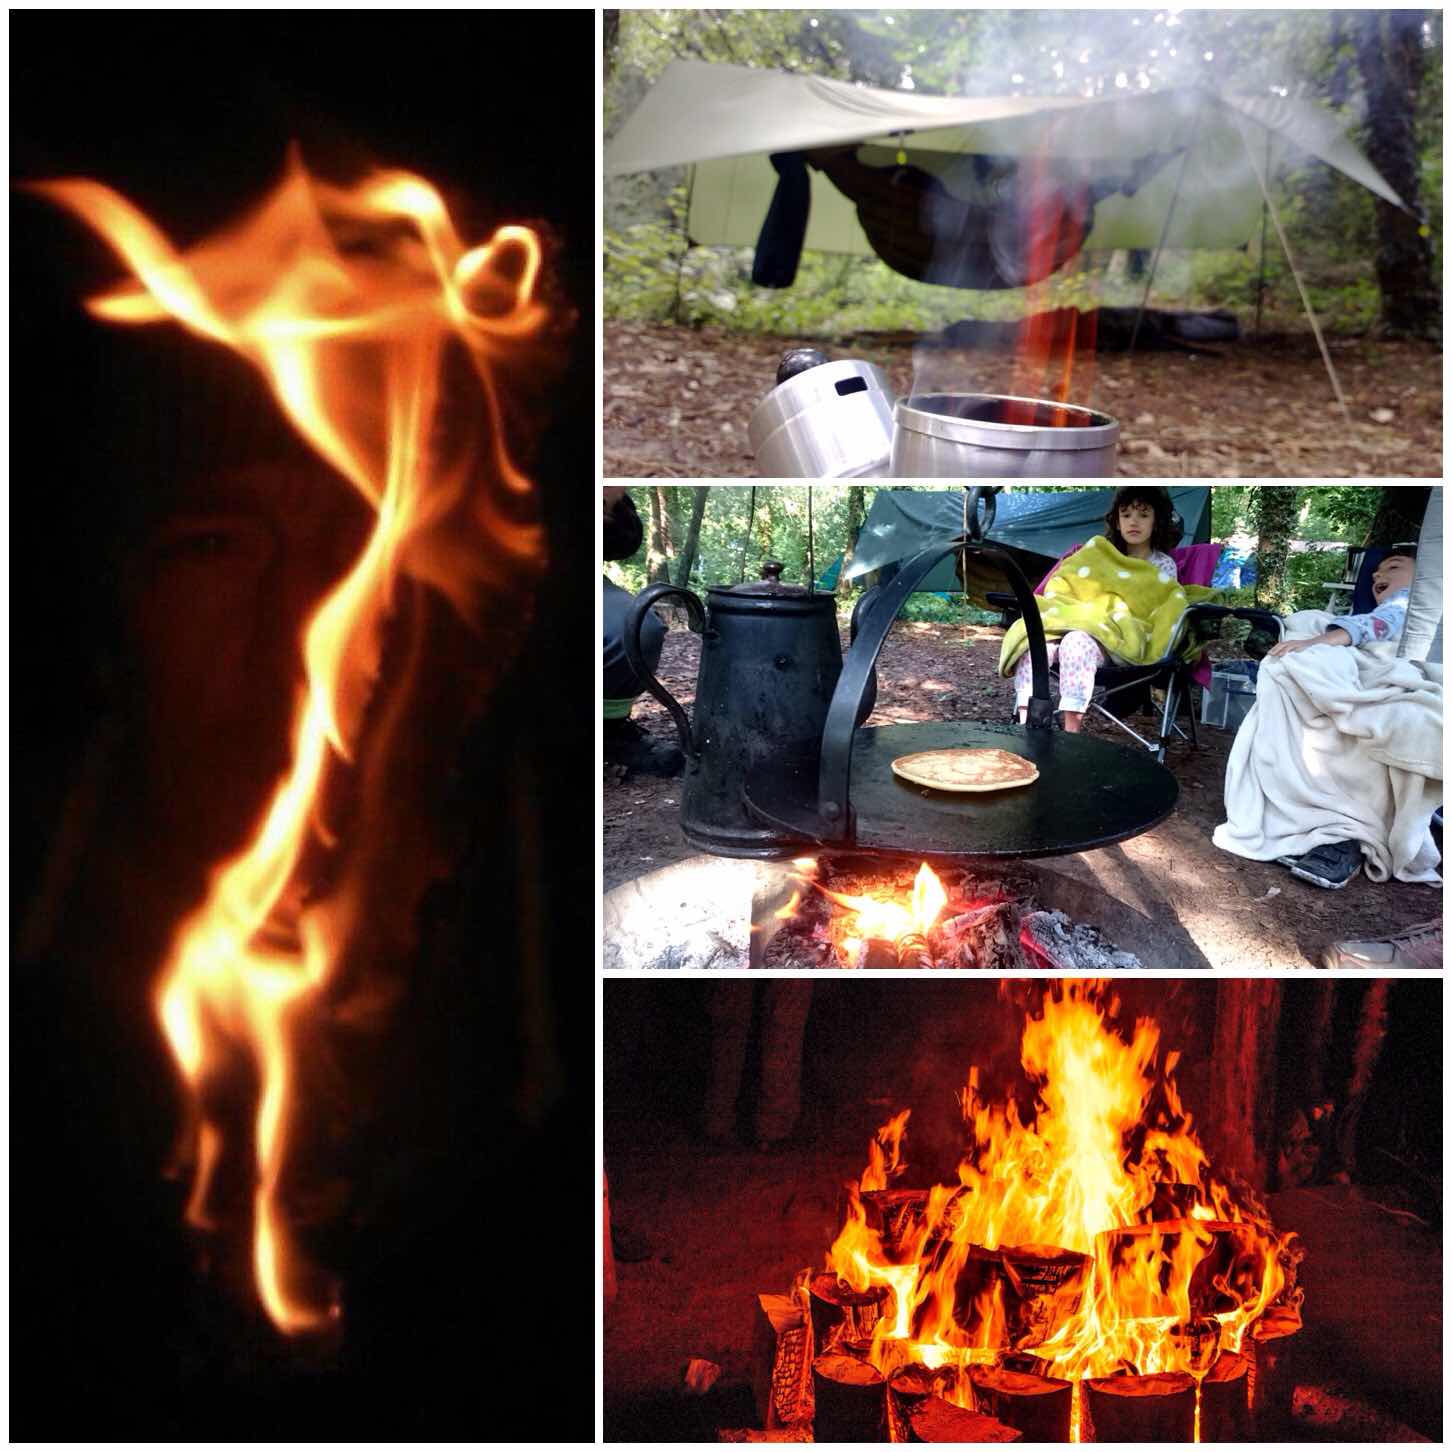
The Starter course at the Moot is not just about lighting a fire, it is also about making anyone preparing and maintaining a fire, and just as importantly it is about putting a fire out safely.

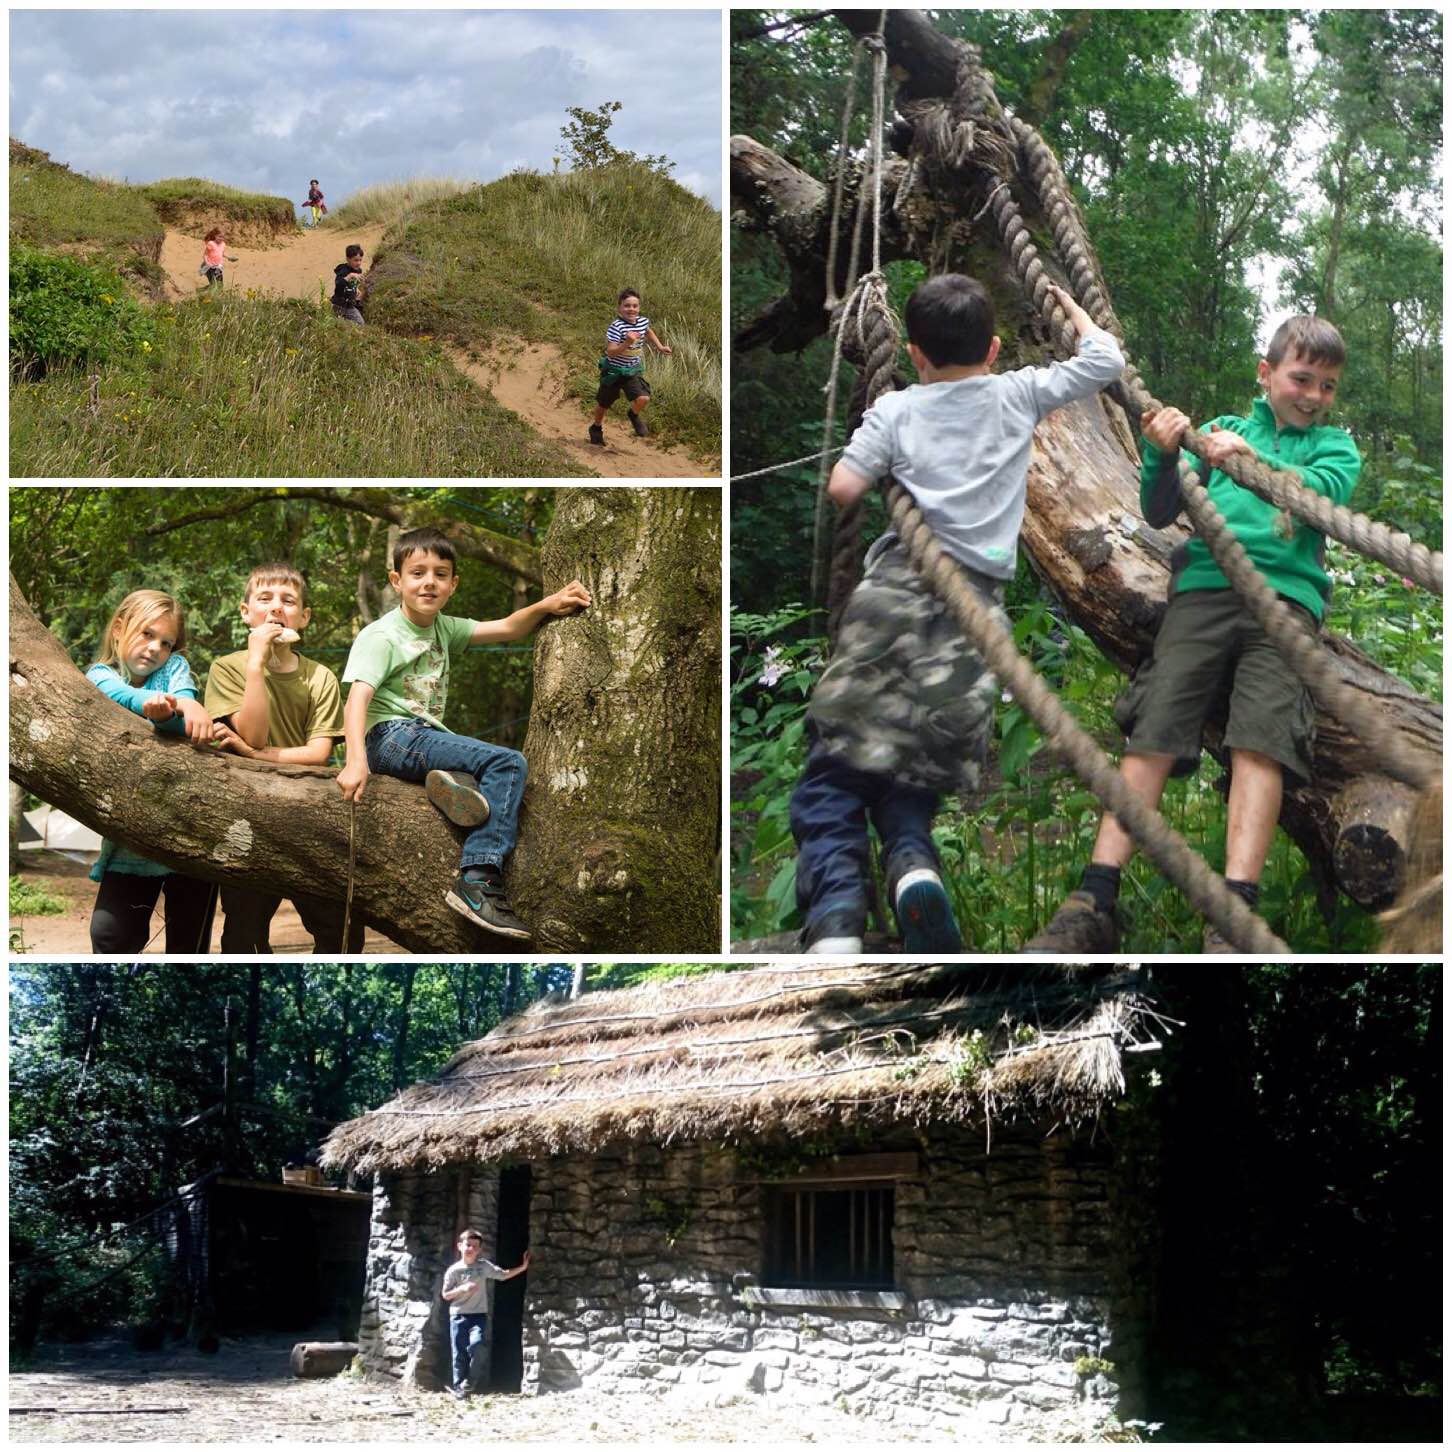
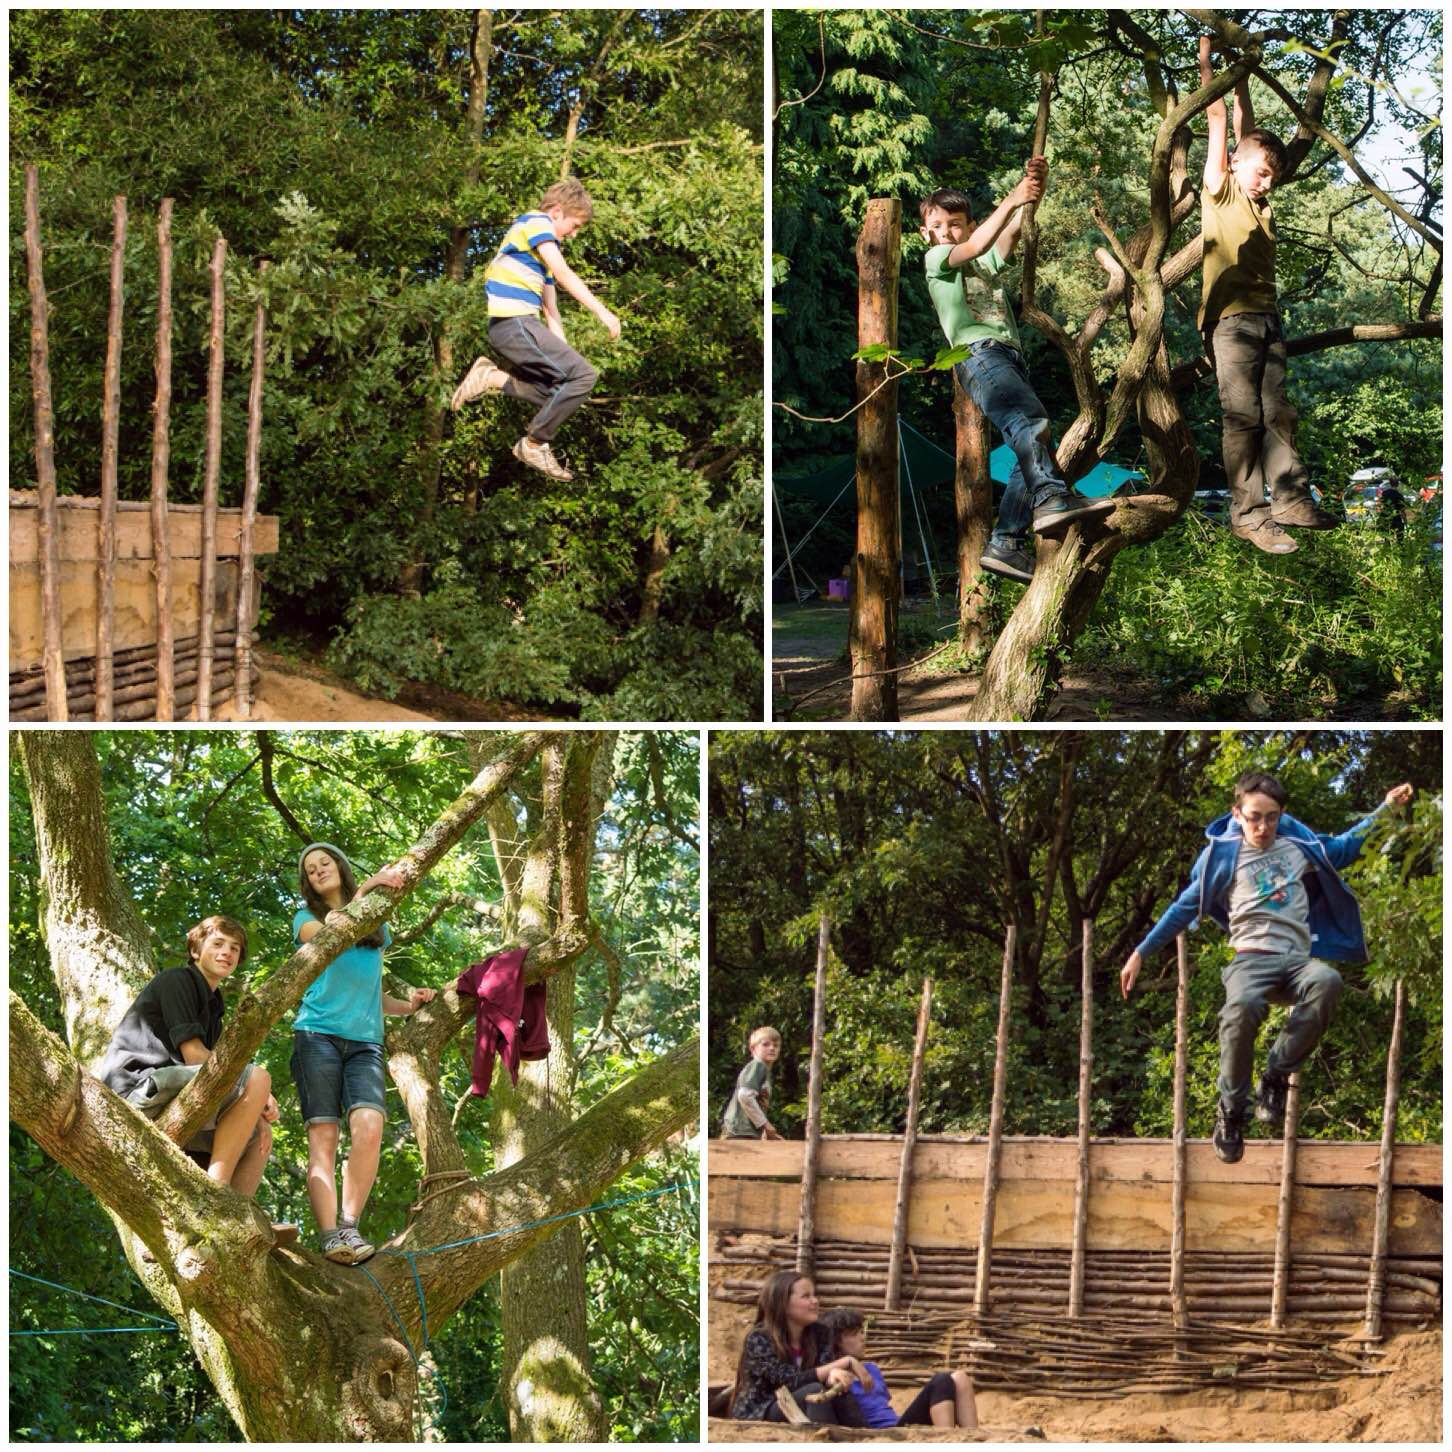
It is great to see a whole family come together to learn how to work as a team to get all the resources they need for their fire and to coax that initial burst of heat into a well-established fire.

Photo 29-11-2015, 21 31 26
Creating a Fire

Pump Drills

From time to time some of the instructors will bring along some of their pump drills or other similar training aids. The pump drills prove a great hit with all the kids and once they get the hang of the system they soon have them spinning madly away as they attempt to produce some smoke.

These drills were supplied a couple of years ago by Perry McGee of the National Tracking School.

Photo 29-11-2015, 21 31 26 (1)
Fire Drills

Bowdrill

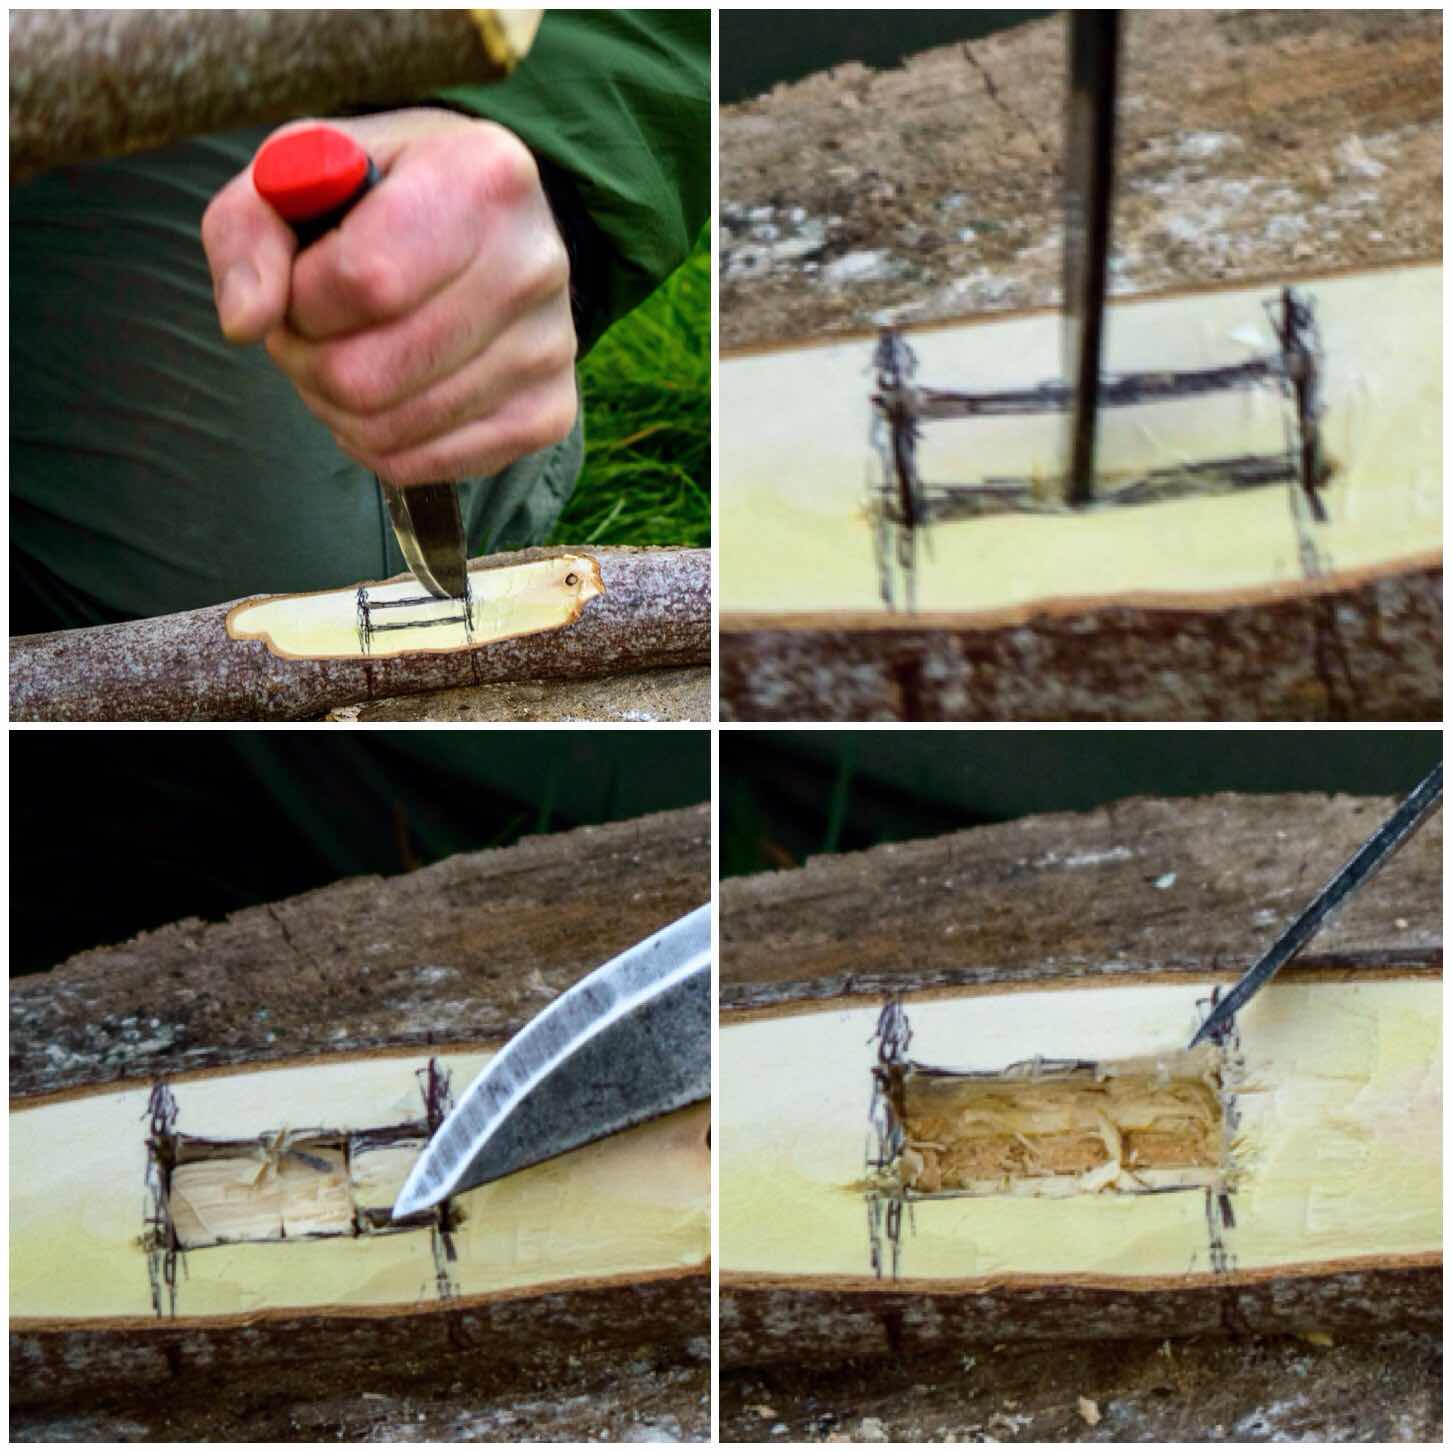
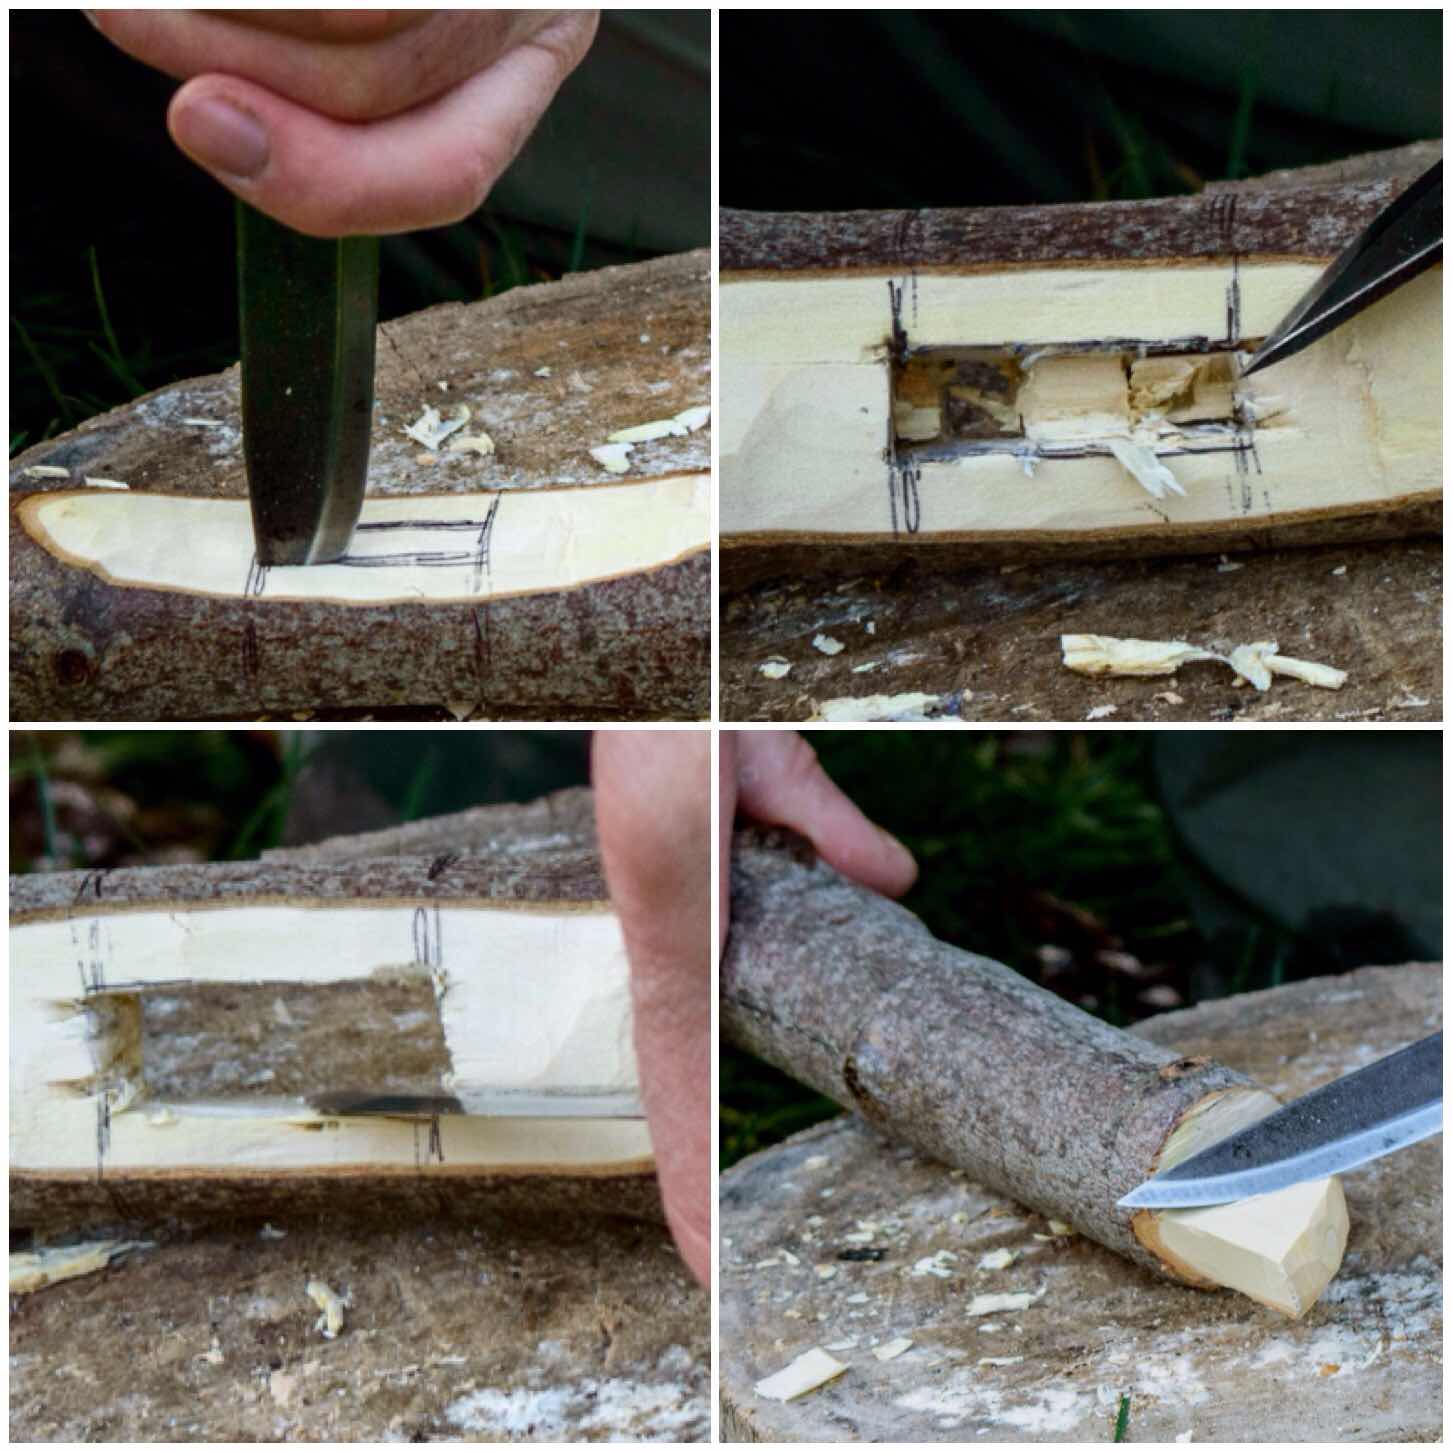
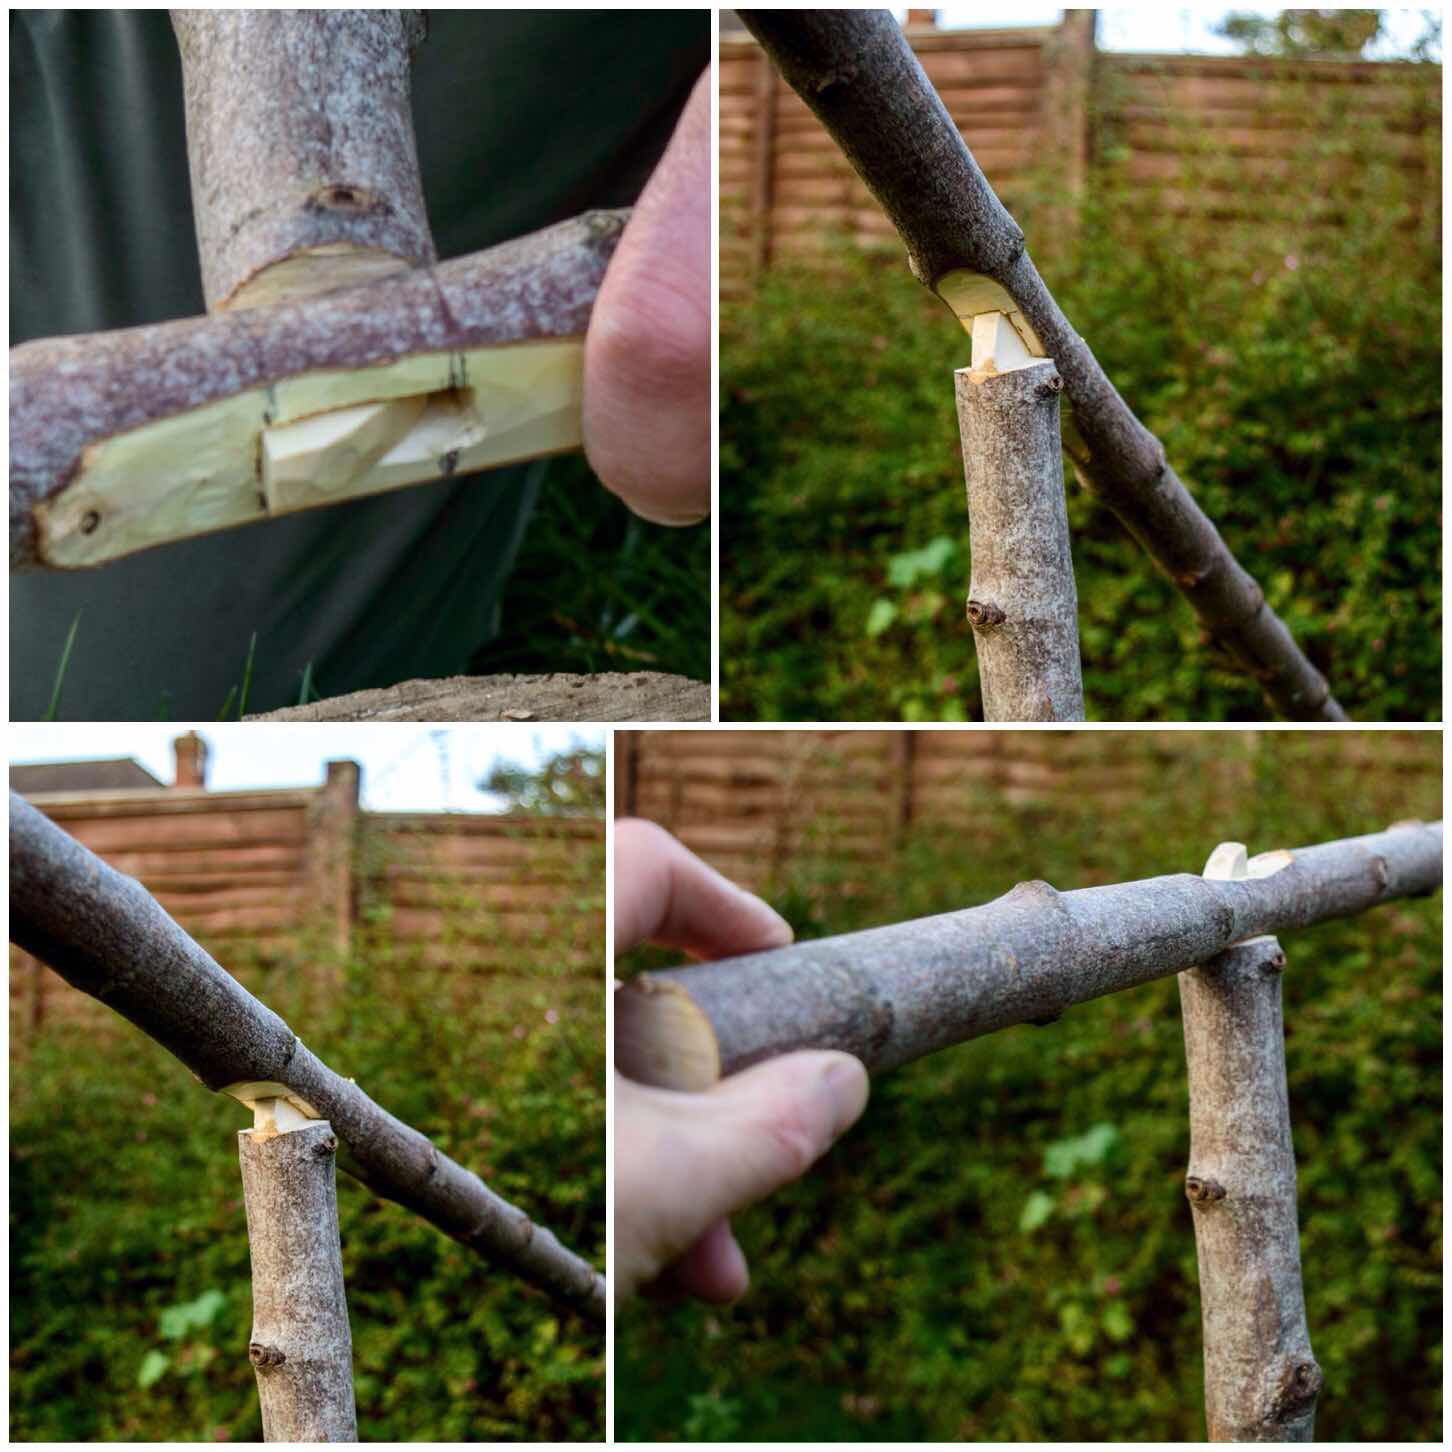
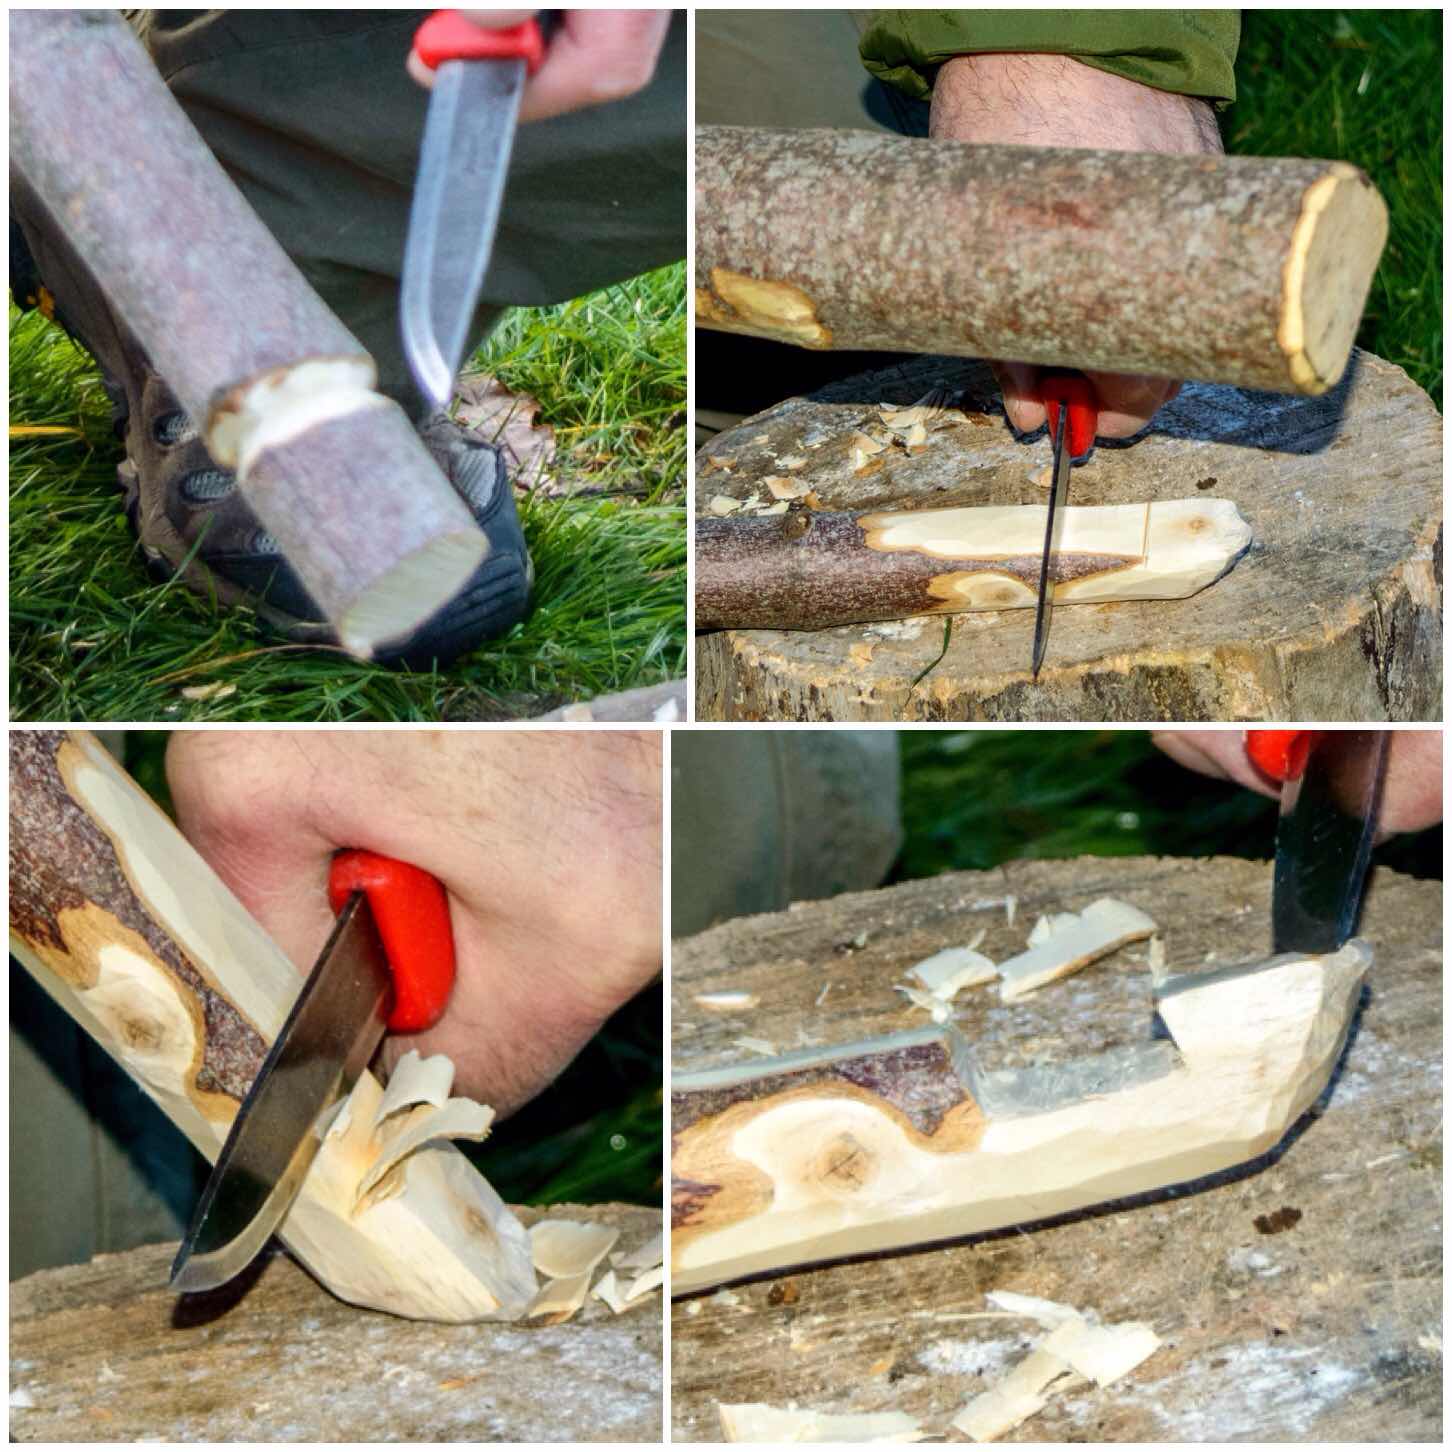
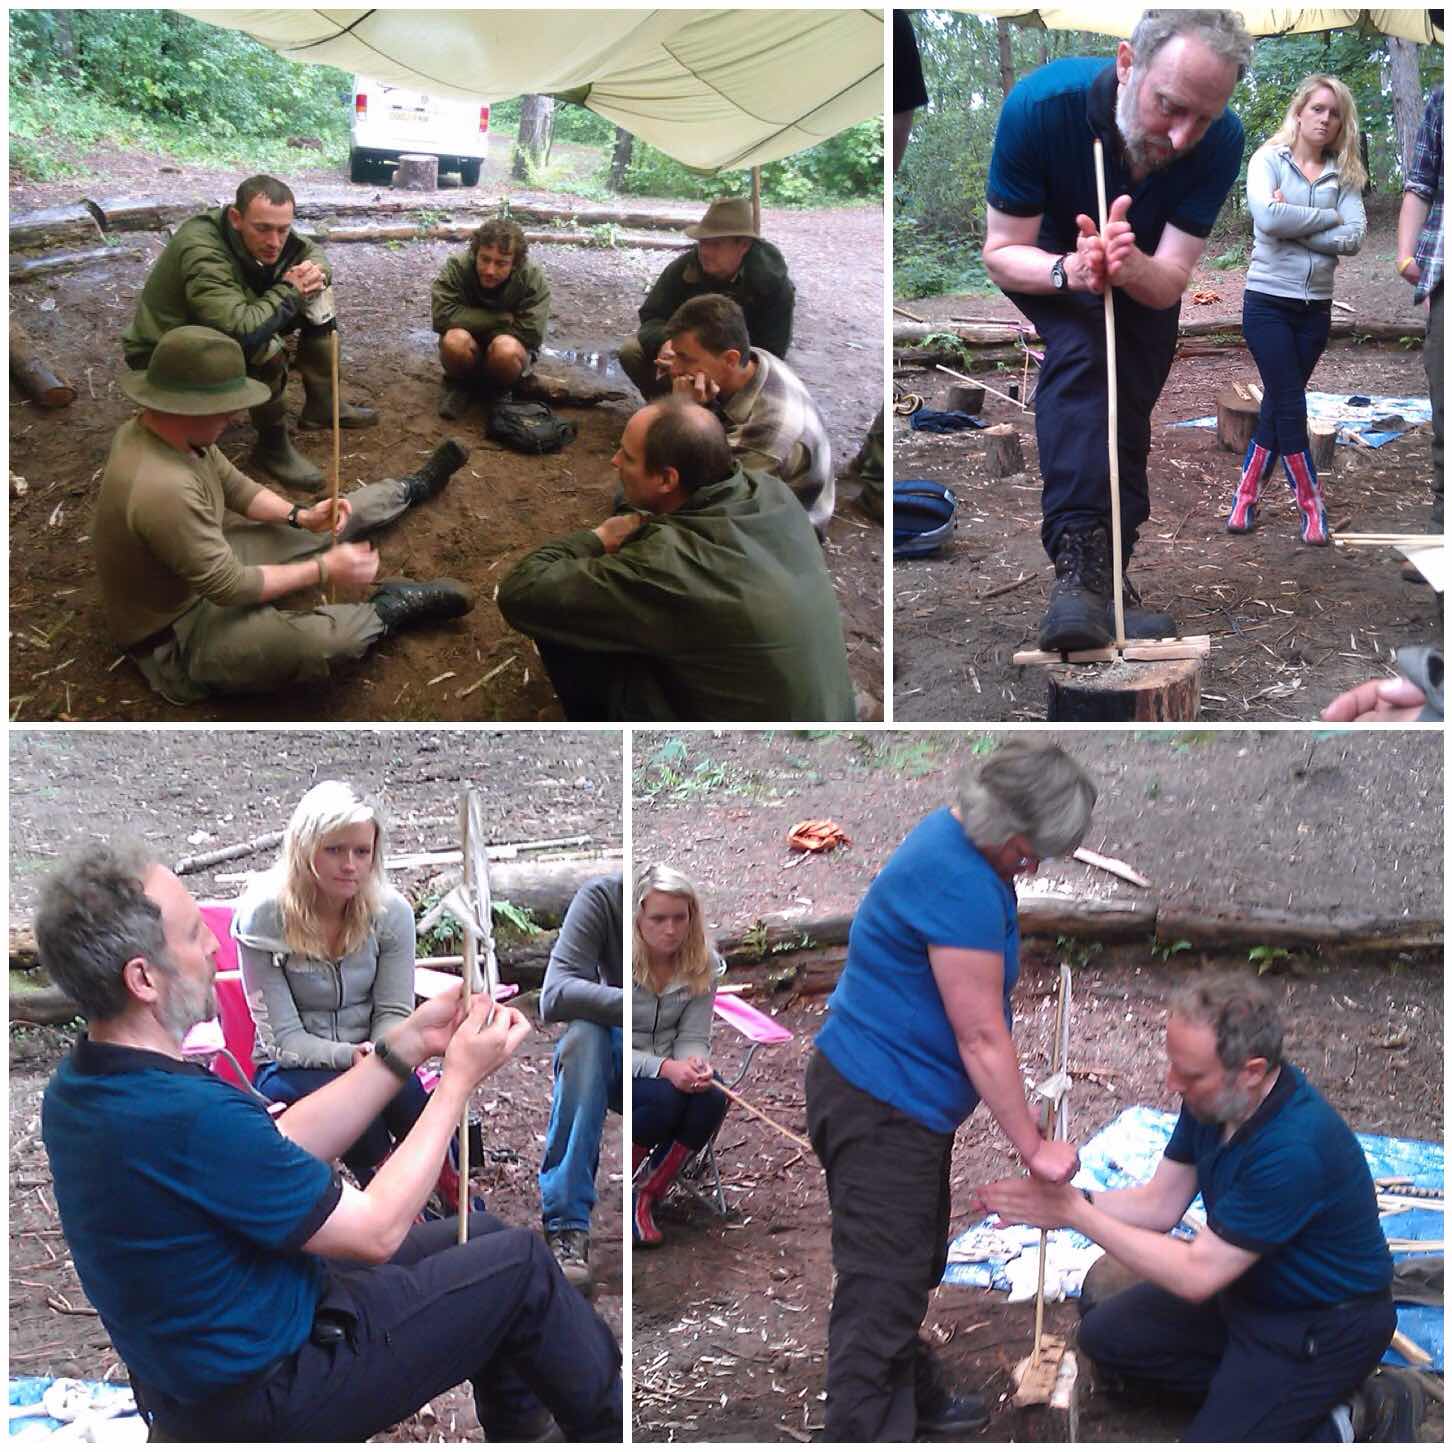
A favourite of mine over the years has to be the bowdrill. I have lost count of the number of people I have helped master this skill at the Moot. One of the reasons I love teaching this skill is that there are so many factors to take into account when bowing you can easily lose a whole day when teaching it.

Recently a number of other instructors like Mark Oriel have stepped forward to teach this skill enabling me to focus on other areas to develop myself.

Bushmoot Bowdrill
Bushmoot Bowdrill – Pictures courtesy of Ian Woodham

Bowdrill Methods

While teaching bowdrill I use two methods. One is with a single wrap of cord around the drill piece and the other is with multiple wraps (the Egyptian method).

The single wrap is easy to set up however it puts a lot of strain on the cord and if the drill and the bearing block become separated the drill piece tends to ping off to the side.

The Egyptian method relies on multiple wraps, it takes longer to set up and can be more difficult to control. It does though have the advantage of not putting so much strain on the cord and the drill does not ping off to the side when it becomes detached from the bearing block.

Photo 29-11-2015, 21 31 28
Single twist and Egyptian

Here is the bowdrill in action using the single wrap method.
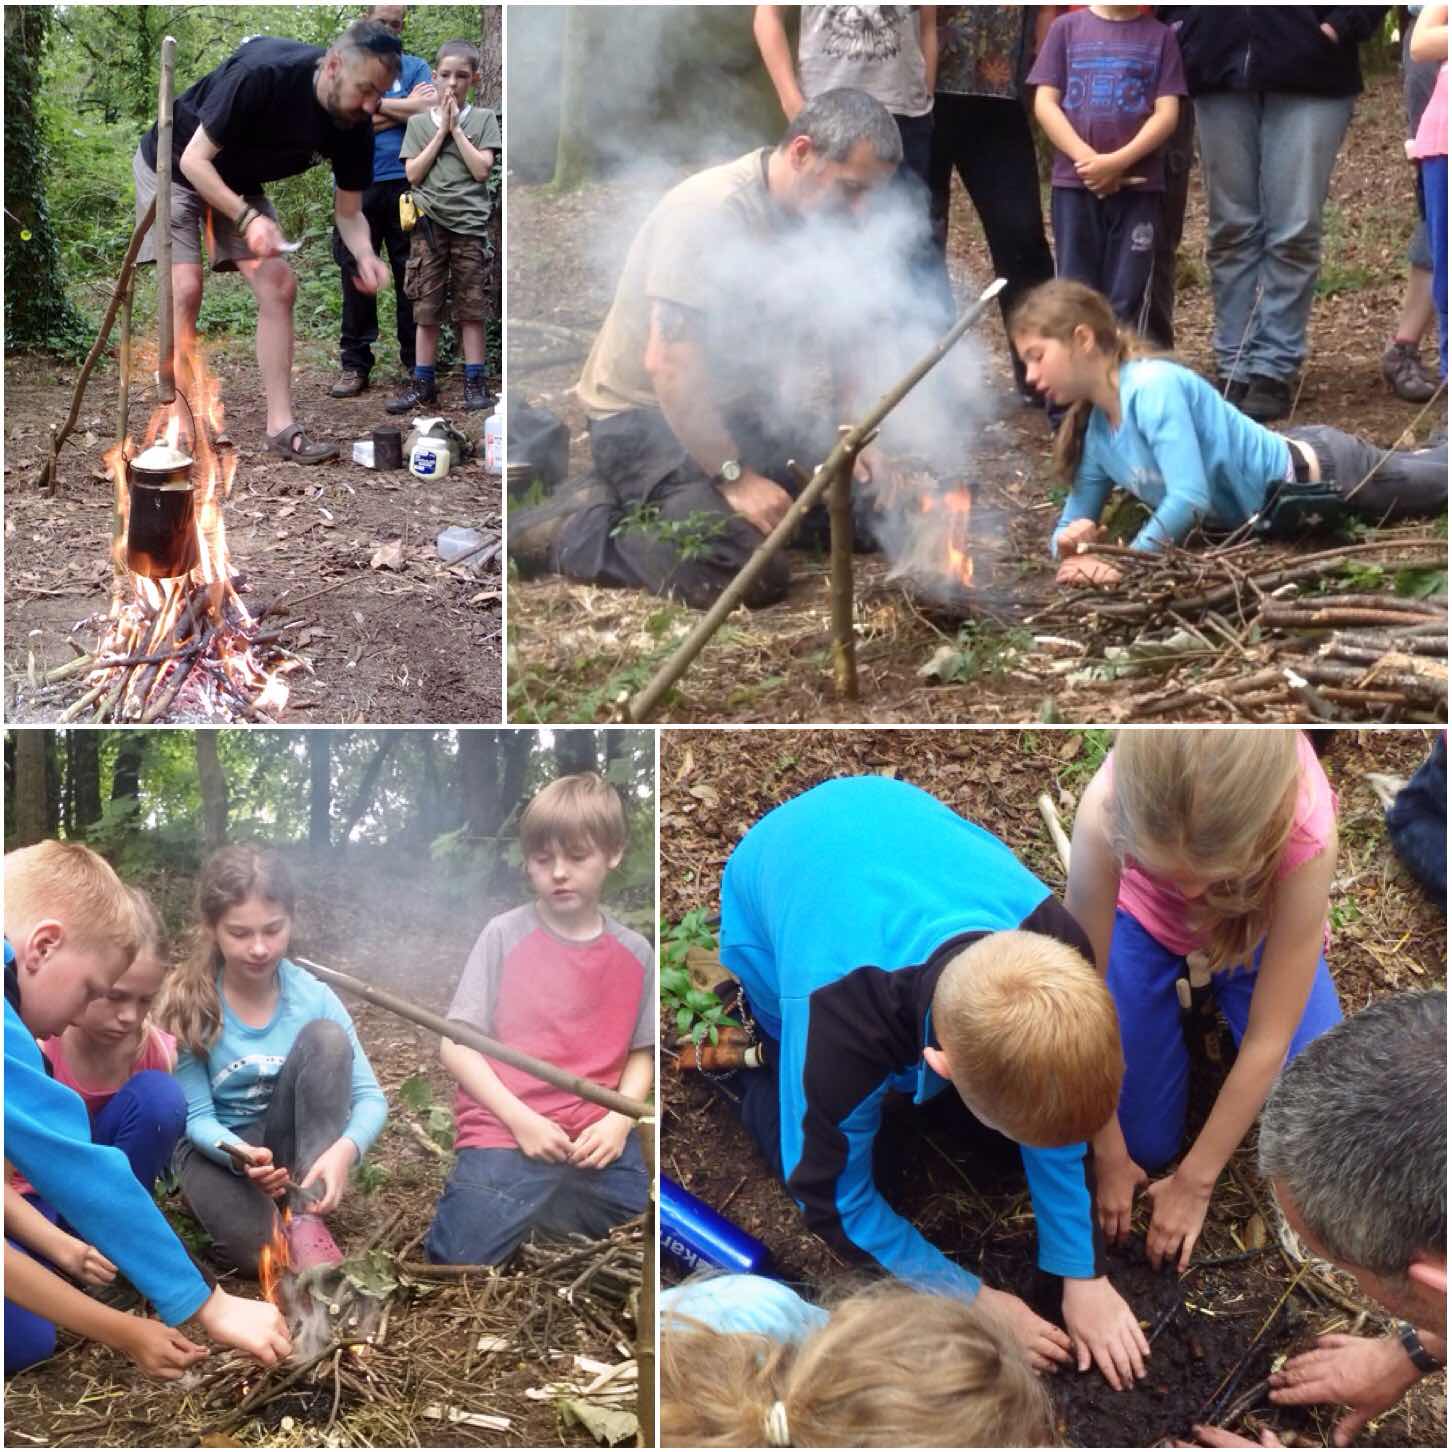
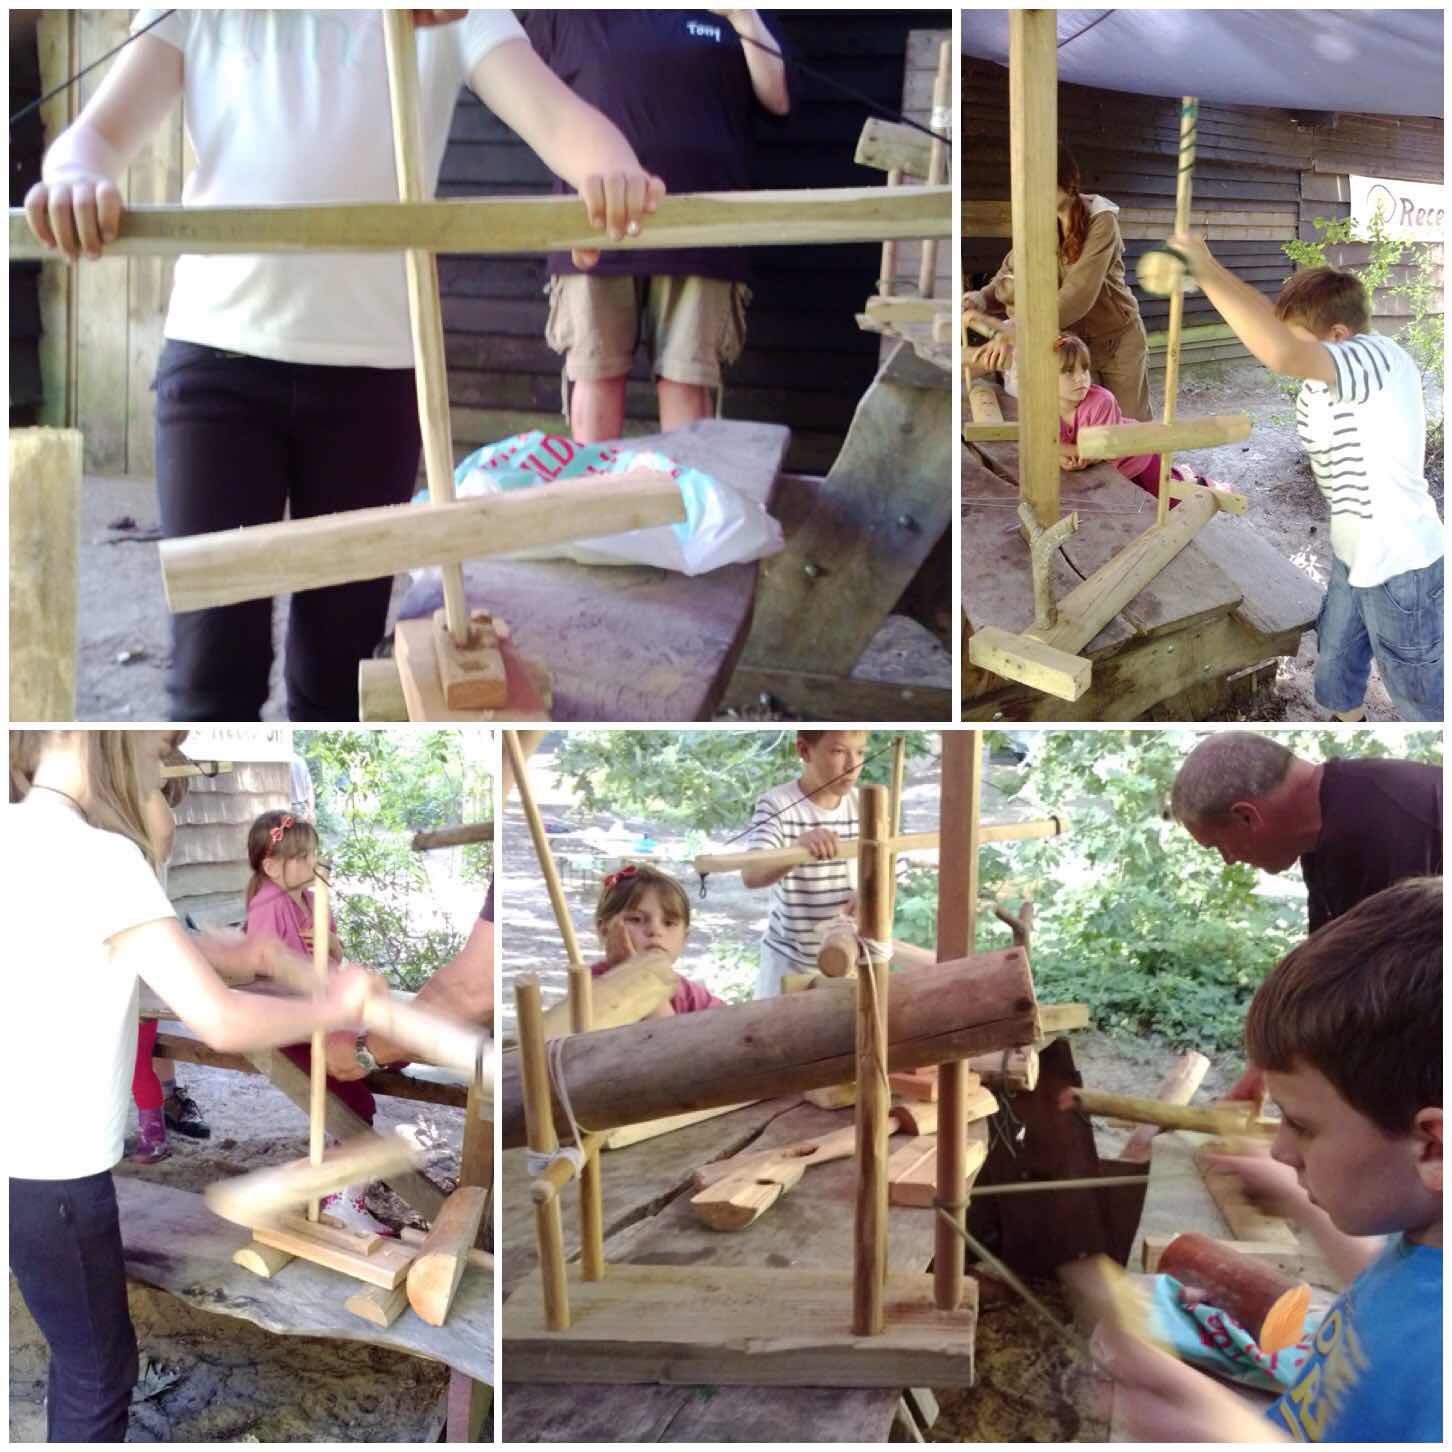
Group Bowdrills

As we get a lot of children at the Moot and from time to time someone carrying an injury you need to devise other strategies for bowdrilling. Historically I believe bowdrilling was a communal affair as it requires a lot less effort from individuals to get fire when they work together.

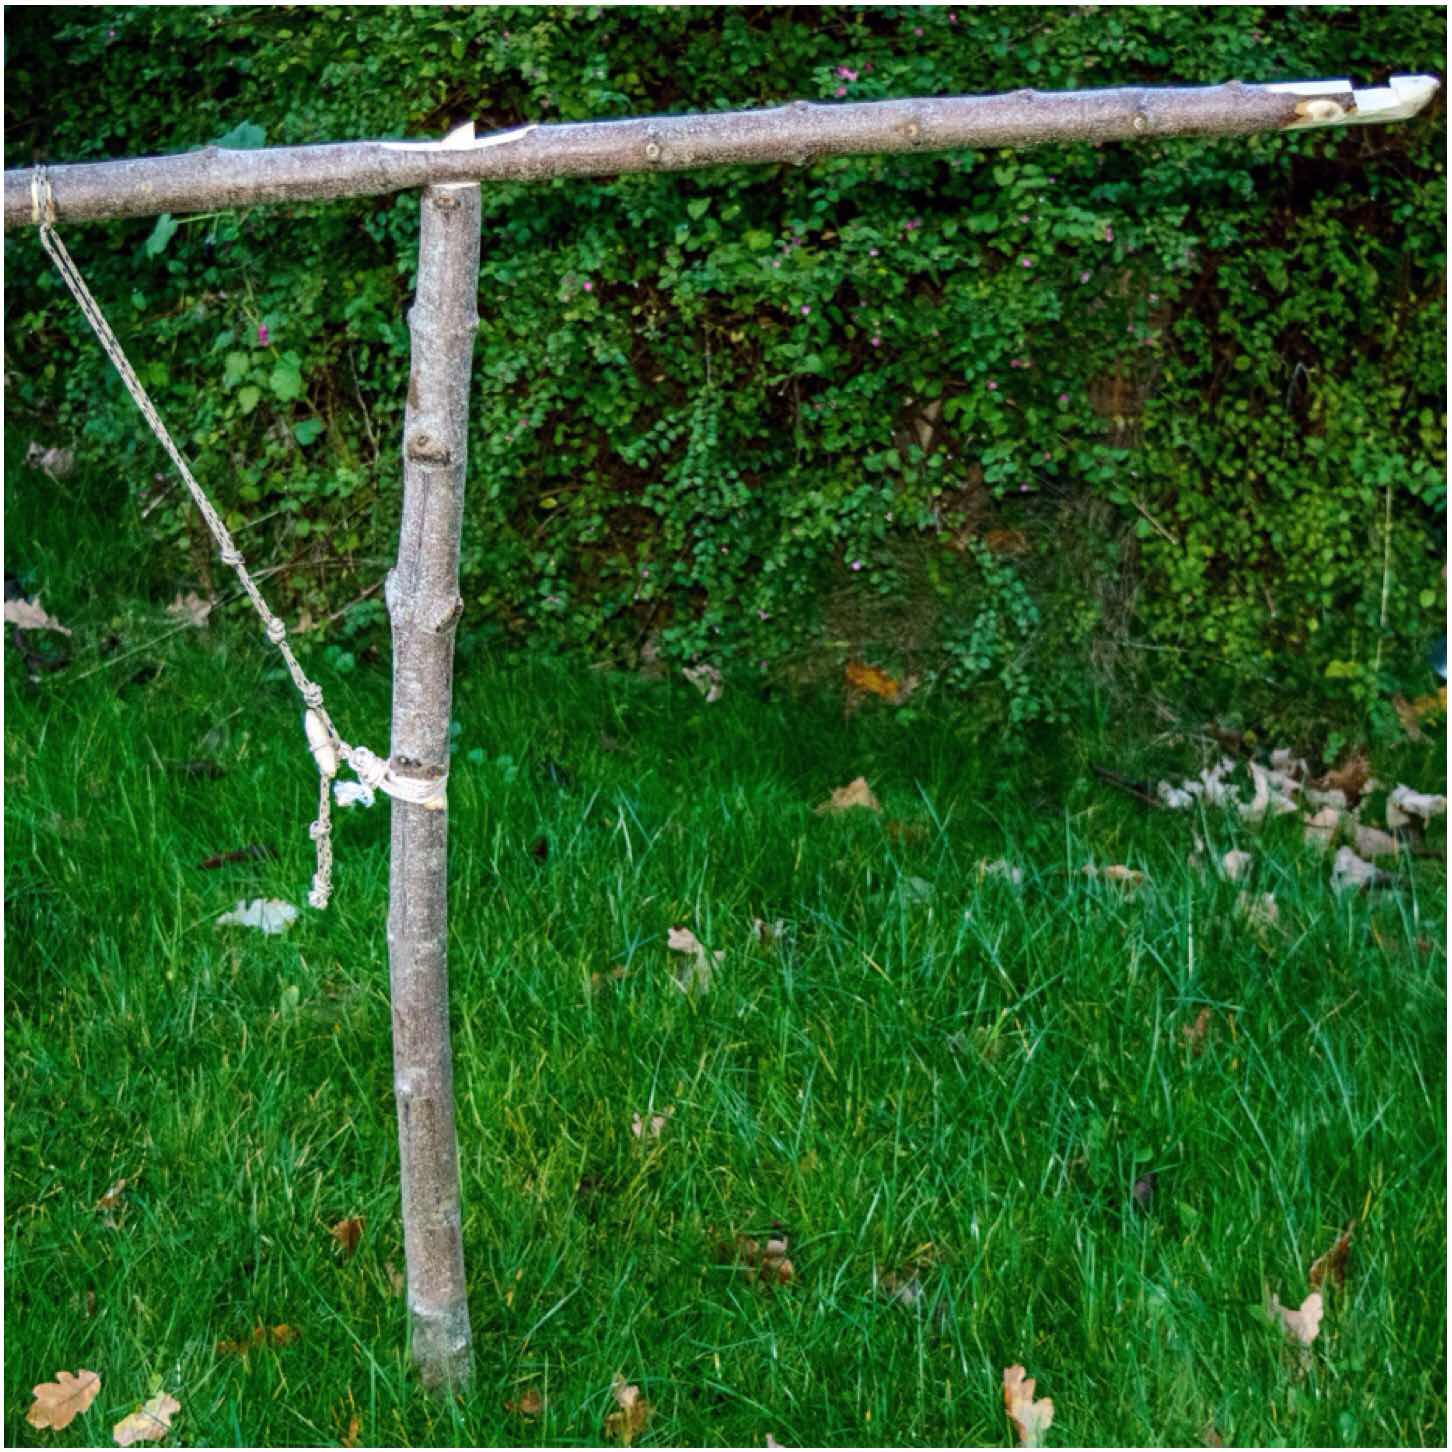
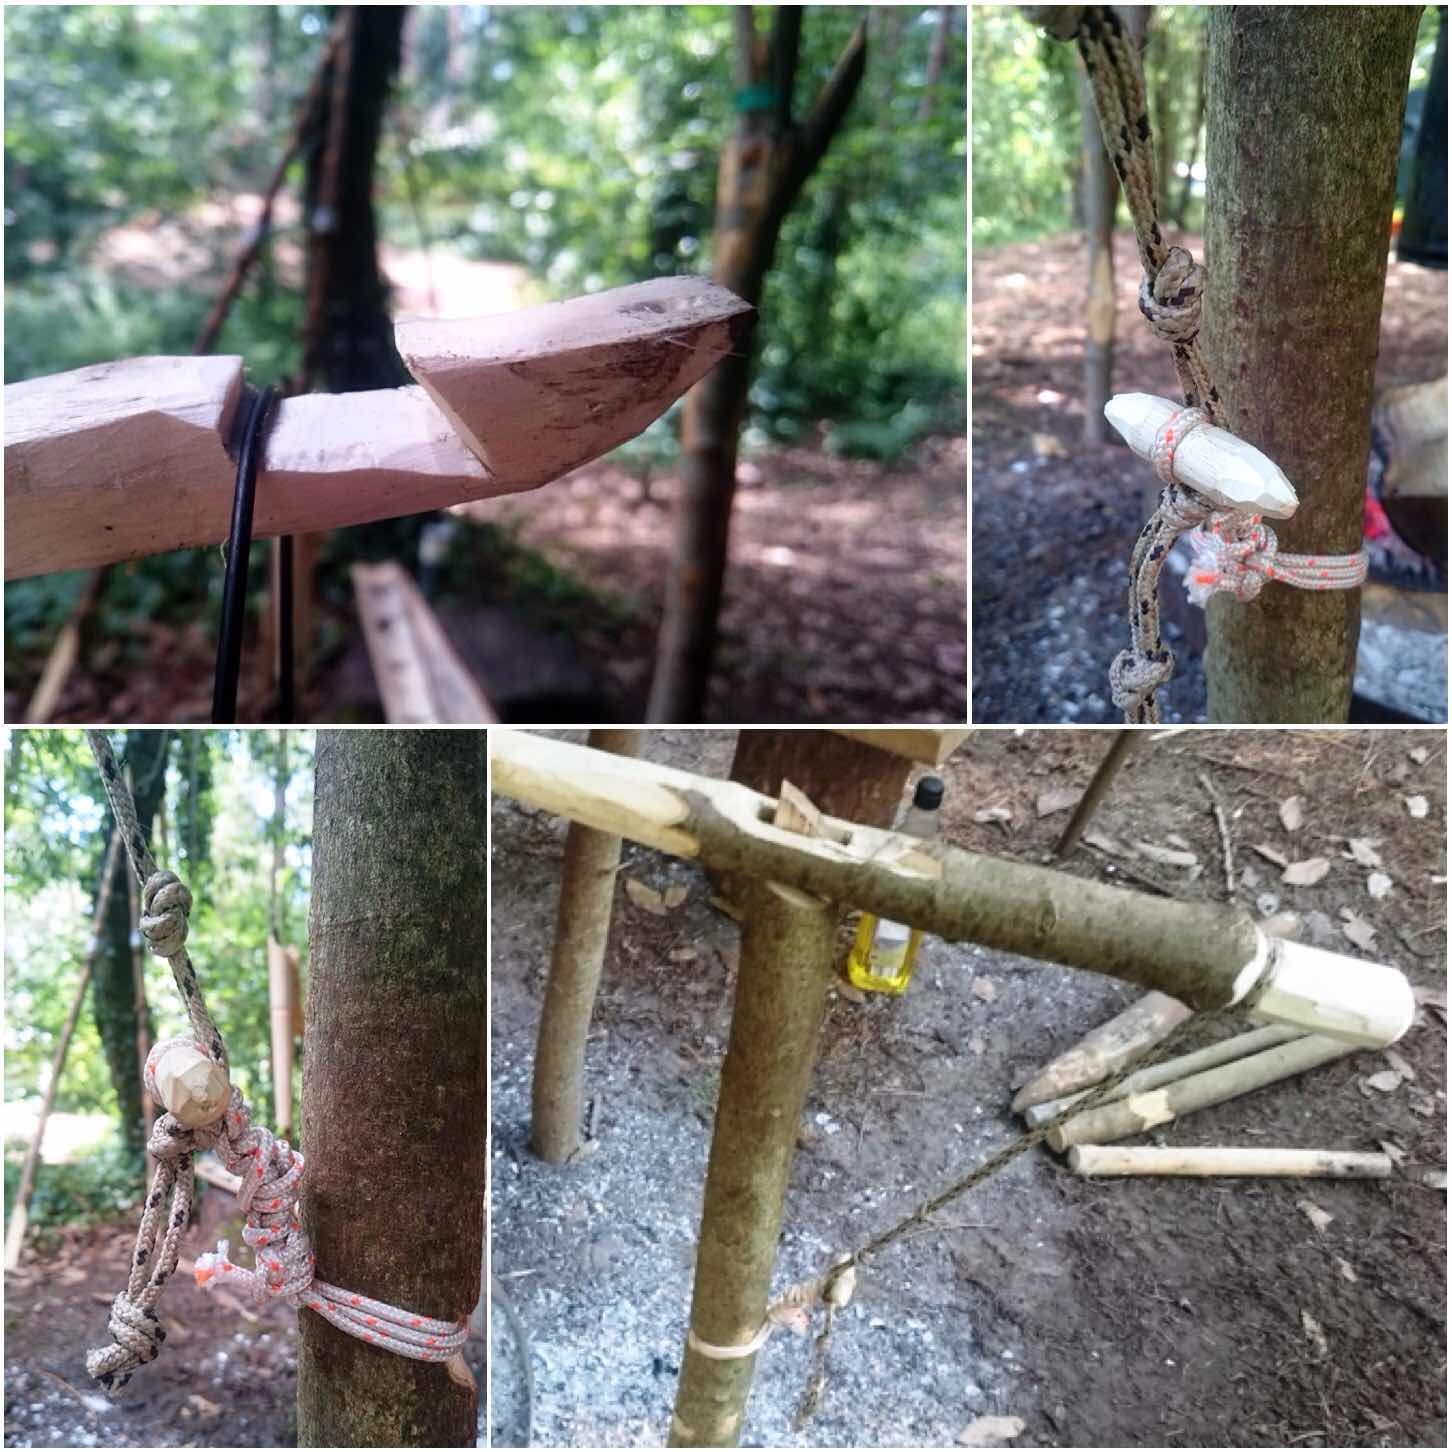
I set up Group Bowdrill sessions for families where a couple of people can hold a large bearing block in place and a couple of others can push the bow back and forth to generate the heat required (approx 425 degrees Celsius) to produce an ember. This method usually results in a massive ember, which increases the chance of getting a flame.

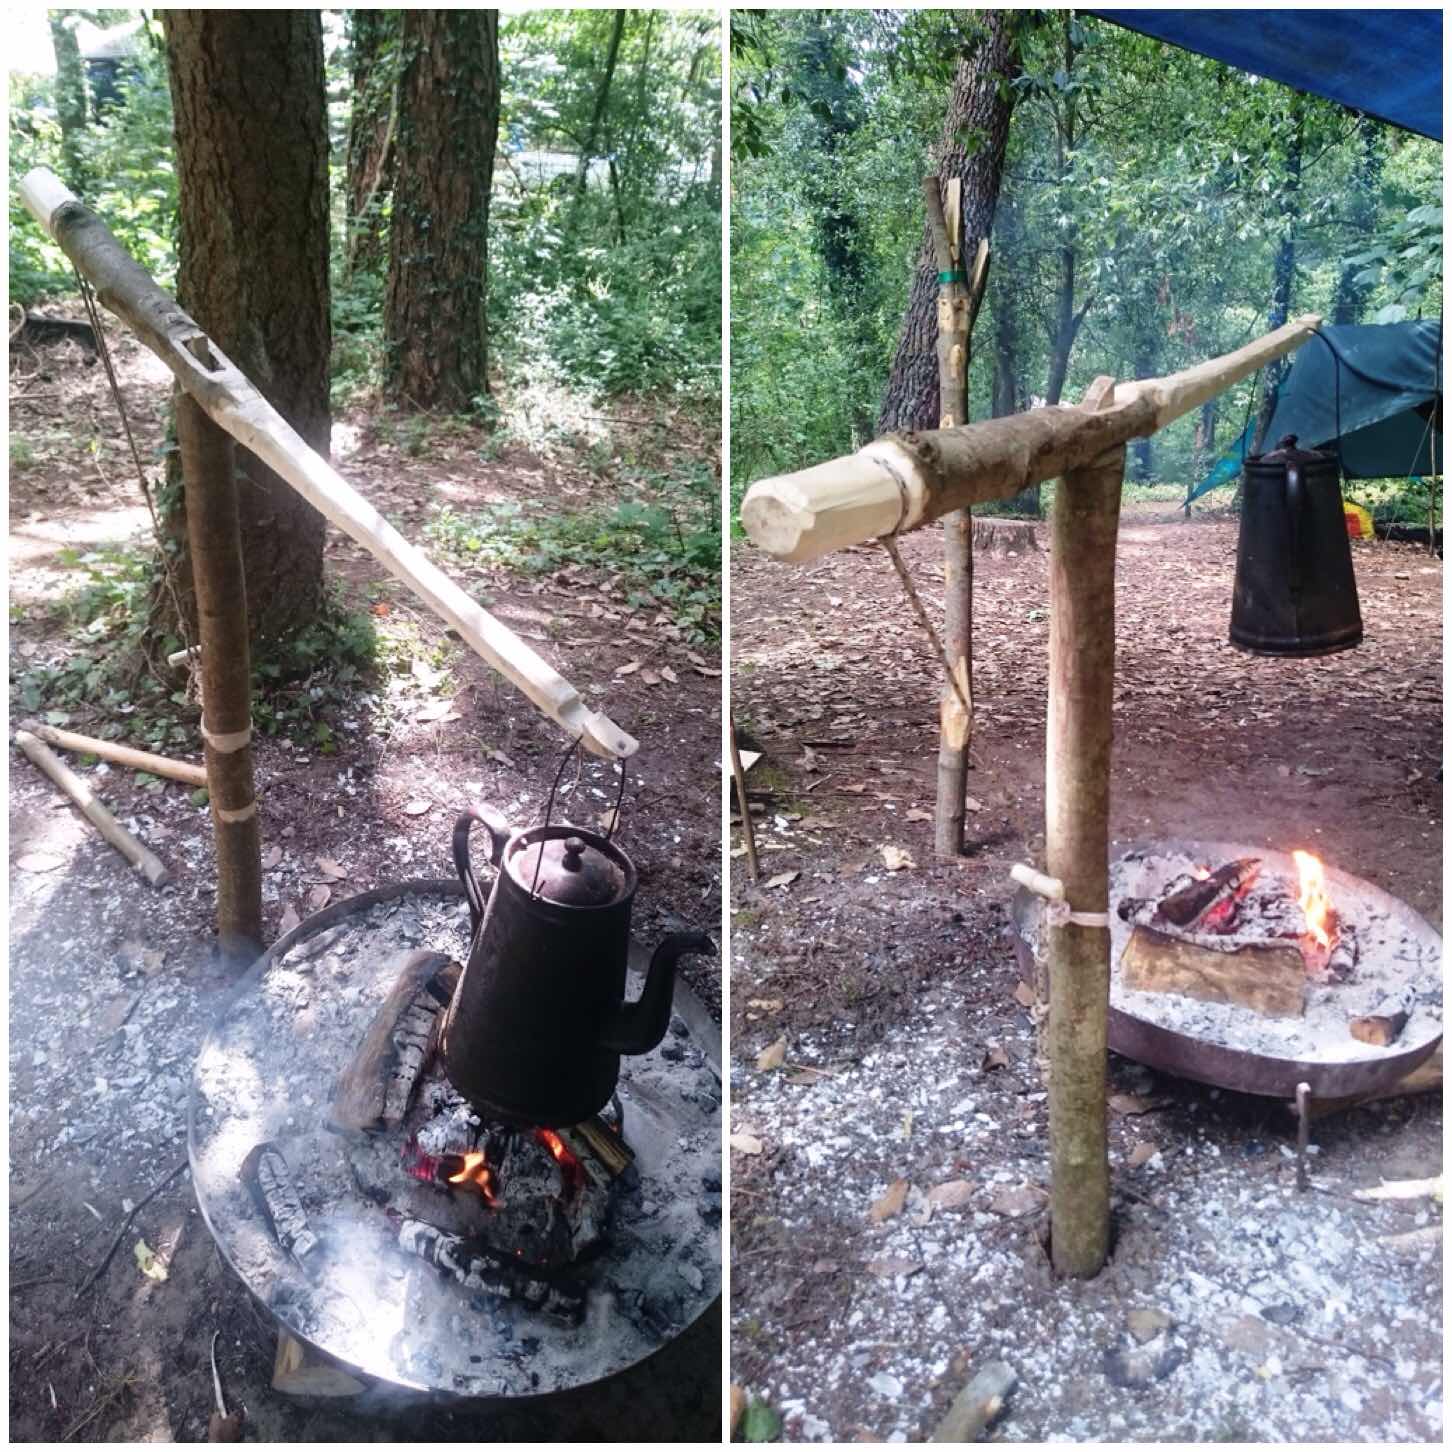
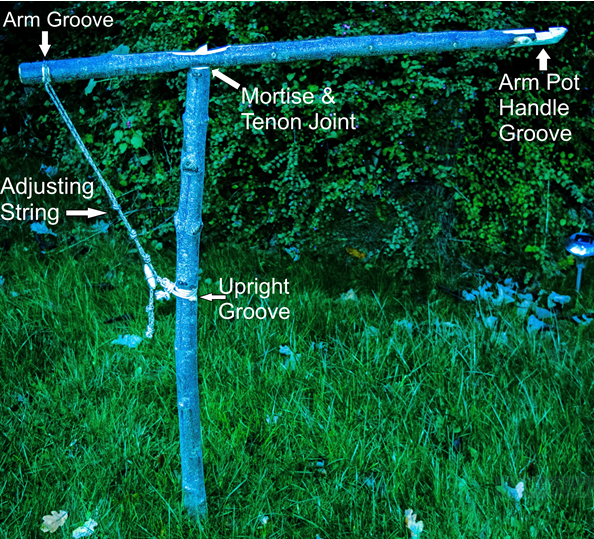
Another method is to use the large bearing block with the bowyer holding one end as a bearing block with the other end dug into the ground. In the bottom two pictures you can see that Dave is also using a ’round’ of wood to raise the hearthboard making the act of bowing easier.

Photo 29-11-2015, 21 31 30
Teamwork

I made a short video of a bow in action with the Egyptian method at the Moot a couple of years ago. This was to show how easy it was to create an ember using this method with two people on the bow.
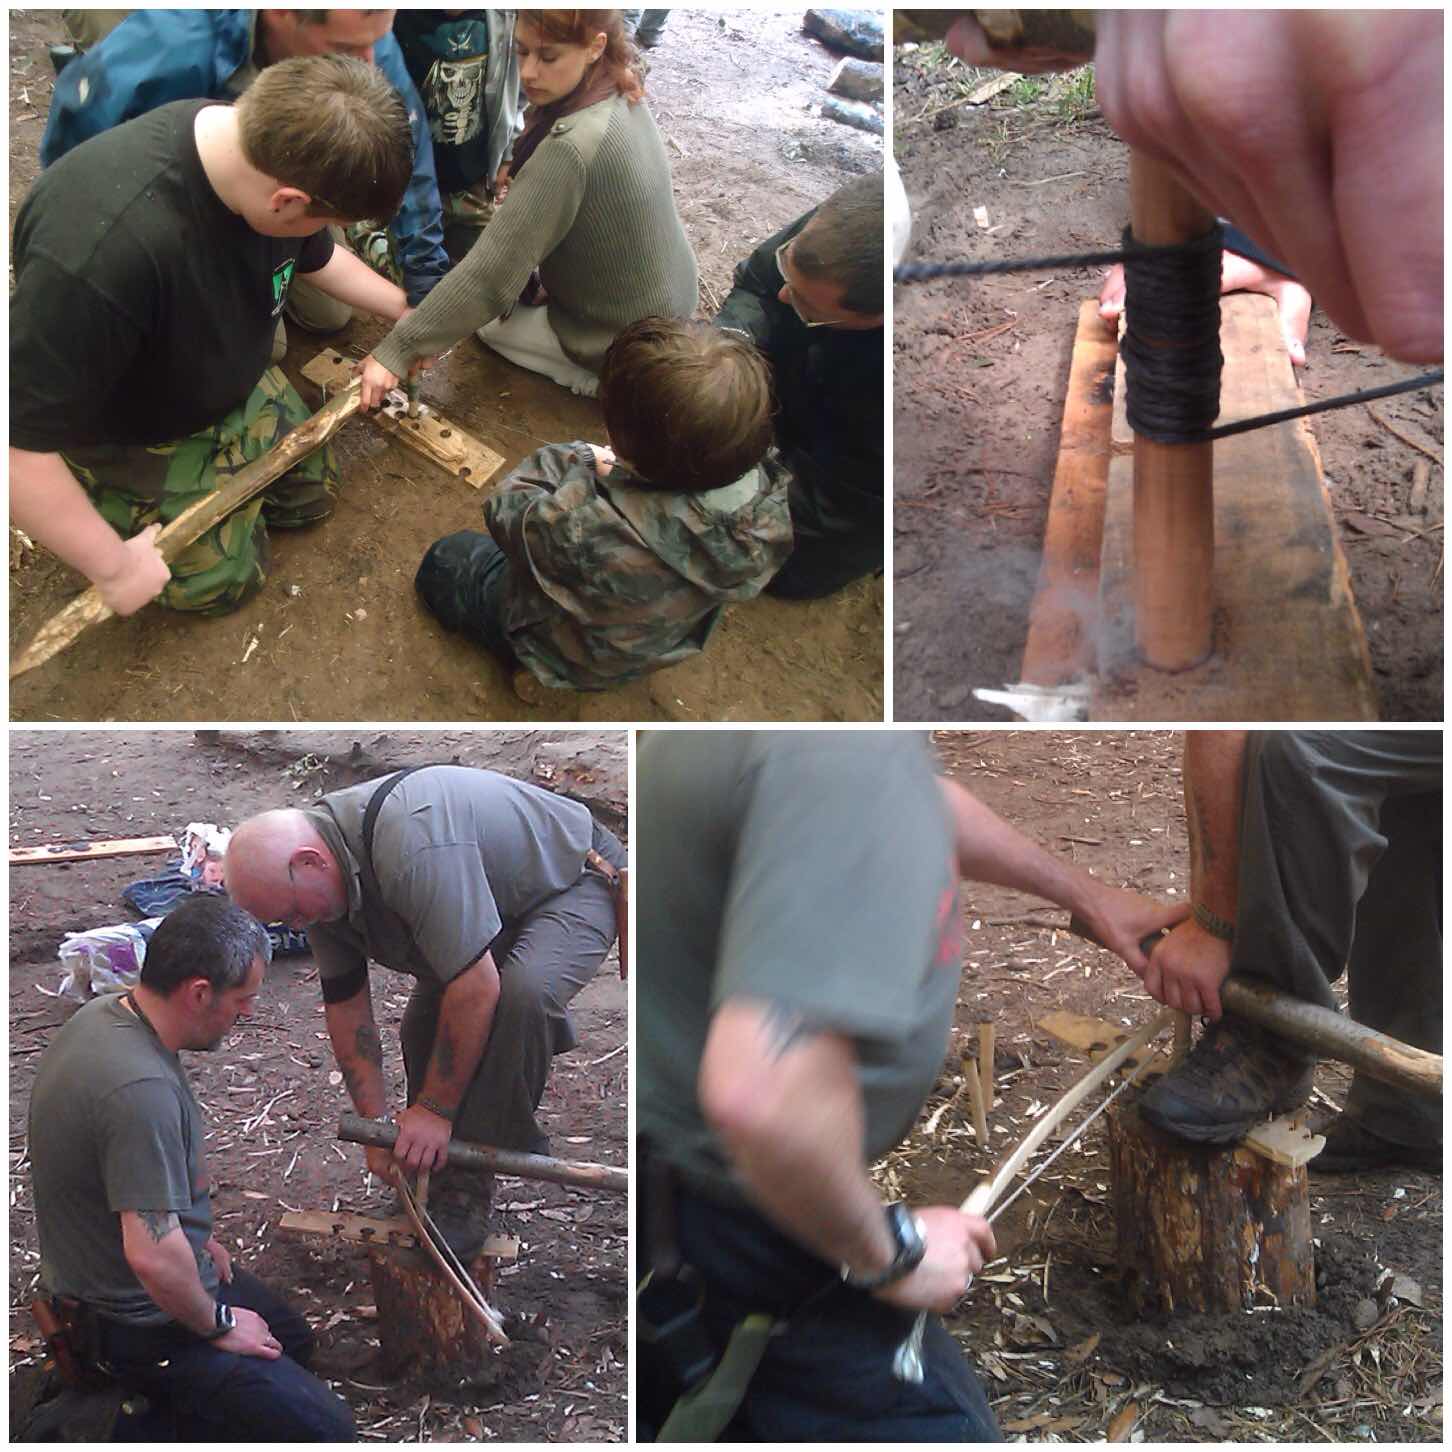
Handrills

A Master fire maker who has been coming to the moot for years now is Richard (Rich59 on BCUK) and what he doesn’t know about firemaking is not worth bothering about. He is an expert with the handrill and regularly brings along a range of woods such as Elder, Teasel, Buddlia, Mullein and Reedmace for students to try out.

Richard is a keen experimenter and will try out different techniques like attaching cord to the drill to see if that technique makes life easier for people.

Photo 29-11-2015, 21 31 31
Handrill

This is my short video on using a handrill.

Bamboo Firesaw

This year Richard experimented with Bamboo Fire Saws. He managed to get some spare bamboo from Wayne Jones of Forest Knights (Wayne was making Bhutenese bows) and we soon had a pile prepped up around our camp.

I did not get to see Richards class as I was running one myself but the reports were all positive with successful fires being made, Maybe next year I will make time to see his class.

Bamboo Fire
Bamboo Fire – Bottom picture courtesy of Andy McDonald Photography

Dry Tinder

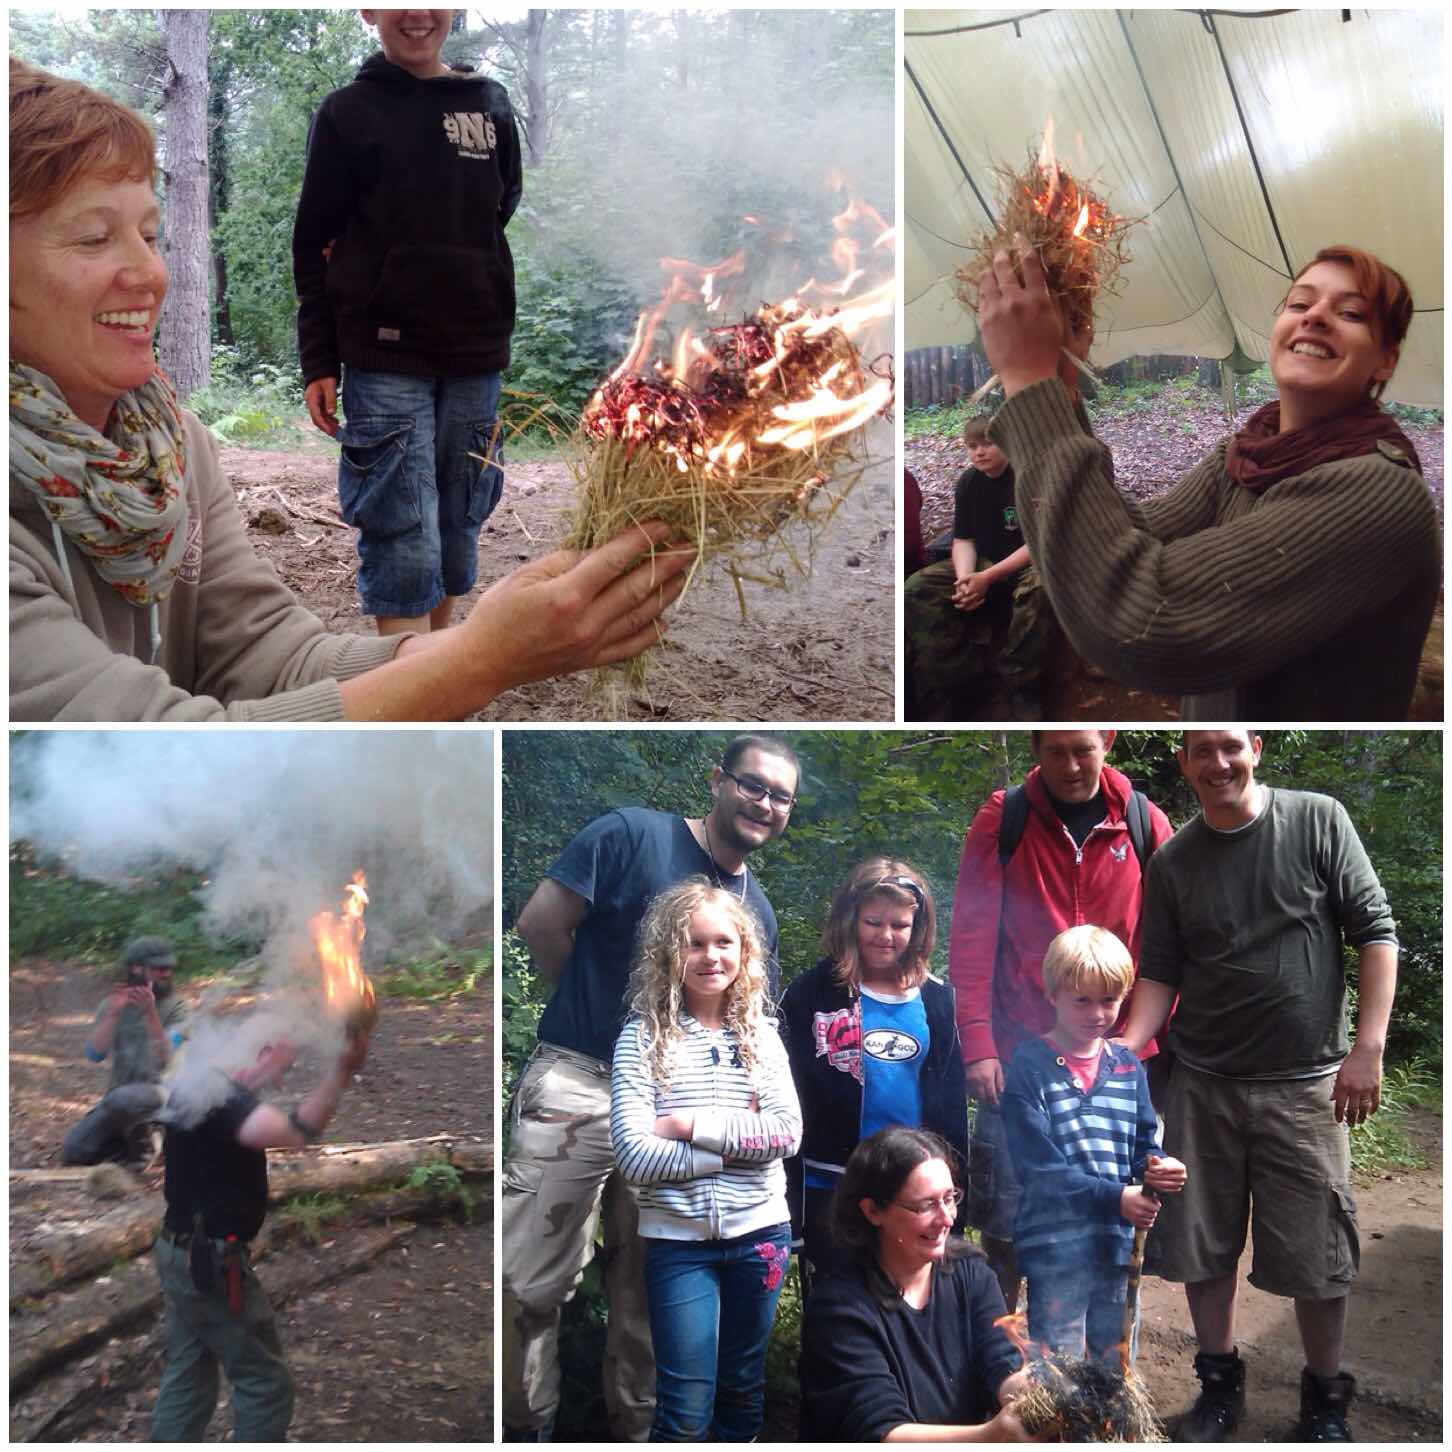
Once you have your ember created (however you do that) it is time to coax that very fragile bundle of hot dust into a fully formed ember and – with the use of whatever tinder you have at hand – to get that much sought-after flame.

It is at this stage that you can see students’ faces transform from concentration into sheer joy – one of the reasons why I love this subject.

Photo 29-11-2015, 21 31 27
Flamage

Damp Tinder

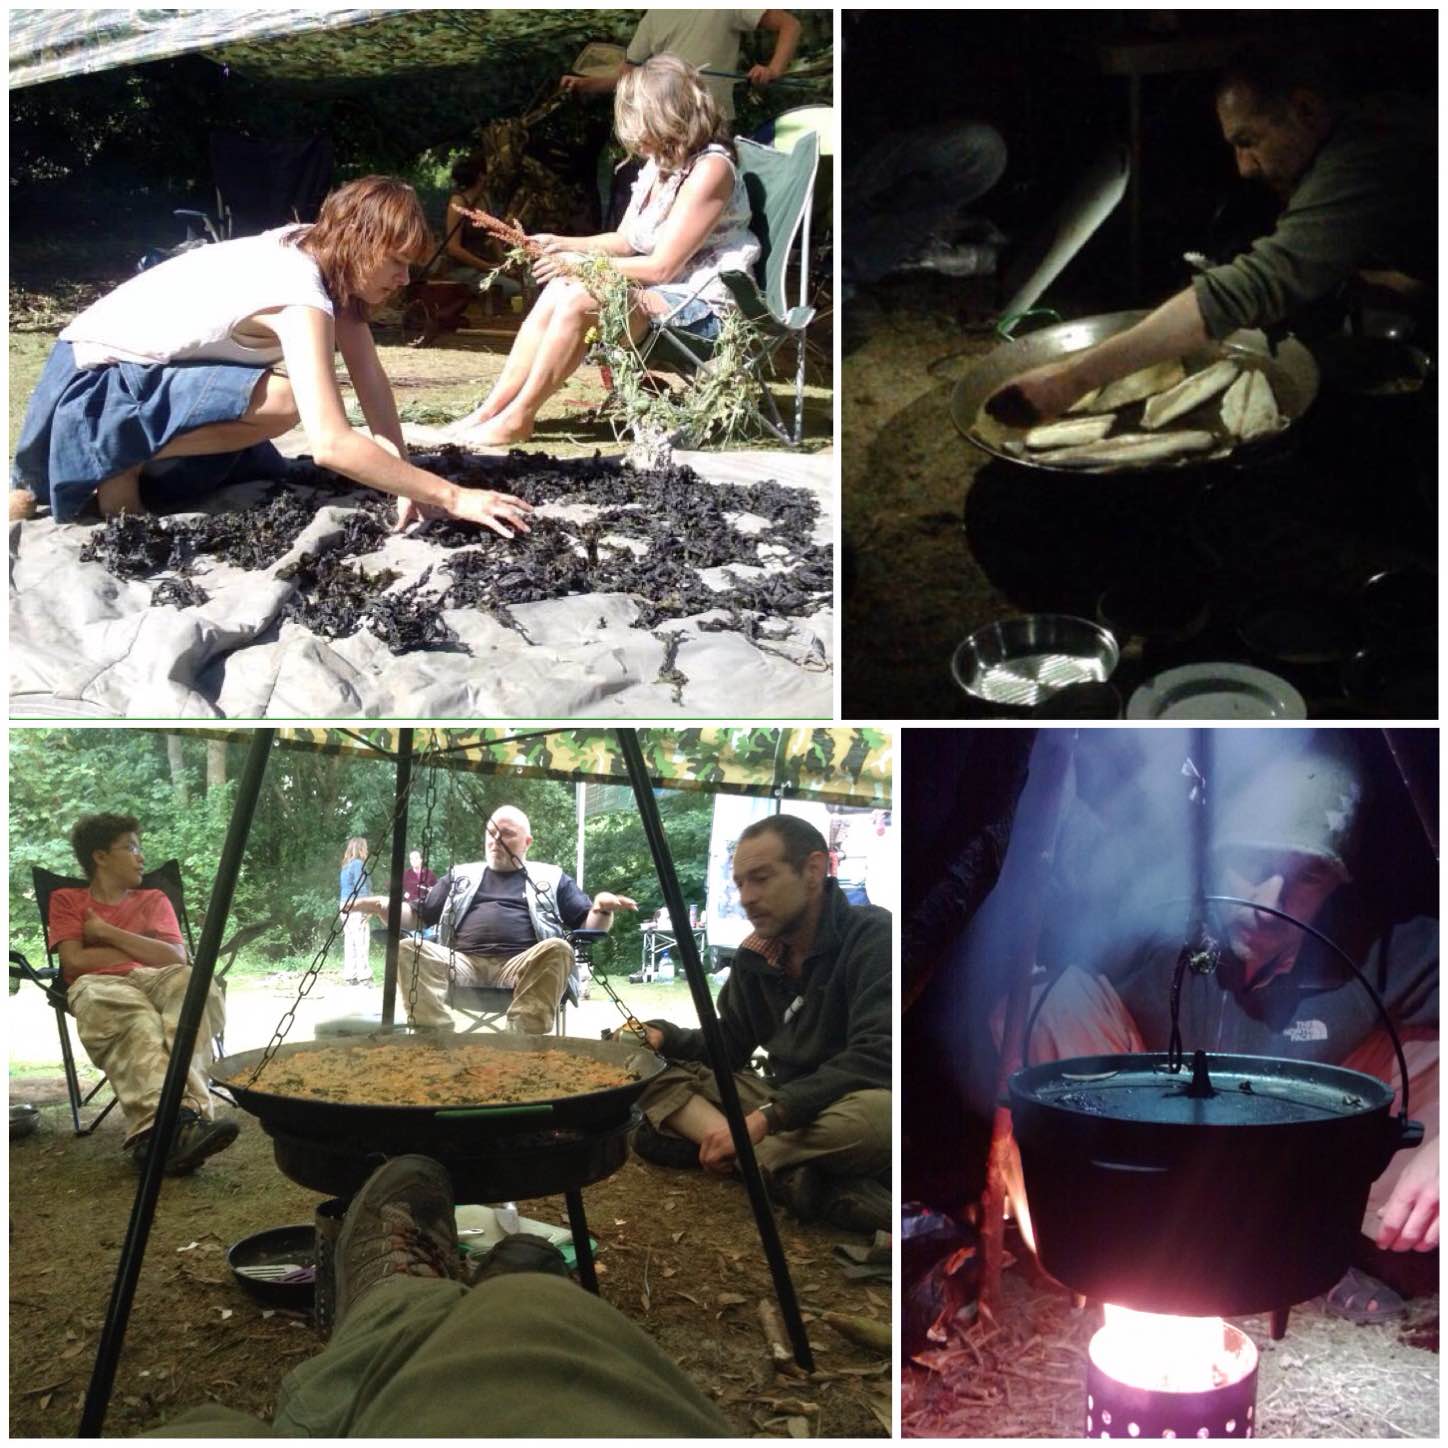
Normally you try and find the driest tinder possible to turn your ember into a flame, however Richard turned that idea upside down a few years ago. We had a chat one evening around the fire and he explained his idea to me: dimply that it was possible to walk off into the woods and pick up damp dead leaves and process them in a certain way to make tinder to start a fire.

After collecting a pile of damp leaves (take the driest ones from the top of the leaf debris) start to break them up by rubbing them vigorously. Collect the flaked pieces and grade them from minute up to piles of the skeletal remains of the leaves.

From this make a small pile wjth the finest flakes in the centre of your pile.

Photo 29-11-2015, 21 31 34
Damp Tinder fires – Prep

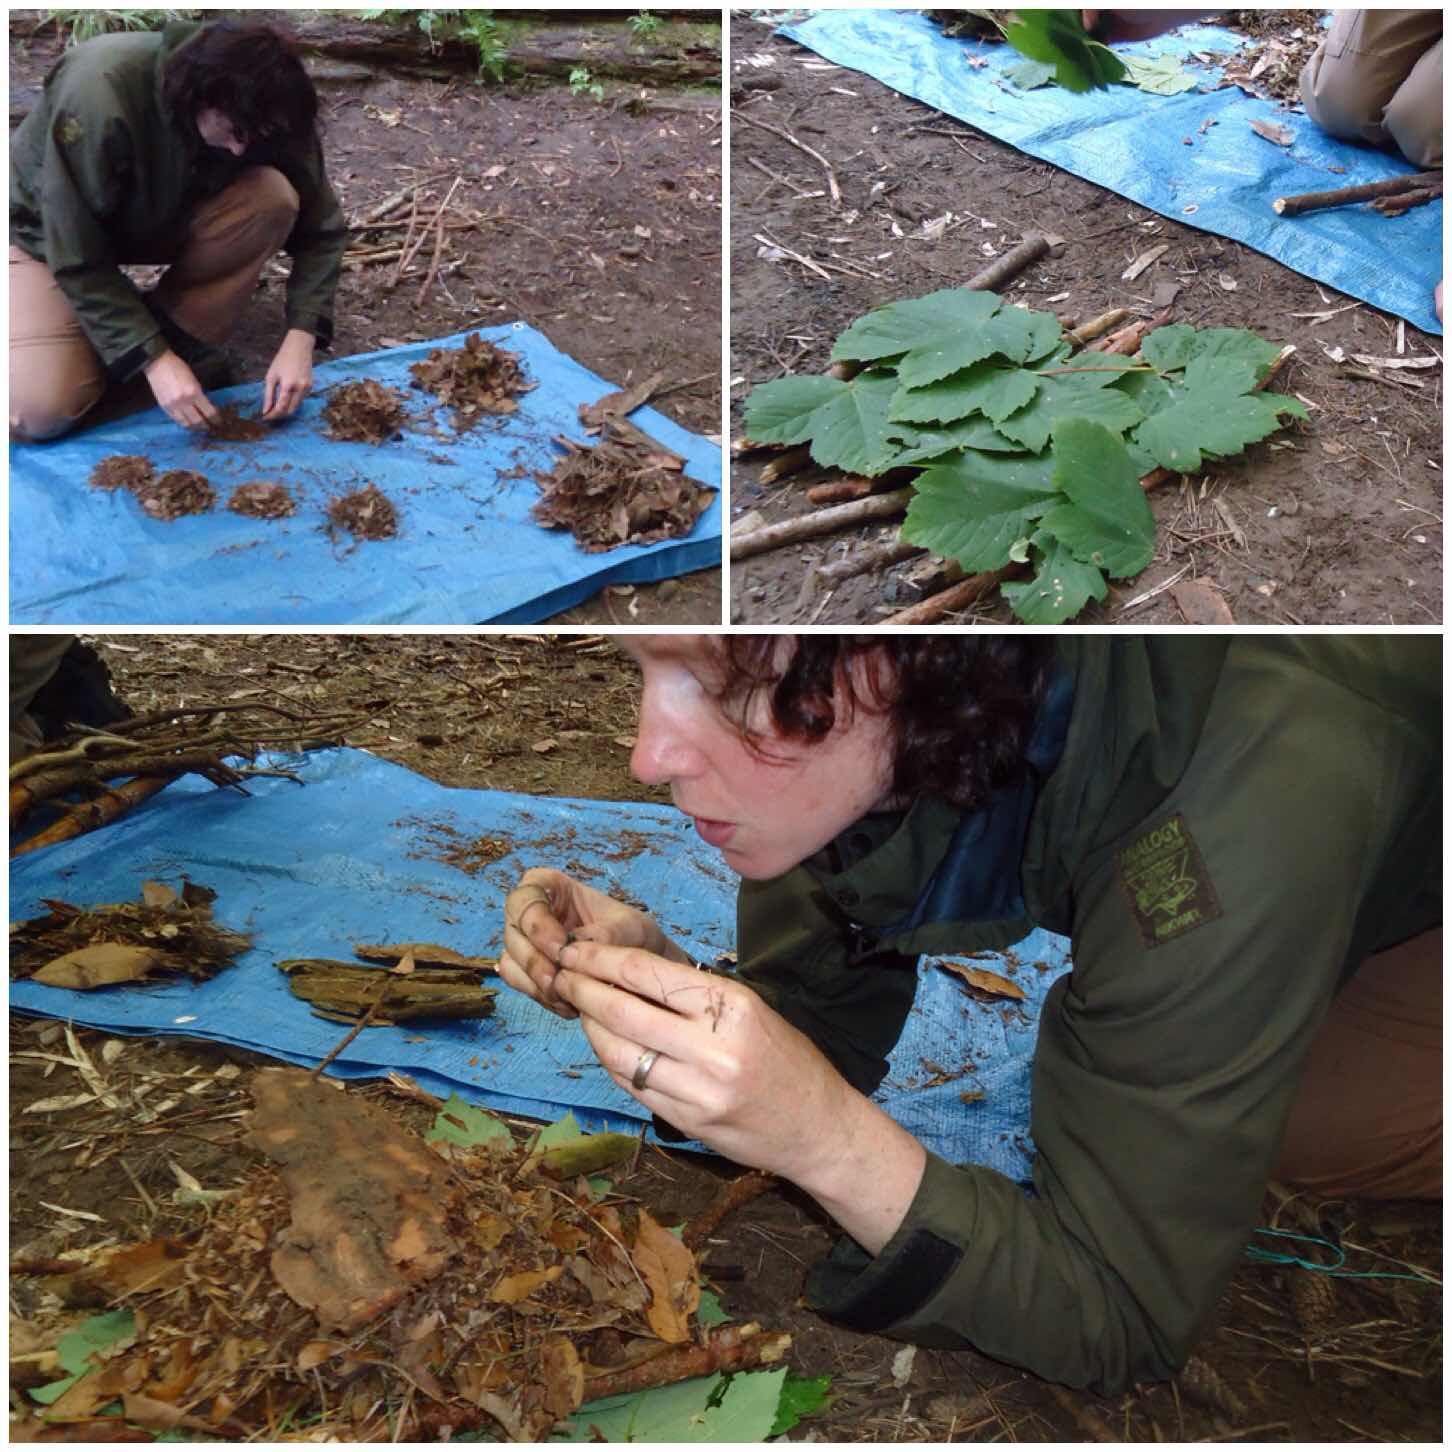
Make a small hole in the side of your pile to the centre and pop an ember (create that in whatever way you wish) and start to blow gently into the ember.

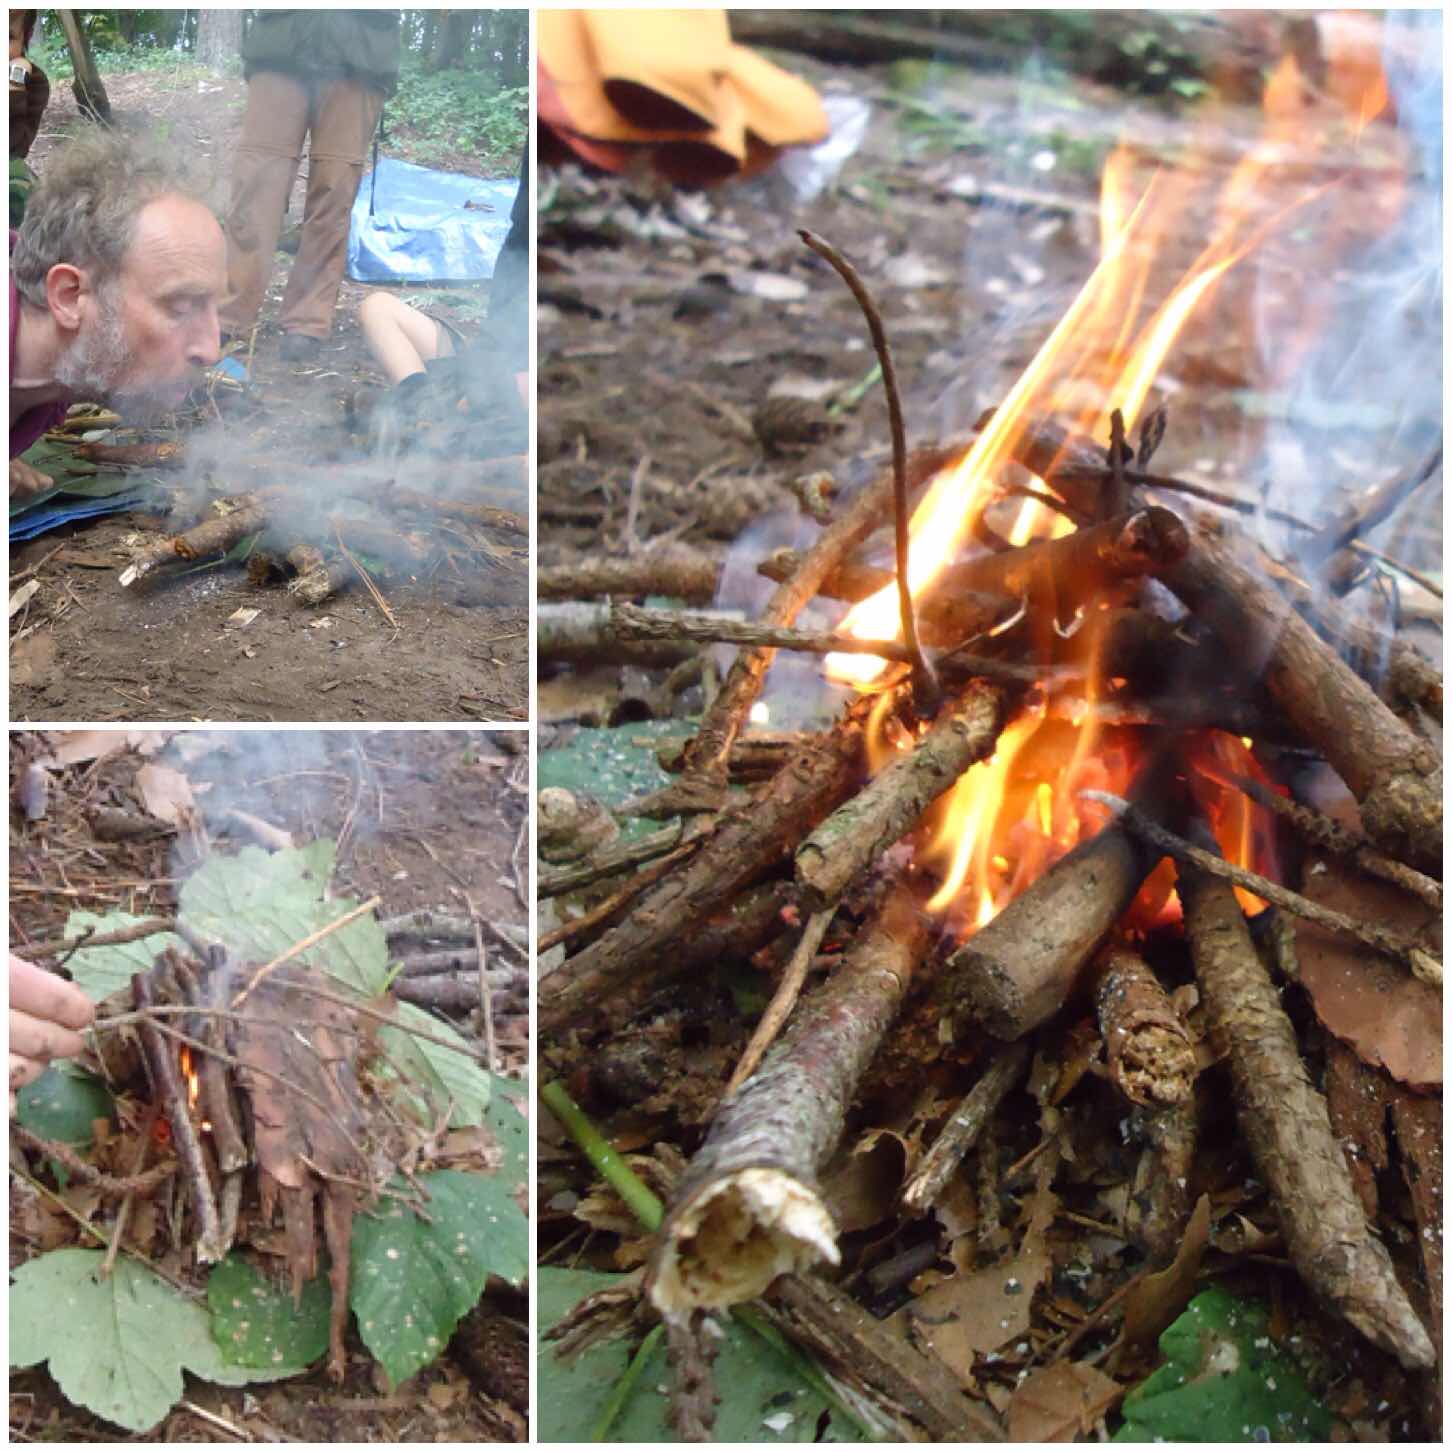
The trick is to do this slowly so that you create an ever-expanding dry area. If necessary you can place some green leaves or bark over the top to trap all the broken debris and stop it all blowing away. After about 10 to 20 minutes you usually get flame. Just shows you should always persevere with your fire.

Photo 29-11-2015, 21 31 34 (1)
Damp Tinder Fires – Flammage

Challenging Yourself

Whether you are a novice to fire making or an expert looking for a new challenge the Moot will have something for you  – be that firesteels, bowdrills, handrills, pumpdrills, bamboo fire saws or the secret art of lighting fire from damp tinder.

Photo 29-11-2015, 21 31 38
Happy Fire faces

Cheers

George

10 Reasons to Bushmoot – 7/10 – Time for Nature

In this digital/technology dominated world we live in today I always try and make time to keep an eye on what Mother Nature is up to around me – obviously with a camera about my person 🙂

One place where I can really immerse myself back into nature is every year at the Bushcraft UK Bushmoot for a couple of weeks. This post will concentrate on some of the different ways we at the Moot interact with nature.

Photo 25-11-2015, 14 50 16
Bushmoot Nature

The Moot is located in a wood on the edge of the National Nature Reserve at Merthyr Mawr Warren in South Wales. Merthyr Mawr Warren is I am told the site of the second largest sand dunes in Europe.

The wood we use is on the edge of these dunes and  was heavily planted with a variety of plants/trees after the Second World War by the local estate owners to help stabilise the dunes.

Photo 25-11-2015, 14 50 17
The Playground

I like to take a walk around the site as often as possible while I am at the Moot to see what I can spot. One of my favourite spots was this little old water wheel at the edge of the site. It is a most beautiful and quiet spot to sit and observe nature.

I have a little Robin (Ok I am sure there are different ones every few years) who comes to visit me at my camp. This little fella is not shy and is always on the lookout for scraps.

My kids make this site their playground and interact with nature all the time, from climbing strange looking tree roots to making their own art by throwing Himalayan Balsam up into trees so that they hang down (quite a weird site passing these trees). As we are continually clearing back the Balsam I do not mind them doing this.

Photo 25-11-2015, 14 50 19
Variety

As bushcrafters we try and minimise the impact we have on the site. For firewood we have an agreement with the local estate to buy in timber from them so as to not strip out the local wood for firewood.

Occasionally with the agreement of the estate we will take out a tree or two that has become a danger to those camping in the woods.

We have been coming to the site for over ten years and this policy of minimal impact has meant that the site remains a place of real natural diversity.

Photo 25-11-2015, 14 50 21 (1)
Keeping the balance

A key attraction that the Moot has is of a place of learning. We have many highly experienced instructors that come along each year to teach. This can range from creating natural art, foraging for edible plants, understanding how everything interacts and using natures raw materials to make useful items.

Photo 25-11-2015, 14 50 20
Great instruction

Part of all this learning is to know when to forage and when not to forage. In a class with Fraser from Coastal Survival this year we foraged on the coastline. We looked at many of the crabs that could be found in the rock pools and returned the many smaller ones or ones carrying eggs to where we found them. There were plenty of big crabs and shrimps though to harvest for the pot.

We also forage for lots of plants that make great teas.

Photo 25-11-2015, 14 50 21
To forage or not to forage

If you like wild flowers then the Moot is a place to go to see them. Take a wander along the edge of the wood by the dunes and you will spot some real beauties like the Vipers Bugloss, Evening Primrose and the Common Centaury.

Photo 25-11-2015, 14 50 22
Stunning flowers

Bushcrafters like to forage plants that they find useful and there are plenty of plants to be found here like the Rosebay Willowherb, Thistles and Burdock.

They are beautiful in their own right when in flower but it is for their uses that I look for them.

Willowherb is known as Fireweed or Bombweed and Paul Kirtley has written an excellent piece on this plant – Rosebay Willowherb: Taking The Pith

Thistles come in many varieties and I like to collect the downy seed heads for use as an ember extender. A good source of information on this plant can be found on the Eat The Weeds site – Thistle: It’s That Spine of Year

The final picture you can see at the bottom right is the bushcrafters old favourite – Burdock. As well as having an edible root at the end of its first year I collect the second year stalks to make hangers for my kit. I wrote a post on this last year – How To…. Make a Simple Burdock Hanger

Photo 25-11-2015, 14 50 24
Bushcrafters plants

I like to do a bit of Macro photography from time to time and there is plenty of scope to do this at the Moot with plants and insects. Below are just some of the shots I have taken there recently showing the cycle of life.

Below you can see the lovely stripes of the Cinnabar caterpillar, the delicate features of what I think is a Meadow Brown Butterfly sunning itself, the busy life of the feeding Six Spotted Burnett to the beauty of a discarded snail shell.

Photo 25-11-2015, 14 50 25
The Cycle of Life

Children and adults can be put off by insects however with a little bit of play and observation you can soon learn to live alongside insects.

My daughter had a real dislike of wasps before coming to the Moot but now is quite intrigued by them. The caterpillar you can see in the bottom picture dropped onto my friends arm one day. He was quite beautiful to look at but thankfully not poisonous in any way.

Photo 25-11-2015, 14 50 24 (1)
Observing

I love to photograph insects and they come in many forms at Merthyr Mawr.

Photo 25-11-2015, 14 50 26
A Bugs Life

A skill I learnt a couple of years ago from Perry McGee of the National Tracking School was the art of Dowsing. Perry taught me this in minutes and I was able to located water sources and even follow a buried hose. I do not know how this really works but it is a force of nature that intrigues me.

Photo 25-11-2015, 14 50 26 (1)
Unseen Nature

Whatever interests you about watching or interacting with nature the Moot is a place to do that.

I love to photograph what I see and I have found a great place to do that at the Moot.

Photo 25-11-2015, 14 50 27
The Moot

Cheers

George

How To…. Carve a Mortise and Tenon Campfire Crane

Let me introduce you to what I call the Mortise and Tenon Campfire Crane. This is a crane I made up at the the BCUK Bushmoot this Summer.

The idea came about as usual in a discussion around the fire with my good friends Charlie Brookes and Ian Woodham.

As you can see the arm of the crane can be set high or low (and ranges in between) and if set up correctly the upright can be easily rotated to swing your pot away from the fire.

Photo 21-11-2015, 22 49 54
Mortise and Tenon Crane

I would classify this one as more Pioneering than my usual constructions as it relies on some string to work. It is one for the long term camp however if you were on an overnighter with a couple of hours spare it would make a good project for an evening.

I will be describing the construction of the crane as I go through the post however I thought it would be helpful to have a completed picture of the crane marked up with the relevant work areas for you. Please refer back to this overview at any stage.

Mortise and Tenon Layout

My tools for the job included my knife, a small saw and and axe but you may find having a pen or pencil to hand will be useful.

I took a rod of Sycamore (fairly well seasoned) and sawed it in two. In the picture you can see I have left the thicker end longer than the thinner end. The thicker pole will become the upright and the thinner pole will become the arm.

Photo 21-11-2015, 22 49 56
The Makings

Carving the Upright

On the thinner end of the thick pole that was to be the upright I marked out the shape of the Tenon tongue and then cut two stop cuts into the side of the pole.

The stop cuts are put in to so that when I batton the waste wood off the split does not run on down the upright.

Photo 21-11-2015, 22 49 58
Creating the Tenon Tongue – Stop Cuts

I used my knife to batton off the waste wood (make sure your knife blade is at 90 degrees to your body when you do this).

Once I had the Tenon tongue shape split out I carved one side of it into a curve. This is important to allow the arm of the crane to be raised up and down.

Photo 21-11-2015, 22 49 59
Creating the Tenon tongue – batton and carve

To finish the upright I axed out a point at the bottom and about half way down it I carved a small wedge-shaped recess. This wedge-shaped recess needs to be on the opposite side of the curve to the Tenon tongue.

The recess does not need to be that deep, just enough to allow some string to catch in it.

Photo 21-11-2015, 22 50 00
Little extras on the upright

Carving the Arm

About a third of the way along from the thicker end of the arm flatten the wood with your knife on opposite sides. This gives you a decent working surface to carve out your Mortise hole.

In the bottom left picture you can see how I used the top of the upright to help me gauge how big to make the Mortise hole. Mark out your Mortise hole with a pen or pencil (mark out both sides of the arm).

Photo 21-11-2015, 22 50 02
Flattening the arm and marking out the Mortise hole

I used my knife and a piece of waste wood as a batton to cut out the Mortise hole. I took my time here so I would not split the wood along the length of the arm.

Once I got about half way down the depth of the Mortise hole I started on the other side.

Photo 21-11-2015, 22 50 02 (1)
Creating the Mortise hole – First Side

As I use the tip of my knife for this work I always ensure the work piece is secured on a flat surface. I have seen the after effects of a knife going through someone’s hand and it is not a pretty sight I can assure you.

Soon I had my Mortise hole cut through and tidied up. As I did not want to make the Mortise hole too large I tested out the Tenon tongue in it and trimmed the tongue down slightly so that it would fit in the Mortise hole easily.

Photo 21-11-2015, 22 50 03
Creating the Mortise hole – Second side

The Tenon tongue when fitted should sit slightly proud. You will probably find you will make lots of little adjustments here as you test the action of your crane at this stage.

Photo 21-11-2015, 22 50 03 (1)
Testing the joint

To finish the arm off I carved a groove near the thick end of the arm (for the string to grip), chamfered the thick end to tidy it up and cut out a groove at the thin end of the arm for attaching a pot handle (I will show this in detail in a further picture).

Finishing the arm
Finishing the arm

The Mortise and Tenon Crane

I spent a long time working out a way of making the arm fully adjustable with just the usual items in my rucksack. After discussing this with Ian and Charlie I opted for a simple system with string and a wooden toggle.

Below you can see that the upright and the arm are connected by string and a toggle on the left hand side.

Photo 21-11-2015, 22 50 06
In Profile

I tied off some doubled-up string to the arm groove and knotted it along its length with some simple overhand knots. This produced lots of little loops the toggle could fit into.

I attached a toggle to the upright groove and inserted the toggle into one of the loops in the string from the arm. Depending on what loop I put the toggle into I could adjust the height of any pot hanging off the other end of the arm.

The groove for the pot handle I made with a backstop and a slightly angled forward section. This shape allows the pot to remain secure when the arm is either raised or lowered.

Photo 21-11-2015, 22 50 06 (1)
In detail

To insert the upright I had a separate pole to act as a pile driver. I hammered this into the ground first and then inserted the upright into the hole I’d created.

The upright can then be rotated quite easily to move your pot off the fire. I found that I could pour water from the kettle while it was still attached to the arm as the handle sat snugly in the angled section of the pot handle groove.

Photo 21-11-2015, 22 50 08
In use

I like this crane for the challenges it set me and the fact that I could overcome them with just the kit I would normally carry.

I plan to re-visit the string set up as there must be a simpler method to keep the arm securley attached while giving me the ability to adjust its height.

Feel free to suggest an alternative method for this but remember it needs to be created with what you would normally expect to carry in your rucksack or about your person while out in the woods.

Photo 21-11-2015, 22 49 54
Up and Down

This will be (for the moment at least) the last How To…. on building campfire cranes however I have really enjoyed exploring this very diverse and little documented area of Bushcraft.

Cheers

George

10 Reasons to Bushmoot – 6/10 – Meet the Moot Kids

One thing that the BCUK Bushmoot is renowned for is its kid friendly environment. The Moot provides a massive playground for both structured (by lessons) and unstructured learning (through play).

As I grew up as a kid  on the Isle of Lewis I would head on out in the morning to find adventure and return home when my stomach demanded attention. As I live in a village now that has busy roads running through it the Moot is one of the few places I know of that I am happy for my kids to go out and make their own adventures as I once did.

Photo 18-11-2015, 22 31 50
Bushmoot Fun

We stress that parents are responsible for their children however we encourage a sense of adventure. I let my kids run off and play within the main area of the Moot site and under adult supervision on the massive expanse of the sand dunes of Merthyr Mawr.

There are plenty of woods, dunes, trees and buildings to explore in the area around the Moot to satisfy the sense of adventure in any kid.

Photo 18-11-2015, 22 31 51
Adventuring

There are workshops specifically for the kids and other workshops  where they learn alongside adults. Kids are encouraged to attend the Starter Course we run for anyone new to bushcraft or looking to work on their basic skills.

These basic skills include learning about knots, fire lighting, carving and safely using a saw (to name just a few). Wherever possible I like to get the kids learning these skills alongside their parents so that they can work together later as a family. Kids under 16 are allowed to use  knives and saws however they must be under the supervision of an adult when they are using them or carrying them.

Photo 18-11-2015, 22 31 54
Key skills

Even in this digital age of the xBox and the Playstation kids are always attracted to sticks, be that the Atlatl, bows or staffs. I like to think that the classes we teach kids bring some of that make believe digital world to life without any of the violence or gore. We always teach the kids to treat these tools with respect and only to use them when permitted.

Photo 18-11-2015, 22 31 54 (1)
Historical learning

My good friend Fraser Christian of Coastal Survival has been coming to the Moot for a number of years now. Fraser is always keen to teach kids in his classes. Some of his courses include campfire baking, net making, coastal foraging and survival training.

Photo 18-11-2015, 22 31 55
Fun with Fraser

One thing I love about the Moot is that it is situated on sand dunes that have over the years become a woodland. This makes for an amazing place to launch yourself of heights or climb trees. Natures own playground you could say.

Photo 18-11-2015, 22 31 56
Hanging Out

There are lots of activities aimed primarily at the kids from treasure hunts with our resident Pirates under the leadership of Cap’n Badger, to craft courses and games.

One of the games I run from time to time is a stalking game. Below you can see the kids trying to leopard crawl up to get some sticks without being soaked. This is a great game to teach kids all about their senses and in particular about staying quiet in order to see more wildlife around them.

Photo 18-11-2015, 22 31 57 (1)
Games

For many a year now we have had story telling sessions around the fire of an evening for the kids (and adults too). Womble is a great story teller and keeps the kids captivated with his interactive stories.

The Moot organiser is Tony Bristow and depending on the dates of the Moot his birthday sometimes falls during it. It usually is a time to bake a cake and dish it out. Needless to say Tony gets a little piece however there are many hungry little ones looking for their share 🙂

Photo 18-11-2015, 22 31 57
Stories, Cakes and Pirates

The Moot is for kids of all ages be that young at heart (yes I mean you Spikey) or taking their first steps out in the adventure of life. My kids love coming along to see their ‘Moot friends’ and I hope they will continue to do so for years to come.

Photo 18-11-2015, 22 31 58
Kids – Young and not so young

Looking at the BCUK forum I see that there is talk already about organising activities for the kids for next year.

Hopefully see you there.

Cheers

George

10 Reasons to Bushmoot – 5/10 – Food – Glorious Food

a real banquet is produced each year

A big part of any Moot is food and at the BCUK Bushmoot it comes in all forms.

Looking back over the pictures I have taken I was quite staggered at the range of food you can find at the Moot. I cannot profess to being any sort of cook (I prefer to build cooking constructions) however I appreciate good food when I see and smell it.

image
Food – Glorious Fod

Many years ago at the Moot I would help out with teaching how to butcher rabbits and pigeons so that they were ready for the pot. Many of the instructors at the Moot will do these classes and each year you are bound to find a class going on somewhere preparing some meat stuffs for the pot.

I leave the butchering of Deer and such like to some of the members more competent in this field though I could quite happily run a class if I had to.

image
Food Prep Skills

Up until a few years ago at every Moot we had a Hangi – an underground oven. A large pit would be dug in the sand and it would be lined with non porous stones (to avoid stones exploding). A large fire would be lit above it and kept going for a few hours.

Once the fire died down pre-prepared food parcels would be placed on the hot stones and covered in sand and hessian to slowly cook.

This is a great group cooking method and we had many a fine meal out of the Hangi

image
The Hangi

The Hangi has not been run for a few years as it has been superceded by Ponnassing. We try to buy in some salmon or other similar large fish and cook them as you see below over an open fire.

In the picture below at the top right you can see some Dutch Ovens that Neil was using to cook some food. Neil creates such an intense fire that the pots with regular turning can be used as cooking vessels without being on the actual embers at all.

The Ponnassing did not happen this year because of difficulties in getting fish however I hope it will be back on the menu next year. All the fish when it is cooked is added to the group meal.

image
Ponnasing and Dutch Oven Cooking

About five years ago we introduced to the group meal some Dutch Oven food. Many of the members of the Moot cook a meal in a Dutch Oven (or similar type of pot) and bring it along to the group meal. Each dish is clearly marked with its ingredients so we do not get any allergy issues.

The queue for this meal is massive with everyone looking to get a taste of something new. I am always amazed at what people can produce over an open fire – a real banquet is produced each year.

image
The Group Meal

Baking is something I love to do around the campfire. At the Moot it happens all over the place.

The baking classes can be over subscribed so we usually have a number of instructors running classes. Everything is covered from simple twizzle stick bread, dampers, loaves, rolls and even cakes (cheers Ian Woodham for the cakes).

I love the look on someone’s face when they open up a pot and look upon their first loaf baked over an open fire – about as magical as when you create your first flame from a bowdrill. My friend David Willis (Bushcraft with David Willis) ran the class you can see in the picture below and it was enjoyed immensely by everyone.

image
Beautiful Baking

As I said I do not do much cooking at the Moot and that is because I am rather spoiled by certain friends. For example my friend Fraser Christian (Coastal Survival) is a top rate chef and loves to cook.

Fraser likes to forage on land and sea for his food and then to cook rather amazing meals. I have no wish to upset that routine so I am happy to help out in the gathering and cooking process with the ultimate aim of getting a fantastic meal.

image
Fraser’s Kitchen (my second home)

For many years at the Moot I would come along on my own and so would keep my own cooking fairly simple (whenever I could not cadge a meal off someone else). Over the last couple of years my family have started to come along so I have to start to think about cooking a bit more.

I am not bad at a good breakfast however thankfully my wife Alison is an excellent cook so I am not stretched too far 🙂

image
My Kitchen

Looking at my pictures I came across these ones from my friend Mark Oriel who is a butcher by trade. One year he managed to spit roast a whole pig which went down a treat with everyone.

He also ran an excellent class building a smocker in the woods so as to preserve different meats.

image
Master Butcher – Mark Oriel

One thing I have learned coming to the Moot is that Bushcrafters do not generally tend to go hungry – quite the opposite could be said in truth.

image
Mega Meals

To make all this happen you need people with different skills. We come together and share these skills to make some truly memorable meals in what many others may say is an inhospitable environment – we just call it home.

image
It is all about people

There are many other classes going on in terms of cooking and foraging so the best way to see what is on offer is to come along to the Moot. Next year it will be at the beginning of August on the coast at Merthyr Mawr in South Wales.

Cheers

George

How To…. Build a Heavy Duty Campfire Crane

My ongoing quest to learn all I can about campfire cranes has brought me to this Heavy Duty Crane (just something I have made up to describe it).

This crane works on the same principle of the Simple Dovetail Campfire Crane I documented in a previous post. The main differences are in relation to size and how you adjust the height of the pot above the flames.

I see this crane more for the long term camp due to its size.

The Heavy Duty Crane

I constructed the crane using just an axe, saw and knife. I chose a pole that had been cut down a number of months ago (sycamore wood) so it was fairly well seasoned (the girth of the pole was just big enough so that I could not close my fingers around it). Green wood would work well enough for the short term however as the wood dried out you may find the dovetail joints you create would loosen slightly.

Sawing

To begin with I sawed the pole into two pieces. The cut was about a third of the way along the length from the tip (the thin end) of the pole – this would become the arm. The bottom two thirds of the pole (the thicker end) would become the upright.

image
Start with a long stout pole

The Arm Joint

Using my axe and knife I carved the thicker end of the arm piece into a triangular shape. I took my time over this to ensure all the sides were as even as possible (carpenters measures with my eye).

This would form the ‘male’ section of the dovetail joint on the crane.

image
On the arm piece carve a triangular end

The Upright Joint

As you saw in the first picture in the post the upright has a number of female dovetail cuts carved into it. Make as many as you see fit however due to the length I had I opted for four.

To help me in carving the female notches on the upright I used the triangular section on the arm as a guide. I marked out two triangles on either side of the upright making them fractionally smaller than the arm triangle (remember you can always take wood off – it is harder to put it back on again).

I also off-set the triangles slightly so that the tip of the arm would be pointed slightly upwards when it was inserted (you do not need to do this if your arm has a bend in it). Joining the tips of the two triangles I scored a guide line for my saw.

Once that was done I made a cut with my saw on each side of the triangles and a couple in the middle.

image
Use the triangular end as a template to cut out a socket on the upright

I used my knife and a piece of wood to batton (hitting the handle of the knife with a stick) out the excess wood, tried the arm to see if it fitted and then kept on carving out the notch until the arm fitted the notch. This takes time but if you take it slowly you will get a snug dovetail fit between the upright and the arm.

Once I was happy with the first joint I started the process slightly lower down for the next joint.

image
Chip out the excess wood and repeat

Make sure you leave a few centimetres gap at the between each triangle so that the joint remains strong.

The bottom two pictures show how the arm connects into the upright. I like to have the apex of the triangle on the arm slightly protruding from the female section of the joint on the upright.

image
Ensure you have a snug fit

This process takes time and when I made this upright I completed two in the evening and the other two the next morning (hence the change in t-shirt). Taking my time though meant that I had four snug joints that would be good for long term use.

image
Carve as many notches as you wish

Finishing the Upright

To finish the upright I carved a point at the base and chamferred the top. All this is designed to make it easier to insert the upright into the ground without causing damage to the joints.

image
Point, chamfer and test

The Arm 

I have a tendency to make crane arms in a standard way. After axing out a basic shape (taking care not to touch the triangular end) I formed the final shape with my knife.

I like to put lots of notches along the upper side of the arm to give the bail handle of my pot something to sit in. Having lots mean that I have the ability to adjust the placement of the pot on the horizontal plane as well as on the vertical plane using the upright.

image
Carve the arm

To finish the arm off I usually put a little dimple near the tip of it so I can hang an adjustable pot hanger off it if needed (picture later).

image
Add a dimple if you want an extra pot attached

I like to use a stout stick as a pile driver when using a crane so that I do not damage the upright when putting it into the ground.

The ground in my garden is fairly loose so it was not a problem however some of the sites I use can be quite hard and stony.

As this crane was to take heavy weights I really compacted the earth around the base of the upright and gave it a few more taps to drive it in. If you remember to chamfer the top and give the upright a strong point you should be able to drive the upright in securely.

image
Use a pile driver to insert the upright

My first test was to see what weight the crane could take. I filled my Super Potjie Dutch Oven about half full and filled the group kettle up.

With some cranes you can see the arm bend when the pot is put on however when I added all this weight it did not shift in the slightest.

Below you can see how the adjustable pot hanger is attached to the end of the arm (into the dimple).

image
Crane set up with extra pot holder

Testing

My sister sent me my favourite treat of the year – a Guga (young Gannet) and I cooked it outdoors using the Heavy Duty crane.

It took the weight easily enough however I did trim about a millimetre (the girth)  of the triangular section so that it could be easily inserted and extracted from the upright as I sought the ideal heat.

I had the pot low down at first to boil the water and then raised it so it would simmer gently for an hour.

Unlike the adjustable dovetail, the lap joint and Aures cranes you cannot fine tune the height of the arm but you do have a reasonable height difference that can take a lot of weight.

image
In action (a comparison in size with the adjustable dovetail crane)

Treated well this crane could last you for many years and takes up little room around the fire. If you are doing a pioneering project yourself or with a group this is an ideal project to undertake.

Cheers

George