A number of years ago my friend Rich59 from BCUK taught me how to get a fire going using damp tinder found on the forest floor. This short video goes through the process – I will post a detailed How To…. on this shortly.
Cheers
George

"to adventure"
A number of years ago my friend Rich59 from BCUK taught me how to get a fire going using damp tinder found on the forest floor. This short video goes through the process – I will post a detailed How To…. on this shortly.
Cheers
George
I was taught a few years ago by my friend John Rhyder of Woodcraft School about a version of bowdrill that uses an extended bearing block.
I found the bearing block to be particularly good for learners or for those who had injuries to their back, legs or arms. I call it the ‘assisted bowdrill’, not that you need assistance from someone else but because the bearing block is set up in such a way that it assists you in your stance while bowdrilling
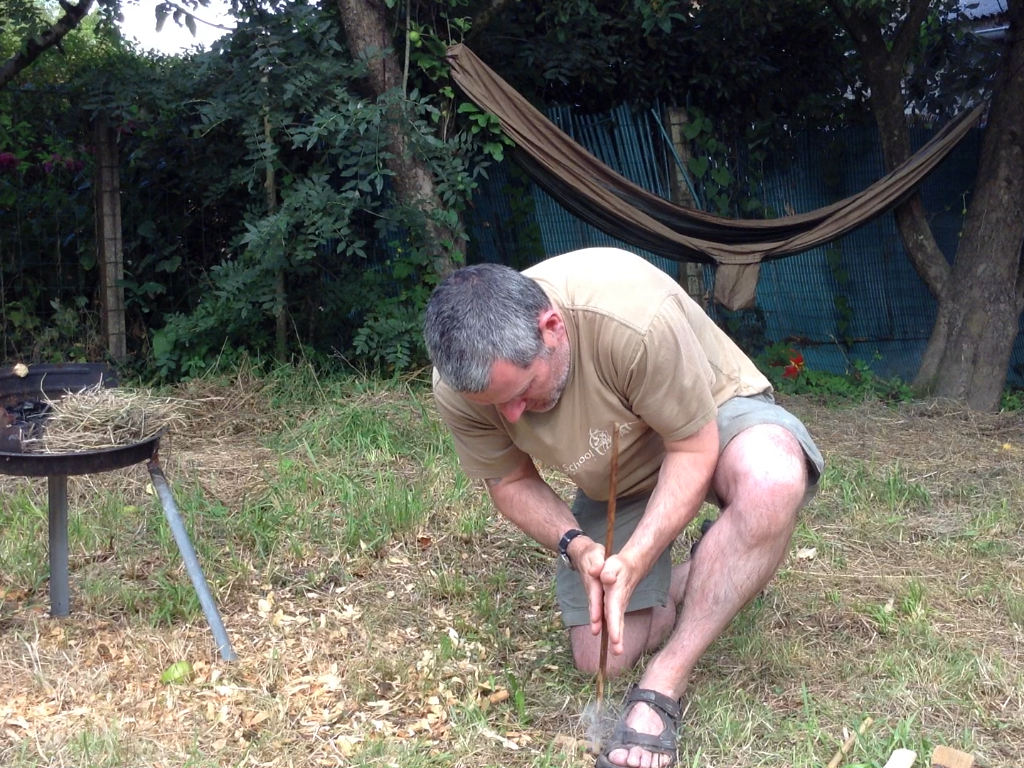
Below you can see my friend David Jones using the set up on a piece of wood. Dave wanted to try this method out as he had (if I remember correctly) some problem with his knee. As he could stand straight on one leg and did not have to grip the bearing block too tightly, he quickly found he could get an ember and then flame.

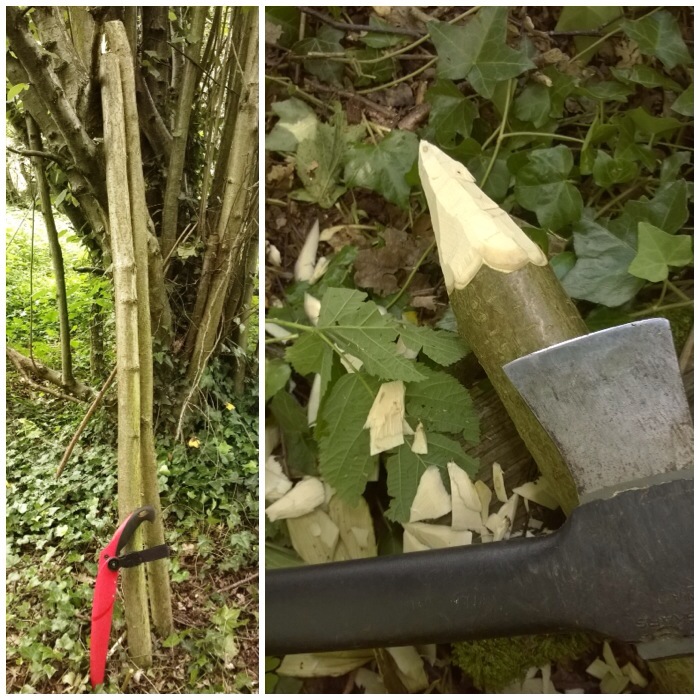
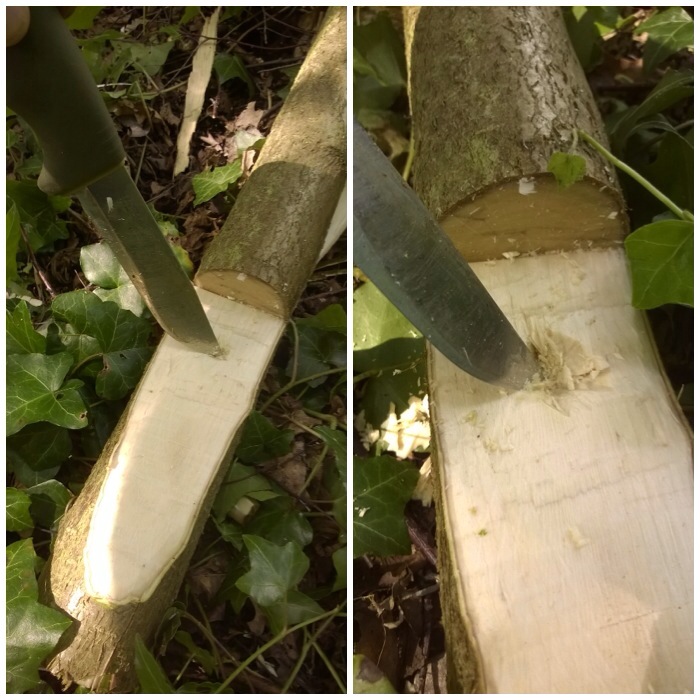
To make the bearing block you need a decent length of branch. I used a decent sized piece of hazel just over a metre long to act as my long bearing block. I then axed out a point on one end of the bearing block, to be jammed into the ground when in use.
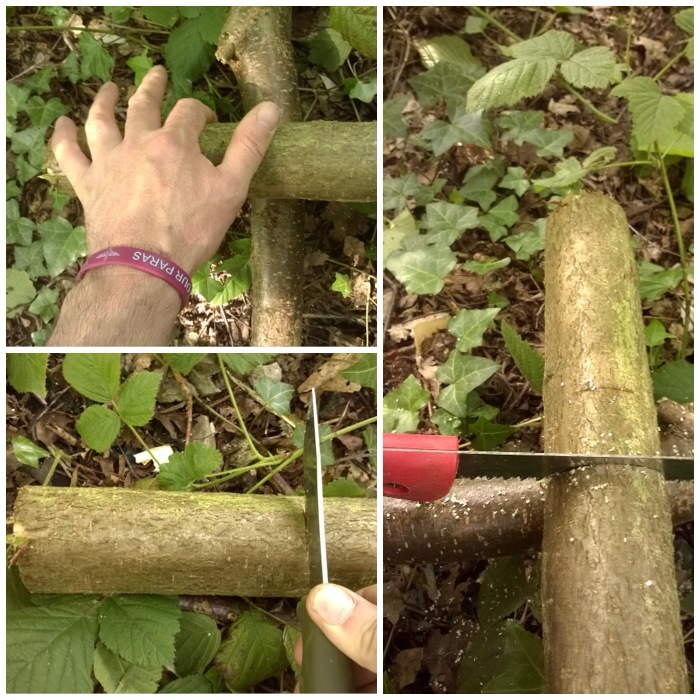
I marked a slight cut with my knife one handspan (outstretched little finger to outstretched thumb) away from the other end of the bearing block. Then, using my saw, I cut into the bearing block a stop cut, about a third of the way into the wood.
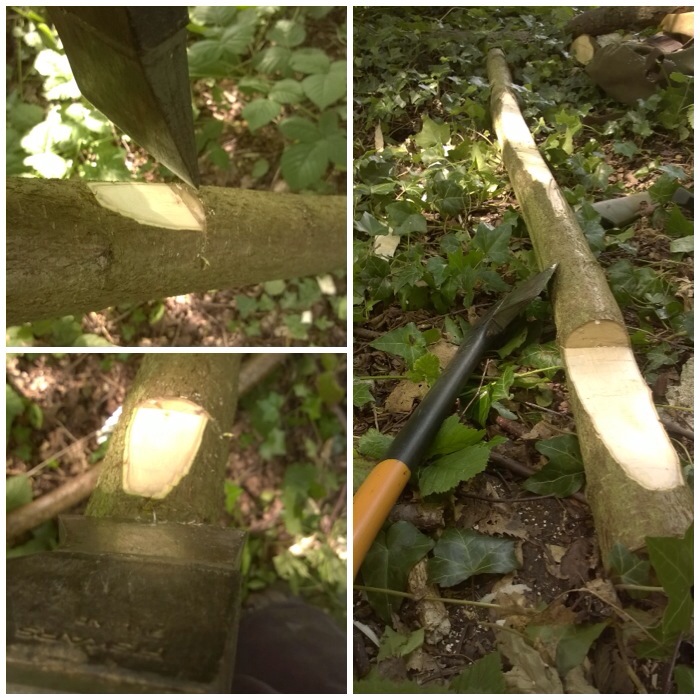
Being very careful and using small chopping motions I cut out the excess wood to make my recess for the drillpiece to be attached. As you can see from the picture below right, I have come back quite a way to the end but not all the way.
Please ensure that the sharpened tip is well dug into the ground when you do this axe work and always make sure you know where your fingers are in relation to the axe when working. I have had a few near misses doing this when I am not paying close enough attention.
An alternative method is to cut a longer limb to create a safety handle, which can be sawn off after you have axed out the area.
While the bearing block is flat on the ground, use the tip of your knife to make a small hole near the stop cut. This hole will be used to keep the drill piece in place.
Having seen someone put a knife through their hand while doing this, I can tell you just how important it is to make sure that the bearing block is flat on the ground and the hand securing it is well clear of the tip.
The rest of the set up is similar to a standard bowdrill. I commonly use this method with the Egyptian set up, assisting a person or as a relay race.
In the video below I show you the method where I am assisting someone and also as a relay race.
This method is one I would urge any bushcrafter to try out, whether it’s just to try something different, help someone learn the art, or if you (or someone you know) have an injury that makes the standard set up difficult.
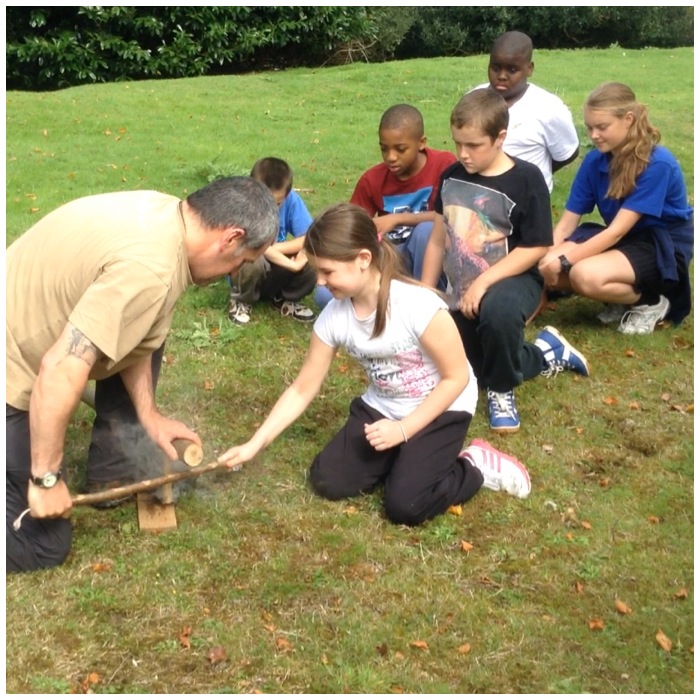
As an instructor in the Sea Cadets, I find this is a stable platform for getting the younger cadets involved as well, be that with an instructor, as a group or on their own.
Cheers
George
Part 3 in this series on fire by friction looks at my style of using what I classify as a modern bowdrill set up.
I use the term modern as I am using starter cord on the bow to spin the drill piece. I like starter cord as it does not stretch too much when the drill piece is attached and it is also very hard wearing.
I have focussed primarily on the way I tend to teach the bowdrill to someone who wants to create fire on their own
I filmed this last July in France at early evening time. I appreciate there may be similarities with this post and my previous one on the Egyptian method but I want each of the videos to be stand alone.
So here is the video on Modern Bowdrill – My Way
My next videos on this will start to look at methods for using a bowdrill in a group scenario. I have already added an extra video to Part 2 in this series on the Egyptian method but showing the set up being used by two people – The Egyptian method doubled up
Cheers
George
I was at the BCUK Bushmoot in August and was asked by some friends if I could show them how the Egyptian method works.
Rather than me showing them I got the guys to double up and do it themselves to show them how easy it was.
They used two limpet shells as a bearing block (which they told me got eventually quite hot) and also watch out for the drill piece as they stop drilling. Notice how it does not spring away when it is released from the bearing block as the more modern single wrap method will do.
The other video on the Egyptian method going into it in more detail can be found here – Teine Eigin – Part 2 – Bowdrill – The Egyptian Method – A Video Post
Cheers
George
Part 2 of this series is a short video on a type of bow drilling I came across a few years ago called the Egyptian method (Egyptian hieroglyphs have depicted this method).
I like this set up as it does not put the cordage under a great deal of strain (the cordage is wrapped a number of times around the drill) and it is good for learners as the drill piece does not ping out if the set up becomes loose.
Have a look at the video and try it out for yourself.
My next video in this series will be on my technique I use with a more modern bowdrill set up.
Note 24/08/14 – I have added an extra video on this method where the students are doubled up and can be found here – Teine Eigin – Part 2 – An extra video on the Egyptian Method
Cheers
George
I started researching this summer the recent history around Teine Eigin (Gaelic for ‘rubbing sticks together to make fire’) on the Western Isles of Scotland (where I grew up). Up until the early 19th century records have shown that in times of animal disease (such as cattle with Need Fire) and at particular times of the year, such as the Beltane festival, fires were lit on these Westerly Scottish Isles using fire by friction methods.
I documented some history and links in my article Bushcrafting at Lews Castle College on this Bushcrafting art.
Instead of writing full step-by-step articles on the different methods, I decided to experiment with video. I have read of many different set ups that were used for Teine Eigin so I will film some of the methods I use and explain the steps I follow to create fire.
This is the first video in the series and it covers how I use one of the simplest, yet sometimes seen as one of the hardest to master, methods of lighting a fire – the handrill.
Part 2 in the series will look at the bowdrill but focussing on the Egyptian method.
Cheers
George