
I finally got around to updating my Freestanding Hammock Stand (based on the post from Turtle Lady post on the Hammock forum) last weekend. I replaced two of the limbs on each tripod with stronger ones and devised a new attachment point at the top of each tripod for securely attaching a tarp.
I have used the original hammock stand a number of times now and found it quite easy to transport in my van. I recently traded my van in for a car but I have obtained a large enough top box to fit the stand in. I wrote a blog post on this stand last March and it goes into detail on making the Mk1 version. If you have not read it and want the measurements you can find it here – How To…. Make a Free-Standing Hammock Stand.
To fit a tarp to the Mk1 stand I made little caps to go over the top of each tripod (so that the tarp would not be ripped by the wood) but I found that the tarp would slip off if the wind got strong.
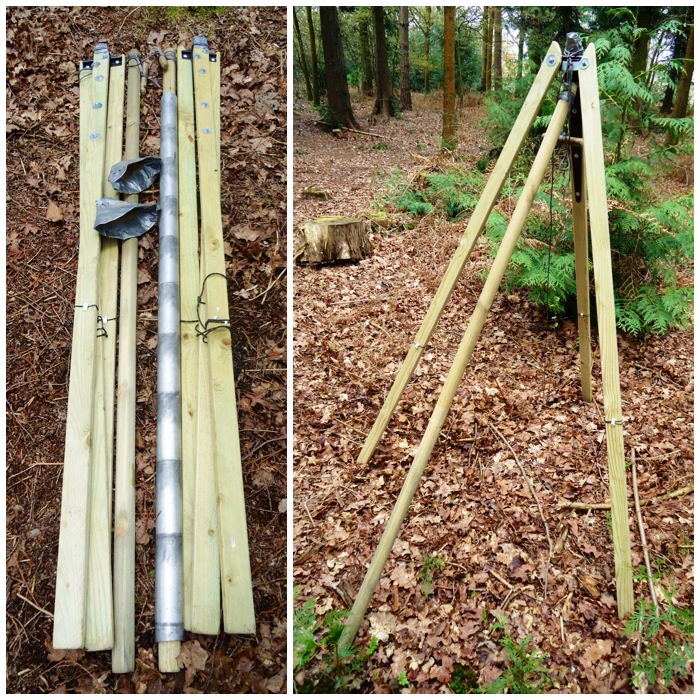
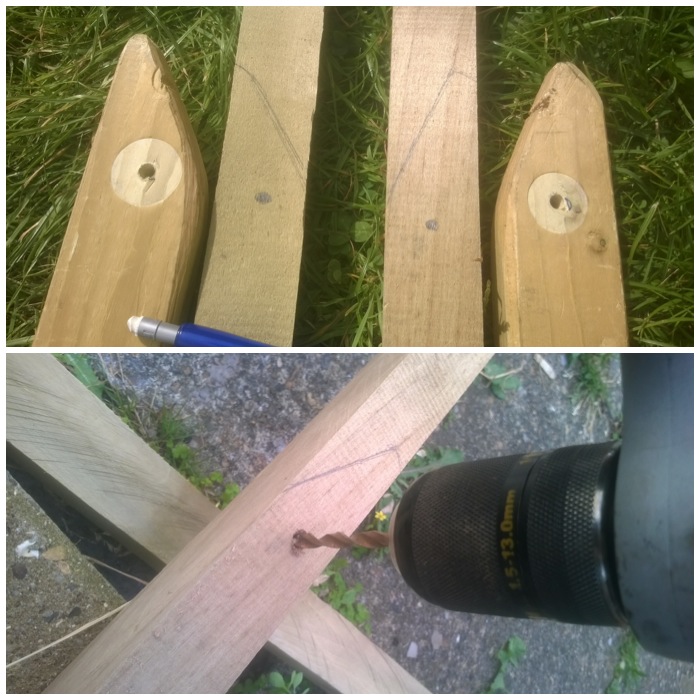
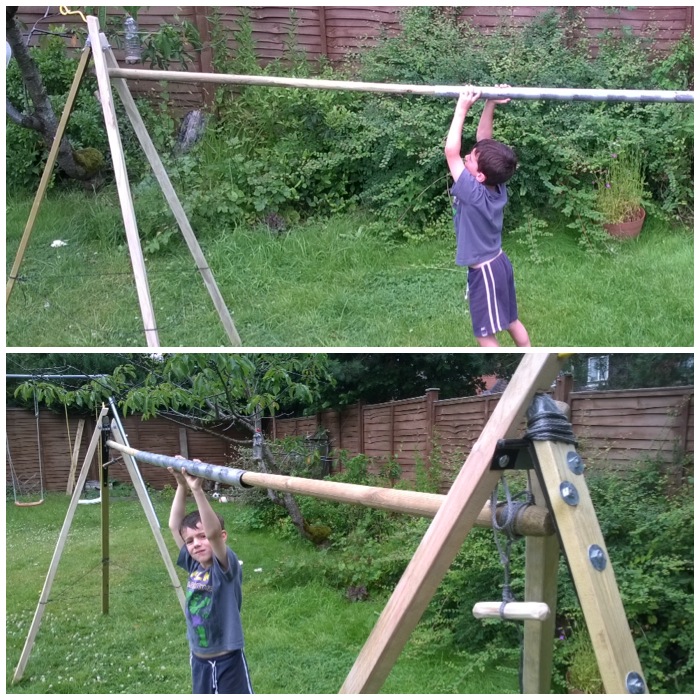
I also noticed two weeks ago that one of the limbs that had a knot in it was looking a bit weak. I applied a lot of pressure to it to see if it would last and the wood failed (left hand picture). I am glad that this did not happen while it was in use. The lesson I’ve taken from this is to make sure I select knot-free wood wherever possible when making one of these stands. To build the new tripods I unbolted the old side limbs from the two hinges and decided to replace all of them with new stronger knot-free limbs.
I made a short video of the new set up to give you an overview of it first.
I bought some square tree stakes (2.4m lengths) and used the old limbs to mark out the bolt holes then drilled them out to re-build the first of my two tripods. The new limbs were 35mm by 35mm in diameter comparison to the old ones which were 47mm by 22mm.
I decided that just one of the new limbs (more on the other limb in a minute) on each tripod would be the same height as the old limbs so trimmed the excess wood off then used my rasp to roughly smooth all the surfaces and edges down.
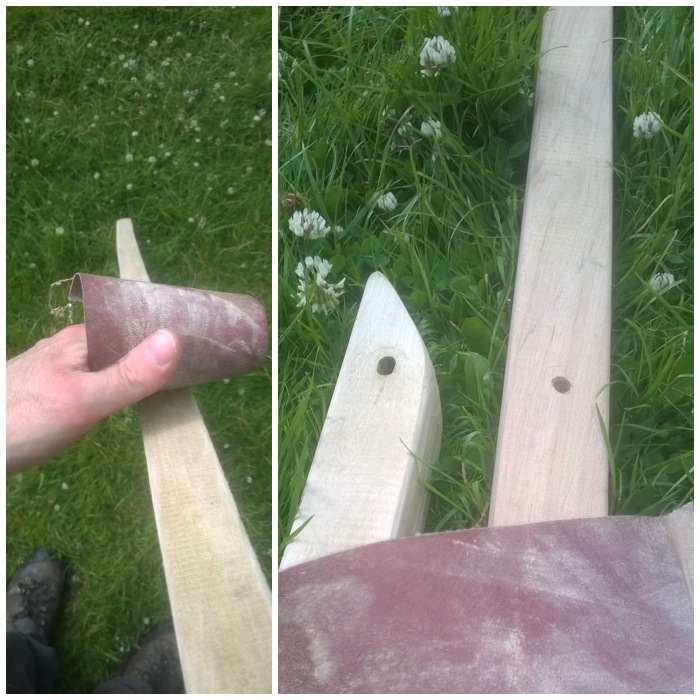
After a quick sanding (I just used a rough piece of sandpaper) the first limb was ready. I rasped the other limb (which was not trimmed to size as yet) and then sanded that one as well. You can see the two finished limbs for the first tripod in the right hand picture. it is important you do not trim the second limb to the same size as the first limb as this one will have the tarp attachment fitted to it.
Using the original bolts I then attached the new limbs to the original limb that was fitted with the hinge.
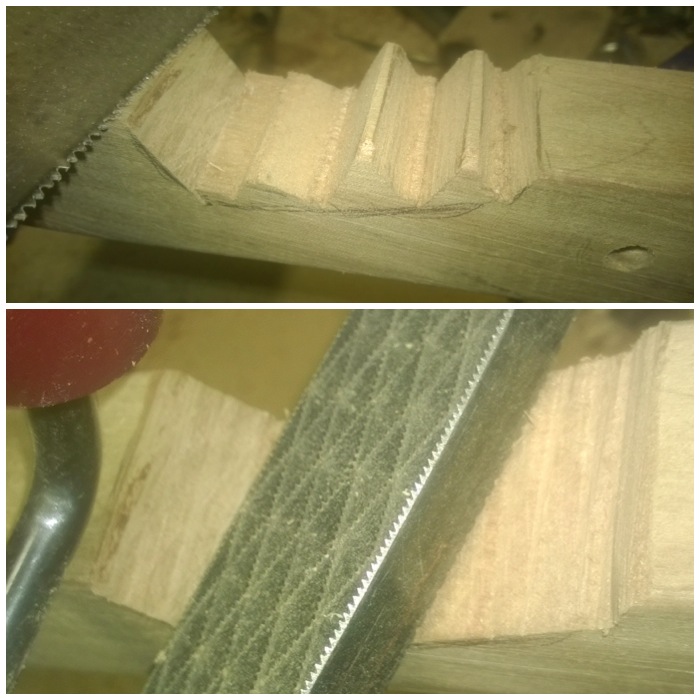
I set the tripod up as best I could with the new limbs spread out at about 1.4m width at the base (the limb with the hinge cannot be opened fully until the excess wood is removed). I then drew around the area on the larger of the limbs the piece of wood that needed to be removed.

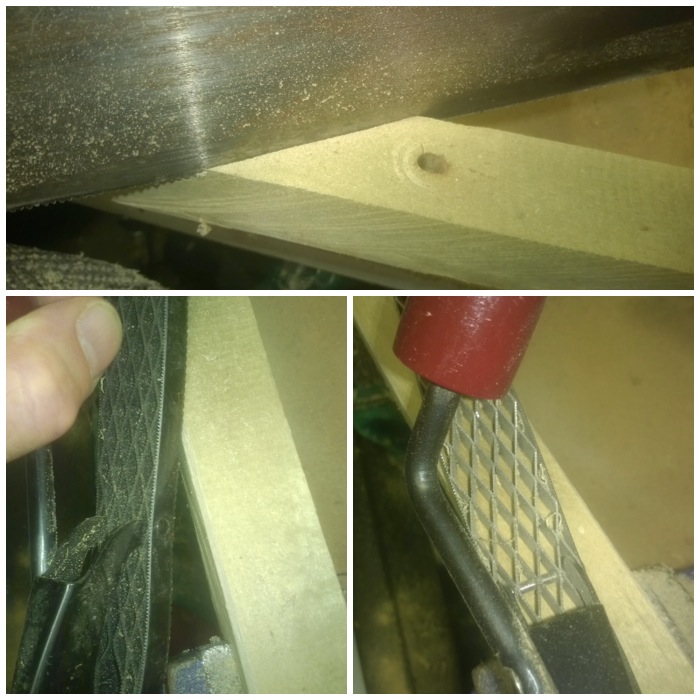
I unbolted the limb and put it into a vice to cut the excess wood out. I just used a small saw but a carpenter’s coping saw would have been far better suited to the job.

After I removed the excess as best I could I used my rasp to smooth it all out before giving it a final sanding.
After re-bolting I checked to make sure there was enough clearance to open all the legs up fully. I actually used my knife at this stage to trim off a little bit more of the wood as the fit was very tight.
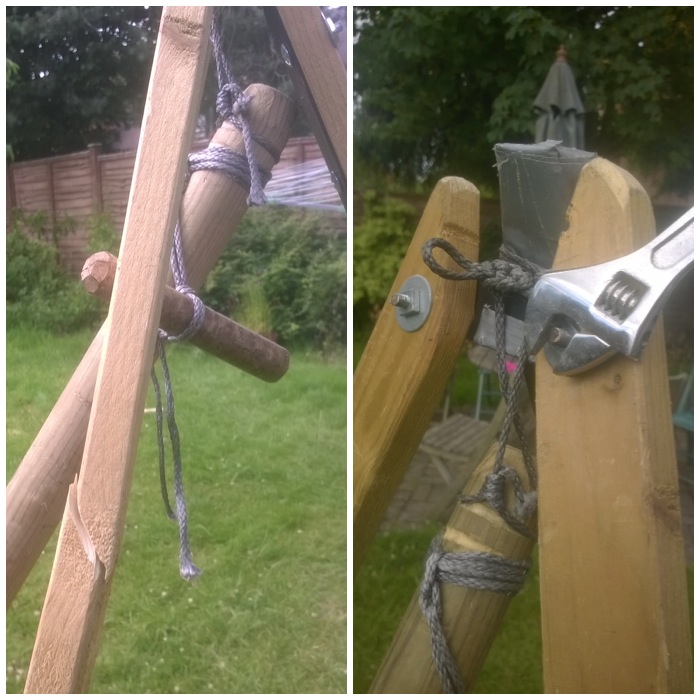
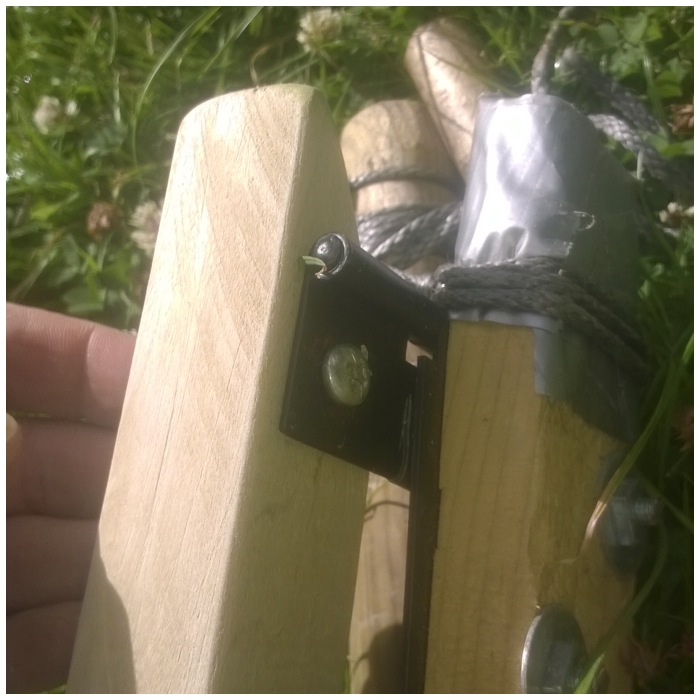
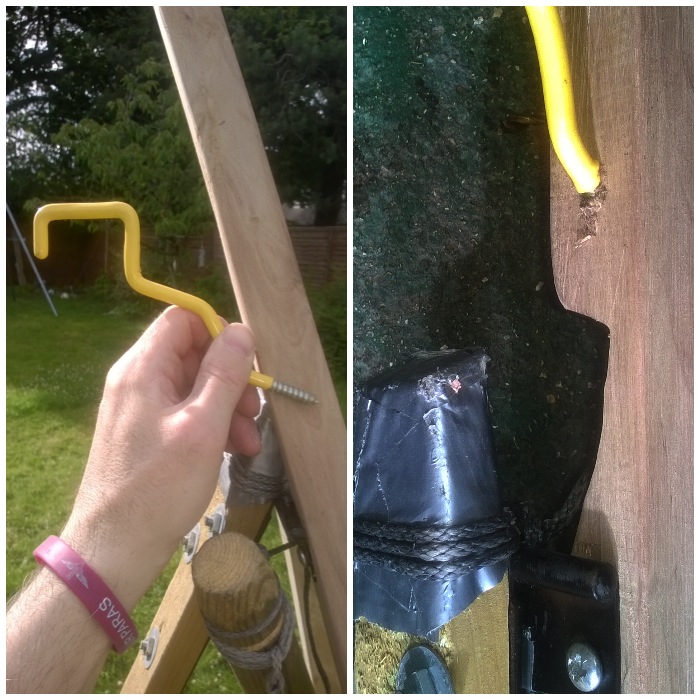
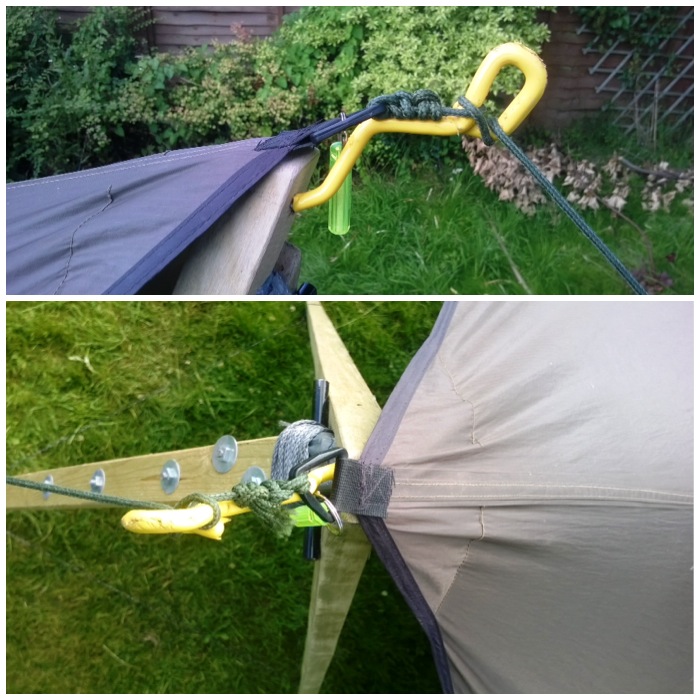
I had thought of lots of different ideas to add a hook to hang my tarp from but in the end remembered I had some of these cheap hooks you can buy to hang things from the rafters of your workshop or garage. They have a tip that allows you to screw it into wood and they can be bent into different shapes using a vice and hammer or pliers. I marked out where I wanted to put the hook, drilled a pilot hole and screwed the hook in.
I trimmed the limb so that it finished just below the hook point to give the tarp some clearance. The final length of this larger limb was 1.8m.
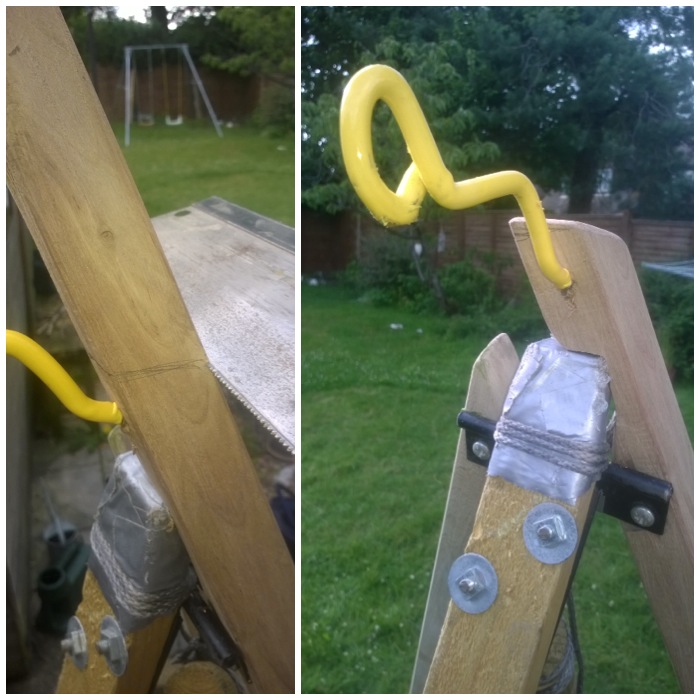
You can see the set up clearly now. I then repeated the whole process to make up the second tripod.
To ensure the legs will always open to the correct distance from each other I attached string to them, secured with small nails. I have found that if the legs are not set far enough apart then there is the potential for the stand to tip over.
Eventually I had two stands ready for setting up. The overall height of each tripod is 1.6m and the front limbs on each tripod are spaced 1.4m apart from each other.
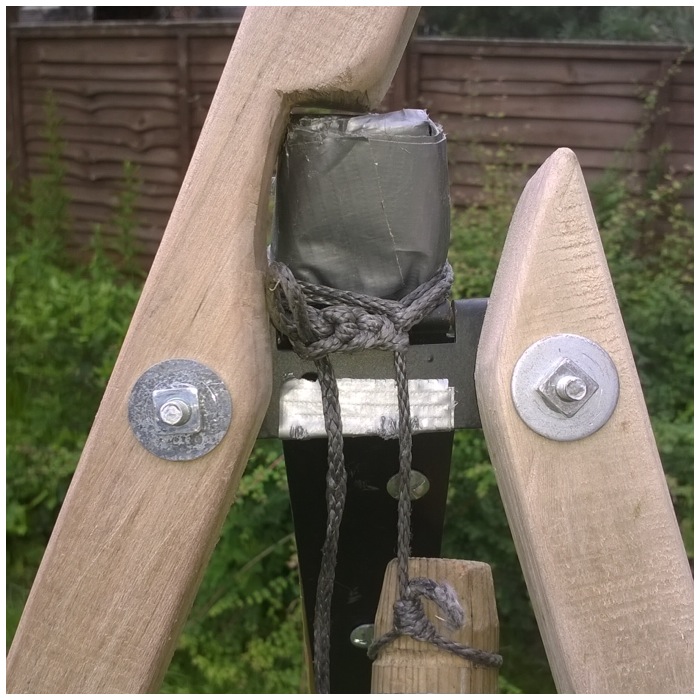
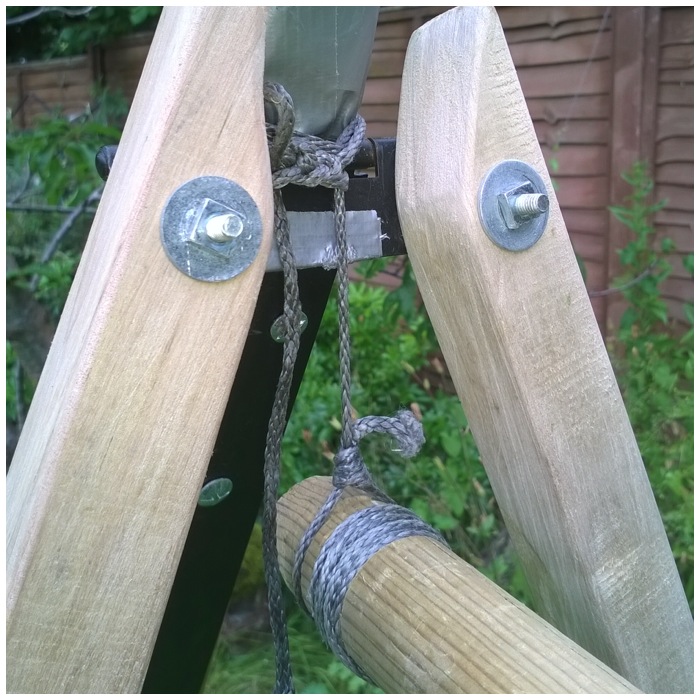
I spent a few minutes getting the tripods well set up (I spread the legs then hung off each one to make sure they were secure) and getting them the correct distance apart (for this set up, about 2.8m apart from the base of the front limbs). The crossbars need to be raised up so that they just touch each other and the Amsteel string that they are tied onto the tripods with is hanging vertically.
Once they are touching it is simply a case of sliding the connecting sheath over until it is centered.
At this stage I tend to make slight adjustments to one of the tripods so that the string is hanging vertically from each tripod as that is very difficult to achieve first time. If you do not have the strings hanging vertically you could end up tipping the tripod over.
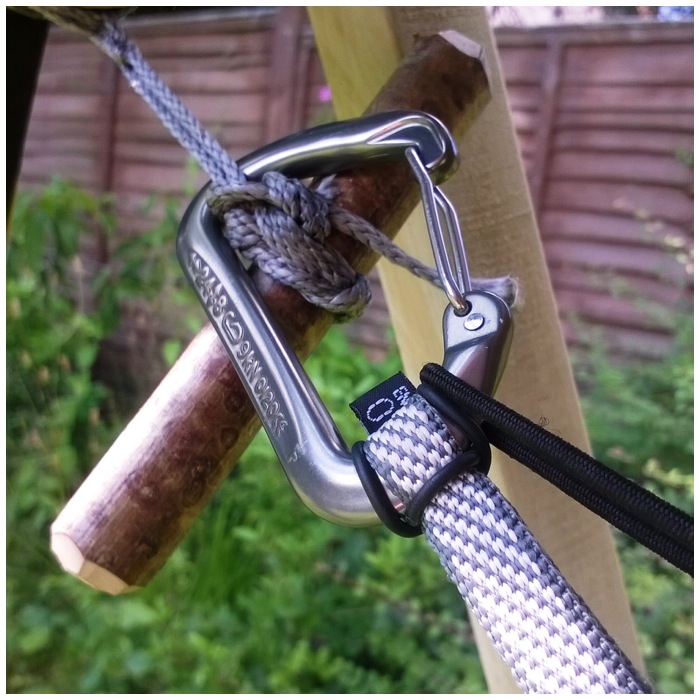
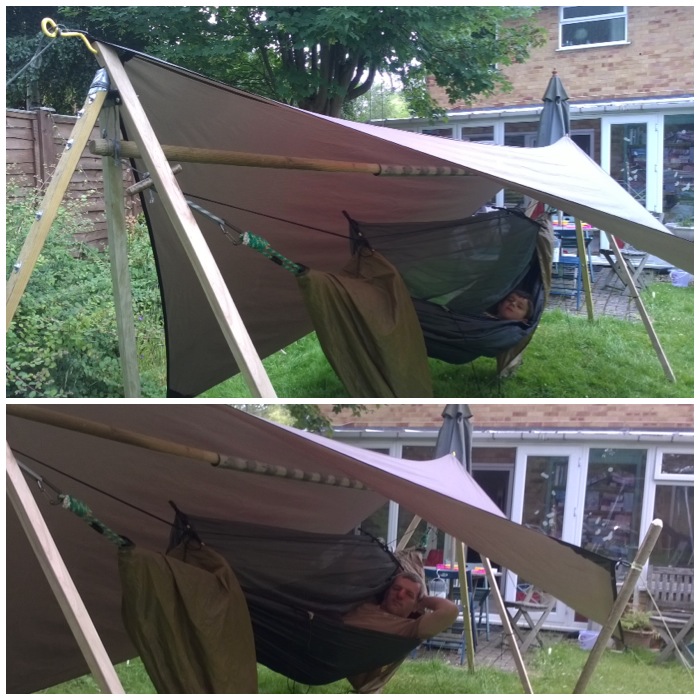
The hammock I use for this set up is my DD Frontline one and I attach it to the Marlinspike Hitch using a quick release Karibiner. The first How To…. covers how I set all this up in more detail.
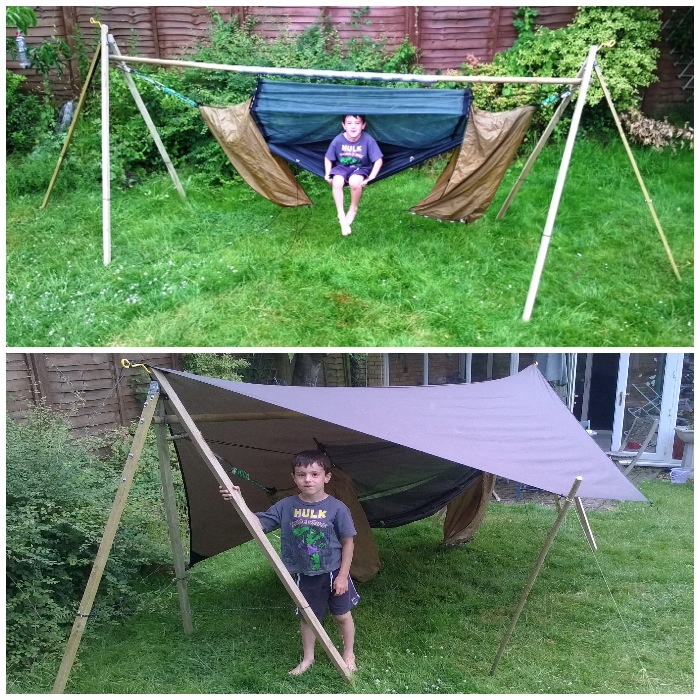
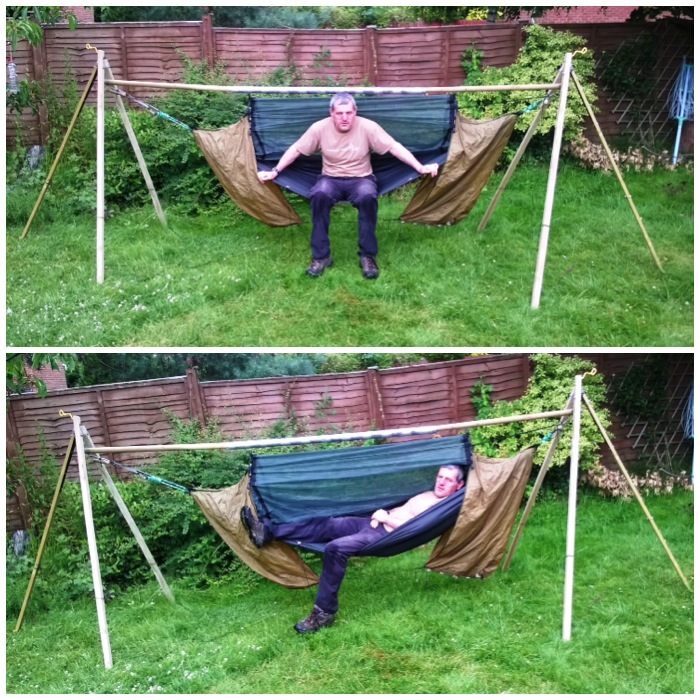
Once it’s finished I test the set up by sitting in it before lying down. All the compression forces I create by lying in the hammock are kept in the crossbar. The tripods take my weight but do not get pulled together using this method. As I move about in the hammock the crossbar moves slightly but the tripods stay still as the bar is suspended from each tripod.
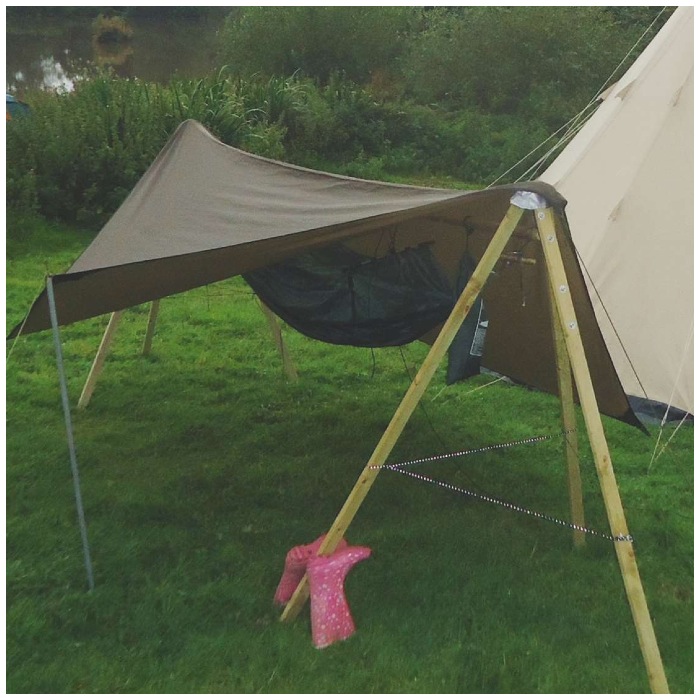
I then attached my Hennessy Hex tarp to the hooks and just used small wooden pegs on the ends and corners to peg it all out.
This set up gives me good head room for sitting and doing my admin.
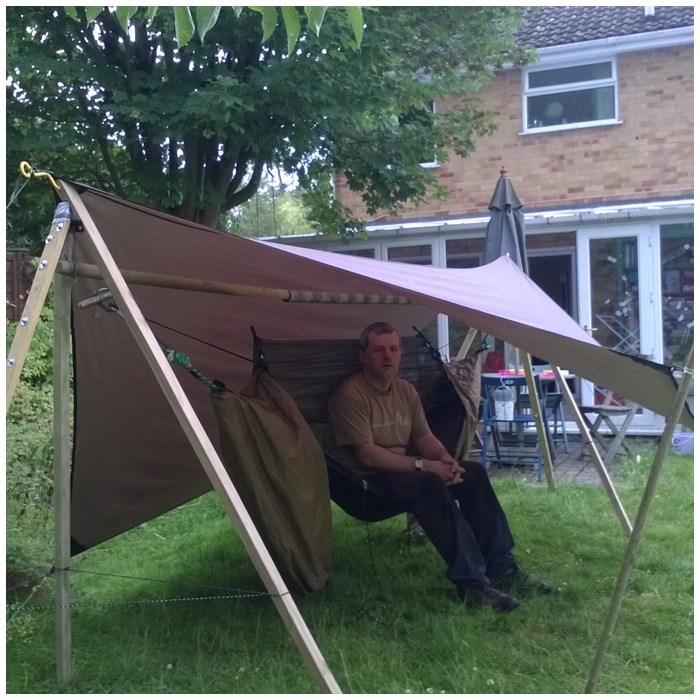
The tarp is a snug fit as the ridgepole was cut to a length to ensure the tarp fitted perfectly. It seems quite strong and I am looking forward to trying it out in the near future at a campsite where I know good hammocking trees are not available. I weigh about 14 stone and I have sat in the hammock with my son who weighs about 4 stone so I am quite confident in this set up.
Cheers
George
This is something interesting..
very useful article..Thank you for sharing..
Good article