
Welcome to Part 3 of this series on bushcraft candles.
If you have not seen Parts 1 or 2 of the series you may want to have a read of them first. Follow these links:
How To…. Build a Finnish/Swedish Candle – No Chainsaw – Part 1
How To…. Build a Finnish/Swedish Candle – Wet/Damp Wood – Part 2
I must admit to having taken thousands of pictures of flames over the years – they are very much alive to me
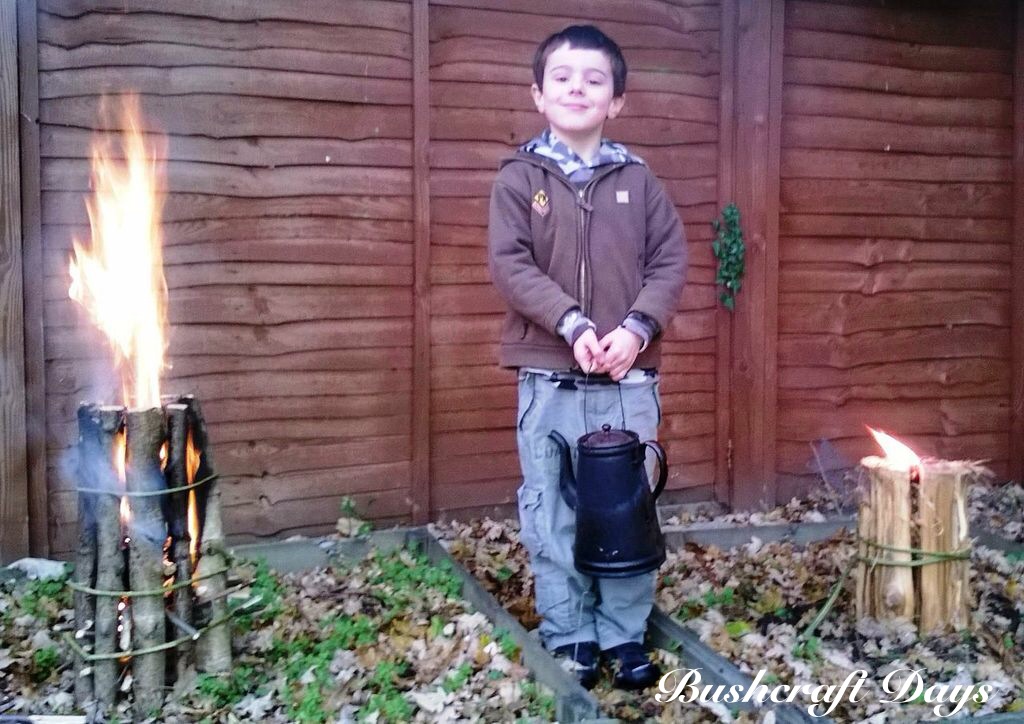
Part 3 is a comparison between two different candle types. I decided to fire up two candles at the same time to see how they fared against each other.
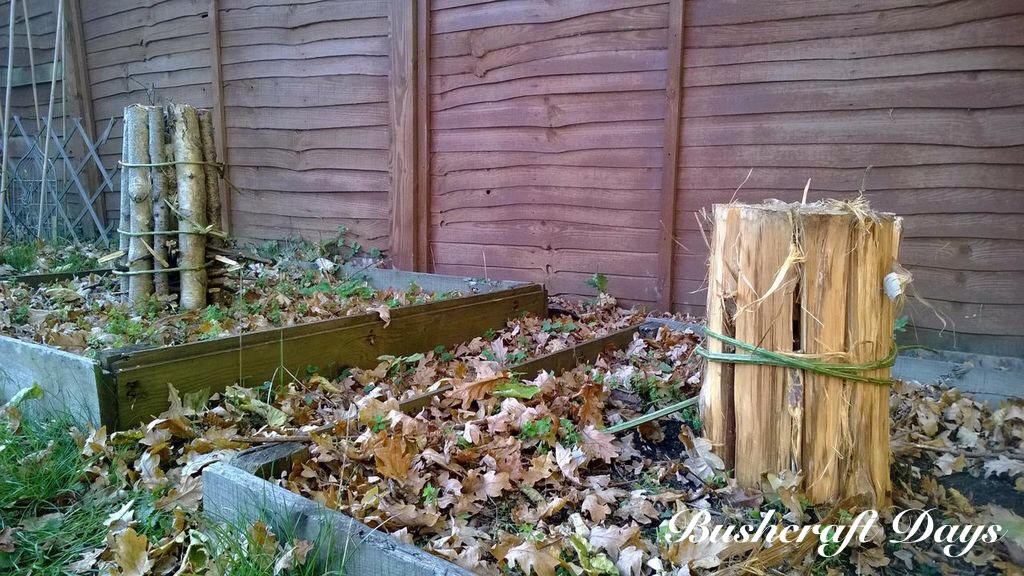
The candle on the left was made by driving a cluster of very dry birch poles into the ground and filling the centre with different tinders and kindling. The candle on the right was made from a single western red cedar log split into segments and again filled with different tinders. (All of the tinders in this test were natural. As the wood in both candles was extremely dry I did not feel the need to use anything man made such as Vaseline or cotton wool.)
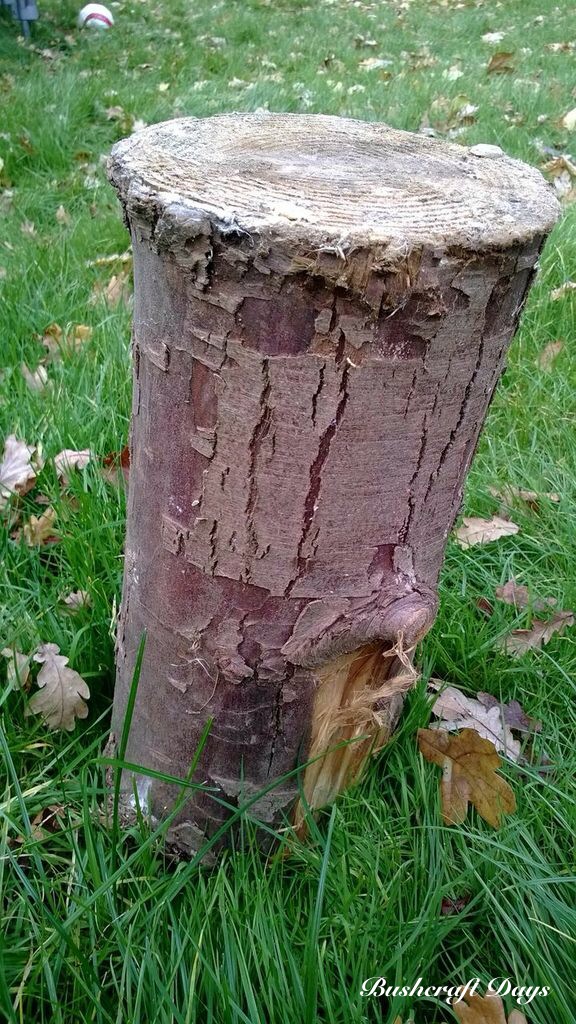
Western red cedar log candle set up
I had stored this log in my garage for a number of years and it was bone dry. I like using cedar for a candle as the inner bark makes excellent tinder.
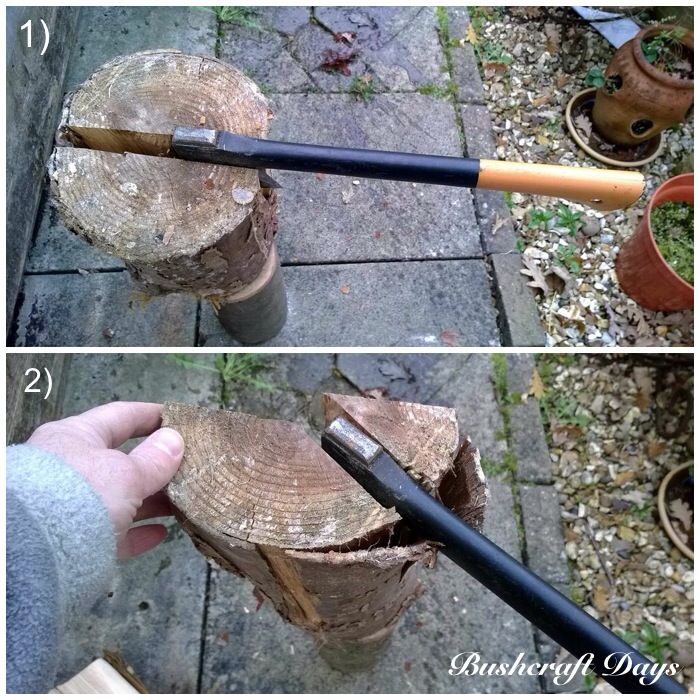
I placed the log on top of another log and, using a batton, hammered the axe into the log (picture 1). It’s important to keep the handle of the axe pointed away from you at 90 degrees so that the blade will swing away from you if it slips.
Then keep battoning the log until you get a number of segments (picture 2). I went for 8 segments as there was very little wind and I wanted as many air gaps as possible for a good draft: if there had been a bit more wind I would probably have settled for just four segments.
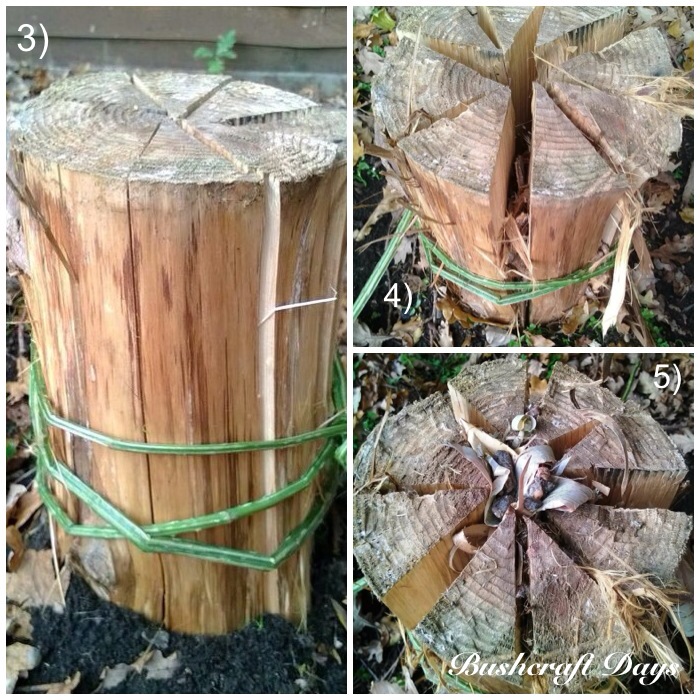
I used bramble to tie it all together and also to test how long the bramble would last just on its own (picture 3).
In between each segment I placed a folded piece of the bark (picture 4). This acted as extra tinder but also helped open the segments up to create airflow.
Into the centre I placed natural fluffy tinders and lots of birch bark I had collected earlier that day (picture 5).
Birch logs candle set up
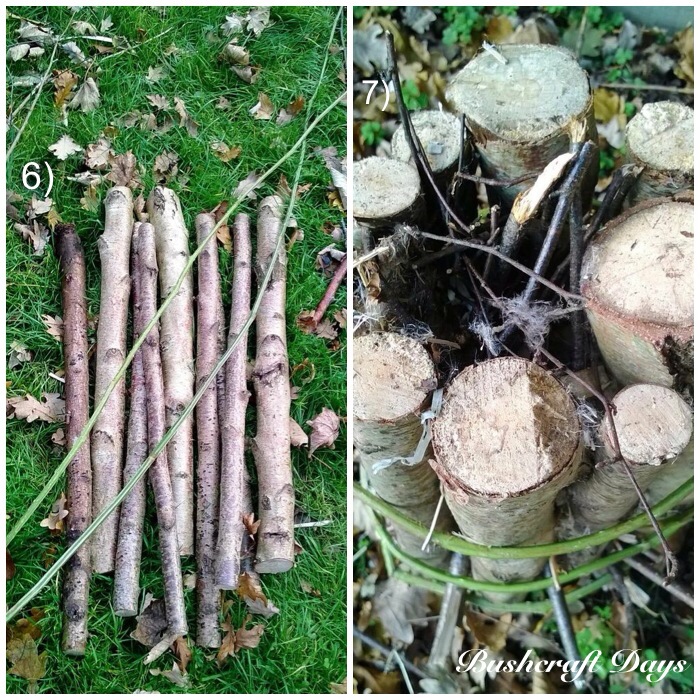
These logs had been cut off a dead standing birch tree that day. They were all bone dry and about 60 to 70 cms long (picture 6). I hammered them into some soft ground in the shape of a circle. They need to be well hammered in, deep enough that they are sufficiently stable to hold a kettle or pot.
Into the centre I added layers of twigs and fluffy tinders filling up the whole candle (picture 7).
I wrapped bramble around the candle just as an experiment to see how long it would last. This type of candle does not normally need a cordage wrap around it if you have secured it properly into the ground.
Comparison
If you were out and about in the woods you would more than likely go for something like the birch log set up as these logs are easier to come across. The cedar log set up though is I think quicker to set up as the splitting out with the axe is faster than the time it takes to saw all the birch logs up.
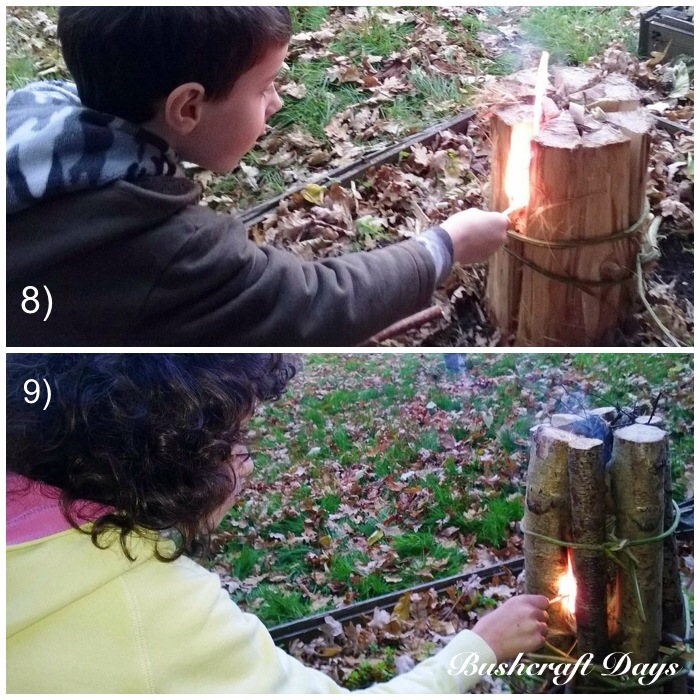
I got my son to light the cedar candle first as I thought that this one may take the longest to get going (picture 8). My daughter then lit the birch candle next (picture 9). Both were lit with just one match and from the centre of each candle.
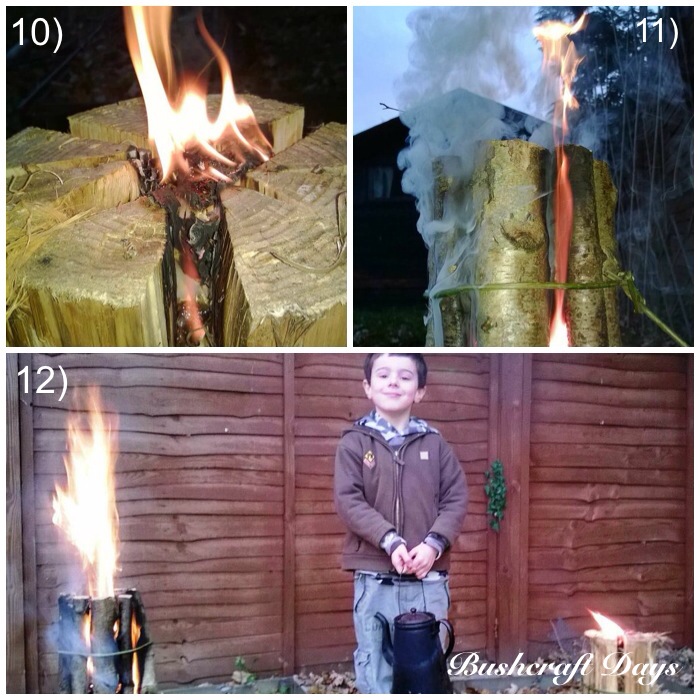
The cedar was slow to catch but remained steady for about 15 minutes (picture 10). The birch went up like a rocket so I decided this would be the one to put the kettle on (picture 11). Picture 12 shows a good comparison between the two candles. This was about 5 minutes after ignition.
Here you can see the difference between the candles after about ten minutes.
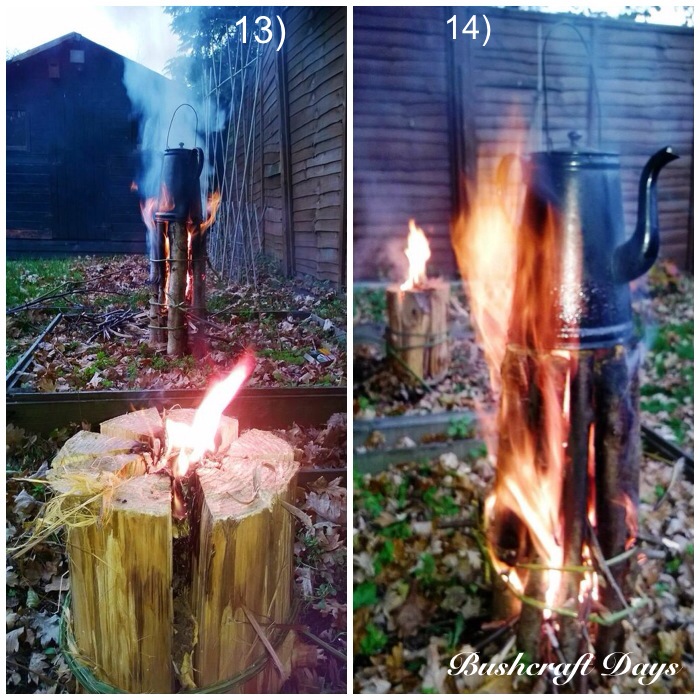
Makes for good Woodland TV as well.
The bramble wrap was looking a bit toasted at this stage but was just hanging in there.
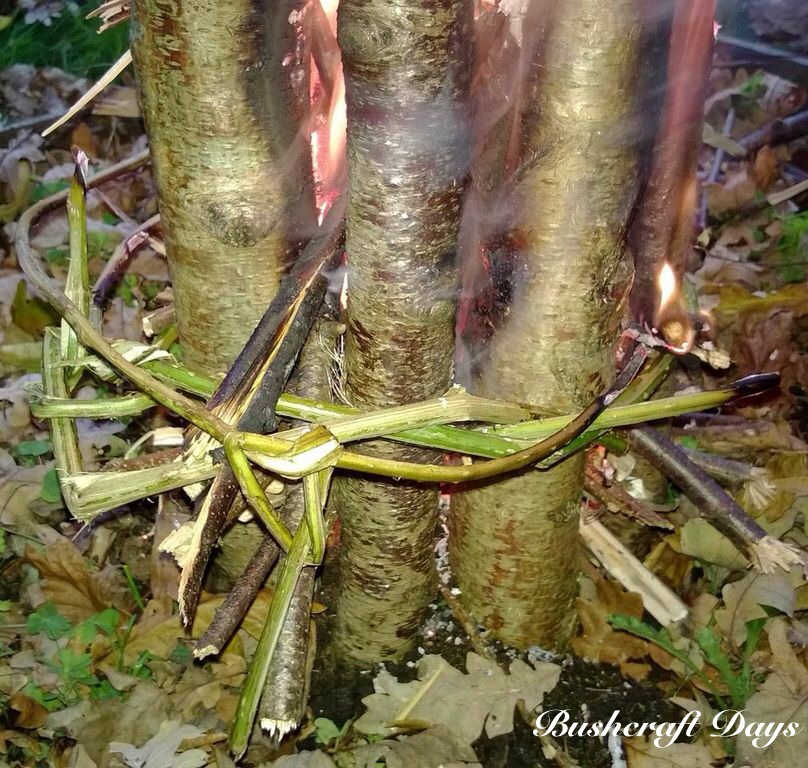
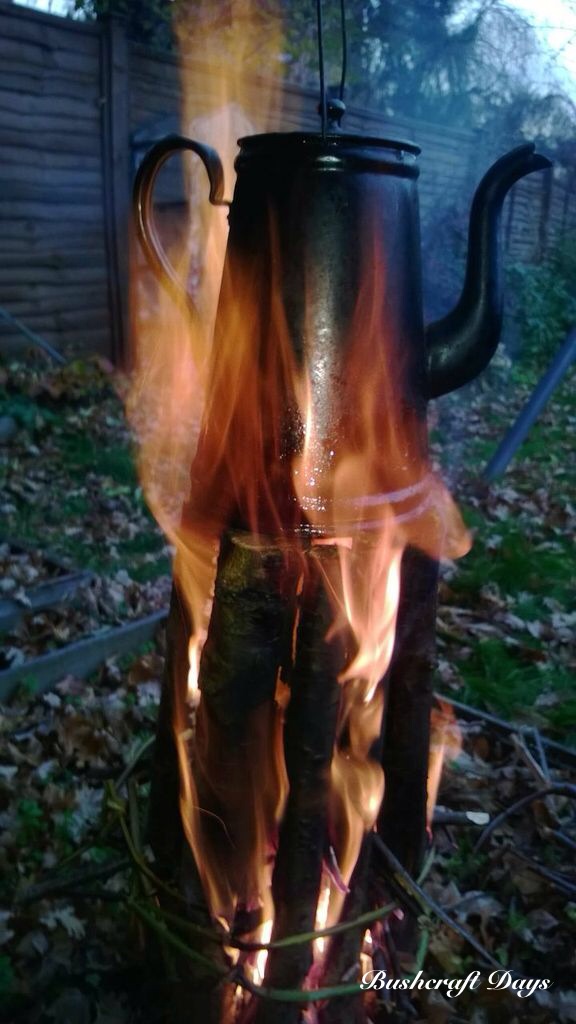
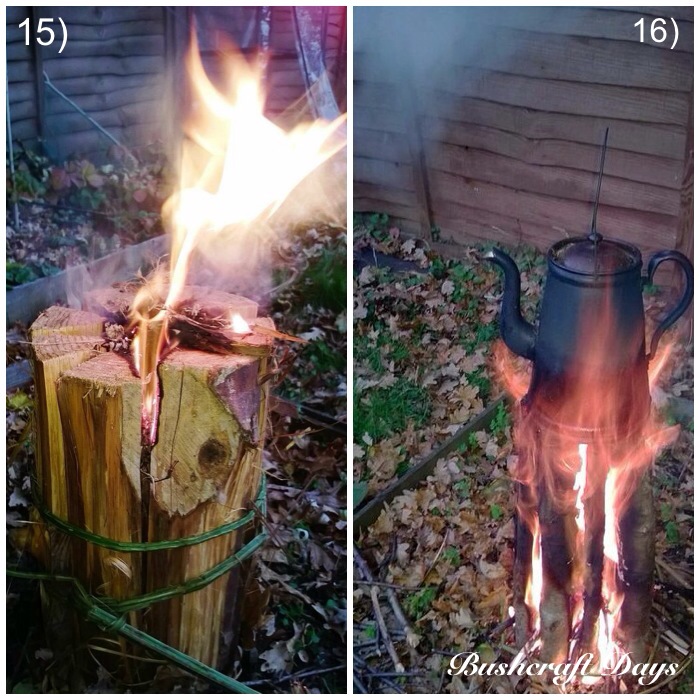
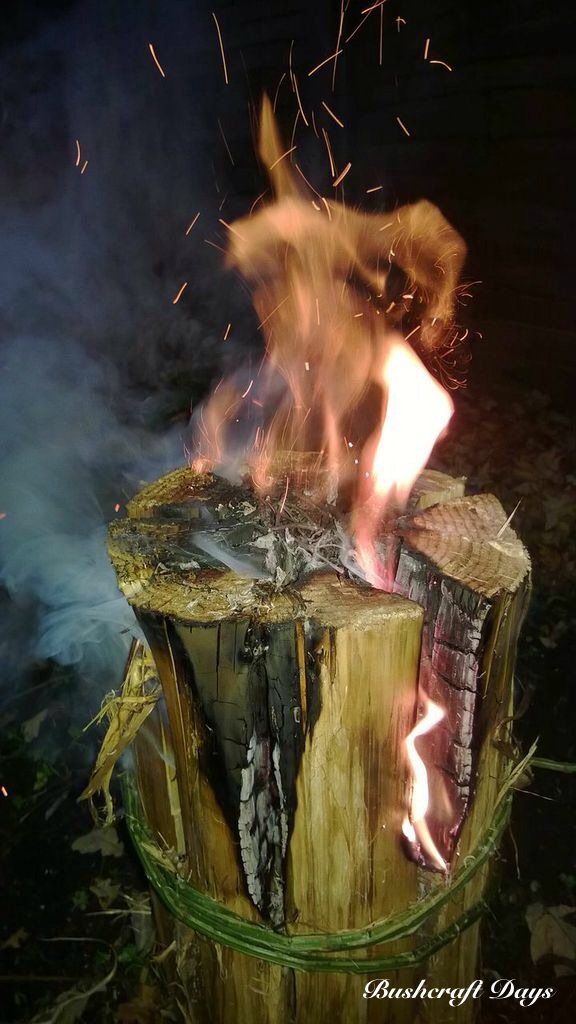
The cedar started to produce a good flame after about 15 minutes (picture 15) just as the kettle started to boil (picture 16) on the birch candle. It was at this stage that the bramble fell off the birch candle. The section of the bramble wrapped around the bottom of the cedar candle did not get burnt through, I noticed (as in the Wet/Damp wood candle in Part 2 of the series).
Another fuzzy picture I am afraid but it does show a good comparison of both candles after about 20 minutes (took this after making my brew).

This picture was taken at about the 30-minute stage and shows the burn area extending nicely with a good eruption of sparks (common with cedar): notice that the bramble is still holding strong.
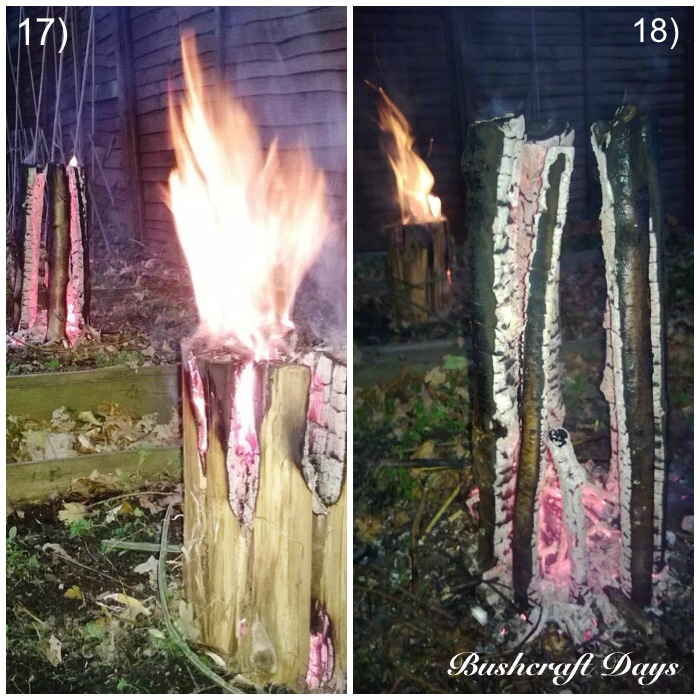
Pictures 17 & 18 were taken one after another at different angles about 50 minutes after ignition. The birch candle had burnt out but I was very impressed to see that the cedar was still going strong. The bramble on the cedar candle I am afraid to say had had it by now and was burnt through. Thankfully I had also pushed each segment of cedar slightly into the ground so it stayed upright.
Look closely into the flames – can you see the Fire Face?
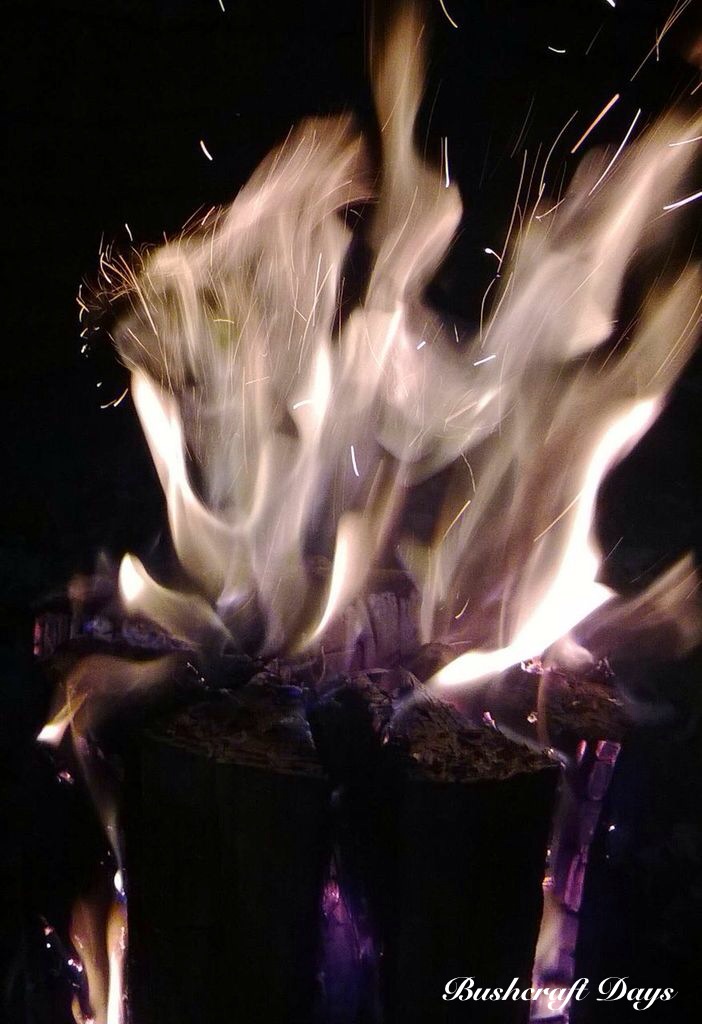
And another one. I must admit to having taken thousands of pictures of flames over the years – they are very much alive to me.
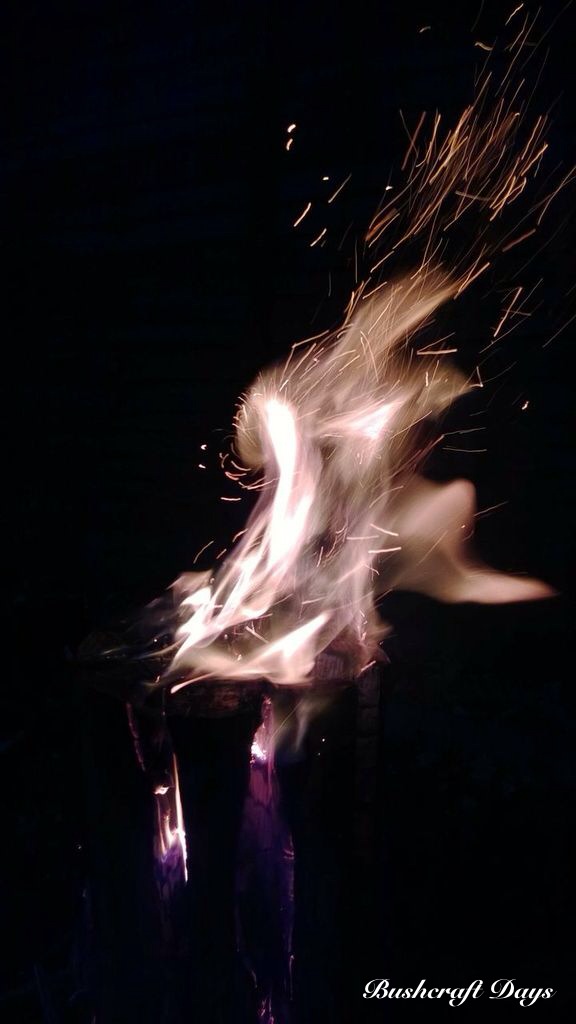
Still with the cedar candle, picture 19 was taken about 1 hour 30 minutes into the burn and picture 20 after about 2 hours. I did not want to finish with a shot of some embers so it was a simple case of……………
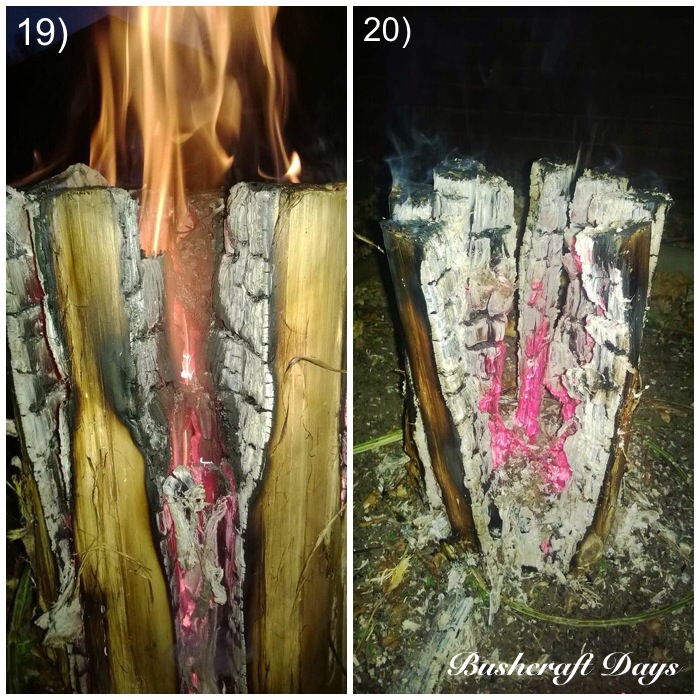
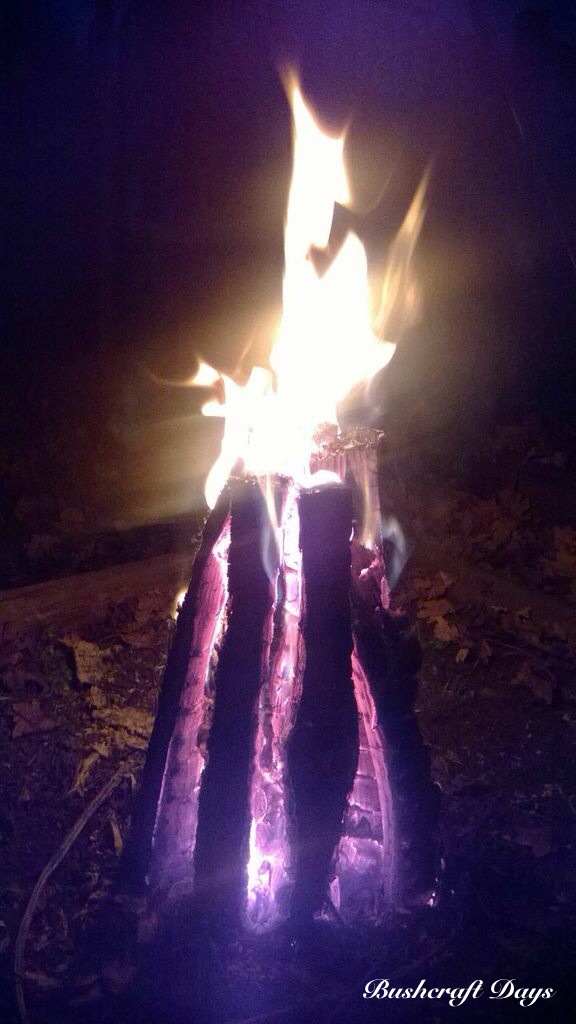
pushing the segments into a tipi shape and within seconds we had flame again.
Conclusion
Set up – I would say it was very close as both were fairly easy to build but the cedar was marginally quicker. I will probably use this method more often in some sort of camp where you have access to these rounds of cedar (or similar wood types) but when out and about I would more often use the birch log method (and I do).
Ignition and initial burn – Both were equally easy to light with dry tinder. For the initial burn the birch log candle wins out for me with that rocket effect at the start and getting me that brew quickly. If all I was after though was a gentle candle effect then the cedar is the one I’d want.
Ongoing flame – For me the winner in this category was the cedar. It lasted twice as long as the birch and gave off some great faces and fireworks to keep me interested. The birch log candle must not be totally discounted even at this stage though, as the hot embers left were of good enough quality that I could have used them to start up a more traditional fire lay.
Overall – My preference goes to the cedar candle as it gave a strong enough flame after 15 minutes to boil water or cook some food on, lasted a long time, was a great Woodland TV and, like the birch log candle, there were enough hot embers at the end to kindle a more traditional fire lay.
Part 4 in this series will look at some Rocket Stove Log candles I came across in my research for this series. They are quite fun to make but I am still looking into them – aka I have not got it quite right yet 😉
A nice video on the cedar type candle is Bushcraft Swedish candle Fire Log
Cheers
George