
Last weekend I went for a walk in the woods with my lad Finlay and his friend William. I was planning a bit of a hike however I spotted a glade in our local woods where an area has been set aside for kids to build dens.
This post follows the steps I talked the lads through the principles of shelter building. This is not a full on How To…. guide to shelter building but more of an introduction to the principles of it all.
We had a wander around some of the shelters that had been left up by other groups and talked about the positive elements of each shelter. I find that this focuses the mind on what has worked well and how these elements can be incorporated into any other shelter.
We looked at how high a shelter needed to be, how many walls were really needed, how much thatch was needed and what was needed to keep them warm dependent on different weather conditions.
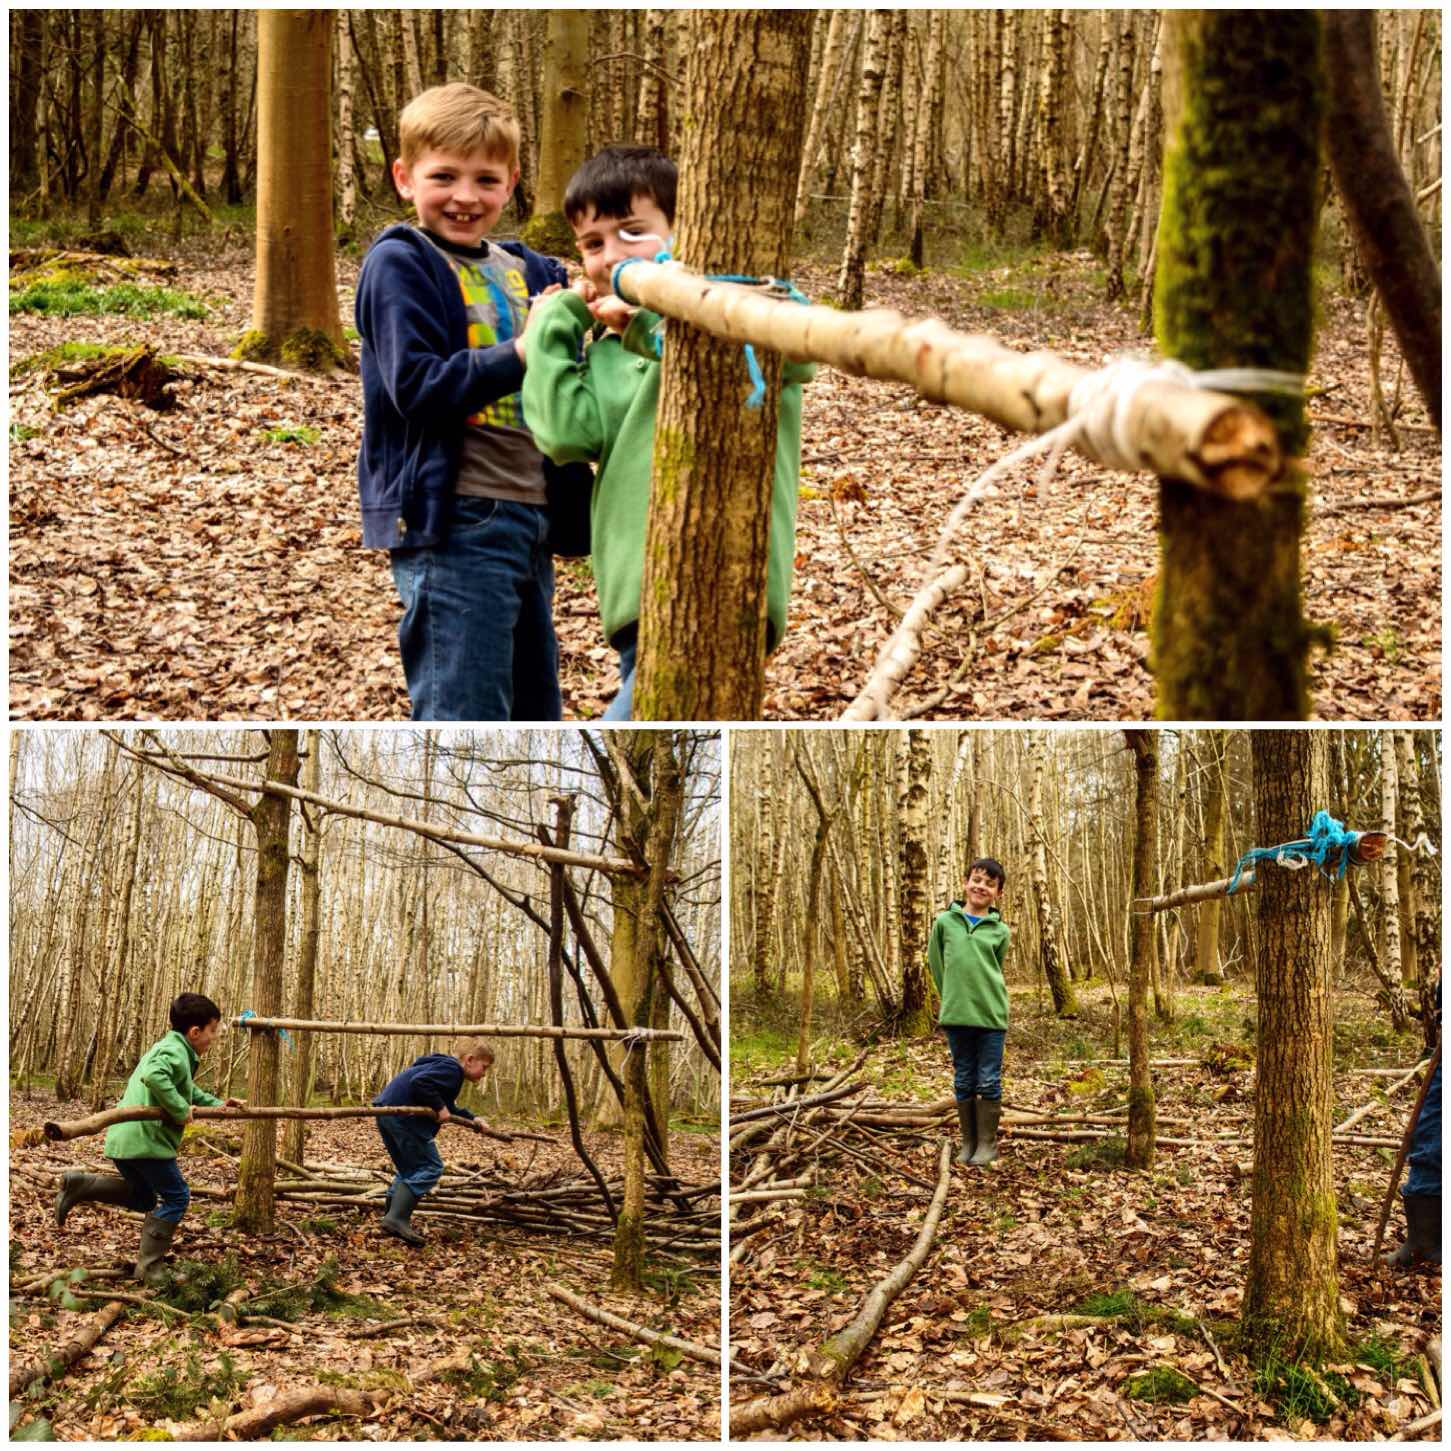
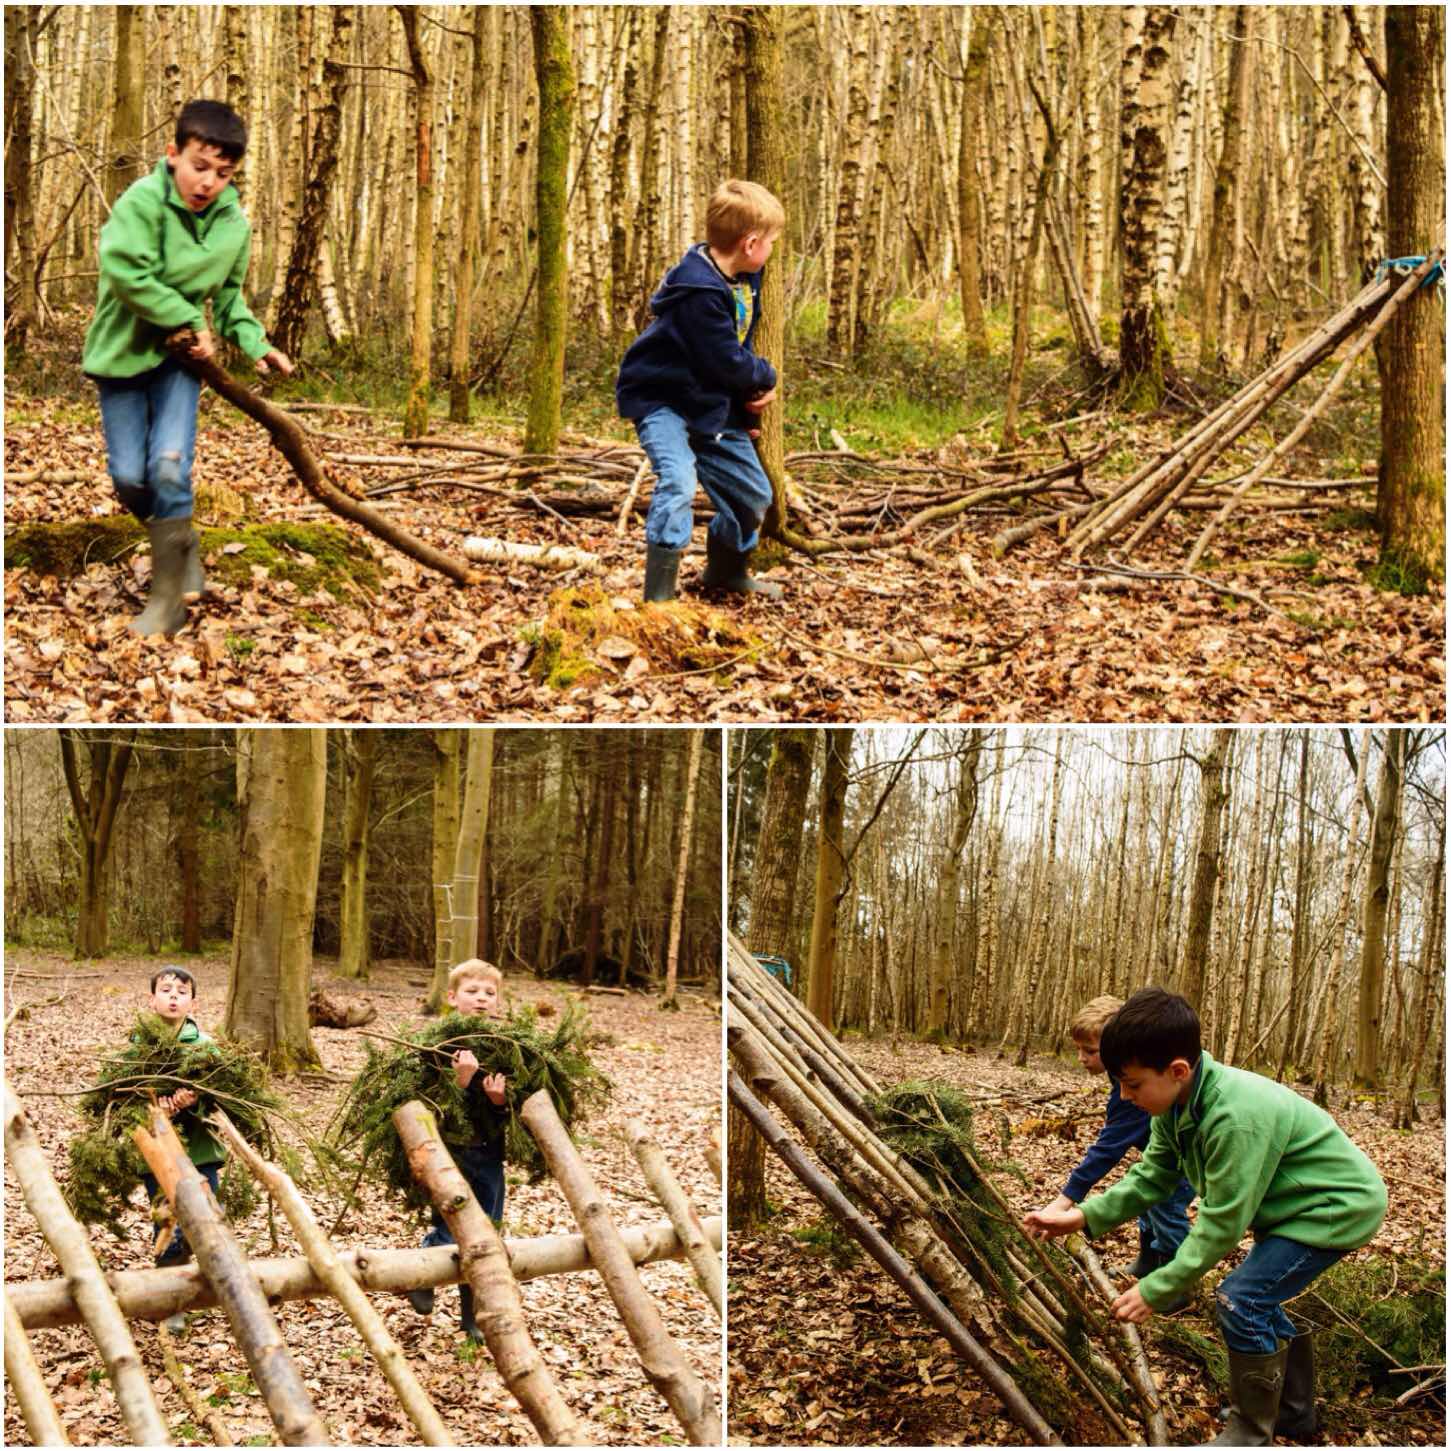
I told the lads that we only had time to build a small shelter (Sunday Dinner was calling) so they found some rope and wood and I showed them how to tie everything together to form a spar. We had no tools at all so had to work with what we had.
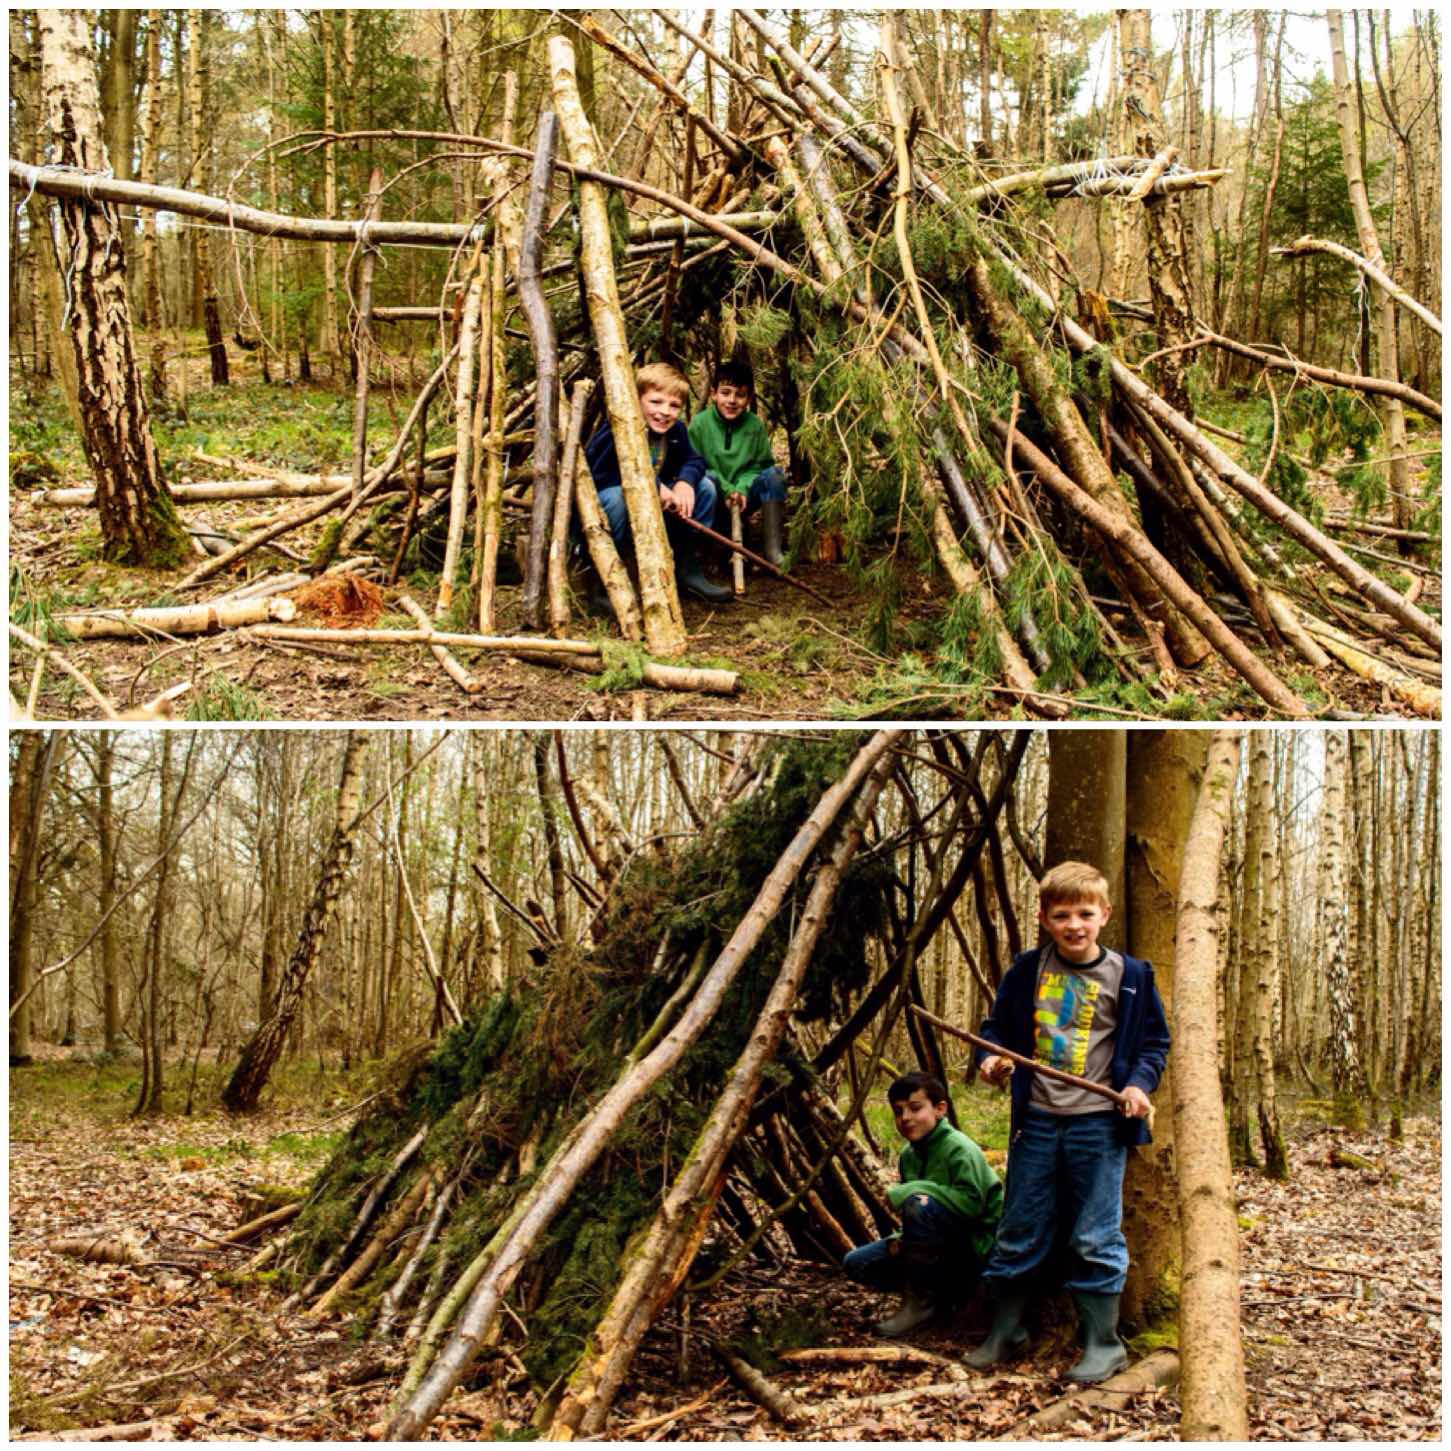
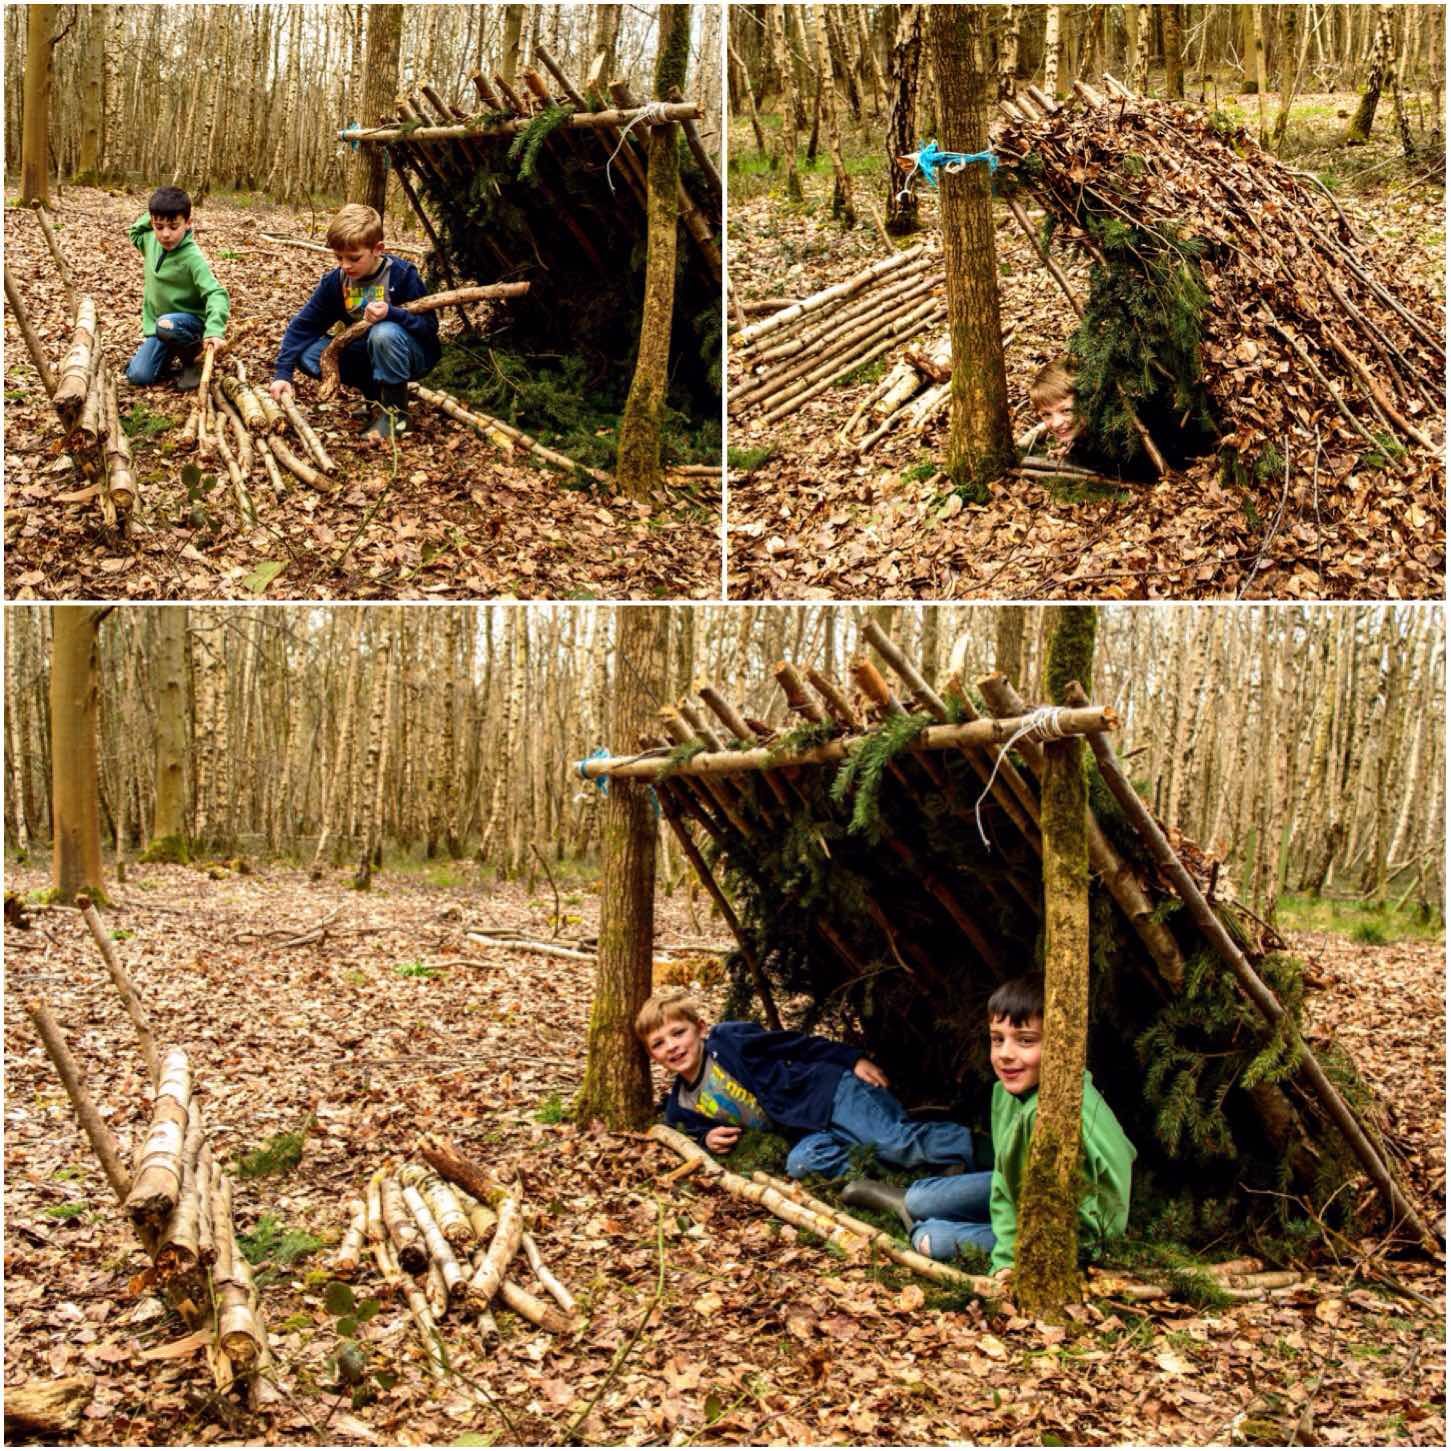
After a chat they opted to go for a simple lean to shelter as this they felt would take the least amount off time.
I told them they would need lots of sticks to lean up against the spar (more than they thought) and that they needed to be roughly the same size. After a quick demonstration on how to snap wood using the base of two tree trunks that were close together they were soon hard at work.
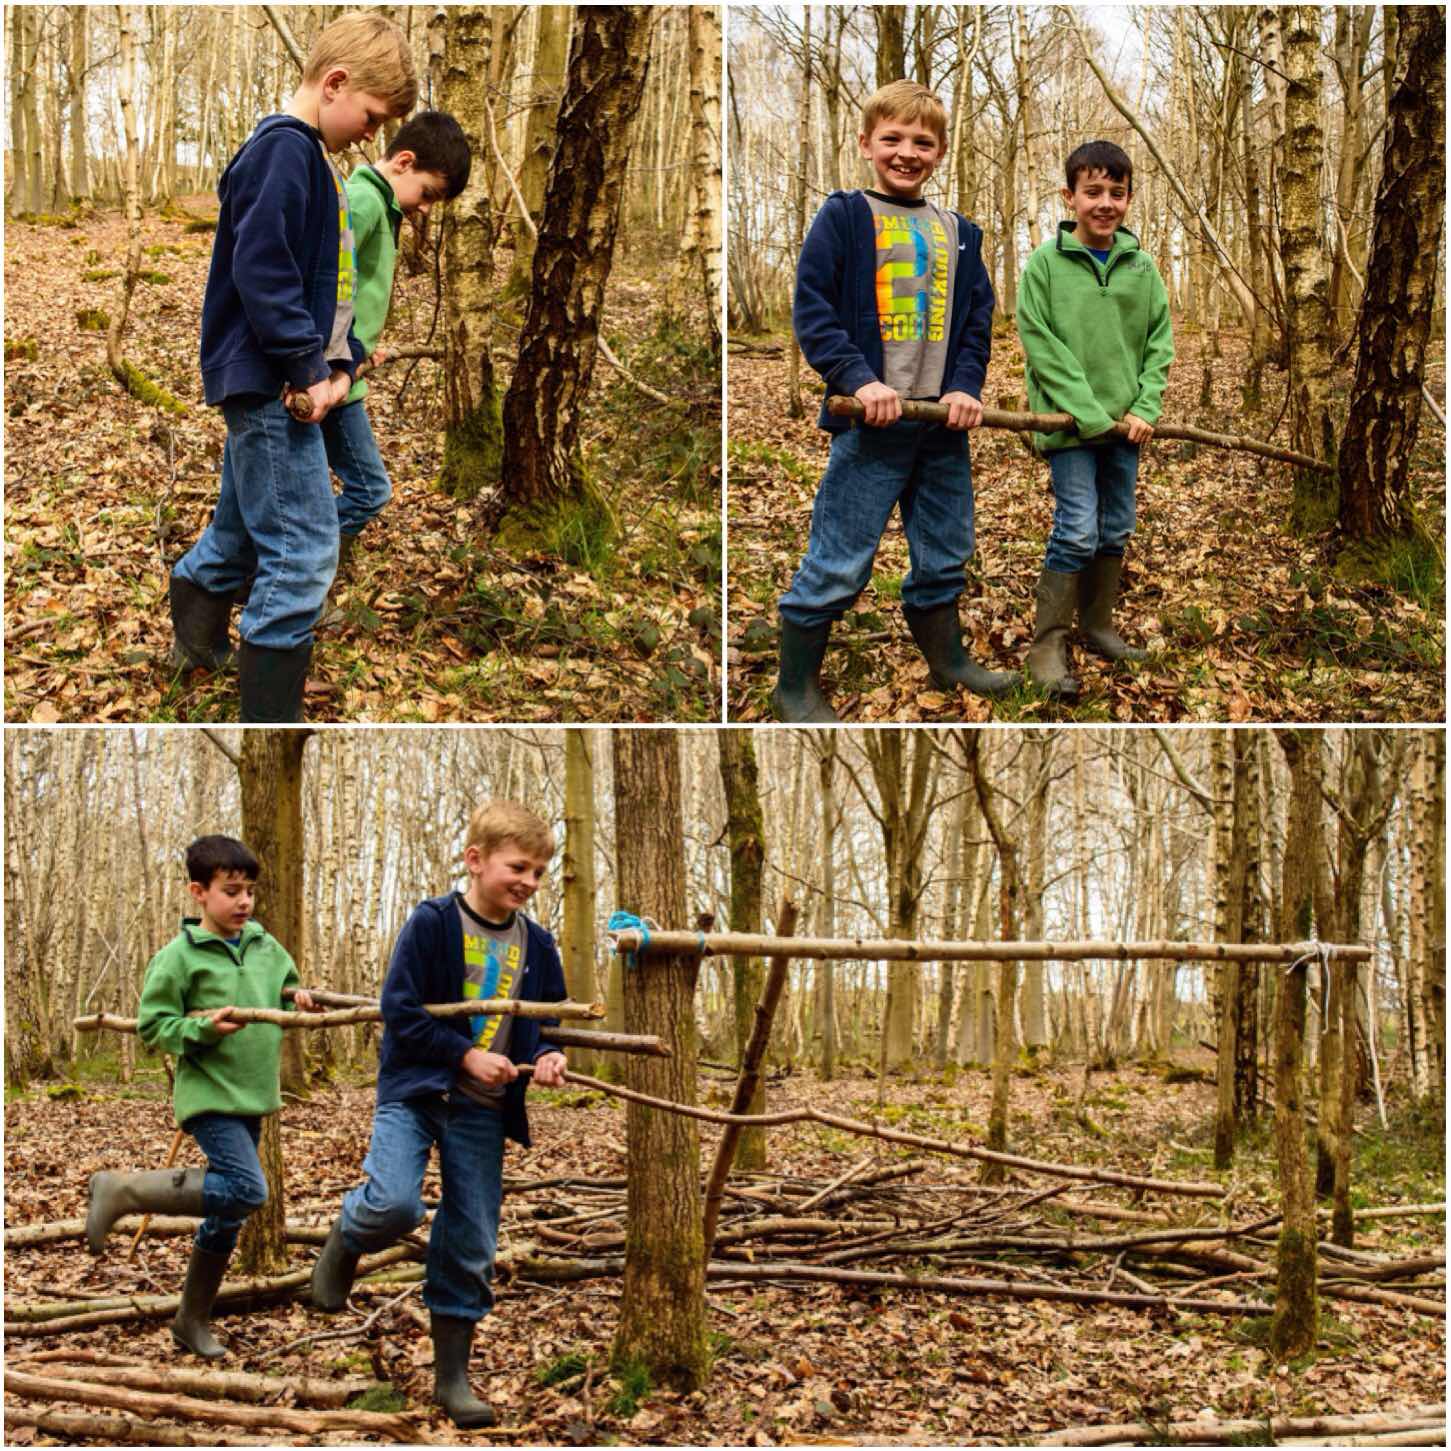
We put a pole on the ground to roughly mark out where each pole should be driven in and soon they had the basic skeleton of the shelter formed.

One of the hardest things to get across to them was the need to always have a tidy working area. we had lots of dead wood lying about so I made them clear it all away from the shelter so we had a safe area to work in.
Once that was all done we had a good forage around for some spruce boughs. There were plenty lying around that had been cut down by the foresters for the kids to use (I wish all woods had an area like this).
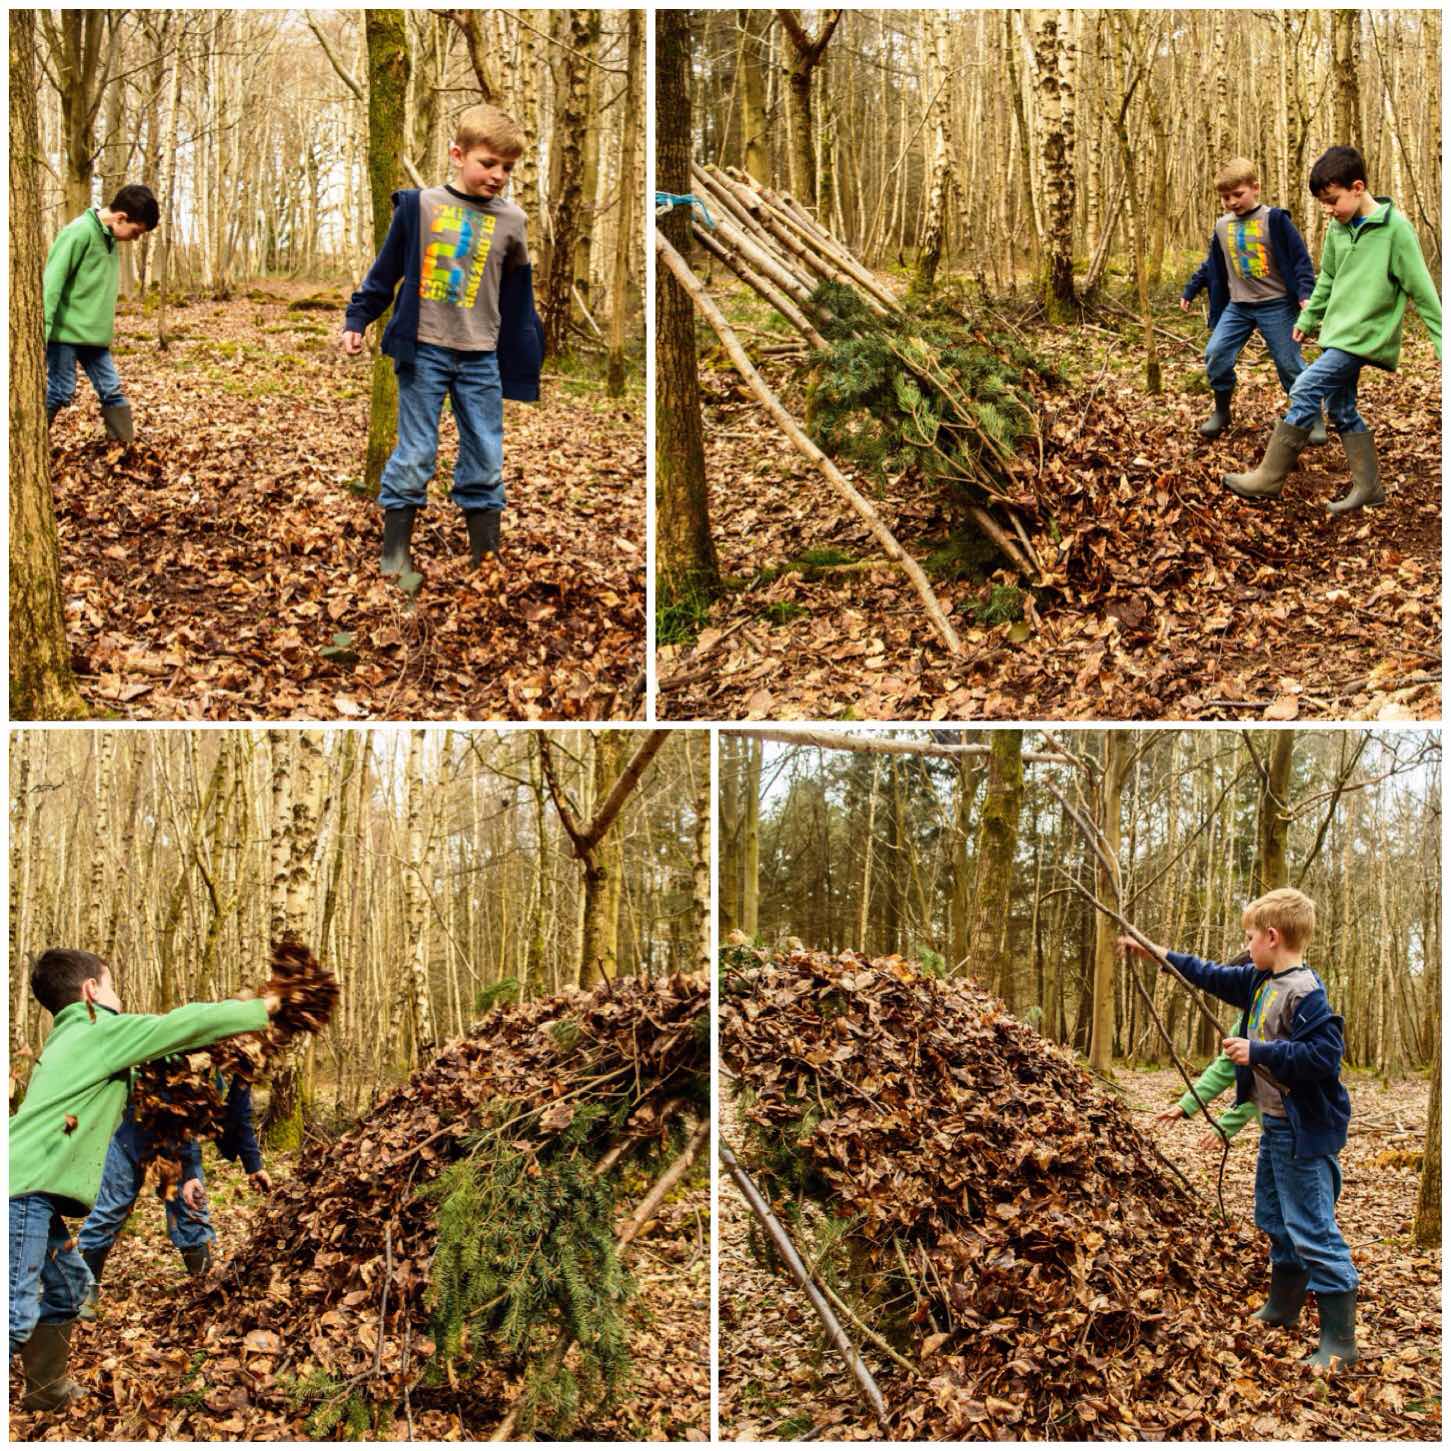
After layering some of the spruce boughs onto the skeleton of the shelter I got the boys doing the penguin walk. This is the way I get the kids to gather up lots of leaves in a very short space of time. They would quickly make little piles of leaves and throw them over the spruce boughs.
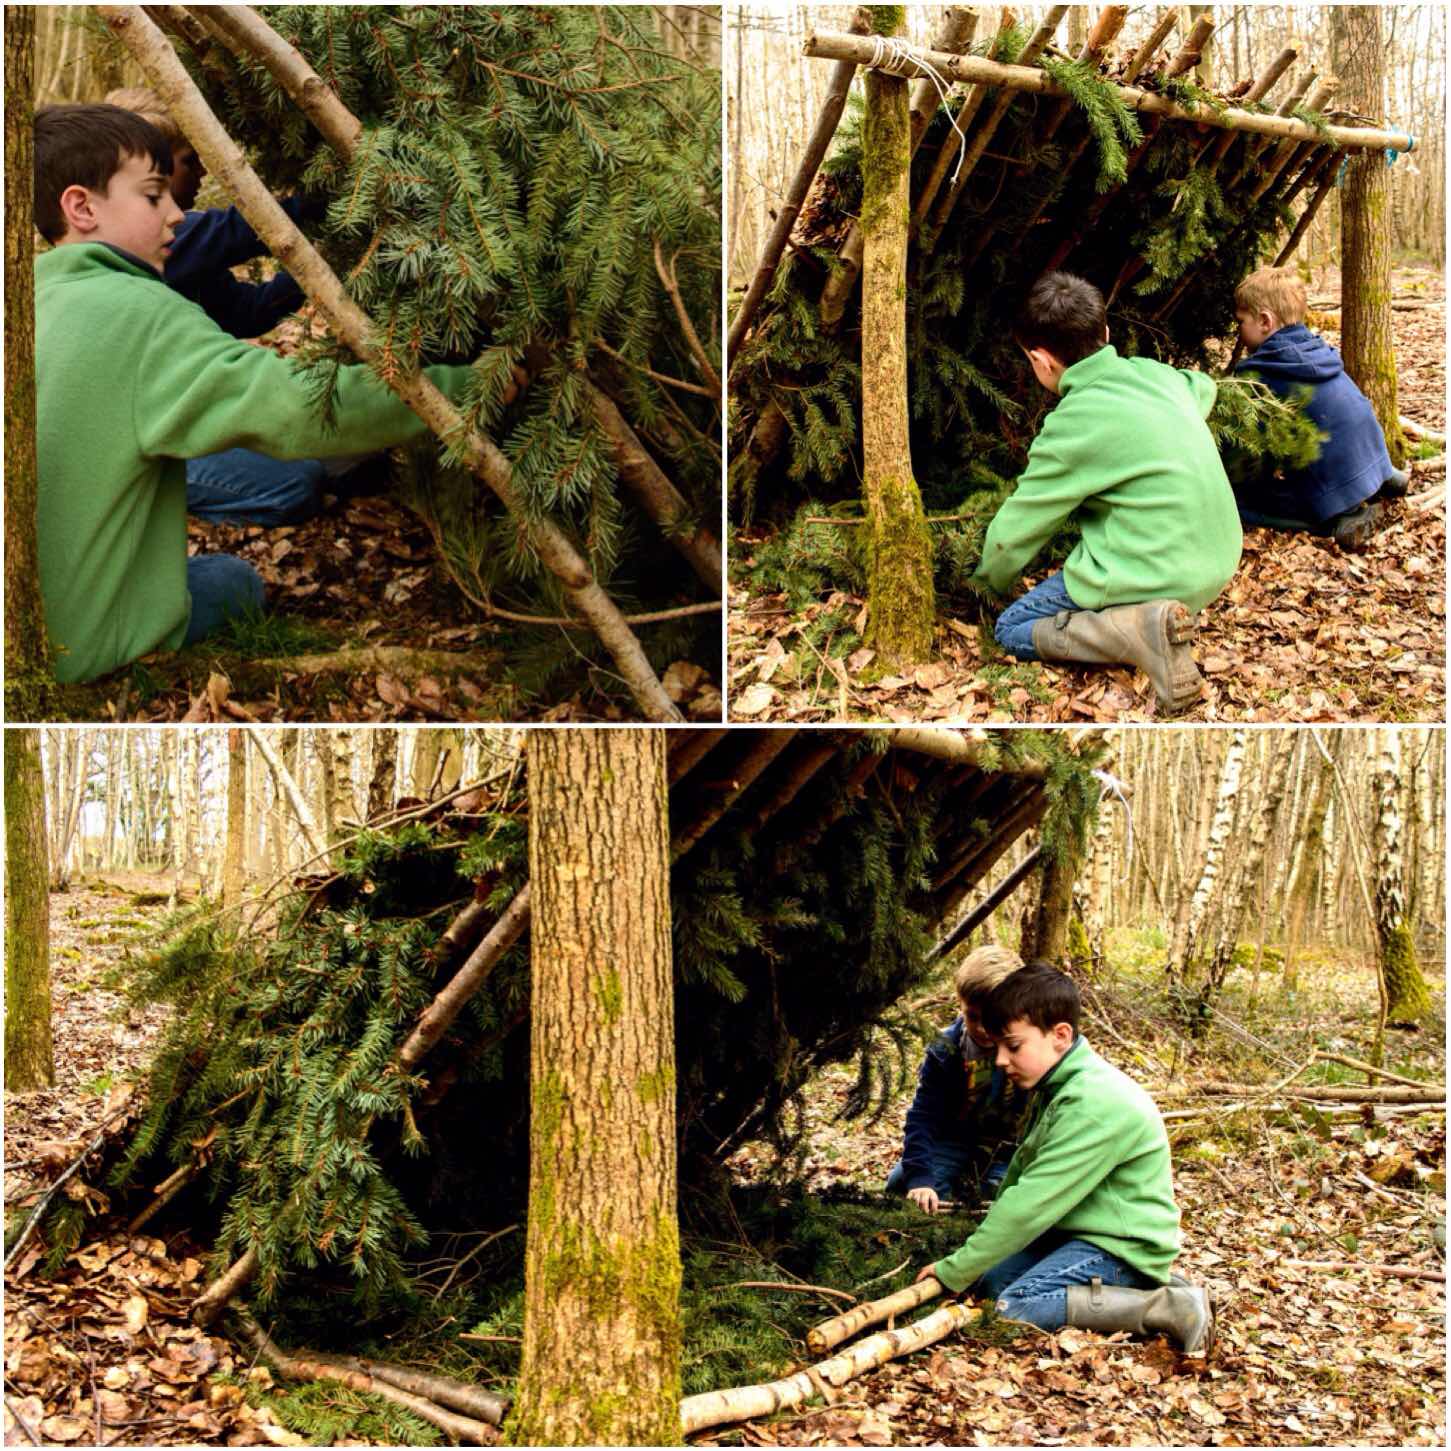
Once the bottom half was all done they got some more spruce boughs for the top and covered that in leaves as well. Finally to keep the leaves in place they laid a load of small sticks over the leaves (to try and help stop the wind from blowing it all away).
Once they had finished the outside it was time to sort out the interior design. They spent a little while weaving back in all the loose (well some of them) spruce needles back into the thatch.
Once that was done they foraged for some more spruce and made themselves up a little bed to keep themselves off the cold earth.
We did not have permission to have a fire in the woods but that did not stop us from pretending – after all that is what we kids do 🙂
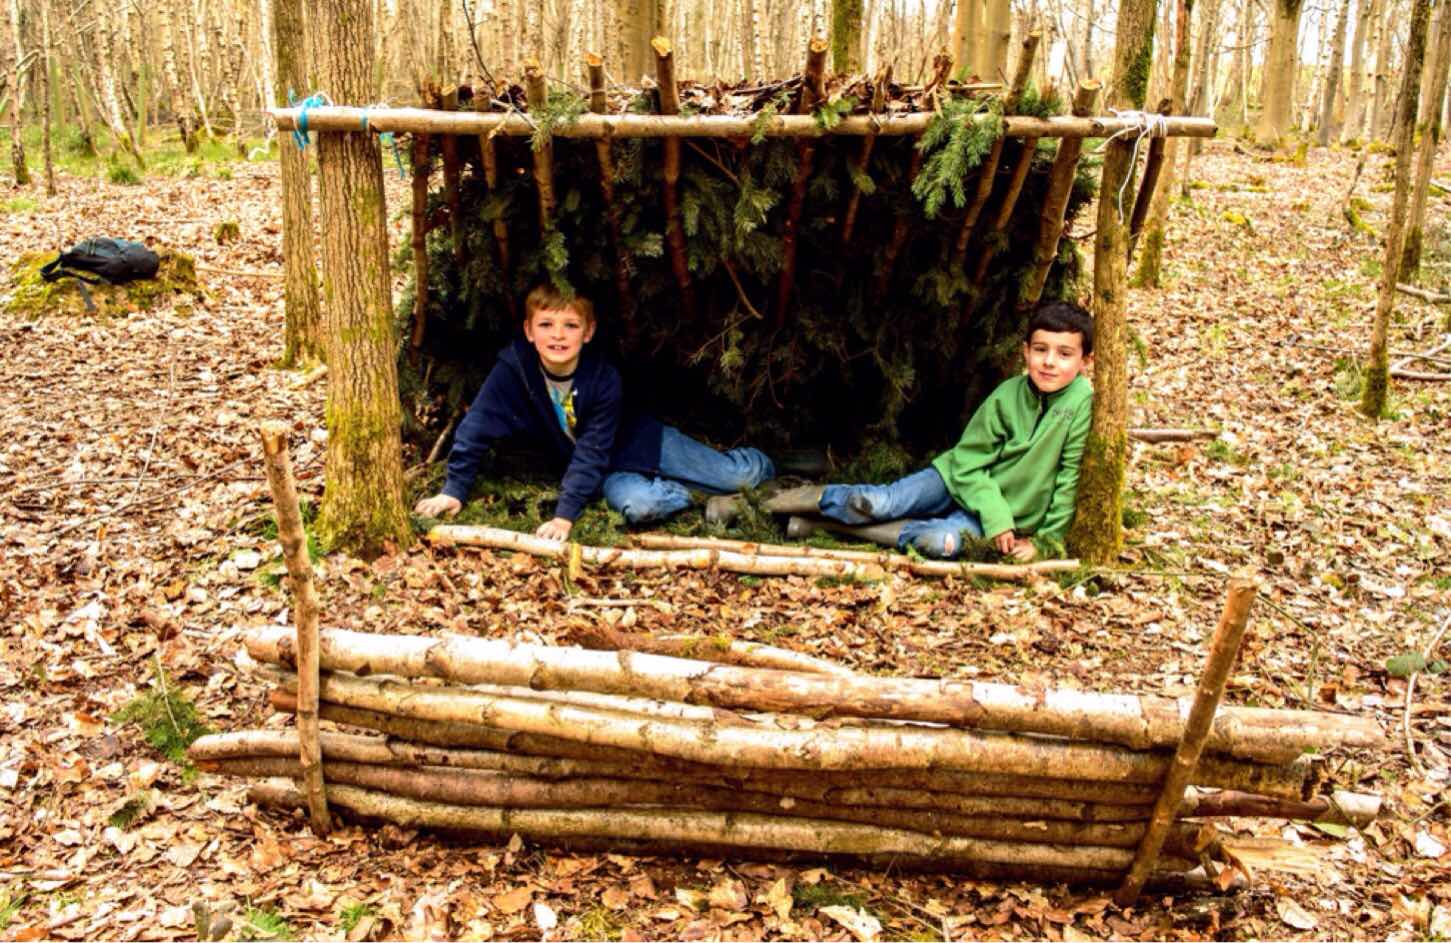
I got them to build themselves a heat reflecting wall in front of the shelter (about two paces from the shelter). They just pushed two sticks into the ground and stacked some logs up against them.
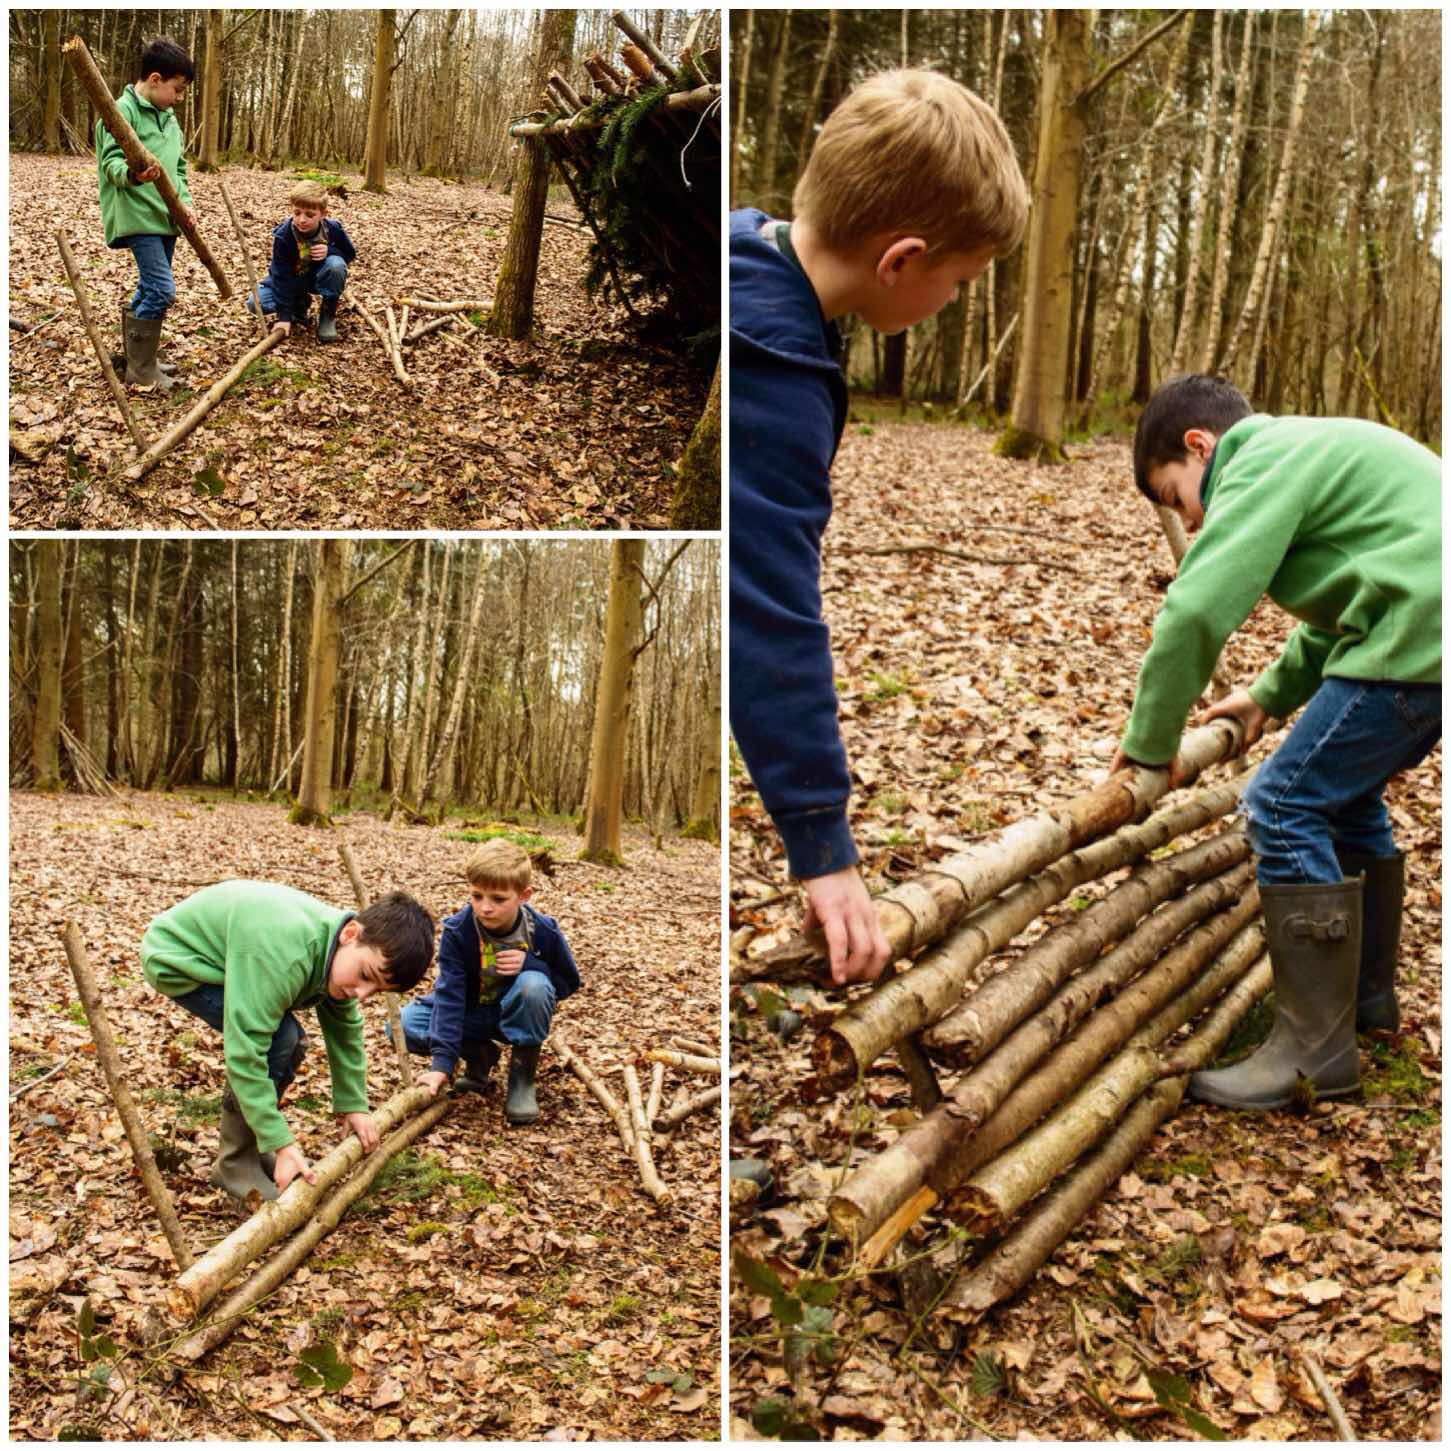
All that was left for them to do was construct their long log fire (one step away from the shelter) and relax.
This took us about one and a half hours to complete and managed to have fun along the way as well.
As I said this was more about the principles of shelter building (done really to help towards one of their Cubs badges) and not a full on How To…. to building a shelter. If we had more time we would have put about 3 times as much debris over the top, the bed would have been raised up with a much thicker mattress of spruce and the sides would have been closed in.
Oh yeah – and the kettle would have been on 🙂
Cheers
George