
Welcome to Part 6 of this series on bushcraft candles.
On my ‘to do’ list was the Raappanan tuli candle. From my research on candles it seems that this is the original Finnish candle. I became aware of this type of candle from reading Perkele’s blog (link to the aticle at the end of the post).
It is a simple but effective system using only one log. The log provides the support limbs and the tinder/kindling.
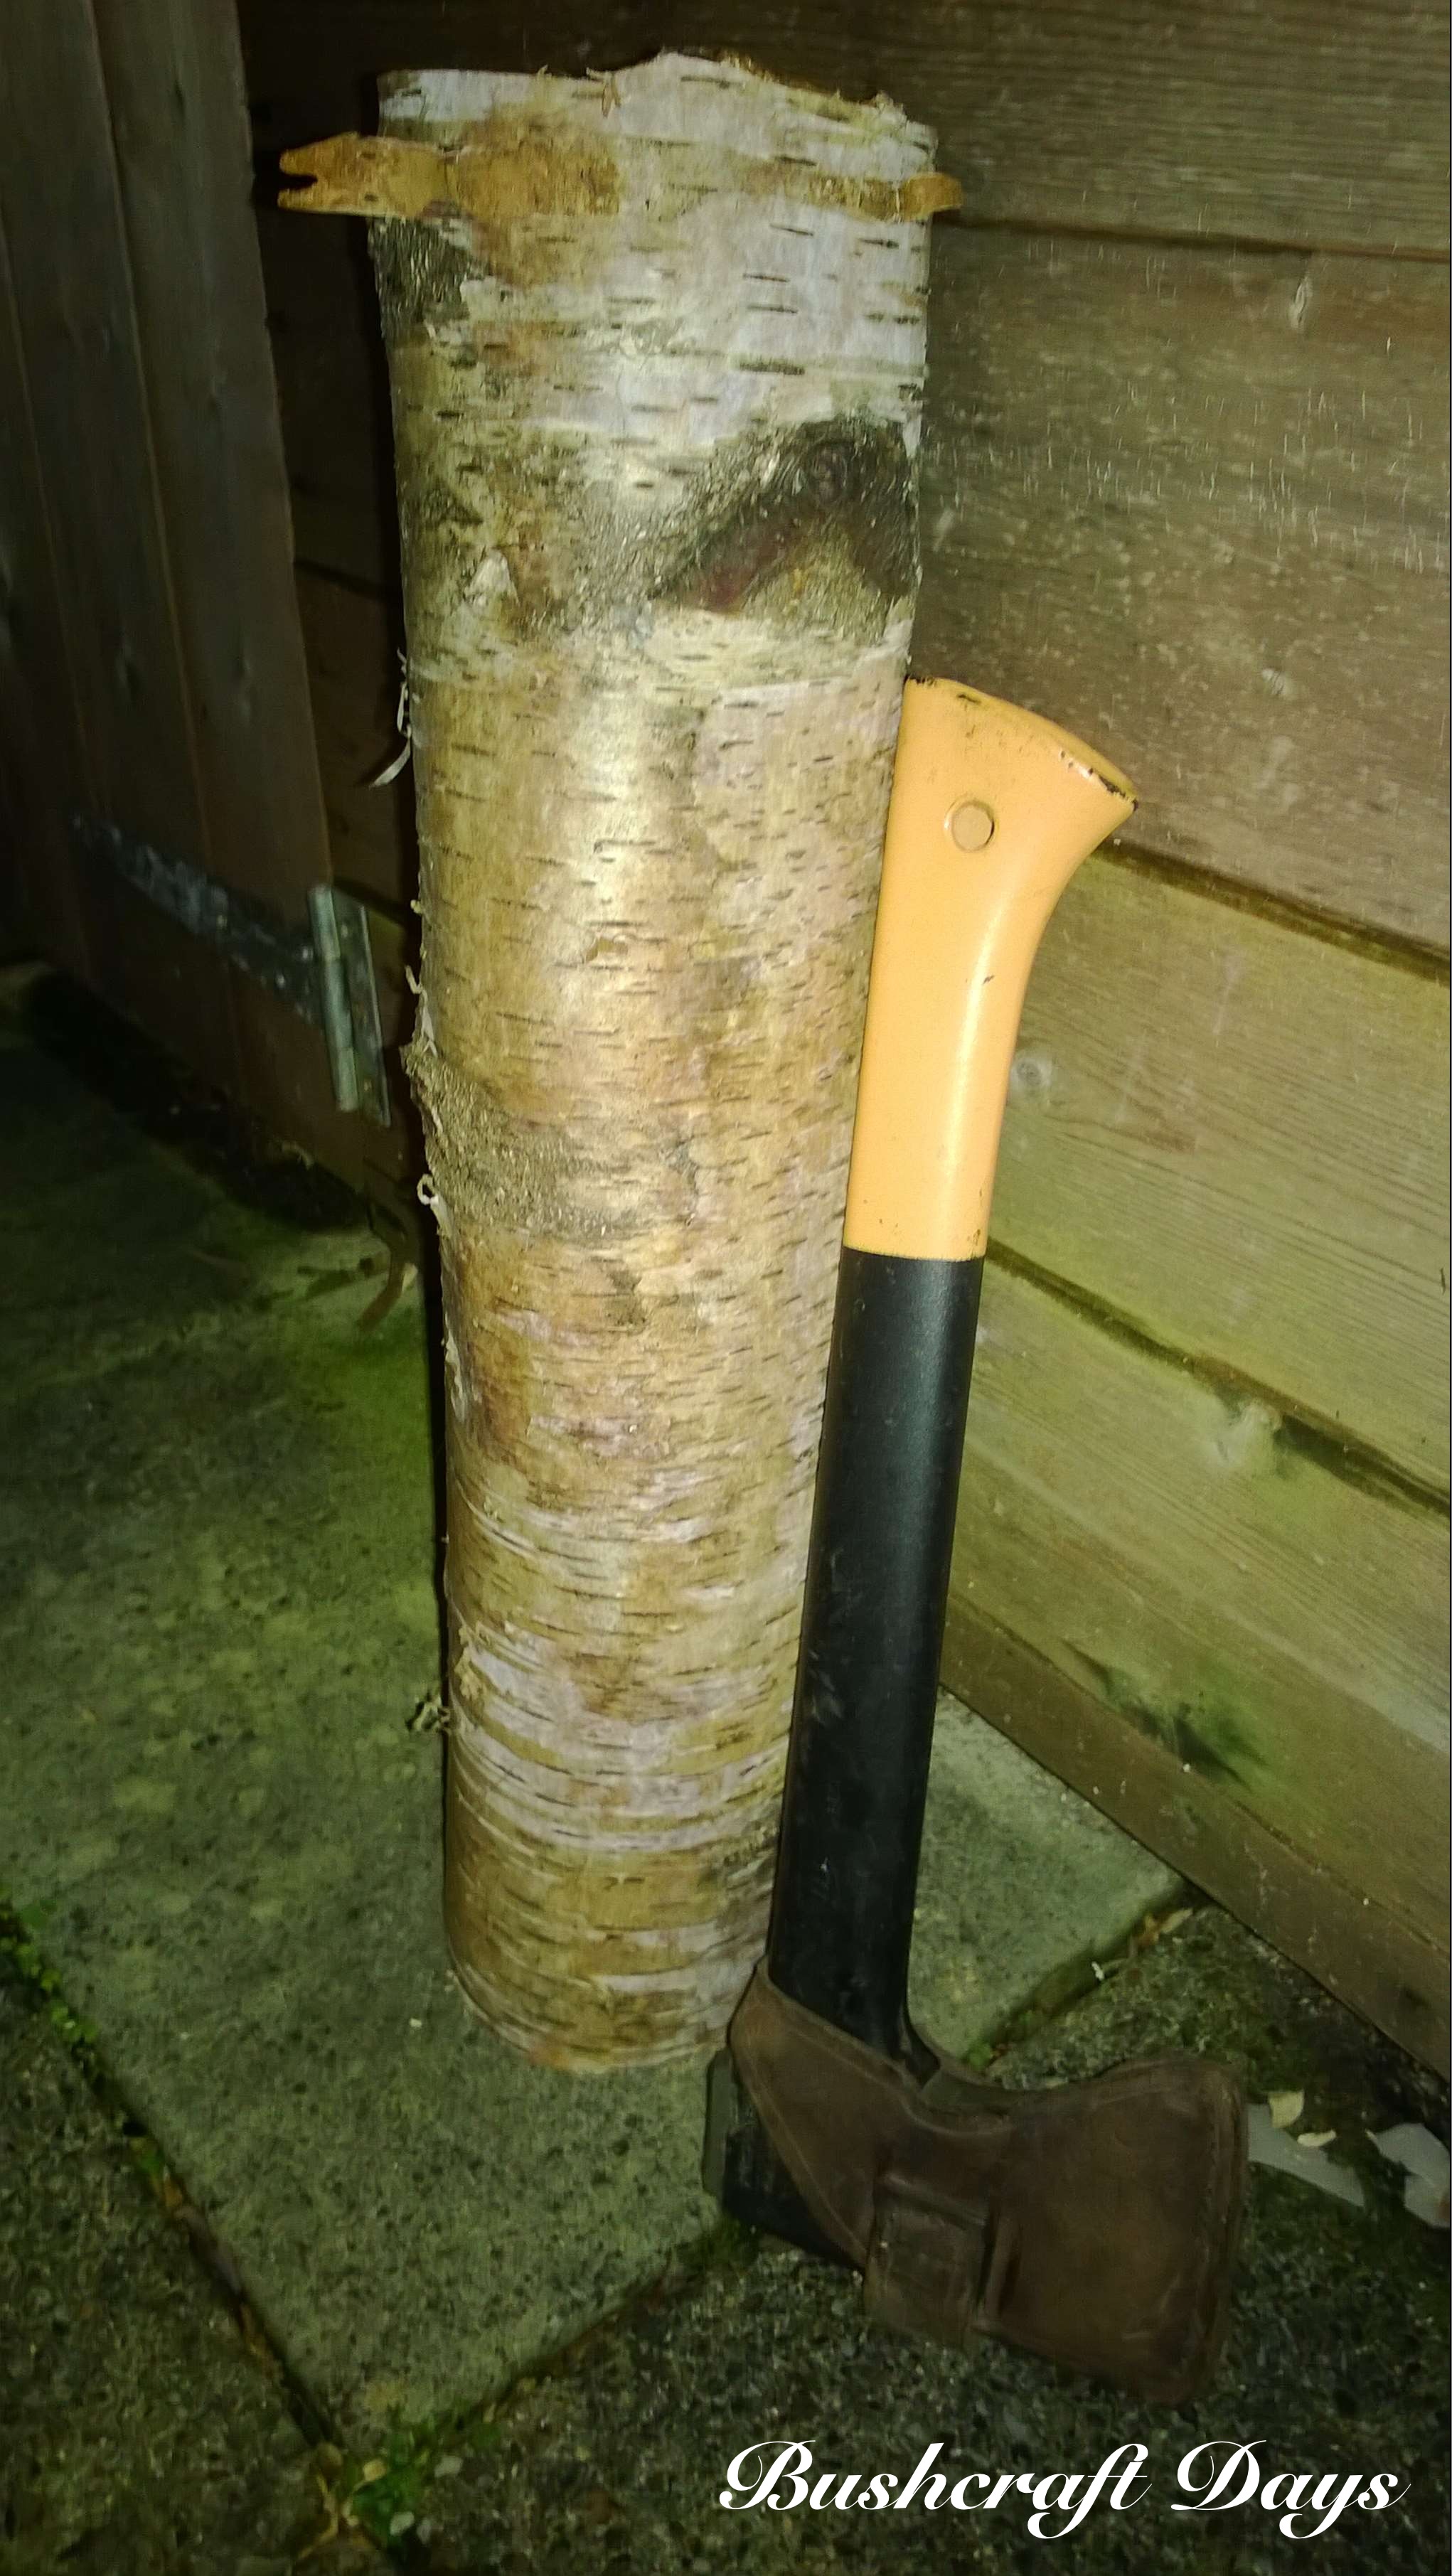
This system works very well in dry cold environments where you have well seasoned dead standing timber. I, on the other hand, had a few pieces of damp birch collected from the woods a couple of weeks ago, but decided to try it out anyway.
The log I used was 45cms in length.
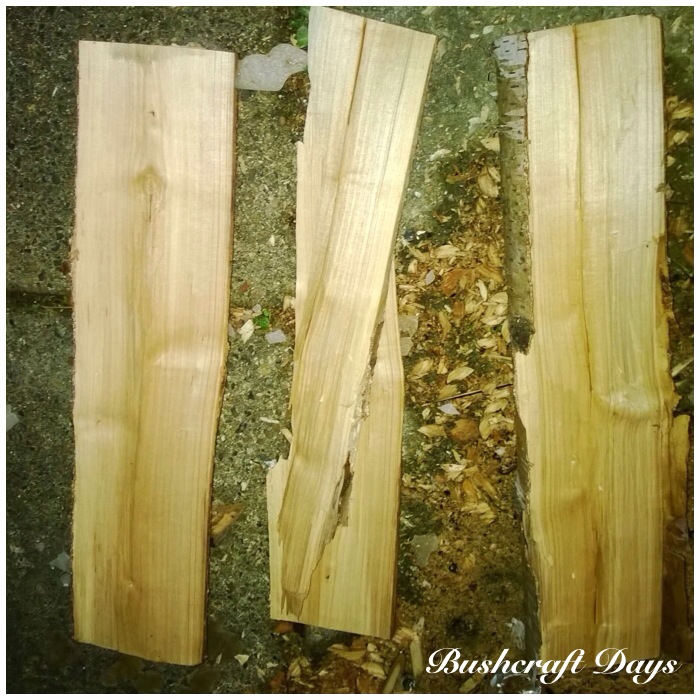
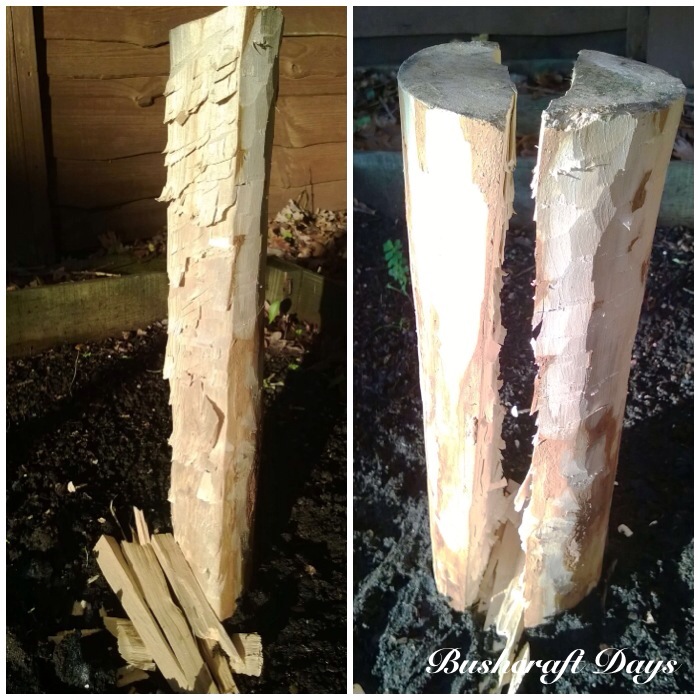
Firstly split the log but not right in the centre – slightly off centre.
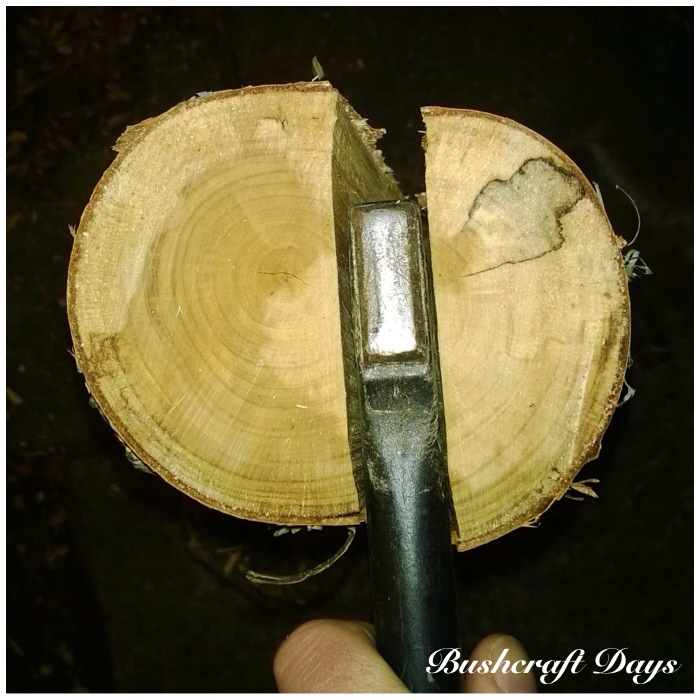
Then split off another piece about the same size from the other side so that you are left with a flat piece of wood in the centre.
The wood did not split straight down so I ended up with two centre pieces.
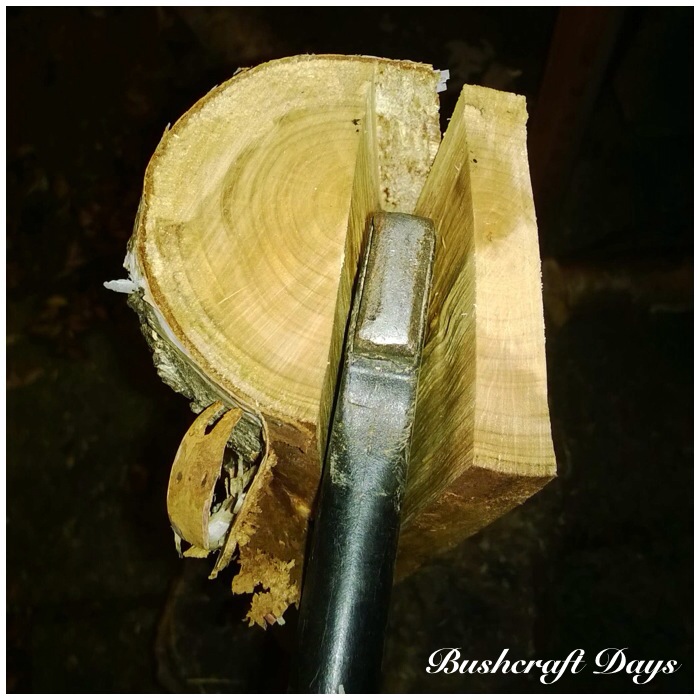
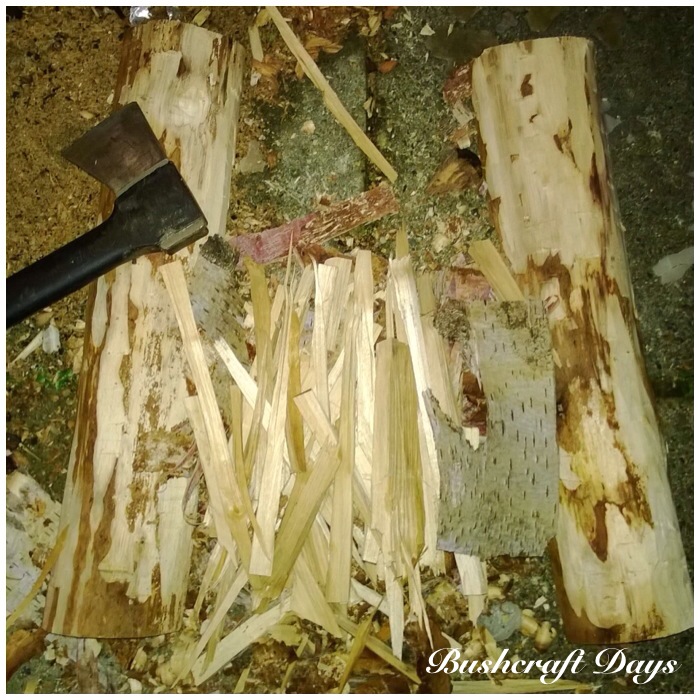
After splitting the centre pice into kindling I shaved off all the bark to use as tinder.
Then using your axe, chop into the split areas of the support limbs (the full length) to create a fuzz stick effect. This will give something for the flames from your initial fire to catch on to so that the limbs start to burn quickly.
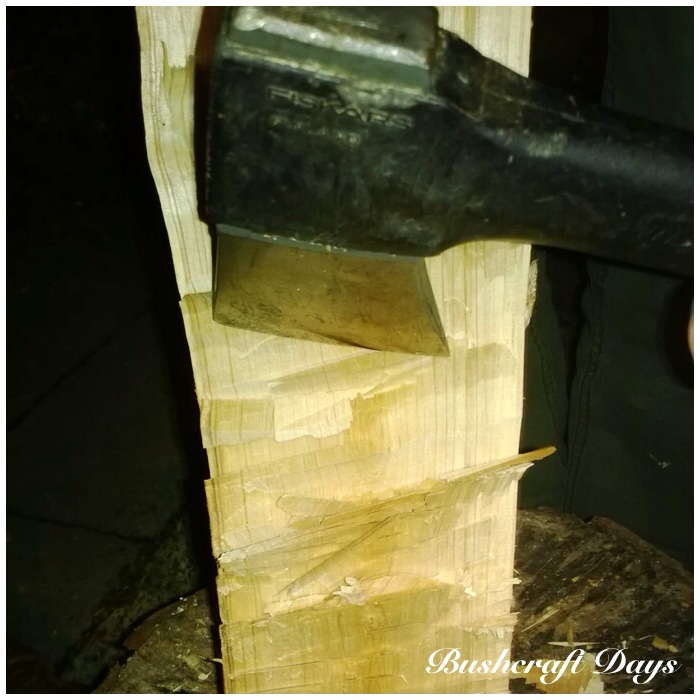
Two large fuzz sticks. This technique multiplies the surface area the flames have to catch on to.

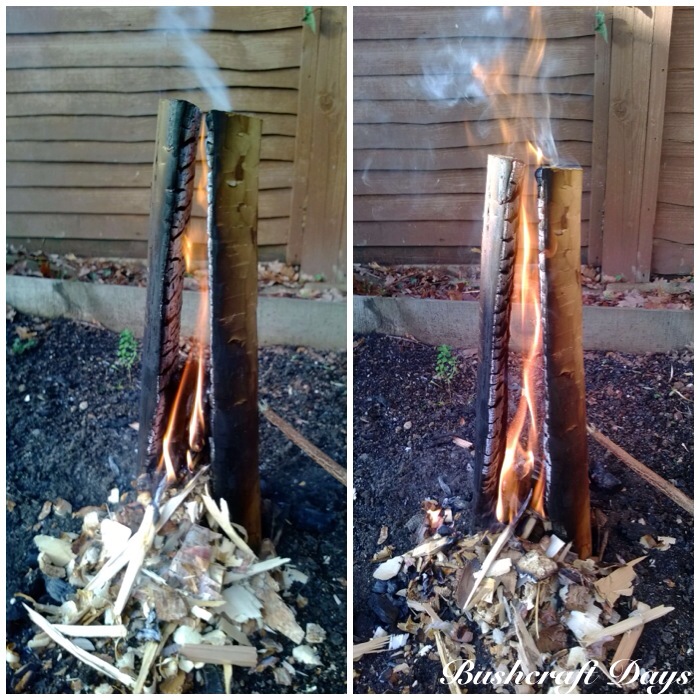
The set up is very simple. I banged one limb into the ground, laid some kindling flat on the ground (the ground was wet) and banged in the other limb. If you were using a wider but smaller log stability would not be such an issue.
The support stick was just a twig dug into the ground and jammed up against one of the limbs that I was concerned might fall over.
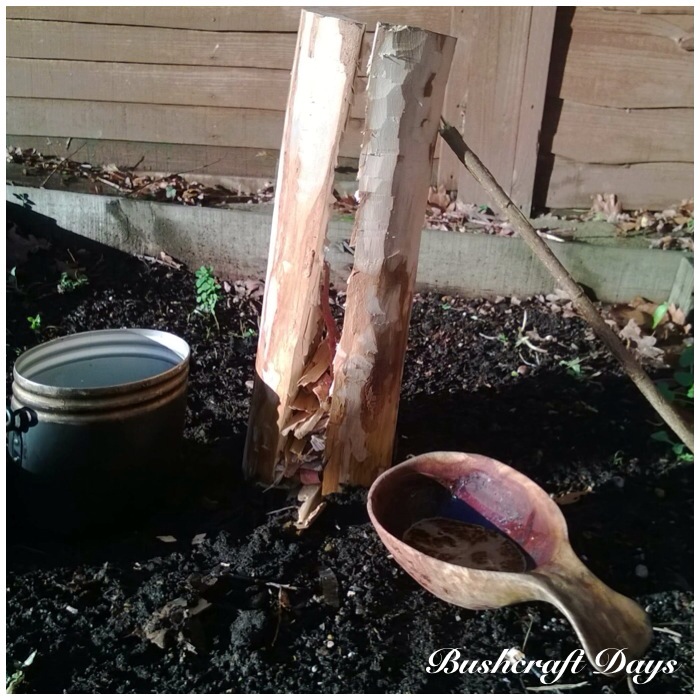
I stuffed loads of birch bark and small wood shavings into the gap and lit it.
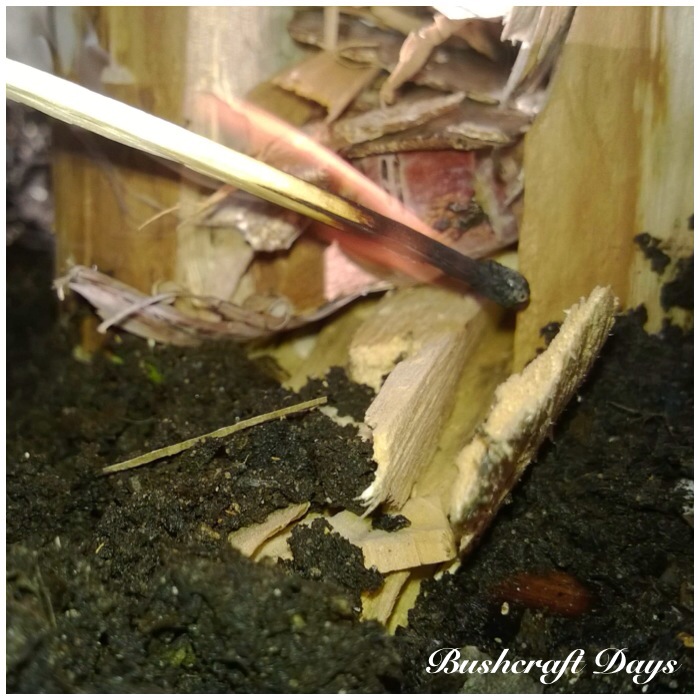
The kindling went up well but due to the dampness of the log the limbs would not catch fire at first. I had to continually feed the kindling into the burn area and soon ran out without the limbs catching fire.
The bottom of the limbs had caught fire but would not self sustain.
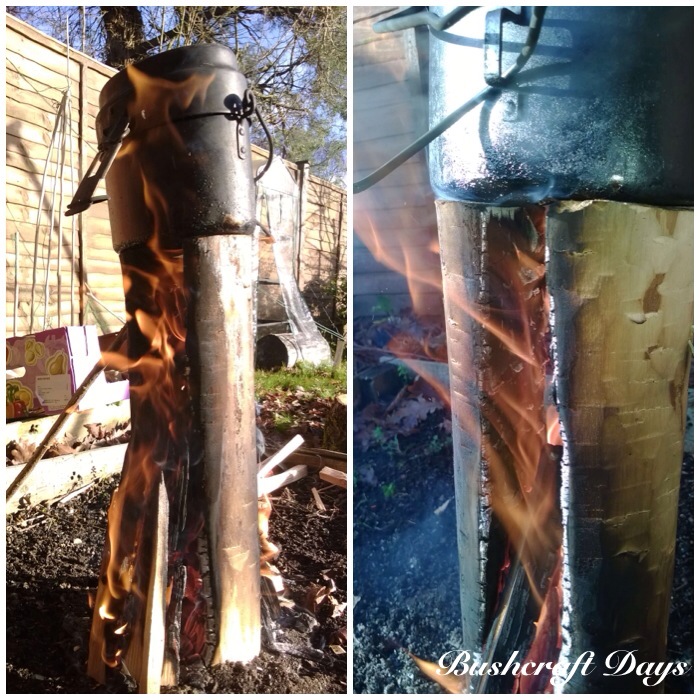
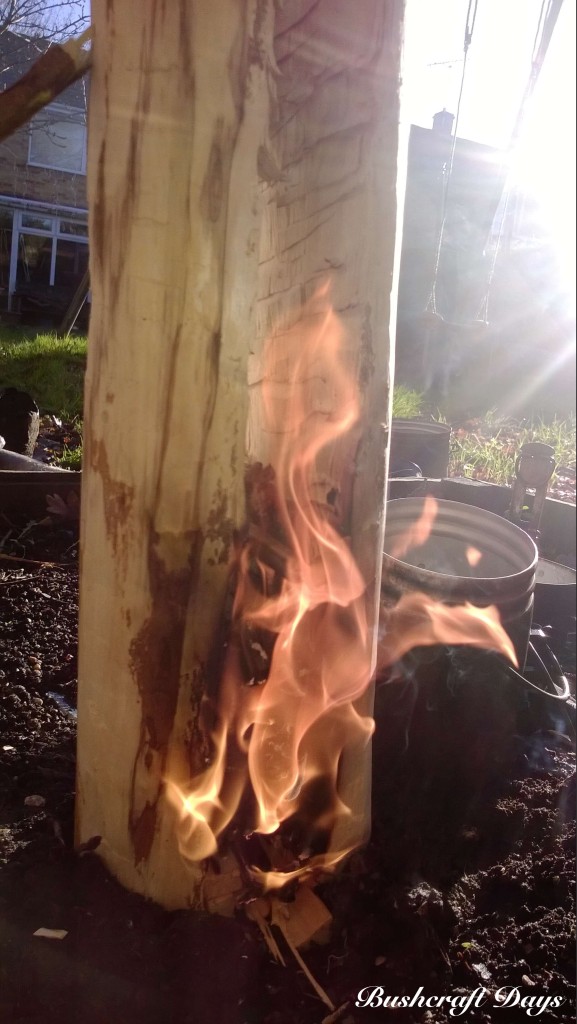
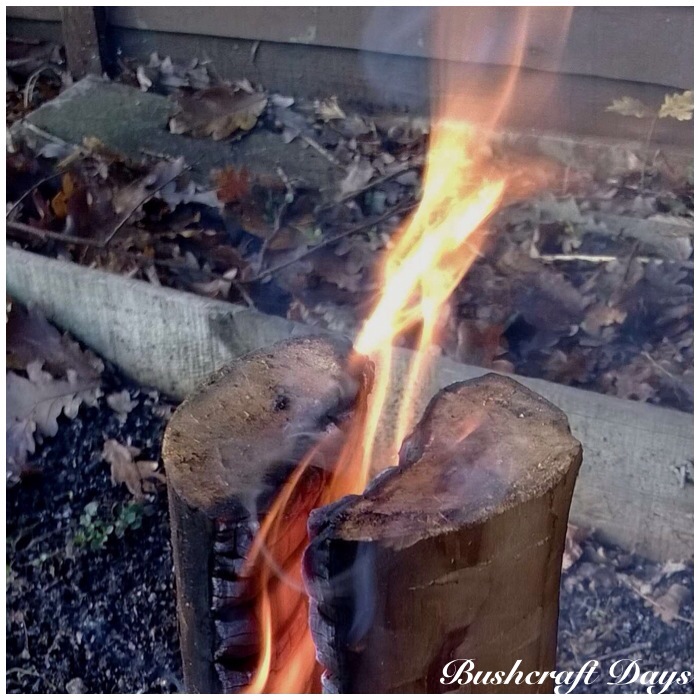
Plan B was to get a dry log from inside my house (one that had been intended for our open fire), split it and place the dry kindling in a vertical position instead of a horizontal lay. This totally transformed the candle.
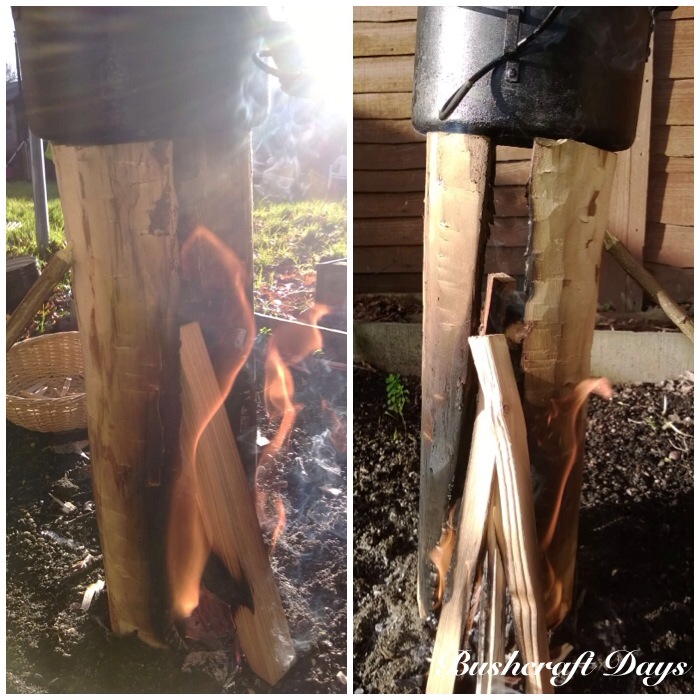
In no time the candle was lit the whole way up both limbs.
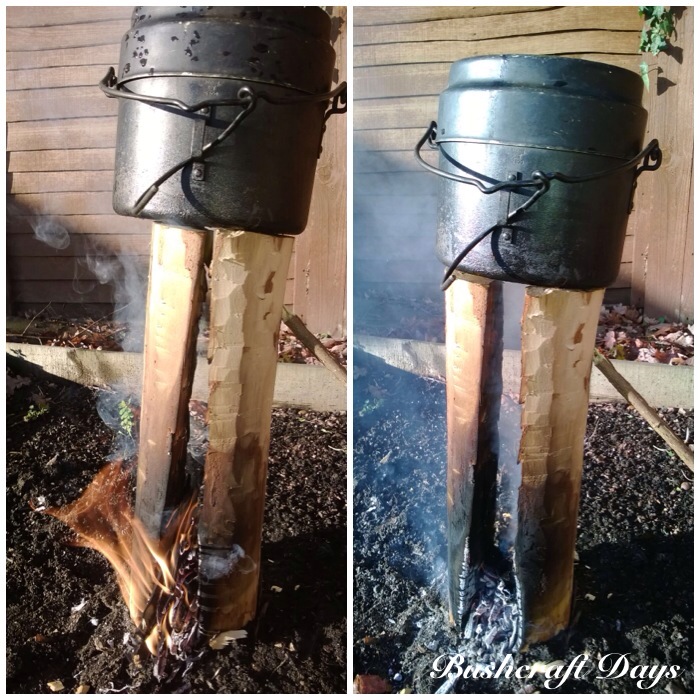
From the point when I added the vertical kindling the pot took less than ten minutes to boil.
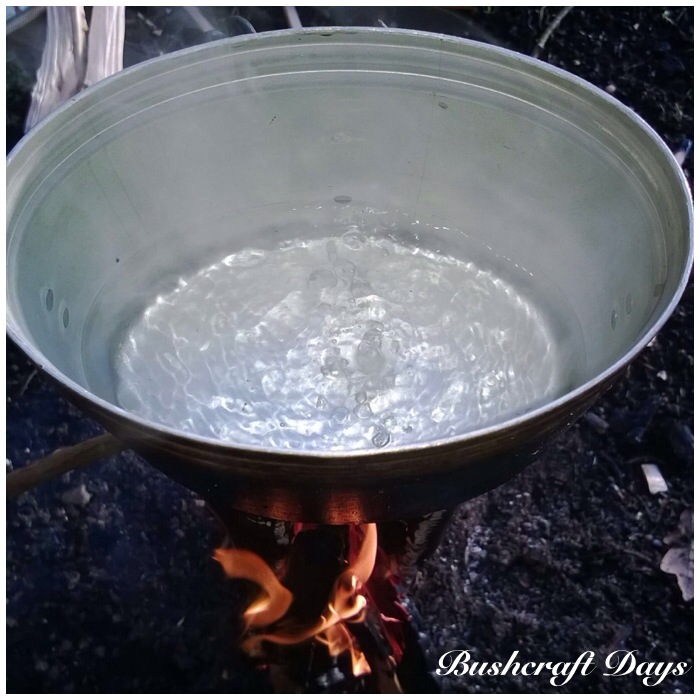
Happy to get my brew.
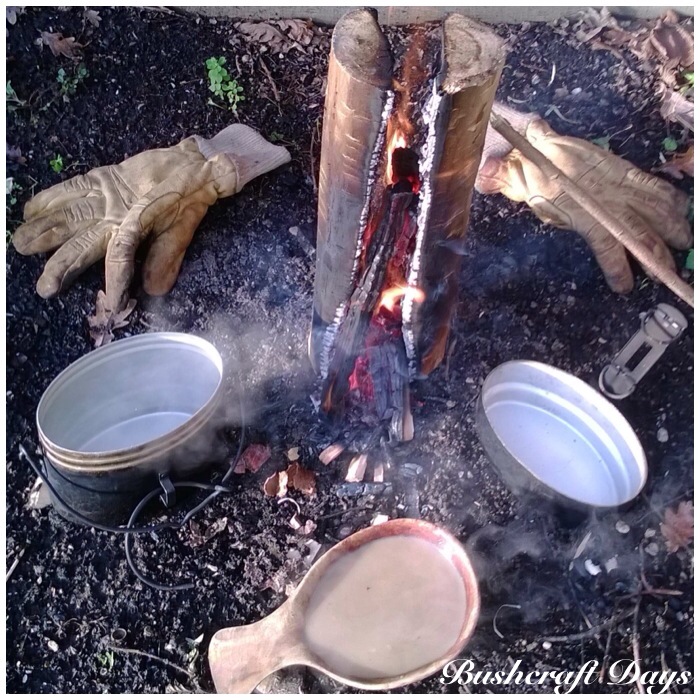
I let the kindling burn down to see if the limbs would stay alight but they were still too damp.
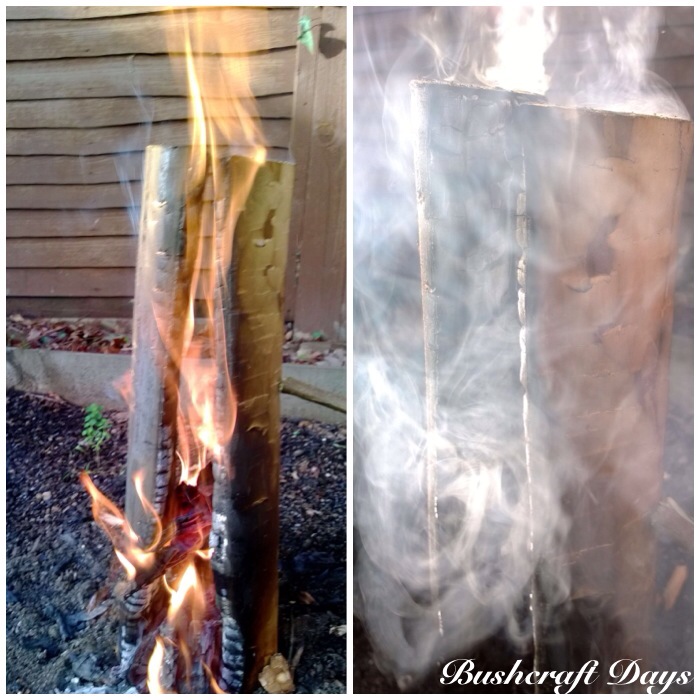
Here you can see the area on the top where the moisture was being boiled out.
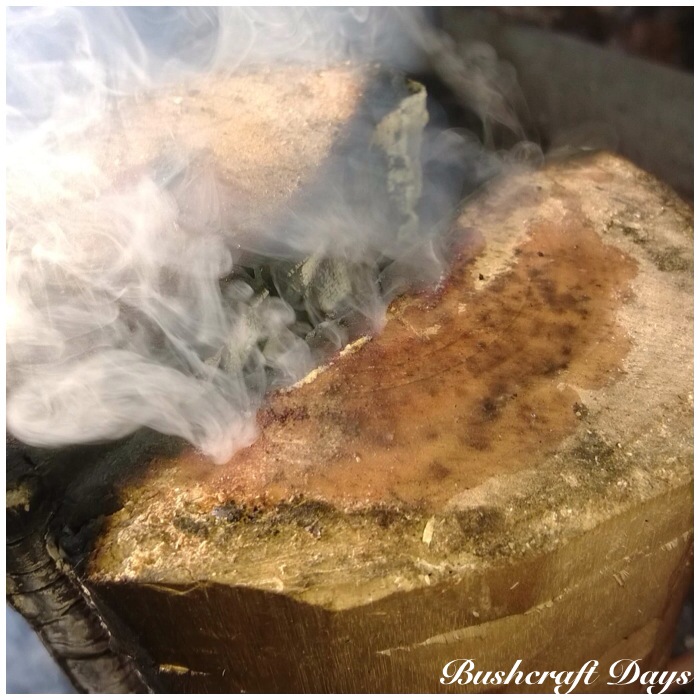
About 30 minutes after the start of the fire the logs finally started to burn on their own. Got quite a nice fire face out of it as well.
I added the last of my damp tinder and kindling and the limbs finally started burning freely.
I found this candle a real challenge to keep going but that is not because the concept is wrong, but because this type of candle needs to have really dry wood to work well.
I am sure that when I try this again with dry wood it will go like a rocket. It is such an simple and effective method and I wish I had been making this type of candle years ago.
I have written six articles on different candles so if anyone has ideas on other candle types please leave a comment on their idea below.
Cheers
George