Skilling up in the New Forest

Recently I have been reading a lot on social media about how kids and adults seemingly do not interact enough with nature. This is now the fourth year I have written about our annual trip to the New Forest so I would like to say that whoever writes these general stories has never been out with the Sea Cadets. We immerse both our cadets and staff in nature, so much so that they keep coming back for more. This is the story of just one of the many expeditions we run throughout the year.

This particular expedition is arranged each year so that we can skill up our cadets and staff in Adventurous Training (AT) activities and also to support the annual HMS Hood Remembrance Service at Boldre church in the New Forest.

Photo 24-06-2016, 17 12 58
The Crew

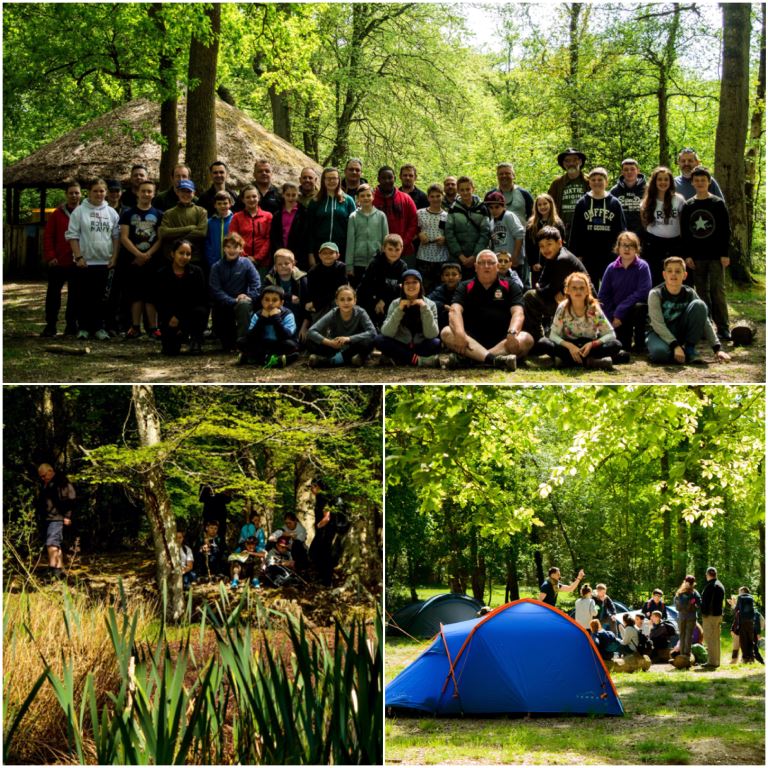
The weekend is organised by Chief Petty Officer Paul Townsend (City of London Sea Cadets) and we have cadets and staff attending both from London and Southern areas.

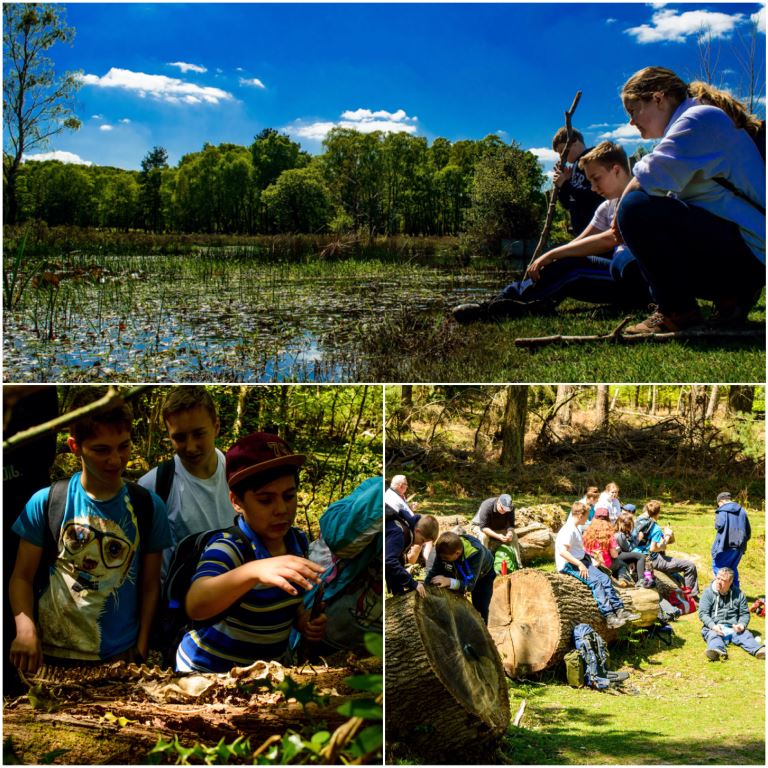
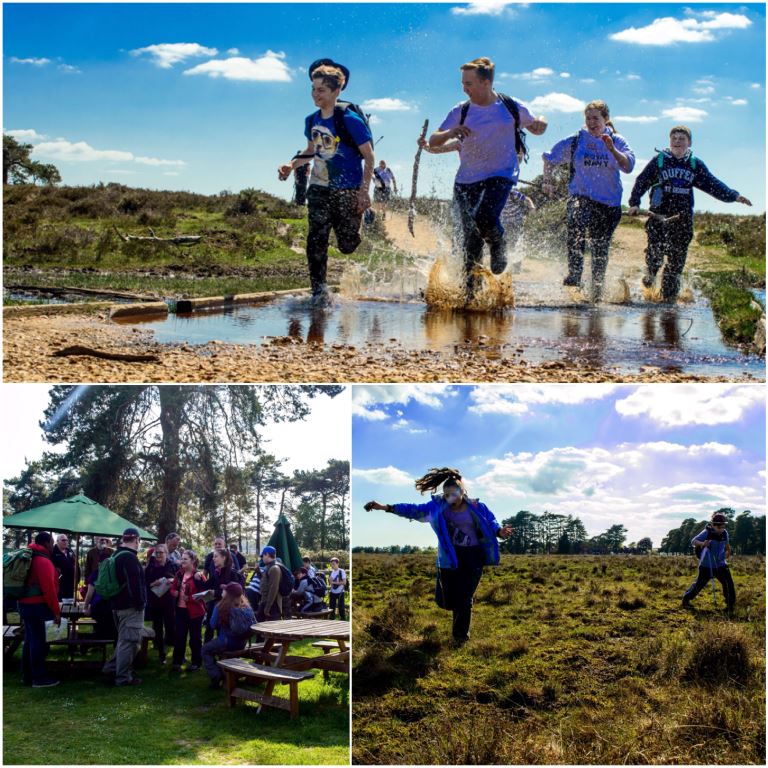
Our aim is to immerse everyone fully in nature as well as teaching them the traditional AT activities such as map reading, compass work and camping. This weekend saw the cadets finding the skeleton of a fox, observing pond life and scrambling all over the woods.

Photo 24-06-2016, 17 14 20
Relaxing and Exploring

We have various groups set up over the weekend focusing on different skills. There was a group for the Juniors, various groups for the older cadets and a Duke of Edinburgh’s (DofE) group out as well.

I took out a group with Paul, Jess and some of the older cadets, The cadets were looking to gain various camping tickets and Jess was under training for her Basic Expedition Leaders (BEL) award. This requires her to have a high level of navigation skill however it also requires he to have the skill to pass that knowledge onto others.

Photo 24-06-2016, 17 15 58
Map and Compass work

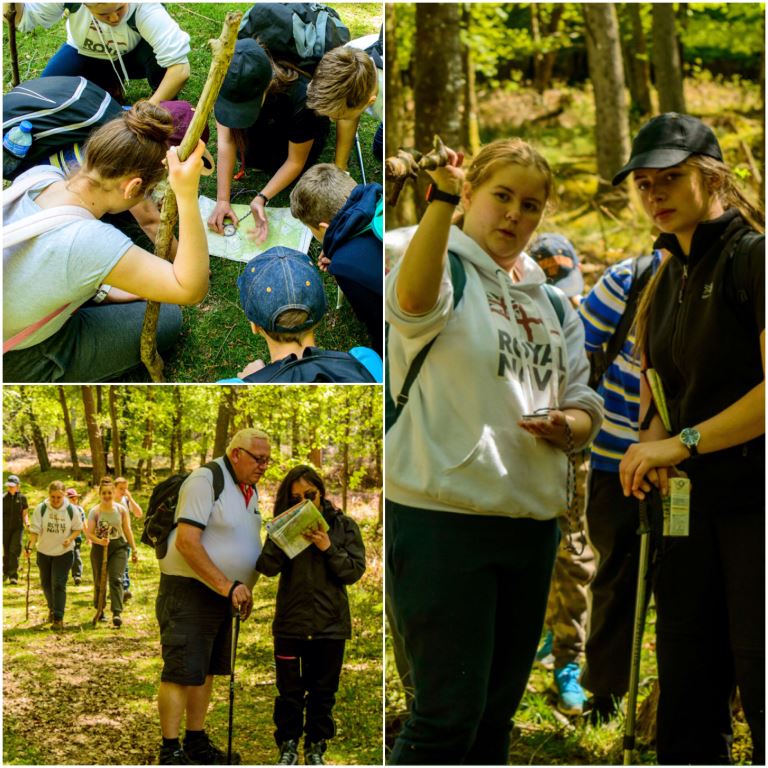
Now it is not all hard work and no play by any means. Soon the cadets were flying through the puddles and we took time to rest up on the Saturday afternoon at the hotel near Beauly Rd station. On the way back to the campsite at Ferny Crofts the way got pretty boggy so it was fun watching the cadets trying to keep there feet dry. They soon learnt how to select a good route along the way.

Photo 24-06-2016, 17 17 49
Fun for all ages

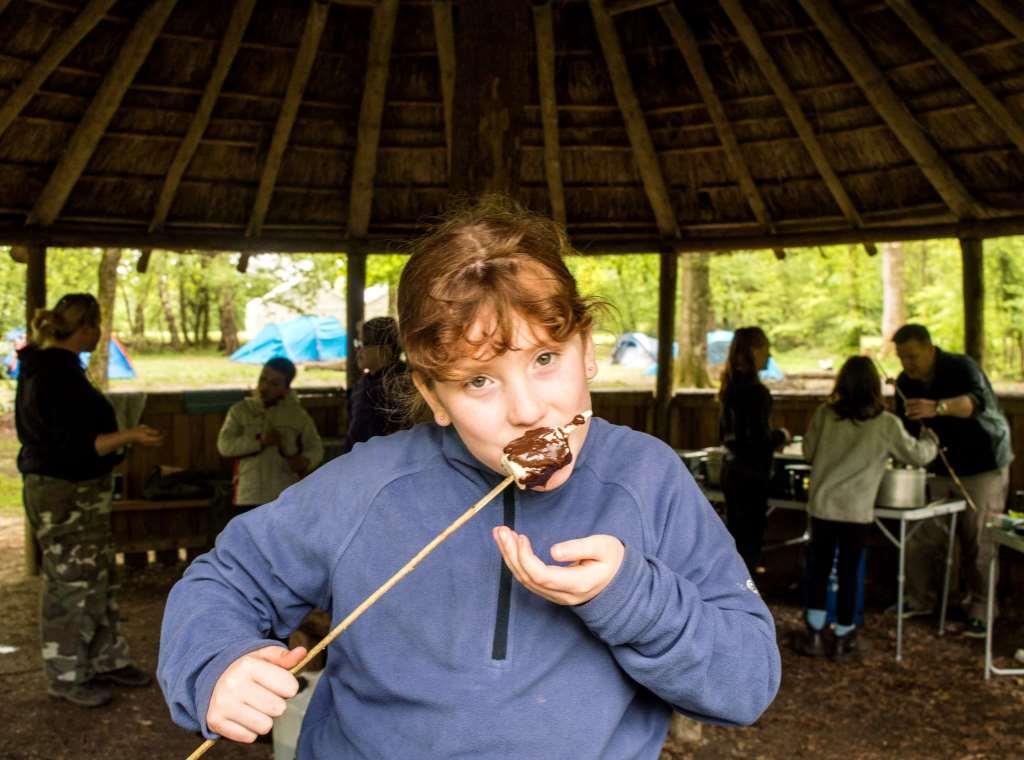
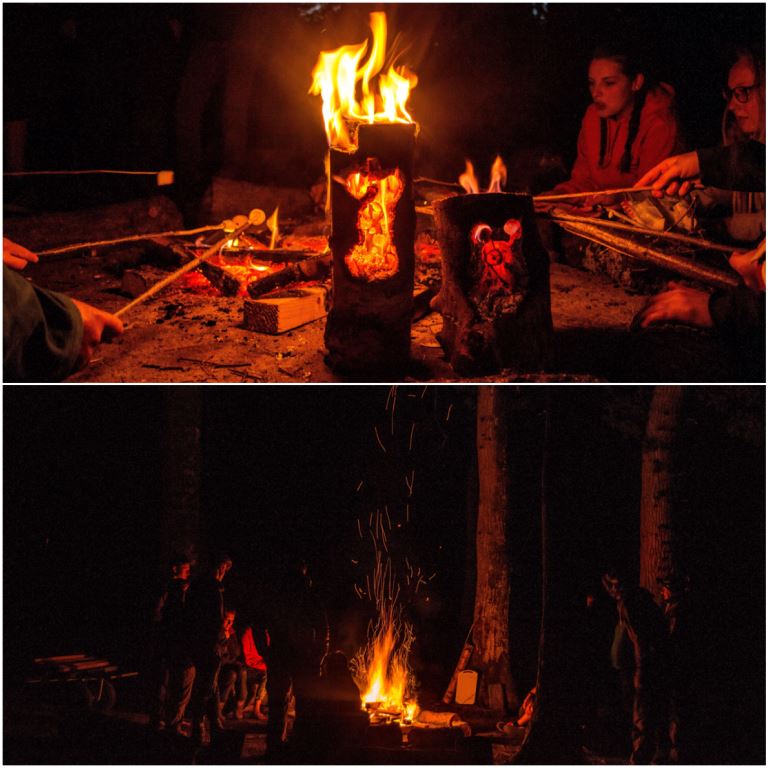
Evening activities involved the usual football, netball and run out games before it was marshmallow time.

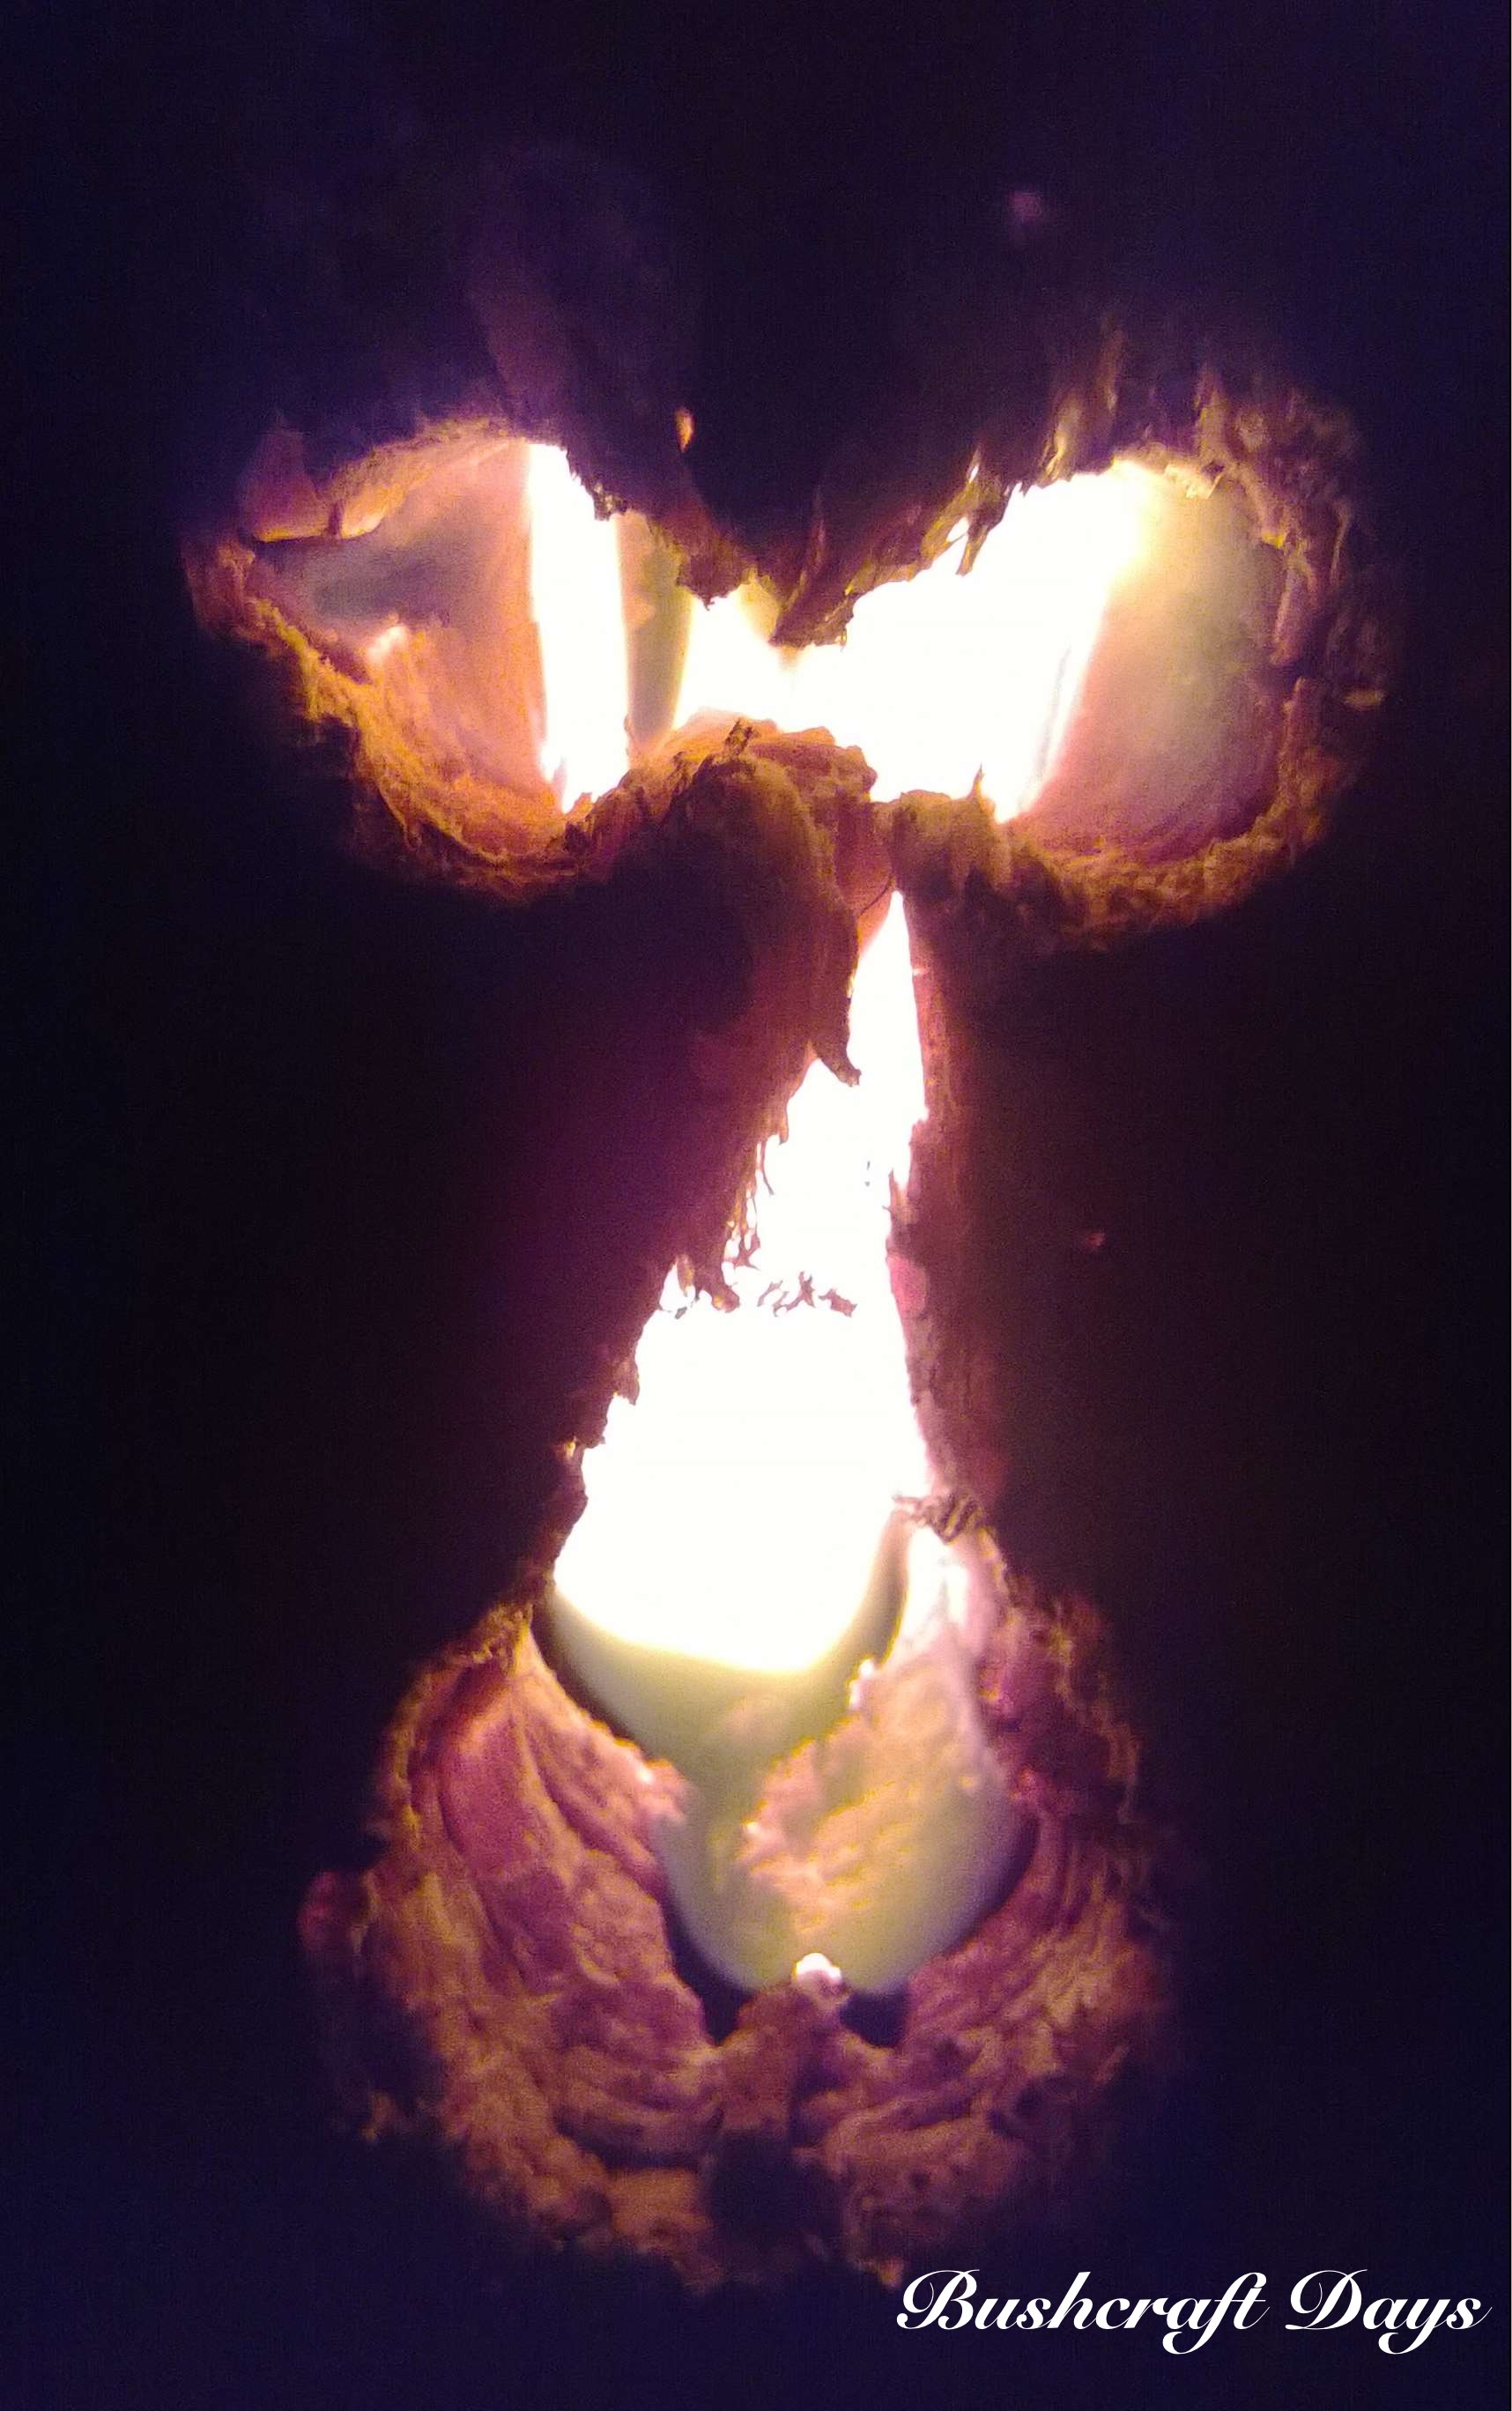
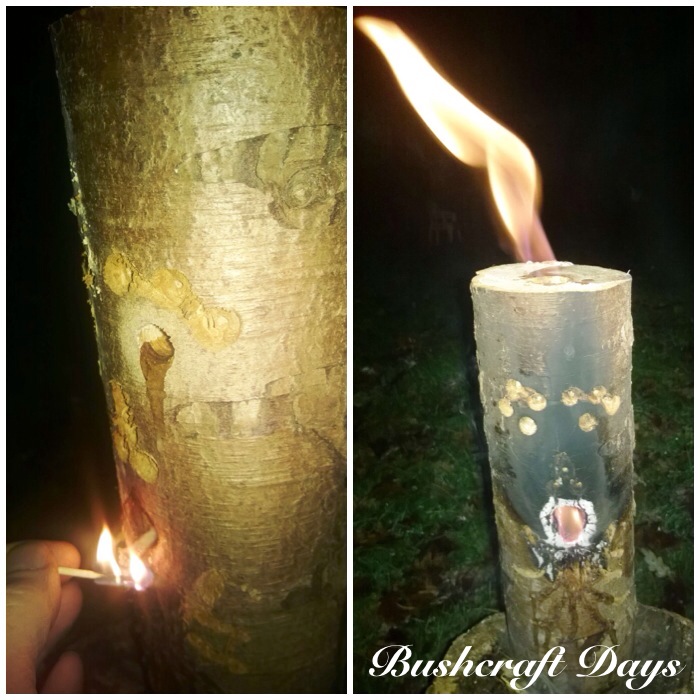
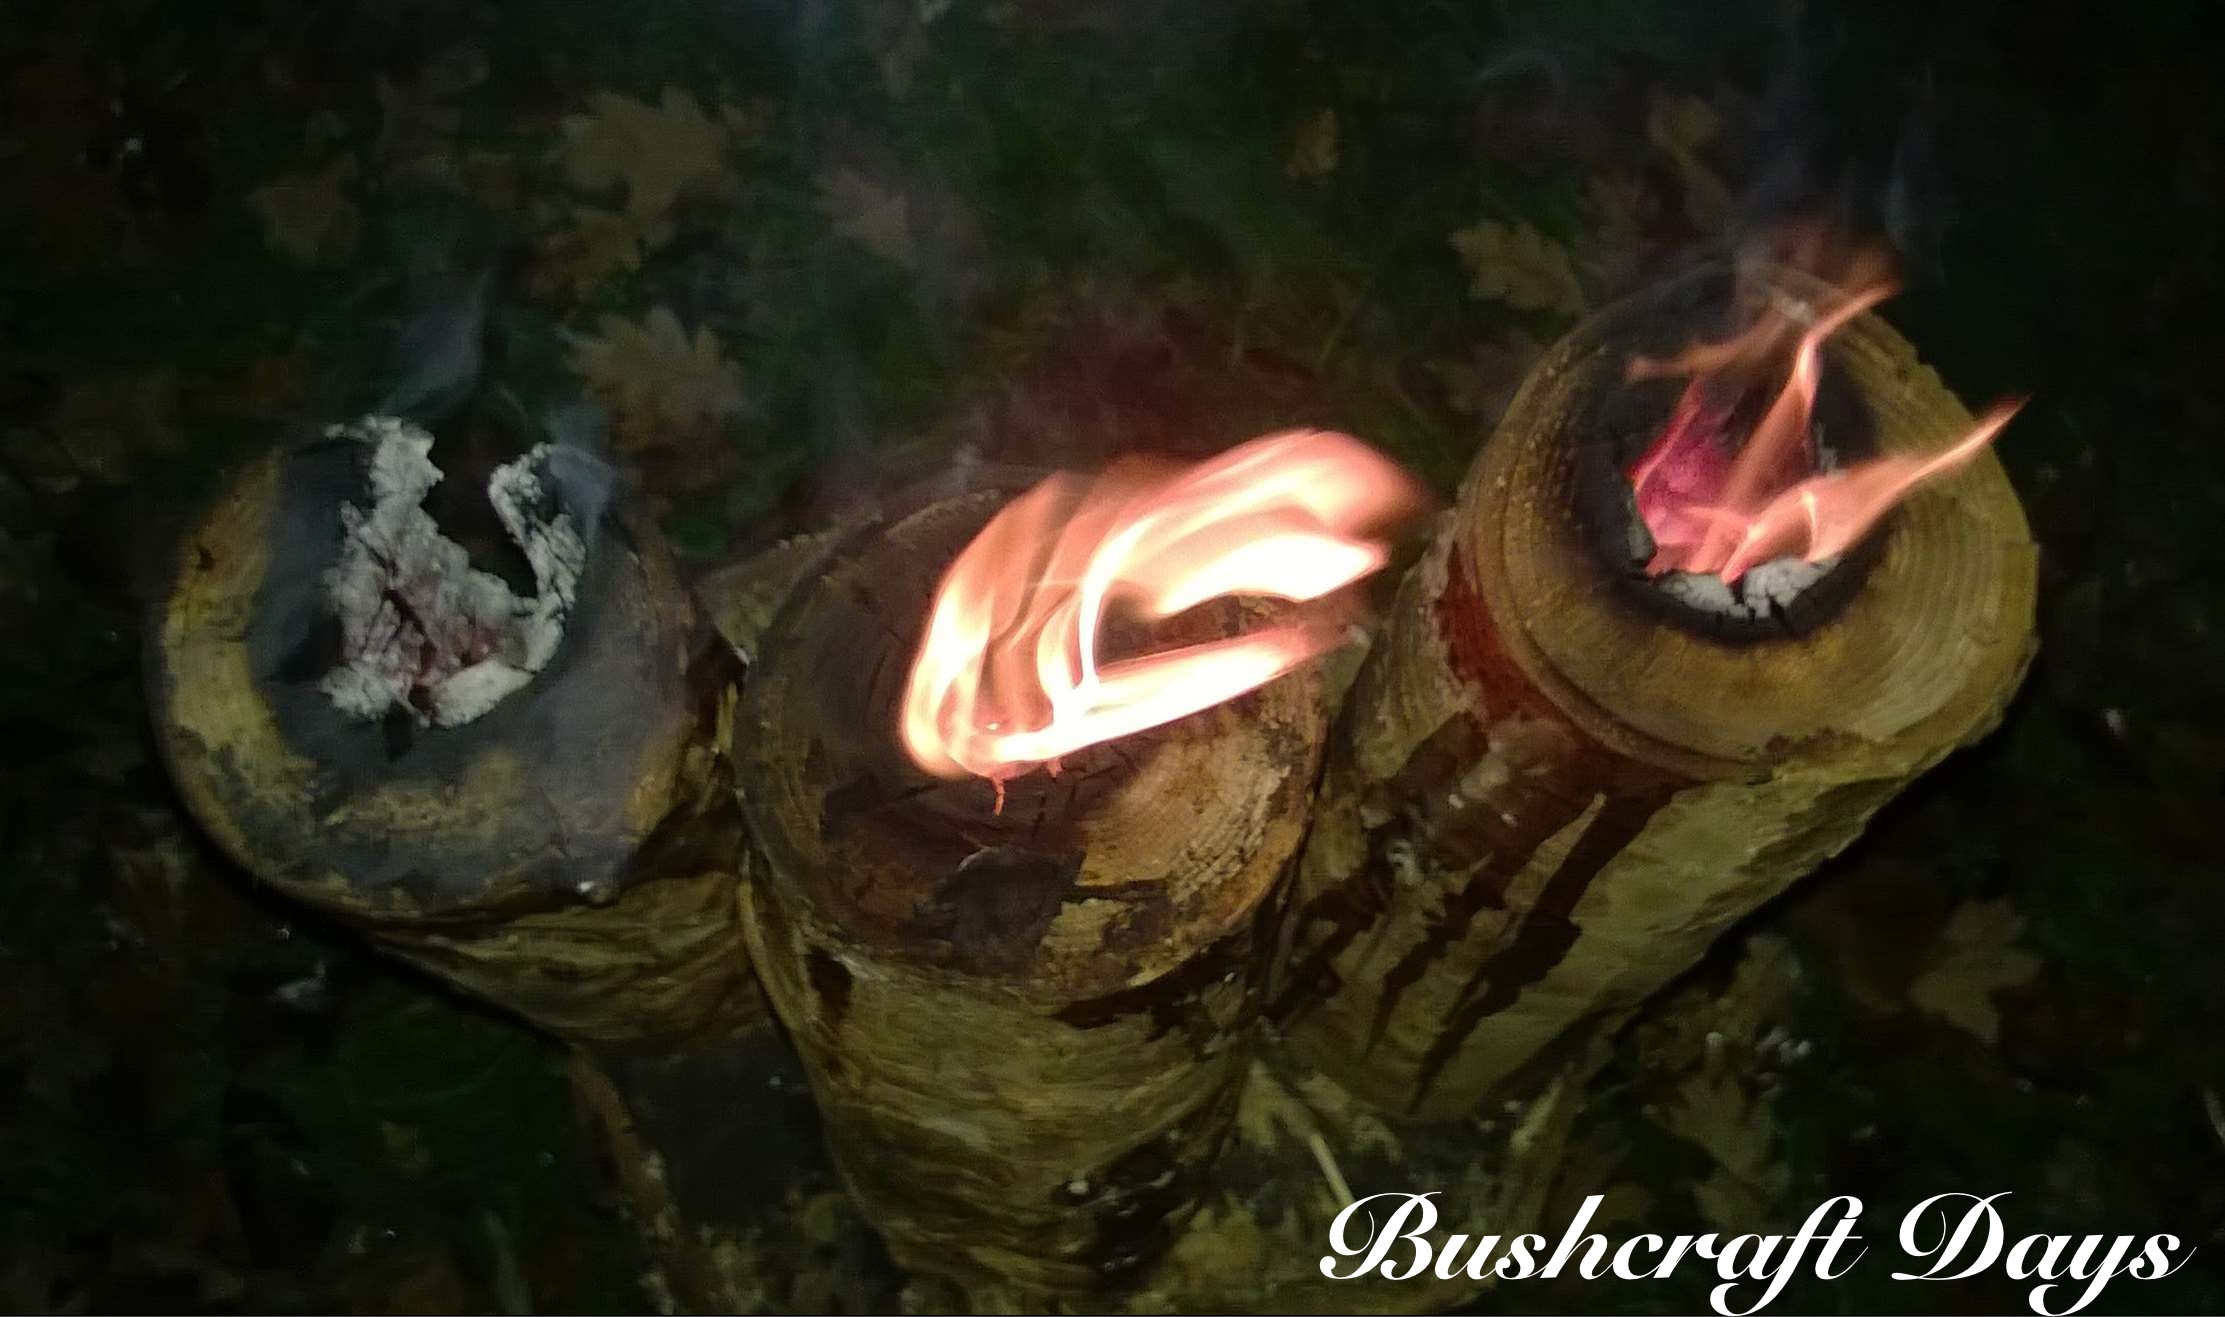
We had enough wood this year for the cadets to have their own fire and soon it was sparking away merrily.

Photo 24-06-2016, 17 19 49
Woodland TV

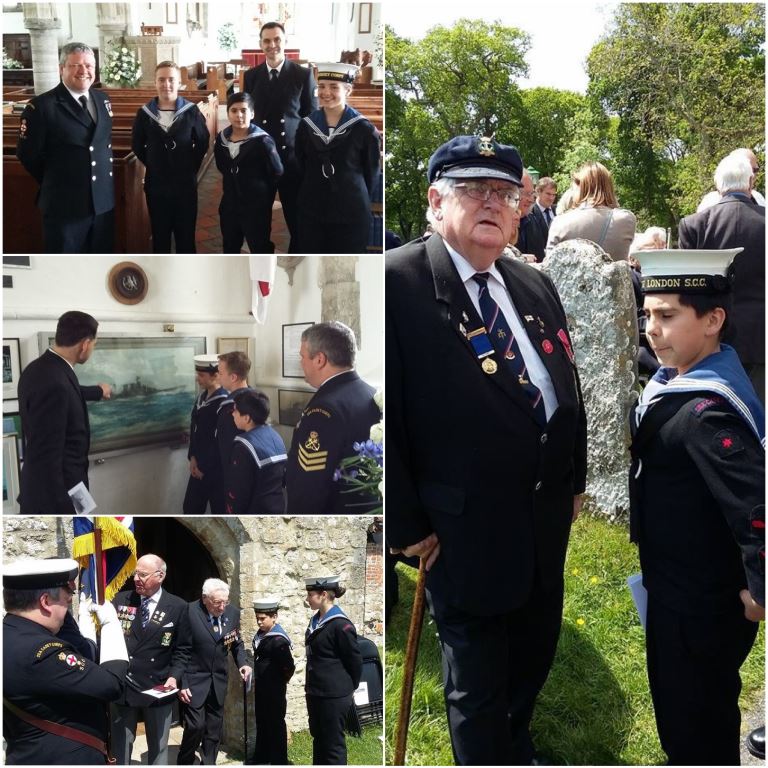
On the Sunday morning a group of cadets go off to the remembrance service at Boldre church while the rest of us get on with the mornings activities.

Simon was thankfully with us again this year and ran the galley in the roundhouse. He certainly can make some great meals with very little in the way of ingredients. The Juniors meanwhile cracked on with firelighting with Charlie and cooking with Chrissie. I enjoyed some giant toasted chocolate marshmallows however the orange cakes were left in the embers for a little too long I think 🙂

Photo 24-06-2016, 17 22 02
Sunday Morning Feast

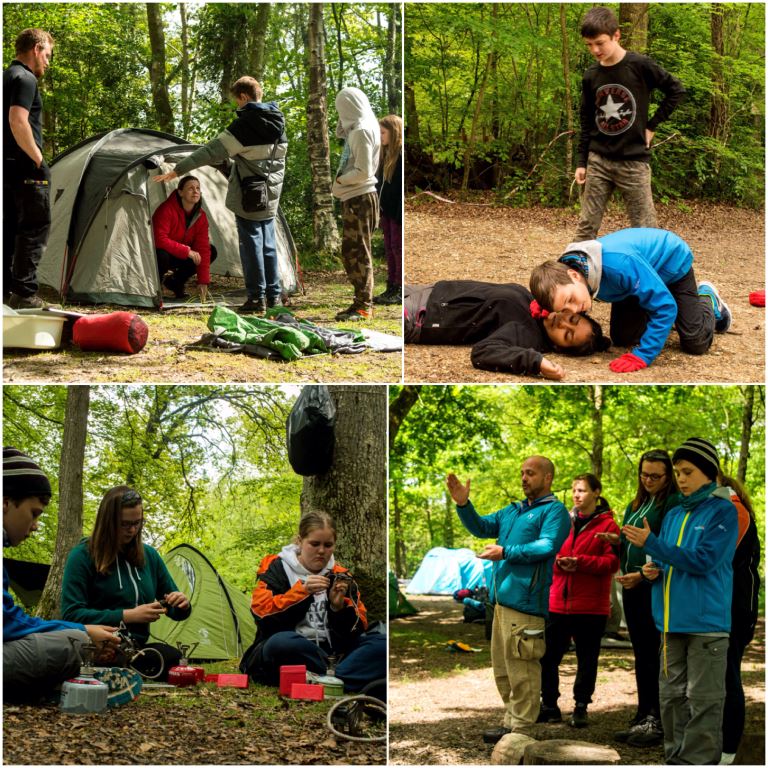
The rest of the staff and the older cadets cracked on with lots of classes. This allowed the trainee instructors like Sarah, Jess and James to gain some valuable time teaching AT skills while training up for their BEL award.

Classes included tent pitching, first aid, bag packing, cooking and compass work. I did not see much of the DofE team as they were out on their expedition on both days however reports back were that they all successfully completed the weekend.

Photo 24-06-2016, 17 26 01
Adventure Training classes

While all this was going on on the Sunday morning the group at Boldre church put on a fine parade and learnt a bit more about HMS Hood. In all my years going to the New Forest for this trip I have never managed once to get to the parade – mind you that would involve me putting a uniform on 😉

Photo 24-06-2016, 17 31 08
2016 HMS Hood Remembrance Service

As I get older the years seem to pass quicker however each year has been packed full of fun. I am looking forward to many more years of visiting the New Forest and passing on my knowledge of nature to others so that they can continue this skilling up cycle.

Cheers

George

Previous years in the New Forest

2013 – Adventures in the New Forest – To play and learn

2014 – New Forest – Our annual pilgrimage to remember HMS Hood

2015 – New Forest Adventures

How To…. Build a Finnish/Swedish Candle – Fire Face Candles – Part 4

Welcome to Part 4 of this series on bushcraft candles.

This type of candle is slightly different to the others I have been building in this series. The main difference is that these Fire Face Candles require the use of power tools for speed of build. (I suppose they could be built with carpenters’ hand tools but that will be for another post.)

In my research on this series I came across a You Tube video on this type of candle from Marcels Workshop called ‘How to make a Fire Log 2013’. I have put a link to the video at the end of the post.

These candles were made for decoration only in my garden (for a party) but they could be used as stoves if you want. My last post in this series I think will be on testing slightly different variations on this method as rocket stoves.

As you can see you can get excellent Fire Faces out of these candles. Here is how you make one.

Photo 08-12-2013 19 22 19
Read on to see how to make yourself a Fire Face Candle

I used a long western red cedar log for the candles. After sawing it into 3 smaller logs I marked a hole on the top and drilled a small pilot hole down into the log. I did not place the mark dead centre so as to ensure the faces when they were completed lit up well.

I found it helpful to drill a pilot hole before switching to a larger drill piece (24mm): I did test going directly to the larger piece without a pilot hole and found for this type of wood drilling in through the top with a pilot first worked better.

The drill piece for the pilot I used here was 12mm. As it was shorter than the log I did not need to mark it with tape in case it came out the bottom. I secured the log between my feet as my vice was not big enough. If you are concerned about this drilling method I would advise that you secure the log to a work surface somehow before drilling.

Photo 10-12-2013 10 46 50
Drill a Pilot hole

Then with the 24mm drill I used tape to mark out how deep I needed to go and drilled the chimney out.

Photo 10-12-2013 10 47 19
Mark your depth and drill out the chimney through the pilot hole

I laid the drill piece beside the log again and using the tape marked off the area where I would drill the mouth. The trick is to make sure that the mouth is above the bottom of the chimney. This will create a ‘well’ that you can fill with the wick and wax.

Photo 10-12-2013 10 47 08
Mark the height where the mouth will go

I used an 18mm drill piece to create the mouth. The 24mm drill would have worked just as well I imagine (I will use that for the Rocket Stoves). Here you can see on the right that the mouth connected with the chimney nicely.

Photo 10-12-2013 10 47 35
Drill the Mouth until it reaches the chimney

I drilled out some eyes (connecting to the chimney) and using the drill decorated the logs with facial features. I did secure the logs for this but if you have the time and skill a good knife will do the same job.

Photo 10-12-2013 10 47 47
Decorate with eyes and facial features

In all it took me about half an hour to get to this stage.

Photo 10-12-2013 10 48 02
Three candles decorated with the drill

I filled a pot up with wax and three wicks and heated it til the wax melted.

Photo 10-12-2013 10 48 14
Melt candle wax and soak the wick

Using pliers and a stick I pushed the wick into the mouth down towards the base of the chimney. Leave a good 2 or 3cms protruding from the mouth at this stage.

Photo 10-12-2013 10 48 27
Insert the wick in through the mouth

I used a stick pushed down the chimney to tamp the wick down into the well. If you do not leave some wick protruding through the mouth it may all get pushed into the well. Then I filled the well with melted wax by pouring it in from the top of the chimney. The wax goes everywhere: I did all this outside.

Photo 10-12-2013 10 48 40
Tamp the wick down into the chamber and fill with wax

So after about 45 minutes I had three Fire Face Candles ready to fire up.

Photo 07-12-2013 16 06 35
Three Fire Face Candles ready to fire up

I set them out in the garden ready to be lit later.

Photo 10-12-2013 11 43 10
Set up as background lighting for the marshmallow fire in the evening

To fire them up just take a match and light the end of the wax-coated wick protruding from the mouth. In no time I had one going well.

Photo 10-12-2013 11 42 52
Firing up with the first one going well

This picture was taken through the mouth and you can see the wick is burning well at the base of the chimney.

Photo 10-12-2013 11 43 28
Wick burning in the base of the chimney

The other two candles did not fire up initially. That was because I hadn’t trusted the wick alone and had inserted some pig fat impregnated paper into the chimney of each of these two. I thought this would help them along but all it did was cut the airflow and so the wick kept going out. After a bit of faffing about and decision making I stripped everything out apart from the wick and re-lit them.

Photo 10-12-2013 10 49 22
First one going well but the other two failed initially

They did not take long to fire up properly. Lesson learnt I think.

Photo 10-12-2013 10 49 38
Blockage removed and now going well

I was quite surprised how long they lasted for. This picture was taken 45 minutes into the burn and you can see the face on the first one is starting to burn out. Next time I may place the chimney more centrally in the log.

Photo 10-12-2013 10 49 52
45 minutes into the burn and the first one (on the left) is burning through

The kids loved the candles and would come right up to them to peer into the faces. I think that the next time I set them up I will put them in a cordoned off area as I was a little bit concerned that some of the more boistrous kids could knock them over.

Photo 10-12-2013 10 50 10
The kids loved them

I brought them all together to get a better picture and also so that they were in one area where I could keep an eye on them. This picture was taken about an hour after I had lit the first one.

Photo 10-12-2013 10 50 23
One hour into burn time (from the first one) and all three are working well

One hour 15 minutes later and the first one had lost its face but was still going strong. There was a bit of wind on the night I tested them and this really helped maintain the flames. When I tested my first candles there was no wind and I had to continually waft them to keep them going.

Photo 10-12-2013 10 50 38
One hour 15 minutes

My favourite picture of the evening. It looks like the front face of a Saxon warriors metal helmet to me.

Photo 08-12-2013 19 22 19
Now that is what you call a Fire Face

A view from above .

Photo 08-12-2013 19 20 57
View from above

In the end the candles lasted just under 2 hours so I was very pleased with the results.

Photo 10-12-2013 10 51 20
One hour 30 minutes (left) and two hours (right)

As there was plenty of wood left on the candles I popped them on the fire and finally sat beside it relaxing with my wife Alison after everyone had gone, the kids were in bed and we’d finished clearing up.
The candles had one last spurt of life and I got a few more Fire Faces to add to my collection.

Photo 10-12-2013 10 51 40
Onto the fire for some more Fire Faces – Can you spot them?

A wonderful end to a wonderful day.

Photo 10-12-2013 10 51 54
Final Faces

In summary I would say that these were a pretty easy candle to make if you have the tools and they do last for a decent amount of time.

If I do get hold of some bigger logs I will try this again to see if I get the same results.

My last post in this Finnish/Swedish Candle series will be to look at using power tools to create rocket stoves from logs.

Cheers

George

Link

Marcels Workshop – ‘How to make a Fire Log 2013’