Back to Basics – Back to Bushcraft

Over the last year or so I have found that my Bushcrafting has been taking a bit of a backseat to my other Adventure Training responsibilities so it was great to get back to some Bushcraft with fellow instructors from London Area Sea Cadets at one of our regular Multi Activity Staff Training (MAST) weekends.

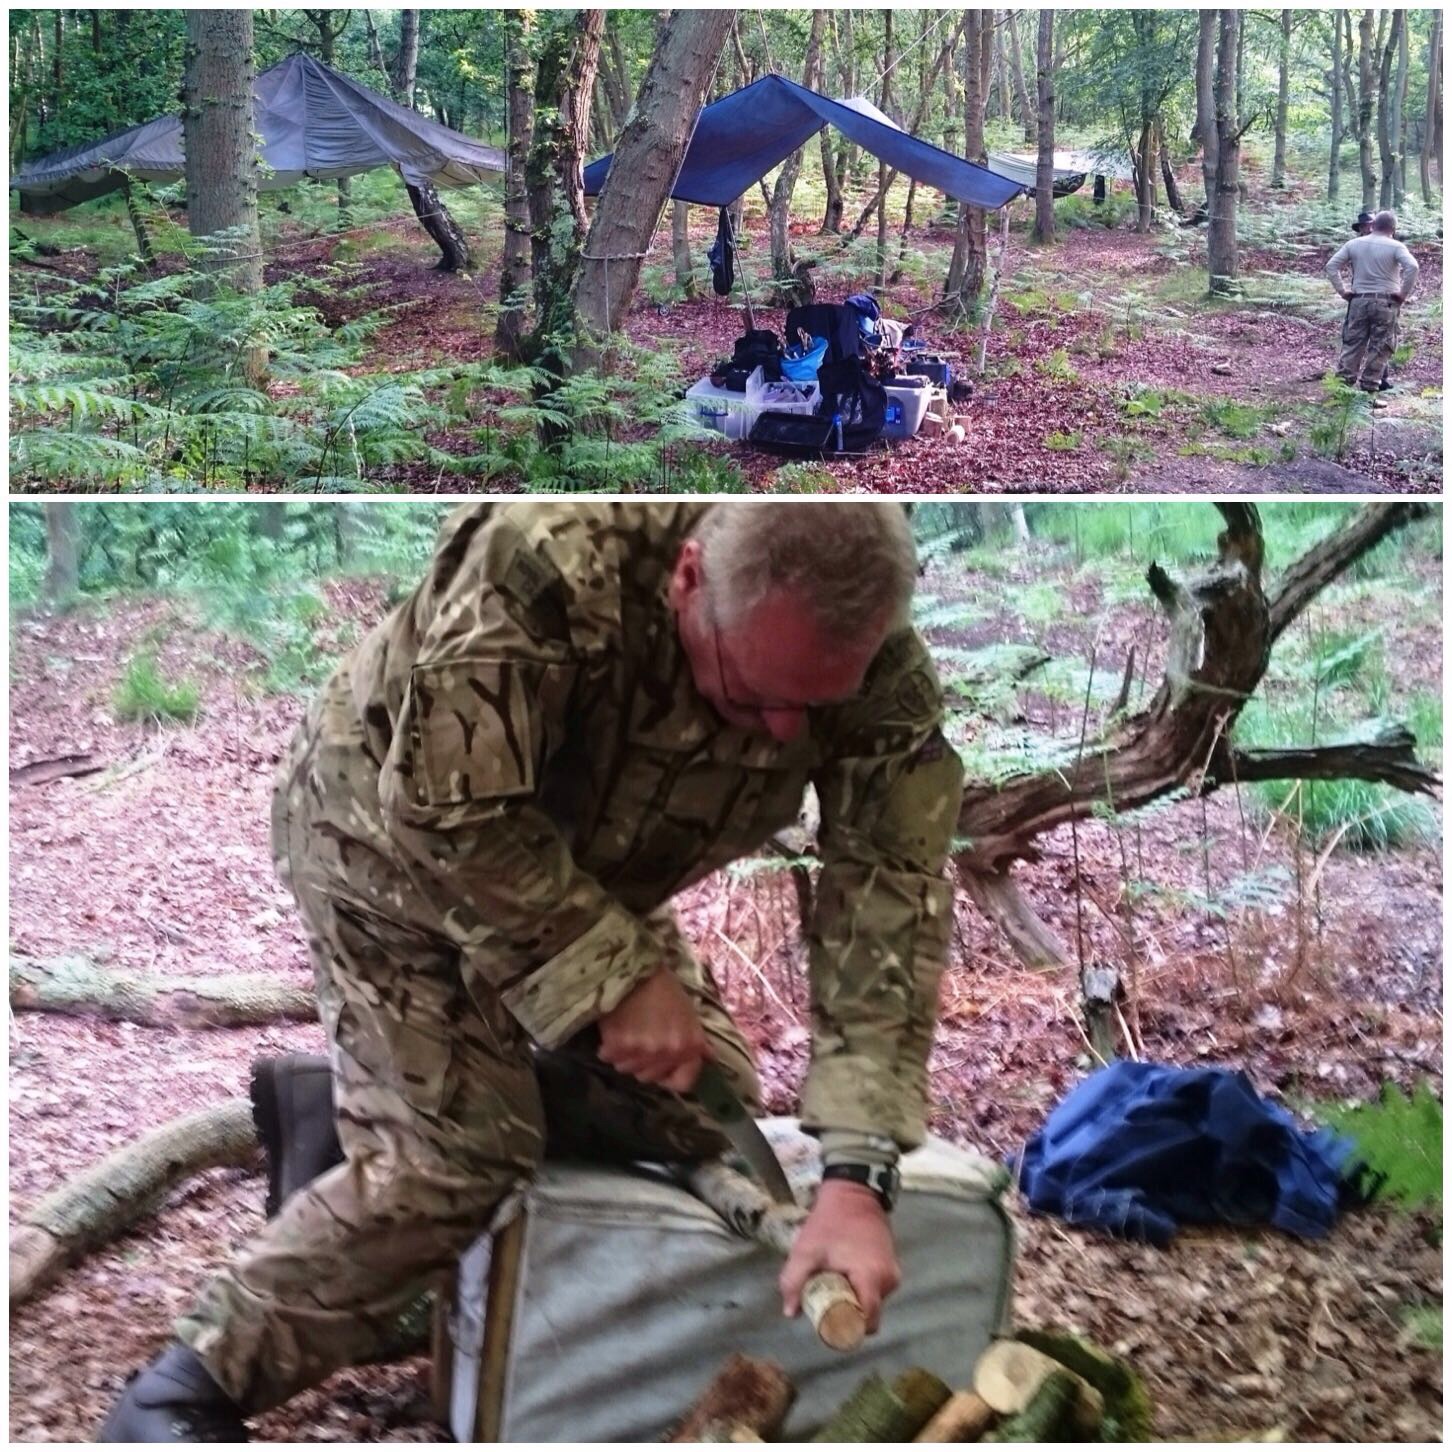
It was a bit of CPD weekend for some and a bit of a new adventure for others. We took our time setting up camp on the Friday in the Mereworth Woods training area we had been given access to as the students were not due to join us until the Saturday morning – a kind of calm before the storm you could say.

Back to Bushcraft

Saturday

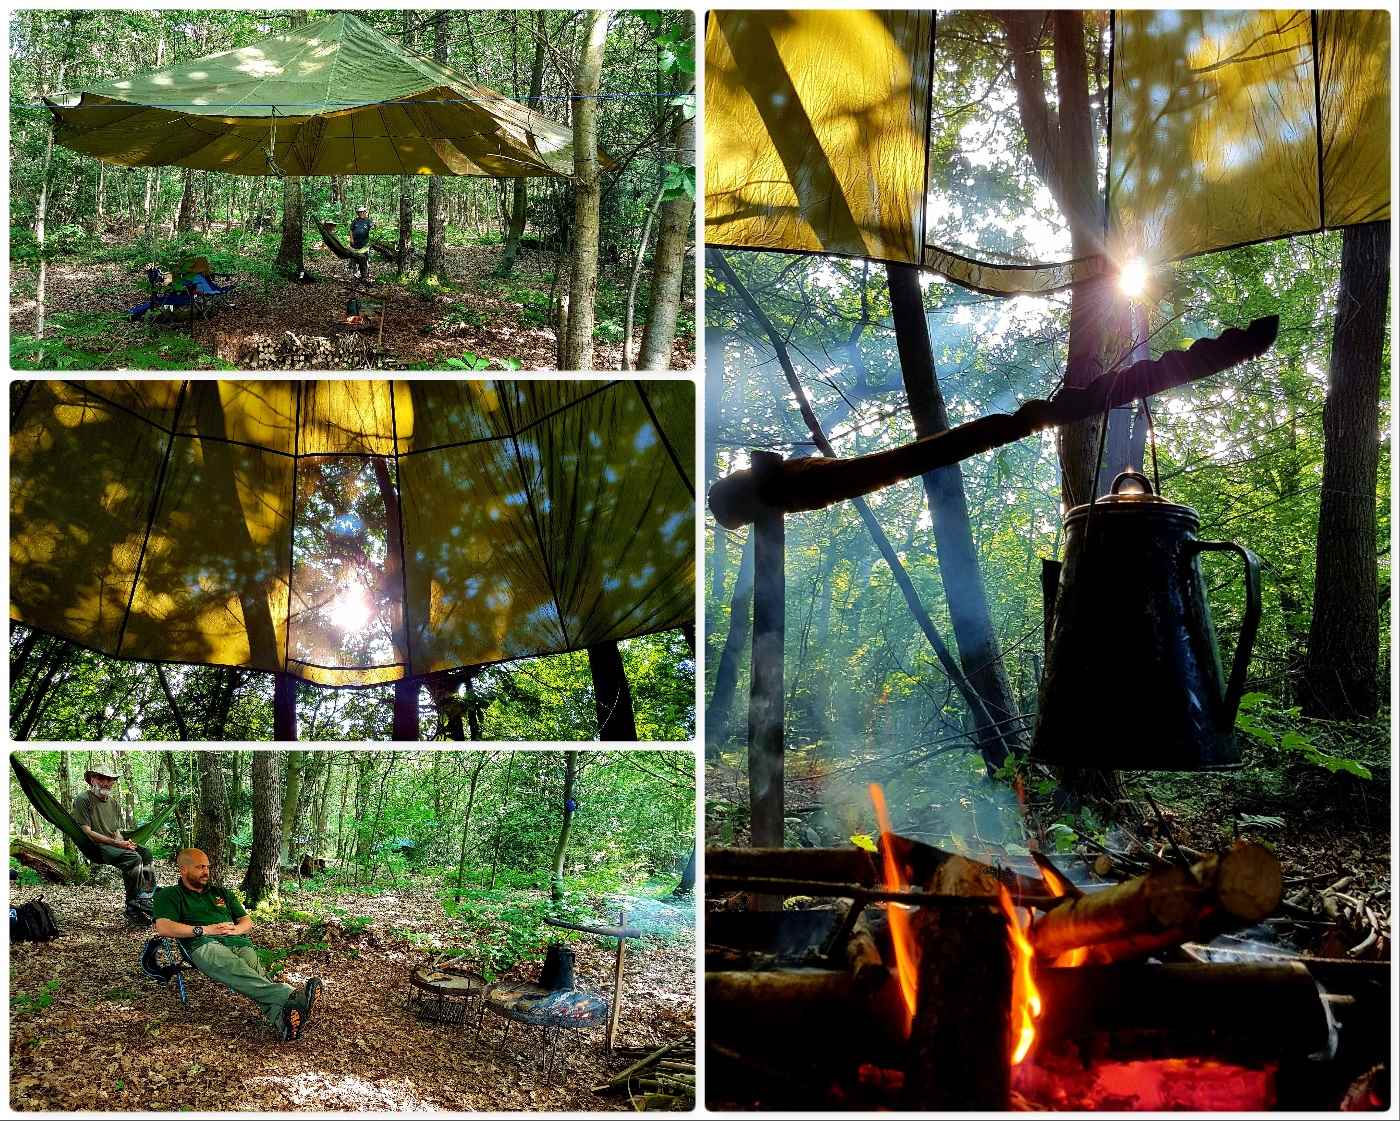
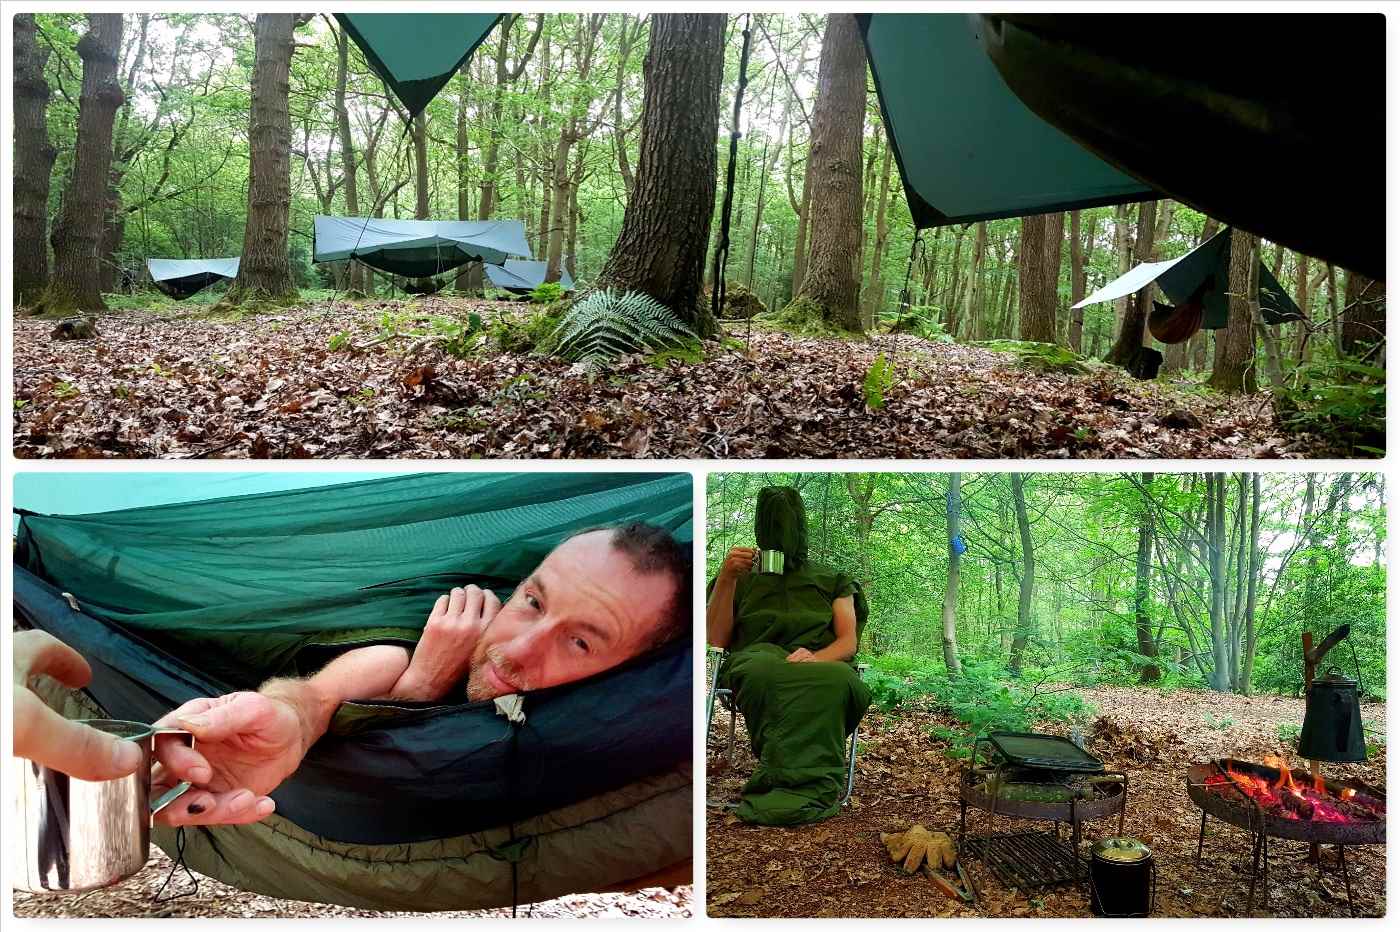
The weather was on the whole kind to us with no major showers but the tarps were up just in case. Graham got his cuppa in bed that morning (being an officer and all that) and then modeled his Buffalo sleeping bag for us by the fire – I have no idea why the thing has a full face zip – weird 🙂

Morning Sir

Along to help out and do some CPD were Dave, Alan, Charlie and Graham. The instructors from the Adventure Training team looking to learn the basics of Bushcraft were Ben, Lee, Sam and Gary. We like to run these Bushcraft courses from time to time to expand out Expedition Leaders skill set so that they can pass the knowledge onto their cadets.

Time for Tea

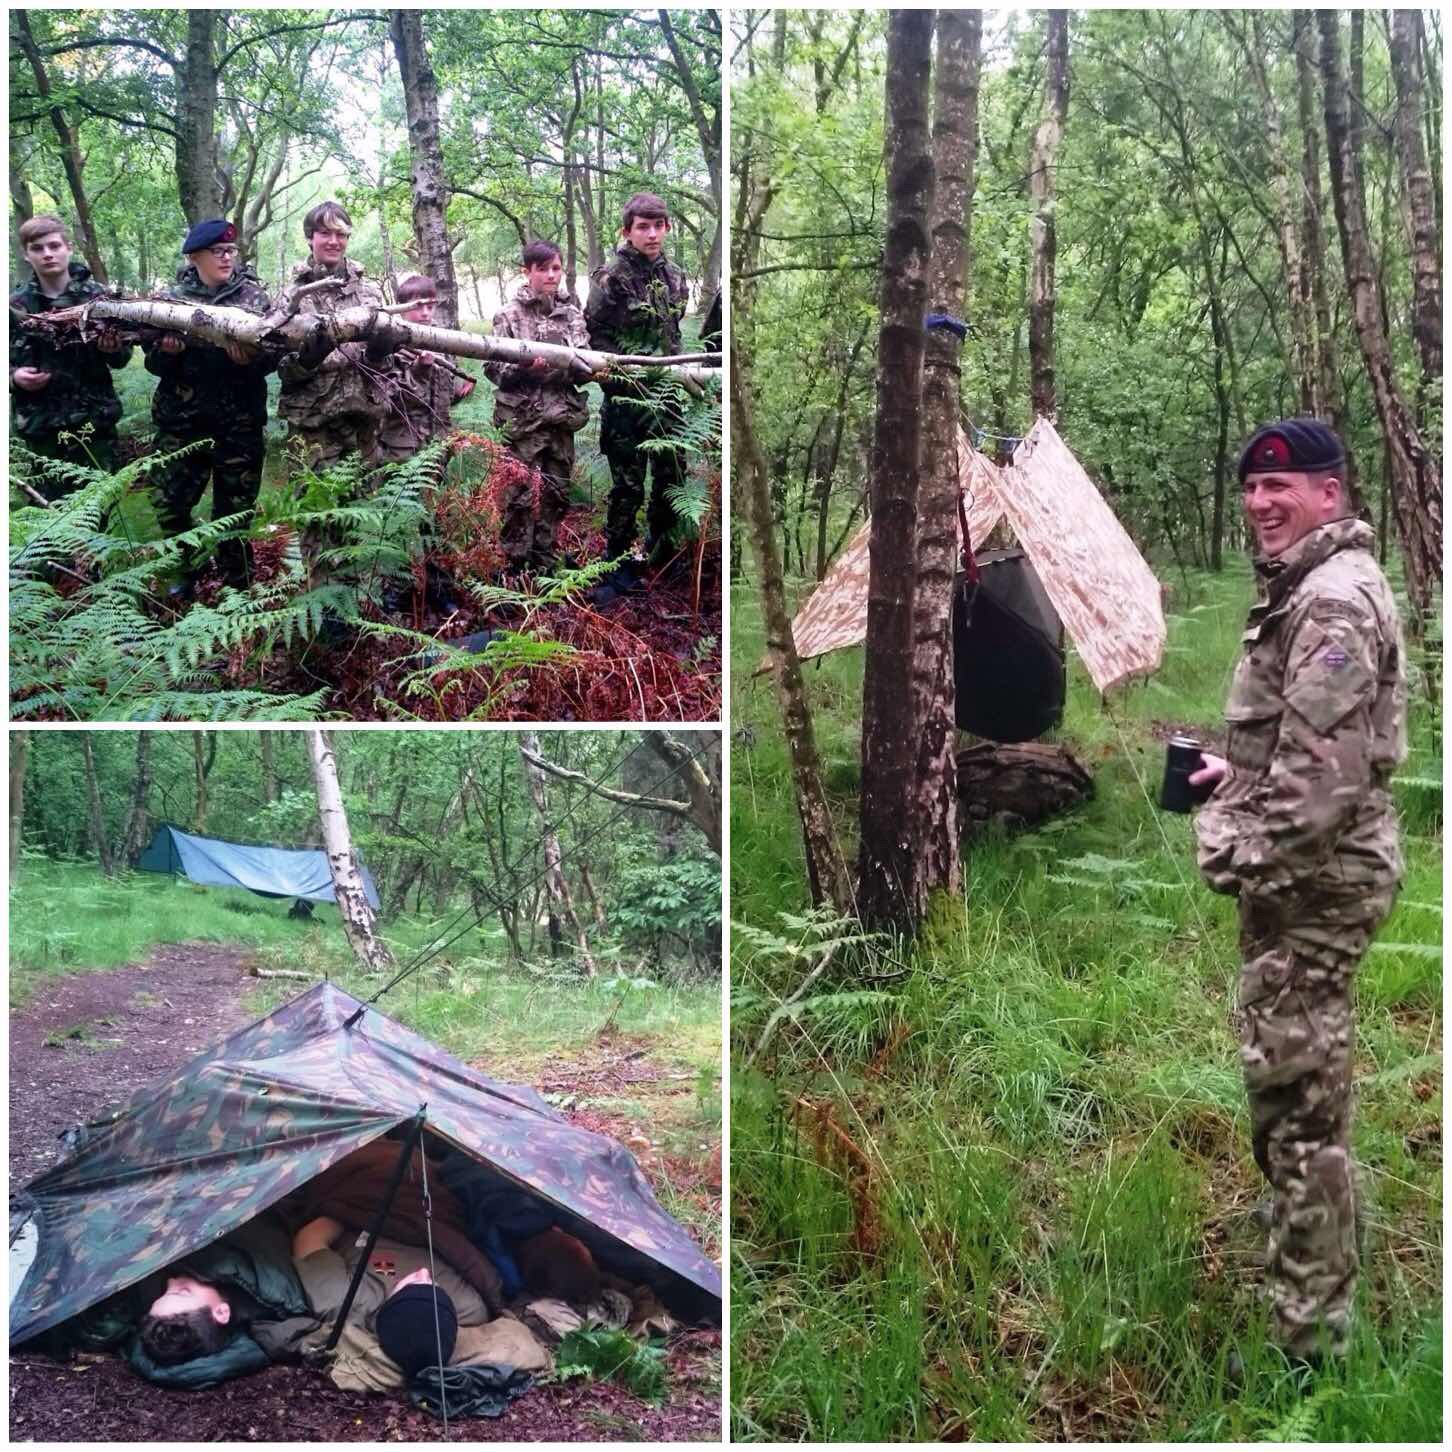
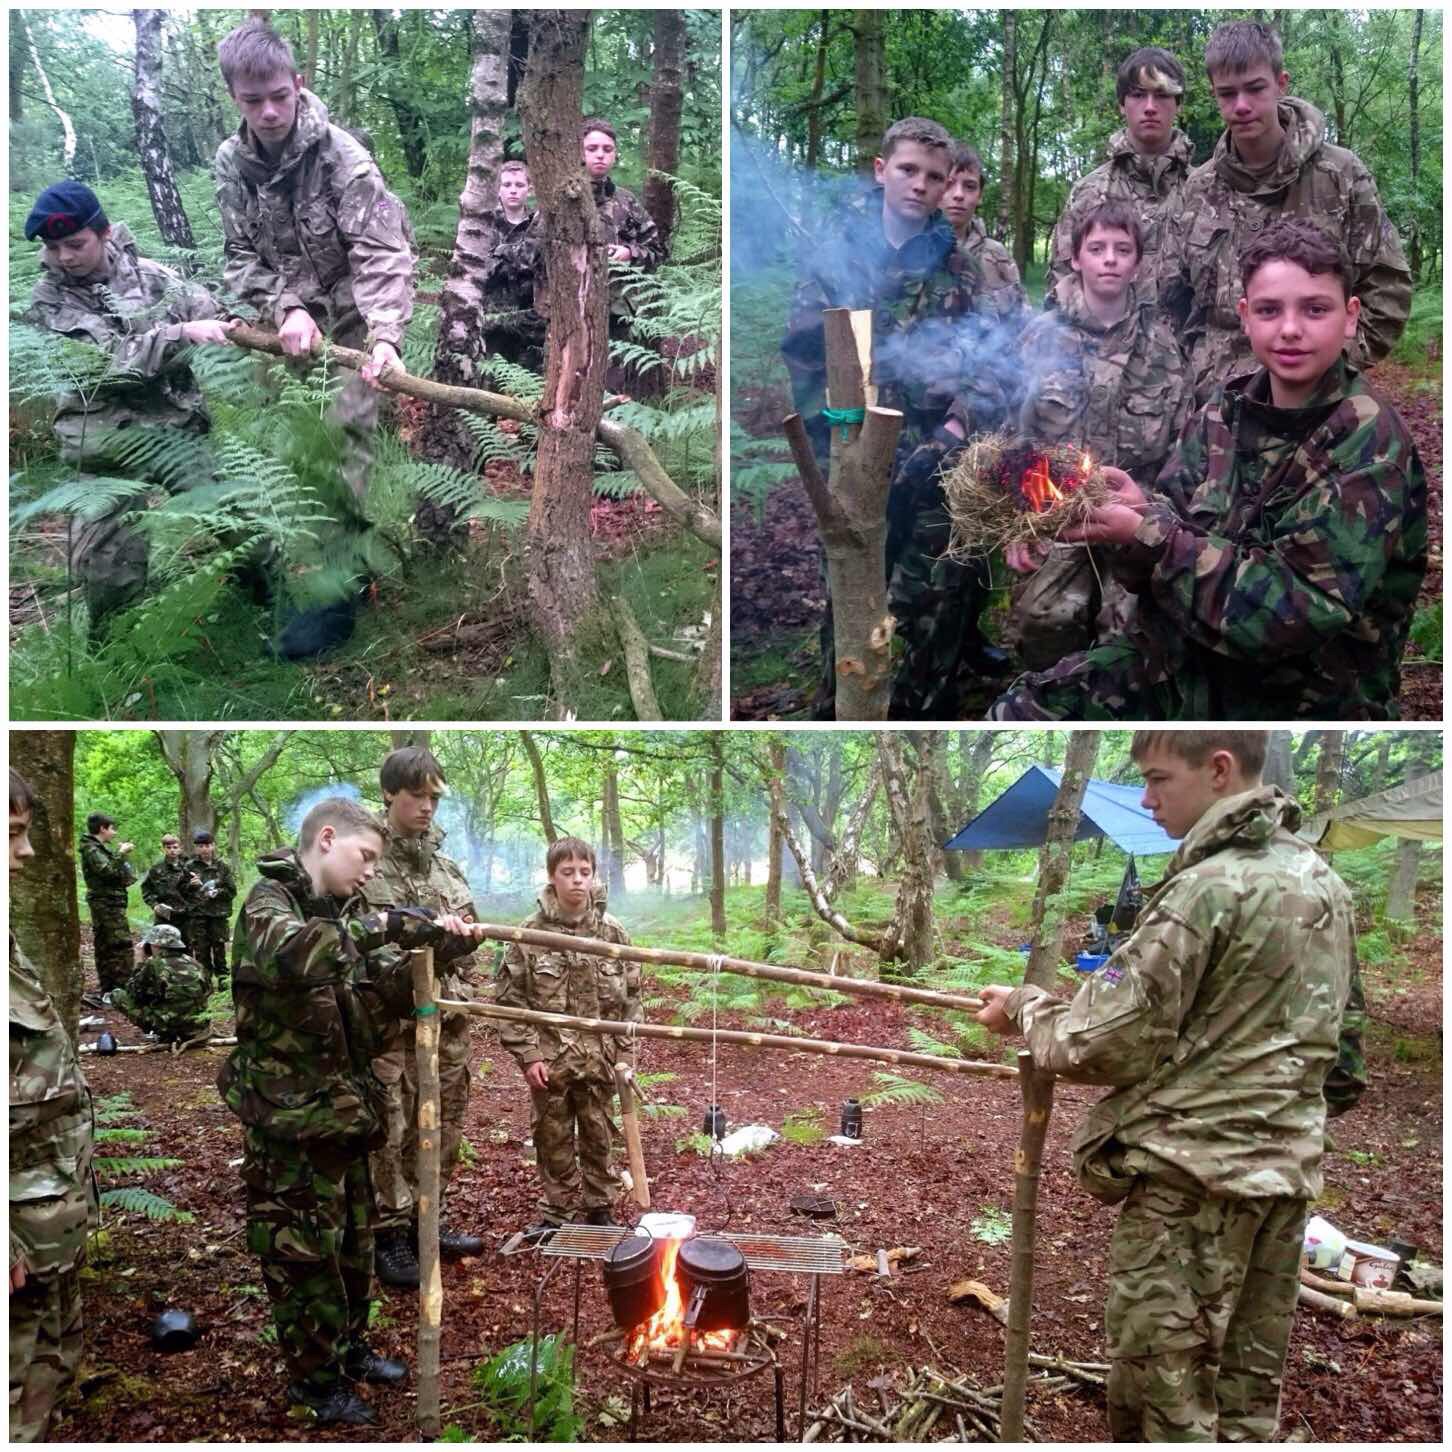
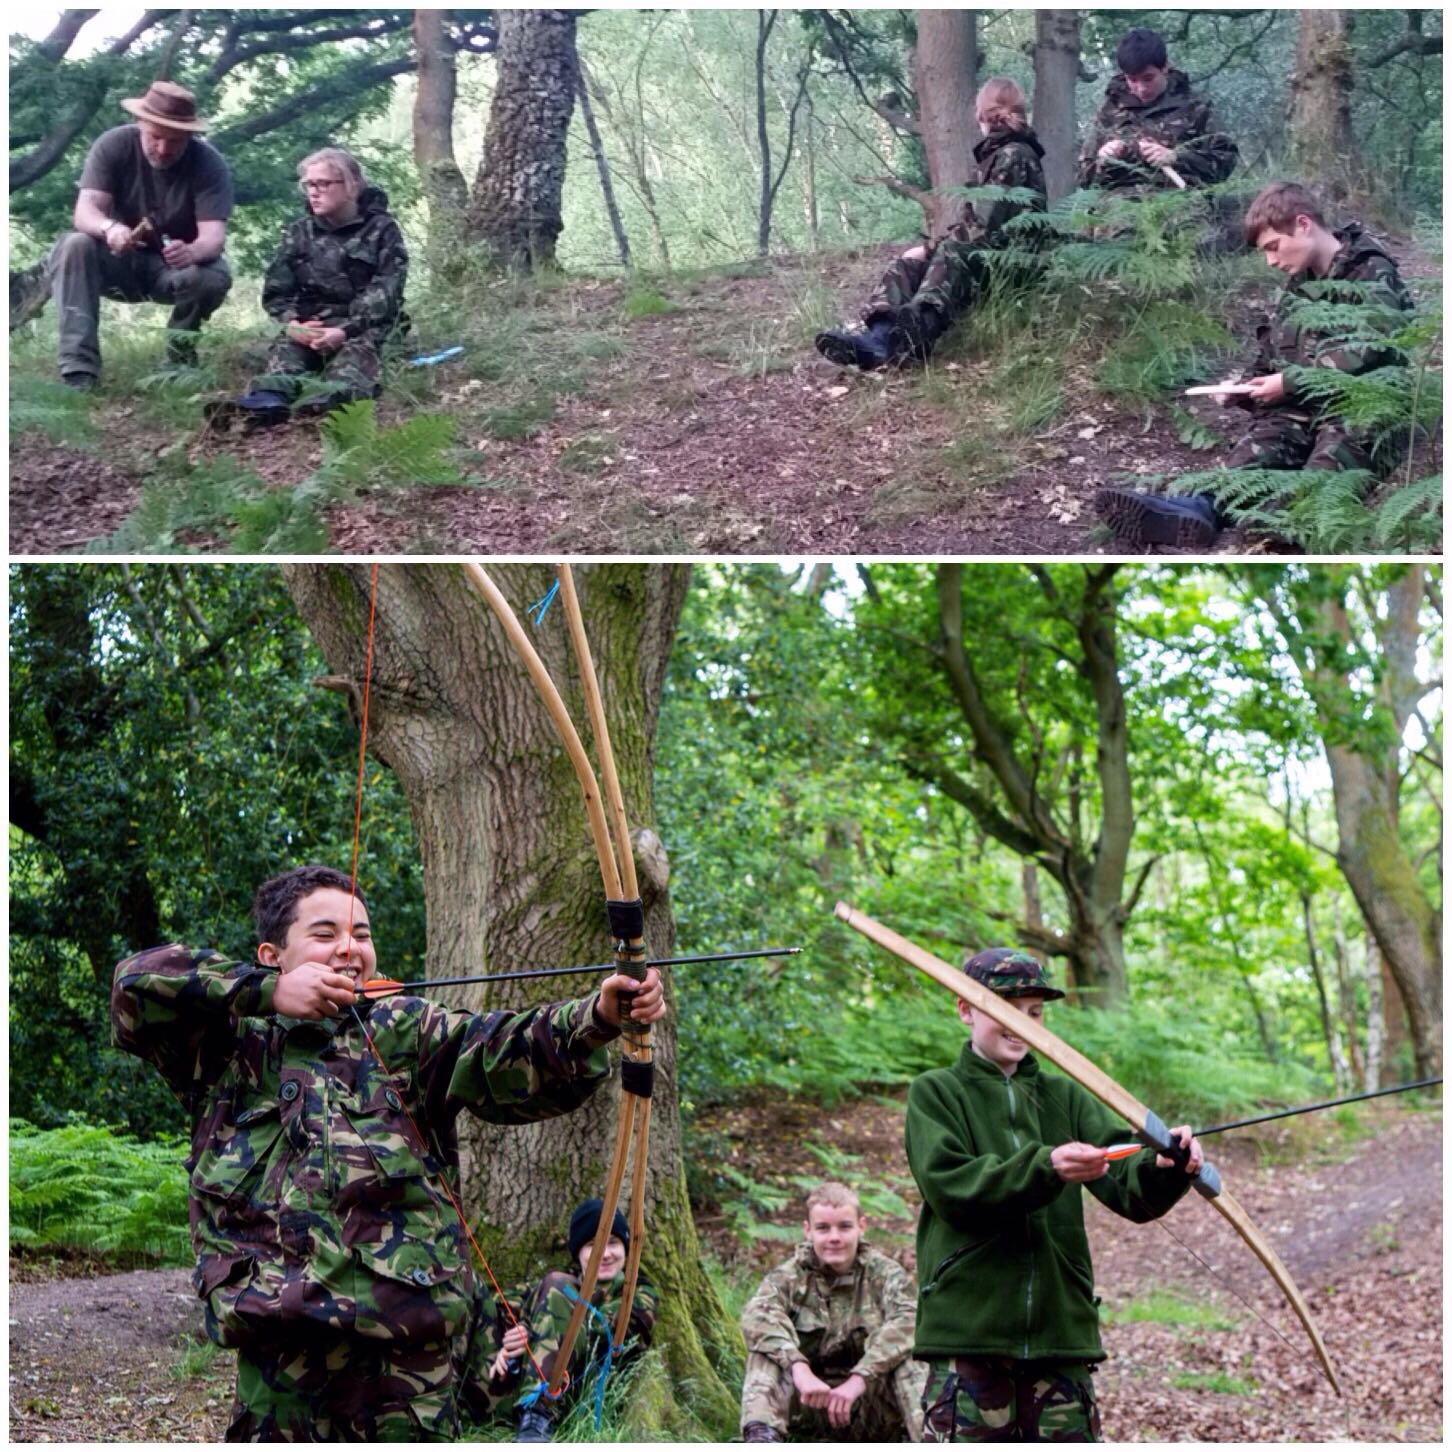
Before they were allowed to have a cuppa on the Saturday morning the students had to learn about lighting a fire. Off they went to learn about gathering dead standing wood, processing and grading it before learning to use firesteels – needless to say the tea and coffee was soon brewing.

Brew Time

Saw and Knife use

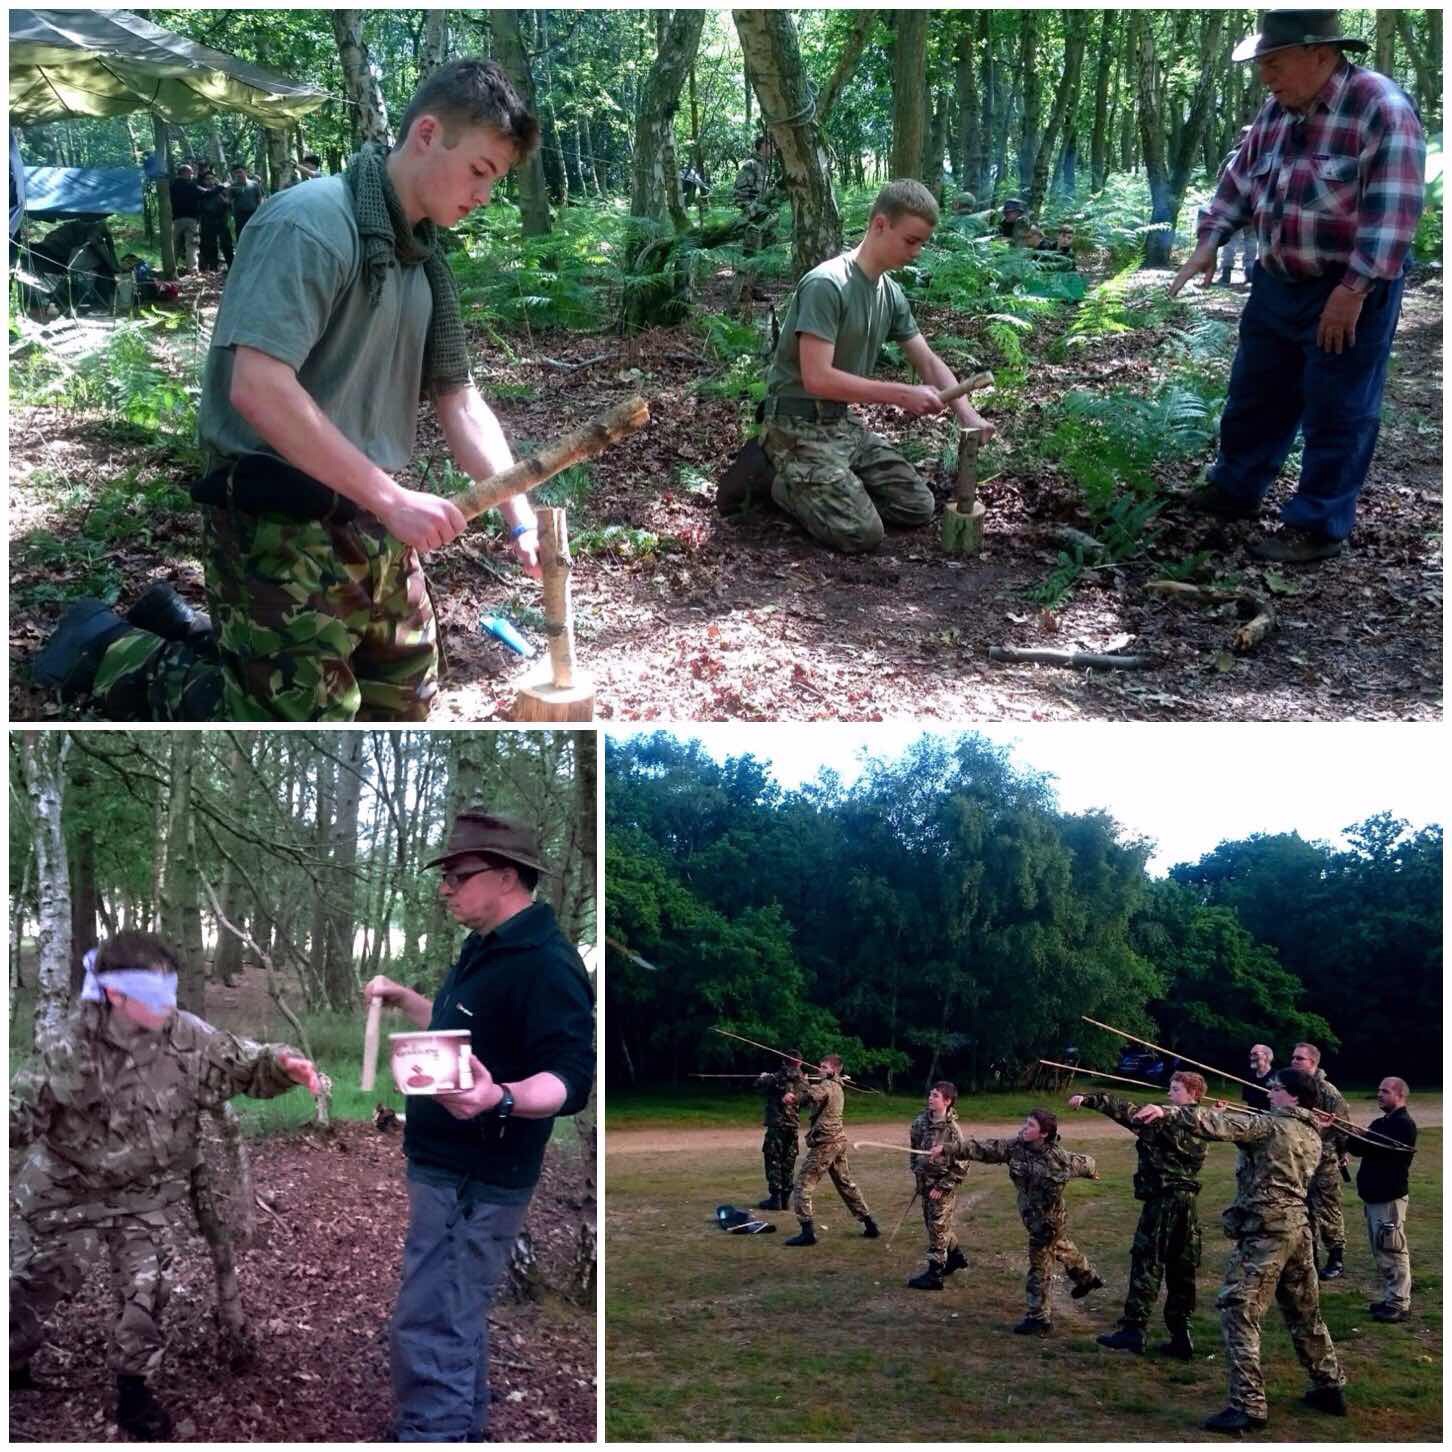
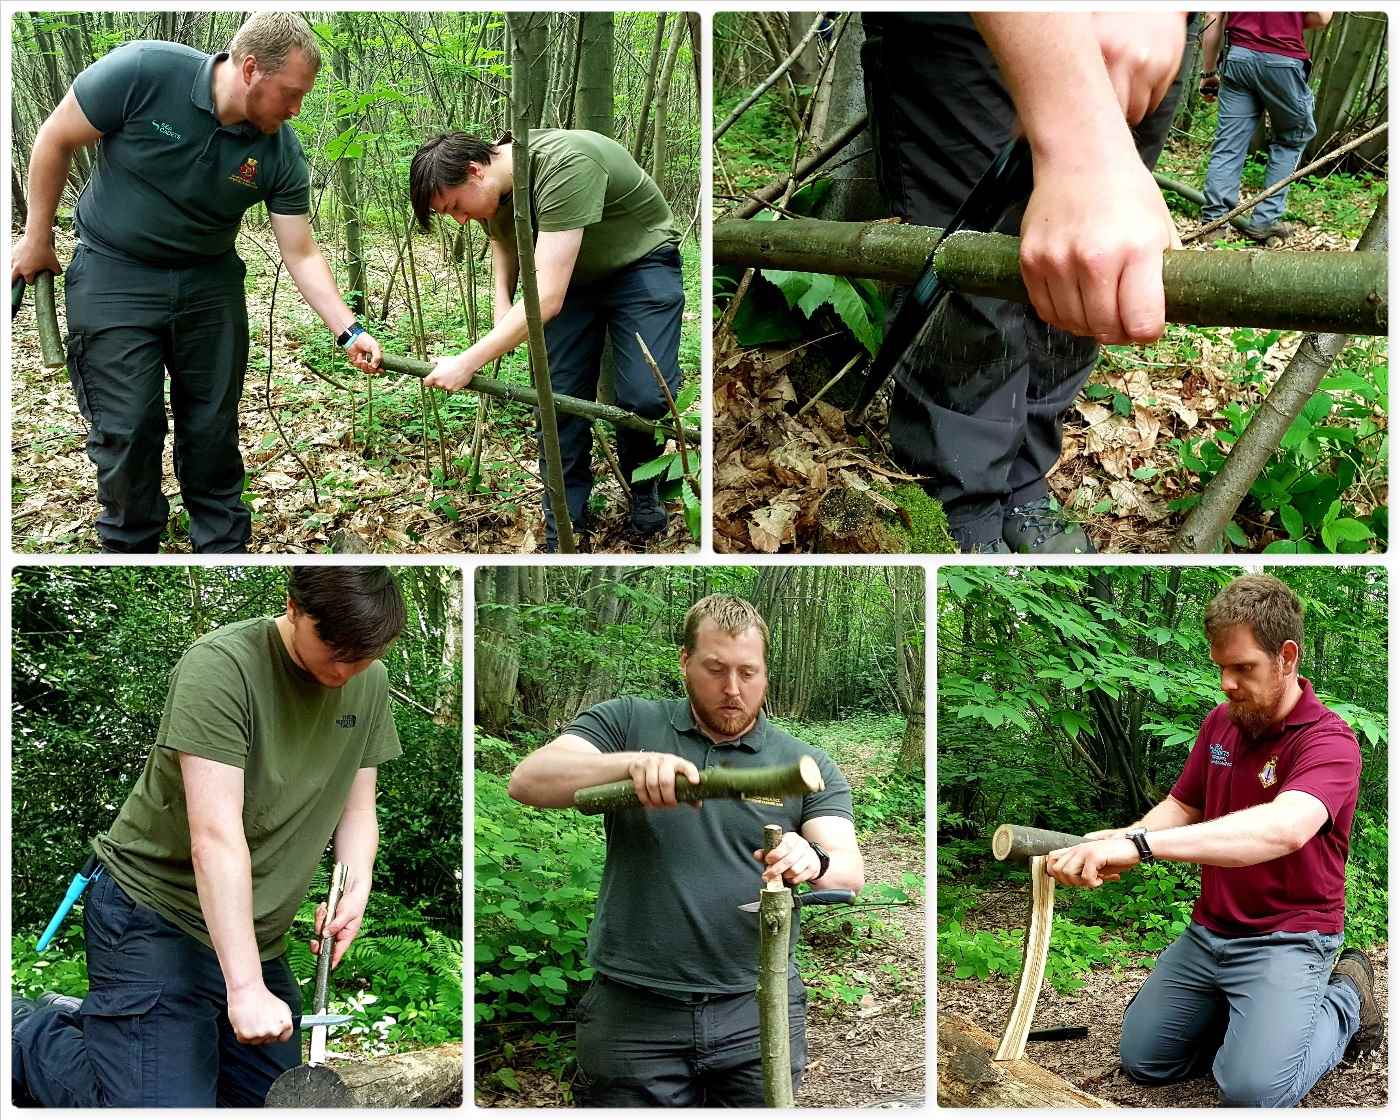
After their brew it was time to learn how to use saws and knives safely.  Once the wood was gathered they learnt about safe knife cuts and battoning. I like teaching in this way as there is no need to get axes out (and we did not have time to cover them anyway). The students produced some strong tent pegs and looked at the techniques for making feather sticks for fire lighting.
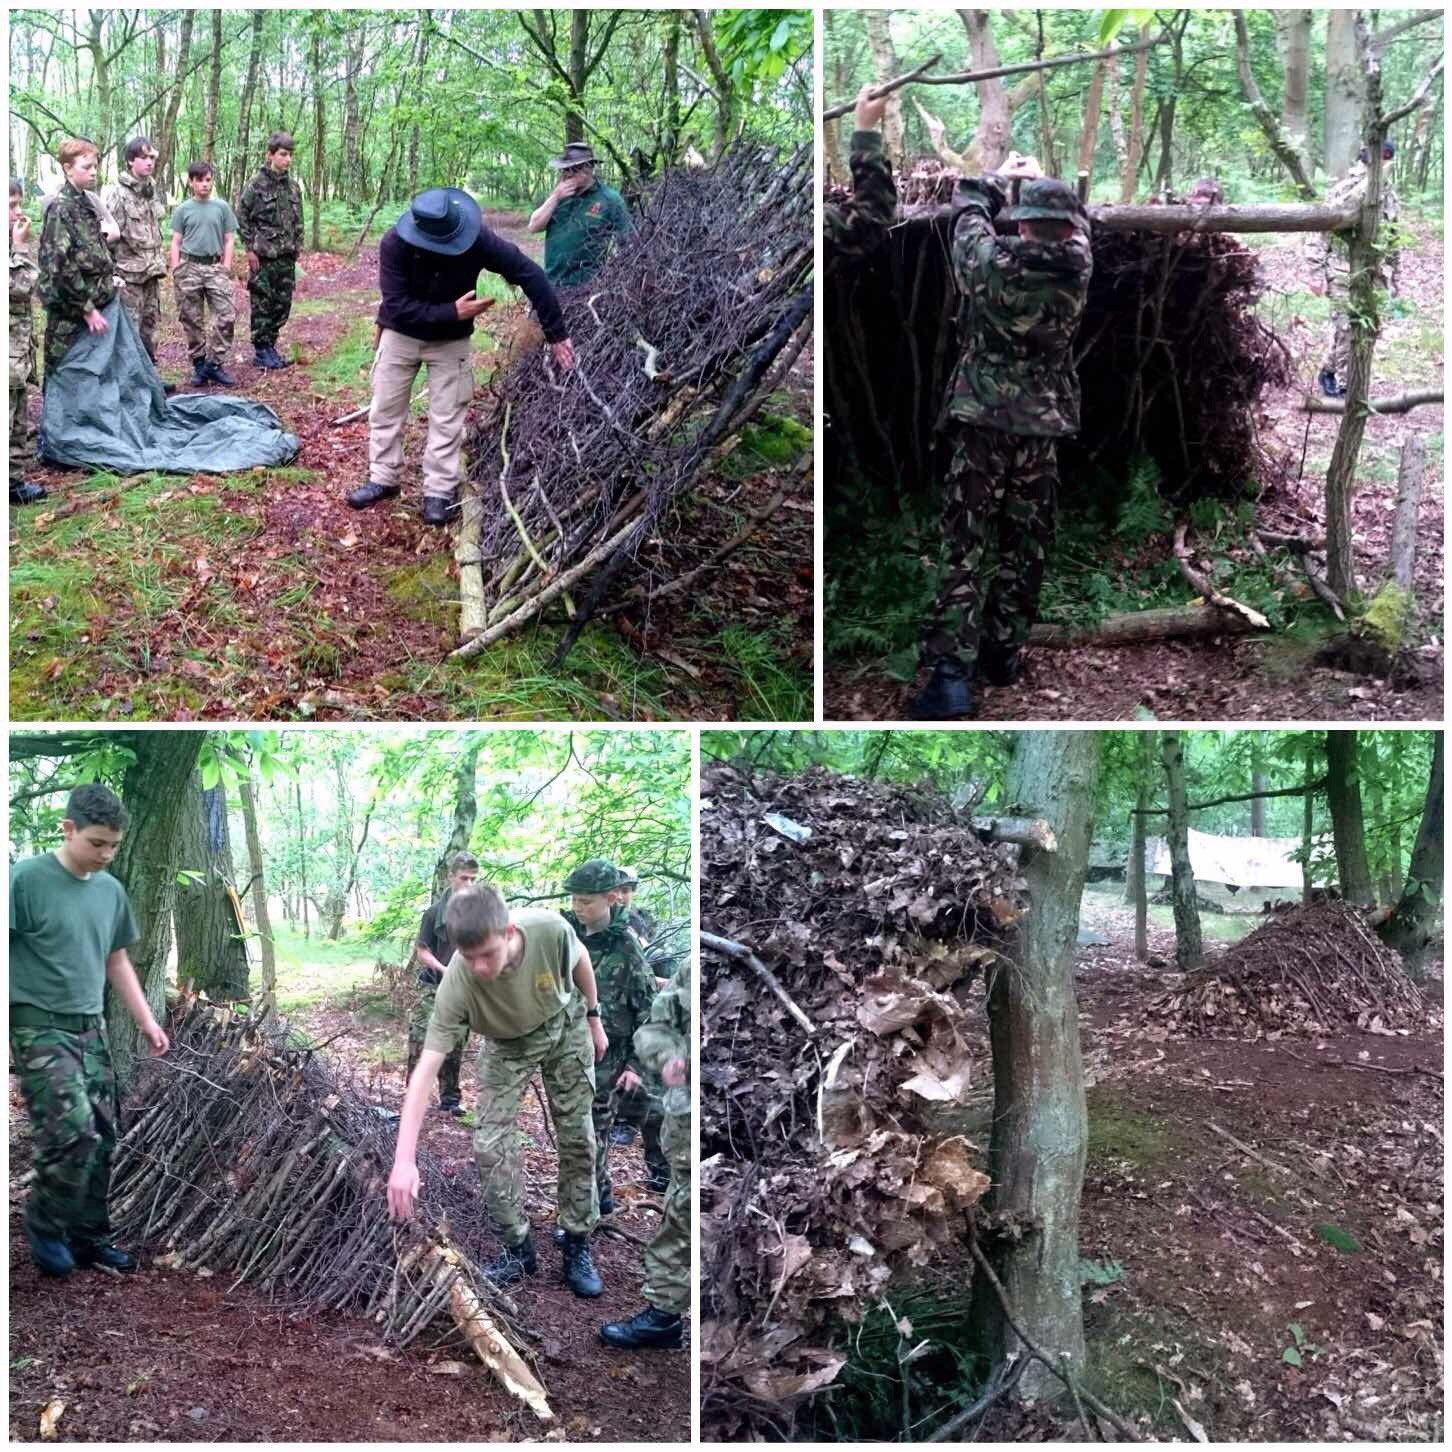
Saws and Knives

Camp Set Up

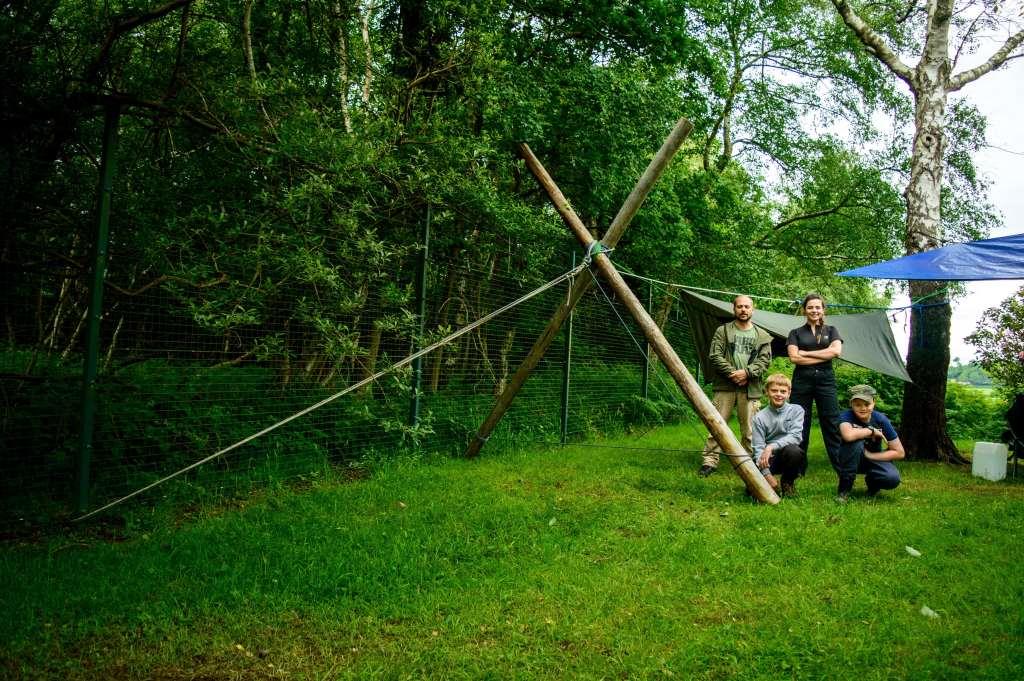
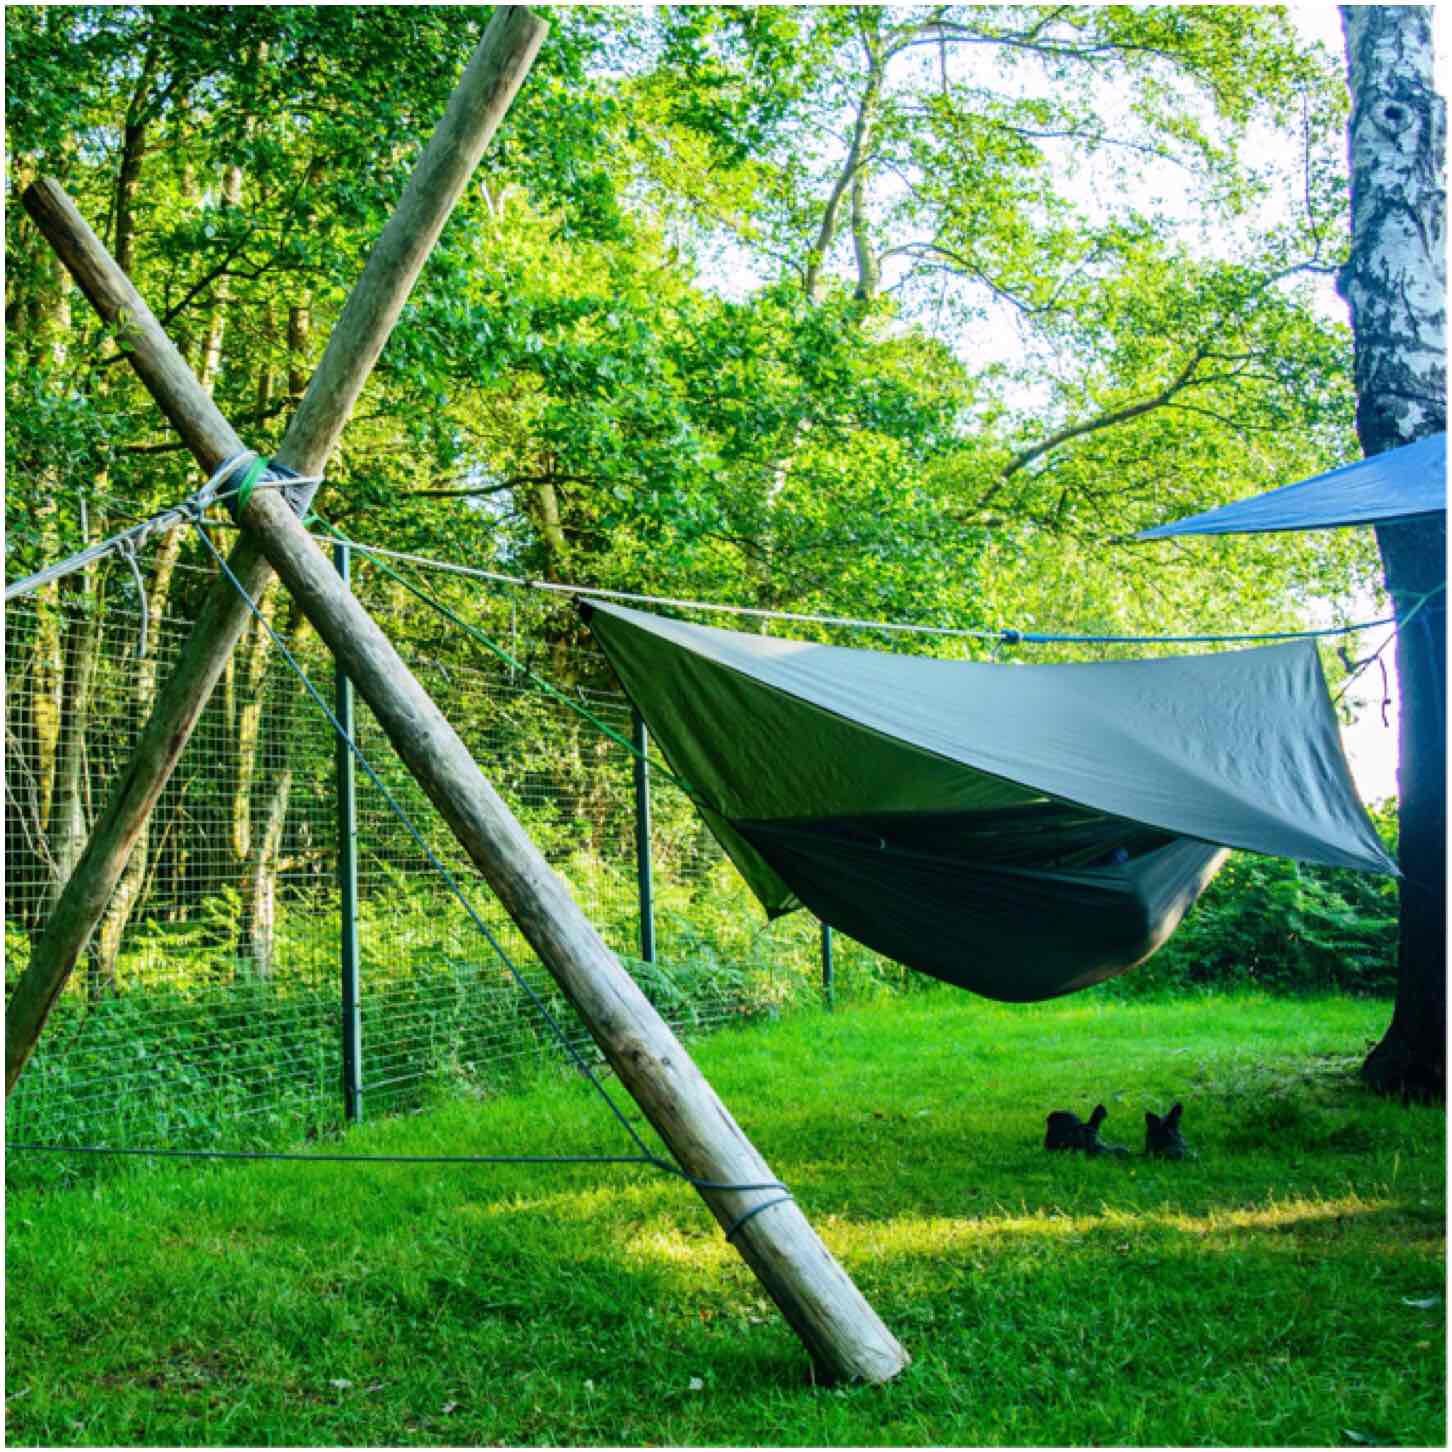
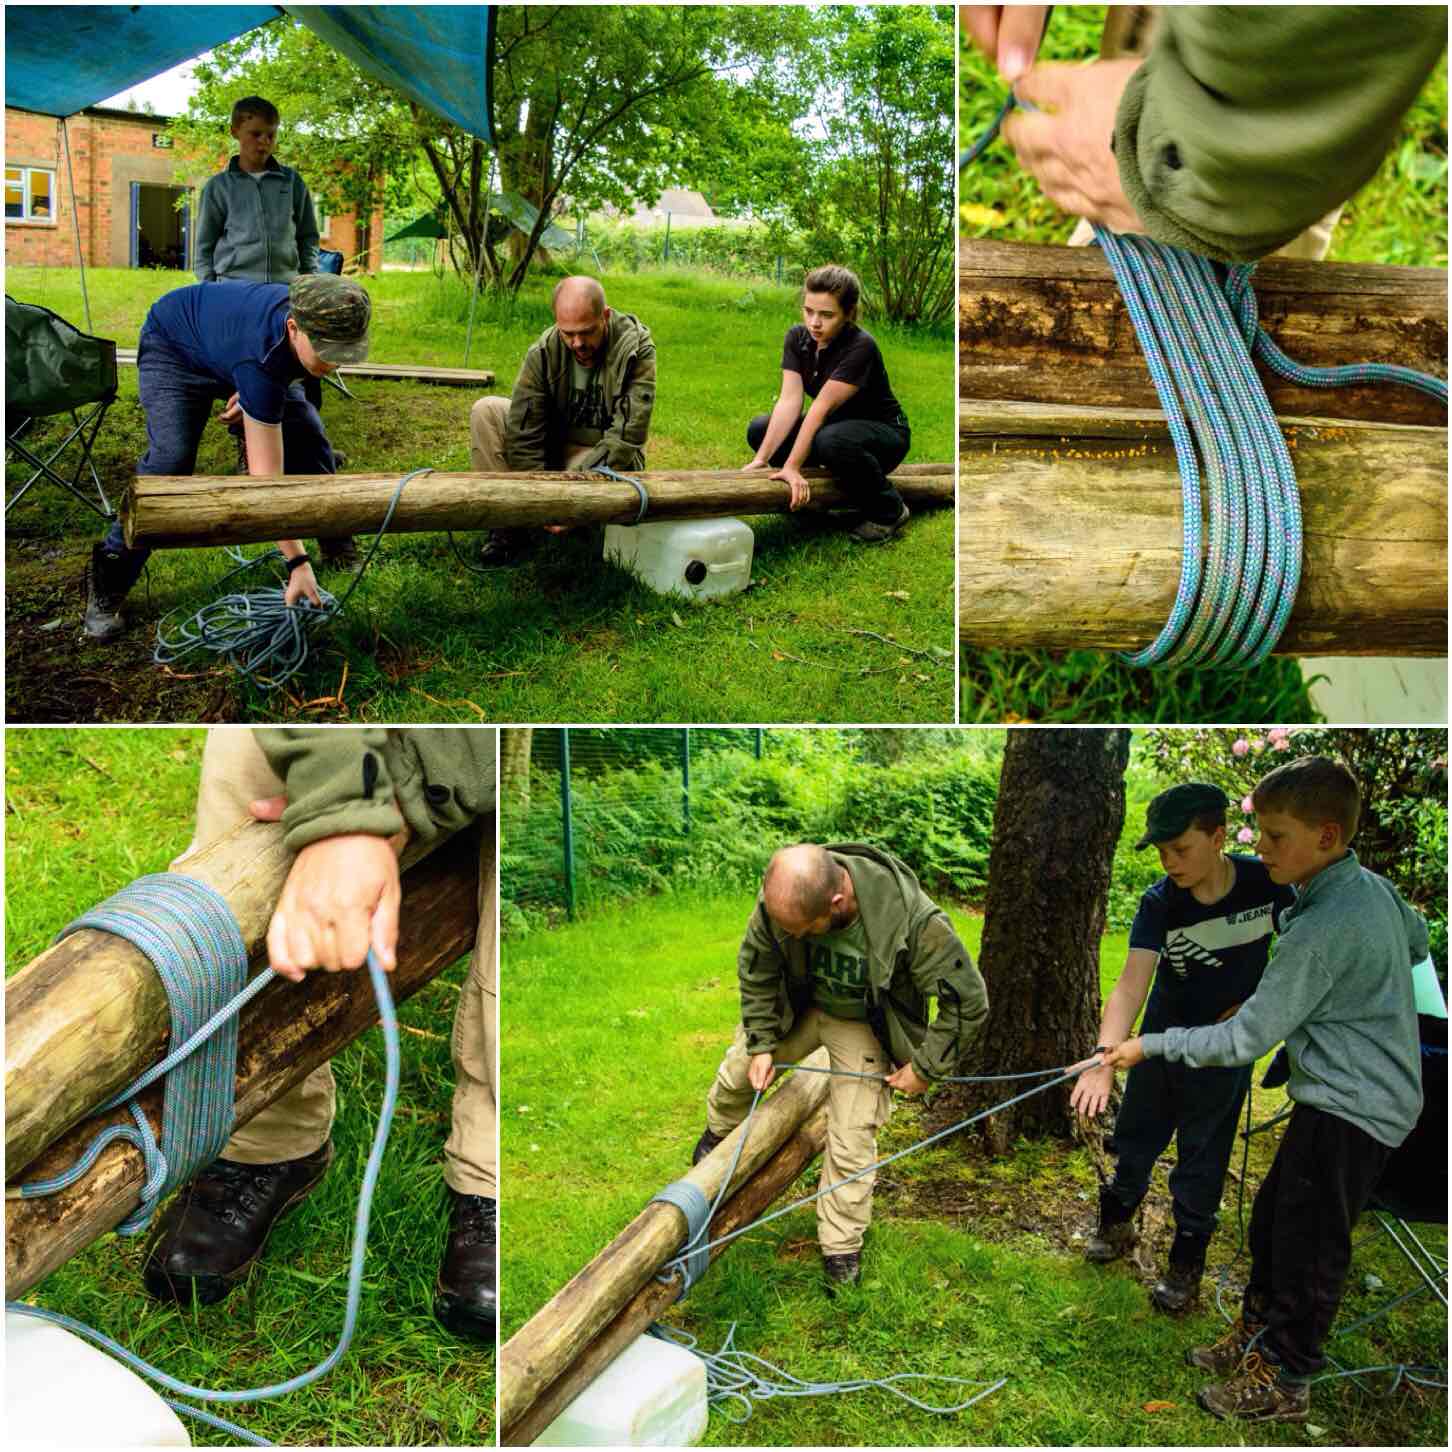
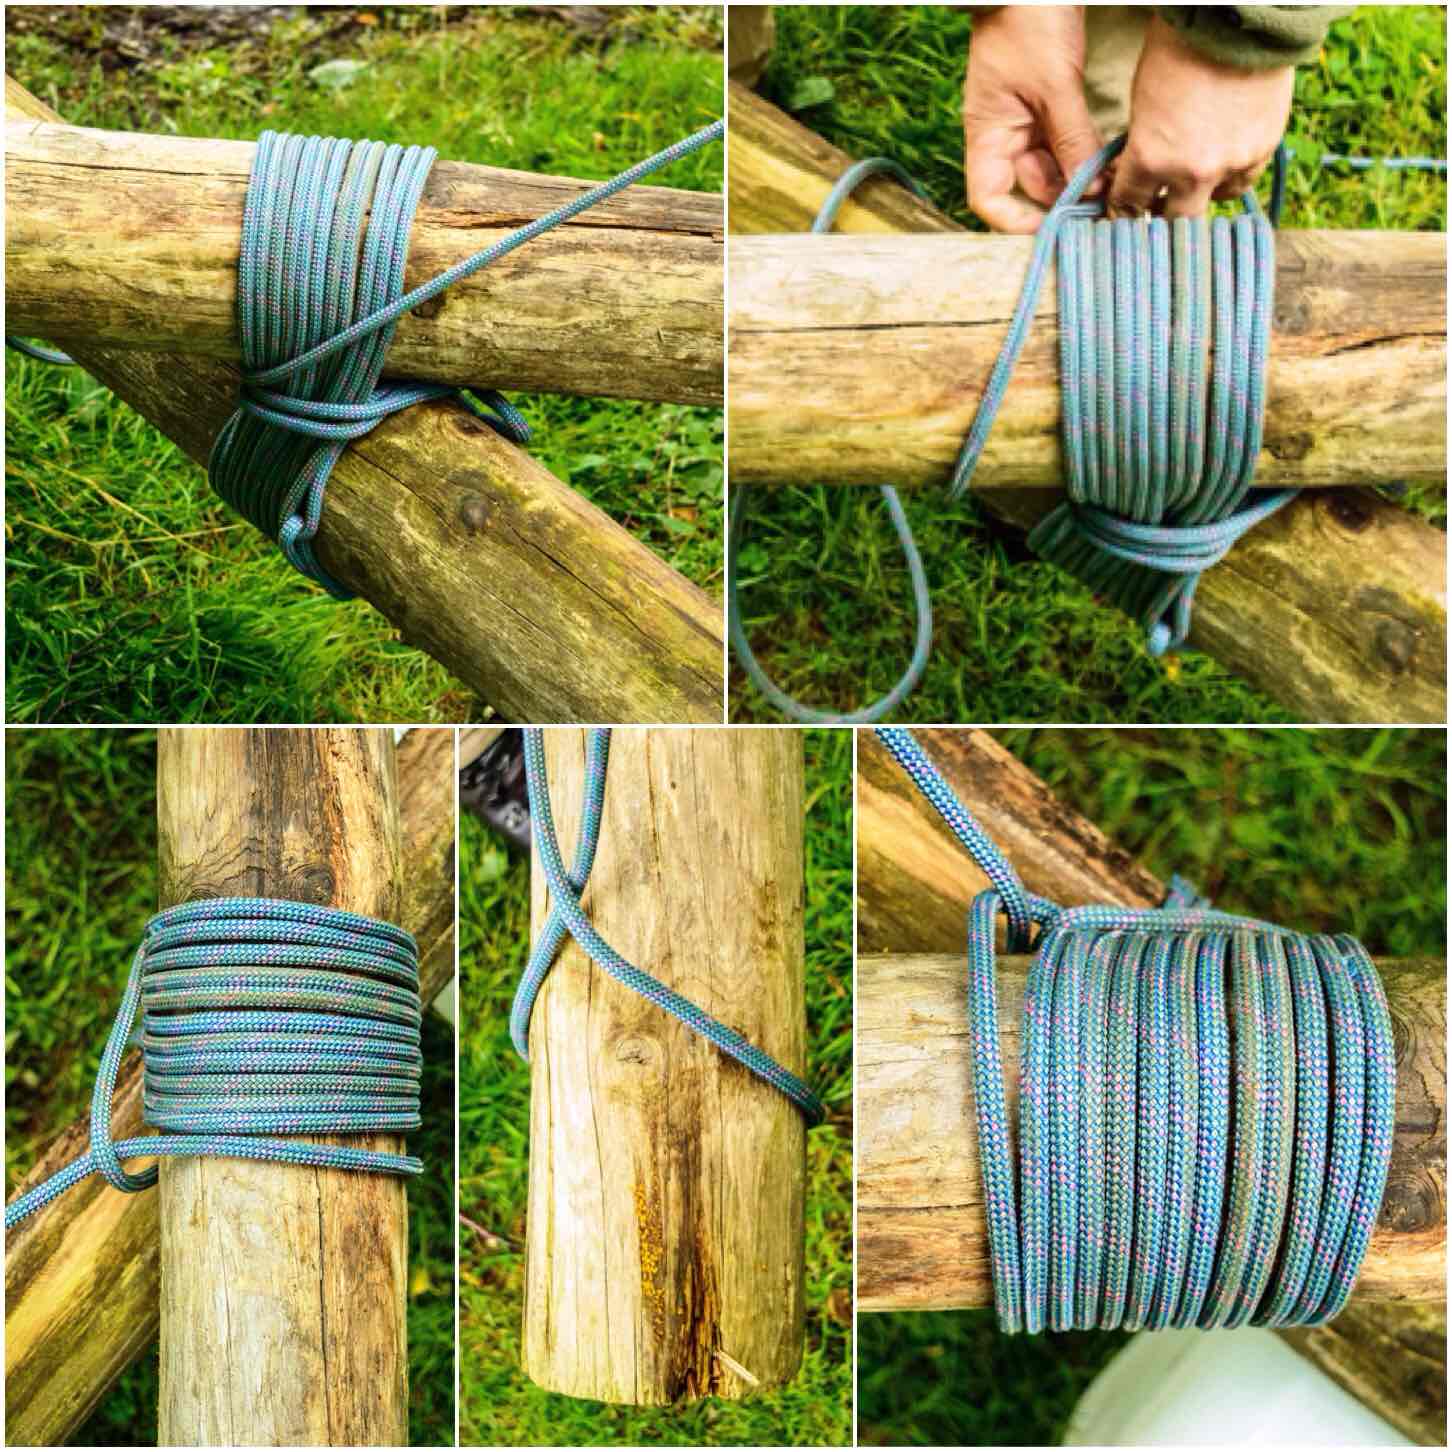
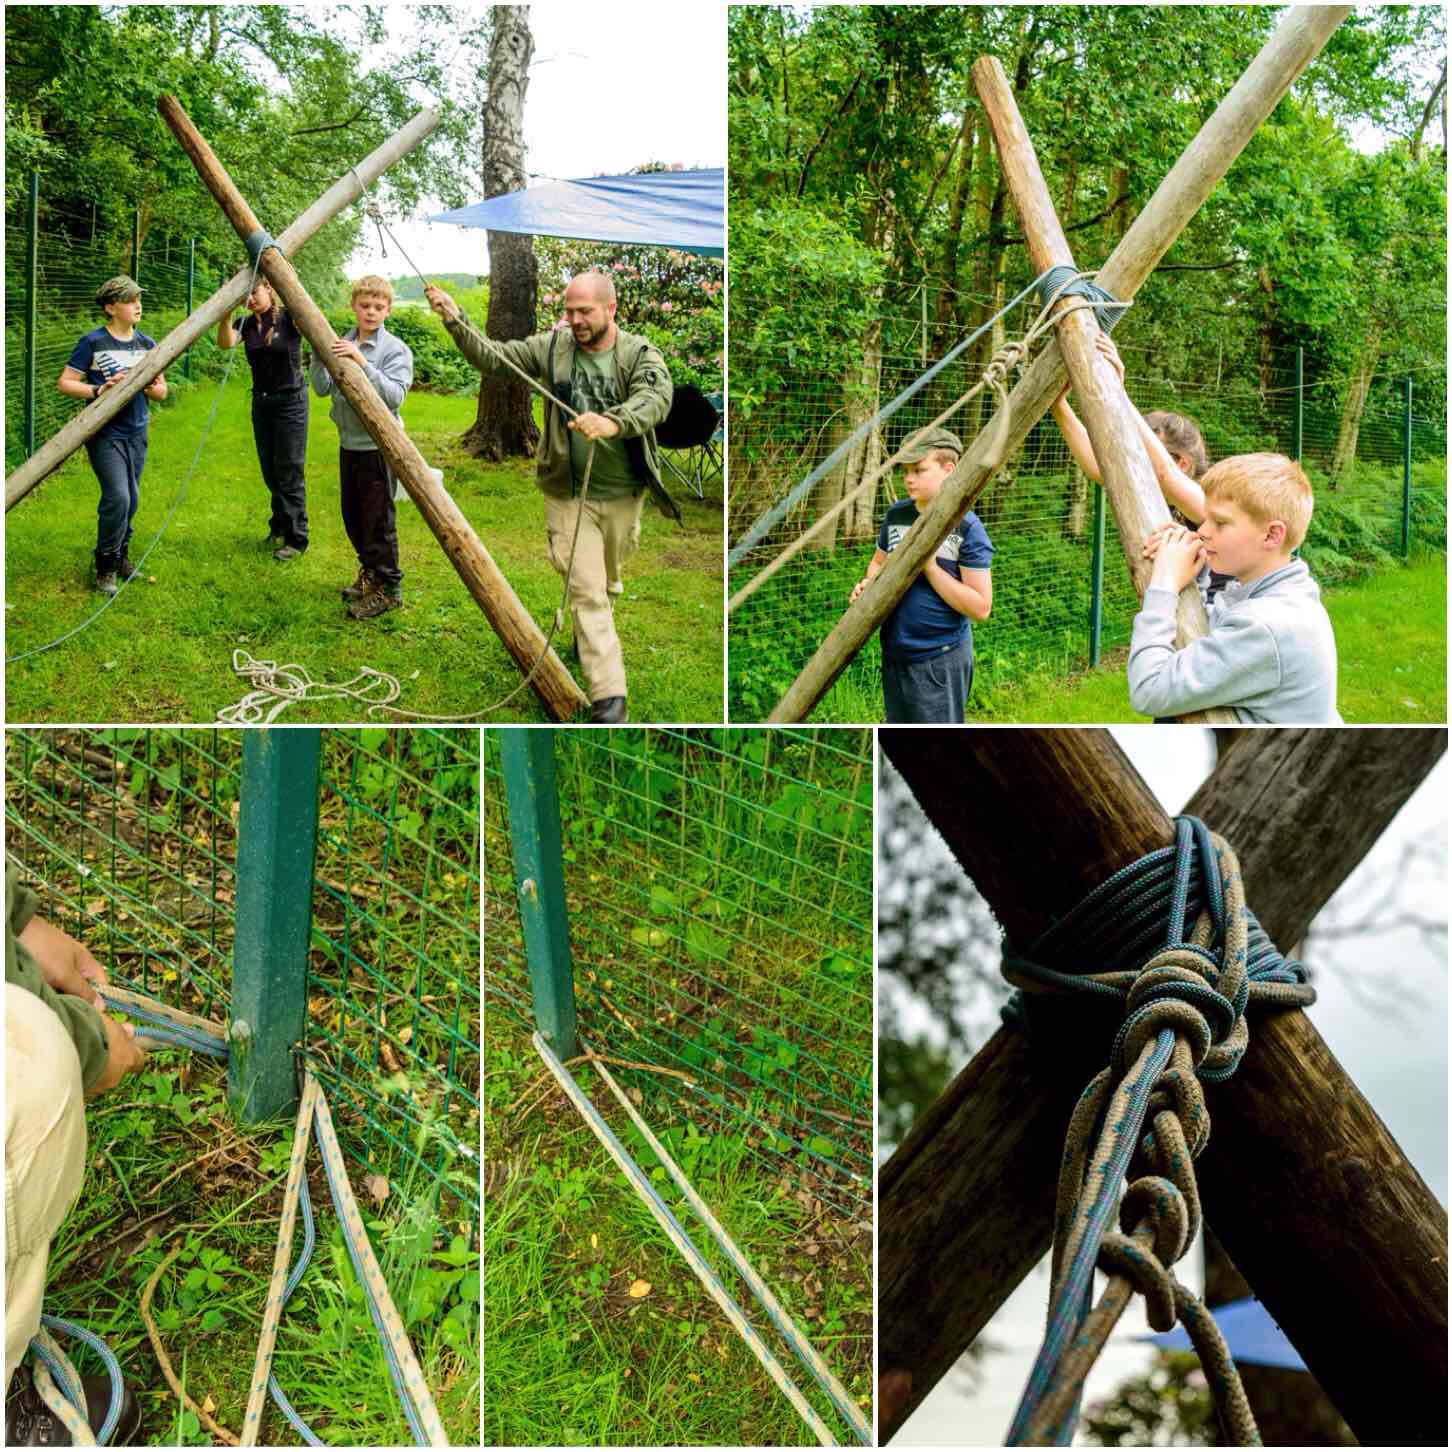
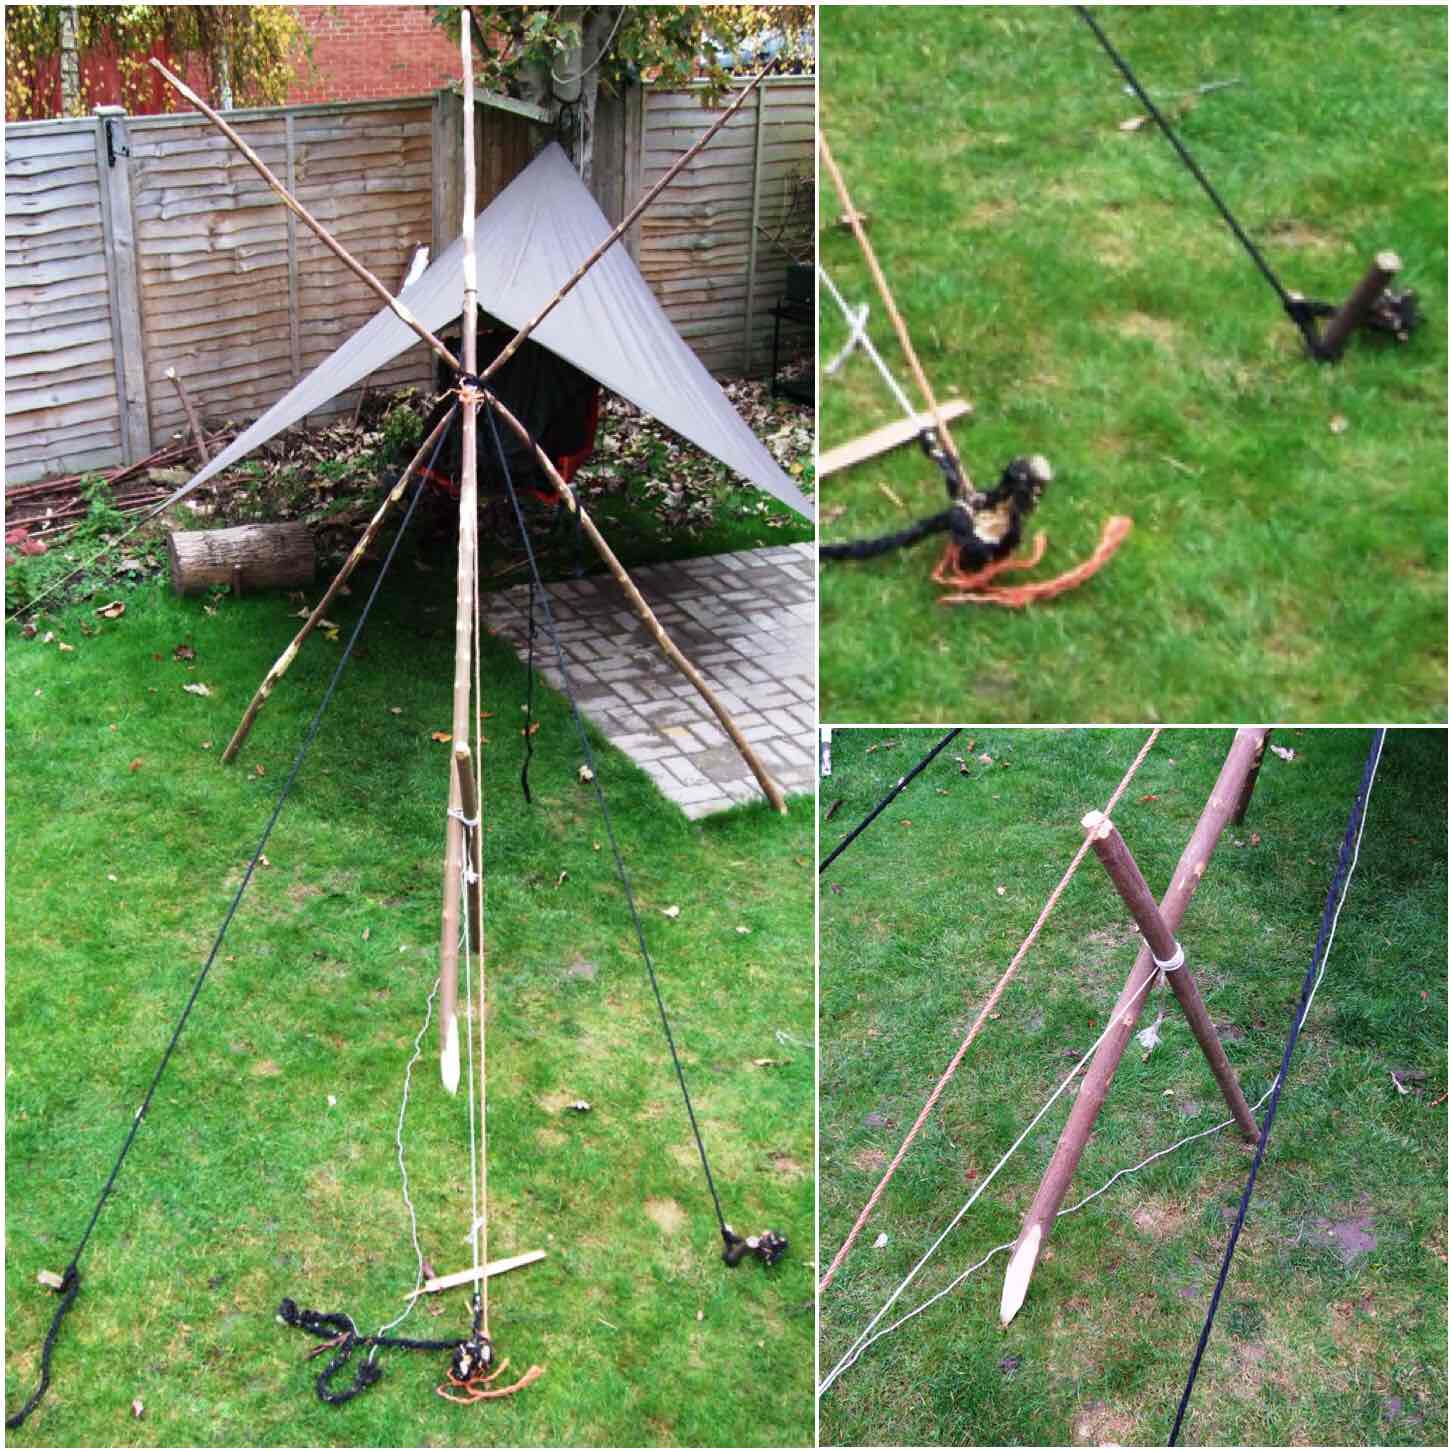
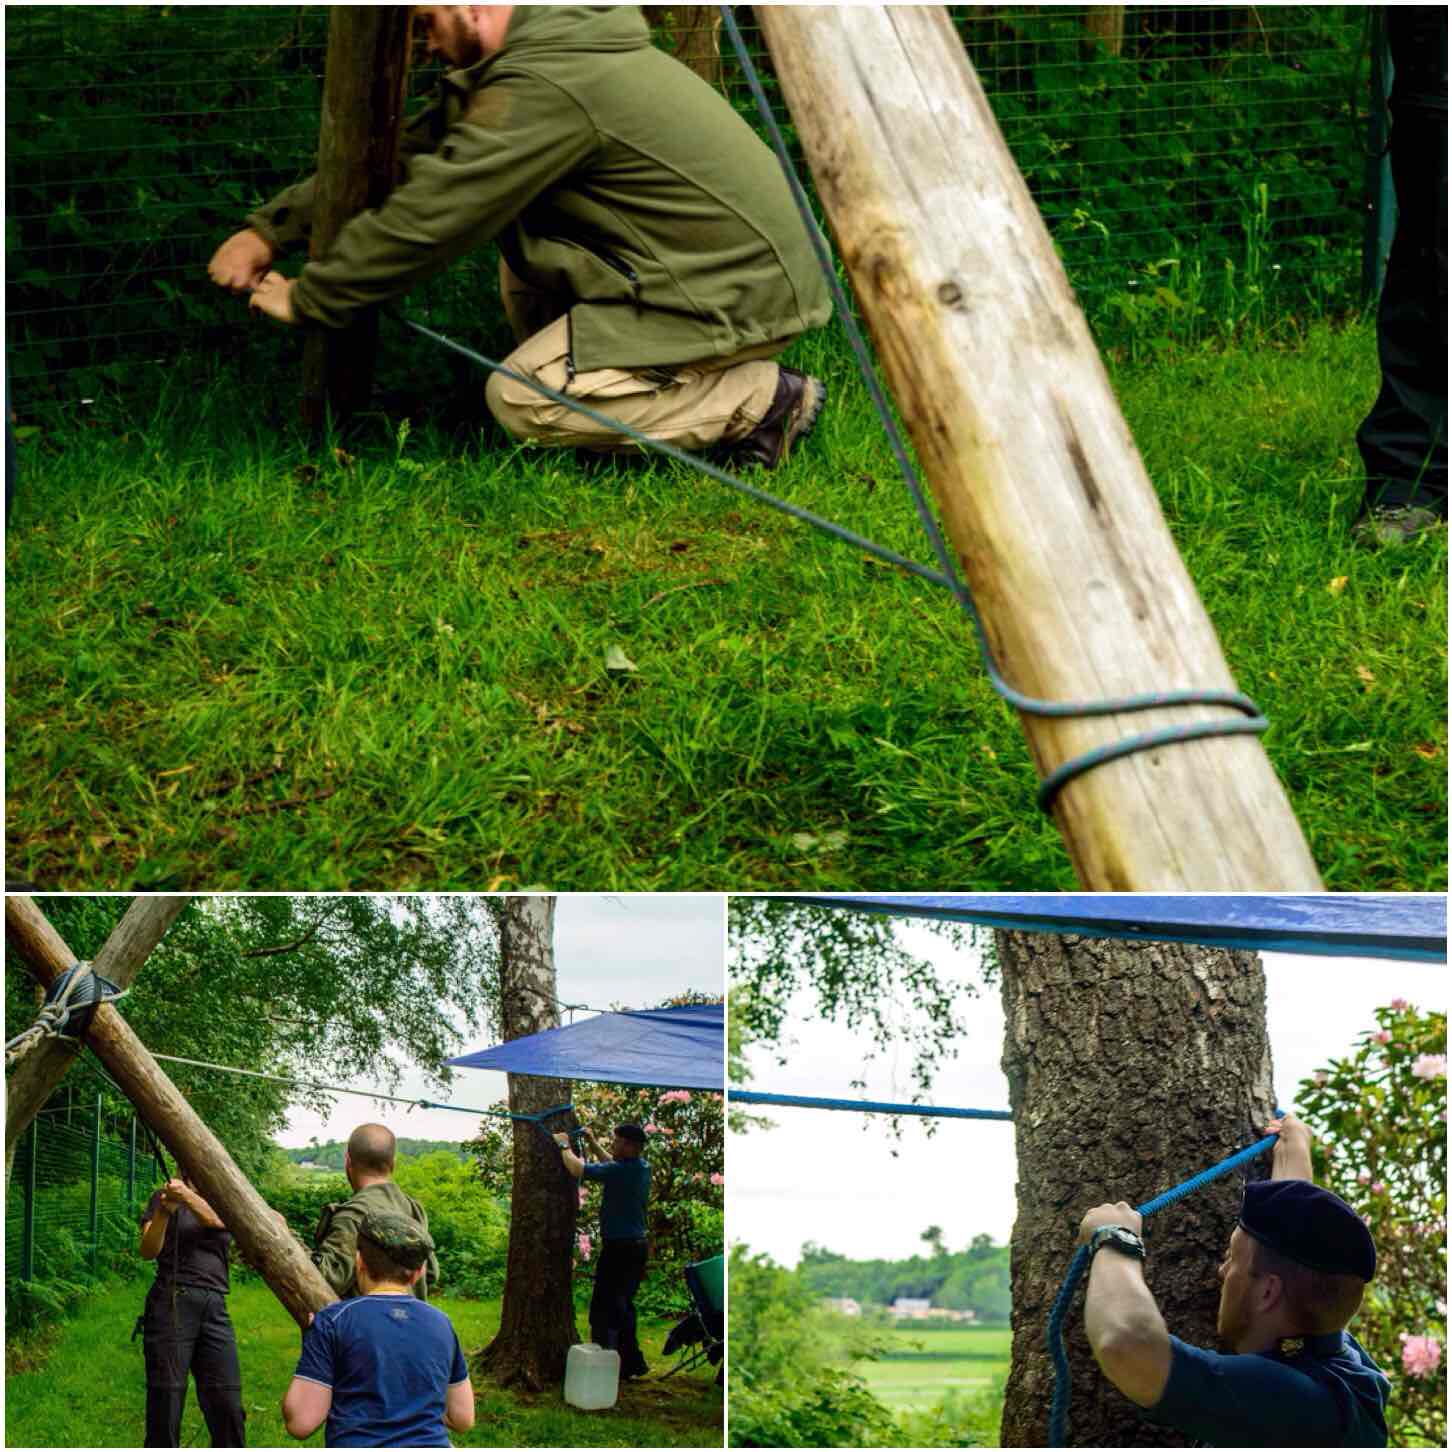
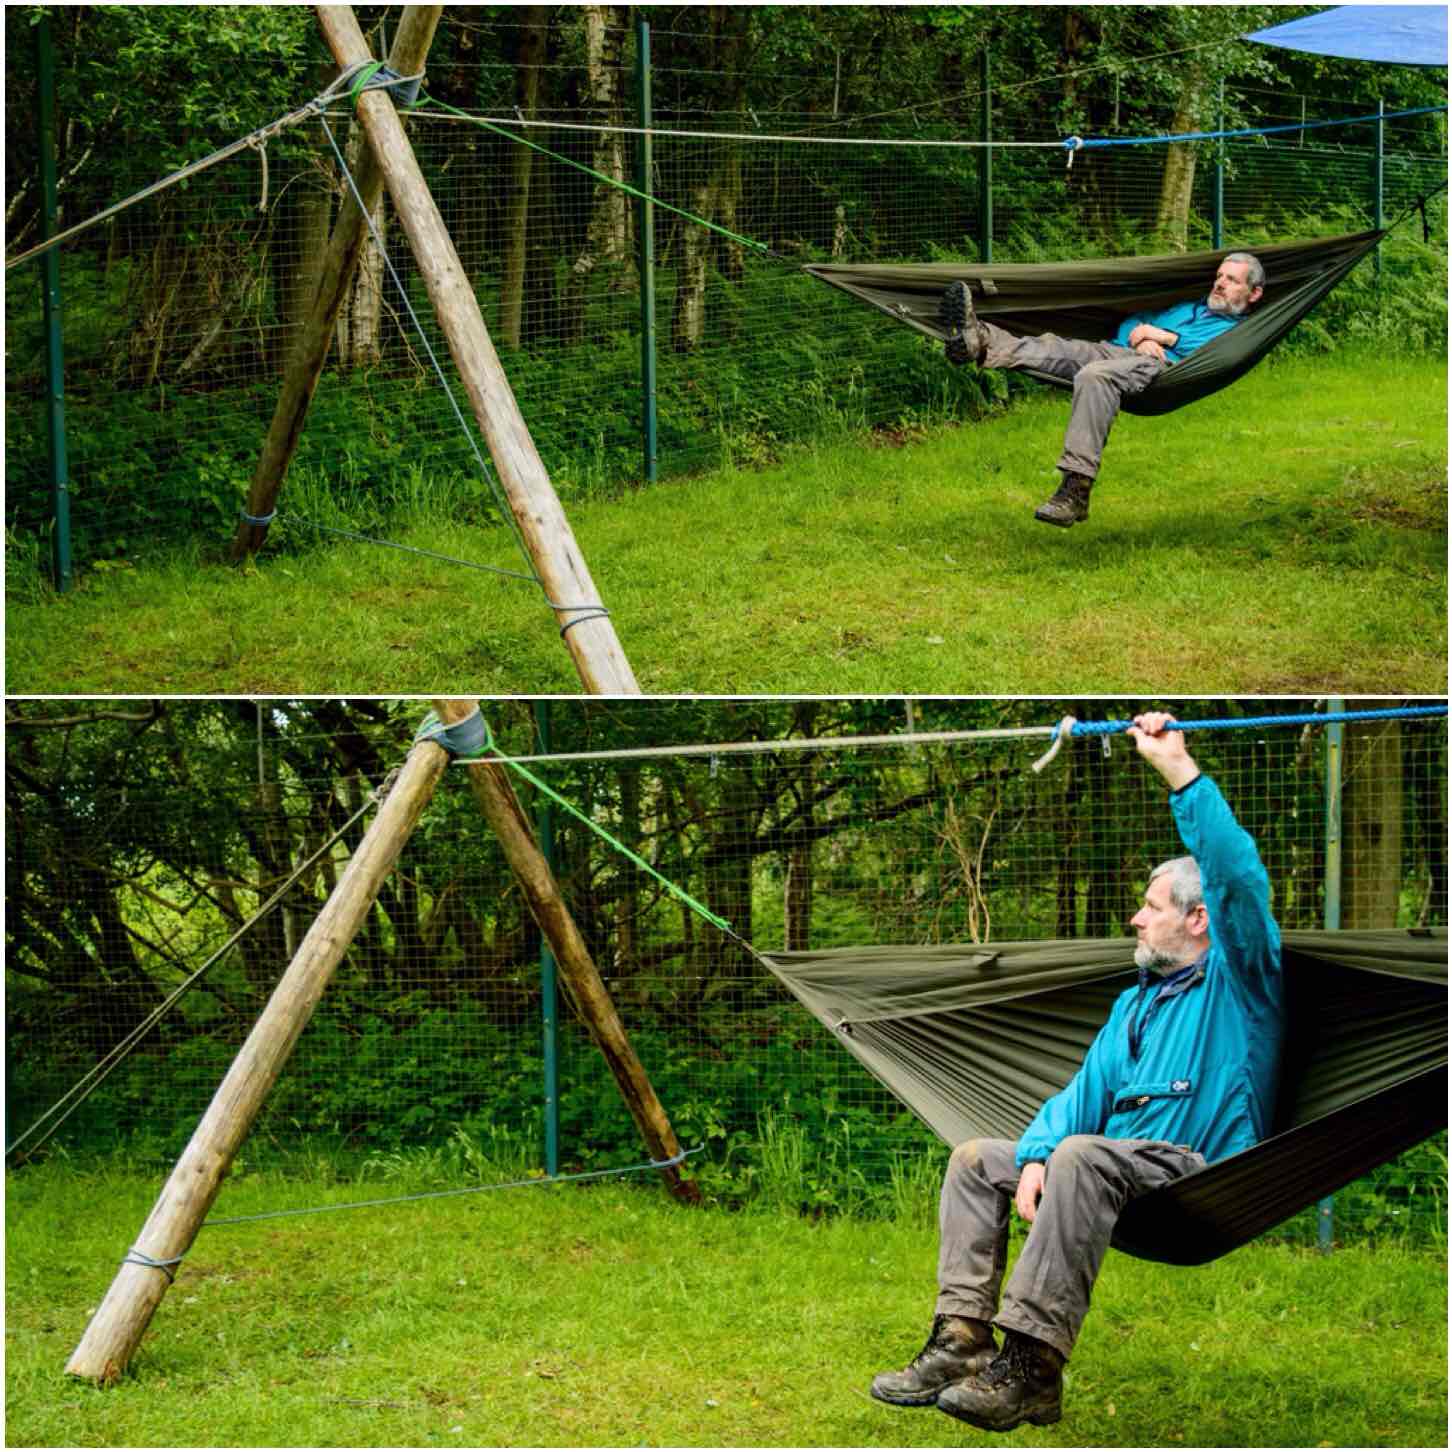
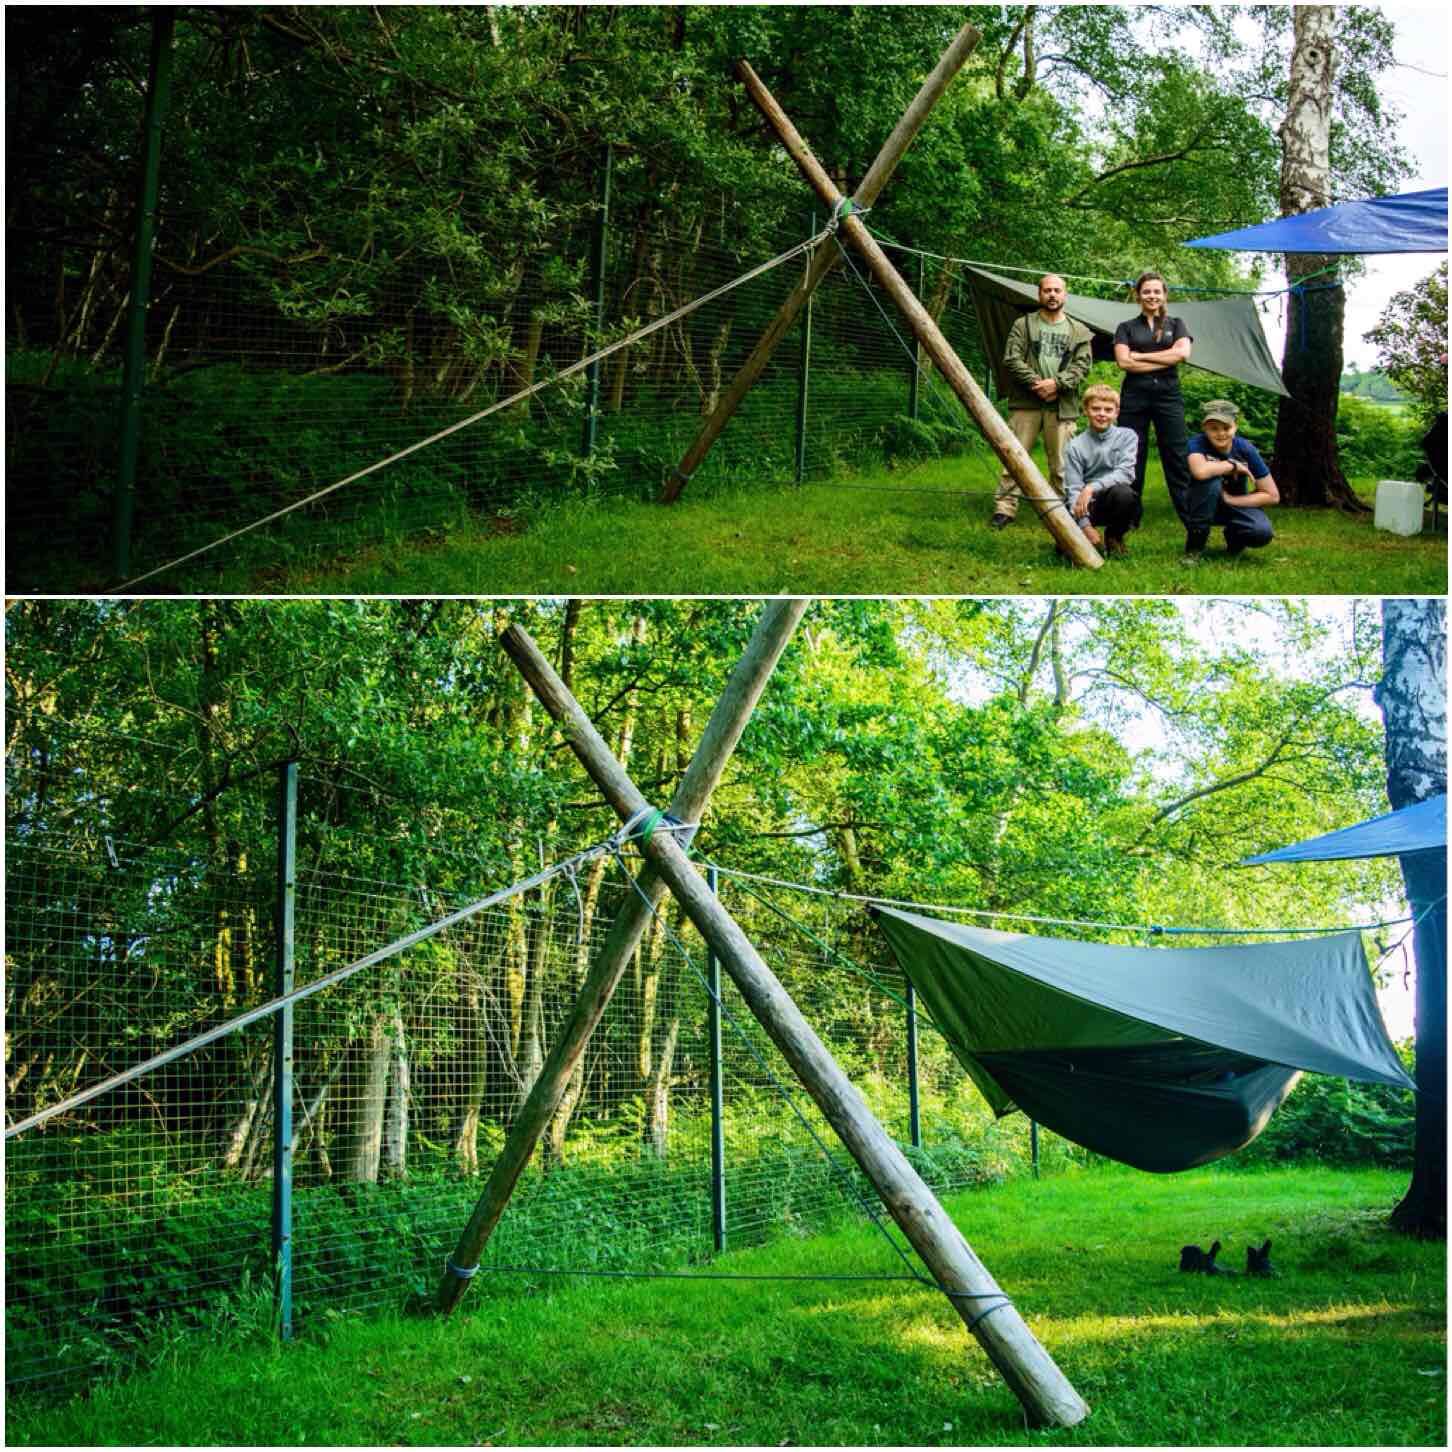
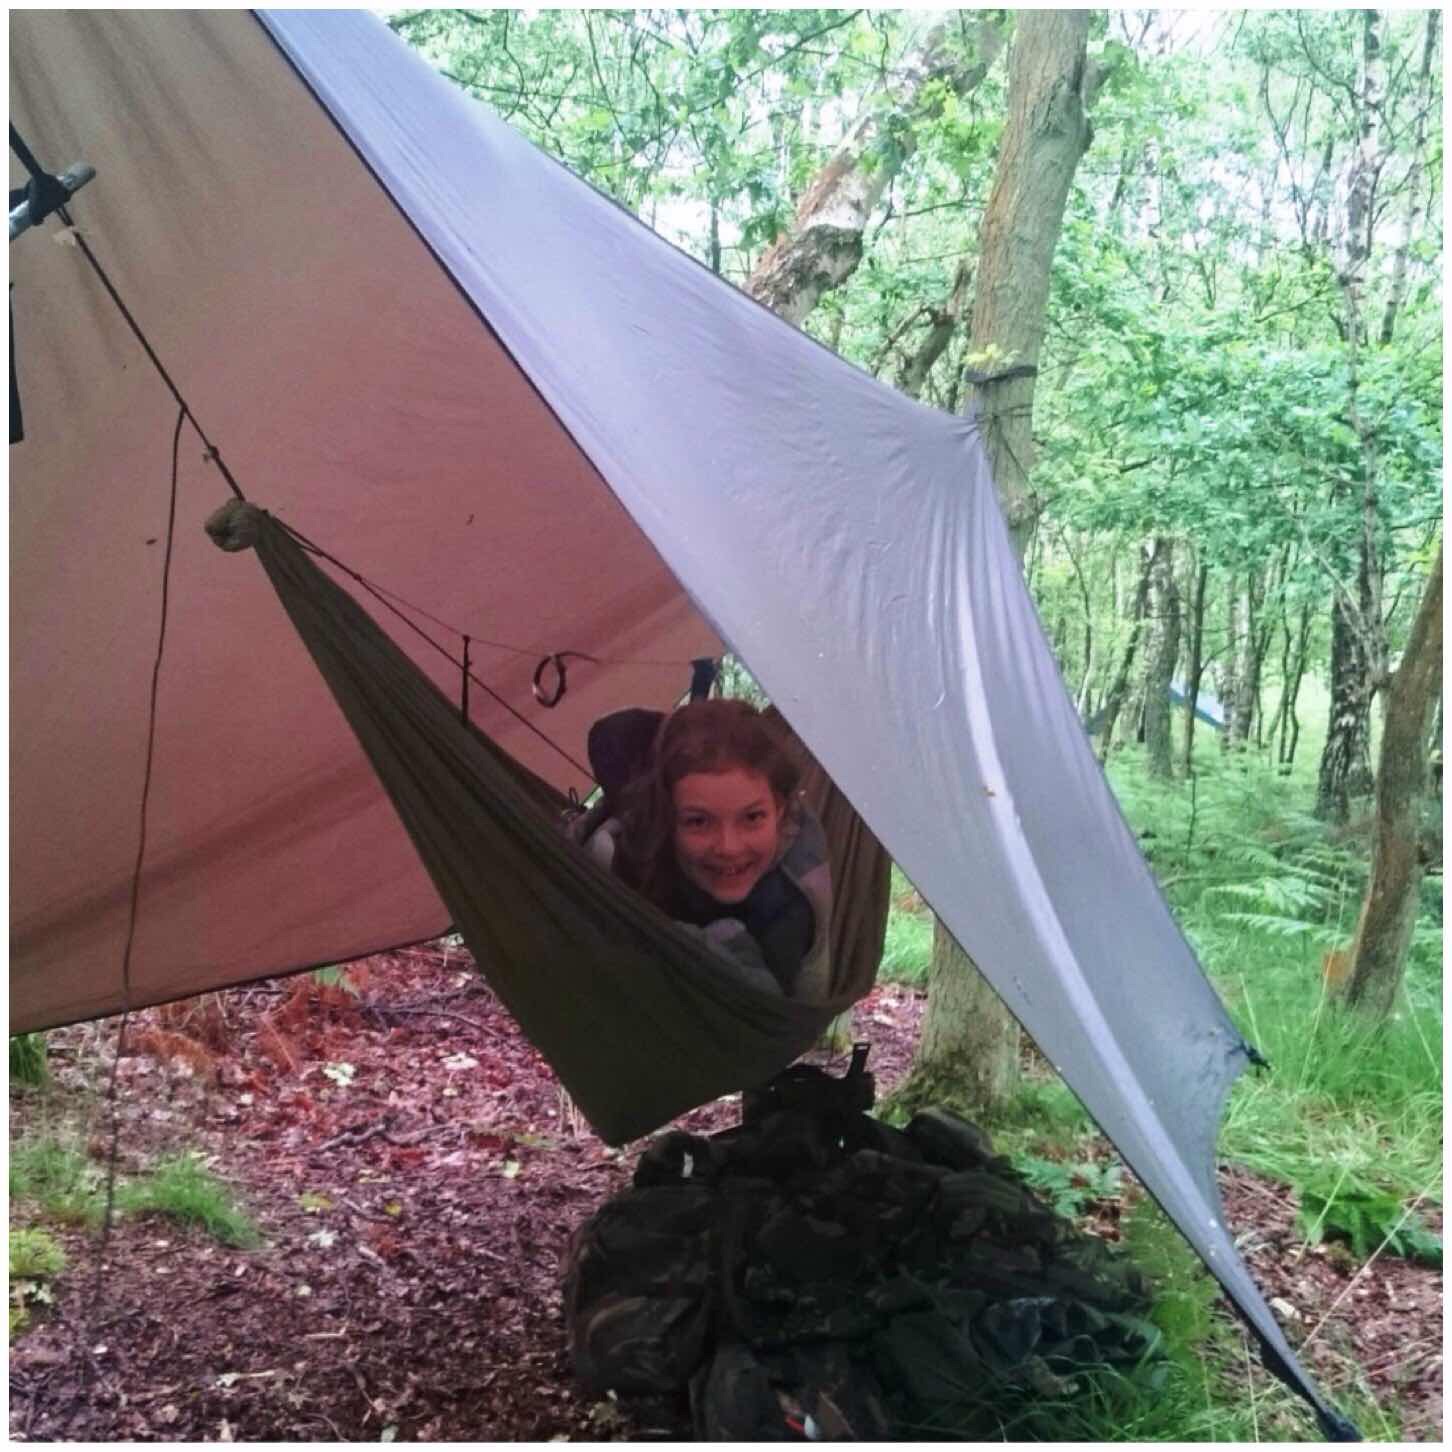
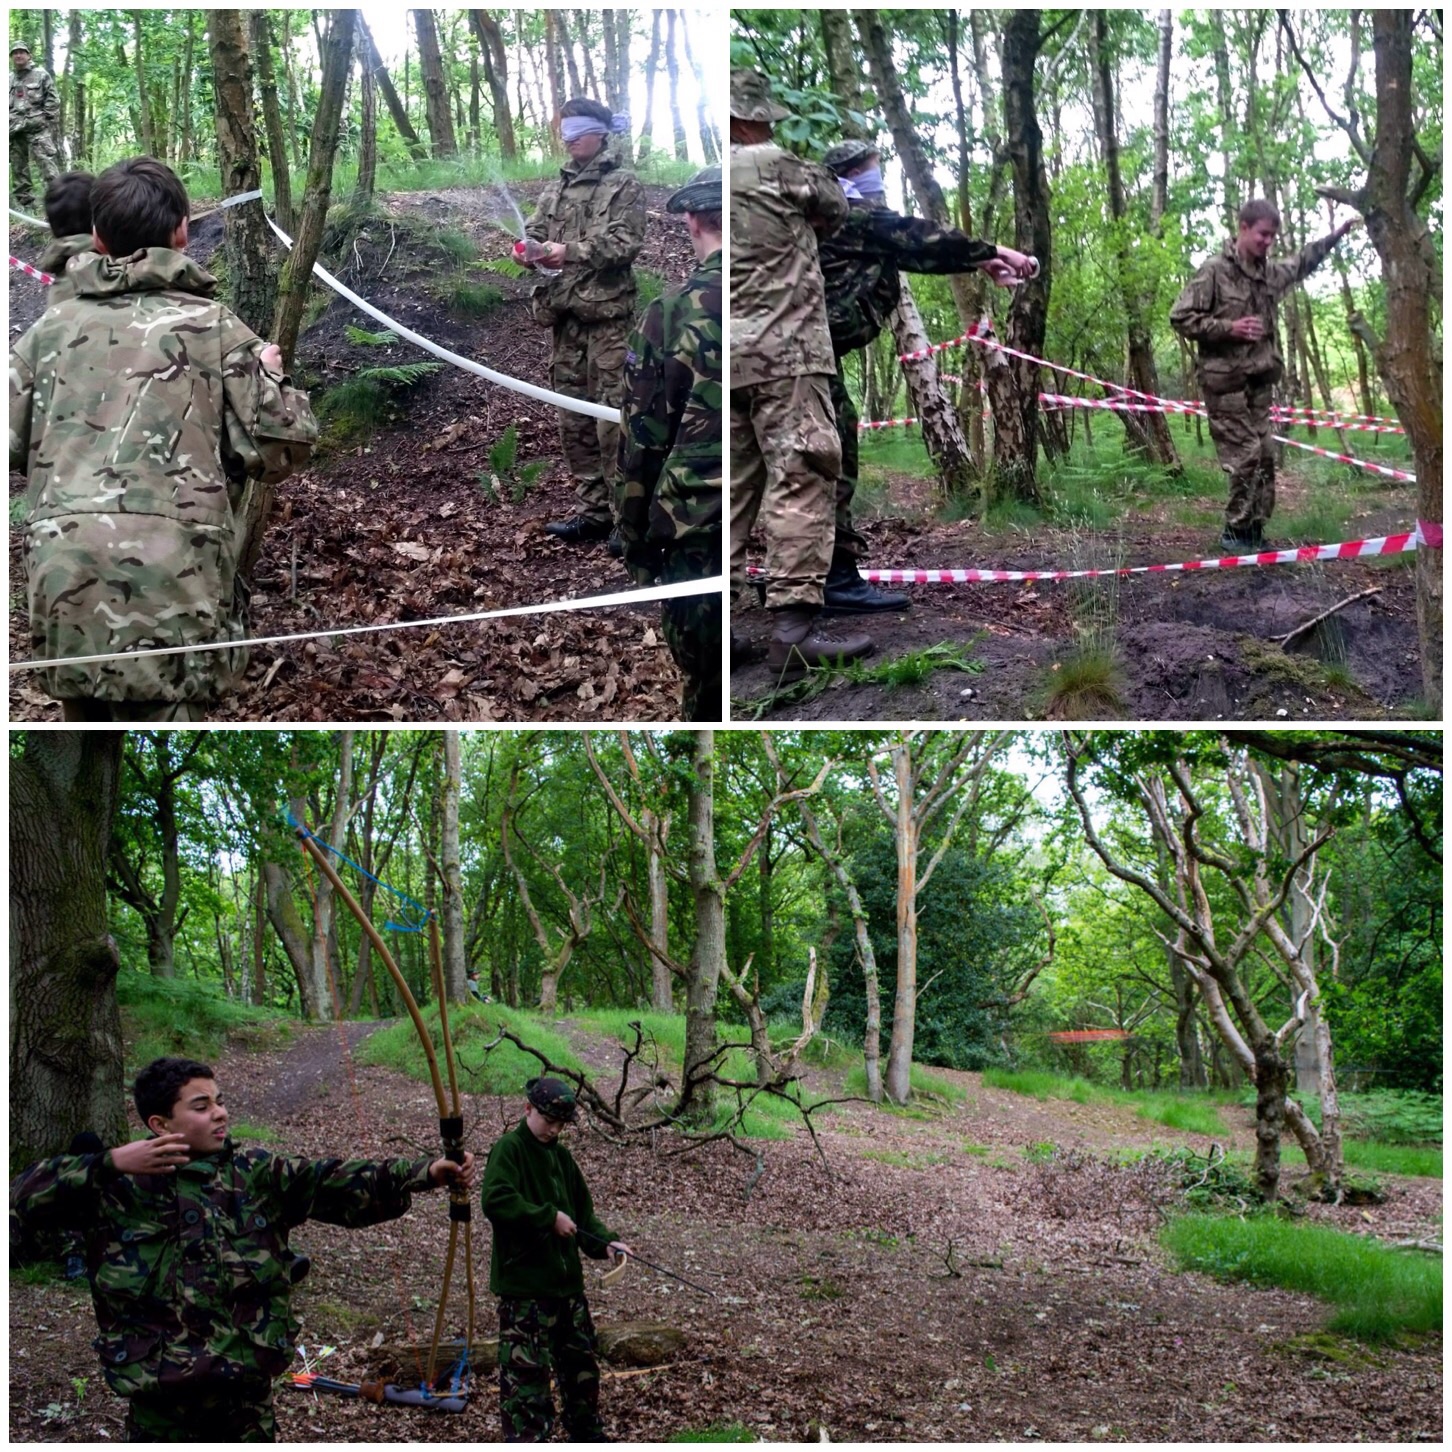
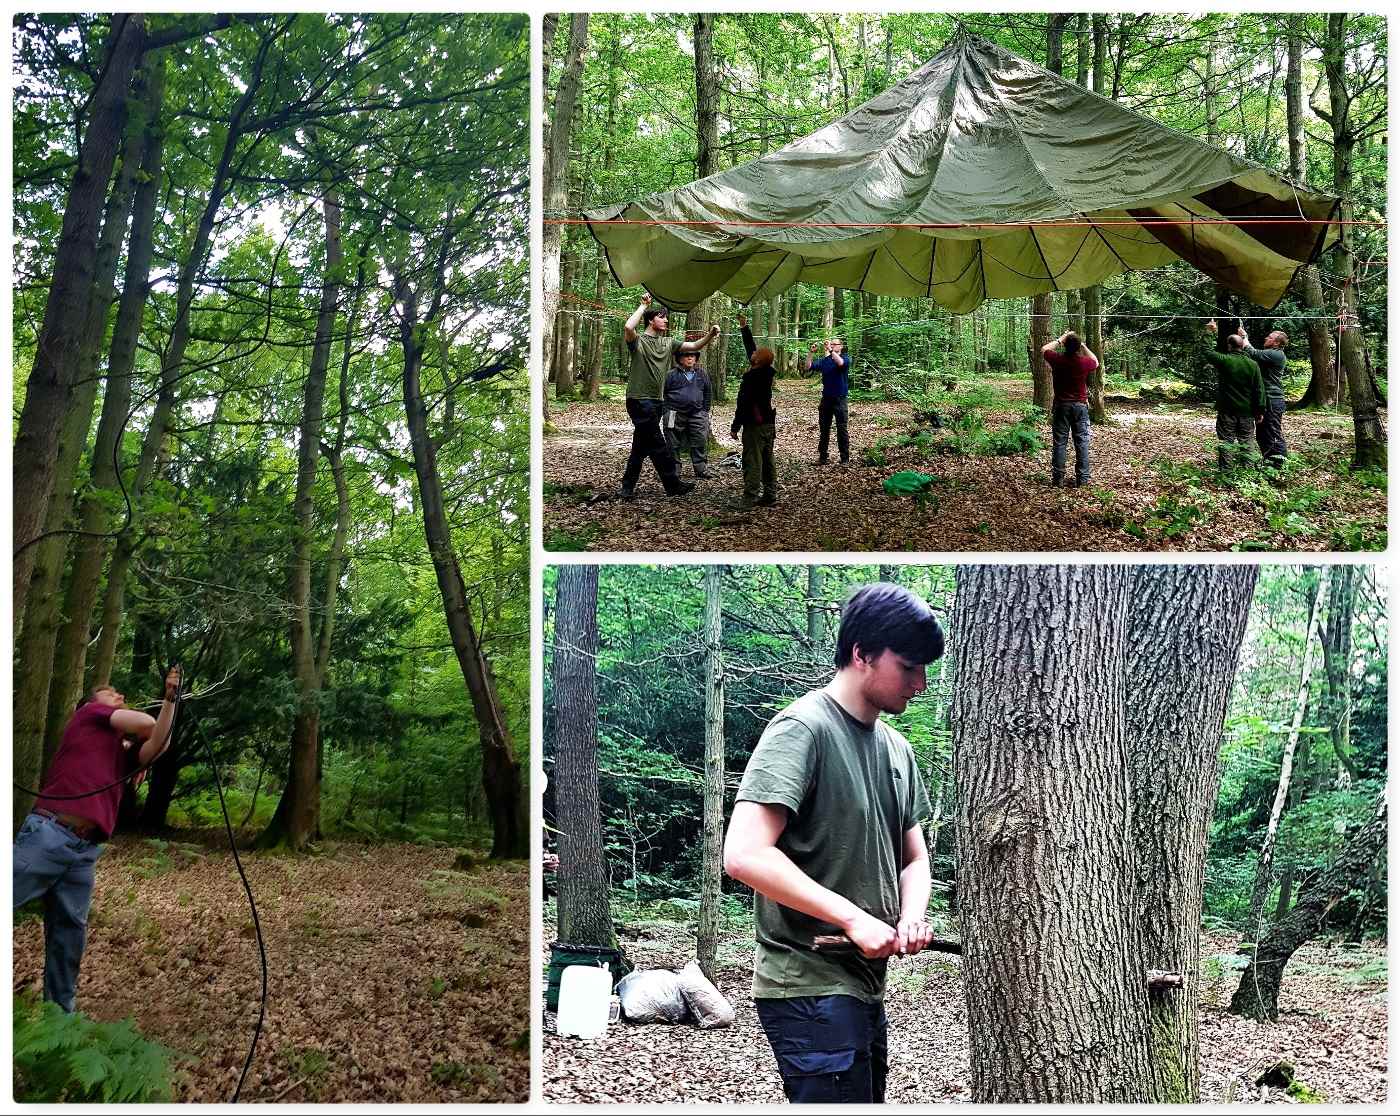
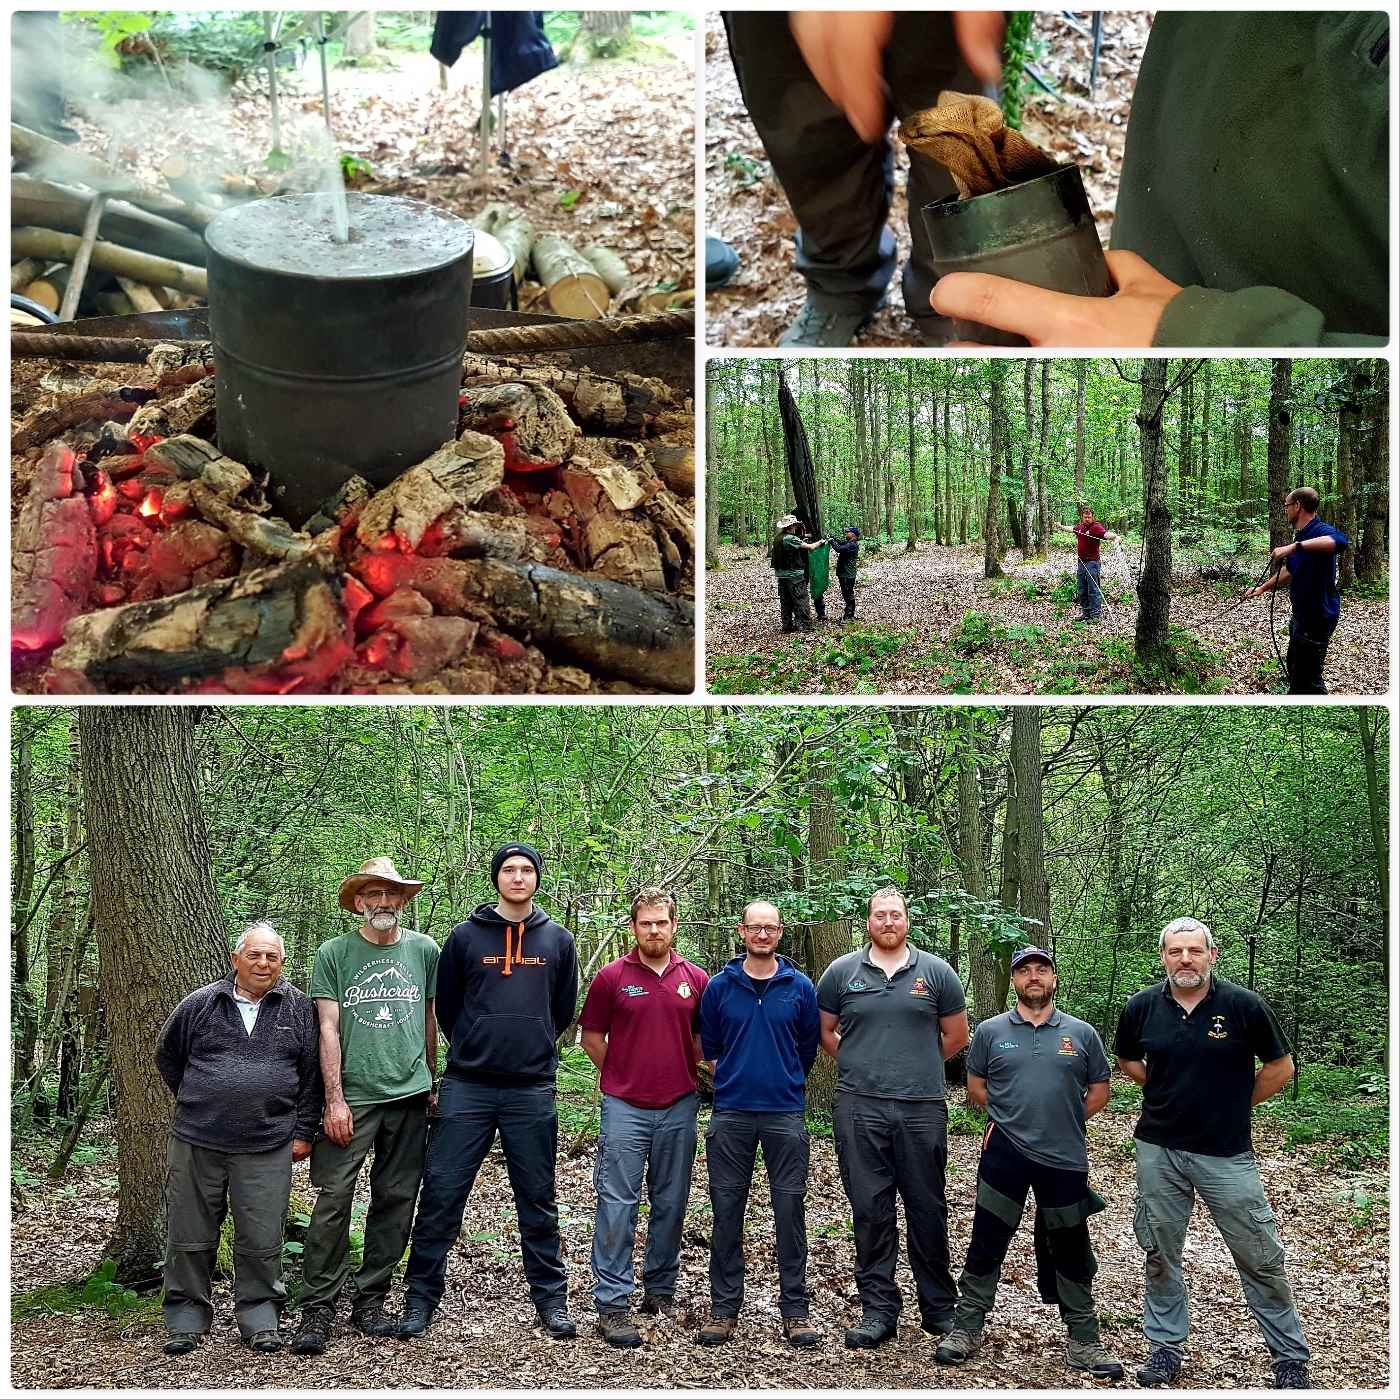
One of the things I wanted the students to do over the weekend was to set up their own camp. They learnt some of the basic Bushcraft knots with Charlie and how to throw a line through the trees. Soon they had their parachute up and firewood collected. Once that was all done they spent time with Dave and Graham learning how to put hammocks and tarps up (no ground dwelling on this weekend).

Camp Set Up

Atlatl Carving

A popular activity at cadet camps is Atlatl dart throwing so Dave and Alan spent a couple of hours with the students getting them to carve their own Atlatl throwers. All the skills that they had learnt in the morning with the saws and knives were used here with some finer knife cutting technique thrown in to get the points done.

Atlatl Carving

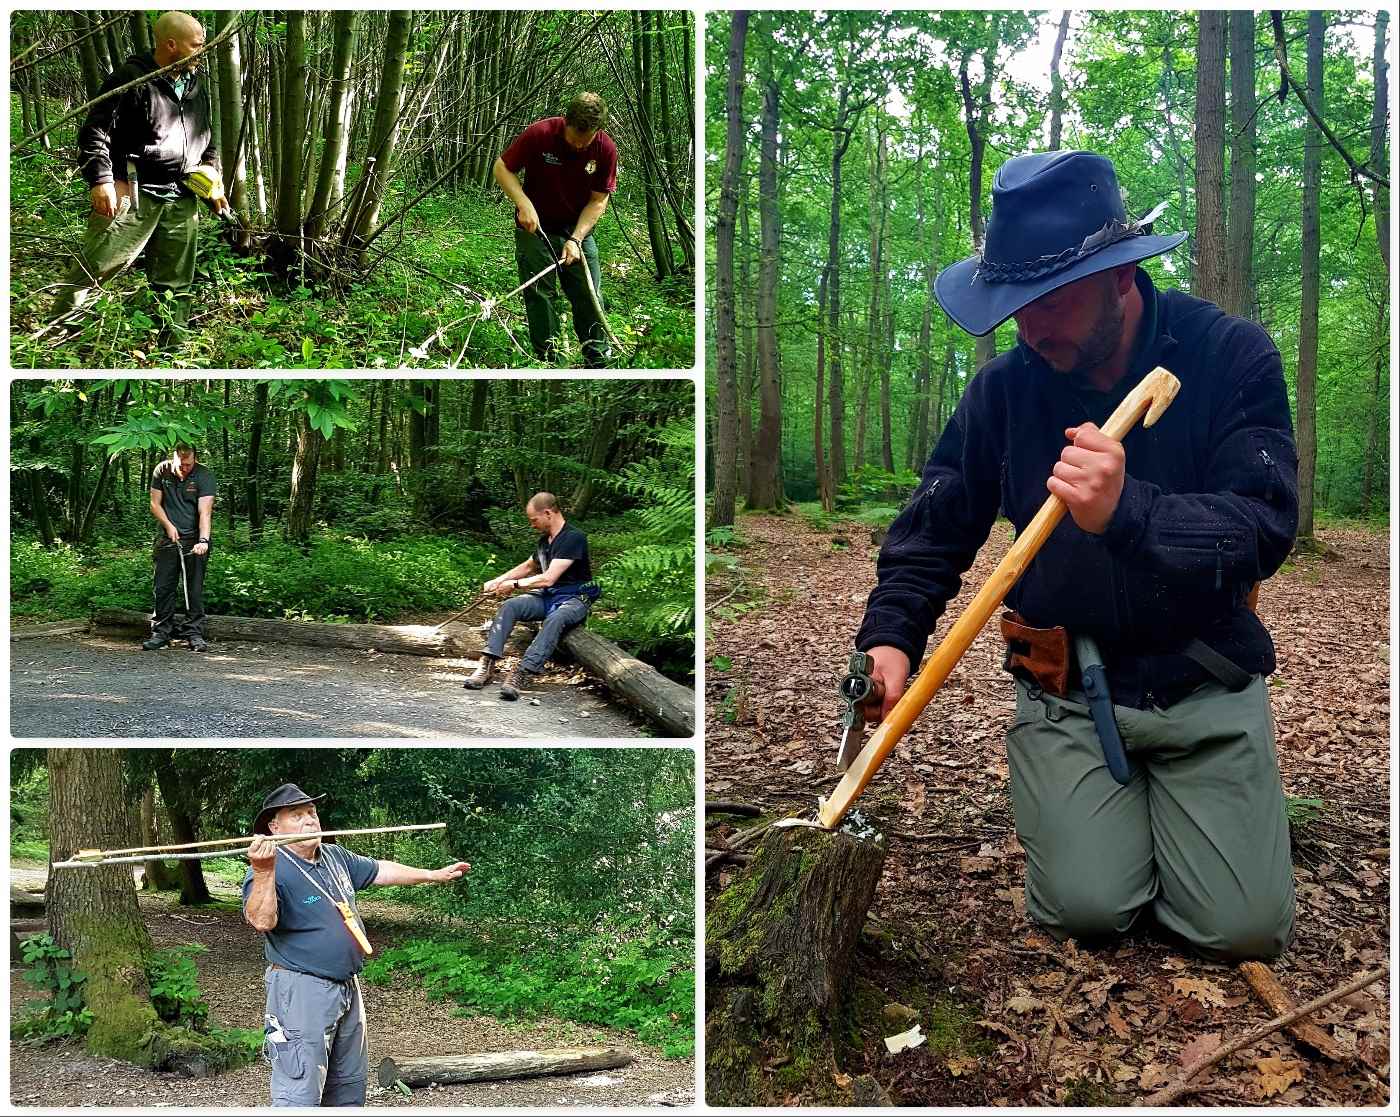
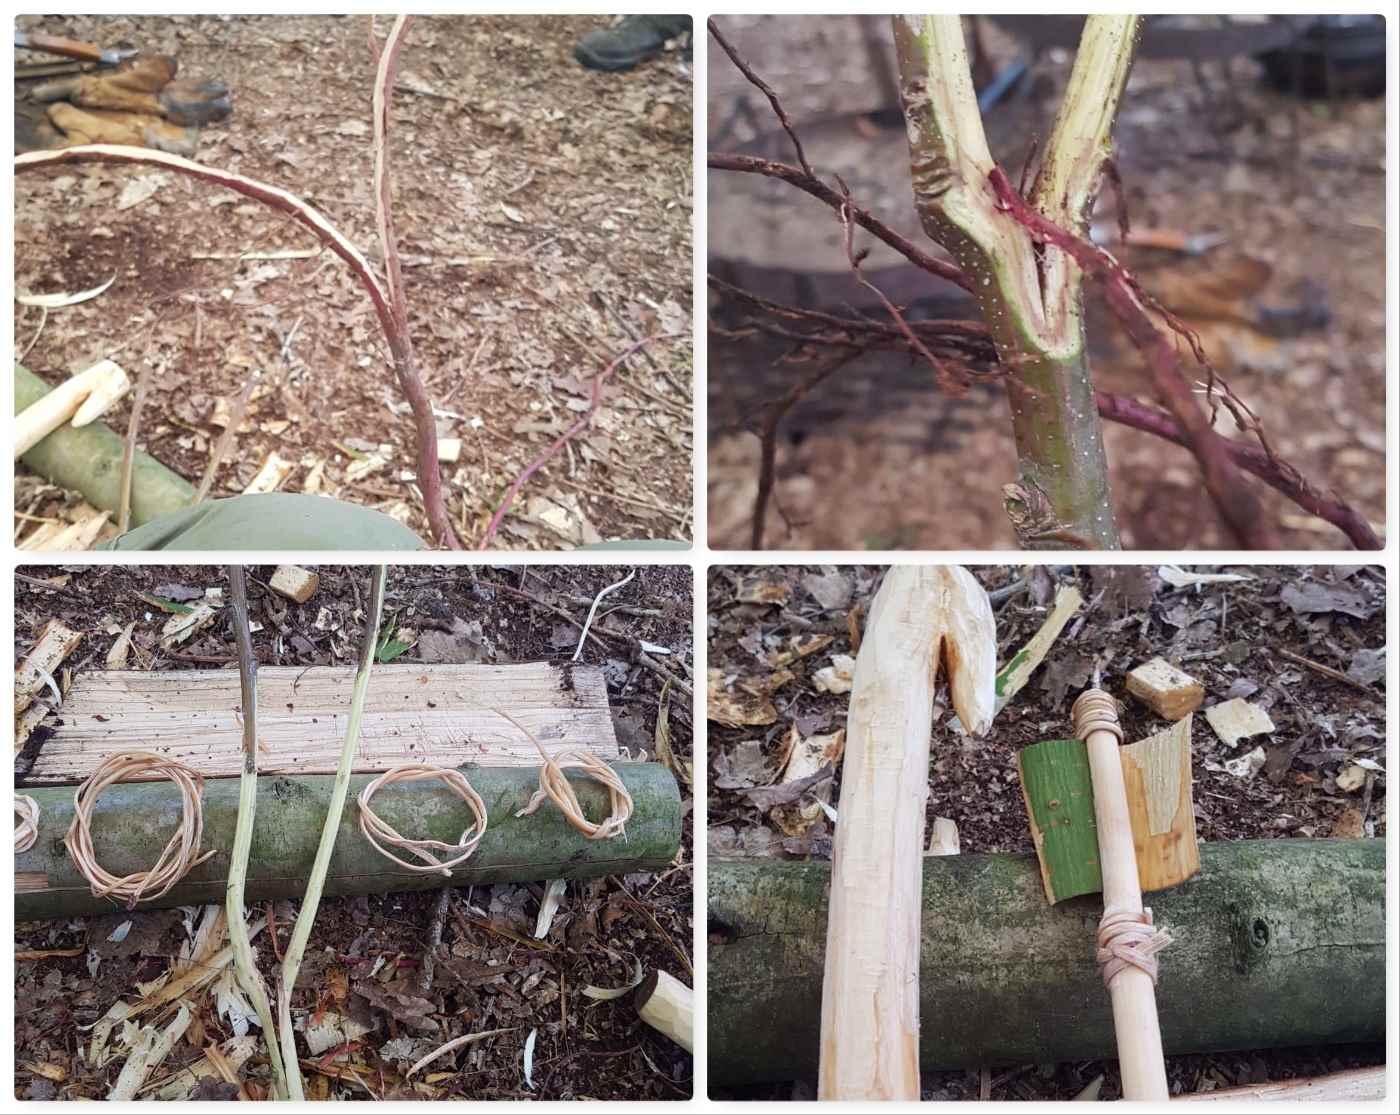
As this was CPD time for the experienced instructors Dave went off earlier on the Saturday and experimented with Spruce roots as cordage. After digging up a little he split them down and removed the bark (with the forked stick) before using it to bind his demonstration Atlatl dart for his class. He also used Sweet Chestnut bark as a flight for his dart – worked perfectly well.

Natural Cordage -pictures courtesy of Dave

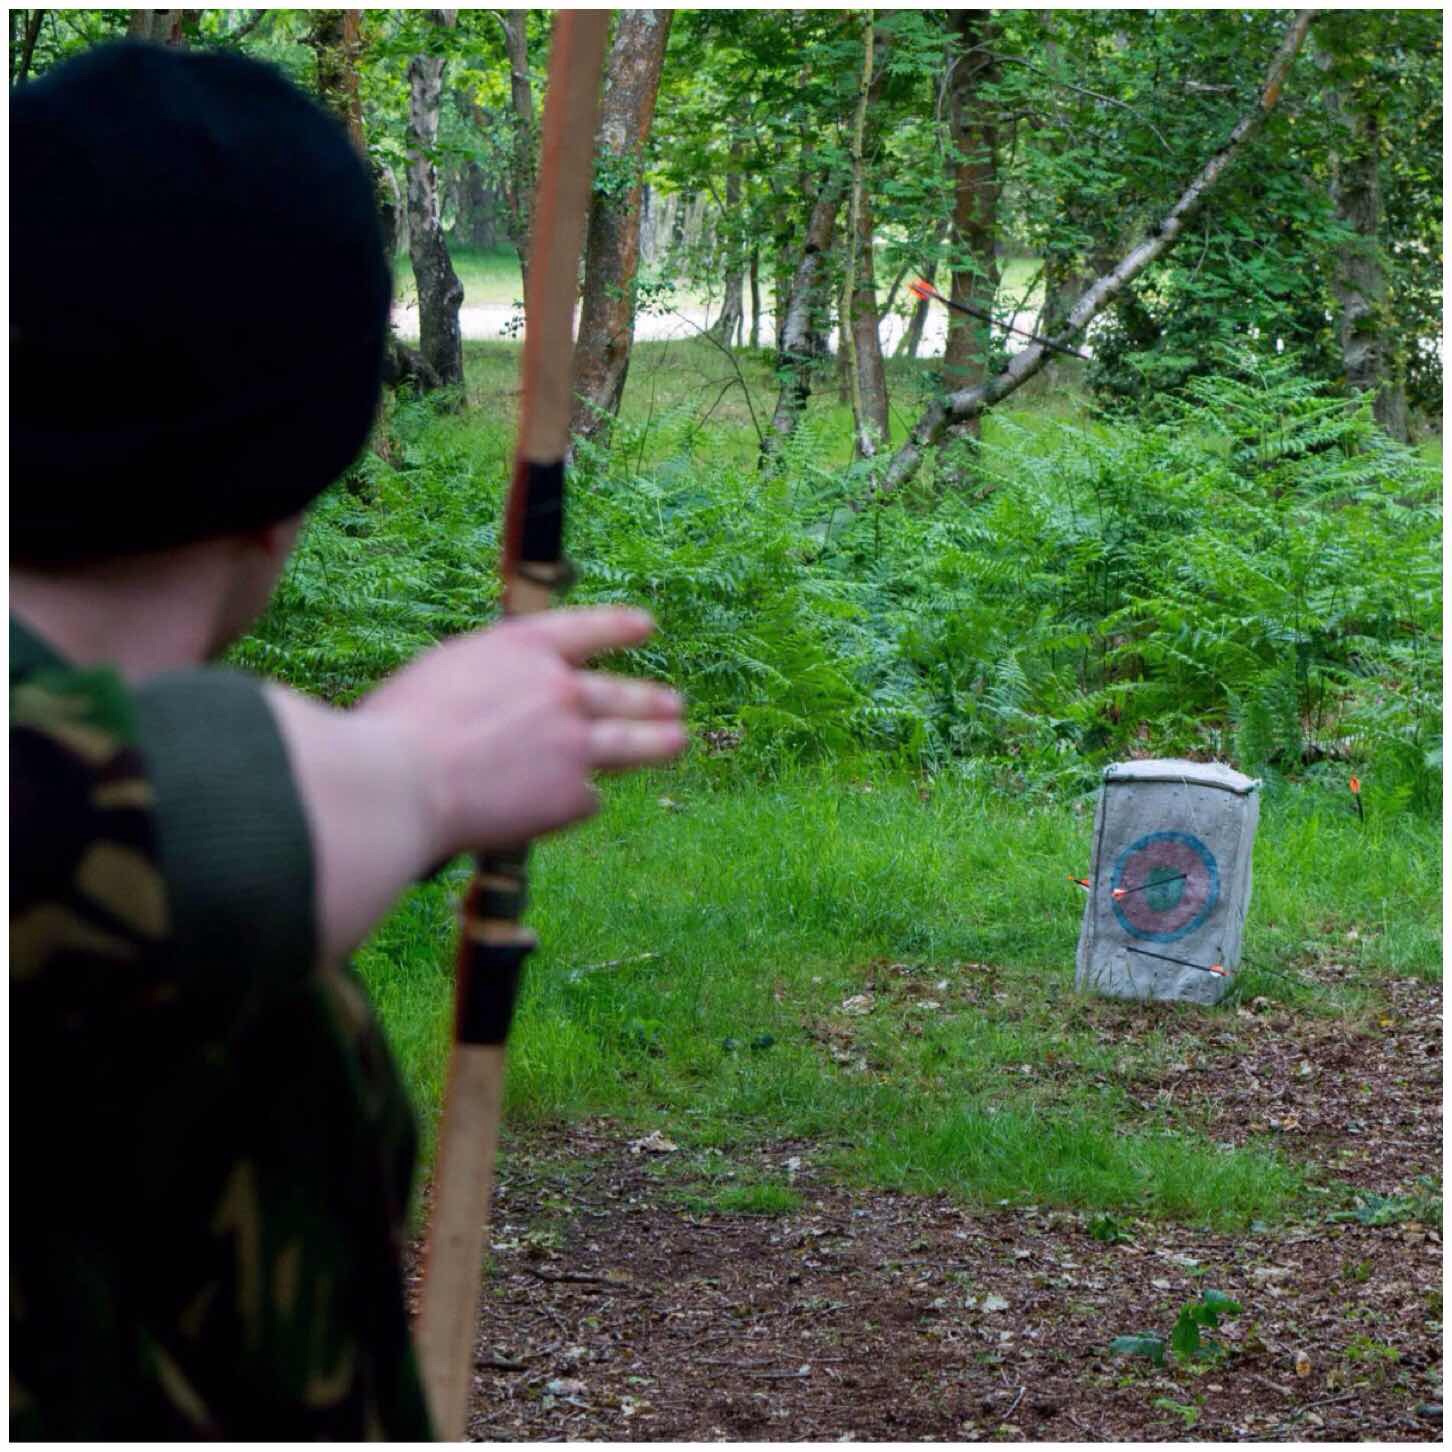
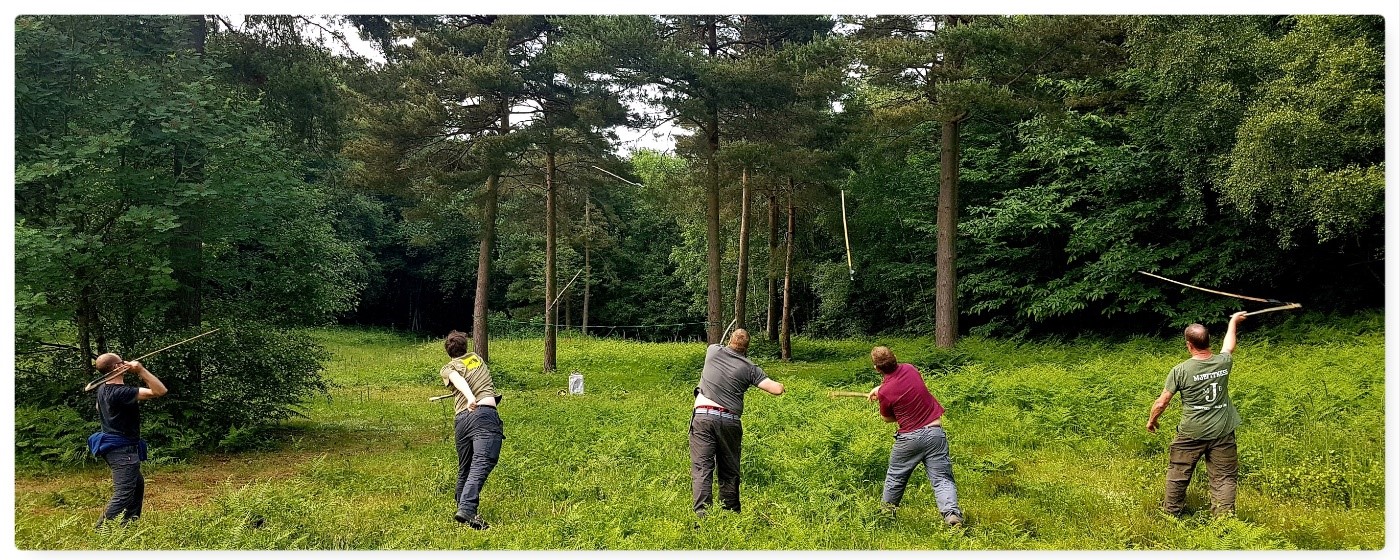
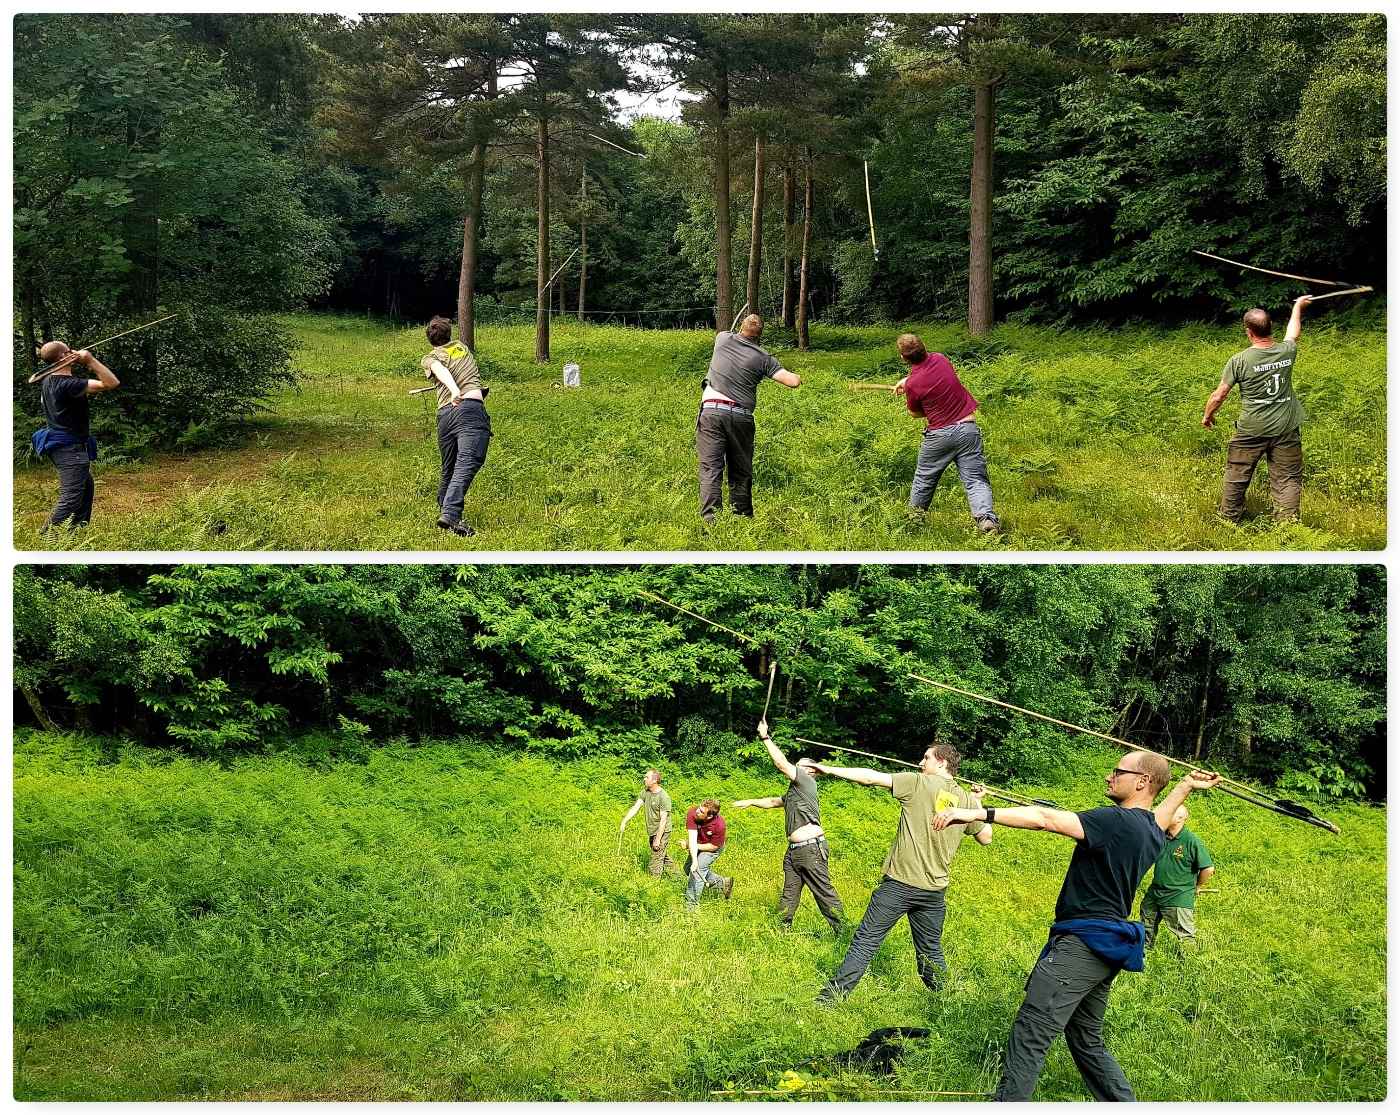
We had a nearby glade that was soon set up as arrange and the darts were soon pinging away. I have used Atlatls for years and shown hundreds of people how to use them – they never fail to intrigue people and offer hours of fun either in their construction or use.

Time on the Range

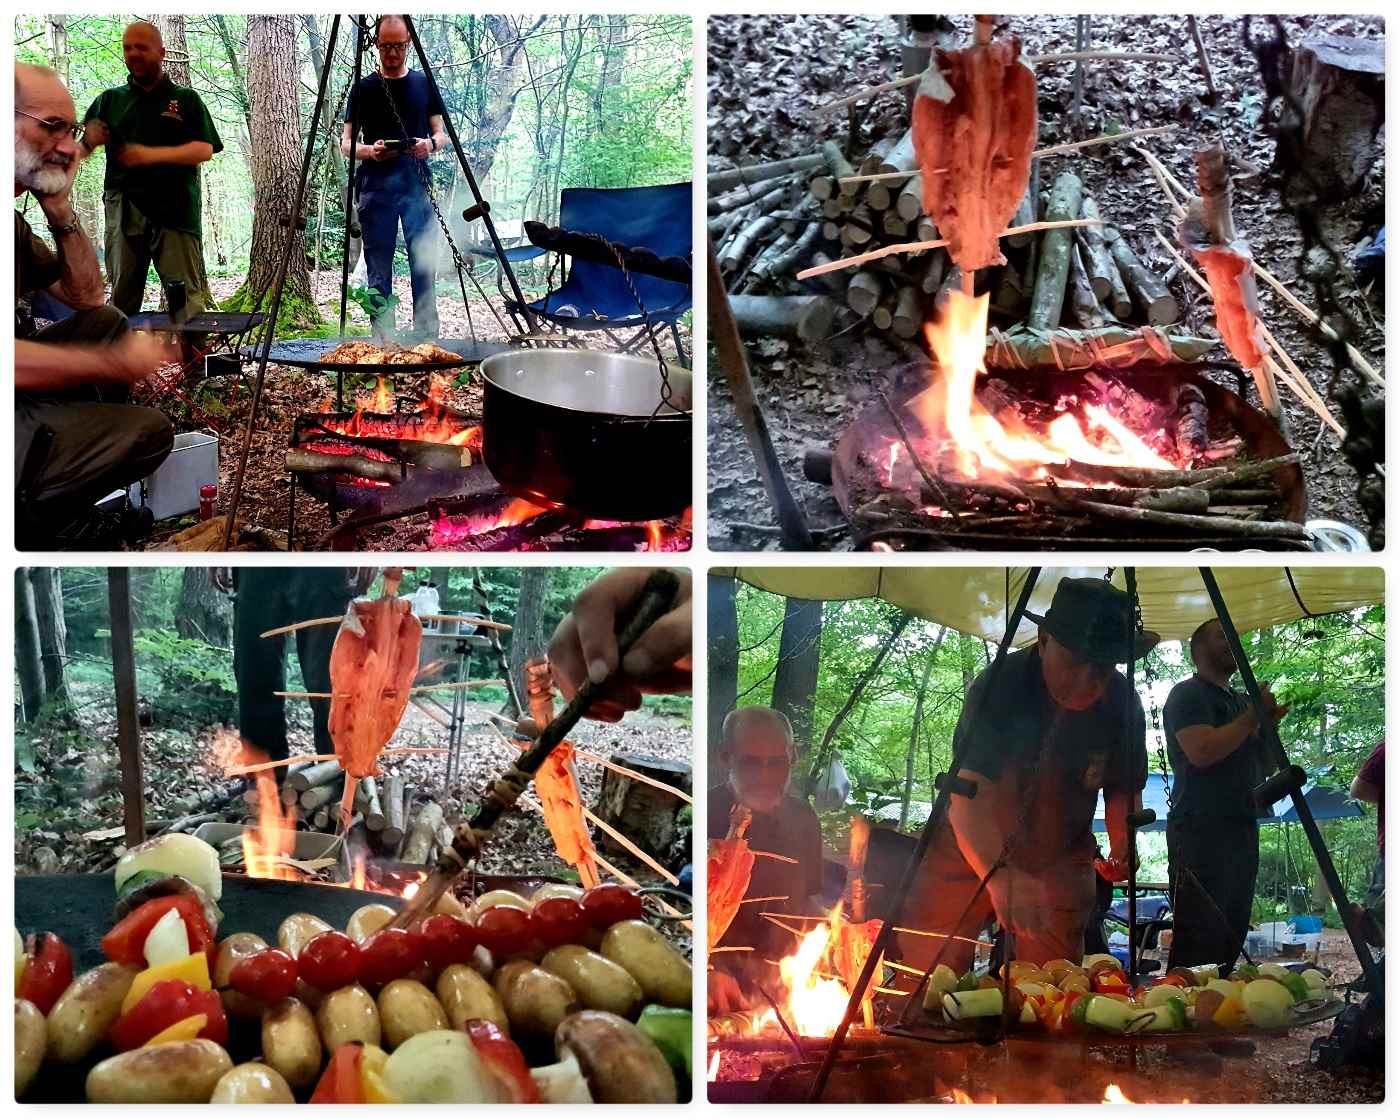
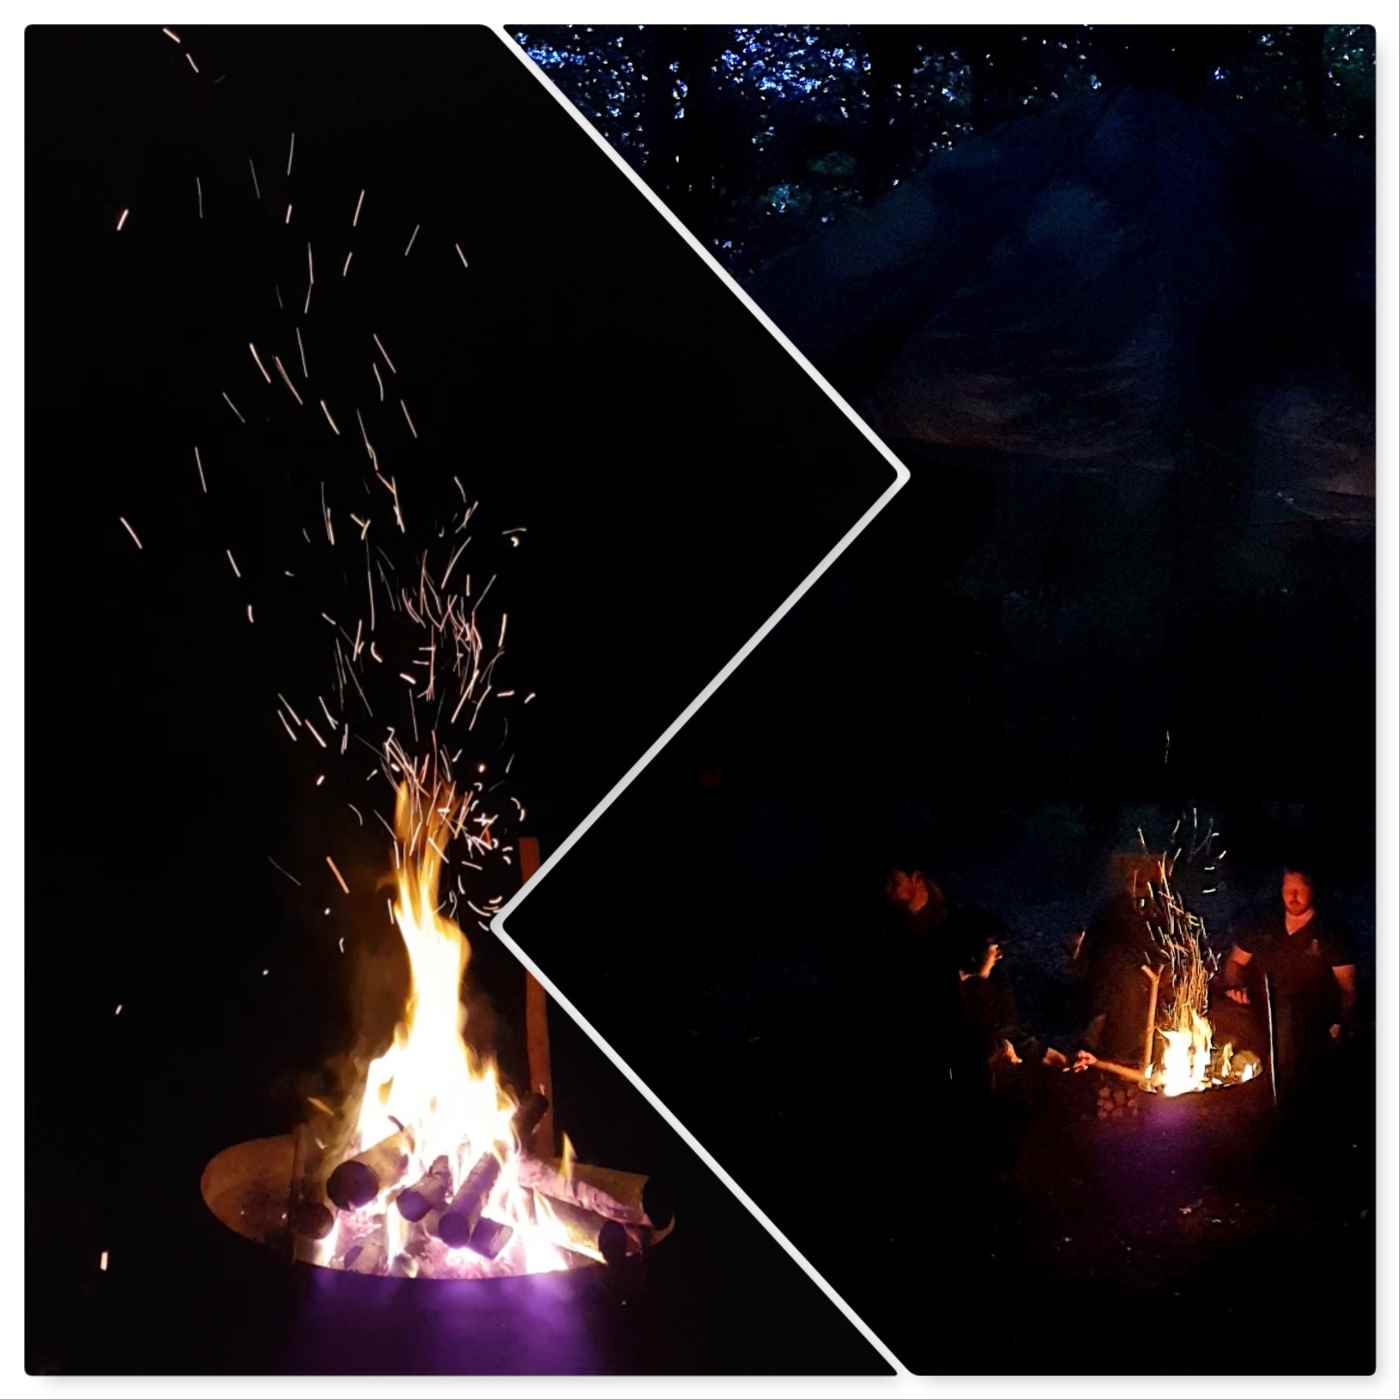
While Dave and Graham ran the range I went back with Charlie and Alan to help gather the material for ponassing some fish. Dinner was to be Trout, Chicken and Vegetable Kebabs. As well as ponassing we wrapped and bound one Trout in Sweet Chestnut leaves  (these were the biggest we could find) and its inner bark. The fish was then cooked over the open fire when the coals were nice and ready.

Dinner Prep

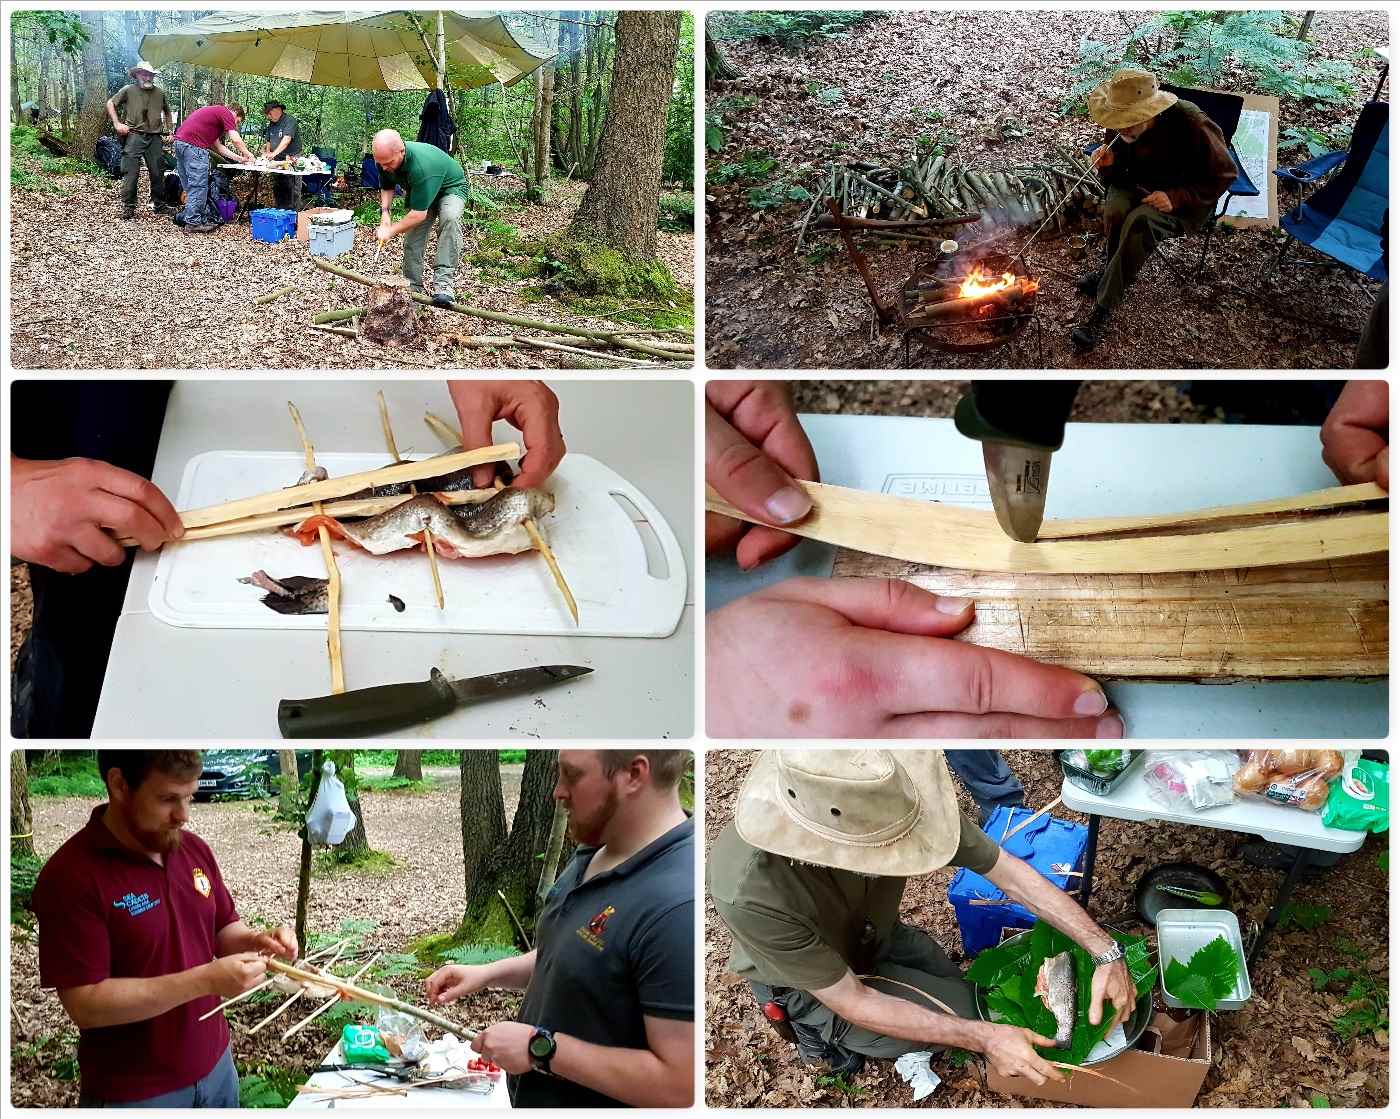
Alan ran our little galley and had the students helping him out on all the stages. It was not long before everything was cooked and even less time until everything was eaten.

A Busy Galley

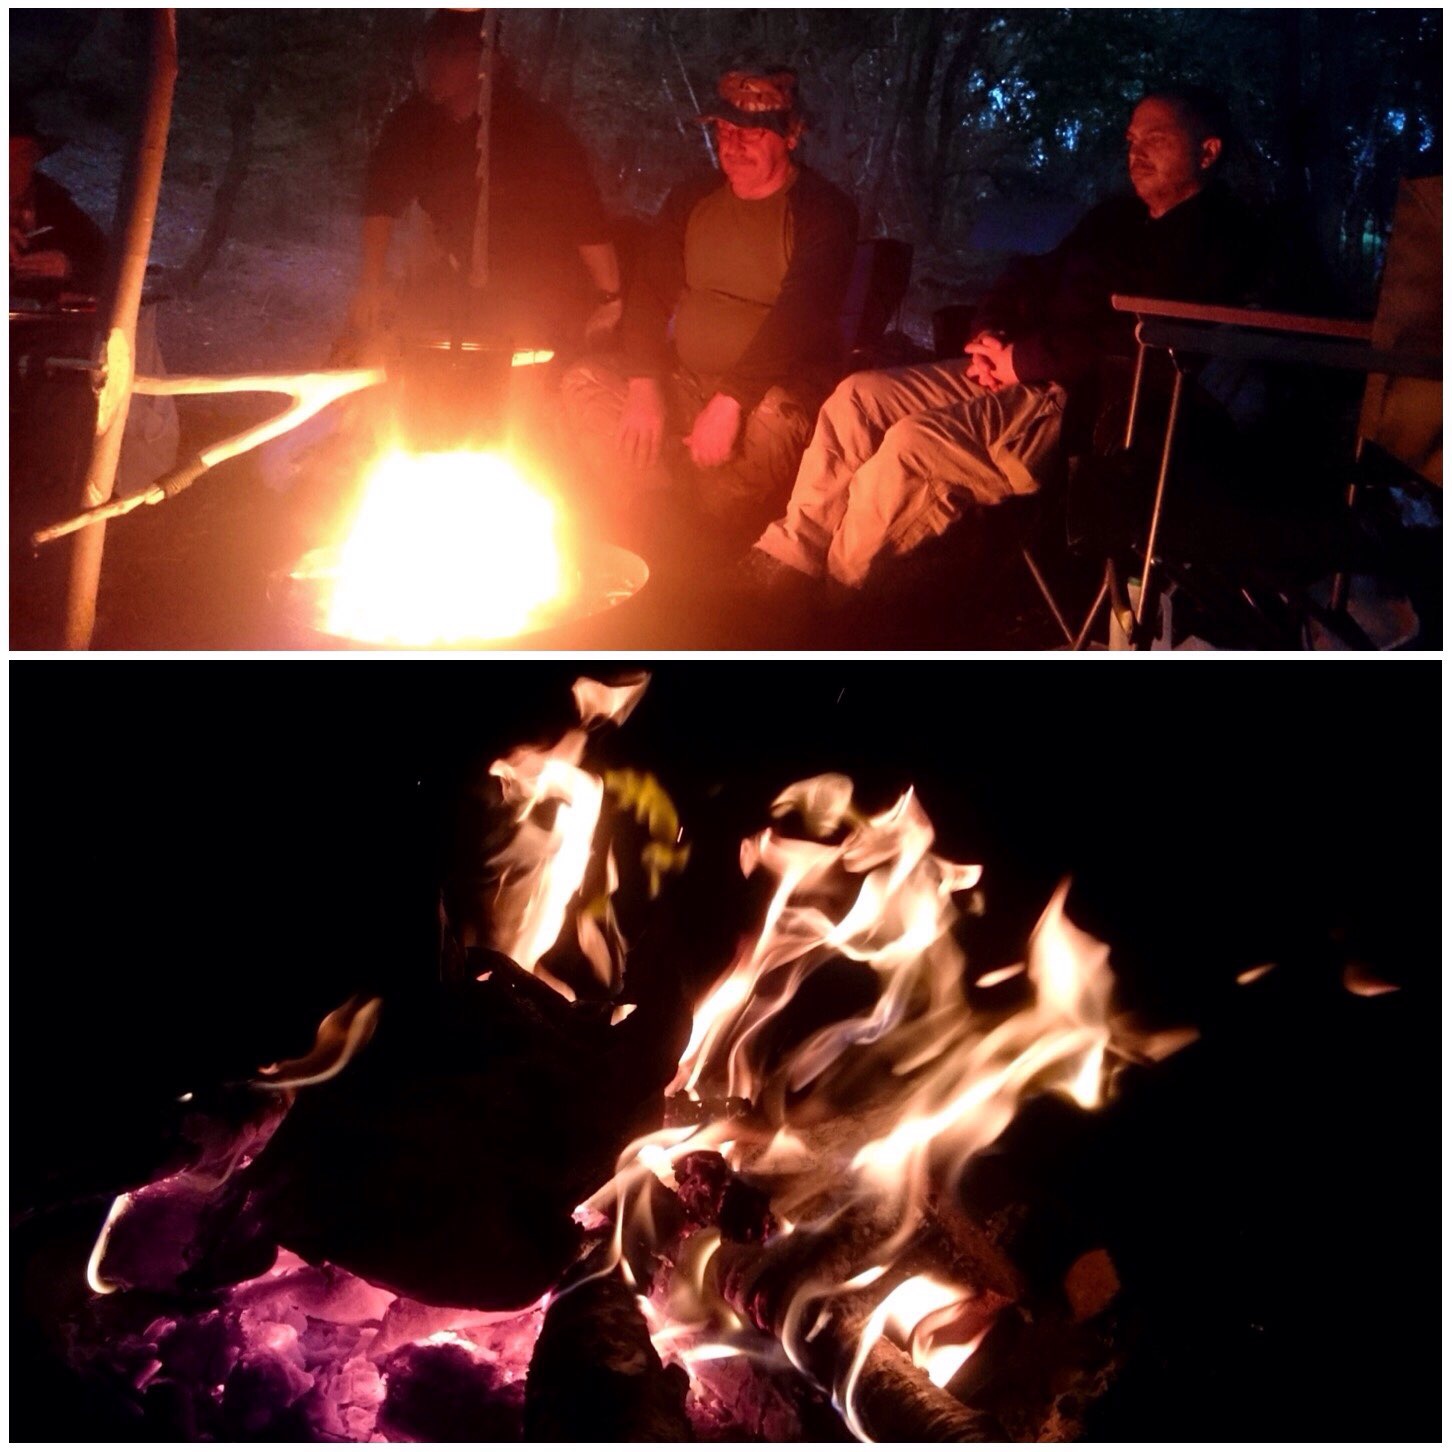
We retired to the students parachute for the evening to watch the fireworks display – Sweet Chestnut wood sparks fantastically. Luckily we did not get one of the many thunderstorms we could hear nearby pass over us, so we remained dry while we watched the fireworks.

Kick Back Time

Sunday

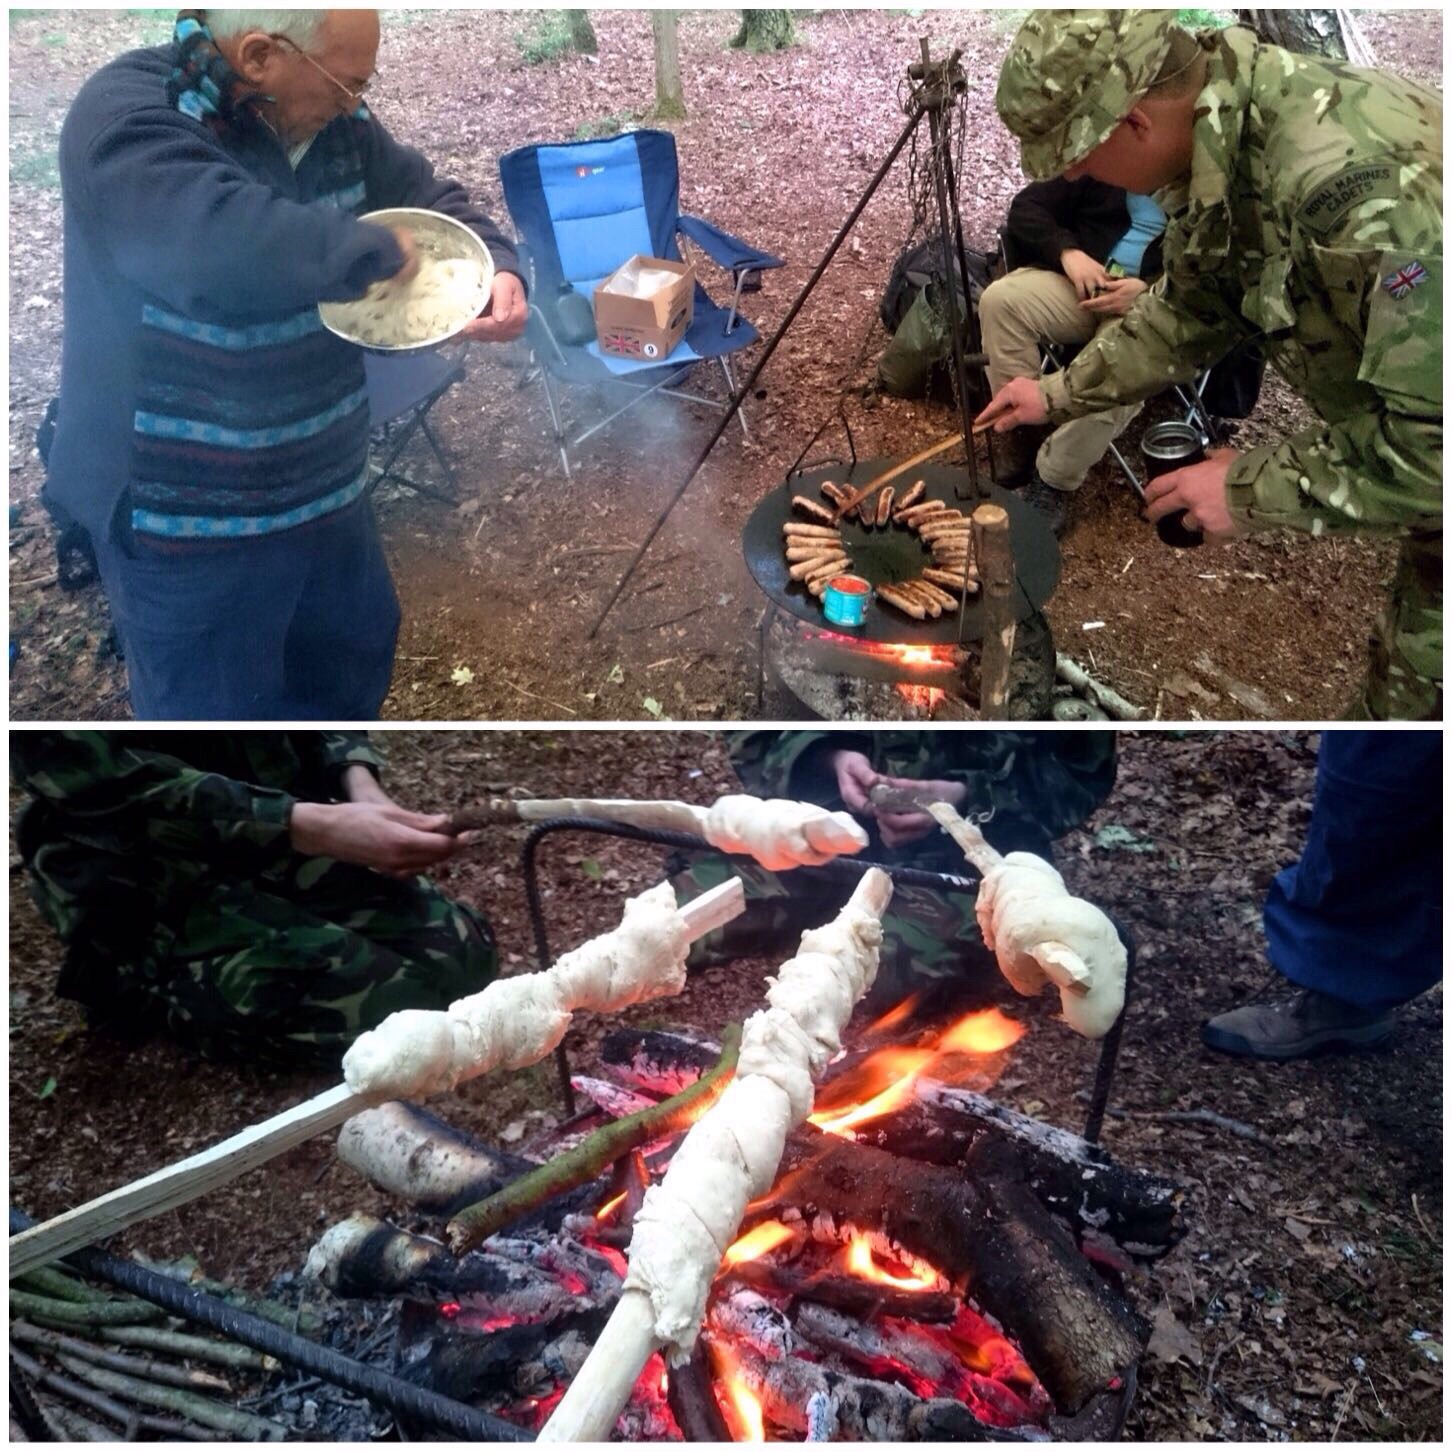
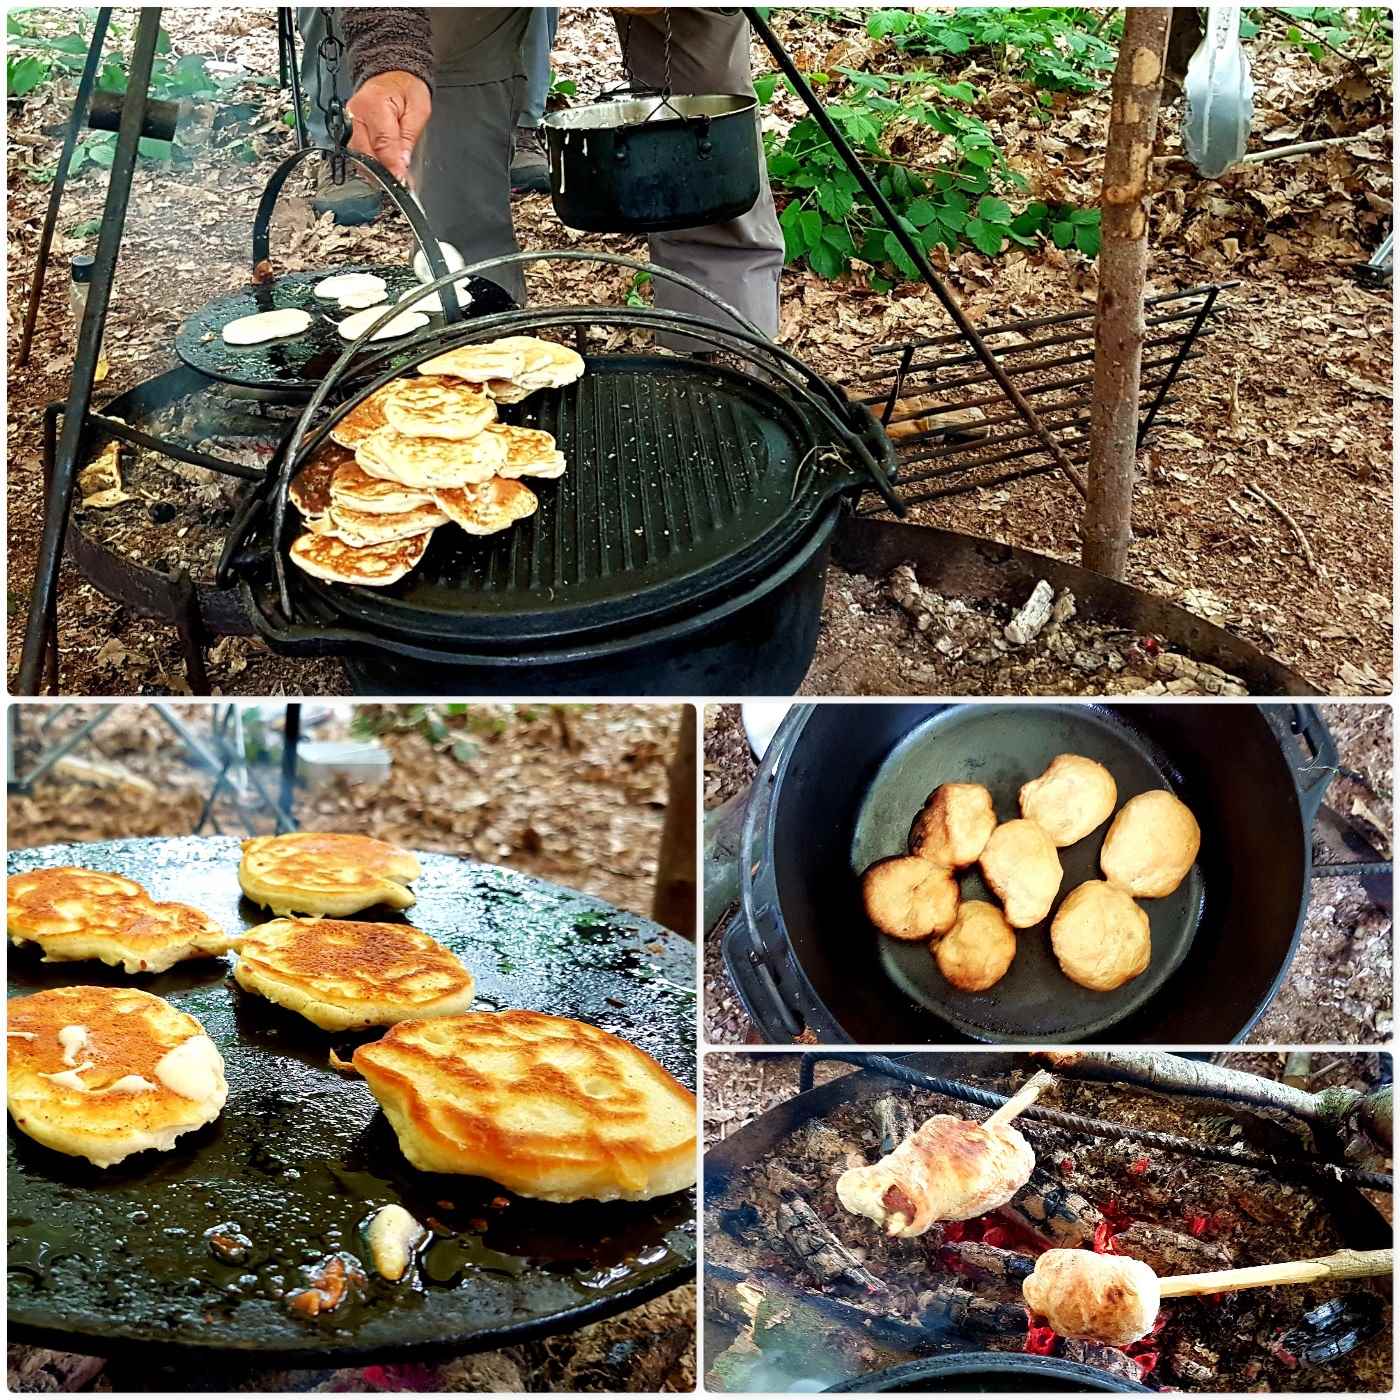
After a good nights sleep it was time for the breakfast feast. My wife Alison had made me up a pancake mix and Alan soon had the skillet working hard  cooking pancakes (with a few rolls baking away on the side in the Dutch Oven). As well as pancakes we had the students cooking fresh sausage rolls over the fire (another great cadet pastime.
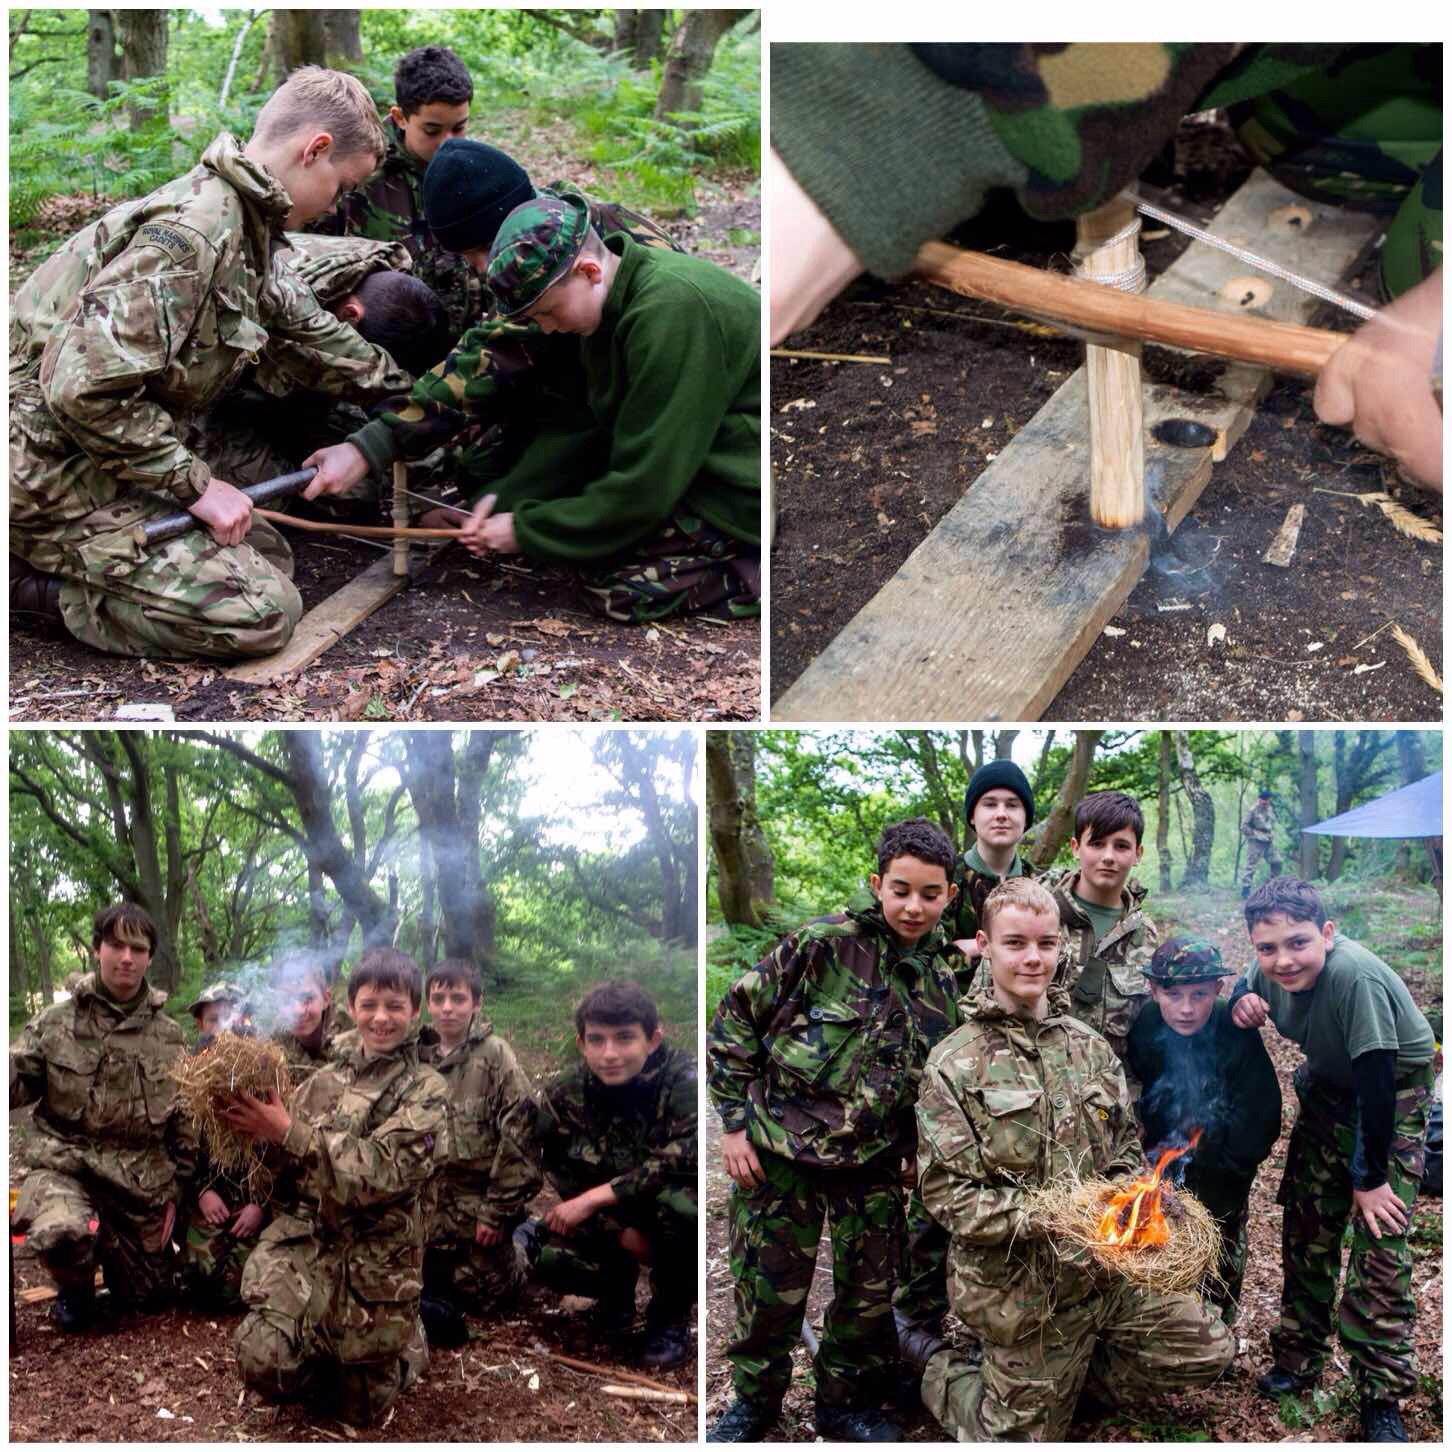
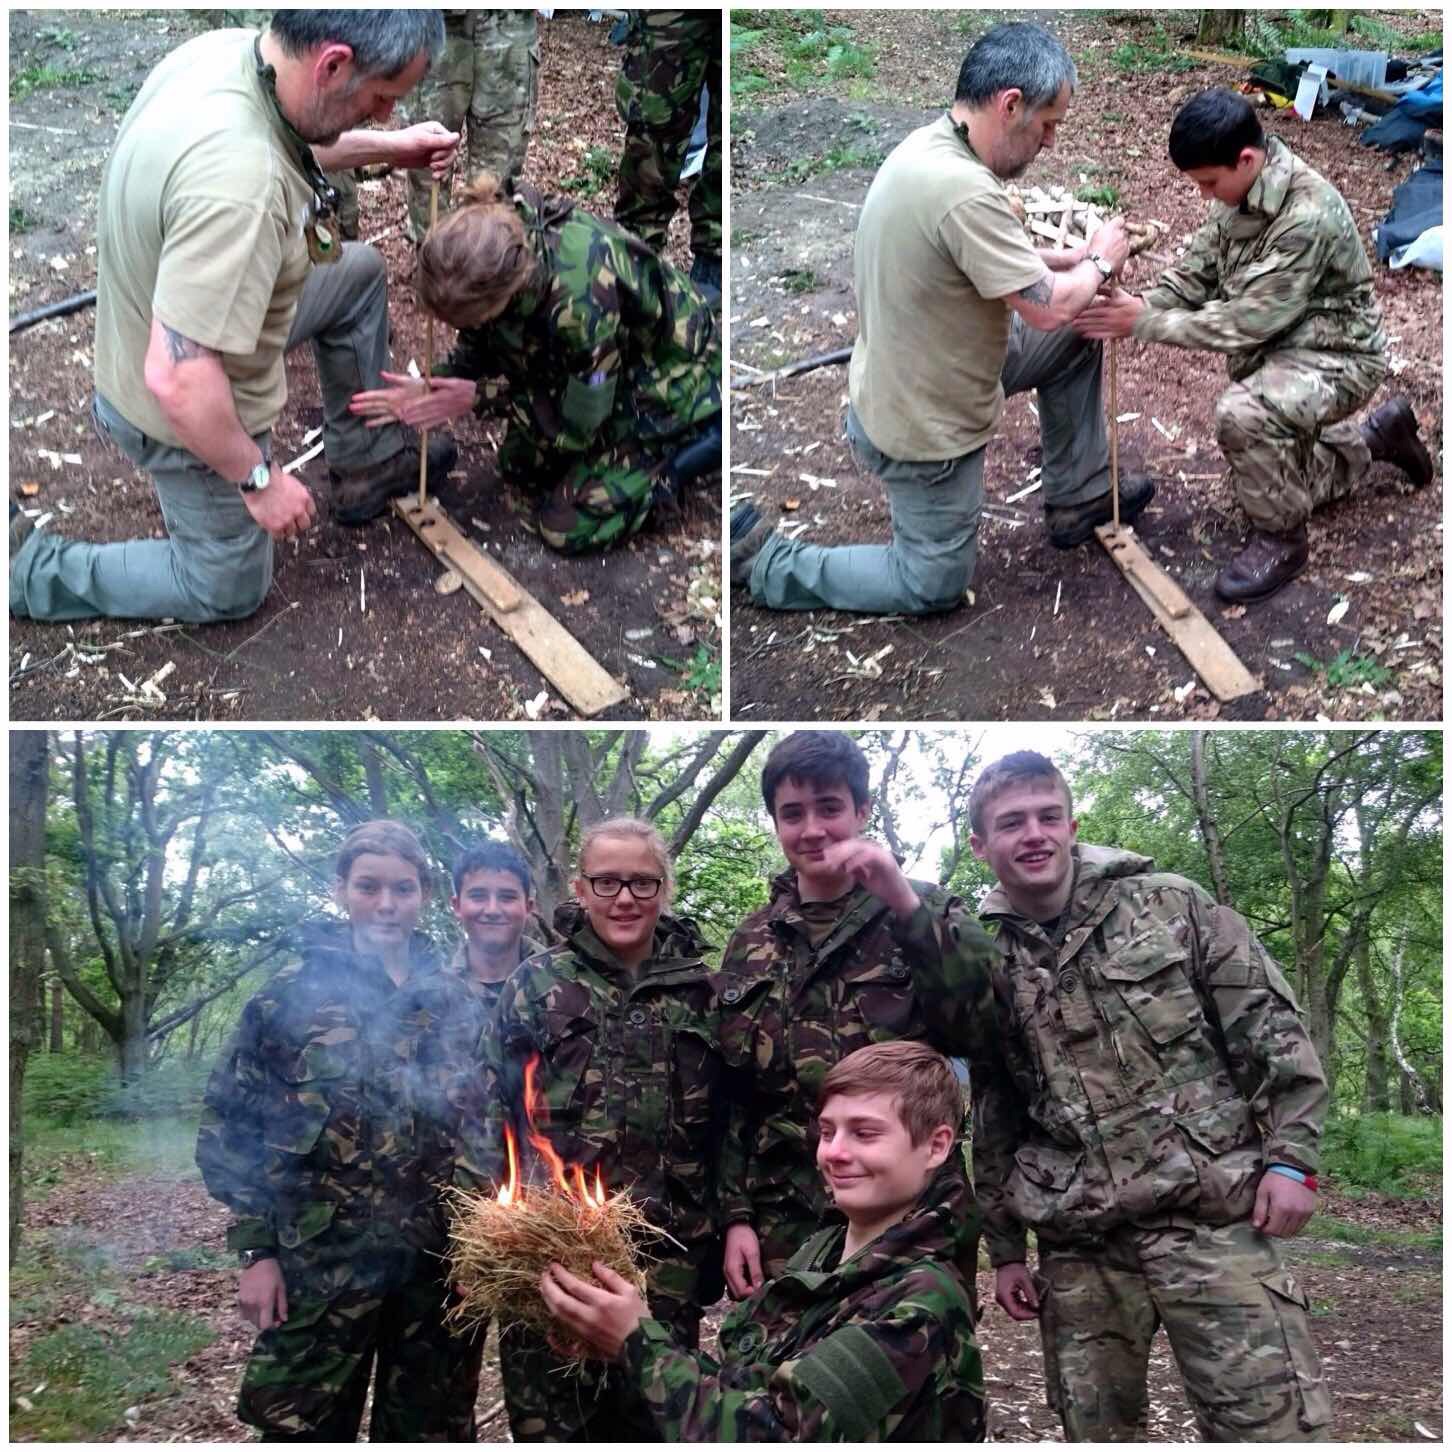
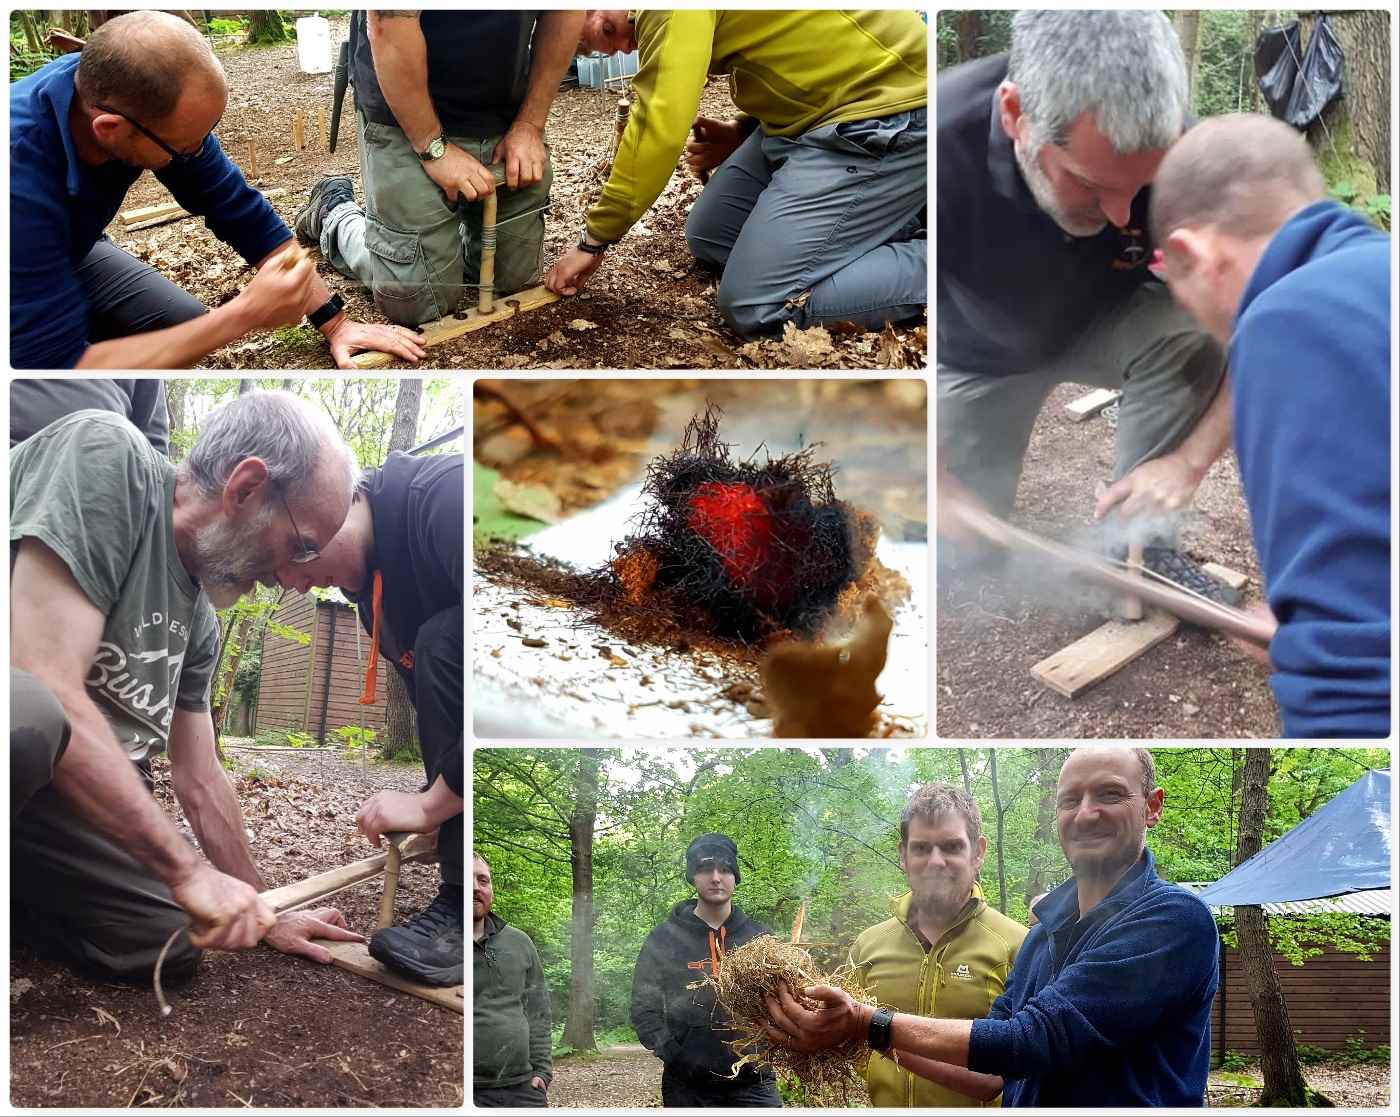
Breakfast Delights

Bowdrill

Straight after breakfast – out came my bow drill kit. This was not a full on bowdrill workshop but a taster to show how ‘assisted bowdrill‘ works. When we do this activity with cadets we always do it with the assistance of an instructor (or as a group of four or five) due to a lack of time usually. We used a couple of different methods and got good embers every time.
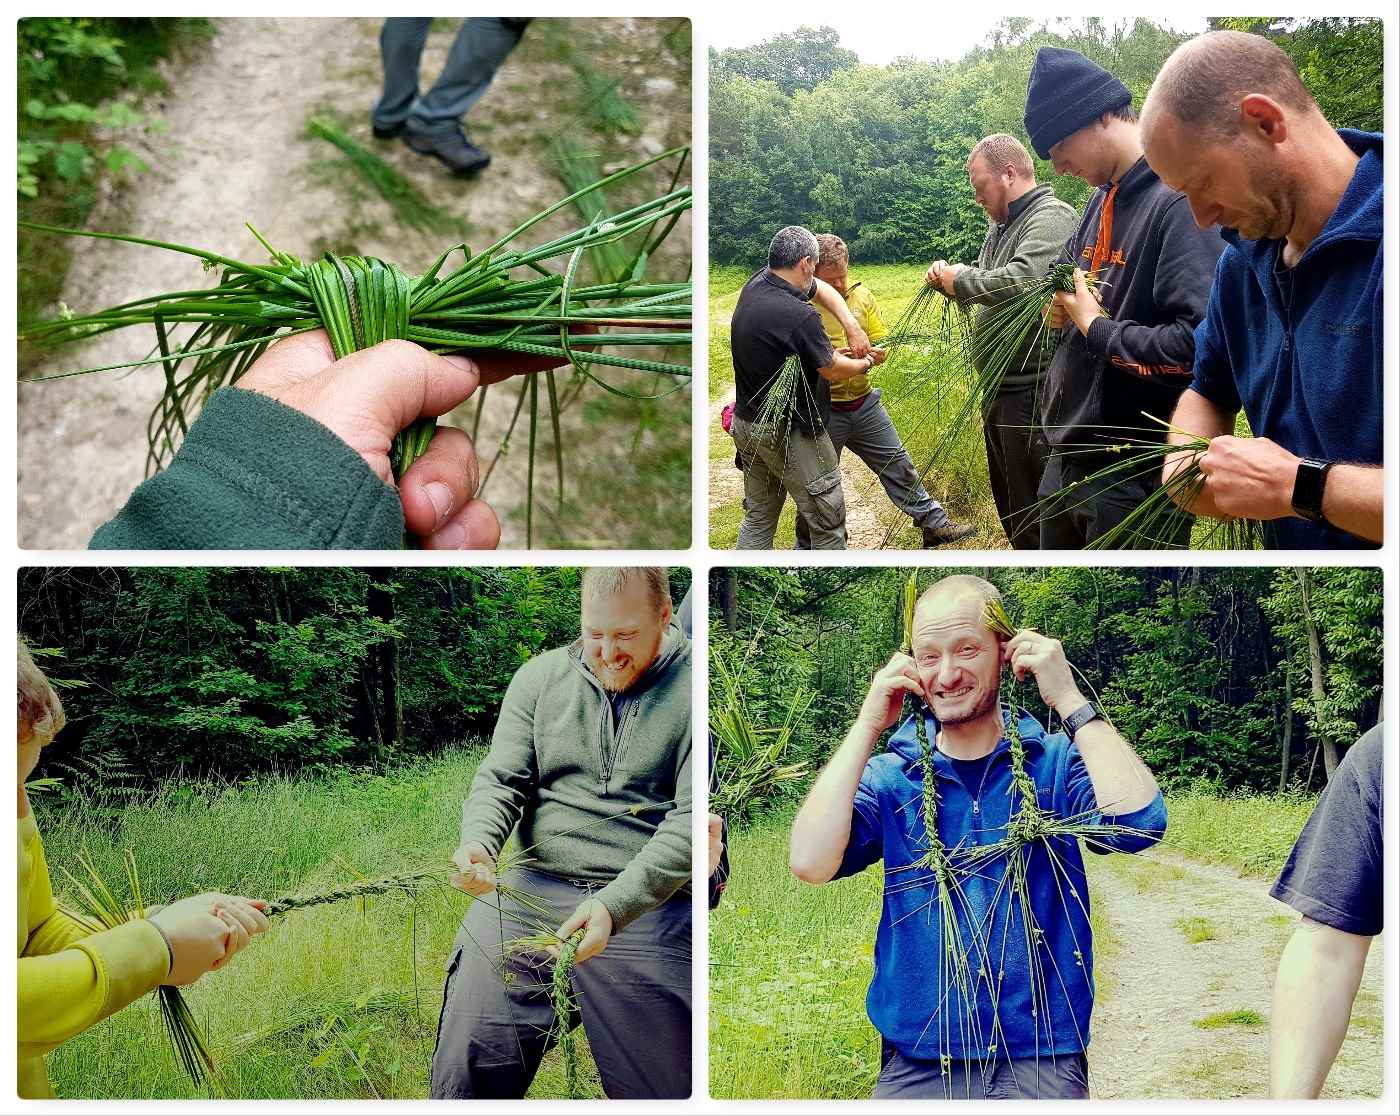
Bowdrill Techniques – pictures courtesy of Dave and Ben

Grass Rope Making

In the Sea Cadets we work with ropes a lot (seamanship and all that) so I showed the guys how to make rope using grass. This is a fast rope making technique and we can create enough (with the right material) to make enough rope to do a seamanship class if needed (or just make earrings).

Rush Rope

Char Cloth

To finish Dave showed the students how to make some char cloth in a tin – we did not have time to finish it all off but they got the principles.

It was soon time to pack everything up and head home. Normally it is just the instructors that do most of this work so it was great to see all the students getting stuck in to put everything away in the correct manner so that it can be deployed quickly the next time we run a course.

A bit of Charcloth and Wrap Up

It was great to be back out doing Bushcraft again and sharing knowledge on the subject. I hope some of the guys are with us in a few years helping to deliver this course as having a good understanding of Bushcraft really enhances their skill set for teaching cadets. I hope to be back running another course at MAST next year.

Cheers

George

How To…. Build a Shear Leg Hammock Stand

This is a post that came about because someone decided to chop down a tree. On a recent Sea Cadet training weekend we ended up with one instructor (Jess), one hammock and one tree – my friend Dave and myself had bagged the other trees for our hammocks :-). Not an ideal situation for Jess you could say.

We could not camp elsewhere and there was nothing in the way of available natural material to help us (we were on a military camp). Thankfully my friends Alan and Dave spotted some old poles (used for team building exercises) at the back of of a building. So Dave with Jess as his assistant in true Seacadet style, set out to apply their seamanship talents to our problem.

a
Shear Leg Stand

The Shear Lashing

They collected some assorted pieces of rope and a couple of cadets to help out. The poles were quite long and thick so they decided to tie the poles together about two thirds of the way along their length. The poles were tied together using a shear lashing (I will be using Grog’s Knots to help describe how they did this).

To start the shear lashing they attached the rope to one pole using a timber hitch and then wrapped the rope a number of times around both poles (this is known as wrapping). To make this easier the poles were raised slightly of the ground and the cadets helped to pass the masses of ropes around the poles.

b
Wrapping

Once the wrappings were completed the lashing was tightened by being frapped (nothing to do with Facebook). Frapping is the nautical term to describe the tightening of a rope or cable. Dave did this by completing a number of turns around the centre of the lashing and pulling it all in tight.

To finish the lashing off he secured it with a clove hitch to the pole without the timber hitch. There was plenty of rope left over as well to help with anchoring the shear legs down.

c
Frapping

Anchoring

Though the poles were large they were surprisingly light so they were soon standing vertical. A spare piece of rigging line was looped over the pole with the timber hitch on it and with the spare rope from the shear lashing the legs were securely anchored by wrapping both ropes around base of a solid fence post.

Both ropes were then tied off around the shear lashing on the poles to make it all secure.

d
Anchoring

Alternative Anchors

If you do not have a handy anchor like our fence post you can make your own. In the past I have had shear legs and tripods for hammocks anchored safely with three large wooden stakes.

f
Alternative Anchors

Securing

If you cannot drive your shear legs into the ground I would advise you to tie them together near the bottom so that they do not inadvertently splay out. Dave used the last of the lashing rope (it was a rather long piece of old climbing rope) to do this.

Finally, to finish the set up the shear legs were tied securely to our single tree using a top line. This top line as well as securing the shear legs was to act as a line to hang Jess’s tarp off.

g
Securing

Testing & Set Up

I did a bit of testing after we had hung the hammock. I figured if it took my weight then Jess would have no problems. The top line went slightly slack when the system took my weight so that was re-tightened while I was in the hammock.

h
Testing

After that it was a simple case of rigging the tarp and Jess setting up home for the night.

i
Setting up home

This was a great solution from Dave to our missing tree problem and took less than an hour to complete. Jess slept the whole night soundly in her impromptu sleep system and I was chuffed that I managed to capture most of the stages in its construction.

j
A Good Nights Sleep

If you are interested in making a slightly smaller and more mobile hammock stand yourself have a look at my two other posts on this subject,

How To…. Make a Freestanding Hammock Stand

How To…. Mk2 – Make a Freestanding Hammock Stand

Cheers

George

Bushcraft with the Royal Marines Cadets

Catch up time again – I ran a bushcraft course with my colleagues Charlie, Dave, Cliff and Alan for the Southern Area Royal Marines Cadets last June in the military training area around Aldershot here in the UK.

This is an excellent area with lots of woodland to roam around and learn about the art of bushcraft.

A great bushie weekend

I wrote three short articles about this weekend back in June for the Wildlife Trusts 30 day Challenge I undertook however this is the full report on the weekend now.

Set up took most of the Friday and we were joined by a number of the Royal Marines staff so it did not take too long.

Setting up the HQ
Setting up the HQ

I wanted the cadets to experience sleeping in hammocks so brought a dozen or so along. They took a while to set up but it was worth it in the end.

A dozen tarps and hammocks to put up

The cadets arrived in the evening and after a safety briefing, some supper and a stroll it was time to bed down for the night.

Some cadets were in the hammocks and some under their tarps on the ground. It was a wet night however everybody was mostly dry in the morning.

Bedding down

We ran a number of classes starting with building different types of shelters, and looking at how the tarps and hammocks were set up.

Shelter building
Shelter building

The camp chores such as gathering wood and getting fires going were soon under way. At this stage we taught the cadets how to use firesteels to light their fires.

I had also brought a number of cooking rigs for them to try out. The one in the bottom picture is the Double French Windlass rig and is one of my favourites.

Setting up the cookhouse

I wanted the cadets to feel comfortable so we spent quite a lot of time setting up different apparatus for cooking such as this Broiling rig or just taking time to chill out (bottom left).

One rule I had made at the very beginning was that unless there was an emergency there was to be no running.  Quite hard for Marine Cadets to do I know however the feel of the weekend was to be one of a relaxed atmosphere.

Learning the art of Broiling and doing nothing

So relaxed that magically some cup cakes appeared in Dave’s lap.

Charlie had a good time ponnasing some trout around the fire and it tasted equally as good as it looked cooking.

image
Taste comes in many forms

We spent quite a while learning about knife safety, battoning and carving. Then later in the evening Dave and Cliff ran a stalking game and Atlatl range.

Knife work, stalking and Atlatl

Once the cadets were bedded down the staff relaxed around the woodland TV to plan the next day out (and have a cupcake or two).

Some Woodland TV
Some Woodland TV

I think you can tell by the happy smile on this cadets face that the hammocks were a success.

Morning all
Morning all

Our resident master chef Alan soon had breakfast organised with plenty of sausages and bread on the go.

Brekkie time
Brekkie time

Classes began again soon after and I ran the group bowdrill sessions. Every team that did this got an ember and successfully blew it to flame. No mean feat considering how damp everything was.

Group Bowdrill
Group Bowdrill

We tried out the handrill however without success. The cadets and myself gave it our best shot but the conditions were not with us for this one so we went back to using the bowdrill.

Having a go at Handrill

Some groups also carried on with carving their butter knives. Some ended up as pointy sticks (teenagers tend to do this for some reason) however we did get a number of very nicely shaped and functioning wooden knives carved in the end.

More knife work and archery

Cliff ran another stalking game involving water pistols however they all failed to work so improvised with squeezy bottles instead (worked a treat so I will be using them in the future).

I had also brought along a number of Father and Son survival bows for the cadets to use on a short range and they were soon happily pinging the arrows down range.

Stalking and archery to finish

We had to pack up on the Sunday lunchtime so it was over before we knew it however it was a great weekend.

My aim was to show the cadets how to make themselves comfortable in the outdoors and to have fun so that when they went back out again to practice their field craft skills they would have a wider and better understanding of the nature around them.

Cheers

George