
I was taught a few years ago by my friend John Rhyder of Woodcraft School about a version of bowdrill that uses an extended bearing block.
I found the bearing block to be particularly good for learners or for those who had injuries to their back, legs or arms. I call it the ‘assisted bowdrill’, not that you need assistance from someone else but because the bearing block is set up in such a way that it assists you in your stance while bowdrilling
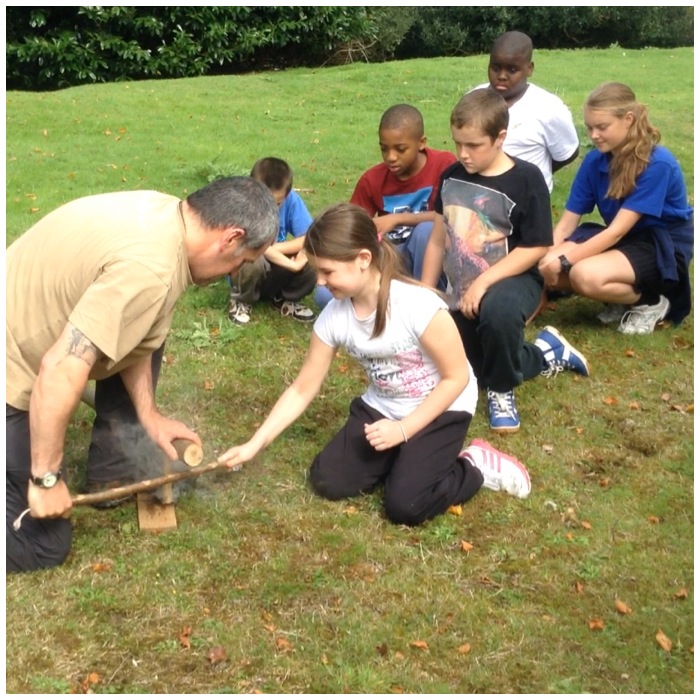
Below you can see my friend David Jones using the set up on a piece of wood. Dave wanted to try this method out as he had (if I remember correctly) some problem with his knee. As he could stand straight on one leg and did not have to grip the bearing block too tightly, he quickly found he could get an ember and then flame.

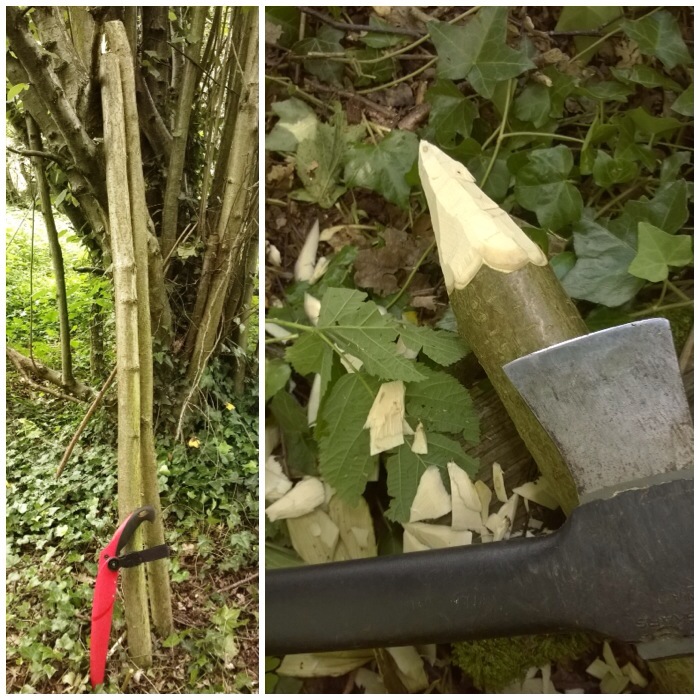
To make the bearing block you need a decent length of branch. I used a decent sized piece of hazel just over a metre long to act as my long bearing block. I then axed out a point on one end of the bearing block, to be jammed into the ground when in use.
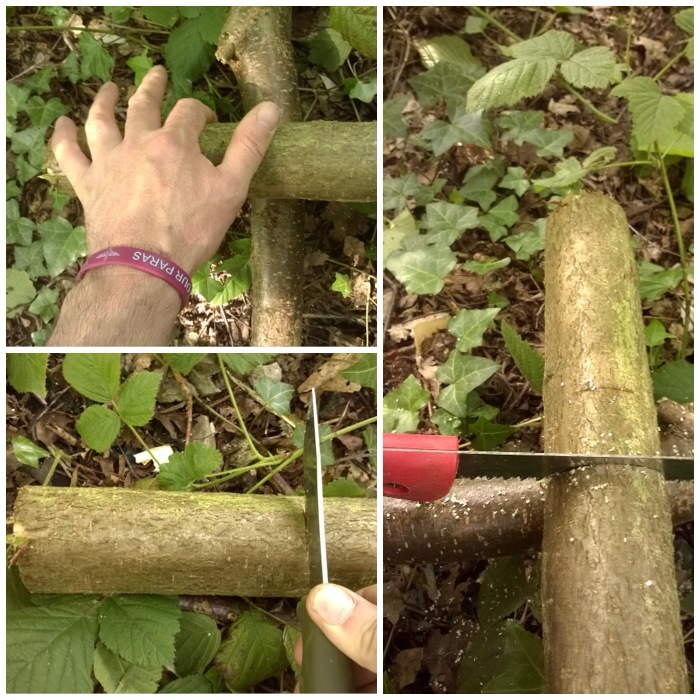
I marked a slight cut with my knife one handspan (outstretched little finger to outstretched thumb) away from the other end of the bearing block. Then, using my saw, I cut into the bearing block a stop cut, about a third of the way into the wood.
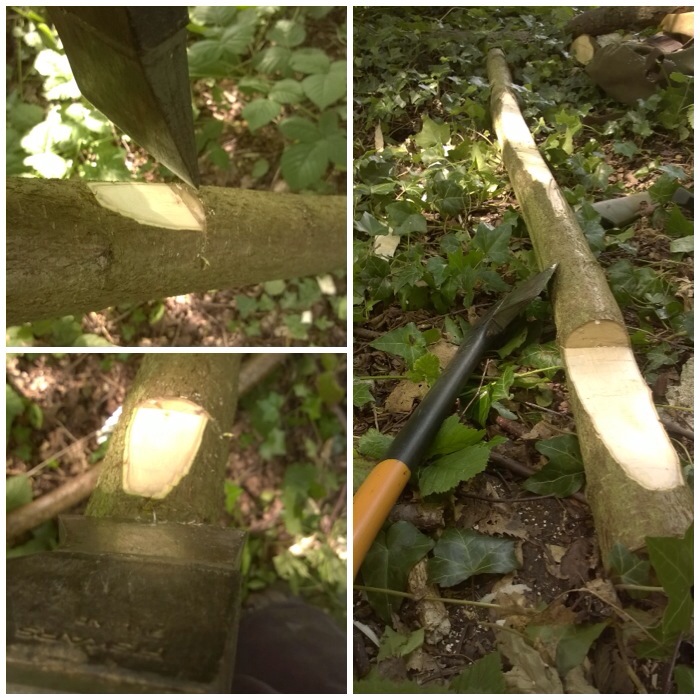
Being very careful and using small chopping motions I cut out the excess wood to make my recess for the drillpiece to be attached. As you can see from the picture below right, I have come back quite a way to the end but not all the way.
Please ensure that the sharpened tip is well dug into the ground when you do this axe work and always make sure you know where your fingers are in relation to the axe when working. I have had a few near misses doing this when I am not paying close enough attention.
An alternative method is to cut a longer limb to create a safety handle, which can be sawn off after you have axed out the area.
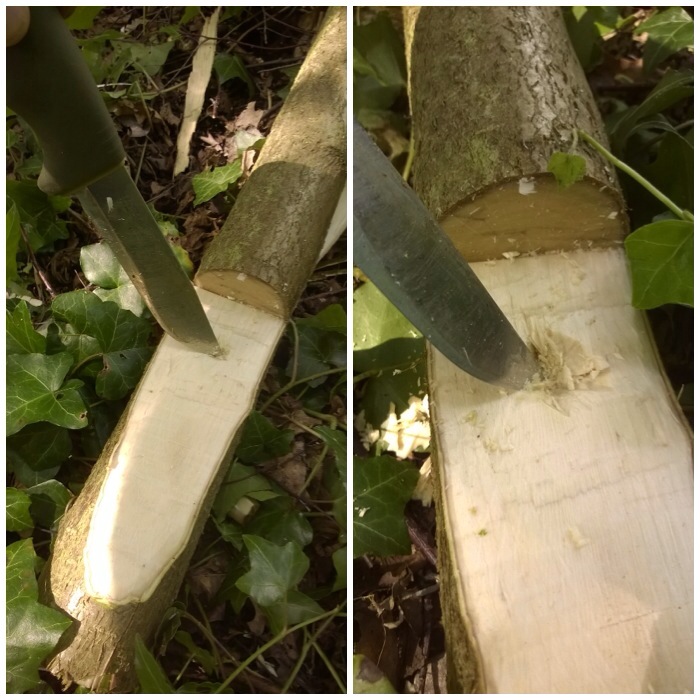
While the bearing block is flat on the ground, use the tip of your knife to make a small hole near the stop cut. This hole will be used to keep the drill piece in place.
Having seen someone put a knife through their hand while doing this, I can tell you just how important it is to make sure that the bearing block is flat on the ground and the hand securing it is well clear of the tip.
The rest of the set up is similar to a standard bowdrill. I commonly use this method with the Egyptian set up, assisting a person or as a relay race.
In the video below I show you the method where I am assisting someone and also as a relay race.
This method is one I would urge any bushcrafter to try out, whether it’s just to try something different, help someone learn the art, or if you (or someone you know) have an injury that makes the standard set up difficult.
As an instructor in the Sea Cadets, I find this is a stable platform for getting the younger cadets involved as well, be that with an instructor, as a group or on their own.
Cheers
George