
For a number of years I have been interested in bushcraft mat making. I like the thought of being able to go out into the woods and build my own shelter in a Robinson Crusoe sort of way, and in my blokey sort of way make my own fixtures and fittings. One of the key skills is having the knowledge to make your own mats to sit on, wrap around you, thatch with or just use as decoration.
This How To…. is designed to show you the main principles of making either a small or large loom using wooden poles. You will need to experiment to see what works for you but that is half the fun of it anyway. There are many other ways of creating looms, for example using live trees as props, or recycled materials.
The first loom we will look at is the Mini Loom.
The second one will be the Mighty Loom.
The end result from the Mini Loom.
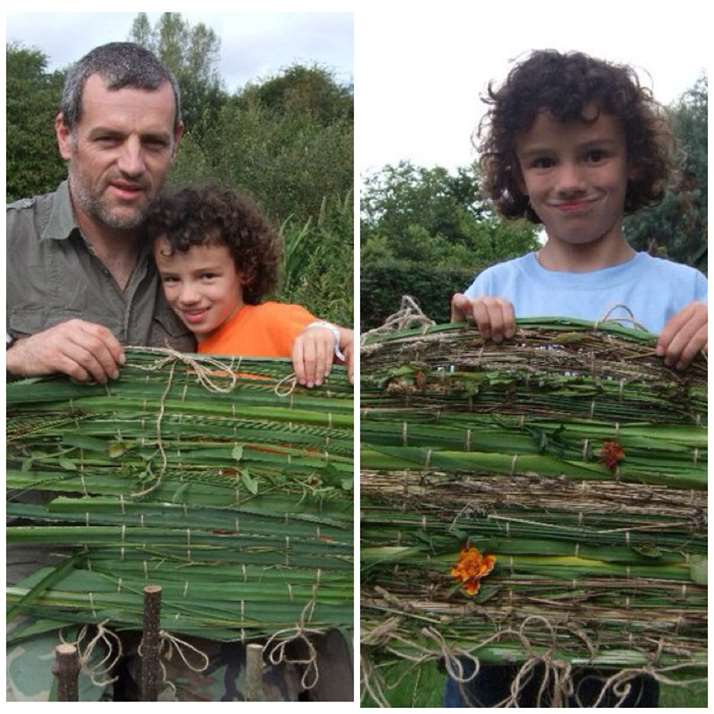
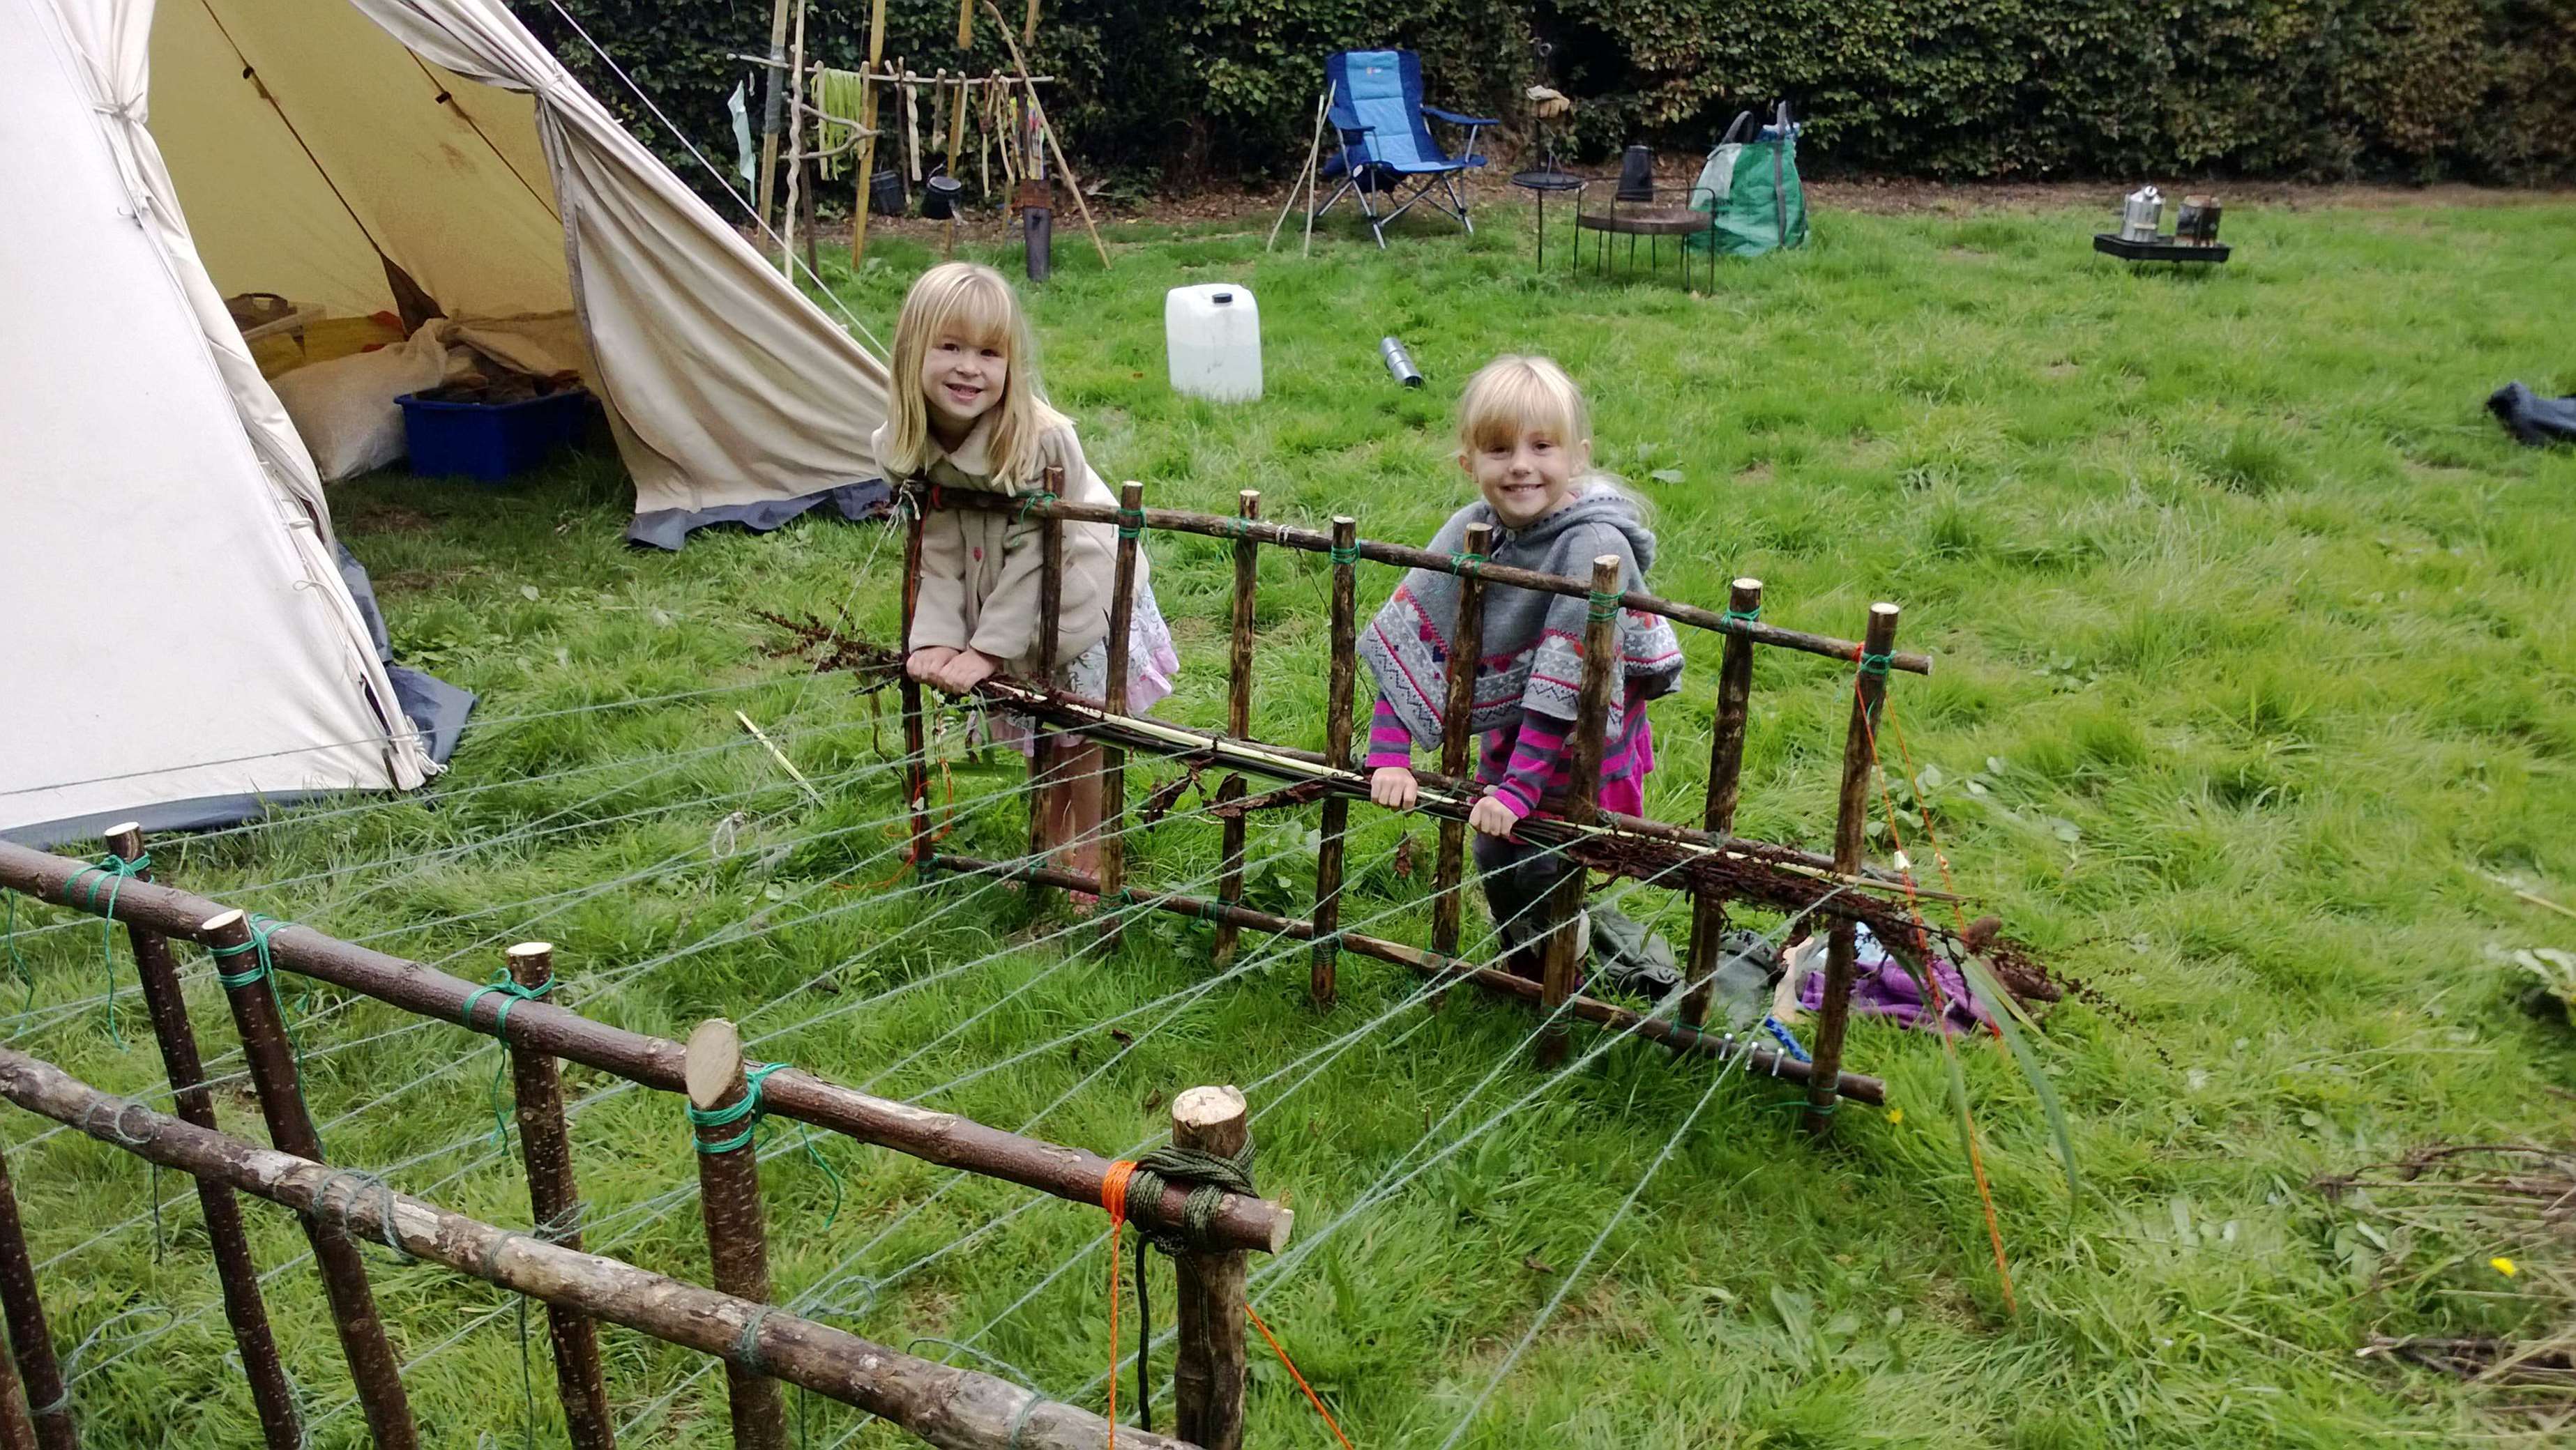
And the end result from a Mighty Loom.
Early Days
When I was growing up on the Isle of Lewis weaving was happening all around me. My sister was a weaver for many years on the Harris Tweed looms and though I never wove I did as a young lad have a job spinning the bobbins for the tweeds.
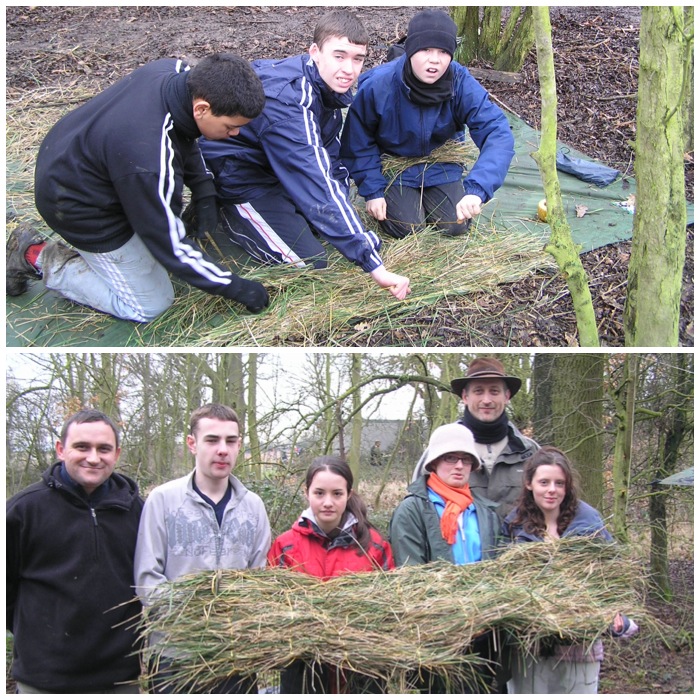
I was reading back in 2006 Ray Mears’s book ‘Outdoor Survival Handbook’ and came across a section on mat-making using only two stakes and lengths of string. I tested this out with my Sea Cadets on a Duke of Edinburgh bushcraft course where they made some very good mats.
Mini Loom
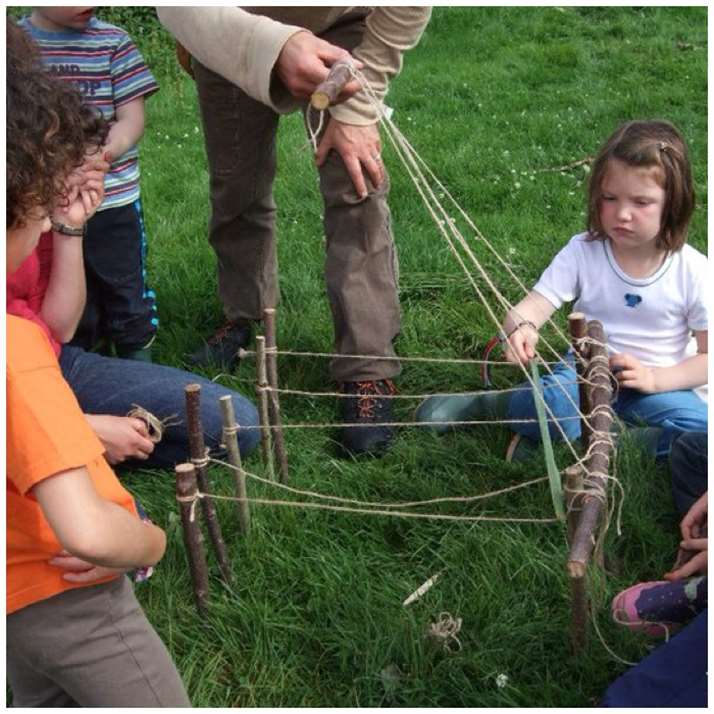
I came across the Mini Loom for the first time I think at the Wilderness Gathering a number of years ago. This loom has five individual stakes knocked into the ground on the left. On the right only two stakes are used and a crossbar tied off in between.
In this example five pieces of string have been used. The string is doubled over and tied off (at the bend) to the crossbar on the right. Then one strand is tied to one of the upright stakes on the left and the other strand to a horizontal rod that is used to move the string up and down. As you can see in this picture one of the strands is loose: I tightened it up after this.
Line everything up as neatly as possible with no string crossing another. I use the Tarp Taut Hitch on all the tie-off points so when the mat is finished it is easy to disconnect from the frame.
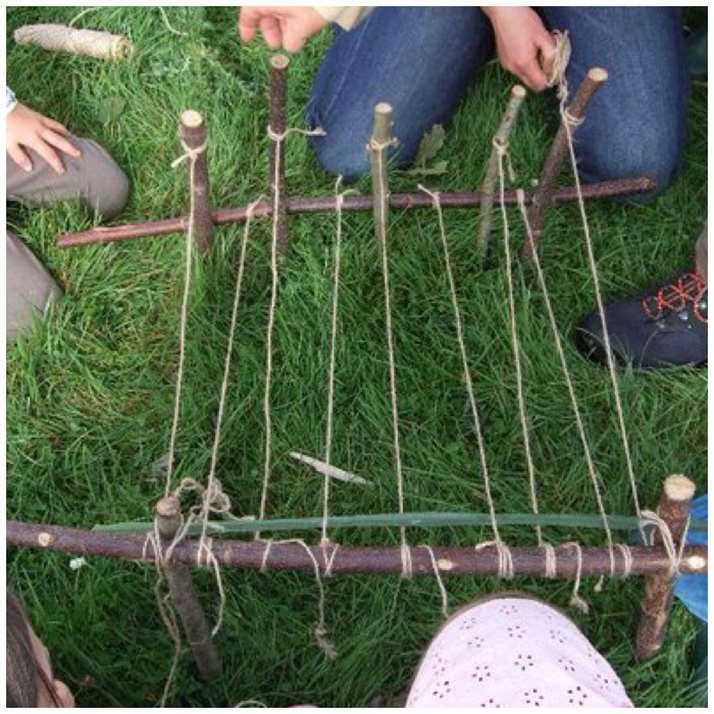
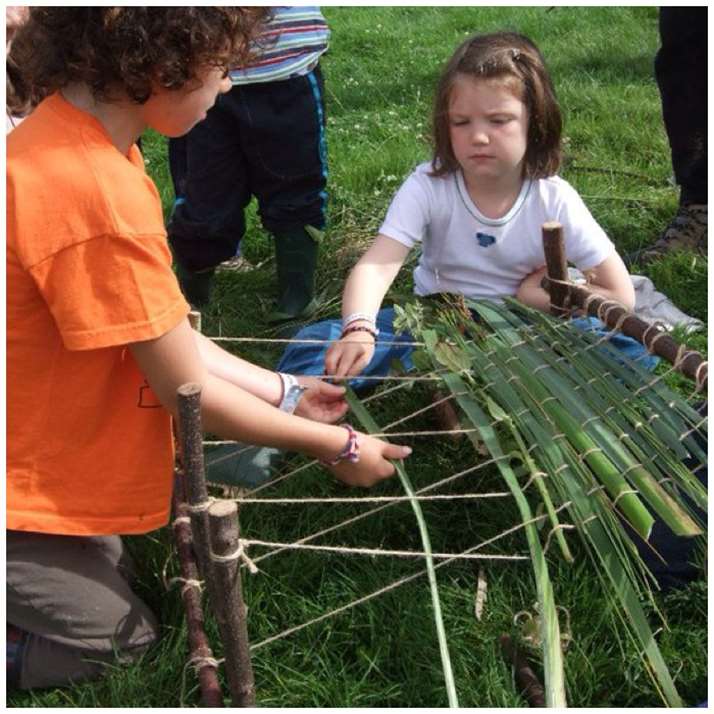
The horizontal bar needs to be tied off in the same way to the string and can then be lifted up and down as you insert material. This up-and-down movement ensures that the material gets trapped in the crossed-over string. After you insert some material and lift or drop the bar, remember to keep the mat tight by pulling the material towards the horizontal bar (on the right in this picture).
The Mighty Loom
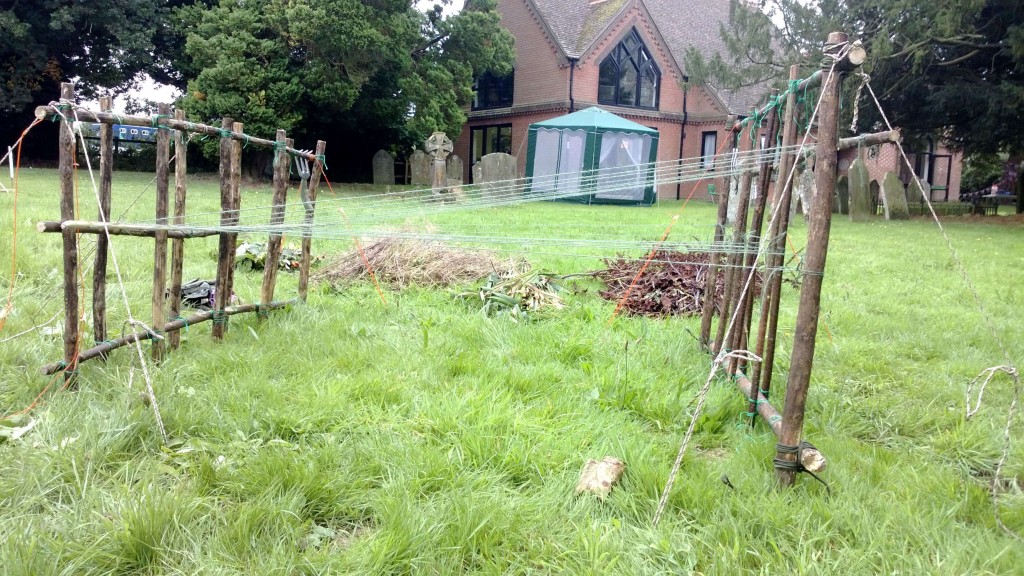
The Mighty Loom can be made in exactly the same way as the Mini Loom by driving stakes into the ground. I could not do that for this one as I was going to be teaching bushcraft in the grounds of a church. I needed to make something I could transport easily and set up easily with the minimum of fuss. I decided to make two seperate frames that could be set up using guy lines and when dismantled would leave no visible trace of having been there.
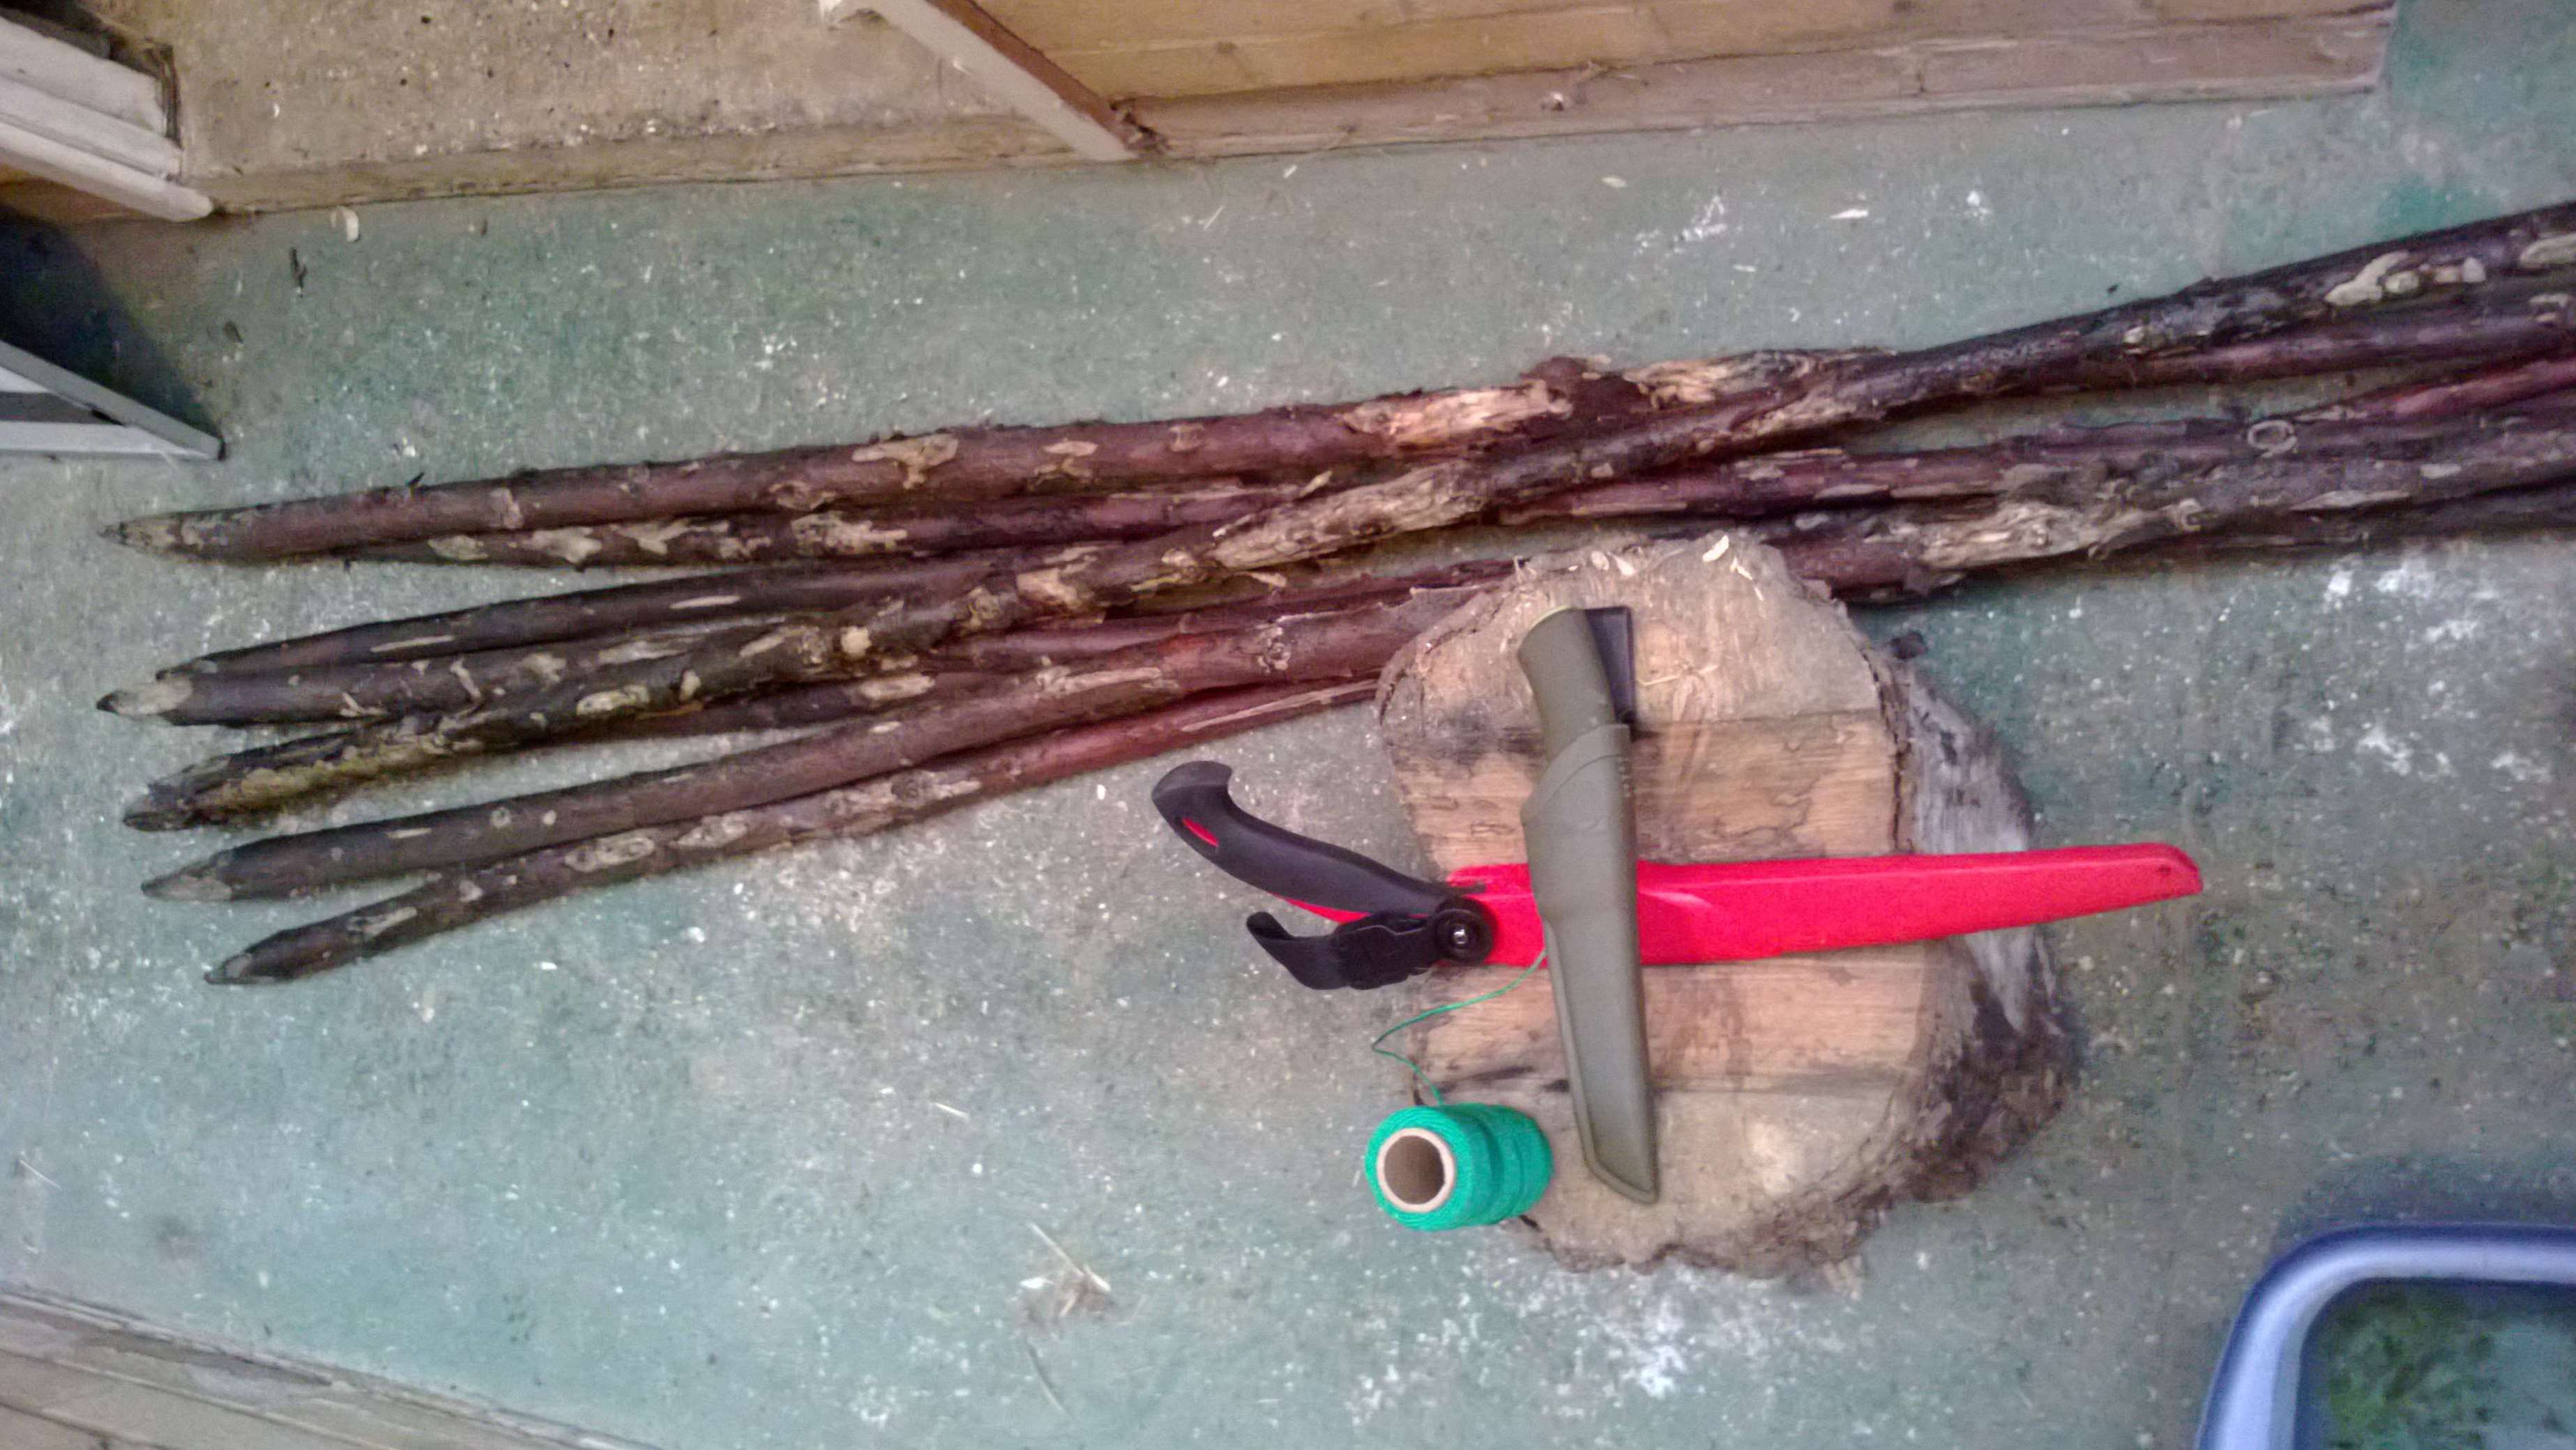
I had a load of sycamore rods (Acer pseudoplatanus) available for use. The plan was to make two frames. I planned to make one frame 75cms high and the other 92cms high (this height was based on the lengths of wood available) and both would be 145cms wide. I cut the rods to size (nine verticals and two horizontals for each frame) and made sure they were smoothed out so nobody would get a splinter.
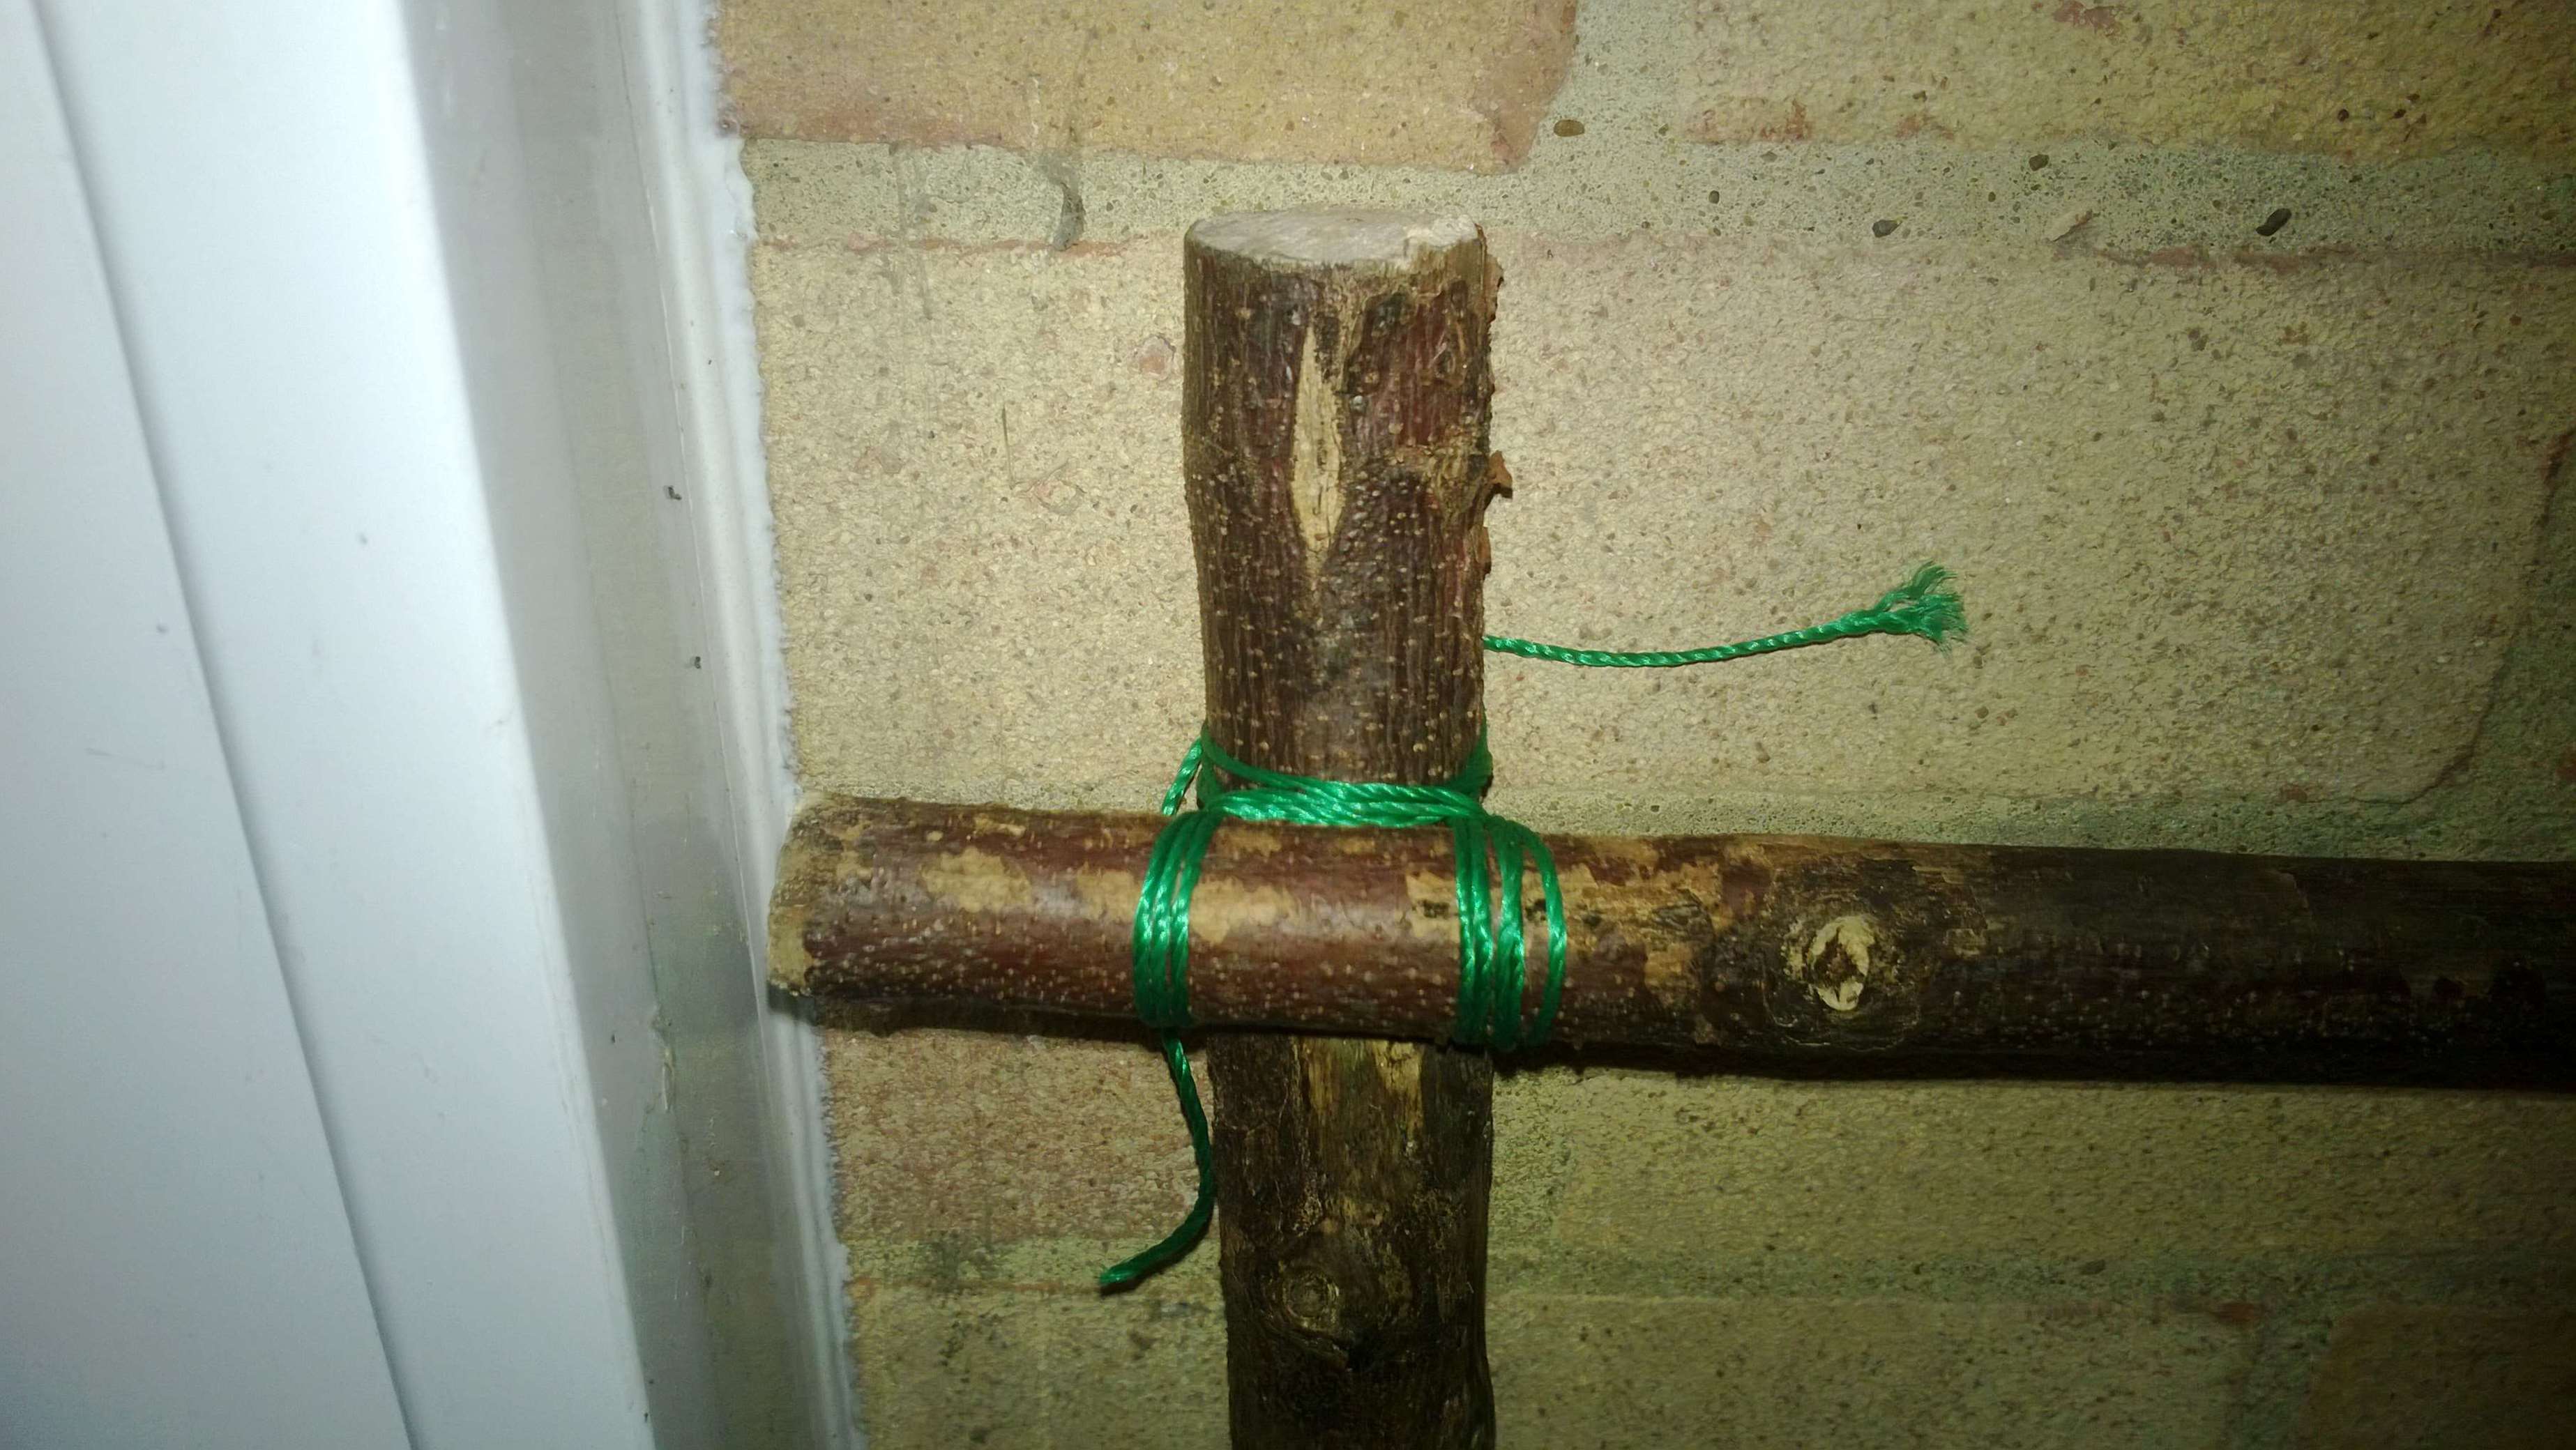
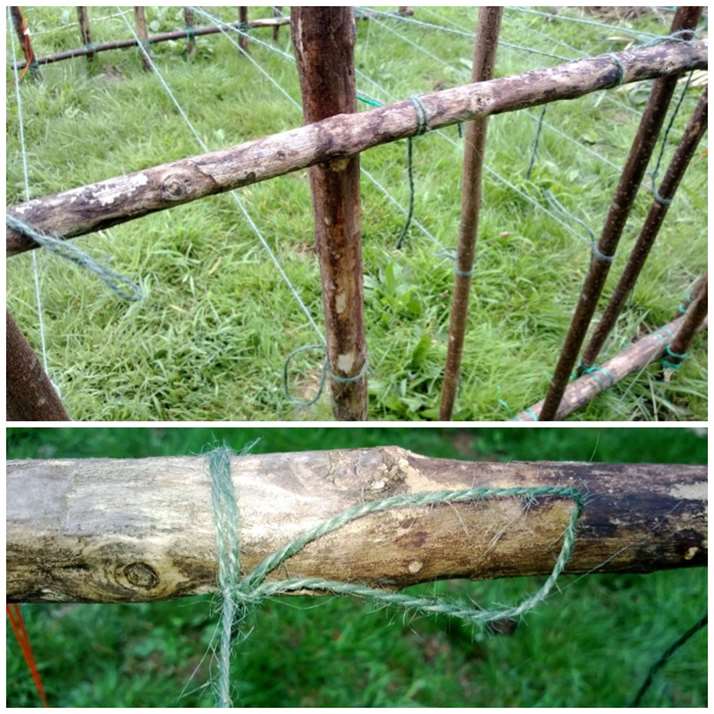
I started each frame by lashing together the two uprights to the two horizontal poles to form a rectangle.
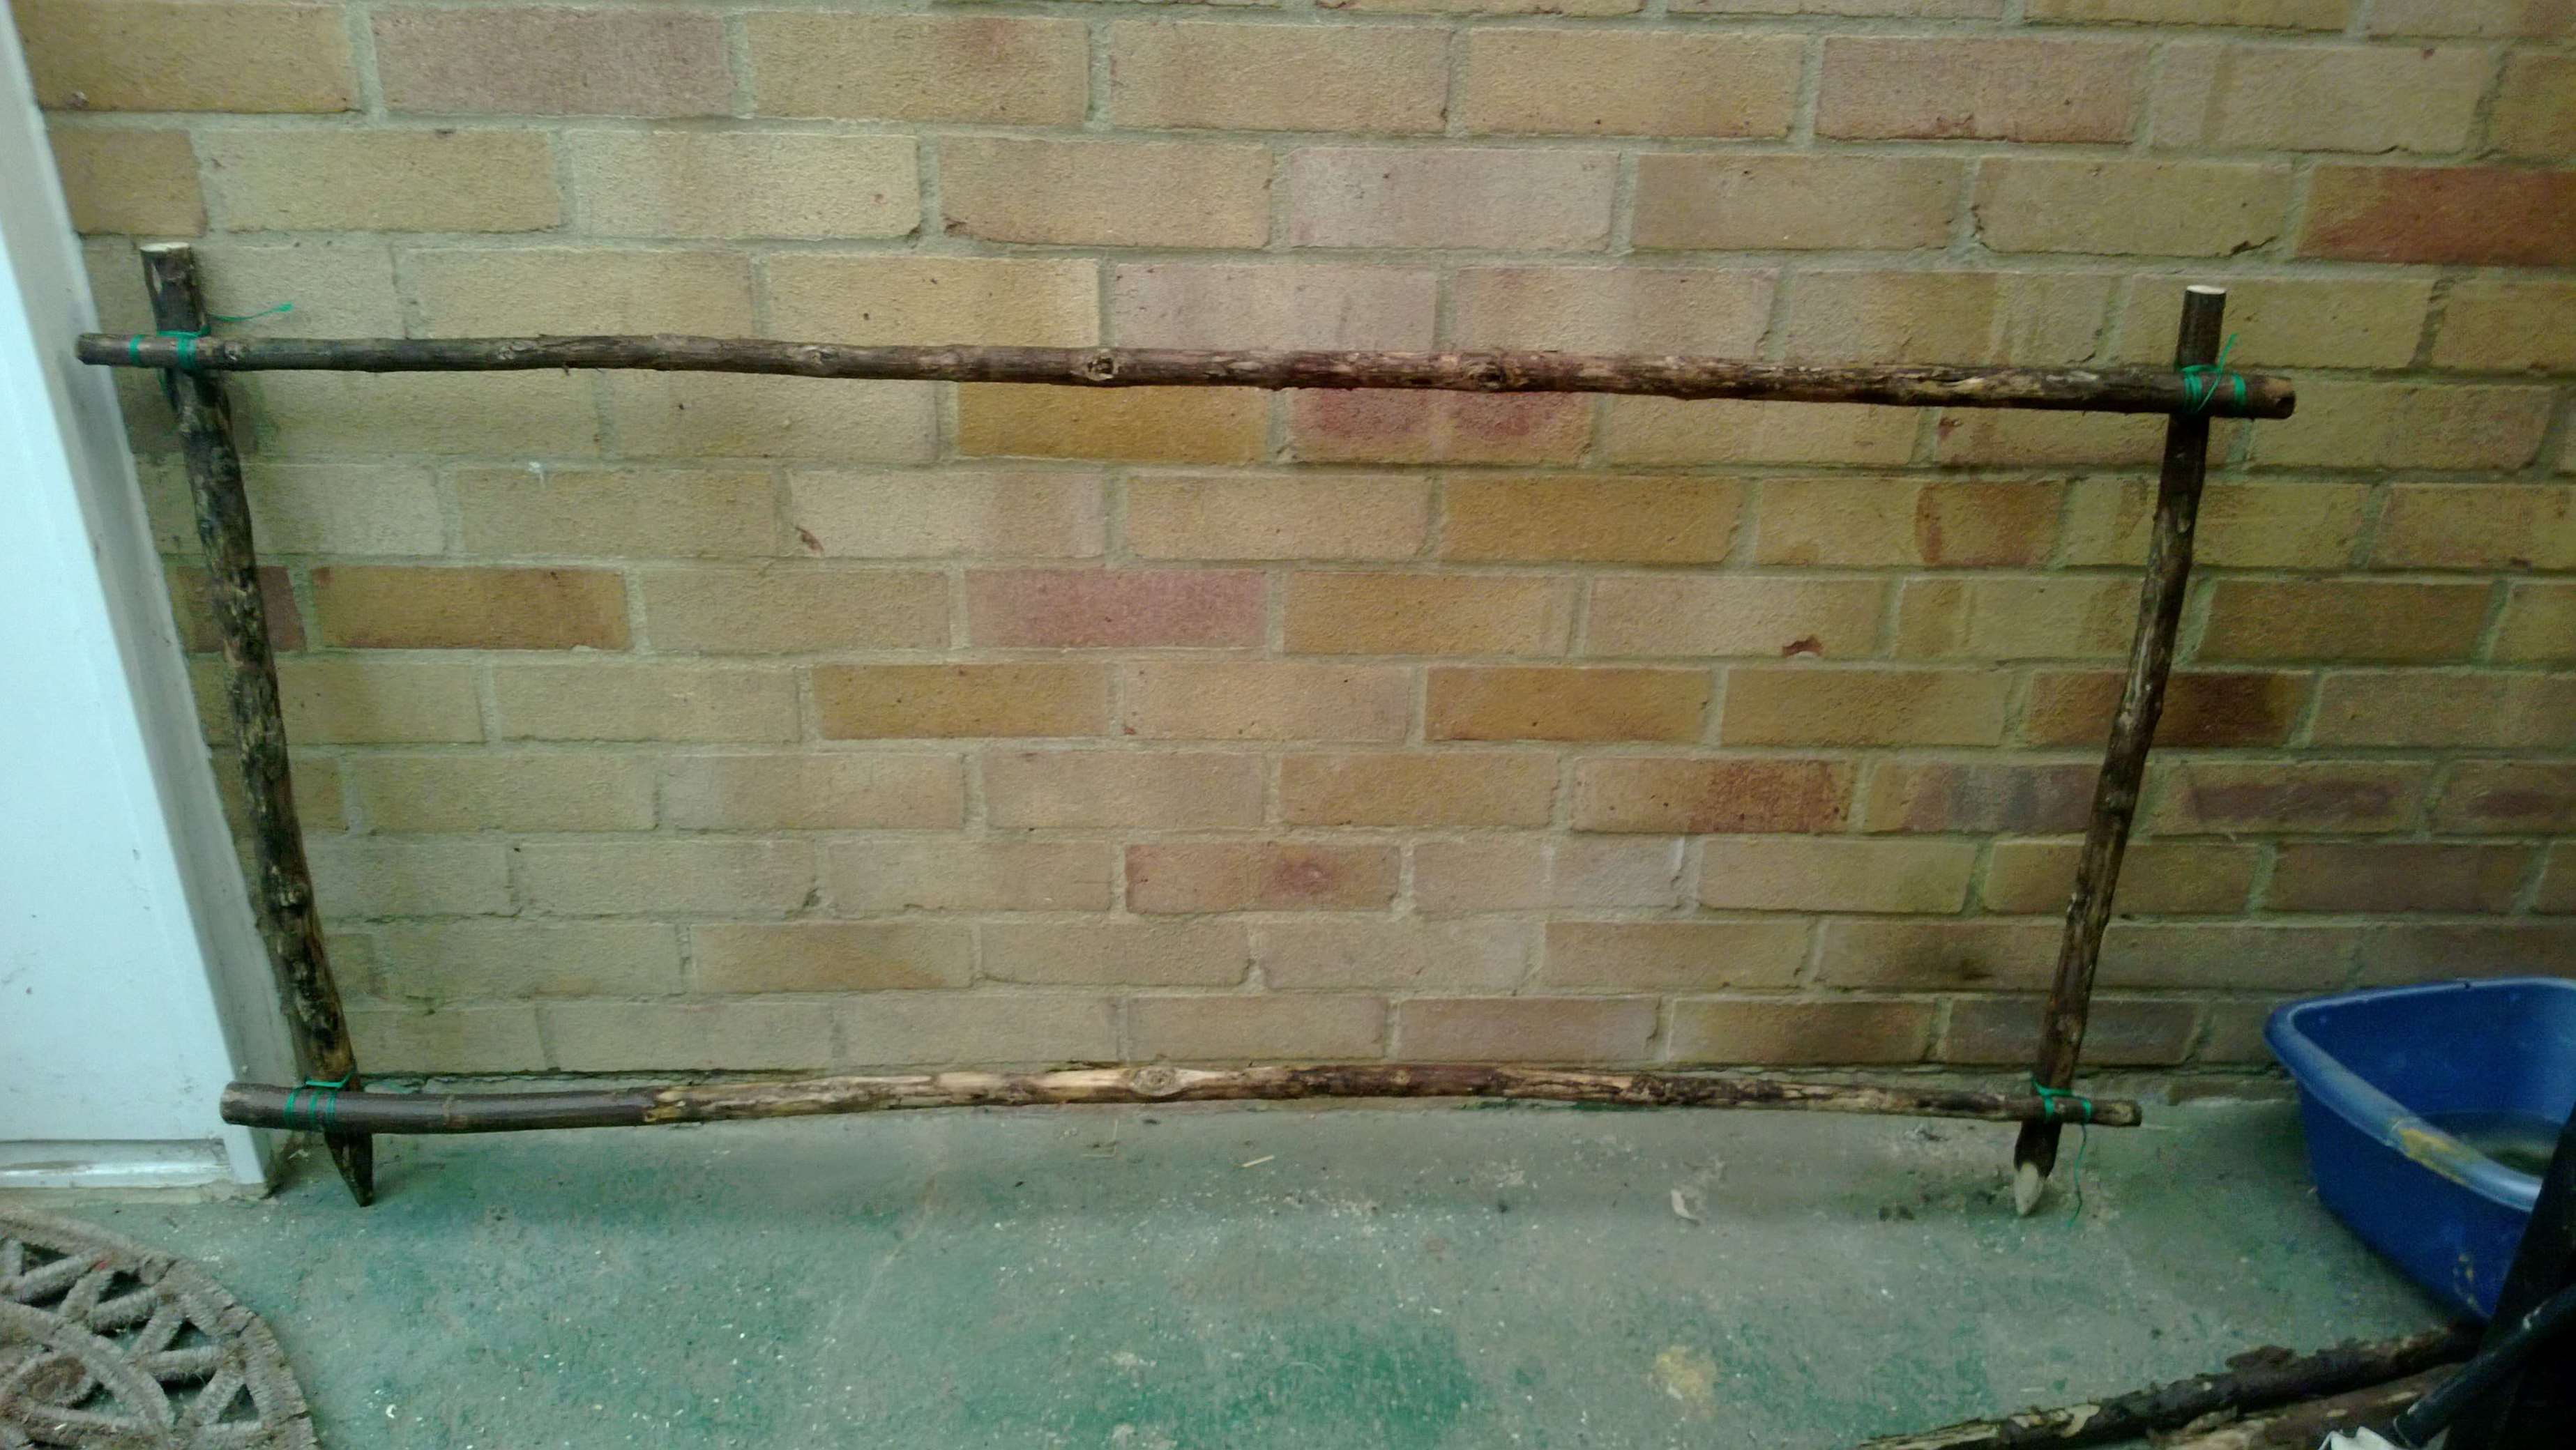
I used a square lashing on every tie-off point as you can really tighten this knot.
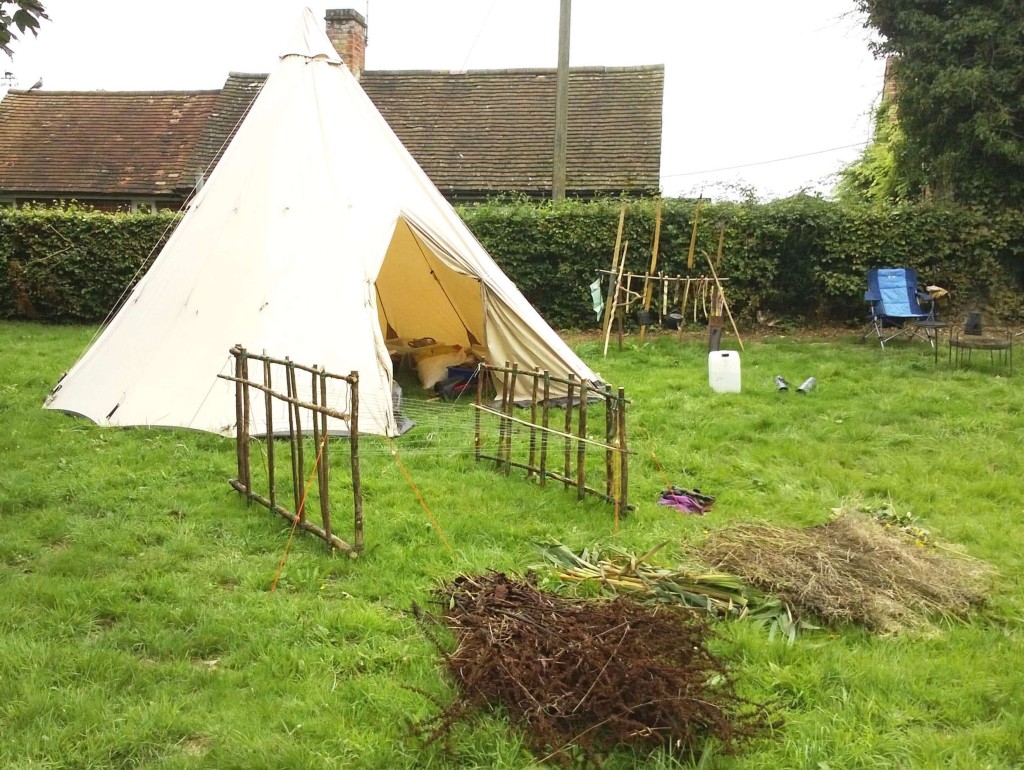
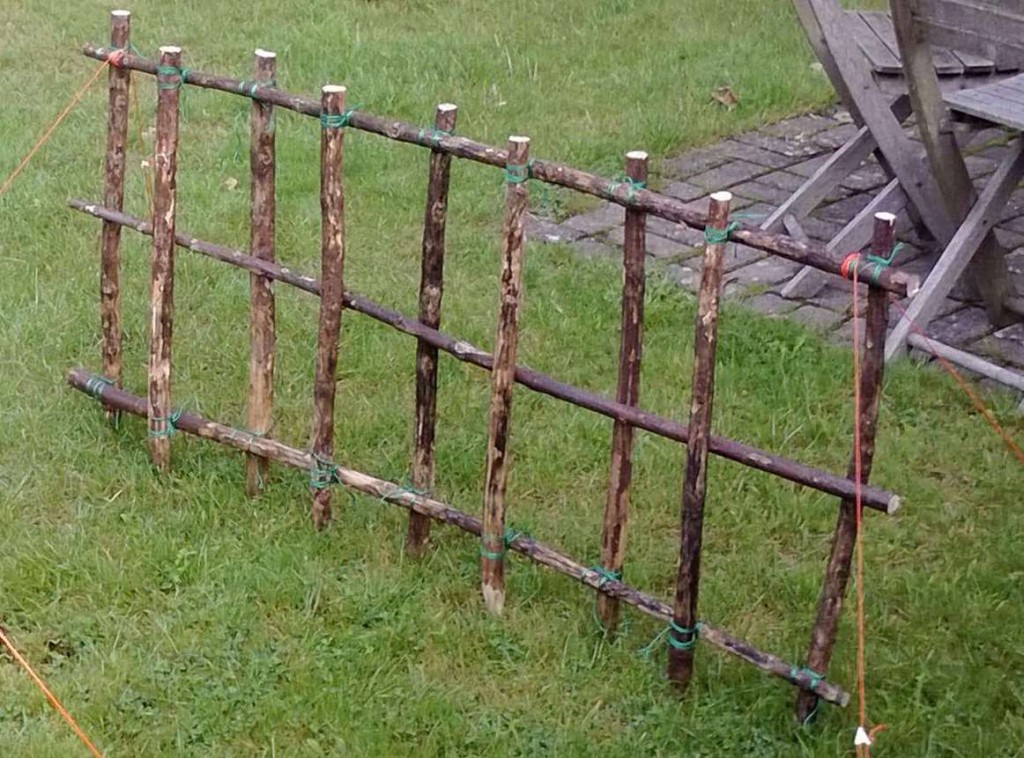
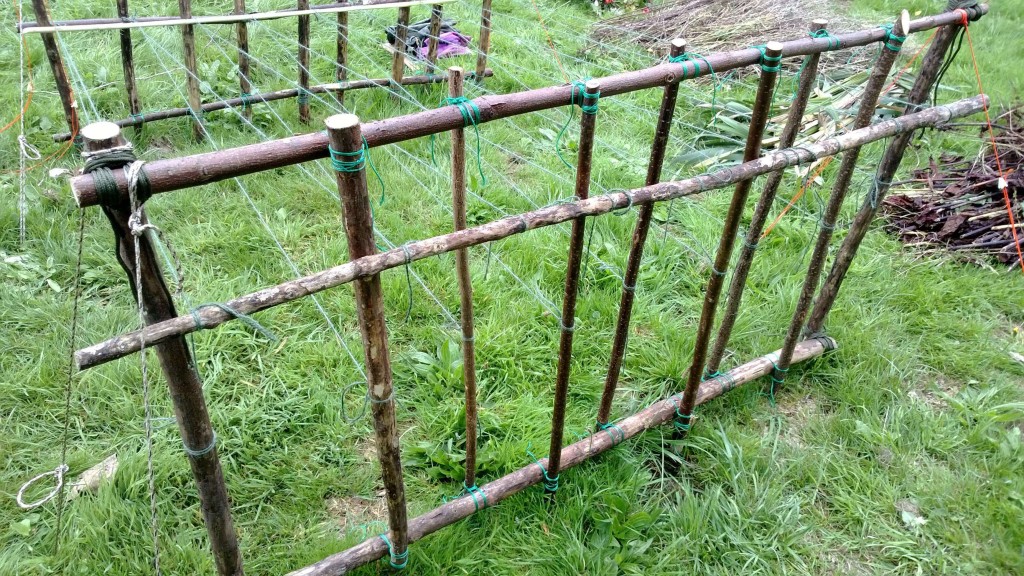
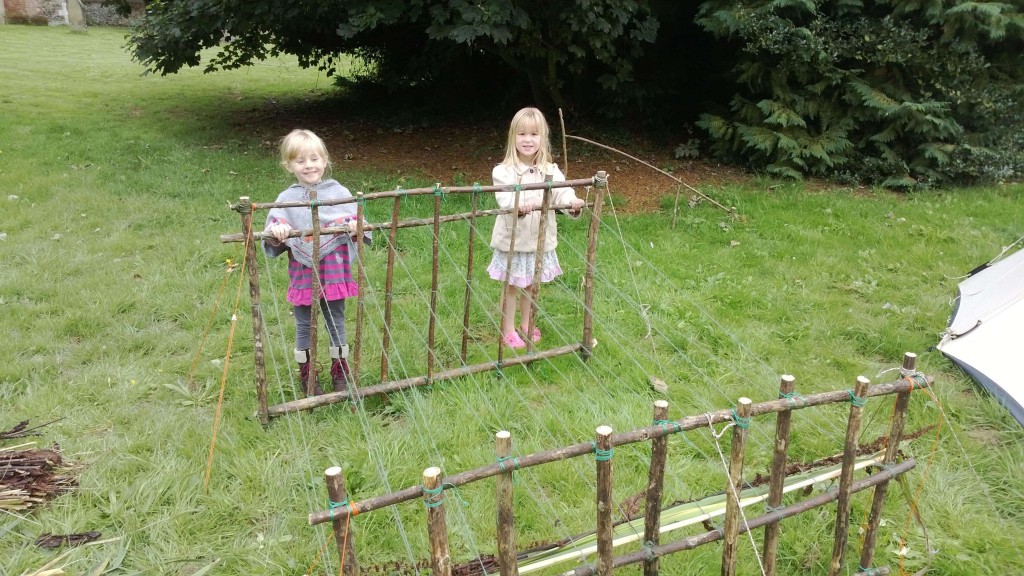
I tied off seven more vertical uprights to each frame using the square lashing, alternating them on either side of the frame to give it more stability when it was set up with the guy lines out. Here you can see the smaller frame set up with the guy lines out (I used some old tent guy lines).
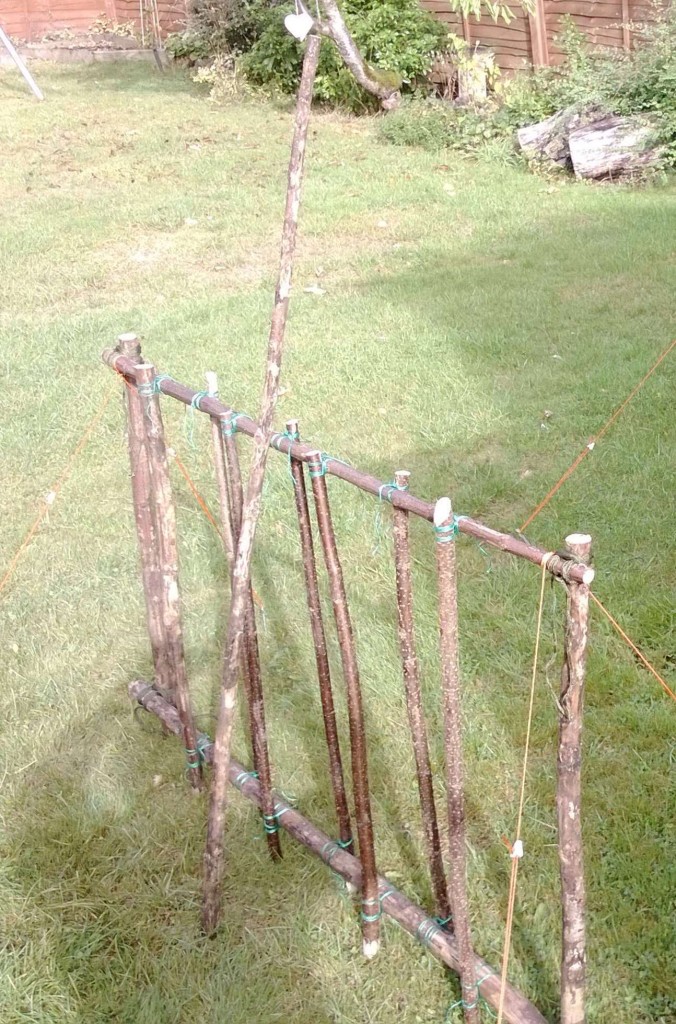
I wove another horizontal pole through the frame to give it extra strength and also to act as an adjustable tie-off point for the string. This pole was not tied off but was held firmly in place by the vertical poles.
The bigger frame did not have this central horizontal pole as it would get in the way of the string moving up and down to create the weave (as per the Mini Loom). The pole propped up against the frame was used to move the string up and down.
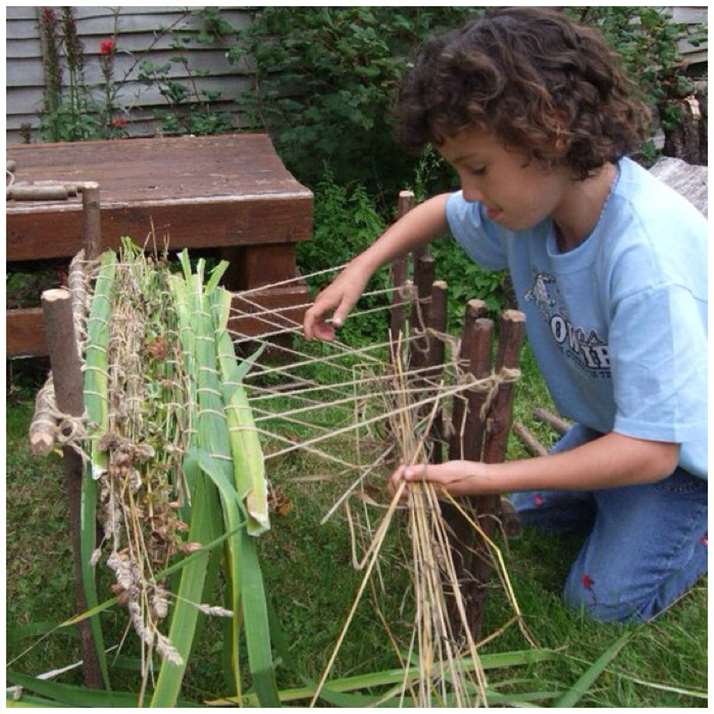
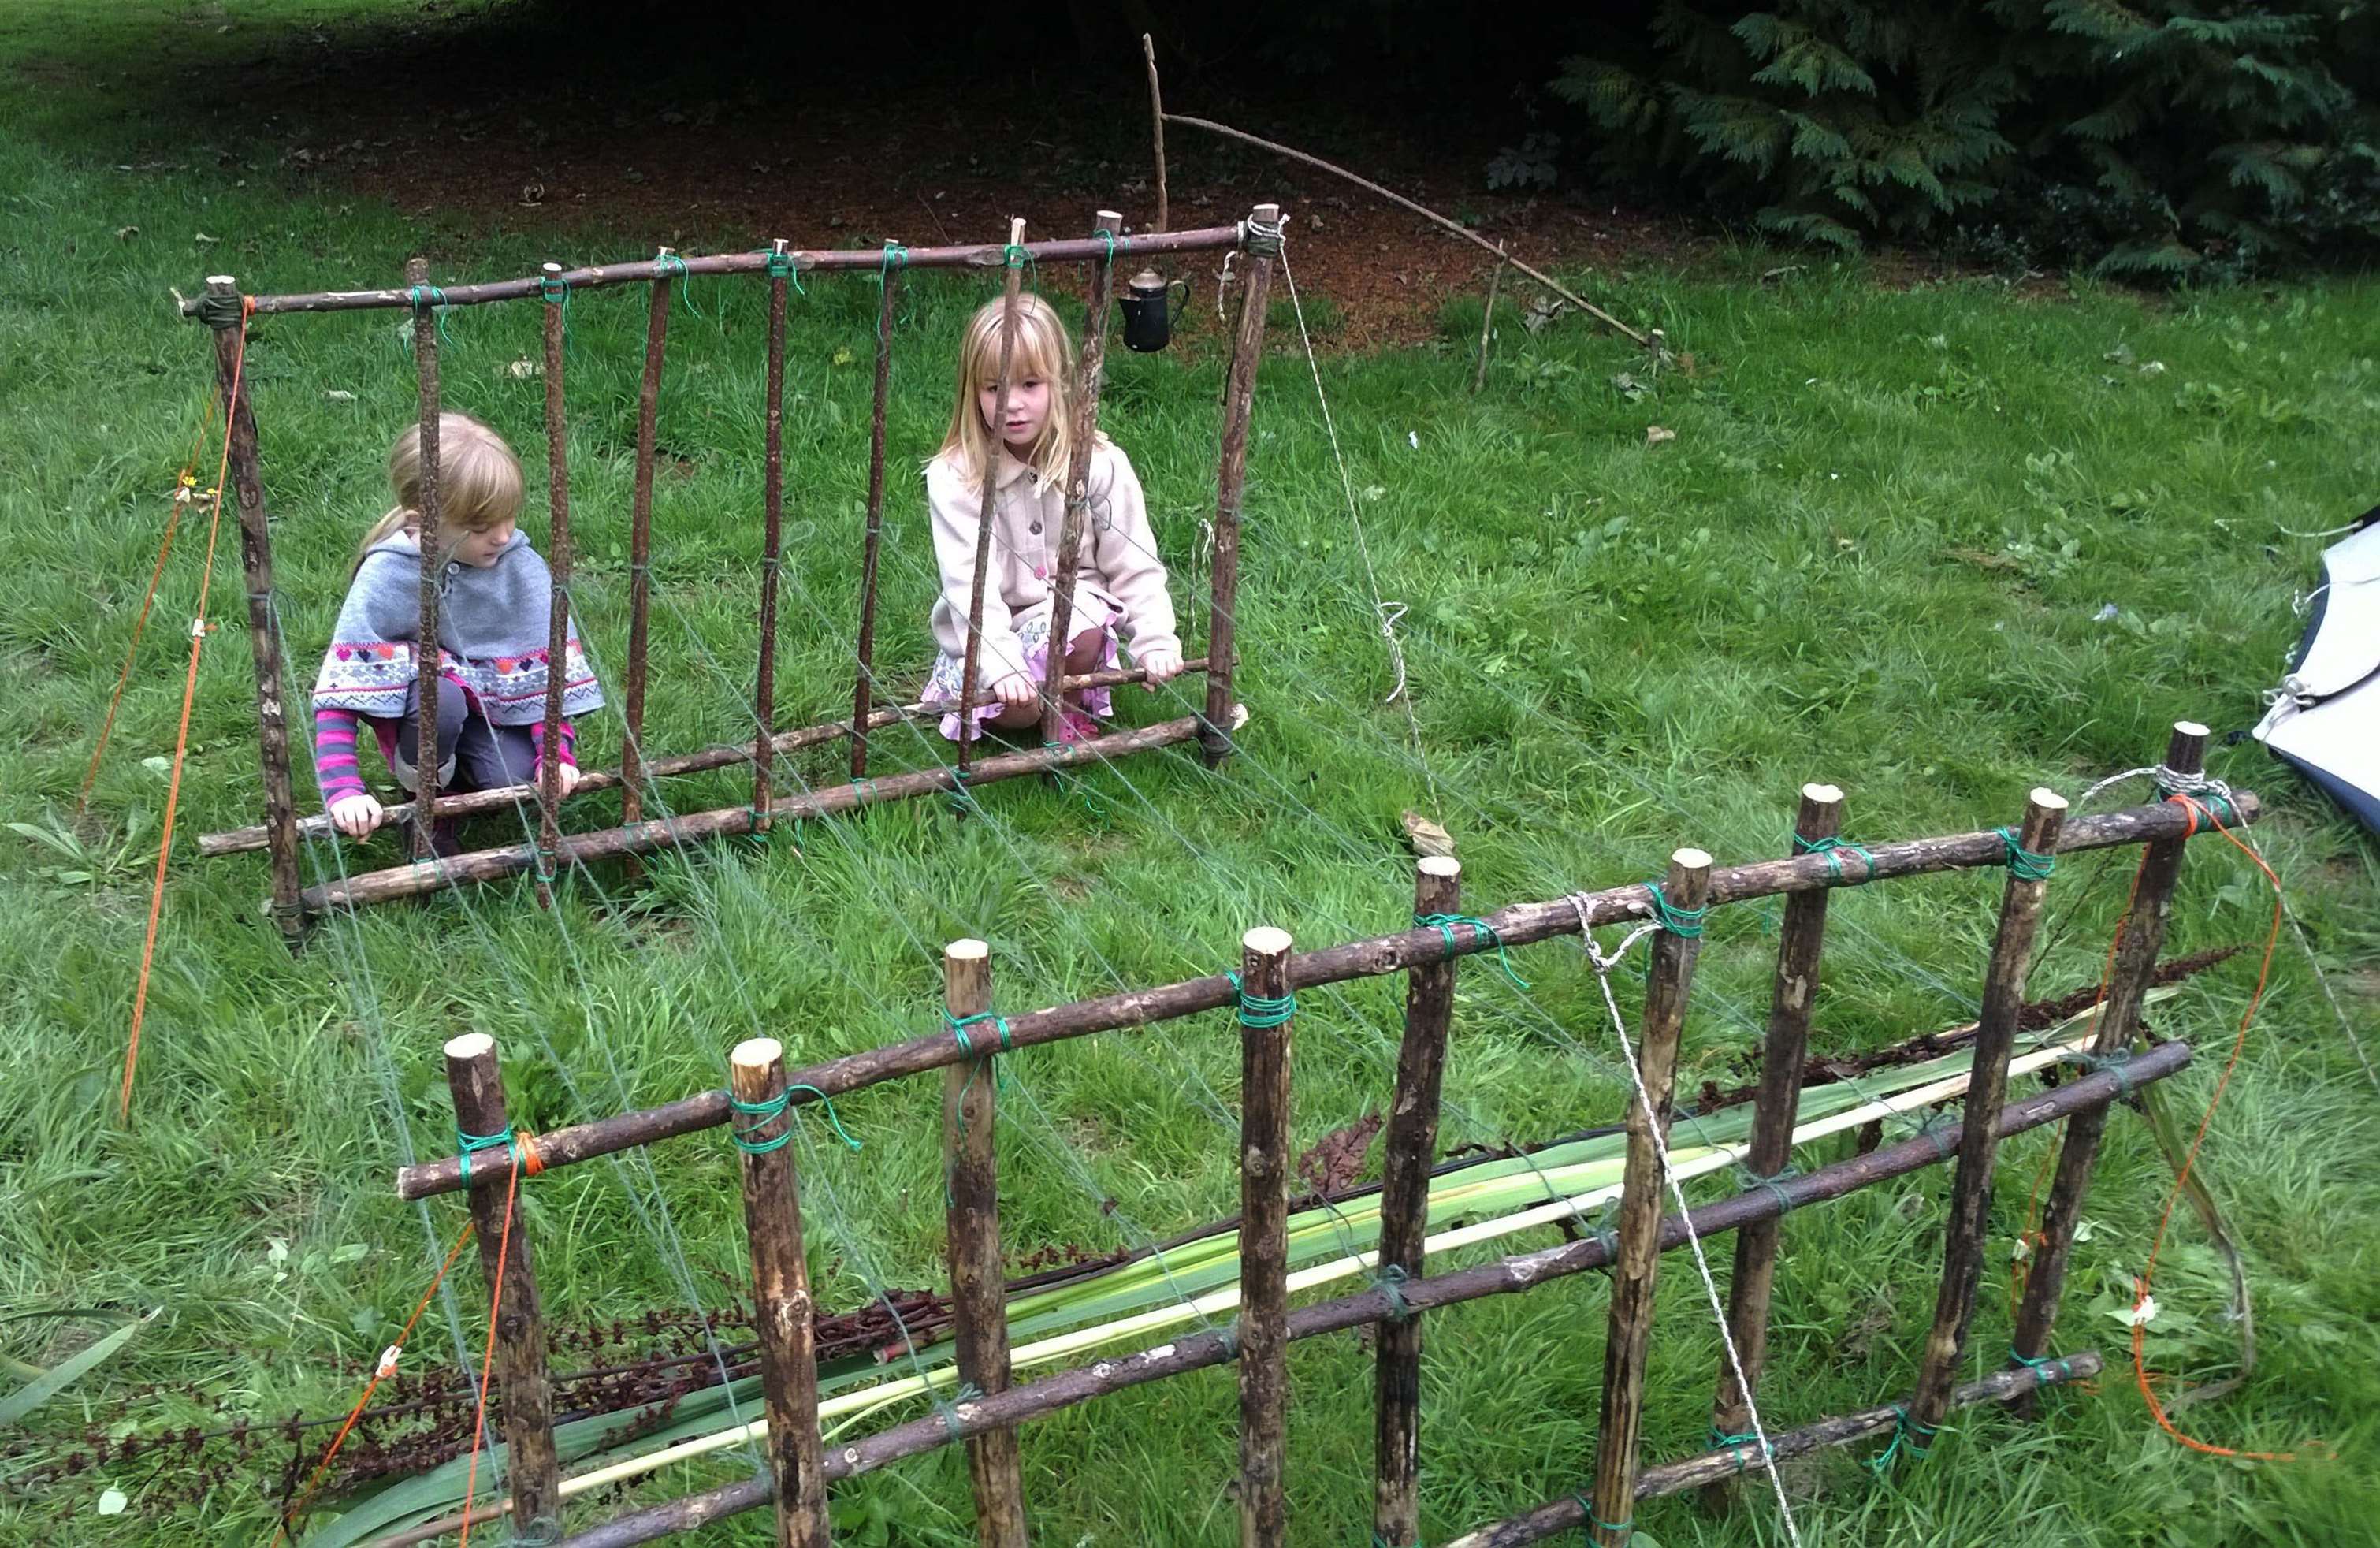
Setting the string up is the same as for the Mini Loom. Ensure you cut lengths of string long enough to be doubled up and tied off.
The Tarp Taut Hitch was used again on each bend of the string to attach it to the middle horizontal pole on the smaller frame.

For each piece of doubled up string you have attached to the smaller frame you will have two individual strands to attach to the bigger frame. One strand should be attached to the middle of one of the vertical poles on the large frame and the other strand needs to be attached to the horizontal moving bar behind the larger frame.
This is the part that any weaver will tell you takes the longest. You have to take your time, do not let the strands become entangled and be prepared to do lots of adjustments. Nobody will appreciate quite what you will have gone through to set this up but they will appreciate the ease of being able to make a mat with the system.
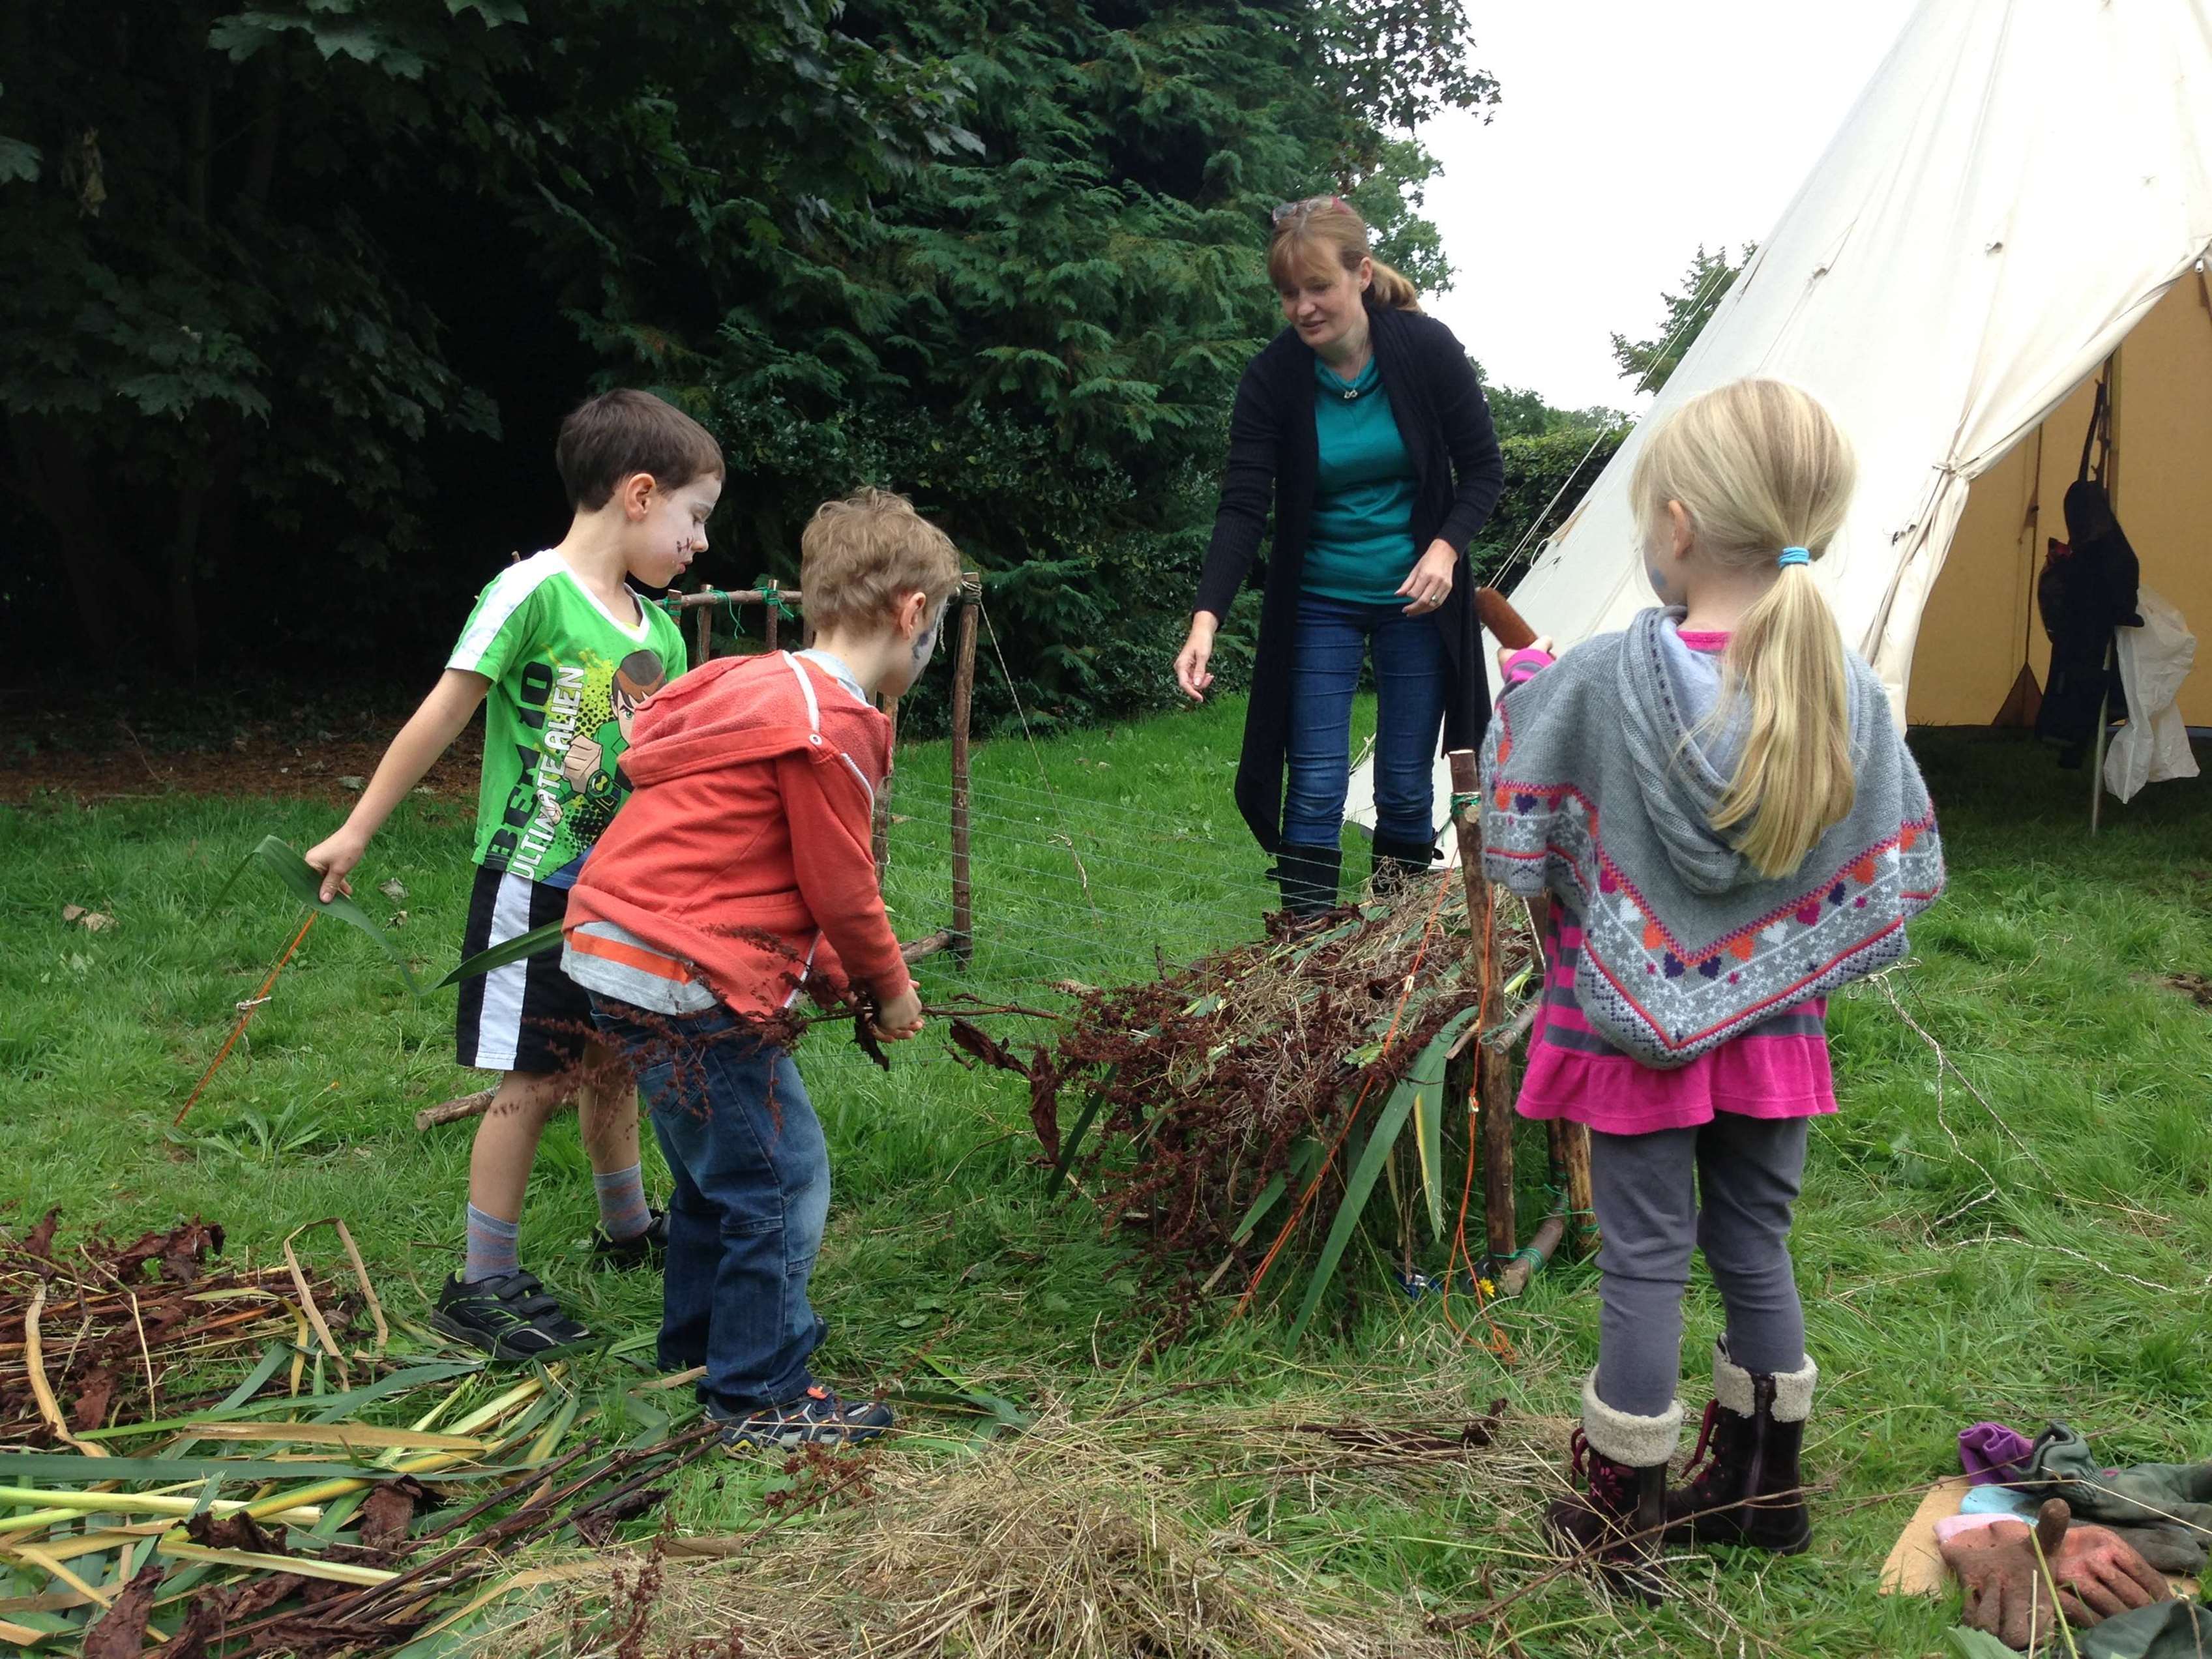
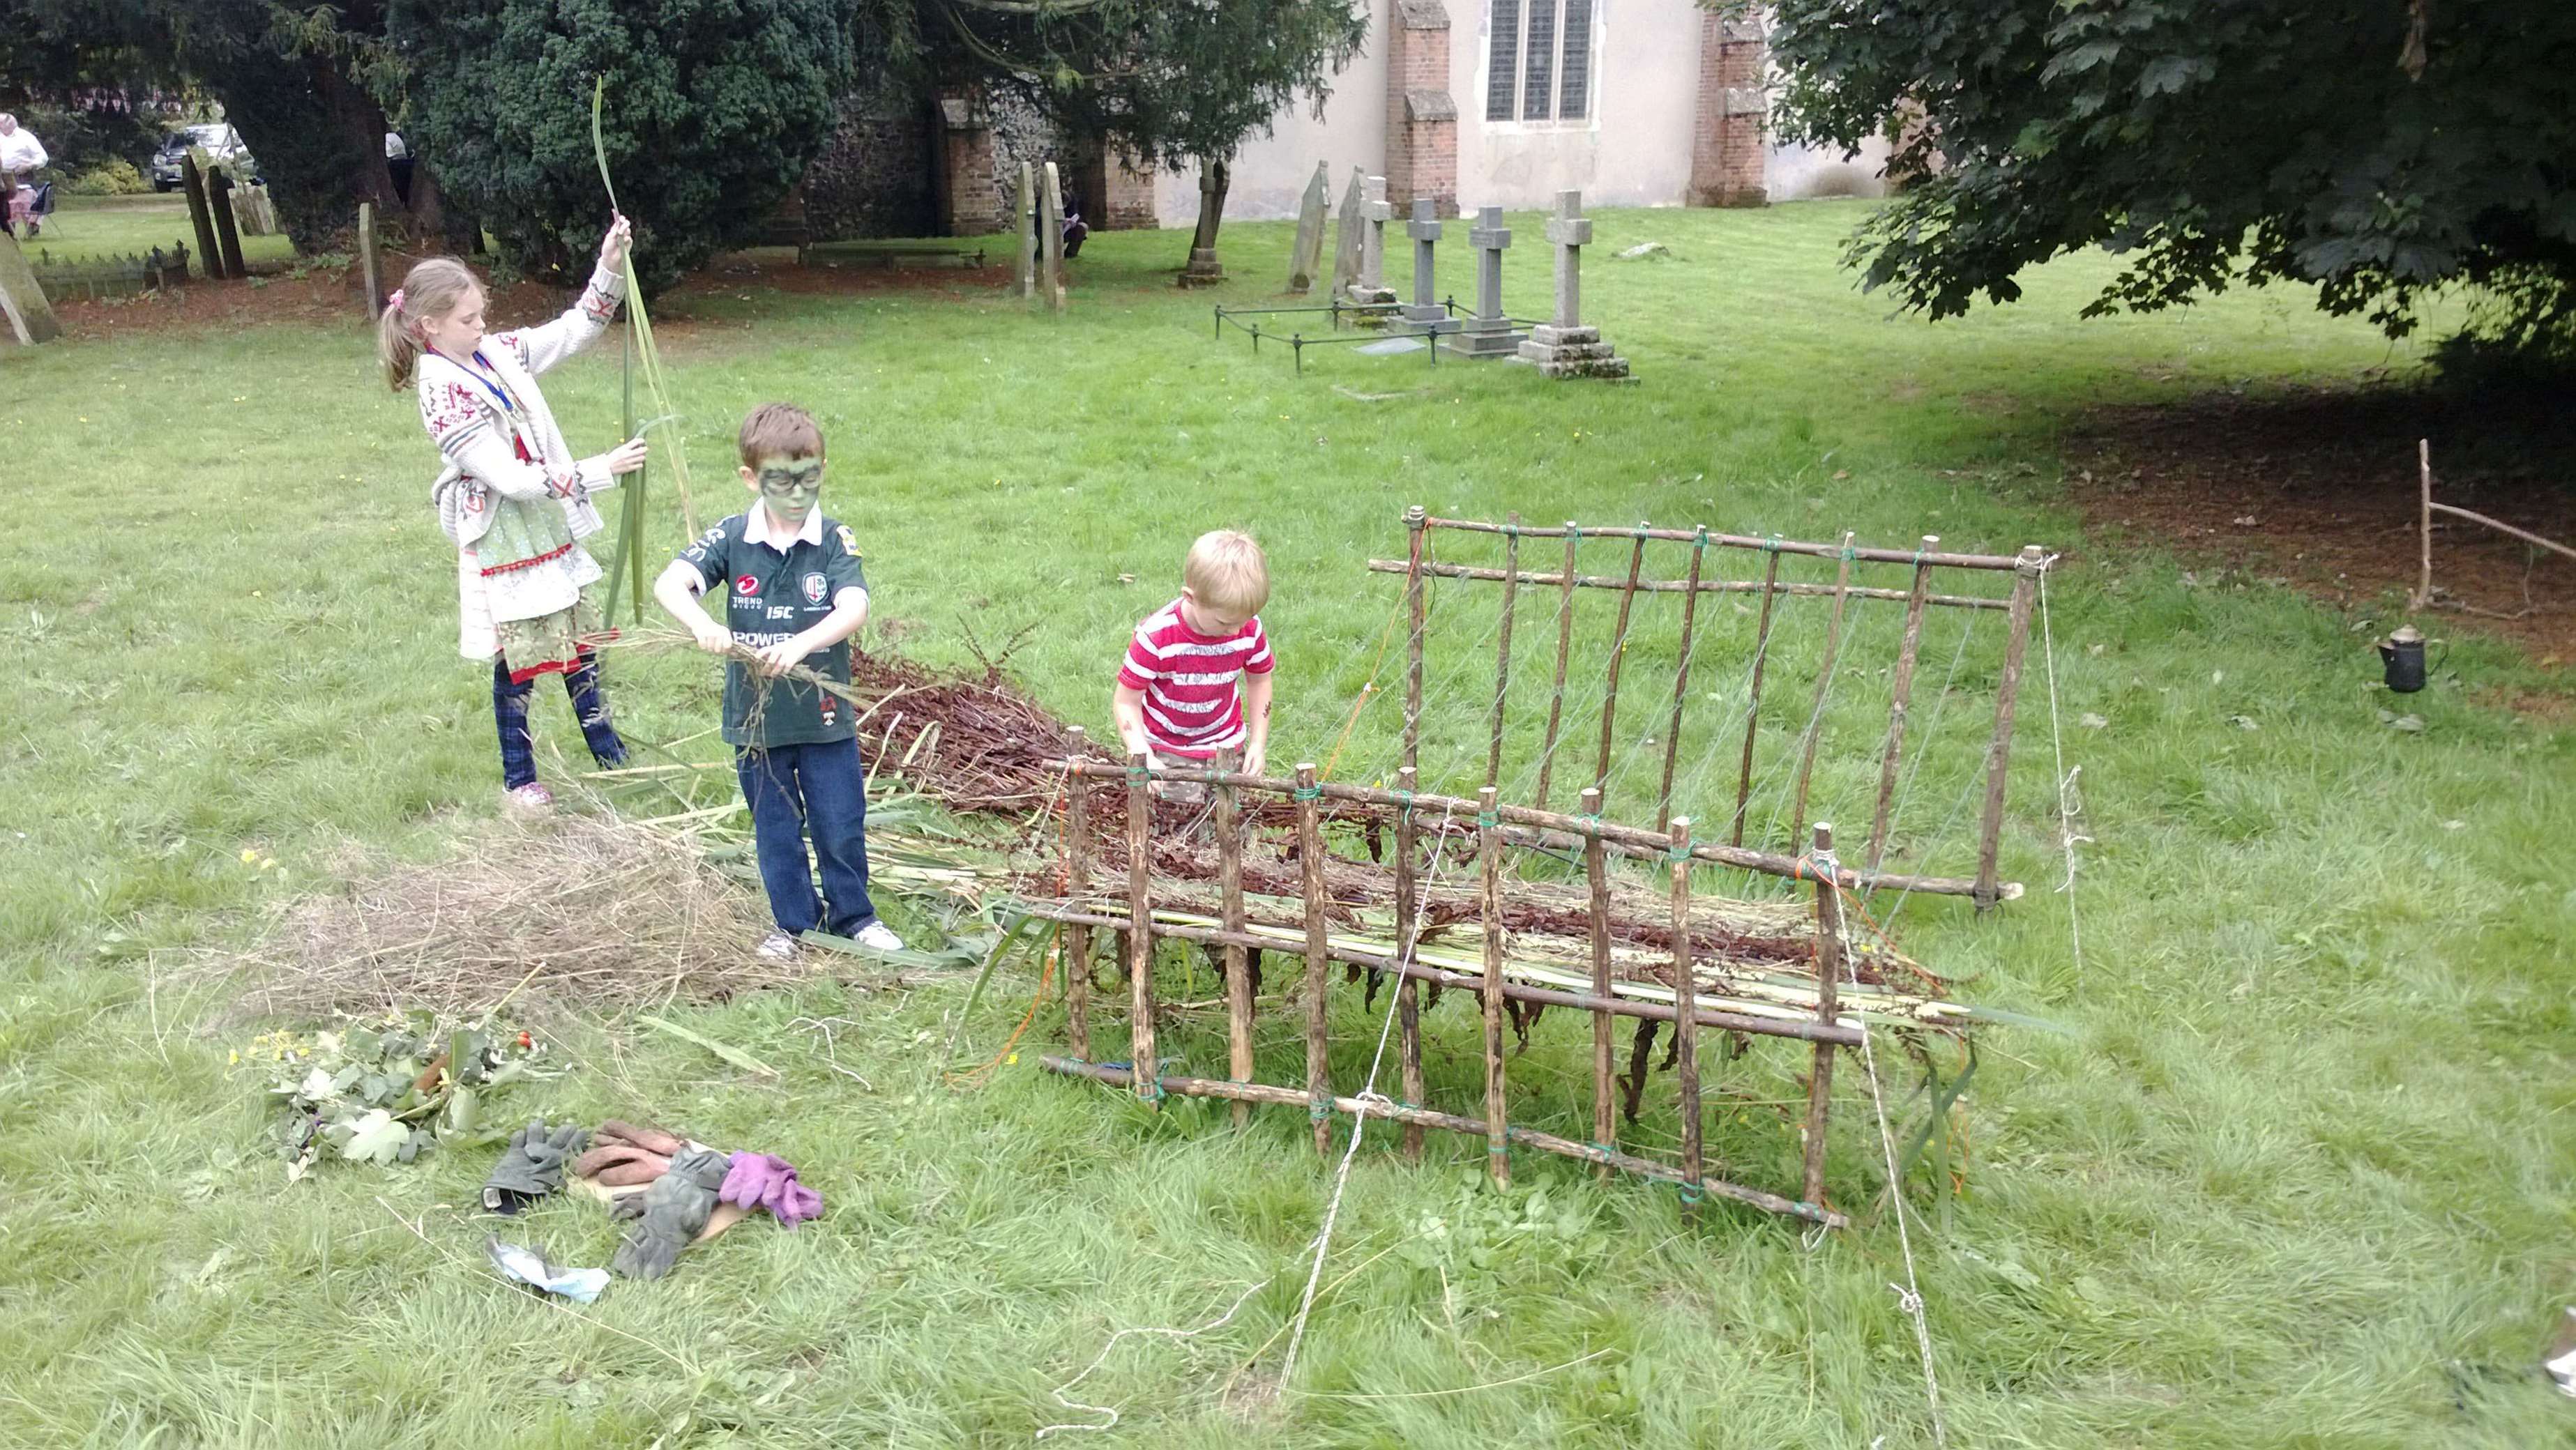
I sourced a mixture of different plants from the local area, mostly from abandoned allotments next to the church. This material would be used to form the mat.
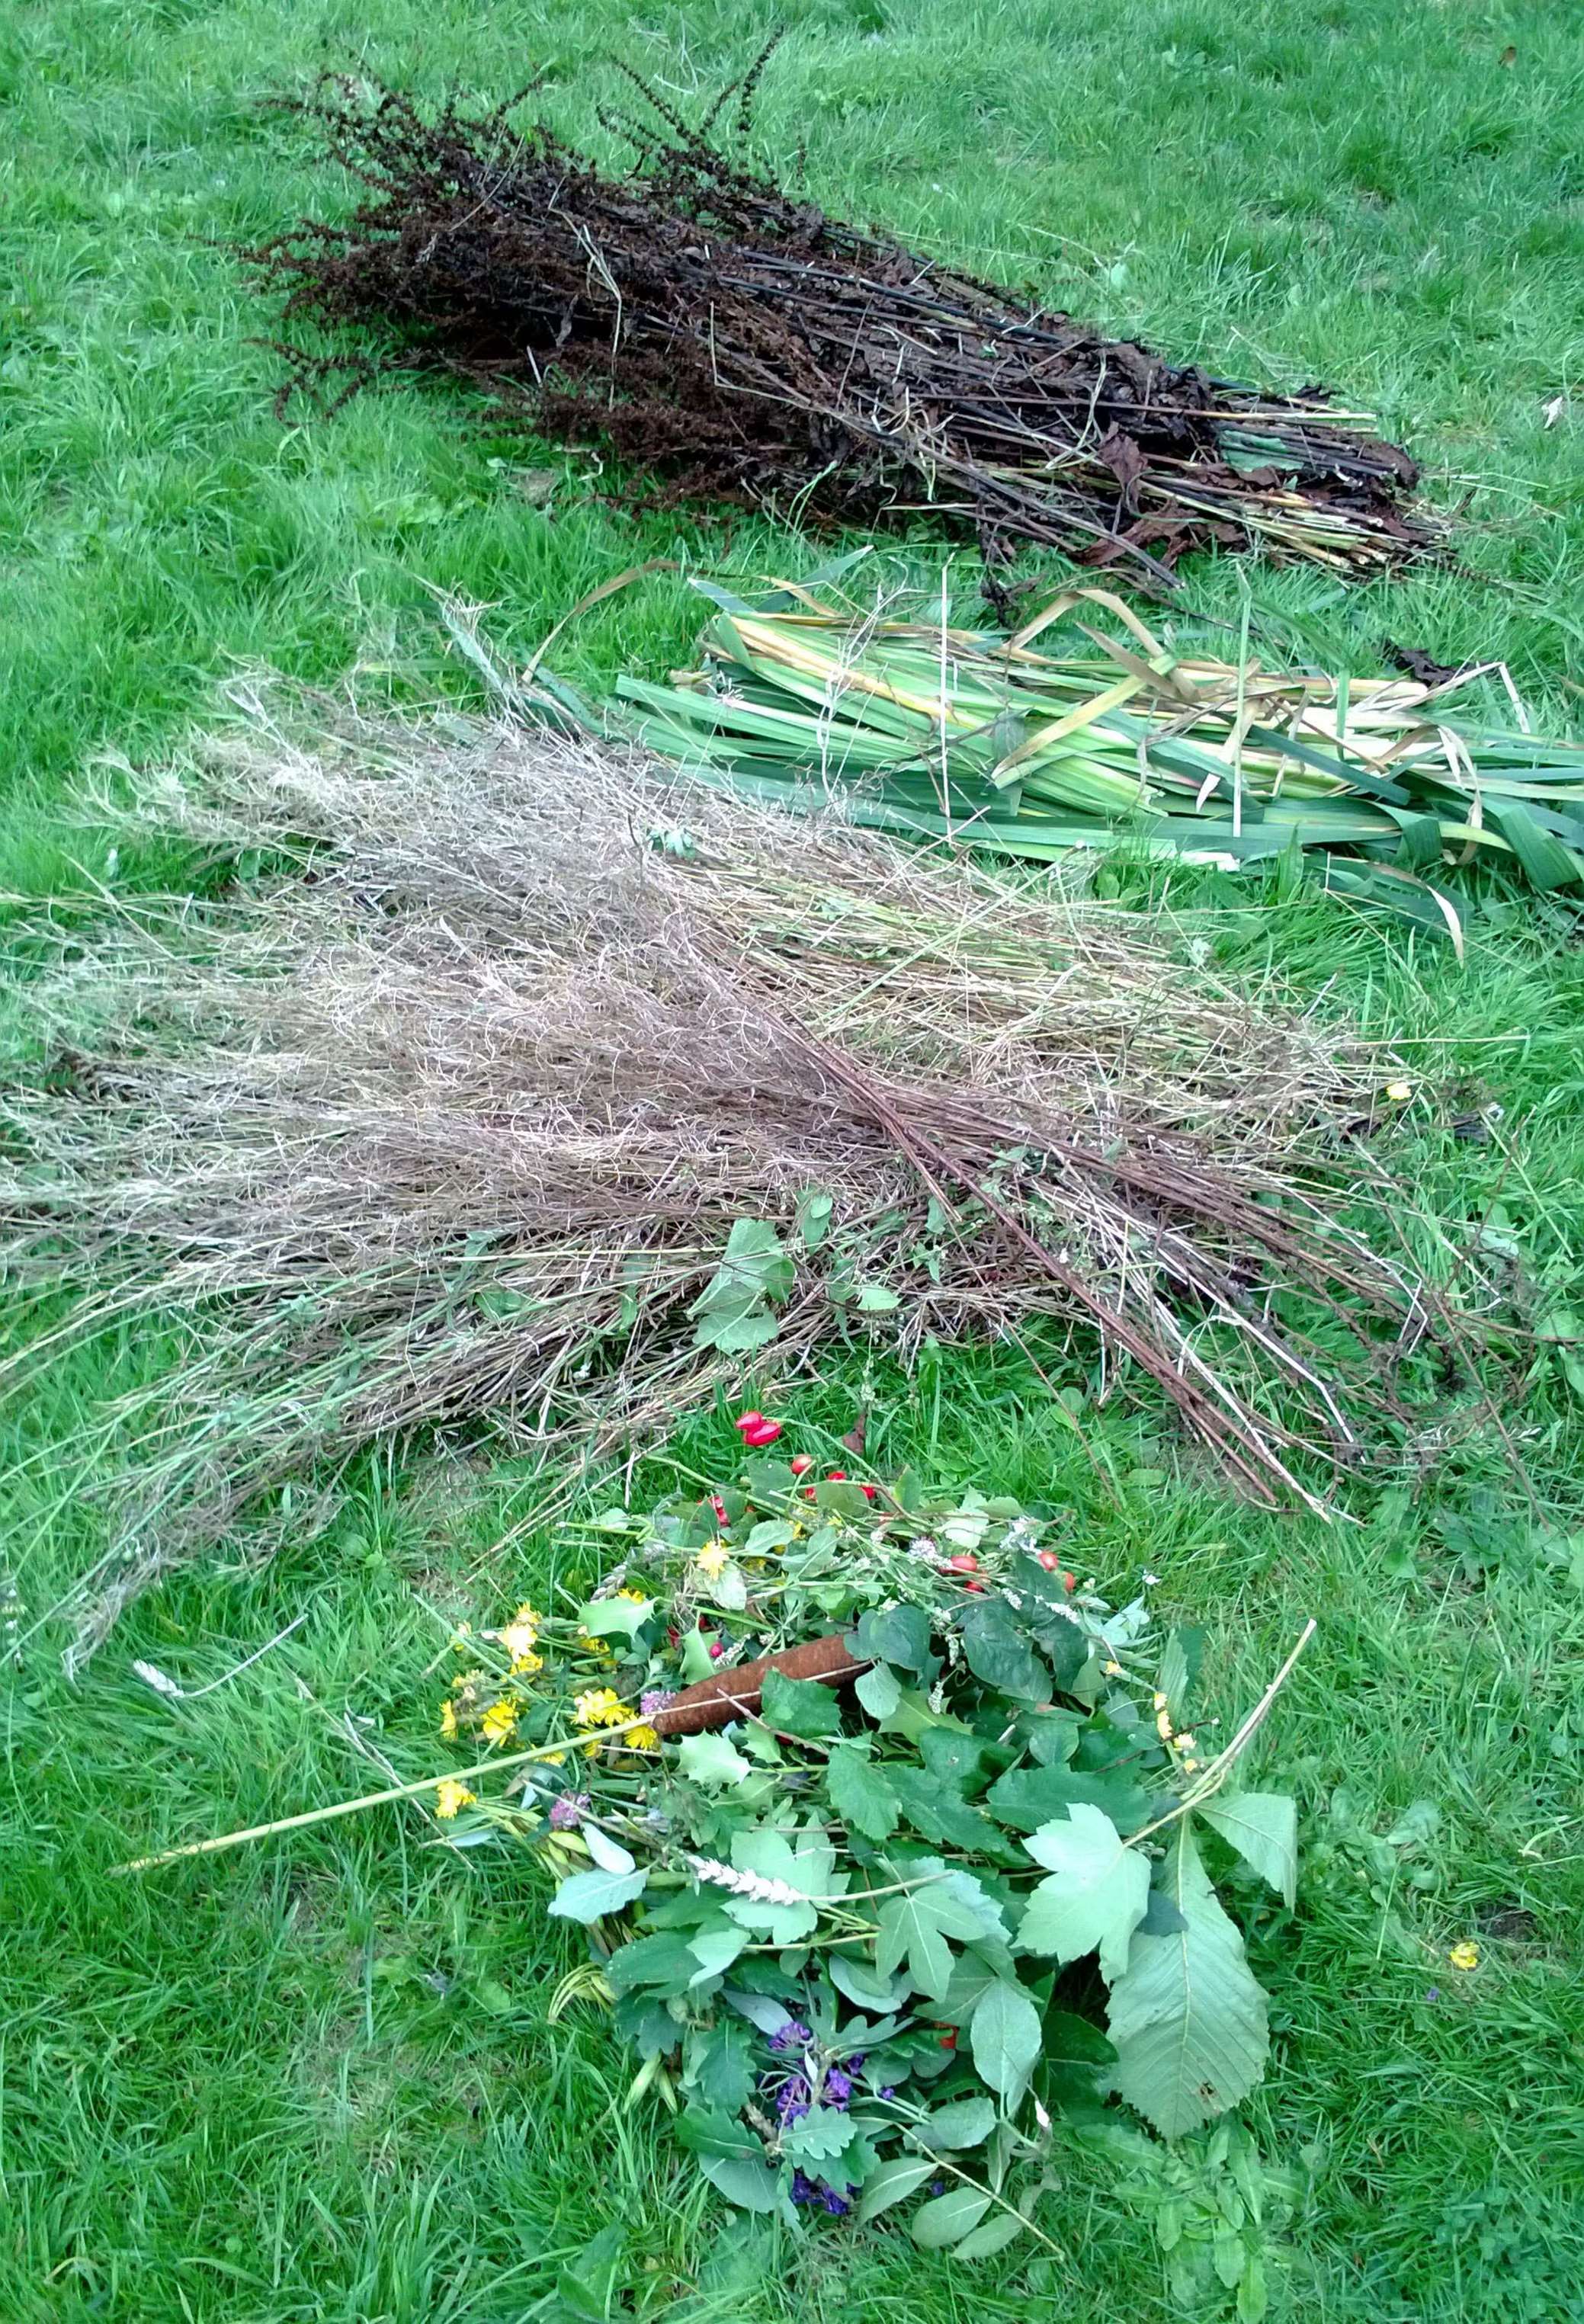
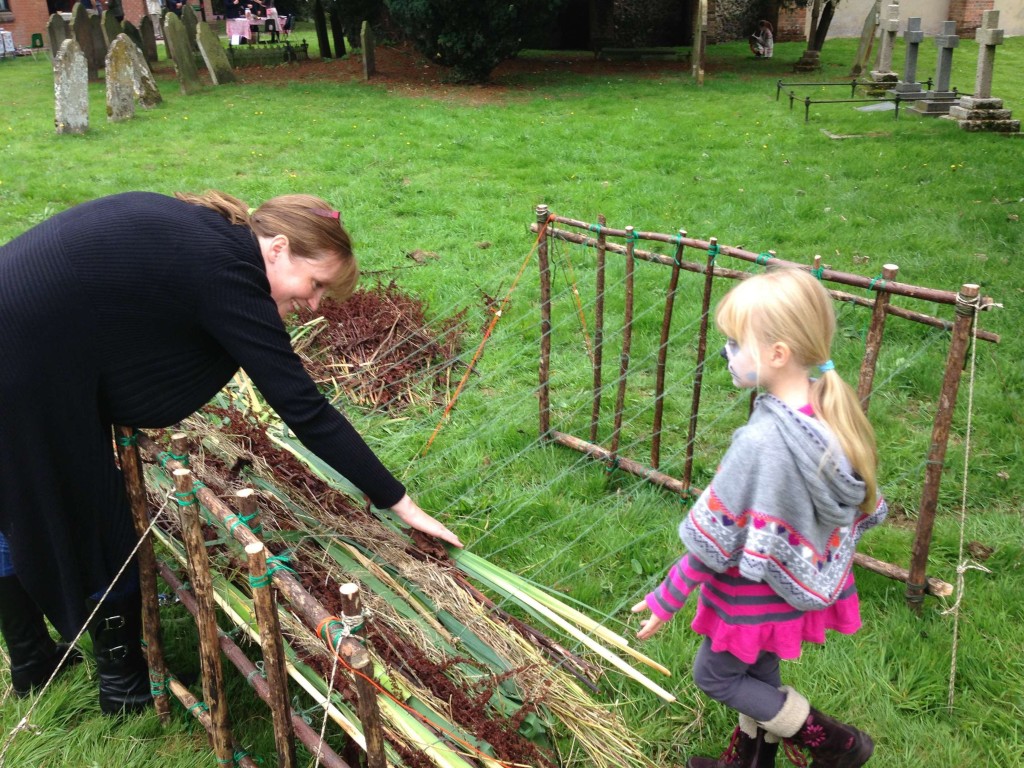
As with the Mini Loom, insert the material you want to start with. I prefer at the beginning and the end of the mat to insert fairly rigid material like the stems of Reedmace (Typha latifolia) but try different materials to see what works for you. Pull all the material (a good handful’s width) in tight then……………………
…drop the horizontal bar to cross the string over and trap the material.
Then get ready to add a new layer of material to the loom.
Keep repeating the process of lifting and dropping the handle and adding new material to build up the mat.
The edges you can see here get very ragged. You can use a pair of sharp scissors (fairly big ones) or a very sharp knife to trim this down, but leave a good handwidth from your trimmed end and the first string so the material does not fall out.

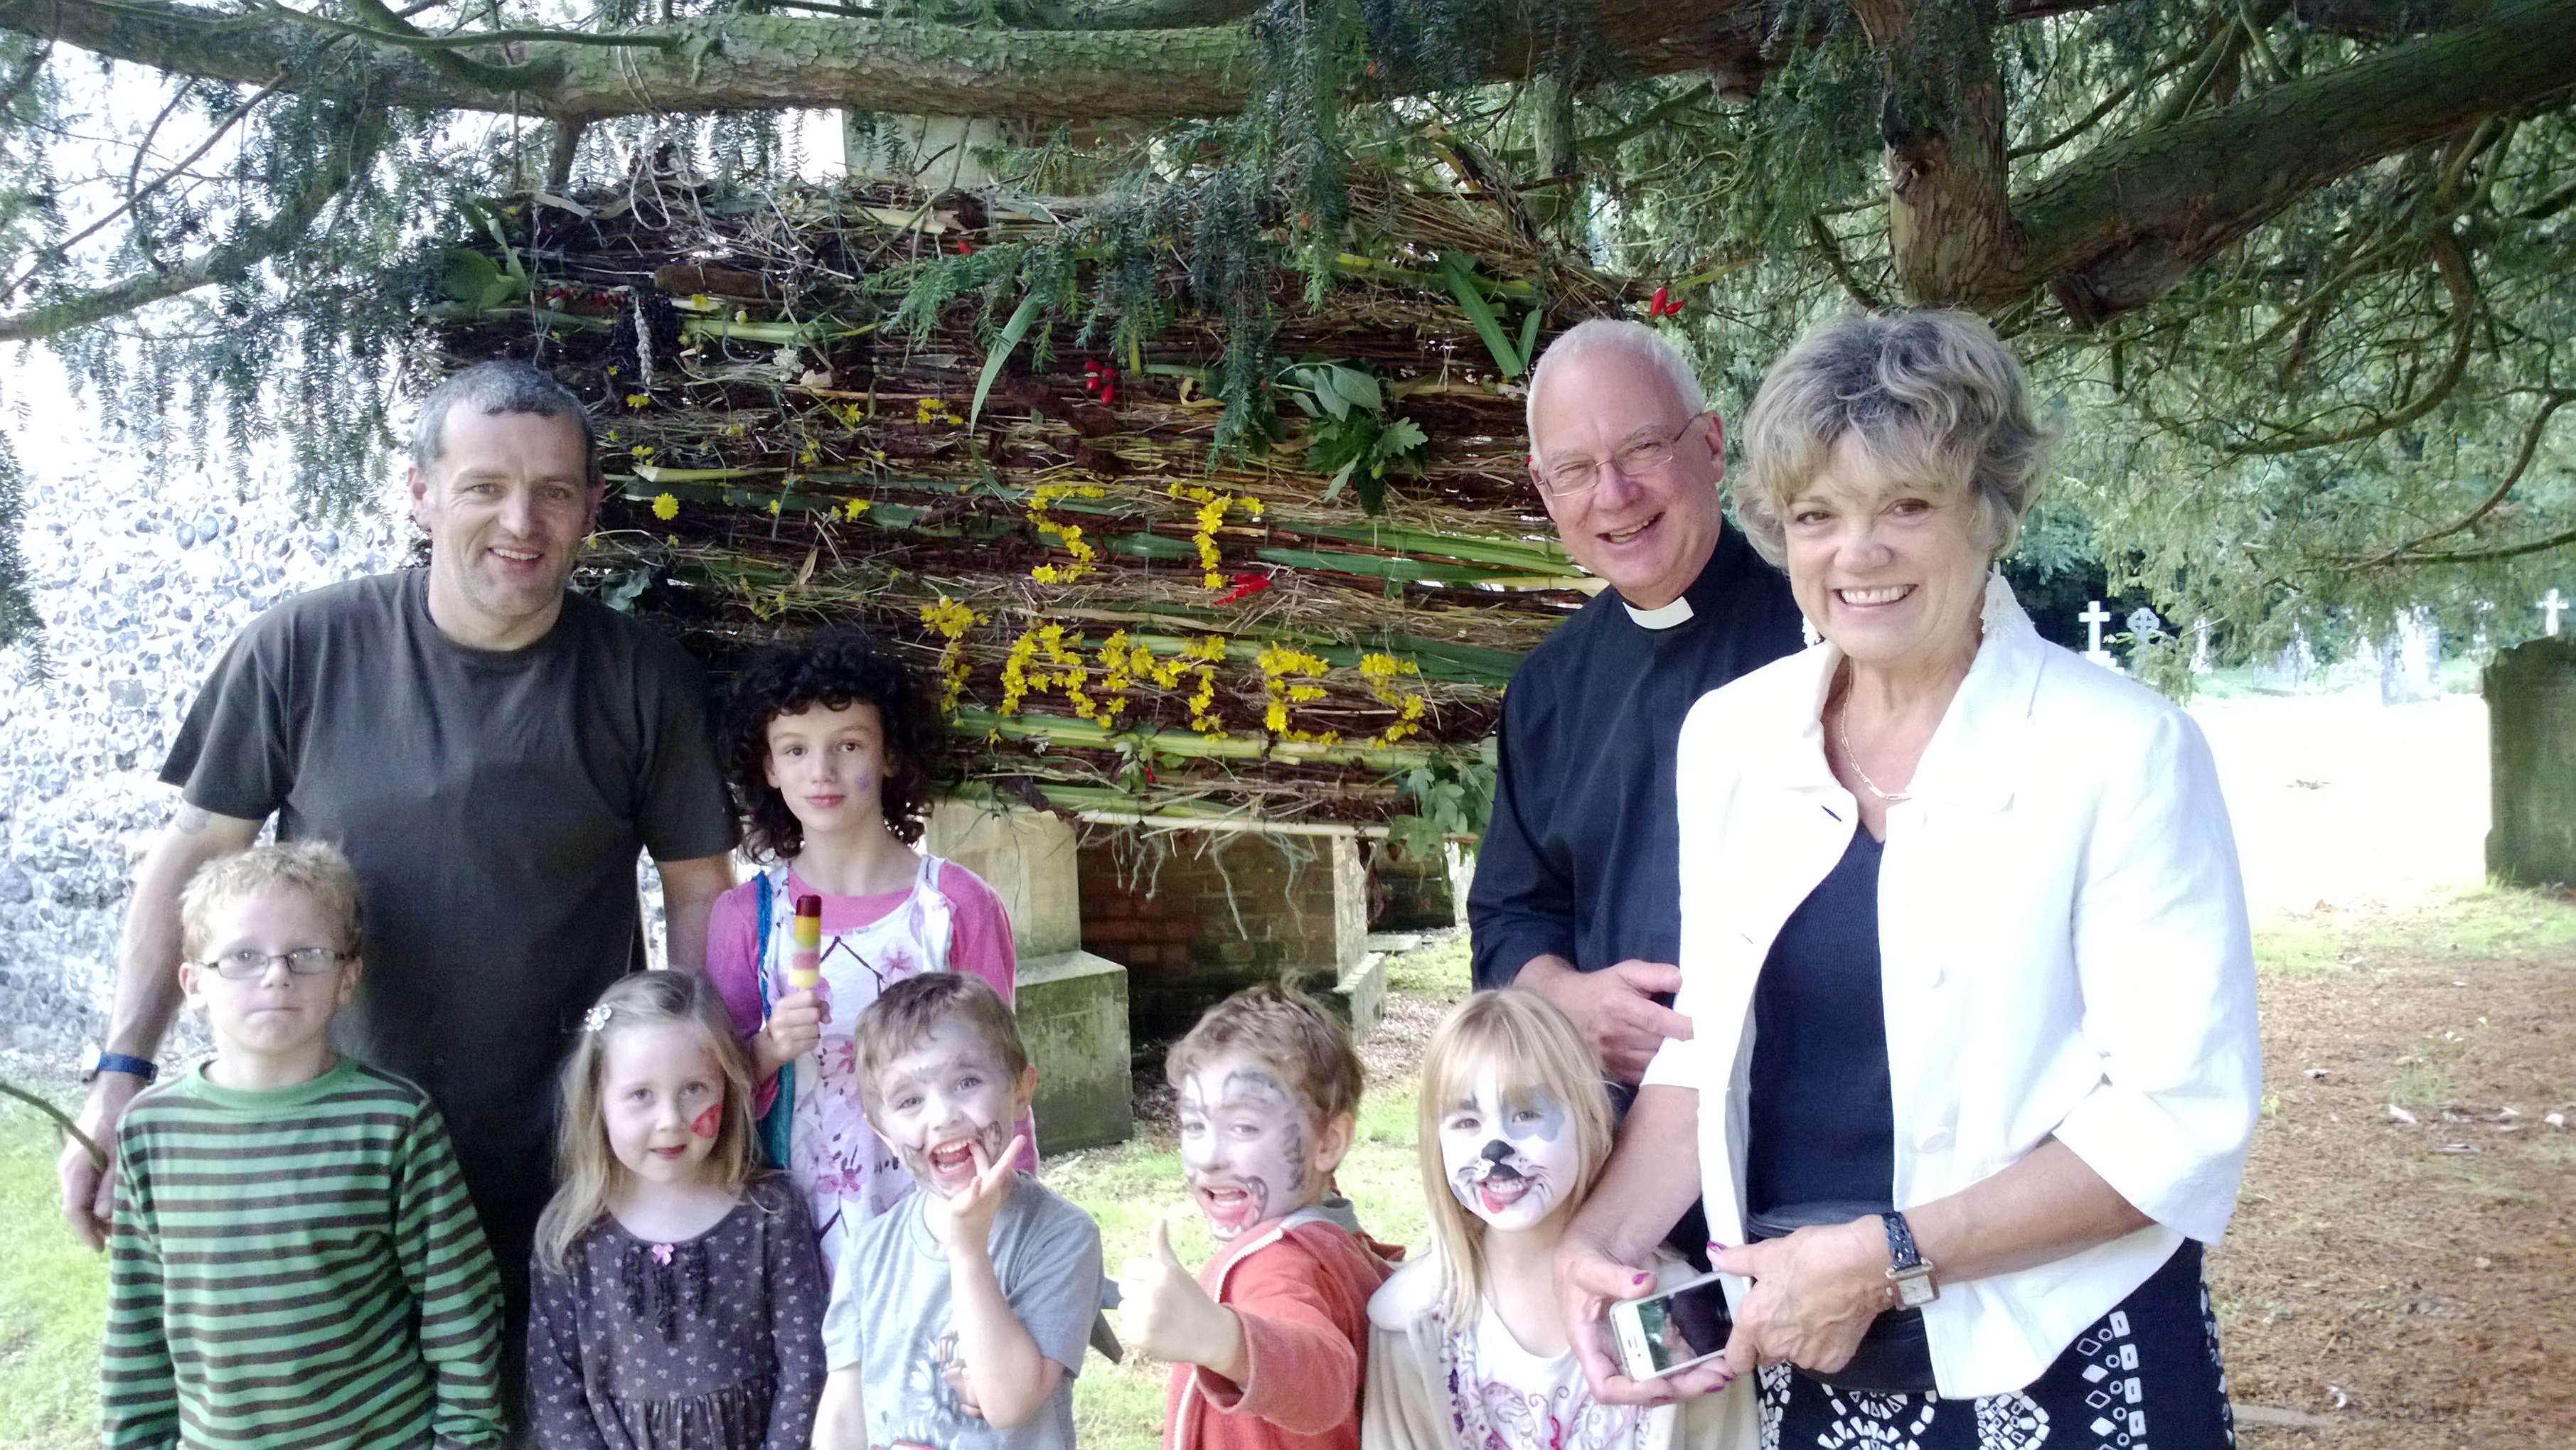
When you have finished, undo each slip knot and retie the string so that it holds all the material together. I attached some more string to this mat to hang it up and also decorated it with some small yellow flowers to form the name St James. Use your imagination and see what you can produce.

Mat making is not something I do at every bushcraft event I run but if I have limited opportunity to run Atlatl or archery stances, having a loom on standby will keep kids occupied for a long time.
They can be as easy or as complex to set up as you wish but the common thing about all of them is the great craft they can produce.
Cheers
George