a magical two weeks
A ‘Brilliant Moot’ is how I would summarise this year’s Bushcraft UK Bushmoot. It was action packed from start to finish for me as I juggled my time between looking after my kids, running workshops and doing a lot of filming.
I will let the pictures and video do most of the talking so will keep the text to a minimum.
The first few days for us ‘Mods’ (forum moderators) were all about setting up the Bushmoot so that everything was in place for everyone arriving later in the week. We did not rush things as it was a holiday for us as well but over a few days the Bushmoot was soon set up.

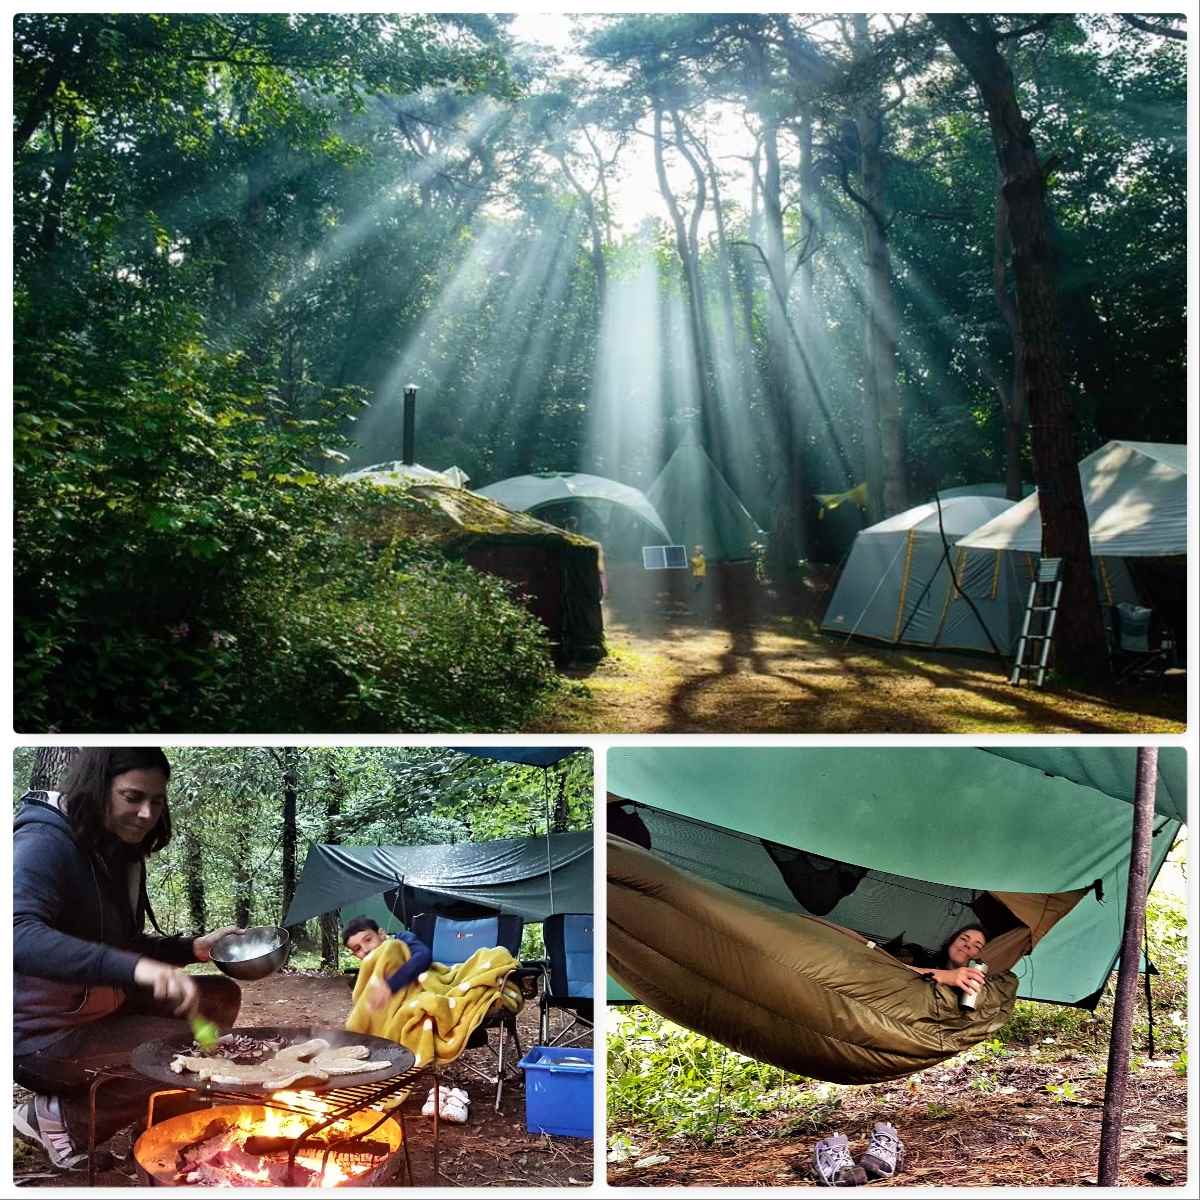
There are some great places to camp at the Bushmoot which makes for stunning photography. The Mods’ corner is great to photograph on a sunny morning.
I have used the same camping spot for a number of years now and even though a year passes between each visit it feels as if I have never been away when I return.
Early Workshops
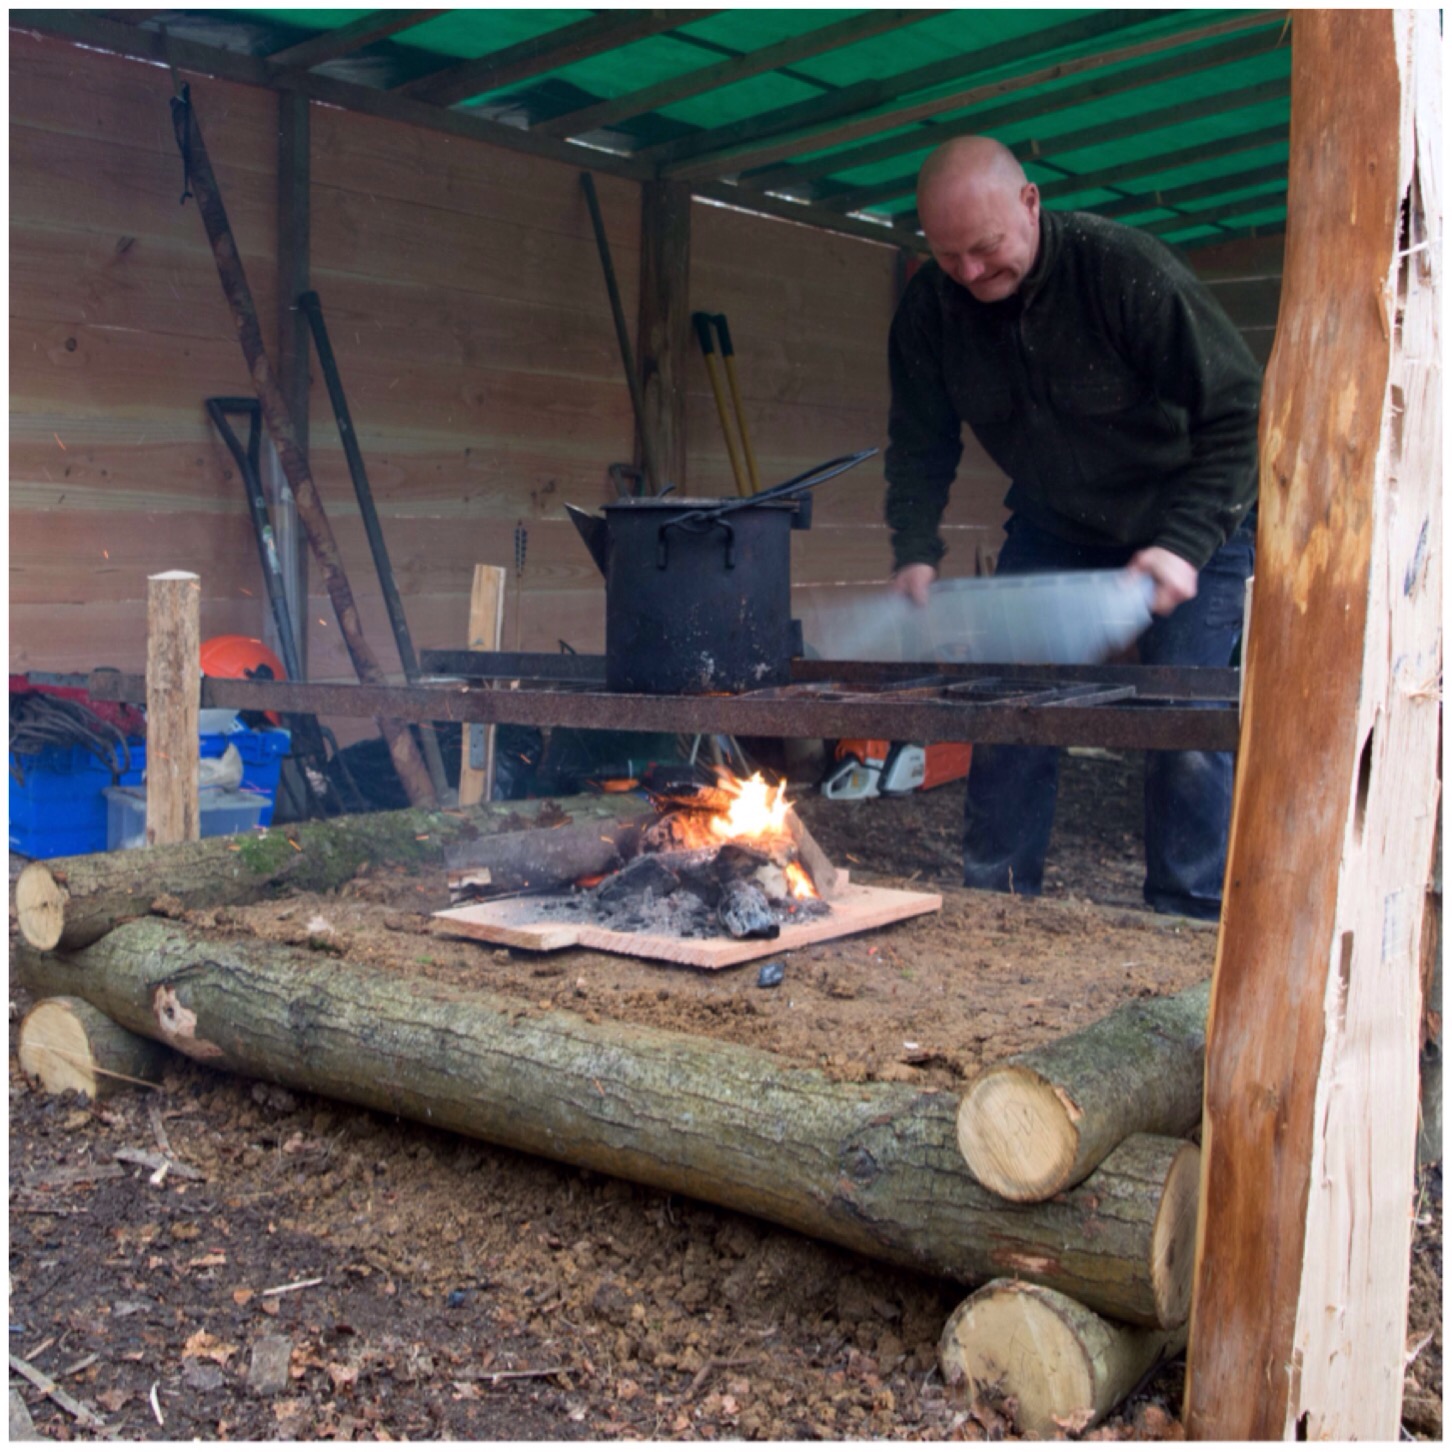
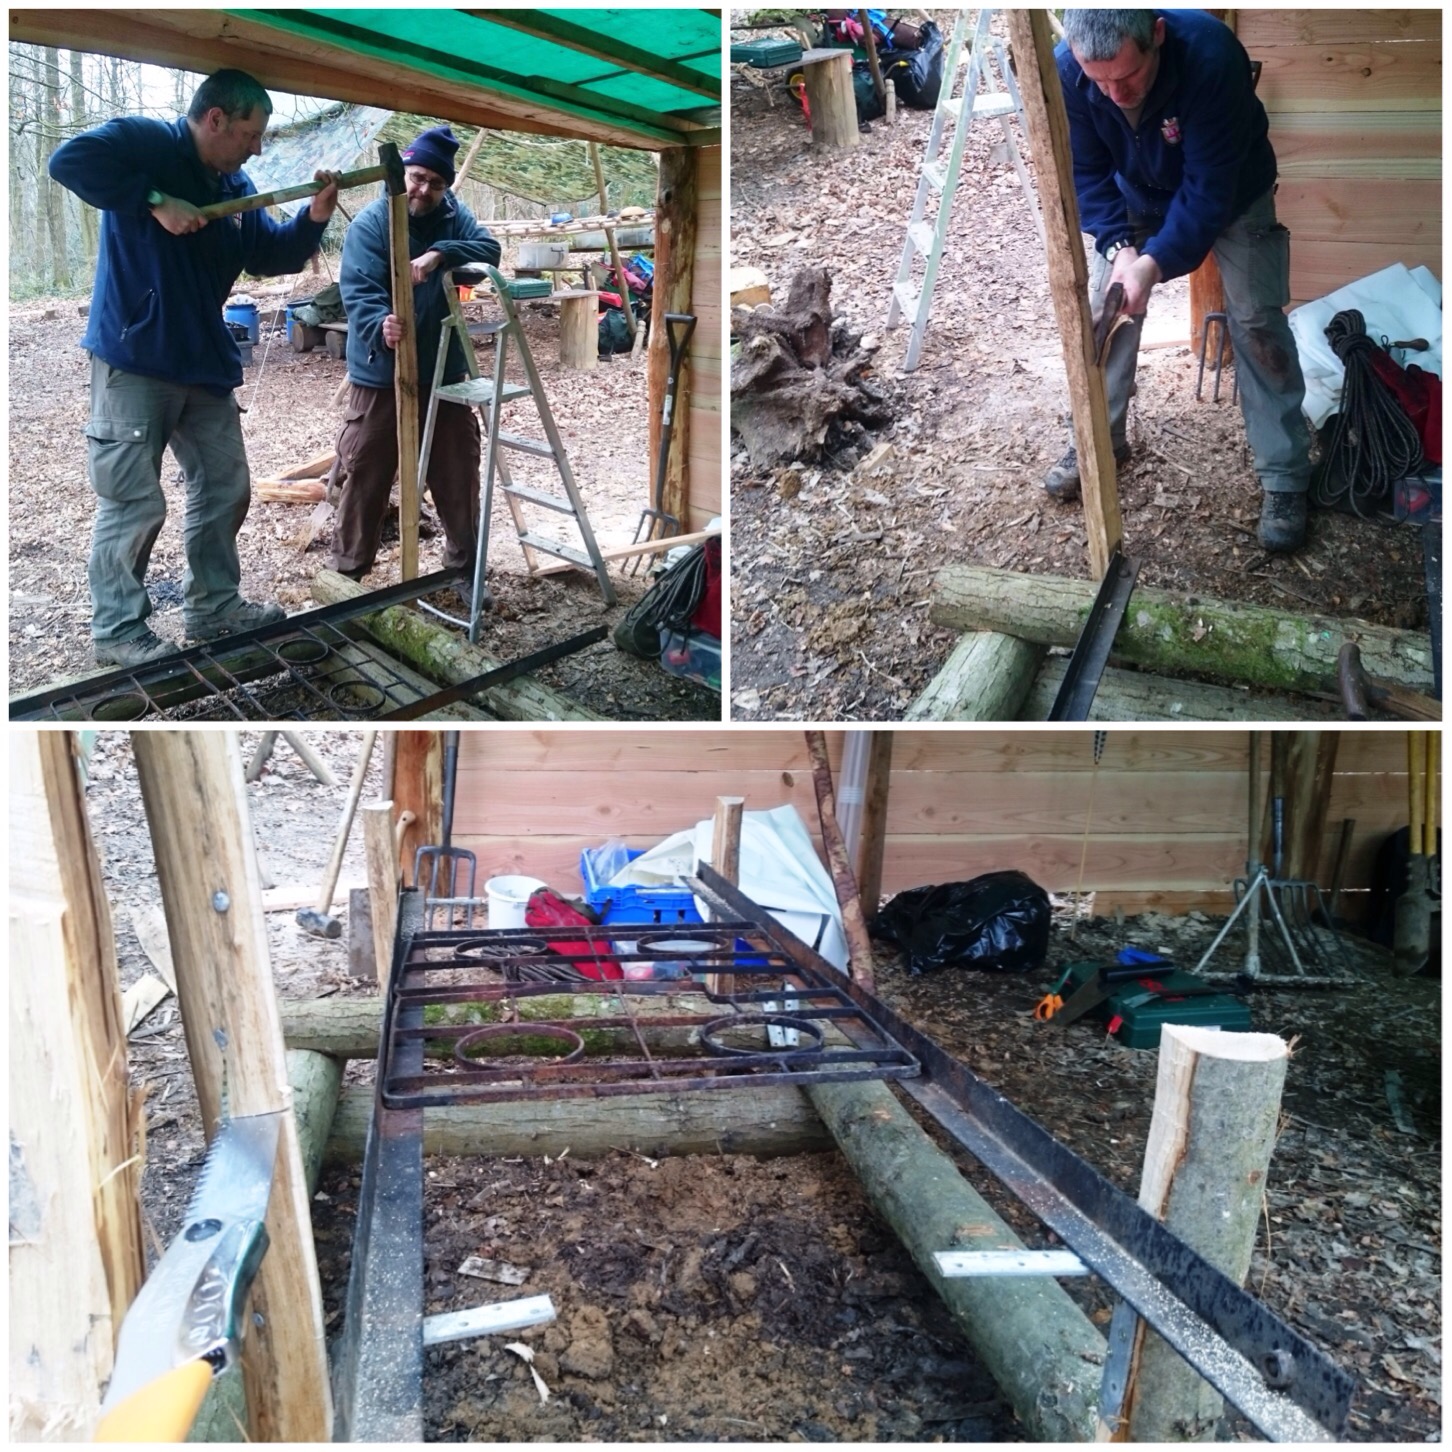
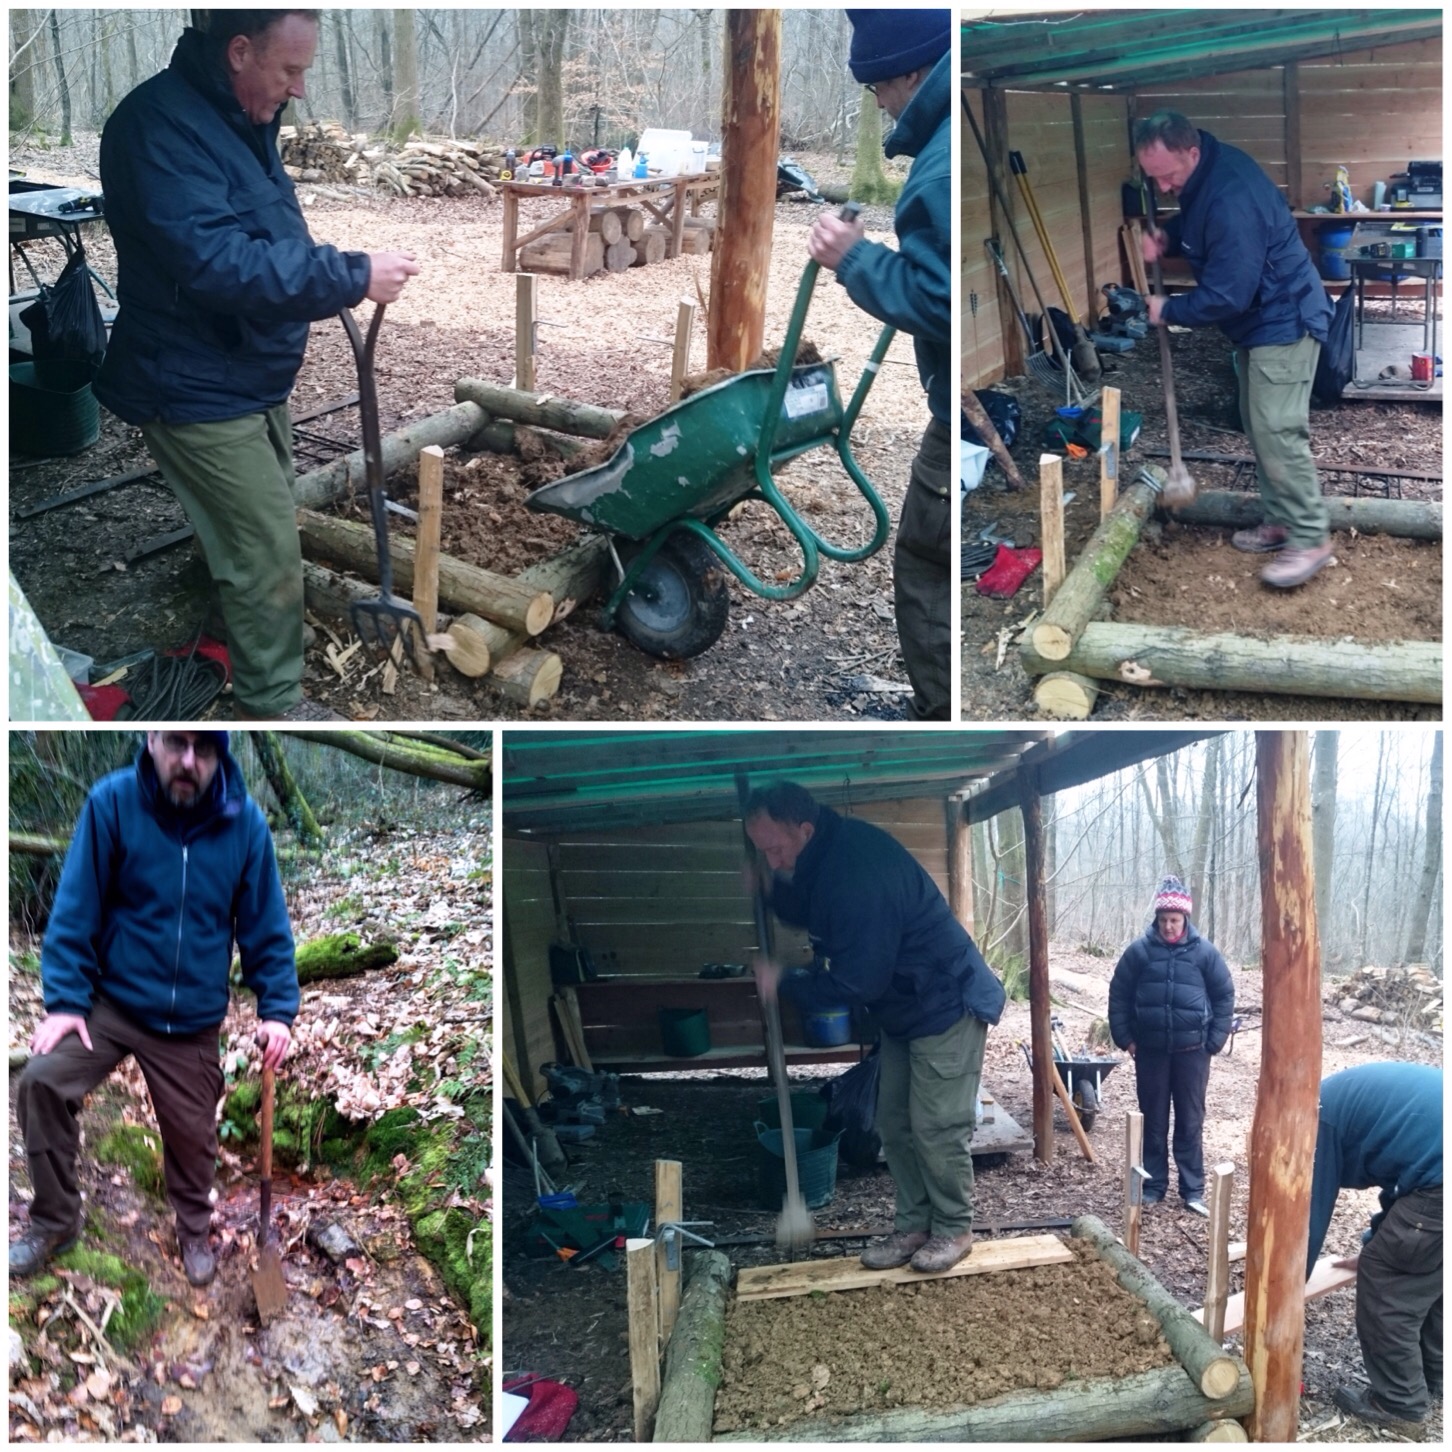
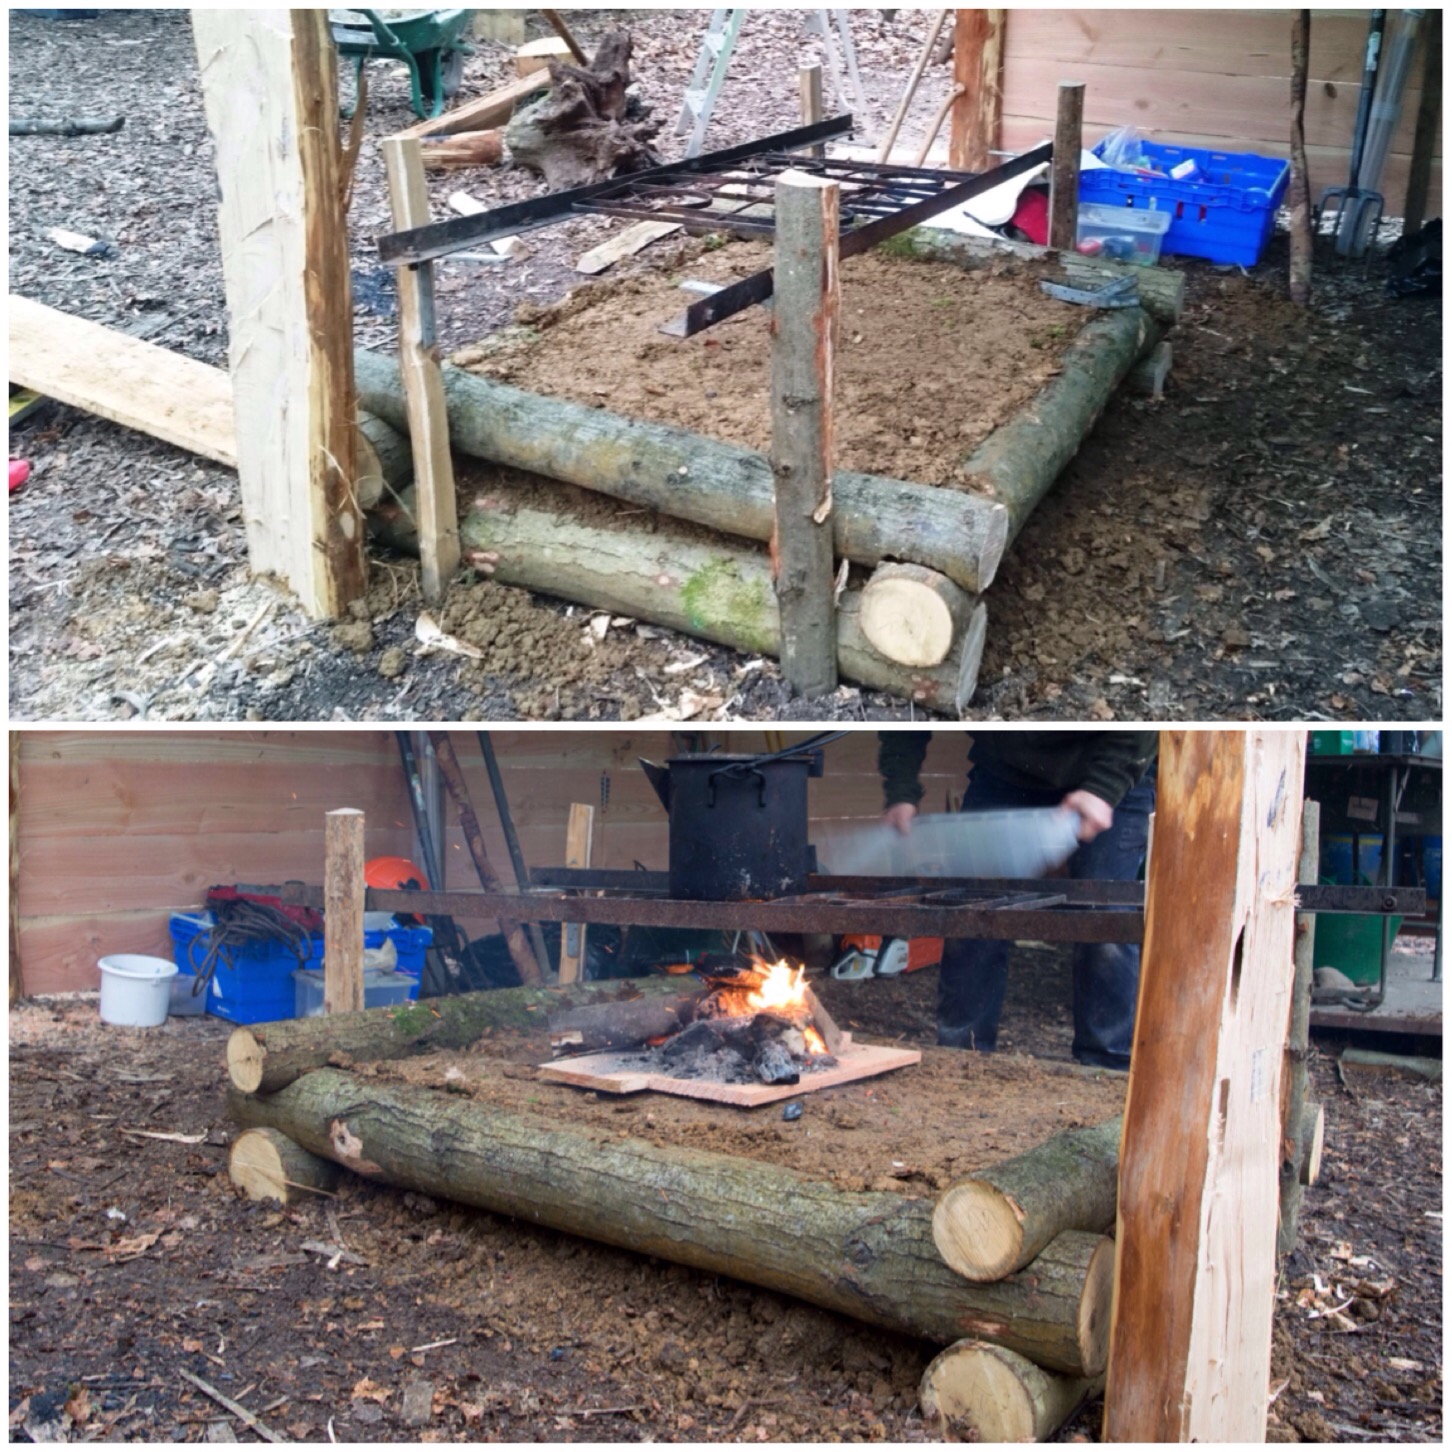
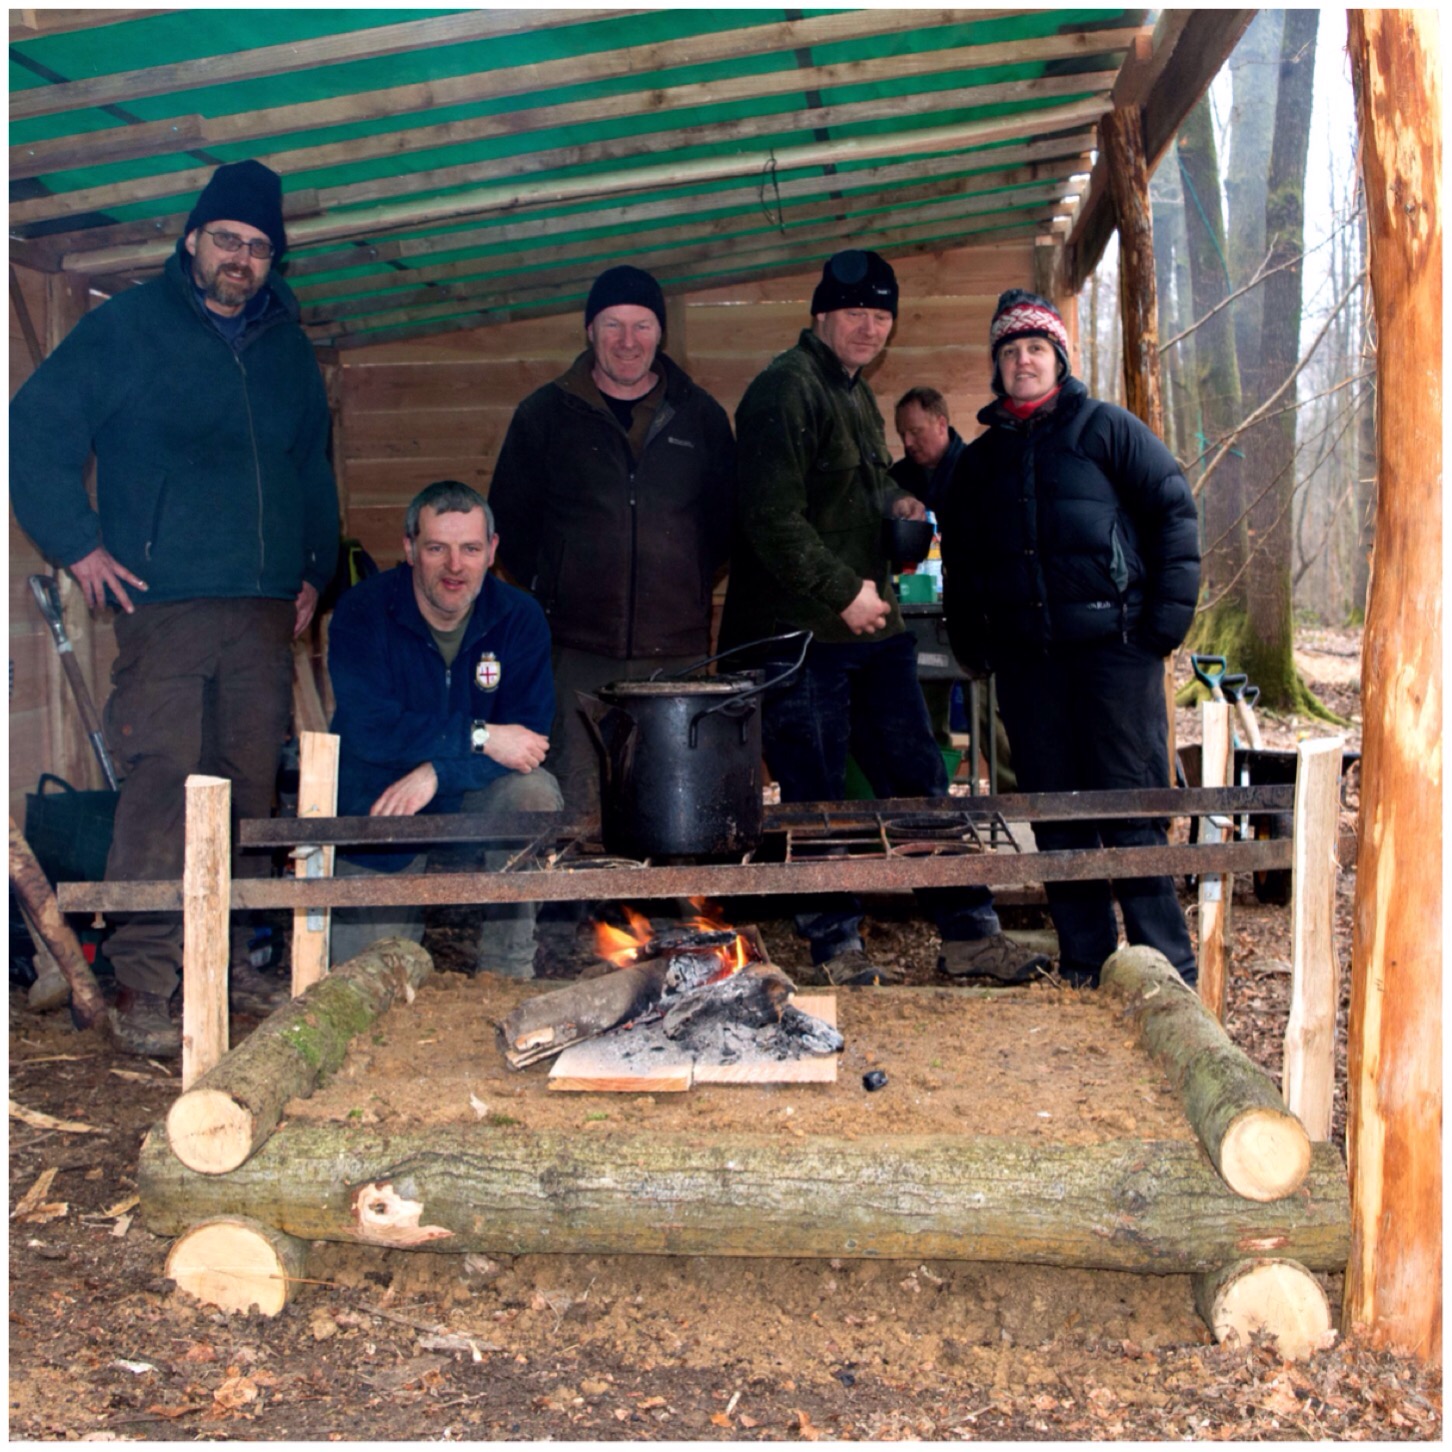
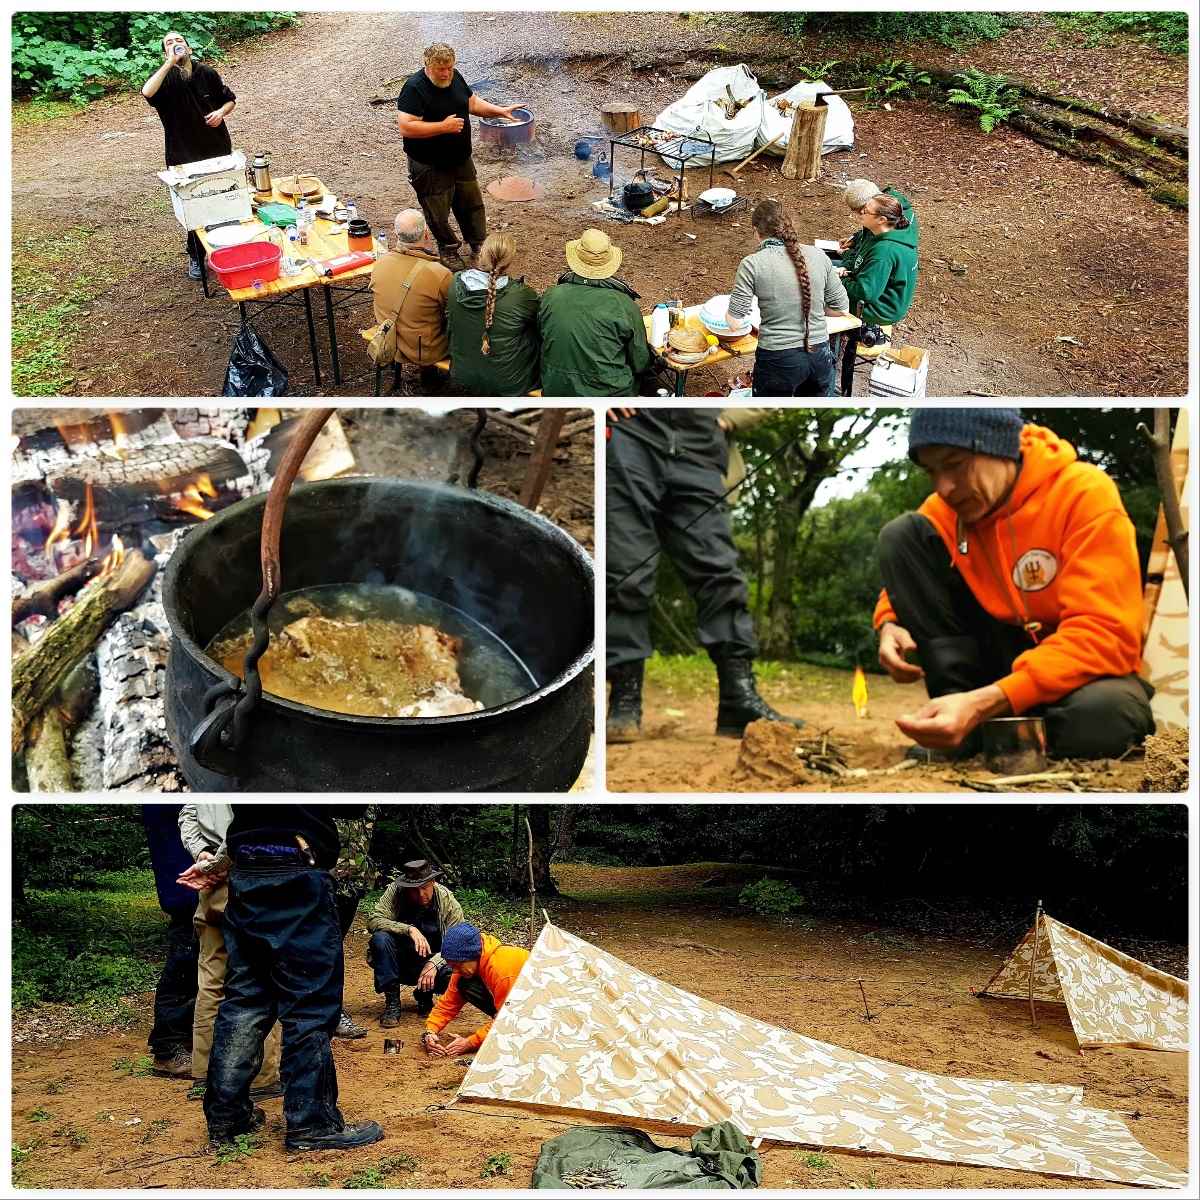
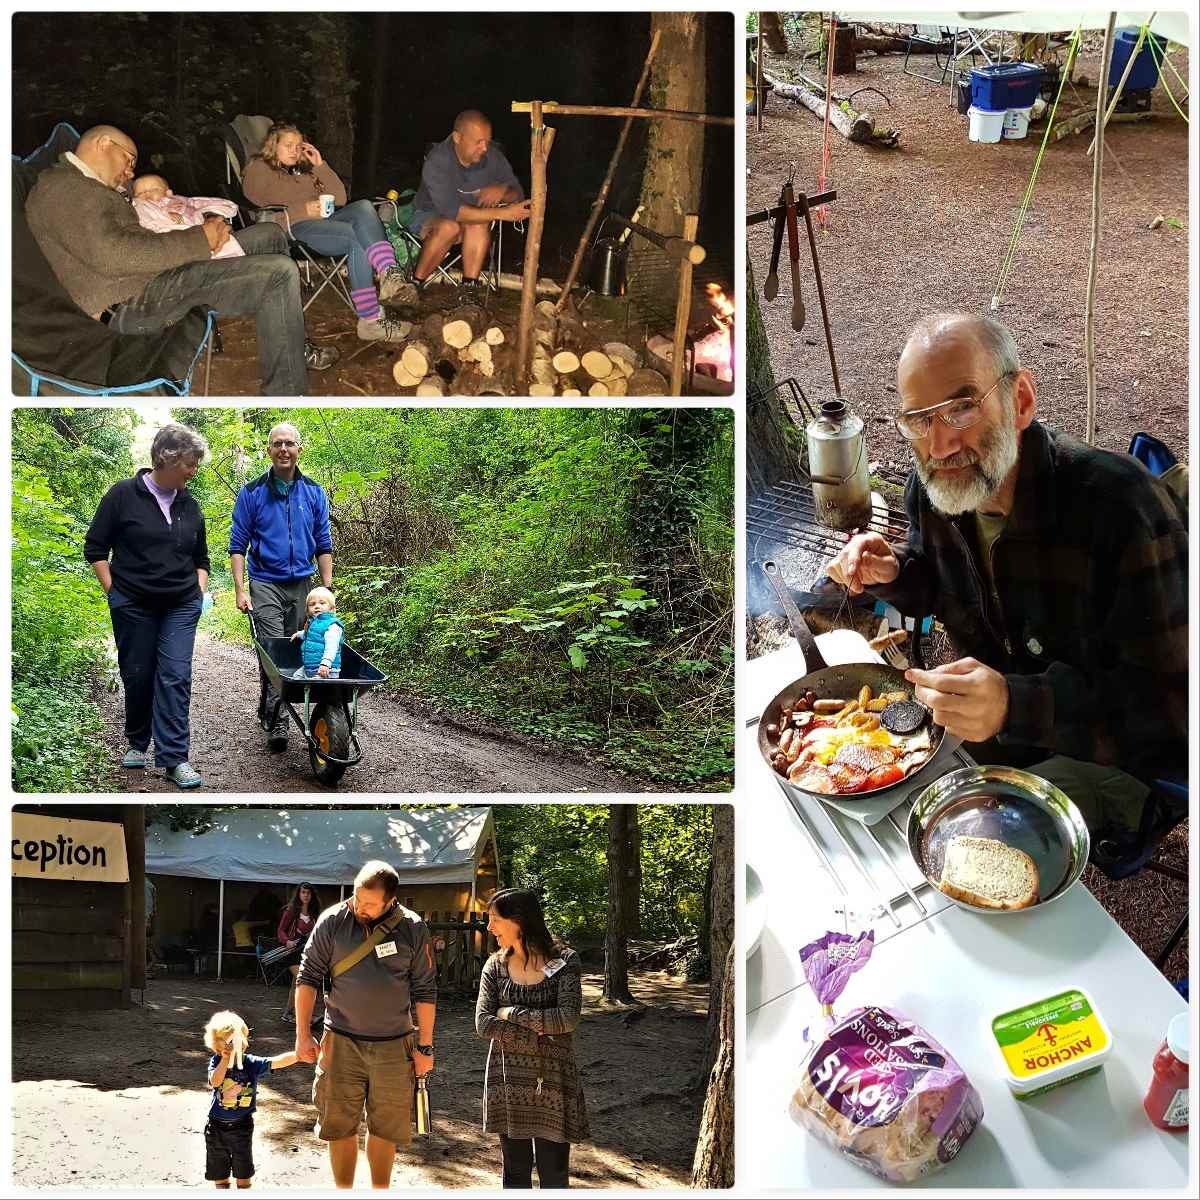
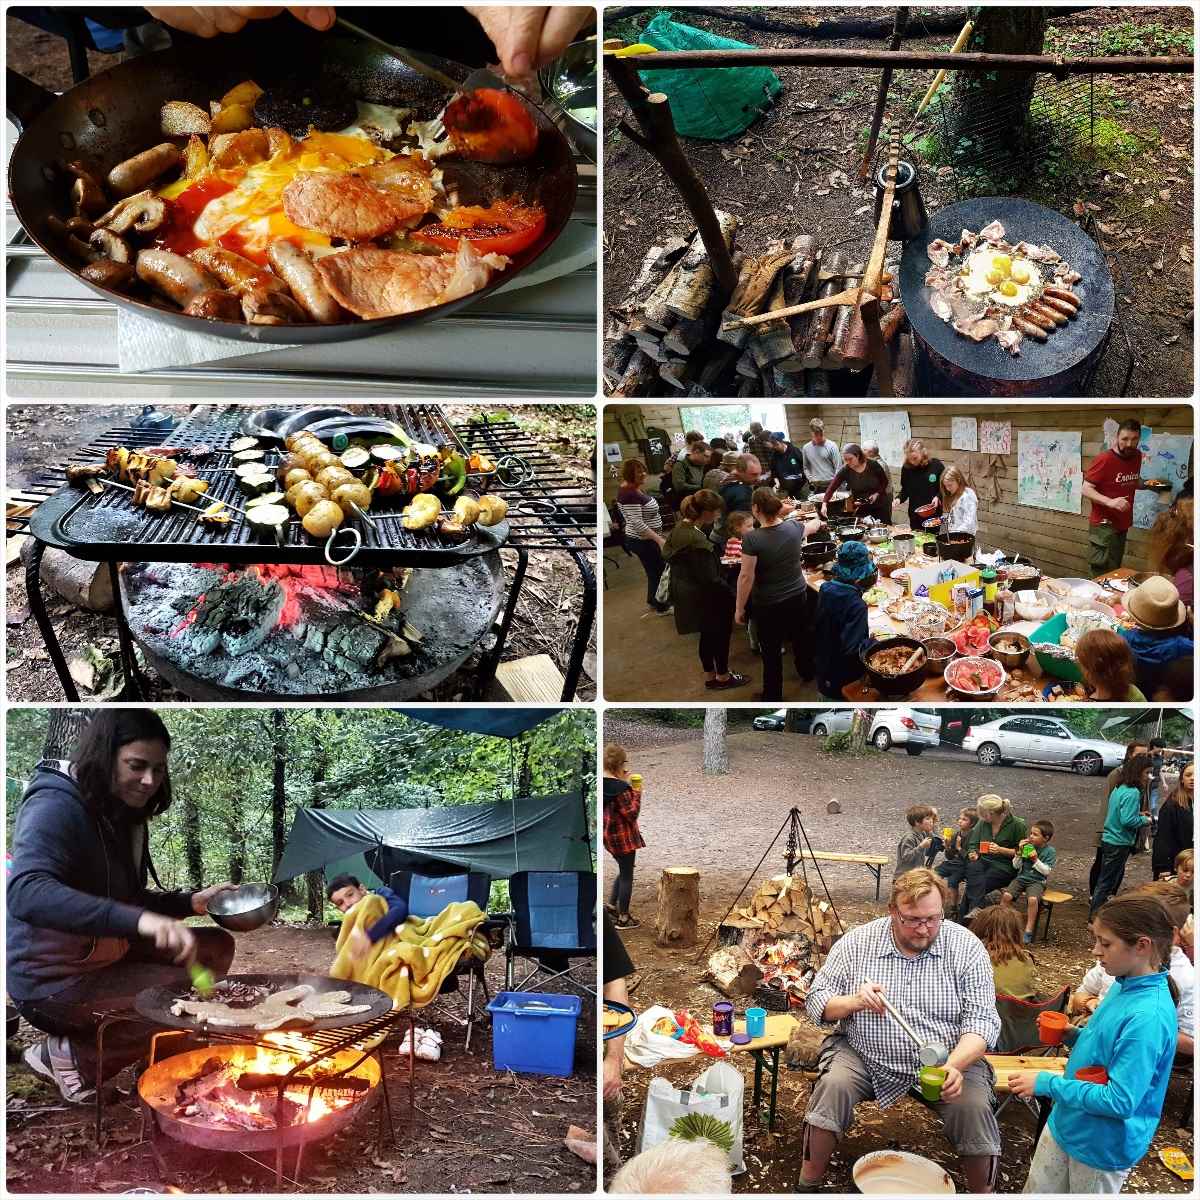
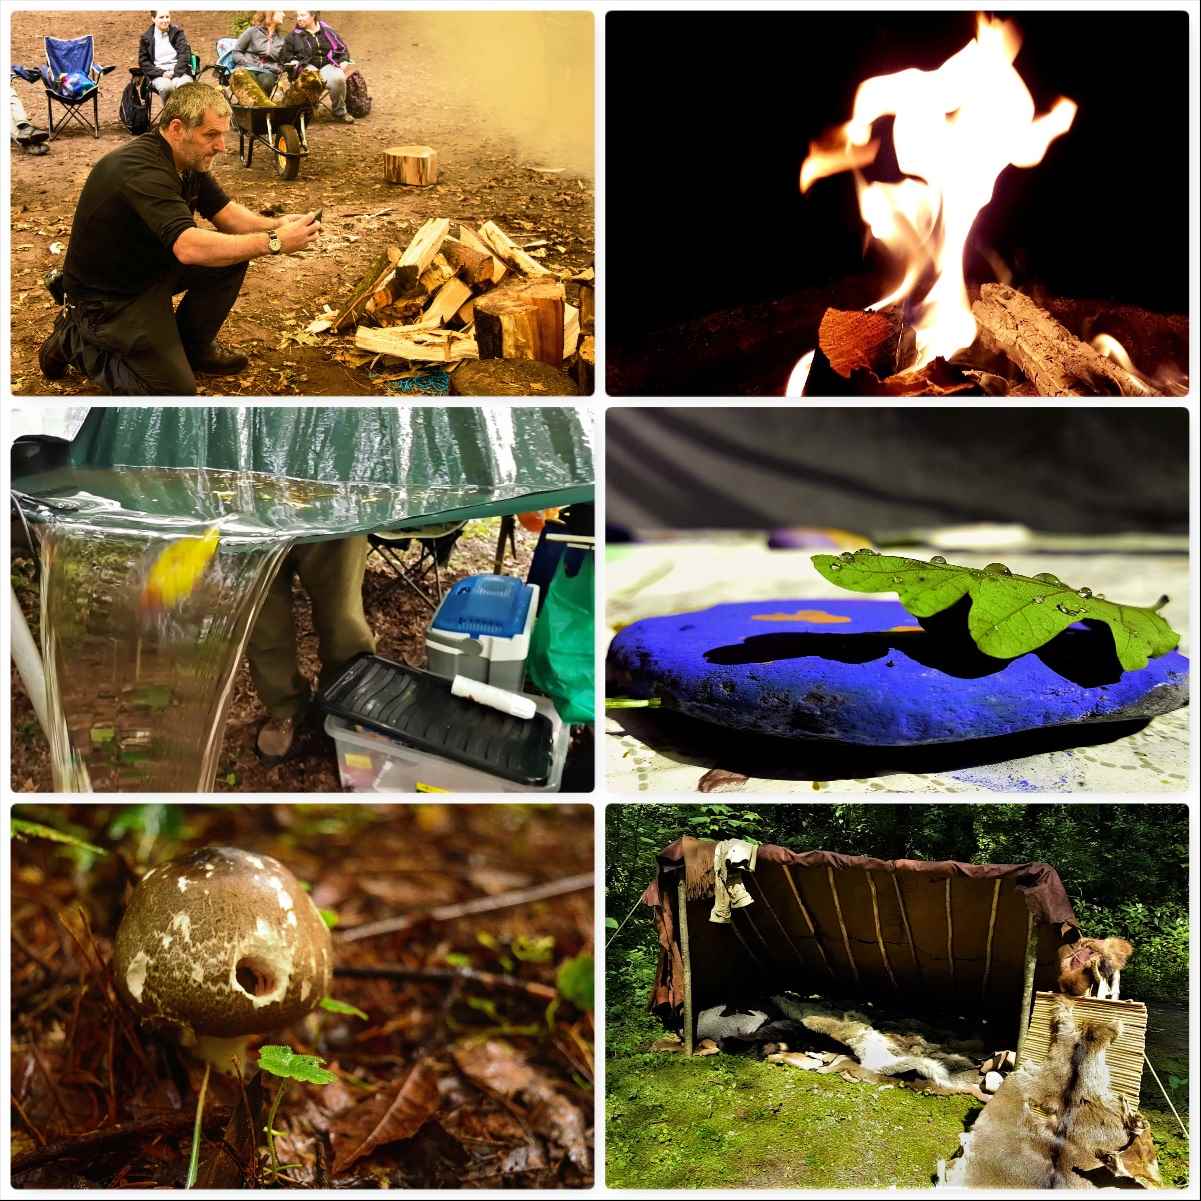
There were a couple of early workshops this year – Open Fire Cooking with Neil and a 48hr Survival Course with Fraser from Coastal Survival. Both courses covered a lot of different areas so my photos are just a snapshot of their content – needless to say on both courses all the students eat well.
Videos
I put a short video together of this early part of the Bushmoot – including a scenario where my son pretends to chop my head off with an Ivy sword 🙂
Also a short video on the Lolli Stick Fire on Fraser’s course.
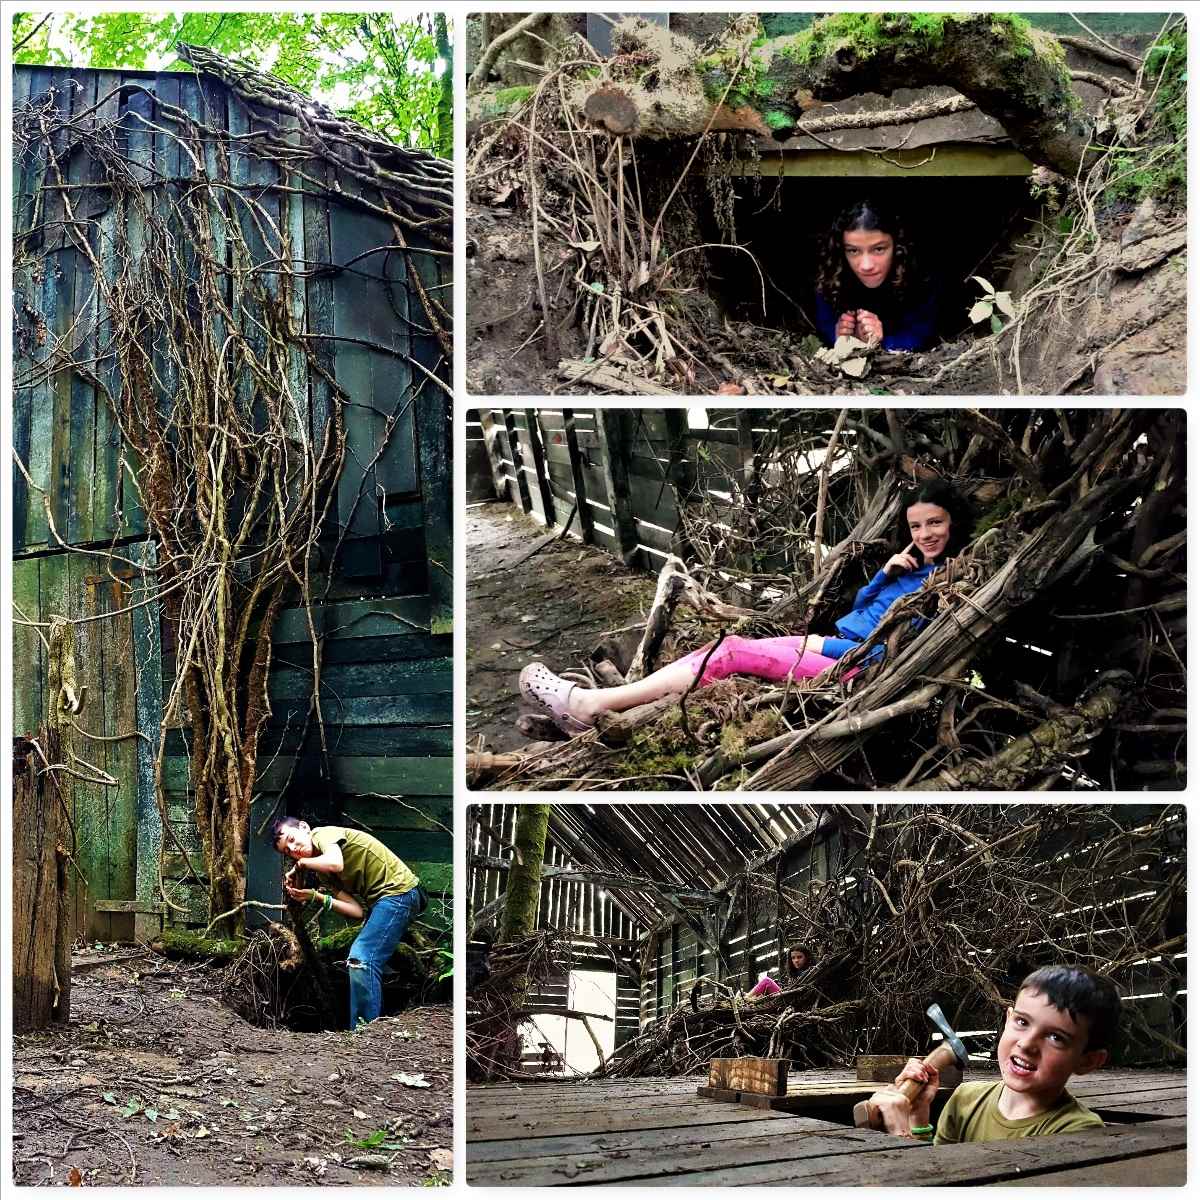
In amongst all these workshops and general setting up my kids took themselves off exploring. I went with them on one jaunt and they took me to the ‘House of Doom’ (as they referred to it). I think film companies use the site and they had left this massive Gothic barn – quite beautiful but eerie at the same time (the axe was for posing with only by the way).
The Bushmoot is all about ‘Family’ as far as I am concerned – this family extends out to all my Bushmoot friends I see time and time again as I return each year.
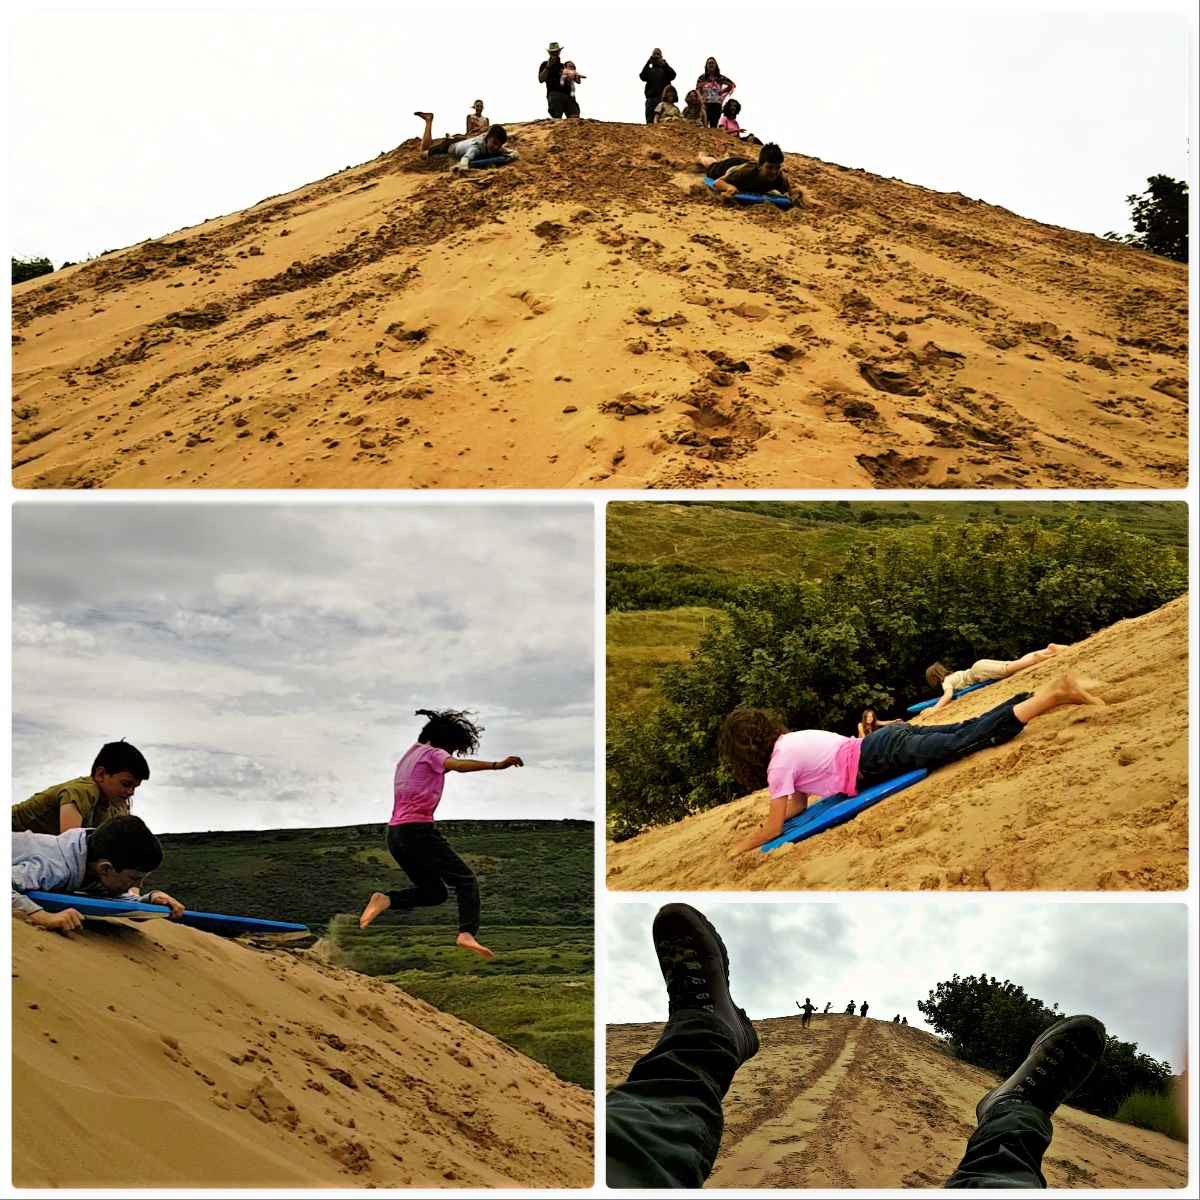
Getting out of the woods one day with my friends Ian, Catherine and Liz (and assorted kids) we went Dune Diving. Merthyr Mawr sand dunes are the second highest dunes in Europe, apparently, and there is one dune in particular that the kids love.
Needless to say I joined the kids as they threw themselves down the dune – great fun even for a 50-year-old kid like me.
Core Day Workshops
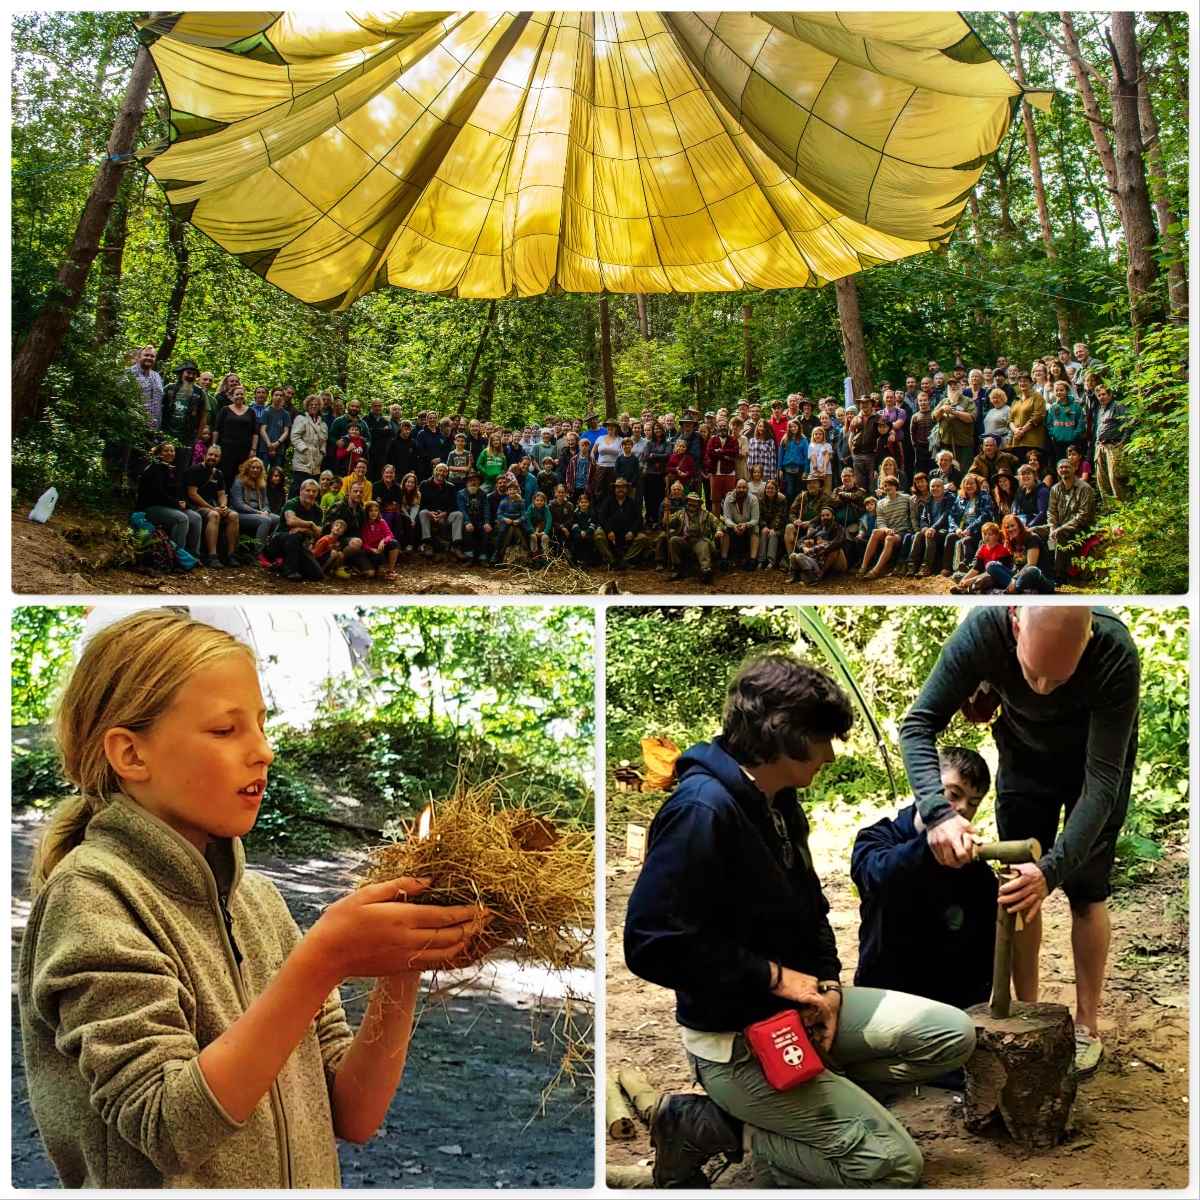
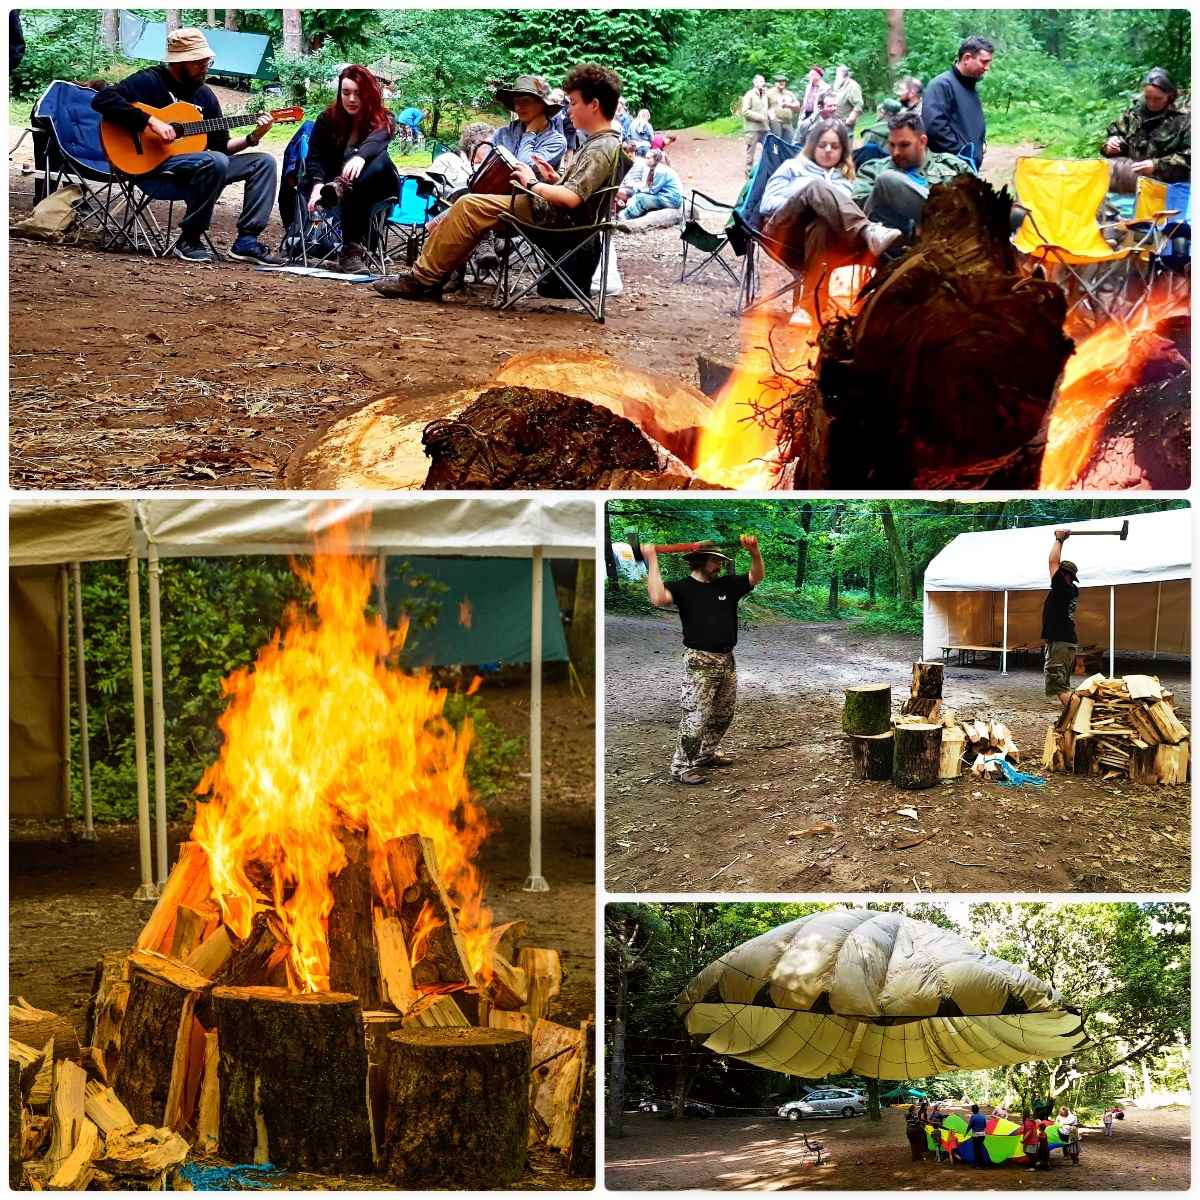
I have no idea how many different workshops we ran this year and I only photographed or filmed a small number of them. We always start with a tool safety presentation (normally three different groups) before starting the main workshops.
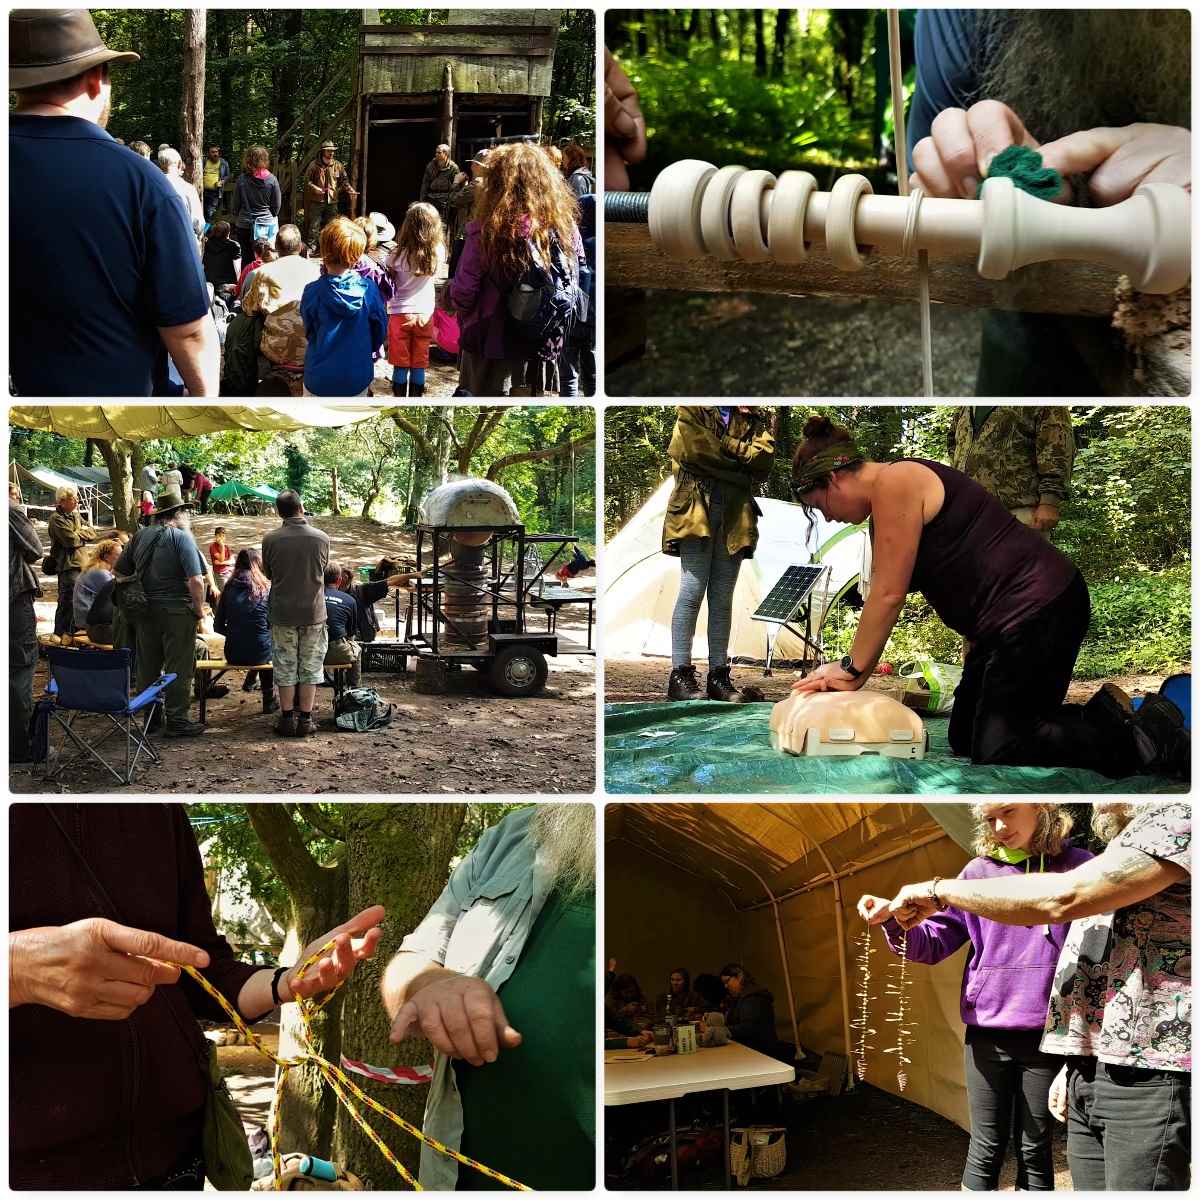
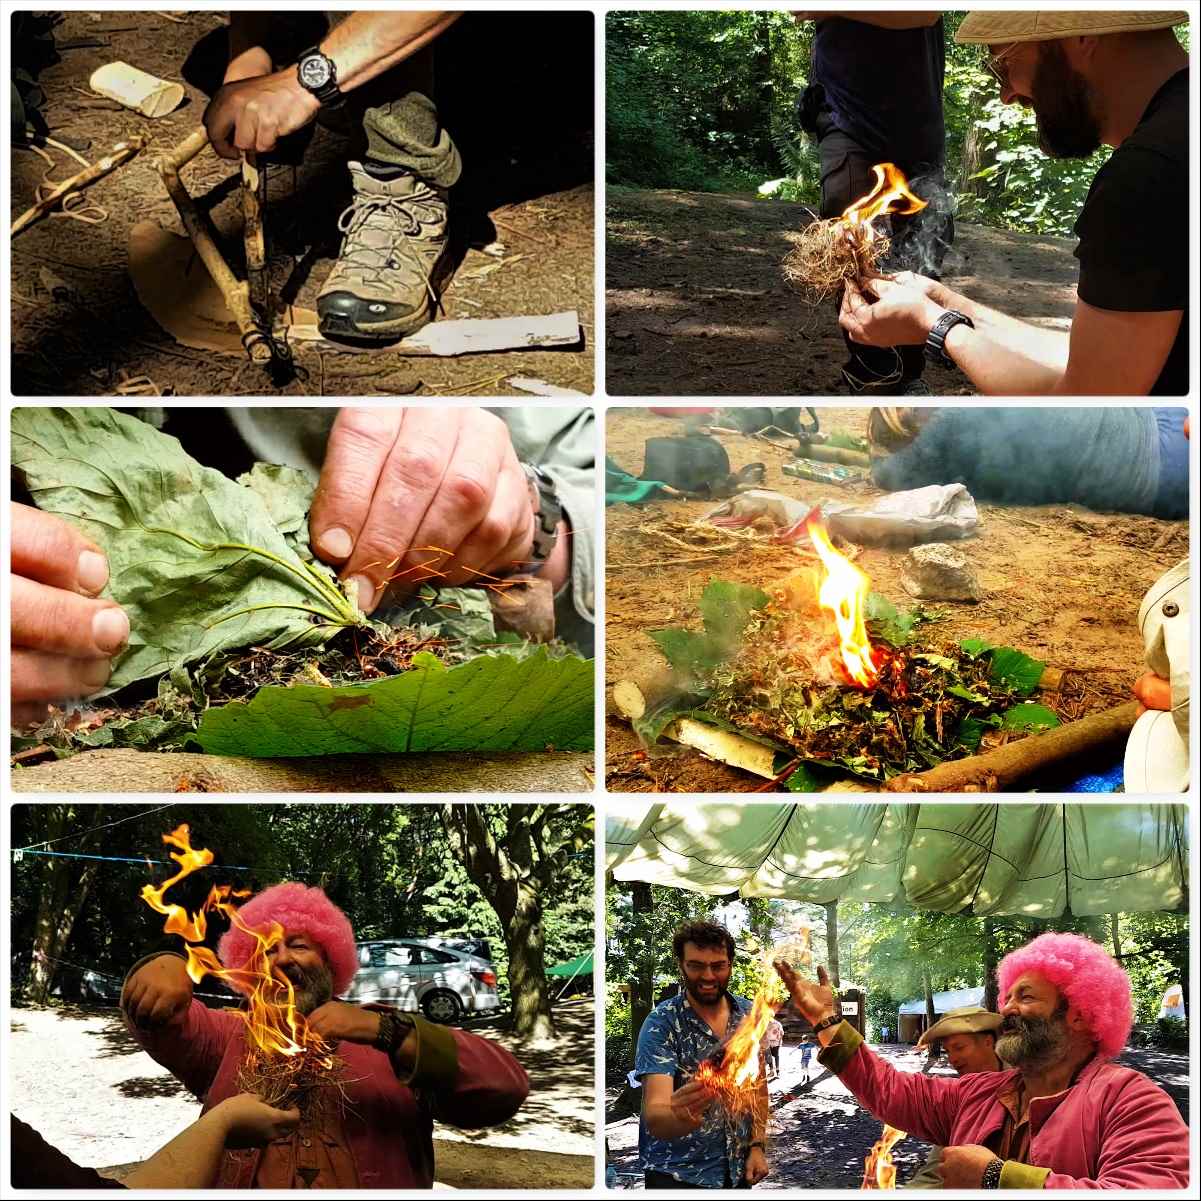
Fire lighting in its many different forms is a staple of the Bushmoot and this year was no different – below are pictures from the bowdrill, the damp tinder and the flint and steel workshops.
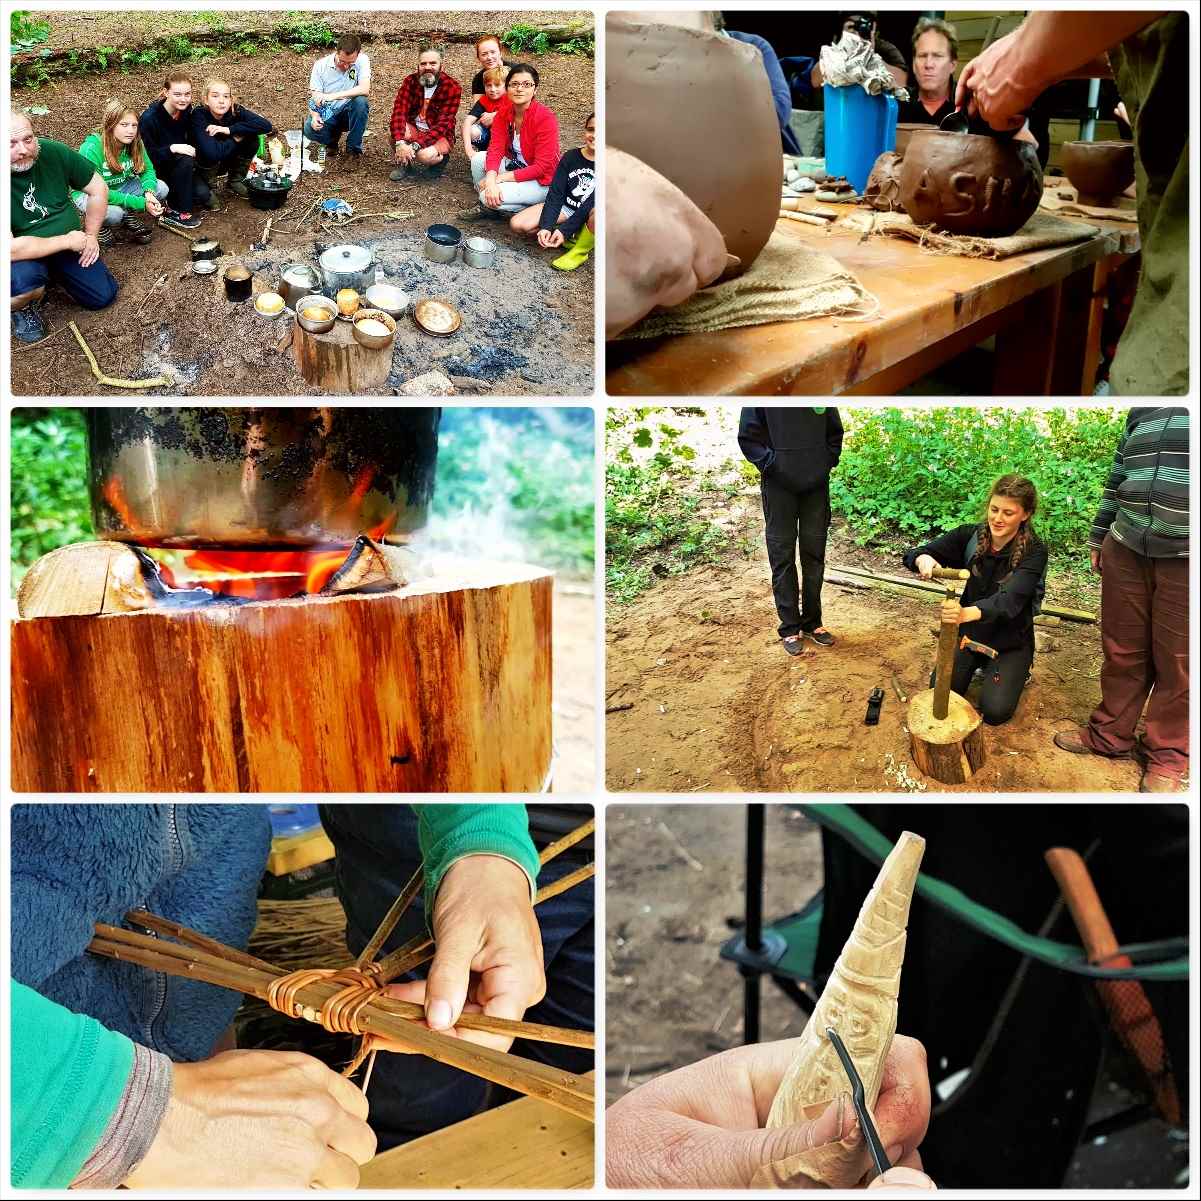
Other workshops included Baking, Pottery, Rocket Stoves, the Starter Course, Basketry and Wood Spirits (to name just a few).
Watch the video to get a feel of the subjects we cover at the Bushmoot.
Bushmoot Life
Outside of all these workshops and background work life goes on at the Bushmoot – food I can tell you forms a big part of that life 🙂
I am no great chef (tend to prefer building Campfire Cooking Constructions) but can when needed put something together – thankfully though there are plenty of people around like my wife Alison willing to put together a good spread for the kids and myself. Highlights of the Bushmoot are the Group Meal and the Hot Chocolate evening.
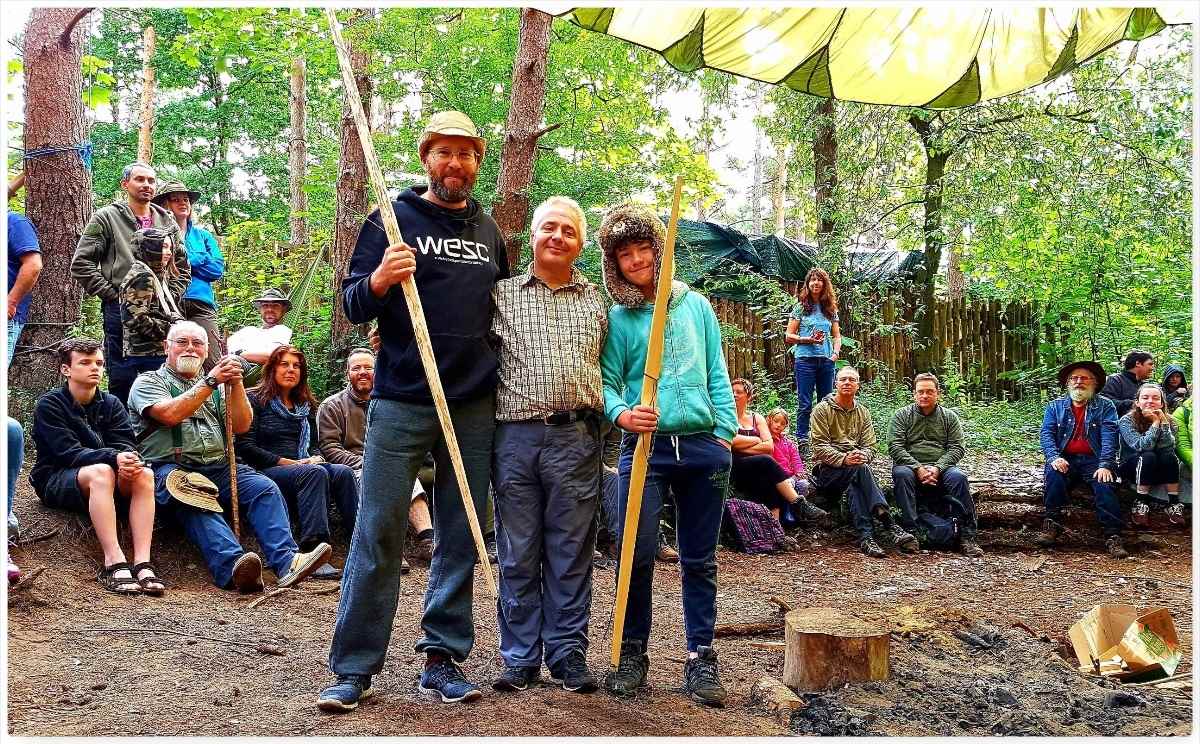
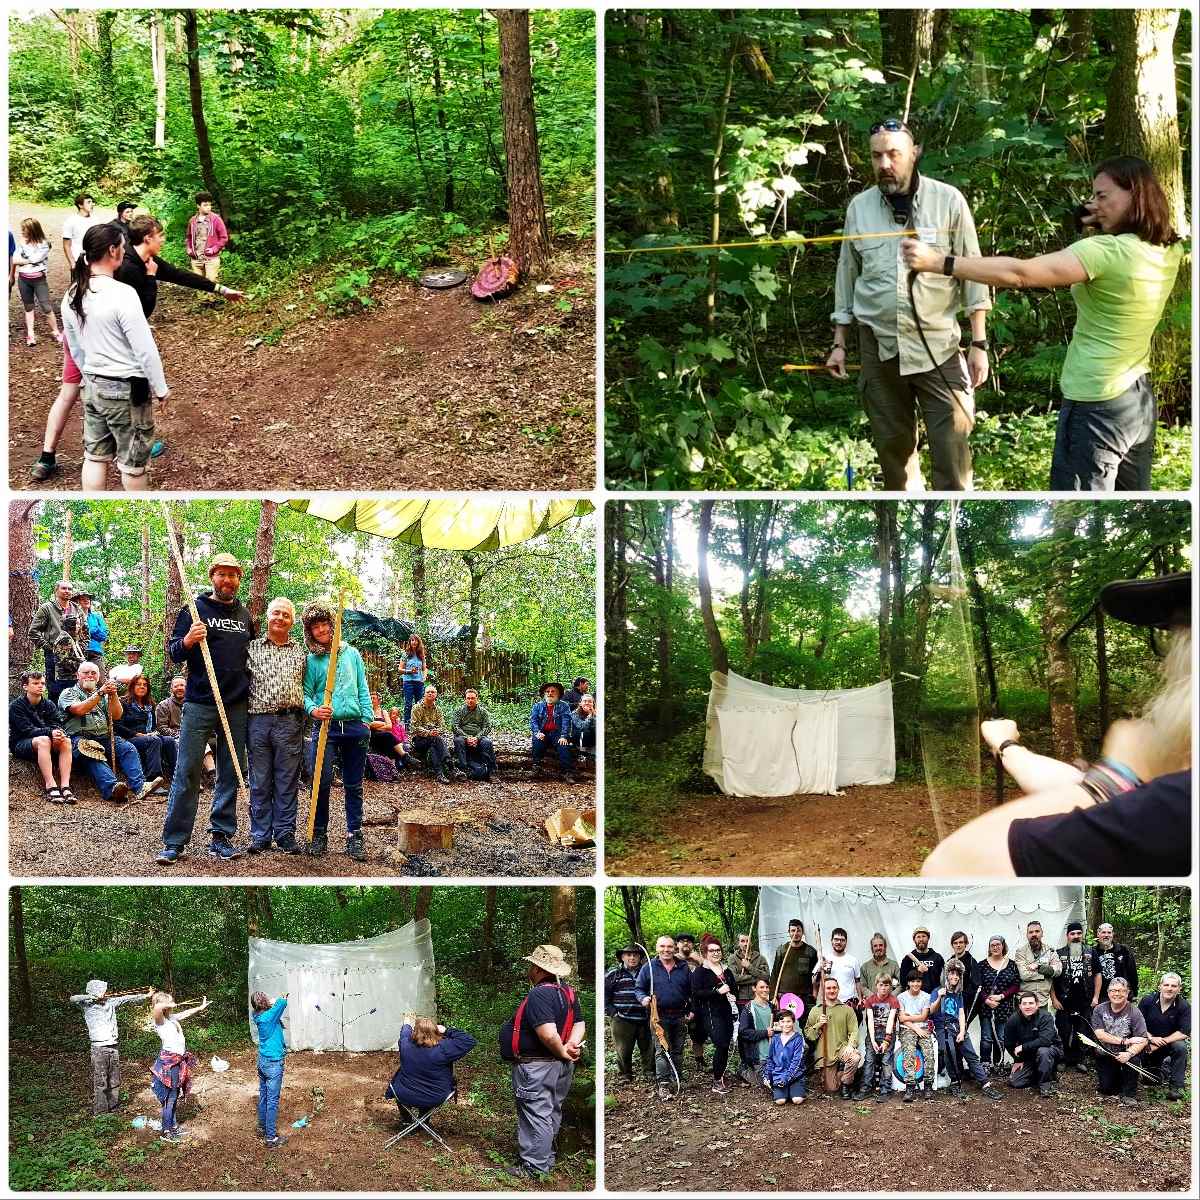
A favourite of mine has always been the archery range. We had another great competition this year. The winners from last year (Marek and Louey) were also presented their made-to-measure bows from Wayne Jones of Forest Knights.
This year we also had a catapult competition run by Steve (Mesquite) Harral and a workshop from David Colter on the Pellet Bow. Around the site we had various smaller ranges for axe, spade and pin throwing.
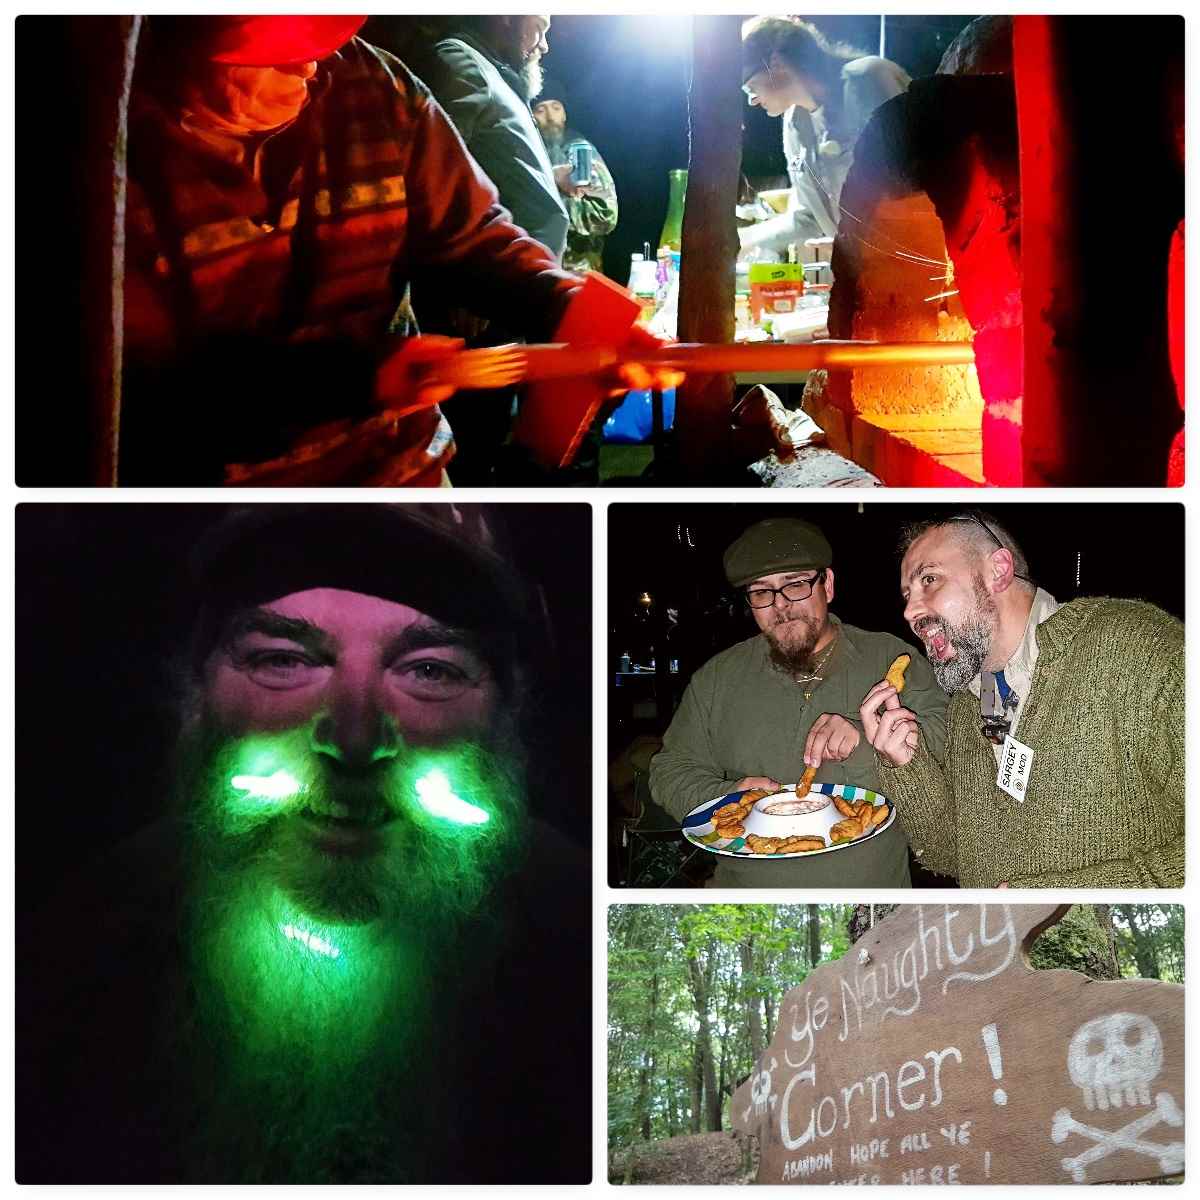
The Naughty Corner
No Bushmoot would be complete without the Naughty Corner and I try to get up to it for an hour or two each evening. This year my friend from the Sea Cadets Alan Lewis joined me at the Bushmoot for the first time and as he is a chef found himself drawn to the pizza oven.
Phil and Magda as usual kept us well fed each evening and Cap’n Badger made sure we were all not too naughty 😉
The Sand Pit
The evening socialising is not restricted to the Naughty Corner – usually for a couple of evenings lots of folk congregate under the big chute by the kids sandpit for a bit of a shindig.
We were supposed to have a band along one evening but for some reason they failed to show up – thankfully Marek and Gemma with some others started their own musical session that lasted well into the evening.
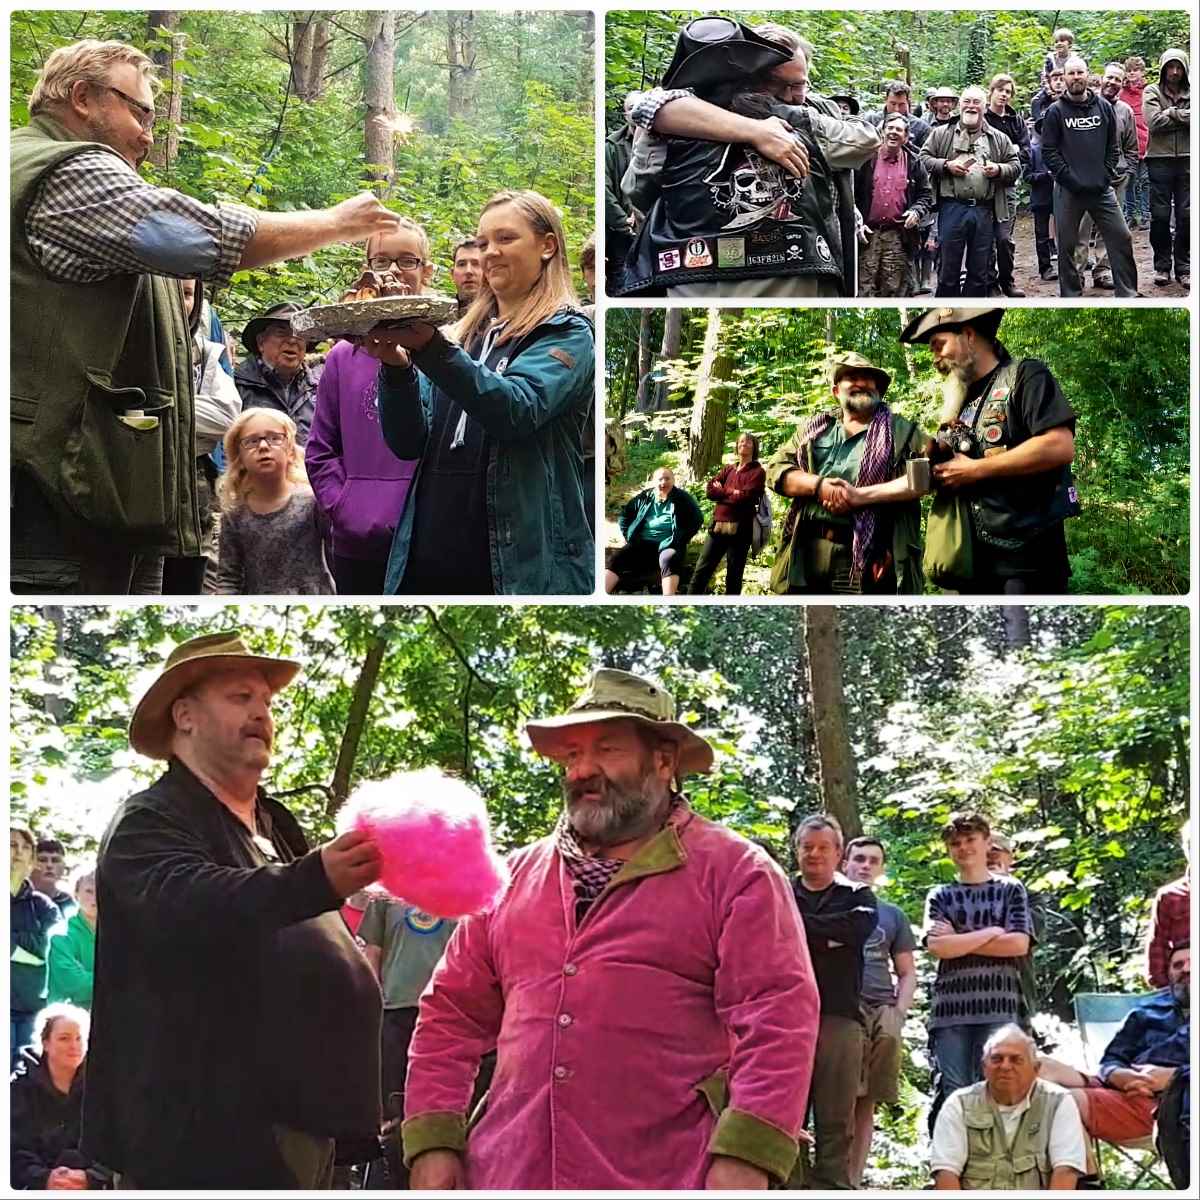
The Main Chute
This is where we meet each day, talk about what will be happening, answer questions and celebrate people.
The Bushmoot is run by Tony and Shelly Bristow (along with us volunteer Mods) and as often happens the Bushmoot coincided with Tony’s birthday. We also remembered our dear friend Drew who passed away so tragically at a young age in 2013. We do this by giving each year an engraved Swiss Army Knife to the person we feel has contributed most to the Moot.
Our good friends John Fenna and Steve Harral raise money each year for Cancer charities. Steve gets John to dress up in a different pink outfit each year and we make lots of donations in various ways. Also John has an award he gives out called the John Fenna Award (a Teddy Bear with lots of bushcraft kit) and this year it went to Cap’n Badger for dedicated service to running the Naughty Corner – or undetected crime as I hear 😉
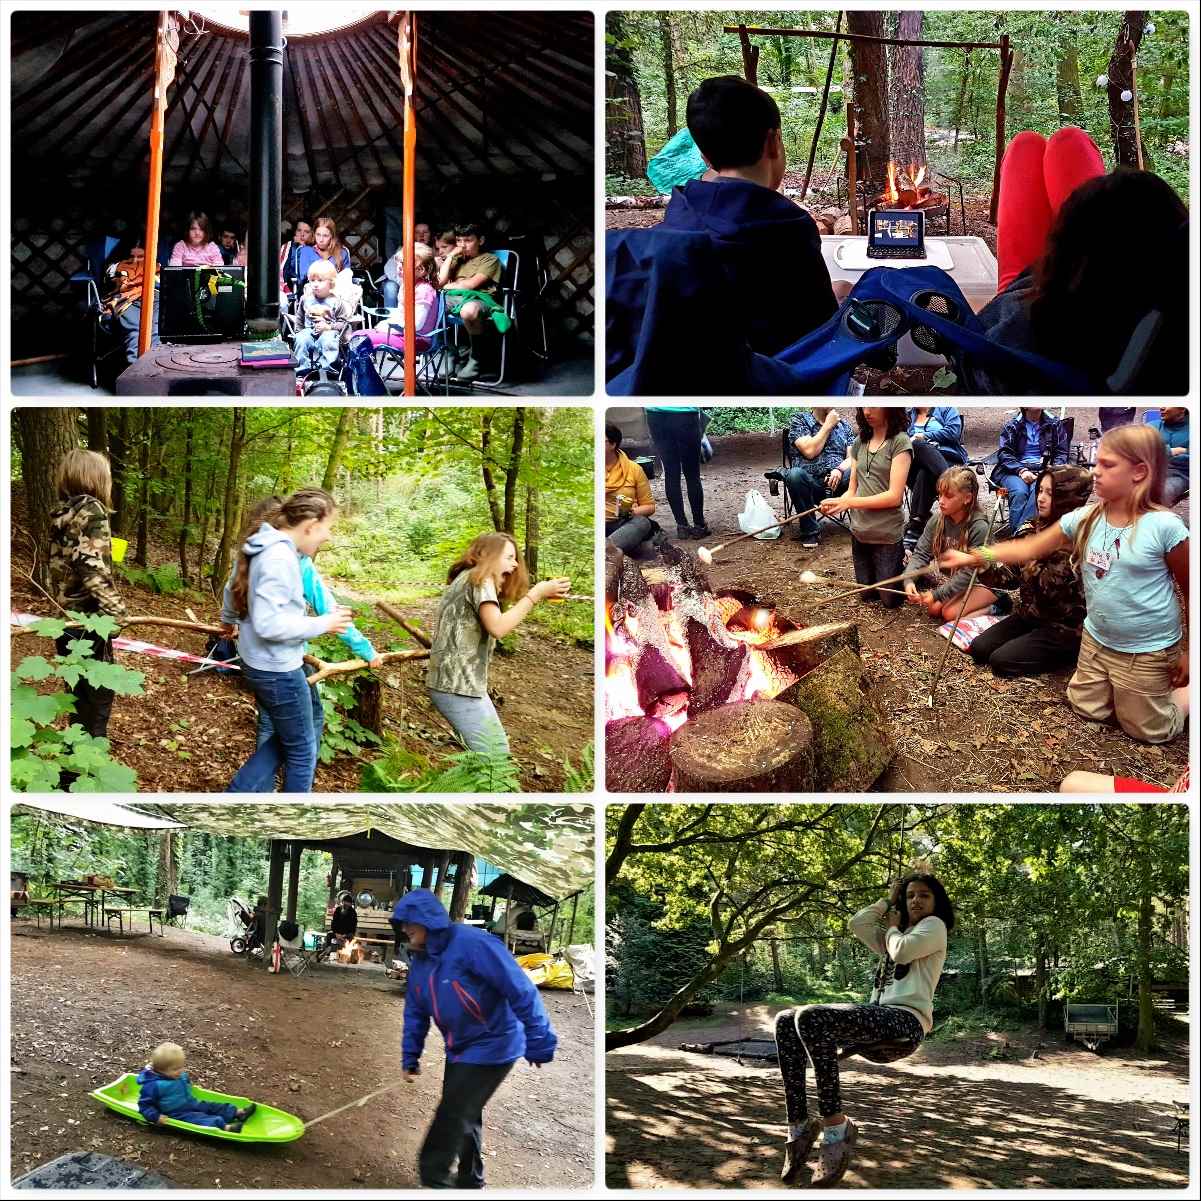
Kids’ Fun
All this talk of fun would not be complete without mention to what we organise for the kids (I mean the young ones here). We are not against technology and I am happy to let my kids watch a movie in the evening by the fire (gives me a breathing space to get on with camp chores).
The Bushmoot is a family friendly place and there are always workshops and games planned in for the kids. When there are no planned activities the whole estate is their playground and it’s great to see my kids roam free as I once did as a kid growing up in the Western Isles.
My last video on the Bushmoot looks at this ‘Bushmoot Life’.
A Celebration
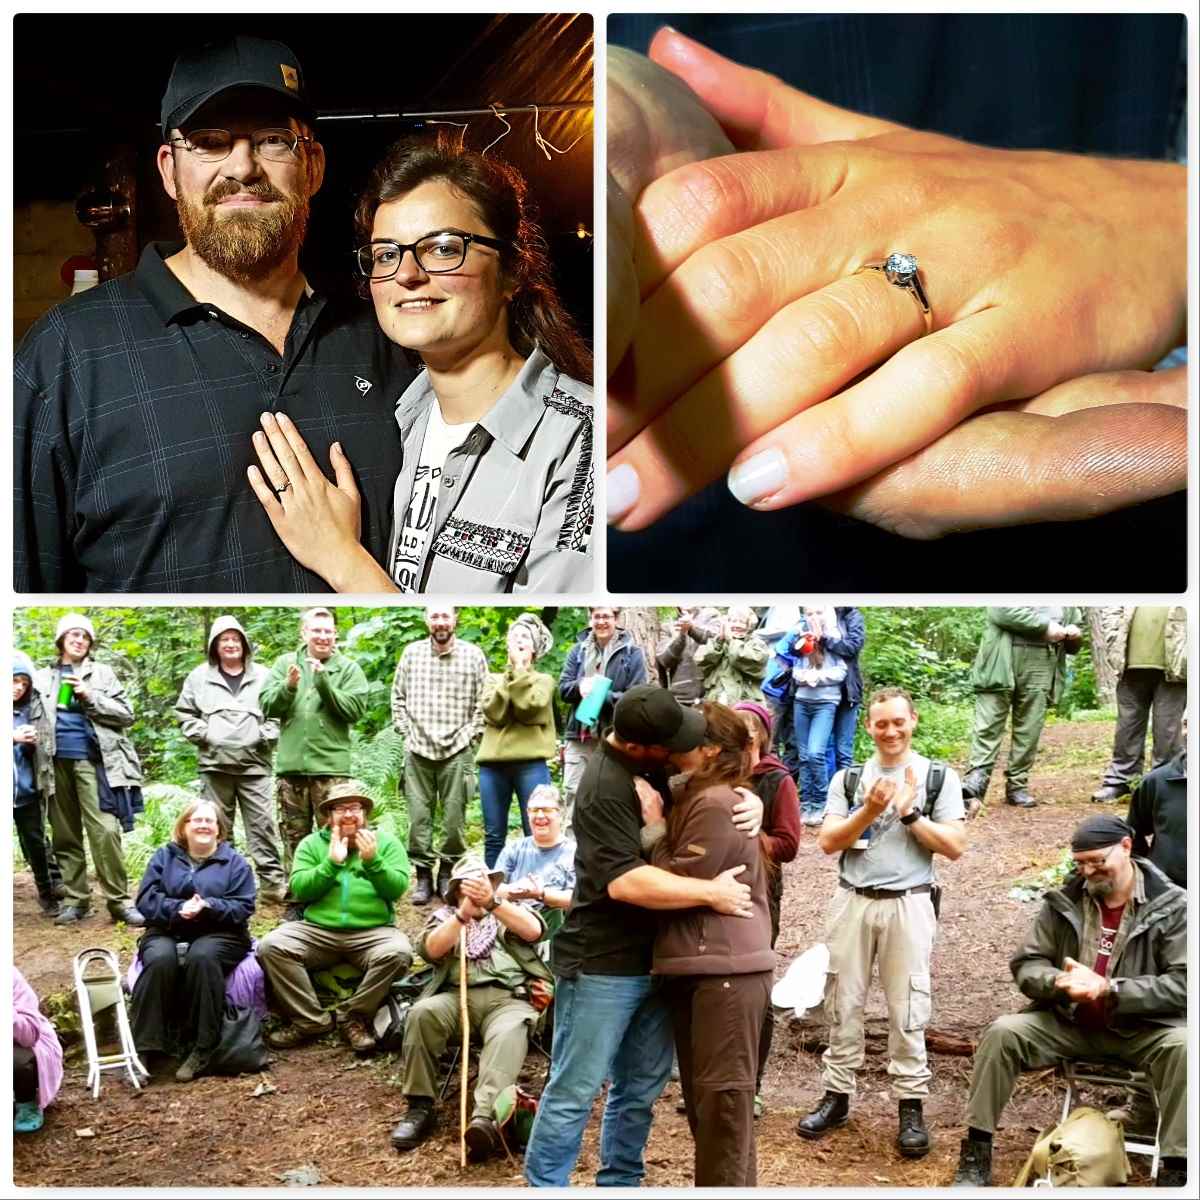
When I popped up to the Naughty Corner one night I got chatting to our chefs Phil and Magda and found out that they had just got engaged – Phil had popped the question to Magda that day down on the beach and she had said yes.
The next day we got Phil and Magda to announce the engagement to everyone under the Main Chute – congratulations guys.
Me
I am mostly to be found behind the camera lens so you do not see many pictures of my silver mop at the Bushmoot. Over the last 10 years I have really embraced photography and am always on the look out for something unusual to snap.
Fire Faces are a favourite of mine – spotted the BFG in one snap I took this year – but there is always something interesting to photograph at the Bushmoot.
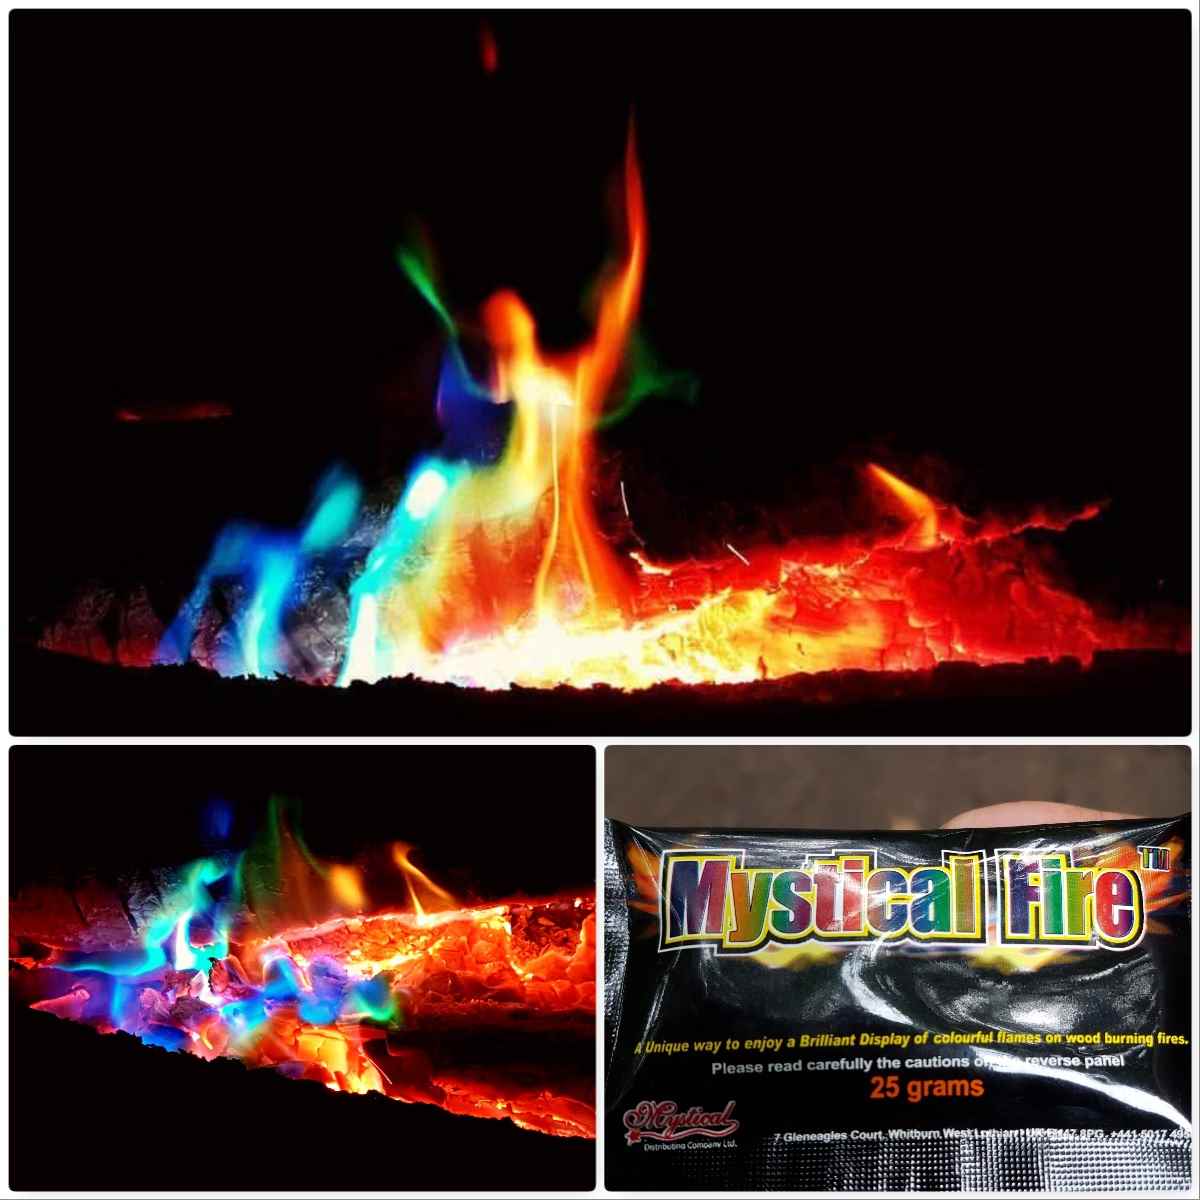
A bit of Magic
This year at the Naughty Corner it was hard to miss the fact that the fire was making a good impression of a Rainbow. It turns out that Cap’n Badger had acquired some Mystical Fire and popped it into the fire. I took a few snaps of the flames and caught a lovely shot that I call ‘The Dancer’.
My kids loved the stuff and so we popped a couple of sachets on our campfire one evening while they watched a movie.
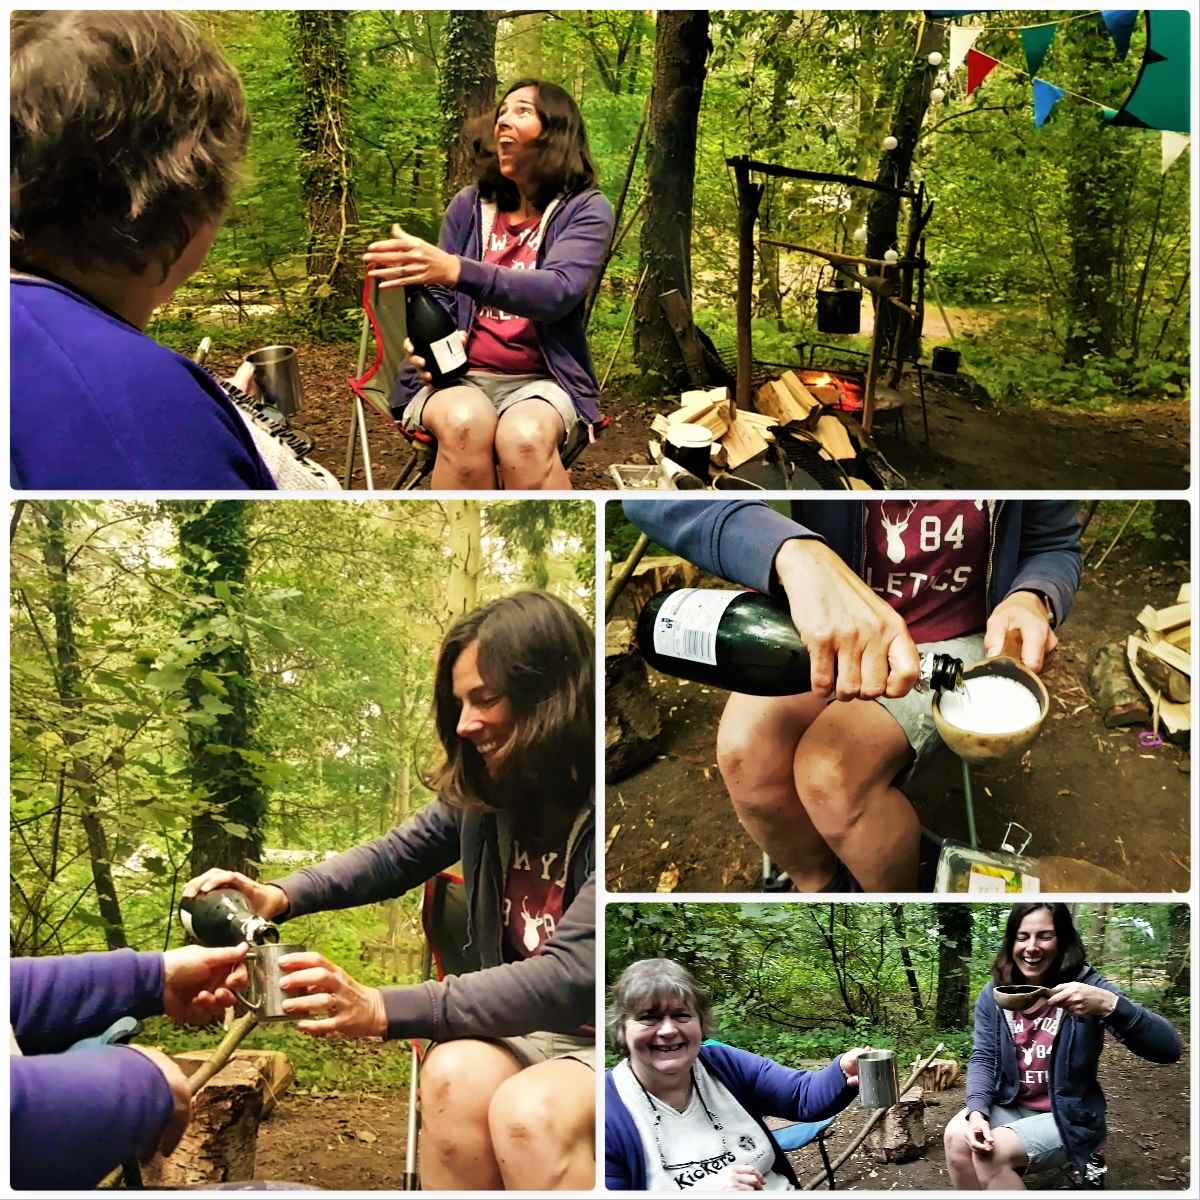
Alison
My wife Alison did not attend the whole of the Bushmoot (she pops back and forth from home over the fortnight) as she runs her own publishing company and this year was focused on finishing the first draft of her own book while we were at the Bushmoot.
Needless to say when Alison returned at the end of the Bushmoot she did so with a bottle of bubbly to celebrate the fact that she had finished her first draft – well done darling 🙂
That is it from me on the subject of the 2017 Bushmoot. Thank you to Tony, Shelly, all the Mods and all the other helpers who organised everything and helped make it such a magical two weeks.
Cheers
George