How To…. Make a Simple Burdock Hanger

Historically what would have been used to hang up your clothes and kit up if you lived in an environment where there were very few trees?

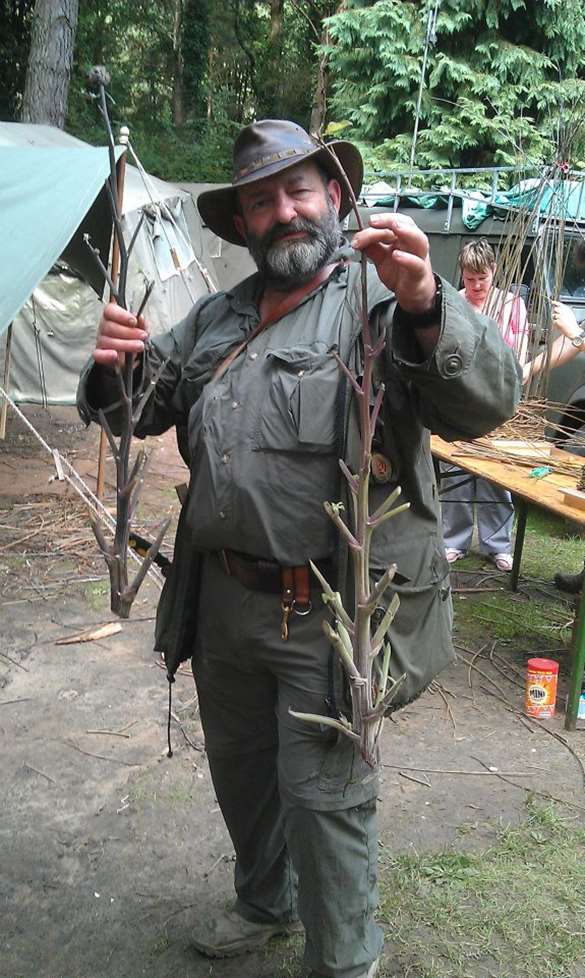
On the Isle of Lewis in the Outer Hebrides where I was brought up the stems of the Burdock  (Arctium lappa) plant were used. Lewis is predominantly moorland so the locals had to use whatever resources came to hand.  Burdock is a biennial (a life cycle of two years) plant and in its second year sends up a tall shoot in order to flower and reproduce. It is this stem (which is quite woody) that can be easily trimmed down and used as a hanger.

A keen convert to this was my friend John Fenna (from BCUK) as he does a lot primitive living re enactments (flint tools etc only allowed) and he thought it would be ideal for hanging stuff in his camp.

Photo 03-02-2014 22 33 12
Our Mr Fenna is happy he has a Burdock hanger in the making

I came across a post on this in 2009 on my friend Kevin’s Natural Lore site (written by the guest blogger Freebornjem). The hanger had been spotted by Freebornjem in one of Blackhouses at the museum in Arnol village on the Isle of Lewis. I can remember seeing hangers like this as a small boy but it was not until I read the post on Kevin’s site did I start using one.

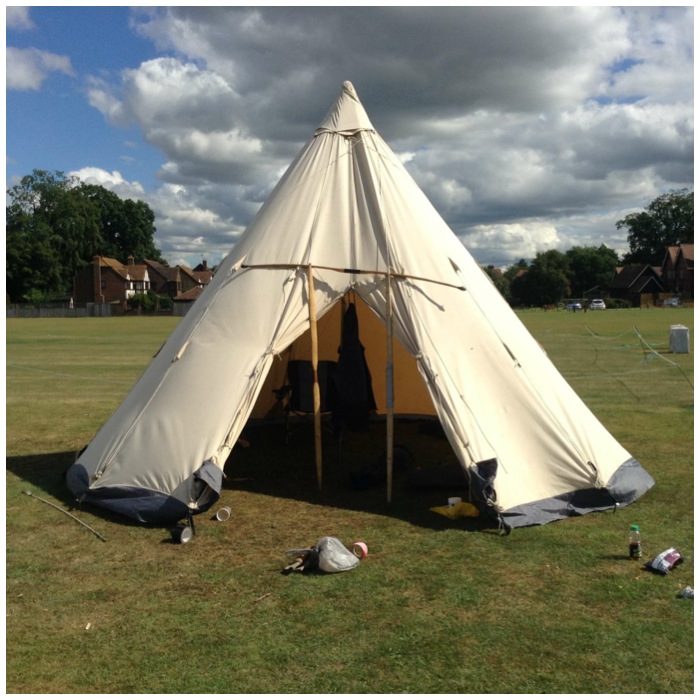
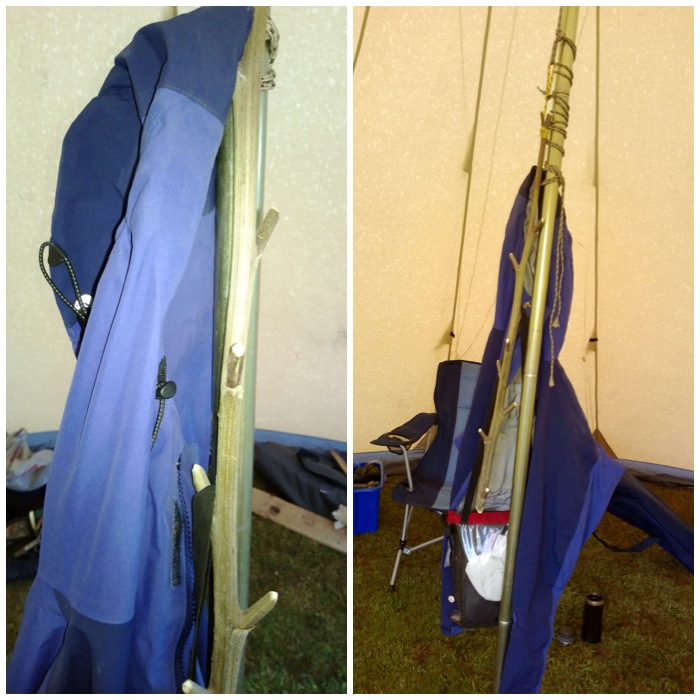
I now use a burdock hanger regularly when I am using my tipi or have a base camp set up. I try and find dead standing stems (autumn/early winter) as the hanger is ready for use instantly after trimming. If you use the stem from a live plant it will work for hanging kit but will not be as strong as a dead stem.

Photo 04-02-2014 09 20 17
2nd Year Burdock growth (Arctium Lappa)

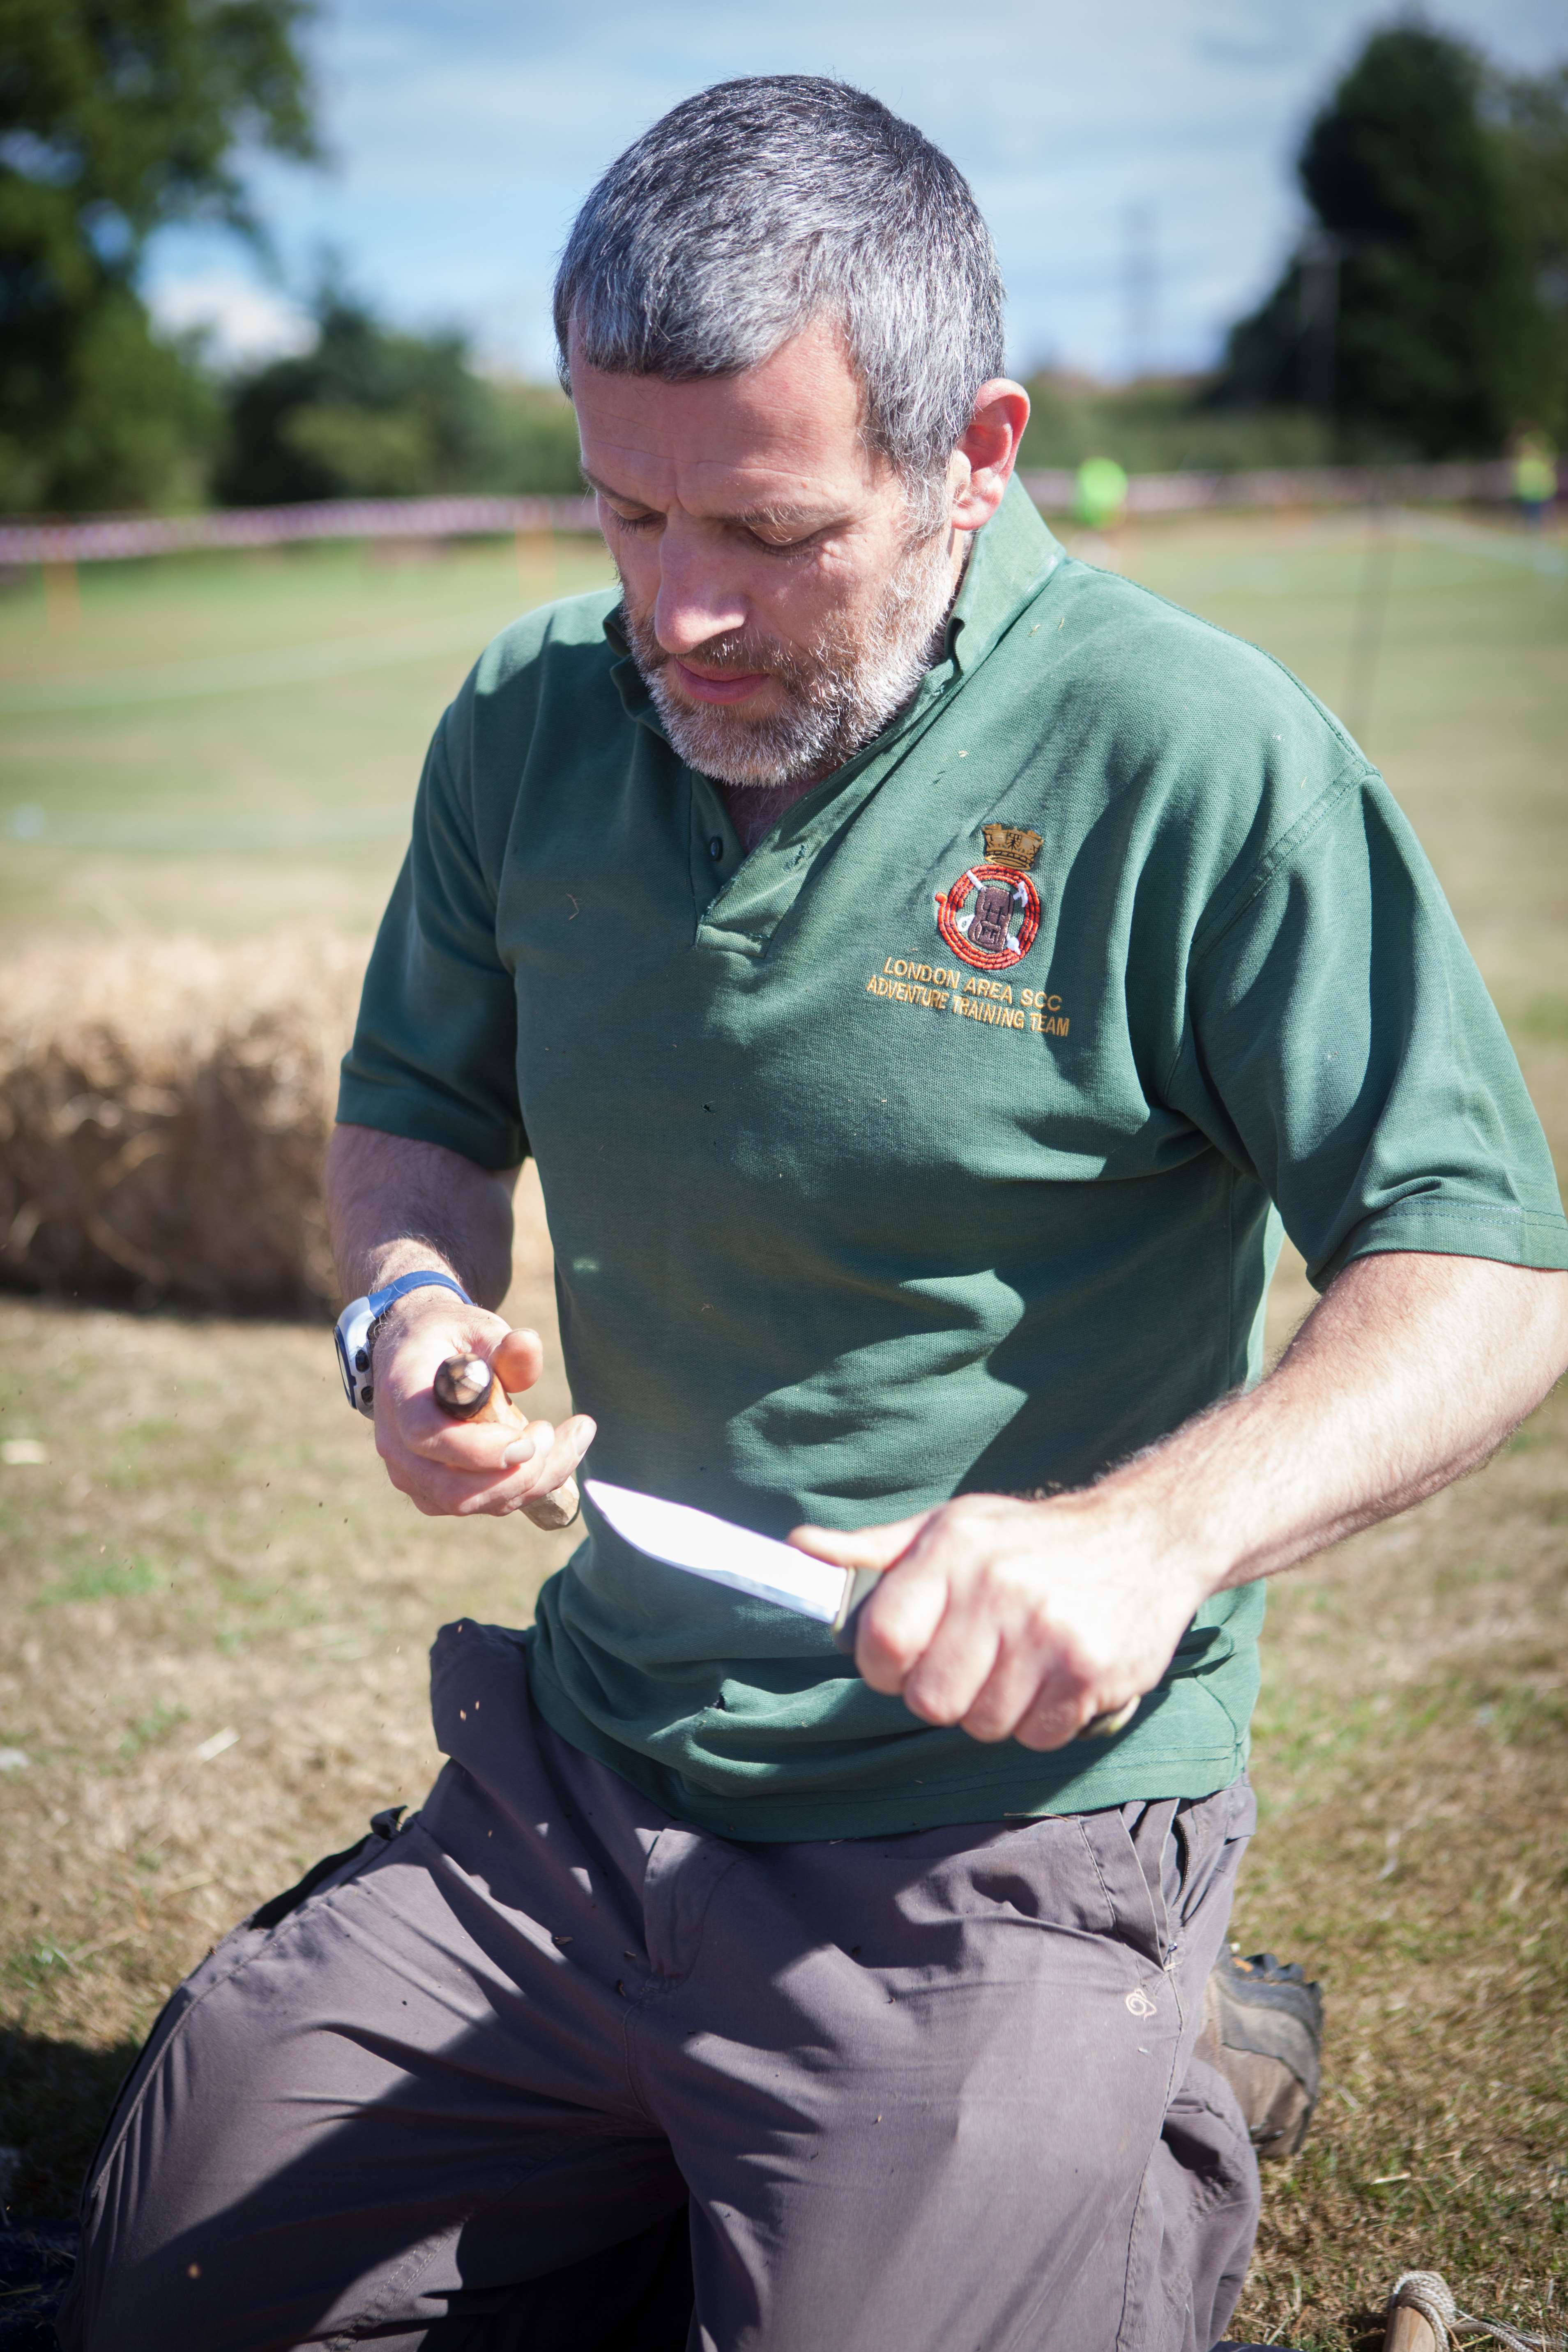
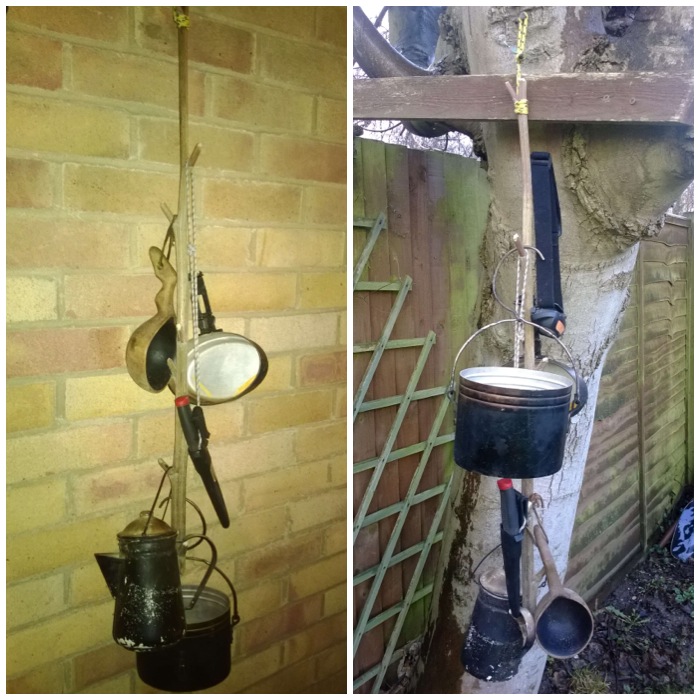
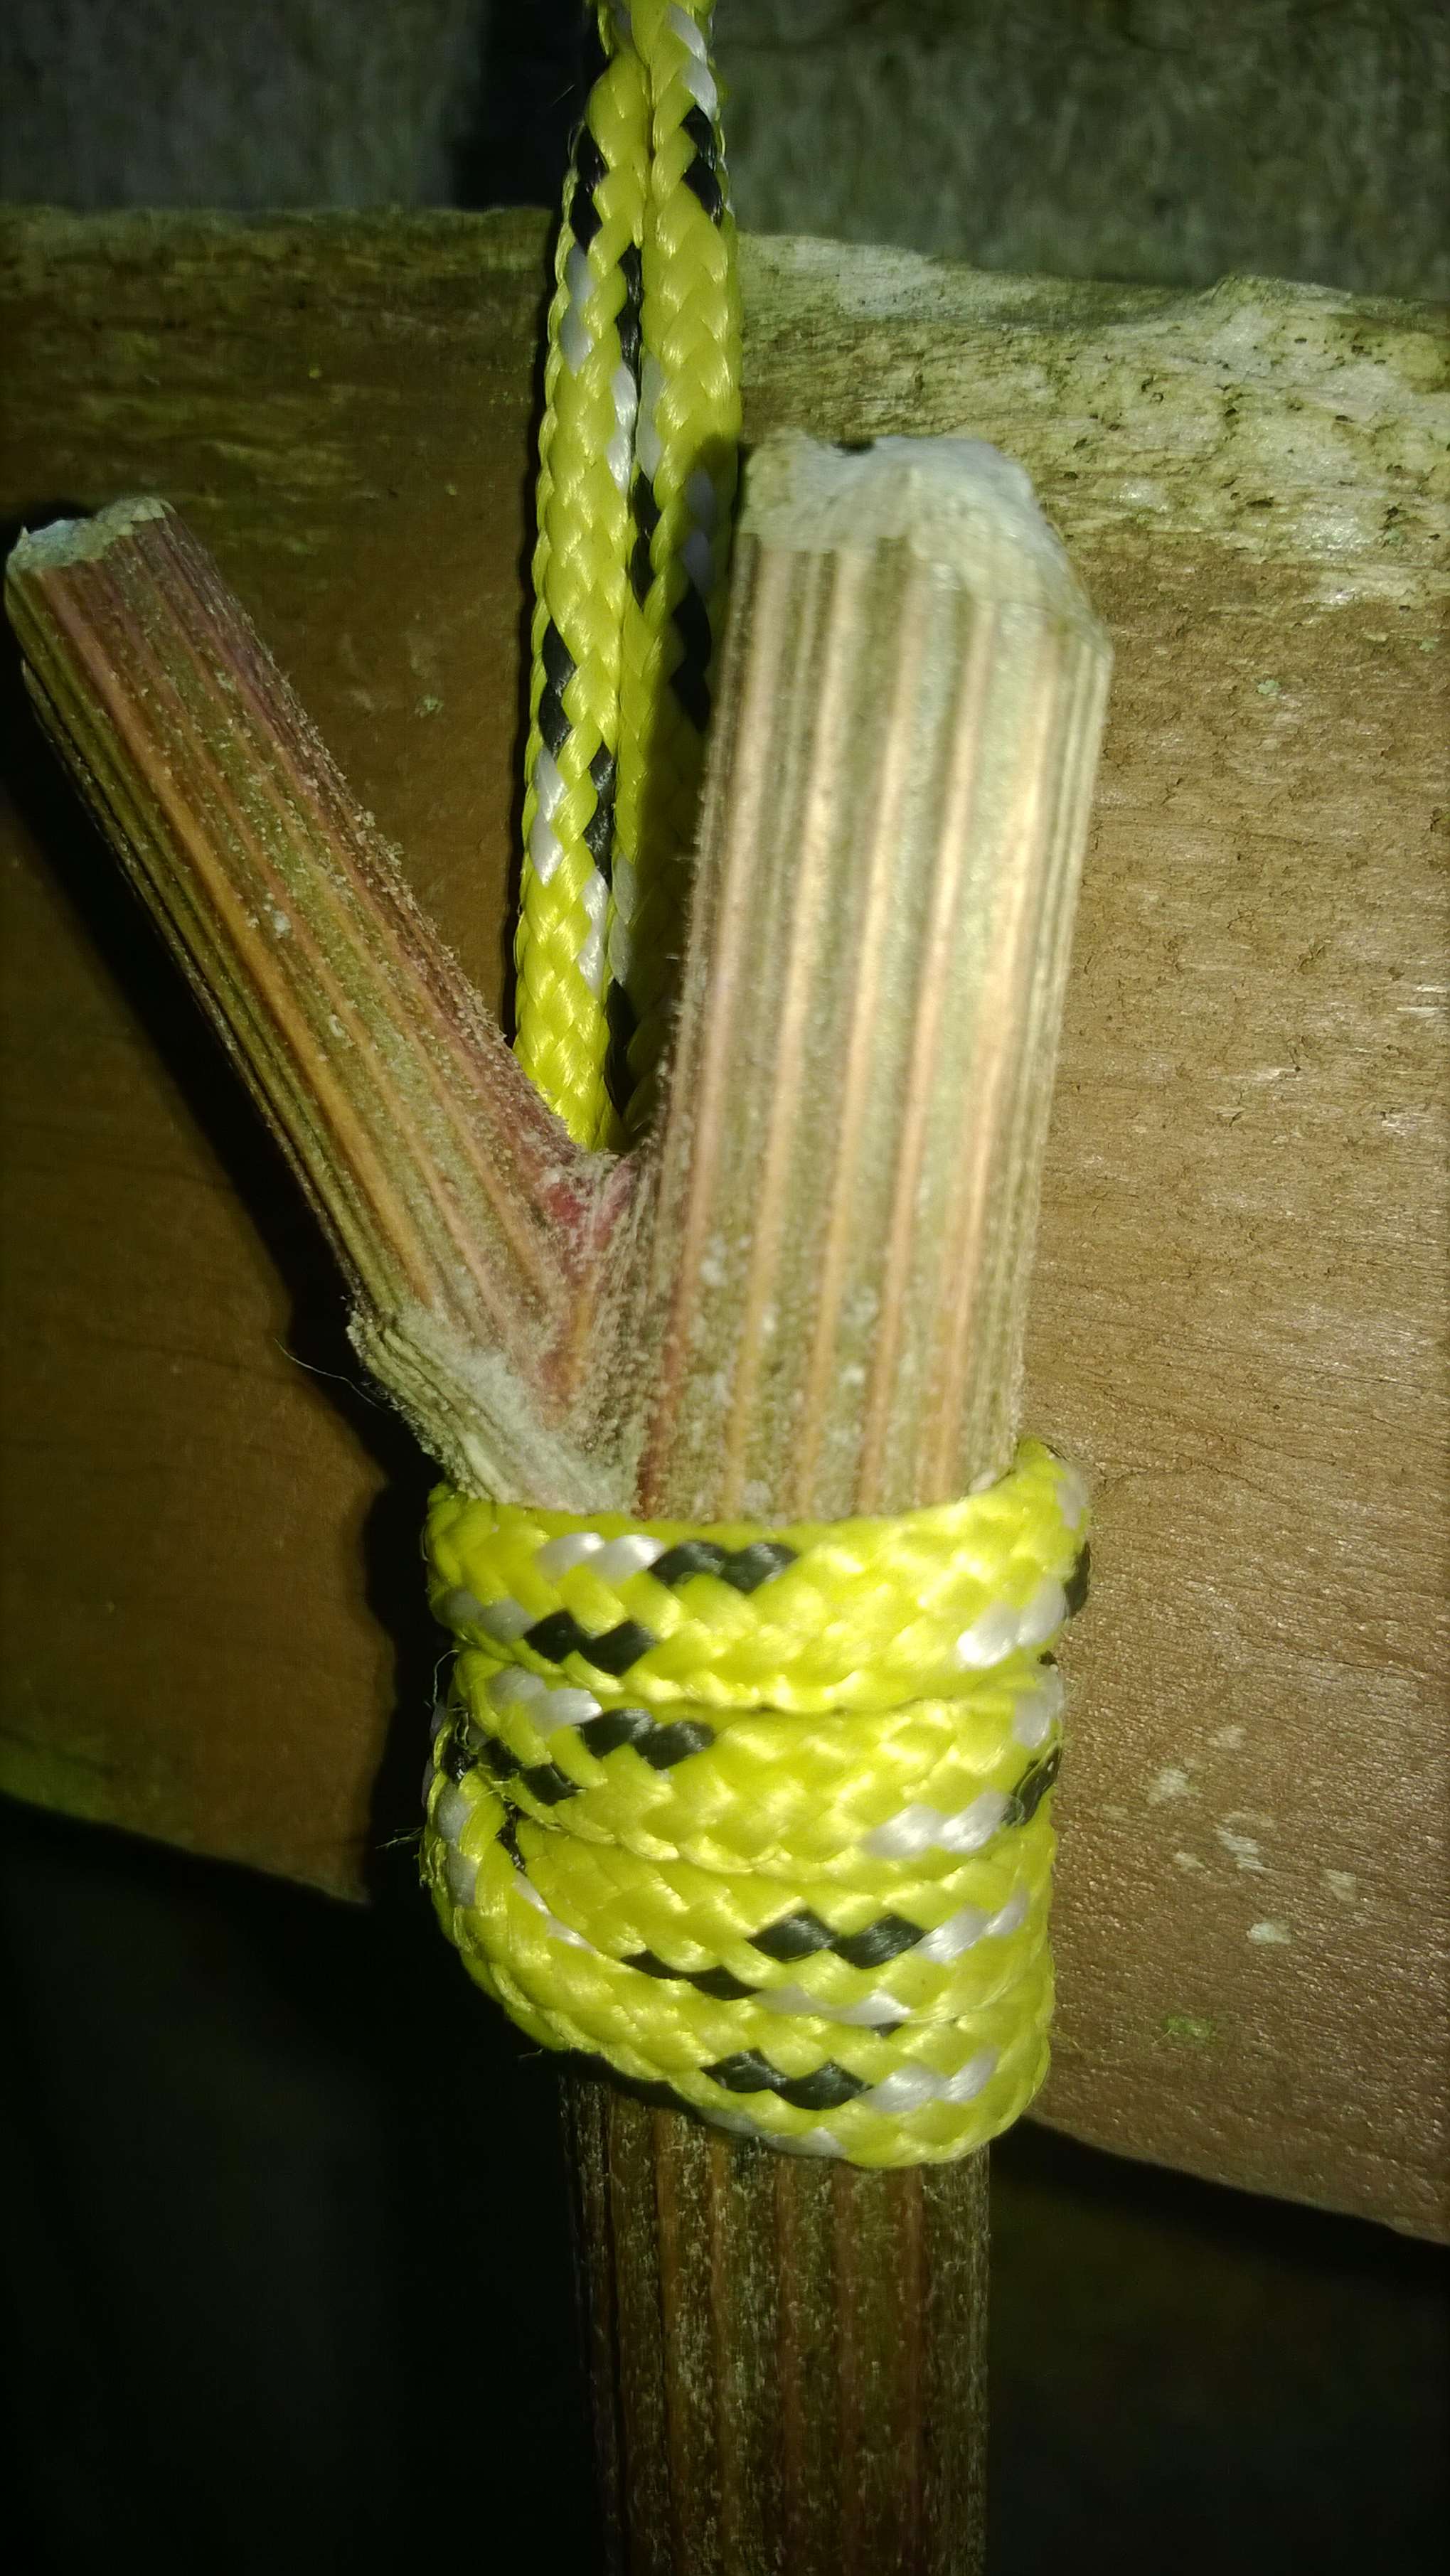
Once you have selected your stem, trimmed the leaves and burrs off cut the the branches back so that only about an inch is protruding from the main stem. Make sure you round each hook off as they can be very sharp if left after just a single cut.

Photo 04-02-2014 09 25 01
Branches trimmed and rounded

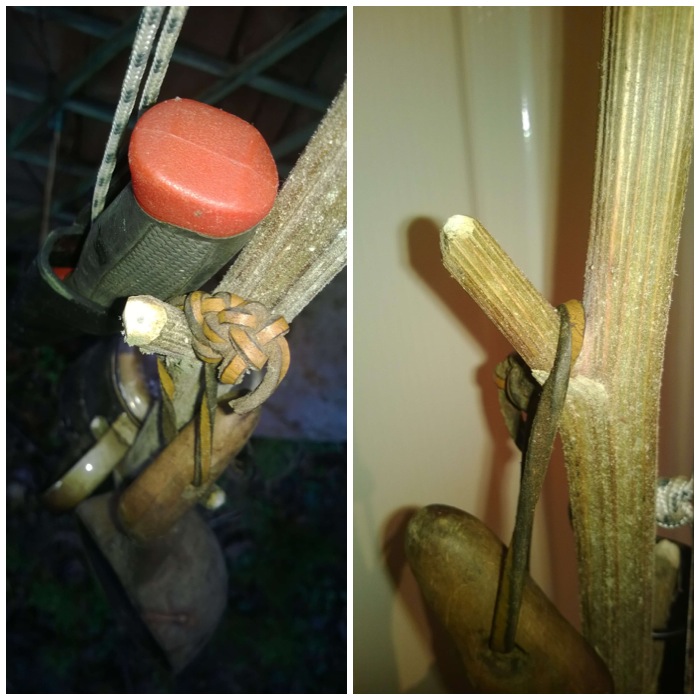
For this hanger I attached a modern connector (soft shackle prussick) but you can go natural by folding the thin top piece of the stem back and wrapping some cordage around it to form an eye. Kevin’s post covers this method. I use a modern connector now as it will take more weight. I use the hanger in my garage to hold any kit that I regularly use or it can be hung quite easily from a tree.

Photo 04-02-2014 09 23 22
Great for indoors or outdoors

I particularly like this hanger in my tipi as it is easy to hang of the central pole and does not take up any room.

Photo 04-02-2014 09 22 17
Hanging in my tipi

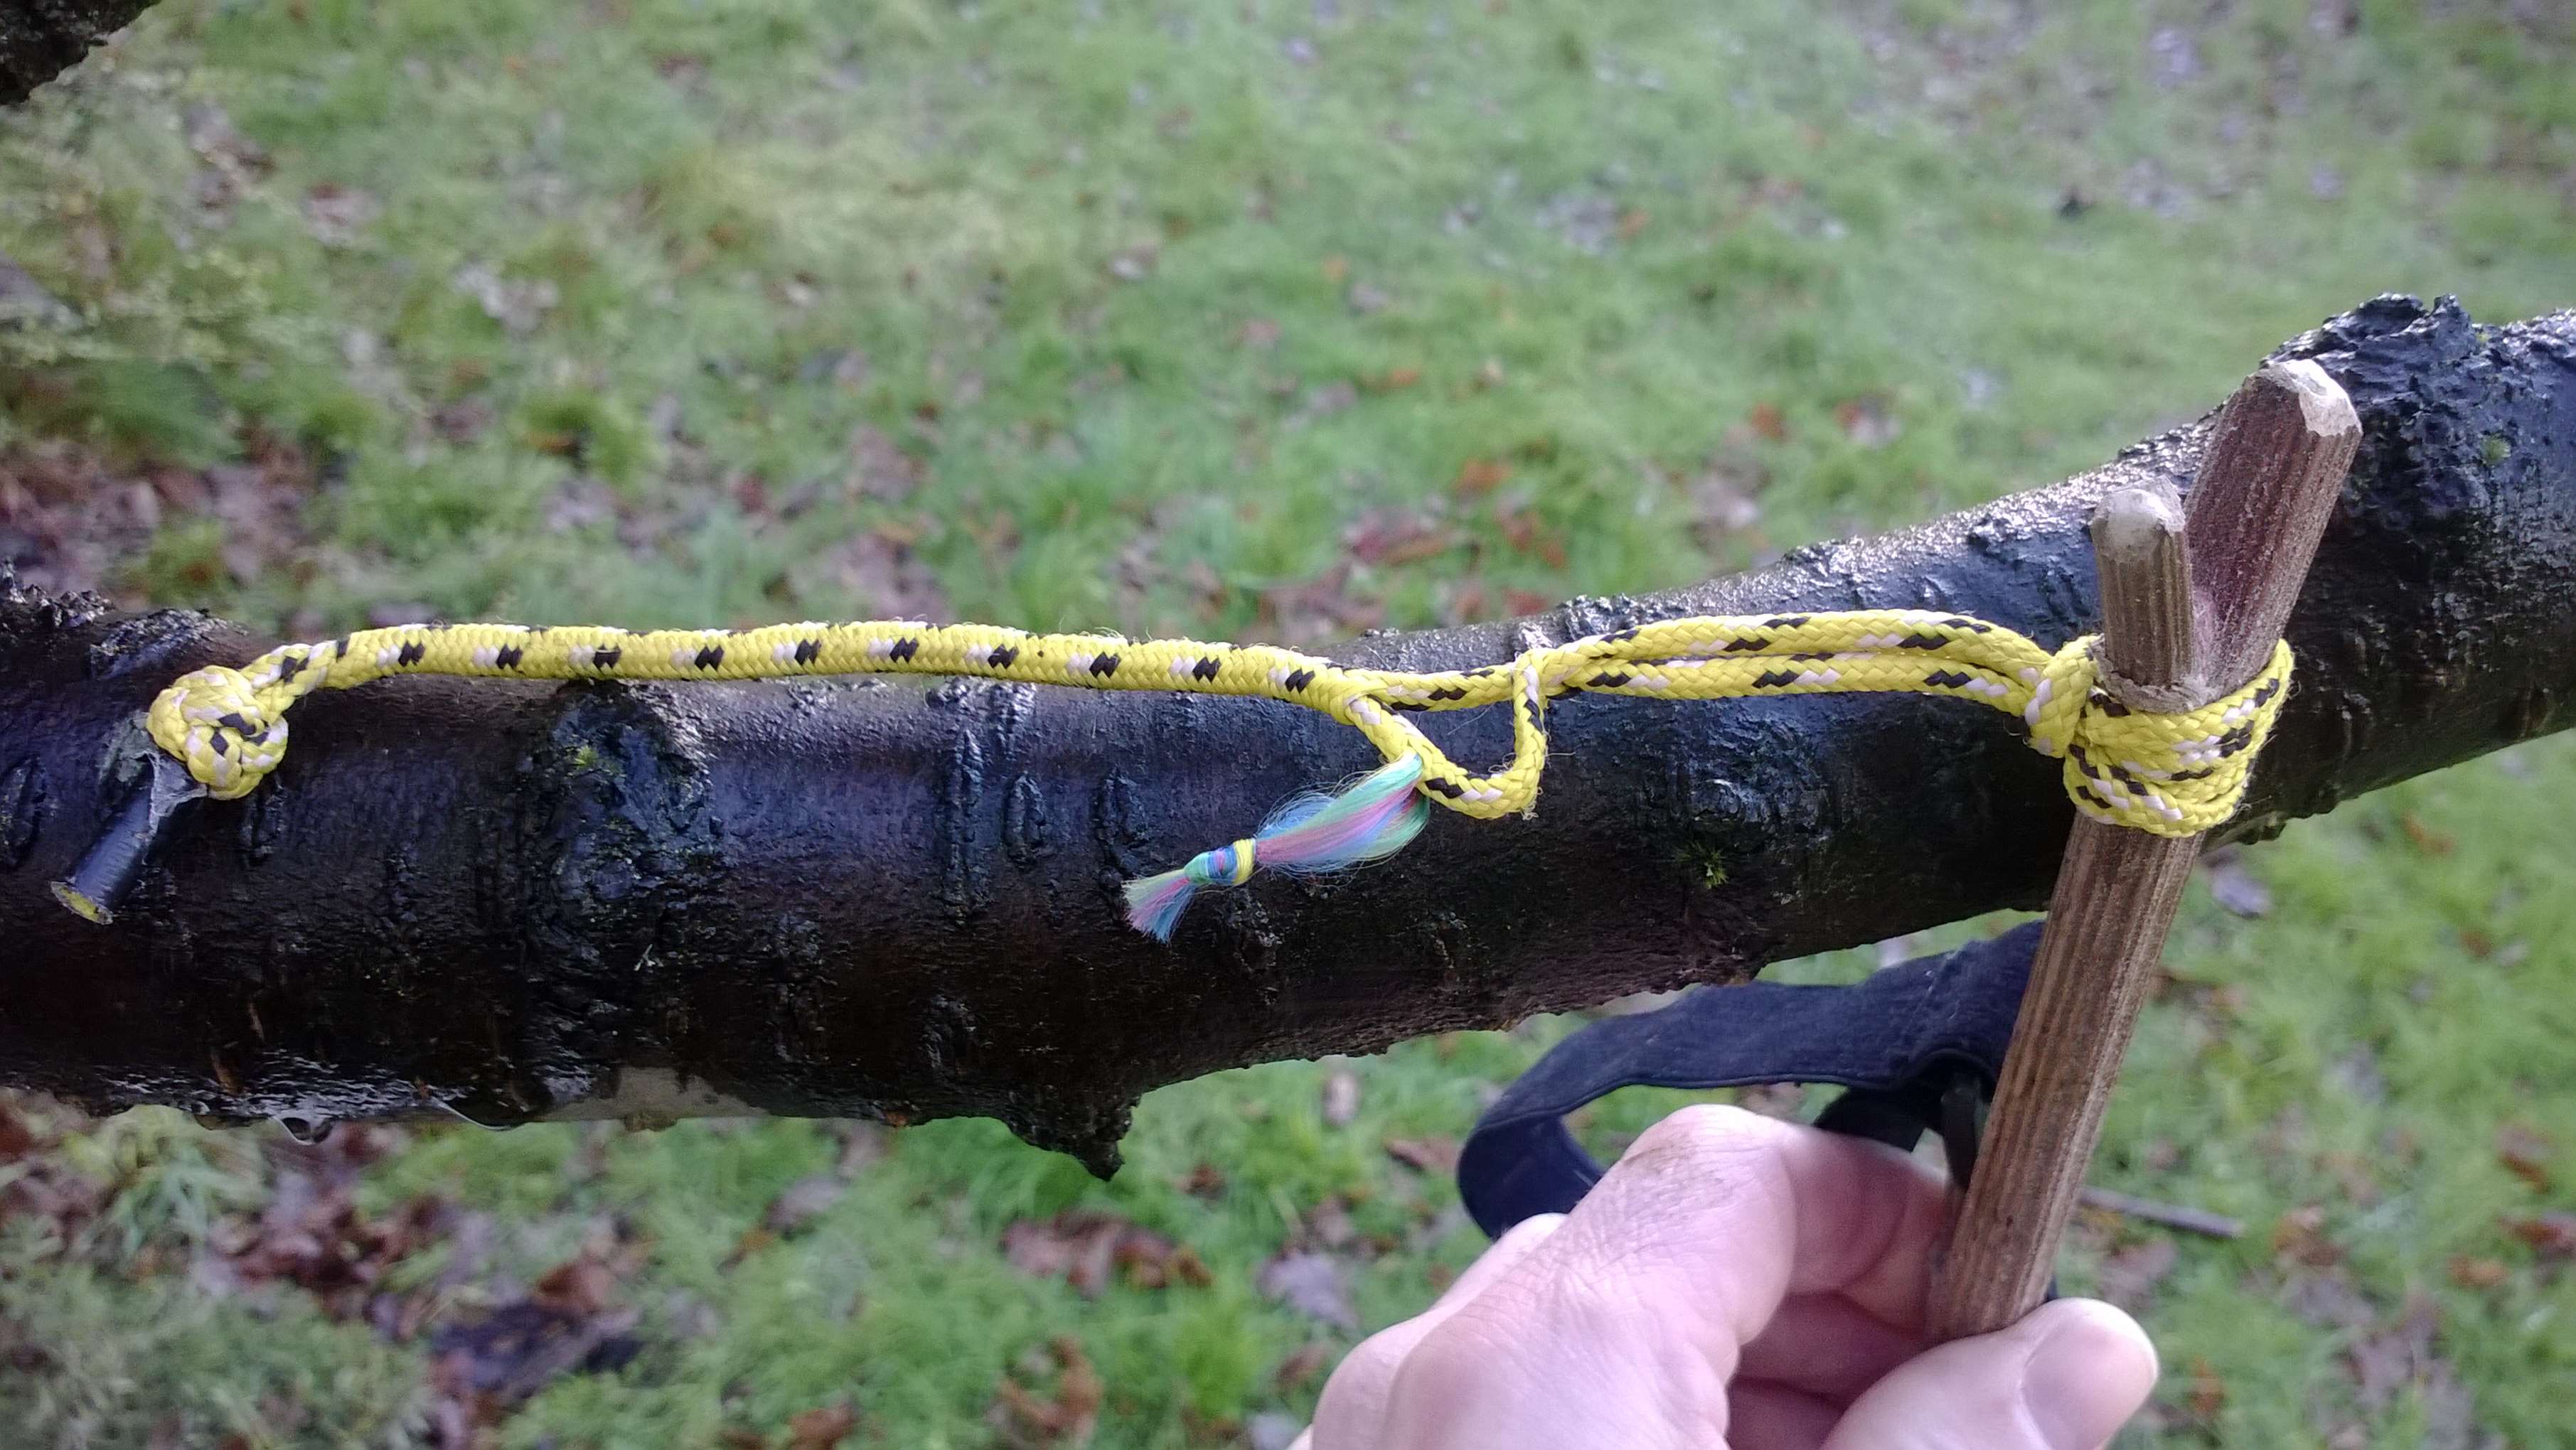
Experiment with how you want to attach the hanger to something. I like the soft shackle prussik as it grips very well and is easy to adjust.

Photo 04-02-2014 08 46 17
Man made connector on this one

The top half of the shackle can be attached to a nail, branch or piece of rope very easily.

Photo 04-02-2014 09 26 49
Soft Shackle Prussik

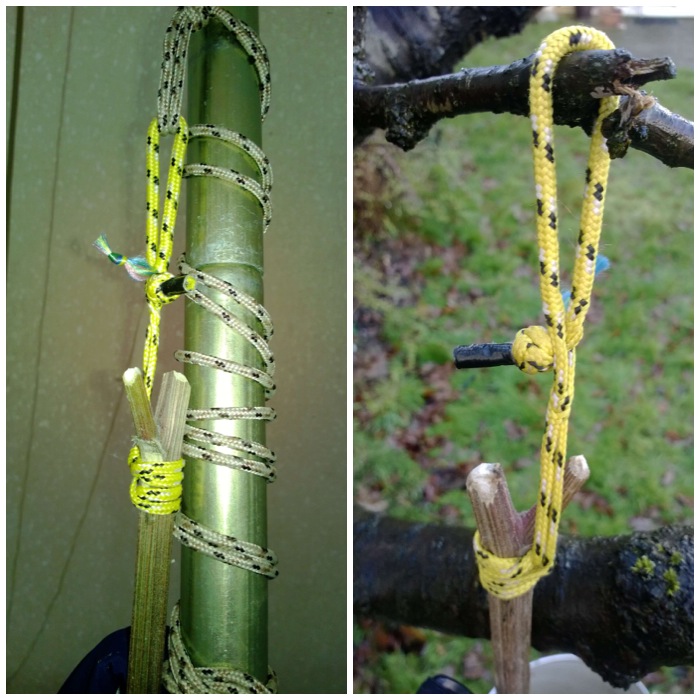
By pulling the little coloured tab you open the shackle up so making for an easy set up or take down. I will look to post an article in the future on making this type of shackle if anyone would be interested.

Photo 04-02-2014 08 49 21
Soft Shackle Prussik opened up

Freebornjem mentions that the burrs when clumped into a fist sized bundle make a scouring pad. I have not tried that yet but may be worth a go next autumn.

Cheers

George

Iron Mum, meet Iron Dad

Every September for the last 5 years many of the ladies of Bramley, Hampshire have come together for a very special race. It’s called Iron Mum and these ladies train very hard throughout the months leading up to it. Many will have started for the first that year having not trained in any way for years (or never) and in a matter of a few short months are running, cycling and sprinting in this race. My wife Alison is one of the organisers and for the first few years she had me out on the route doing marshalling. Thankfully that came to an end two years ago when I was redeployed to the fun day, and now I get to play at bushcraft while the ladies are out running. Catch is though, I have to help about 20+ kids (and the occasional mum or dad as well) achieve an ember using a bowdrill. Luckily for me I enjoy the whole fire-making business.

Photo 04-02-2014 10 45 53
The Iron Mums ready to race

The day for me starts early as I have to set up my bushcraft area and help with setting up the race. Normally I start about 6am setting up my tipi as a focal point for the bushcraft. I have the fire area set up near the tipi and an Atlatl range set up behind it.

Photo 04-02-2014 10 44 58
Iron Dad HQ for the day

Inside my tipi hanging on a rope from the centre pole is a Burdock hanger for my jacket and bits and bobs. I will be posting a How To…. on these hangers shortly.

Photo 04-02-2014 09 22 17
Burdock hanger

One of the main things I have to prepare are the drill pieces for the bowdrill. I will go through quite a few before the day is out.

Morning prep
Morning prep

Once everything is set up it is good to get a brew on. I like to use the Kelly Kettle for this as the fire area is self contained. Also it is good for these kind of shows as people can learn some basic fire starting skills using one. In this picture though is Tom Gilbert (a fellow member of BCUK) who was perfectly capable of getting the Kelly going and a brew on.

Photo 04-02-2014 10 45 17
Time for a brew

Last year I got my first customers even before the race started. I try and explain all the different parts but sometimes the queue is too big or the kids just have that look in their eye that says ‘Just get on with it!’.

Photo 04-02-2014 10 45 40
Bowdrill basics

To give that feeling of teamwork (and maximise the number of kids having a shot) I try to get them to double up with me. The need to master the bowdrill solo only starts to take hold in the teenage years, so all the kids I work with are usually very happy to work as part of a team in firemaking.

Photo 04-02-2014 10 15 14
Teamwork

My son Finlay though was very insistent on just the two of us having a go. Thankfully the day was warm, the wind was gentle and steady and I had plenty of dry timber, so we got lots of embers really quickly.

Photo 03-02-2014 06 51 02
Bowdrilling with the ‘Red Ninjas’

The kids were pretty enthralled with seeing a glowing ember and were really protective of what they had just created. The wind was just strong enough to be helpful with the embryonic ember’s start in life but potentially strong enough to immediately blow it apart if it was not protected. Kind of a Catch 22 situation, but the kids managed to protect their embers until they were strong enough to pop into a tinder bundle.

Photo 04-02-2014 10 15 58
Protecting that well-earned ember

Each ember produced a nice bundle of flame. With these tinder bundles I generally hold them unless the kids are really keen to do so. I then get all the kids to queue up behind my shoulder and take turns blowing it into flame.

Photo 04-02-2014 10 19 33
Flames away 🙂 Spot the baby dragon

While all this was going on, the stance next to me was doing a bit of hay bale throwing. Never tried this before and only got it about half as far as the winner (must be a knack thing, obviously). The kids shied away from this one so my friend Michael and myself took turns throwing the bale with any of the kids who wanted a go. Turned out to be a hit after that. (Michael though had done his shoulder in earlier so when his good wife Helen found out what he had been up to there were a few choice words said) 😉

Photo 04-02-2014 10 24 06
My neighbours were being a bit active

The other activity I offer is an Atlatl range. It is very small but it has a good turnover of kids. Michael is quite happy to run this stand for me (thanks mate). I have a range of different Atlatls for the kids to use so that even 3 year olds can use them. We give each of the kids a bit of tuition to begin with before letting them loose with what is basically a spear-chucking device.

Photo 03-02-2014 06 50 46
Atlatl tuition with Finlay

The range is strictly controlled with a clear target and launch area.

Photo 04-02-2014 10 21 47
Airborne Atlatl darts

After a few tries most of the kids can get the dart into the roped off area. There is something fundamentally satisfying about throwing an Atlatl dart and I find whoever picks one up and uses it gets the same satisfaction. Must be something imprinted into our genetic makeup (like watching the flames in a campfire).

Photo 04-02-2014 10 23 52
On target 12 o’clock high

After the race (I saw nothing of it to tell the truth) those volunteers who had helped out at all 5 races received a lovely gift of an engraved metal wine stopper.

Photo 03-02-2014 23 00 42
Long Service Medal Recipients for Ironmum

I thought I would finish on this picture: my wife Alison saw it and asked, ‘Where does your beard end?’ 😉

Photo 04-02-2014 10 23 13
Can you spot where the beard ends? 😉

Cheers

George