
Earlier I wrote up a post on re-building the roundhouse at John Rhyder’s Woodcraft School HQ in Hampshire. This post is all about the new cookhouse we built that weekend as well.
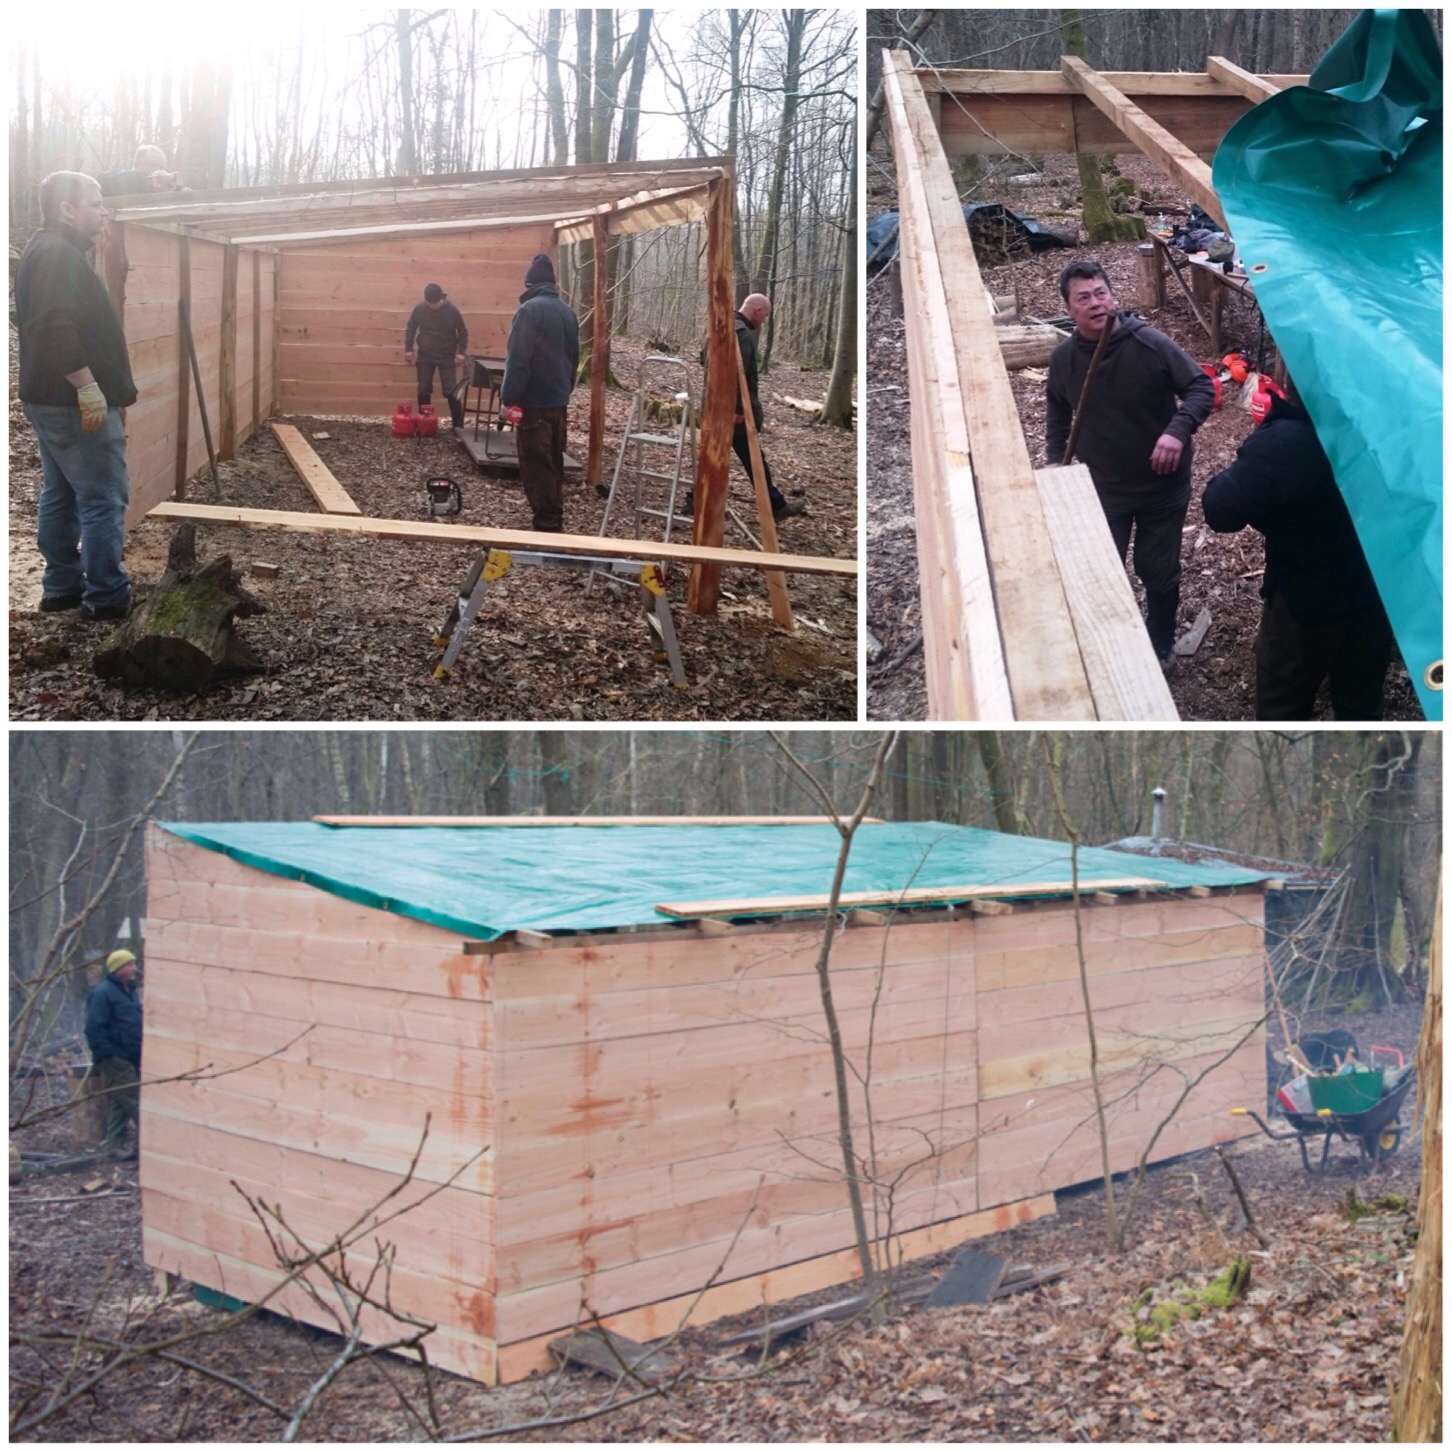
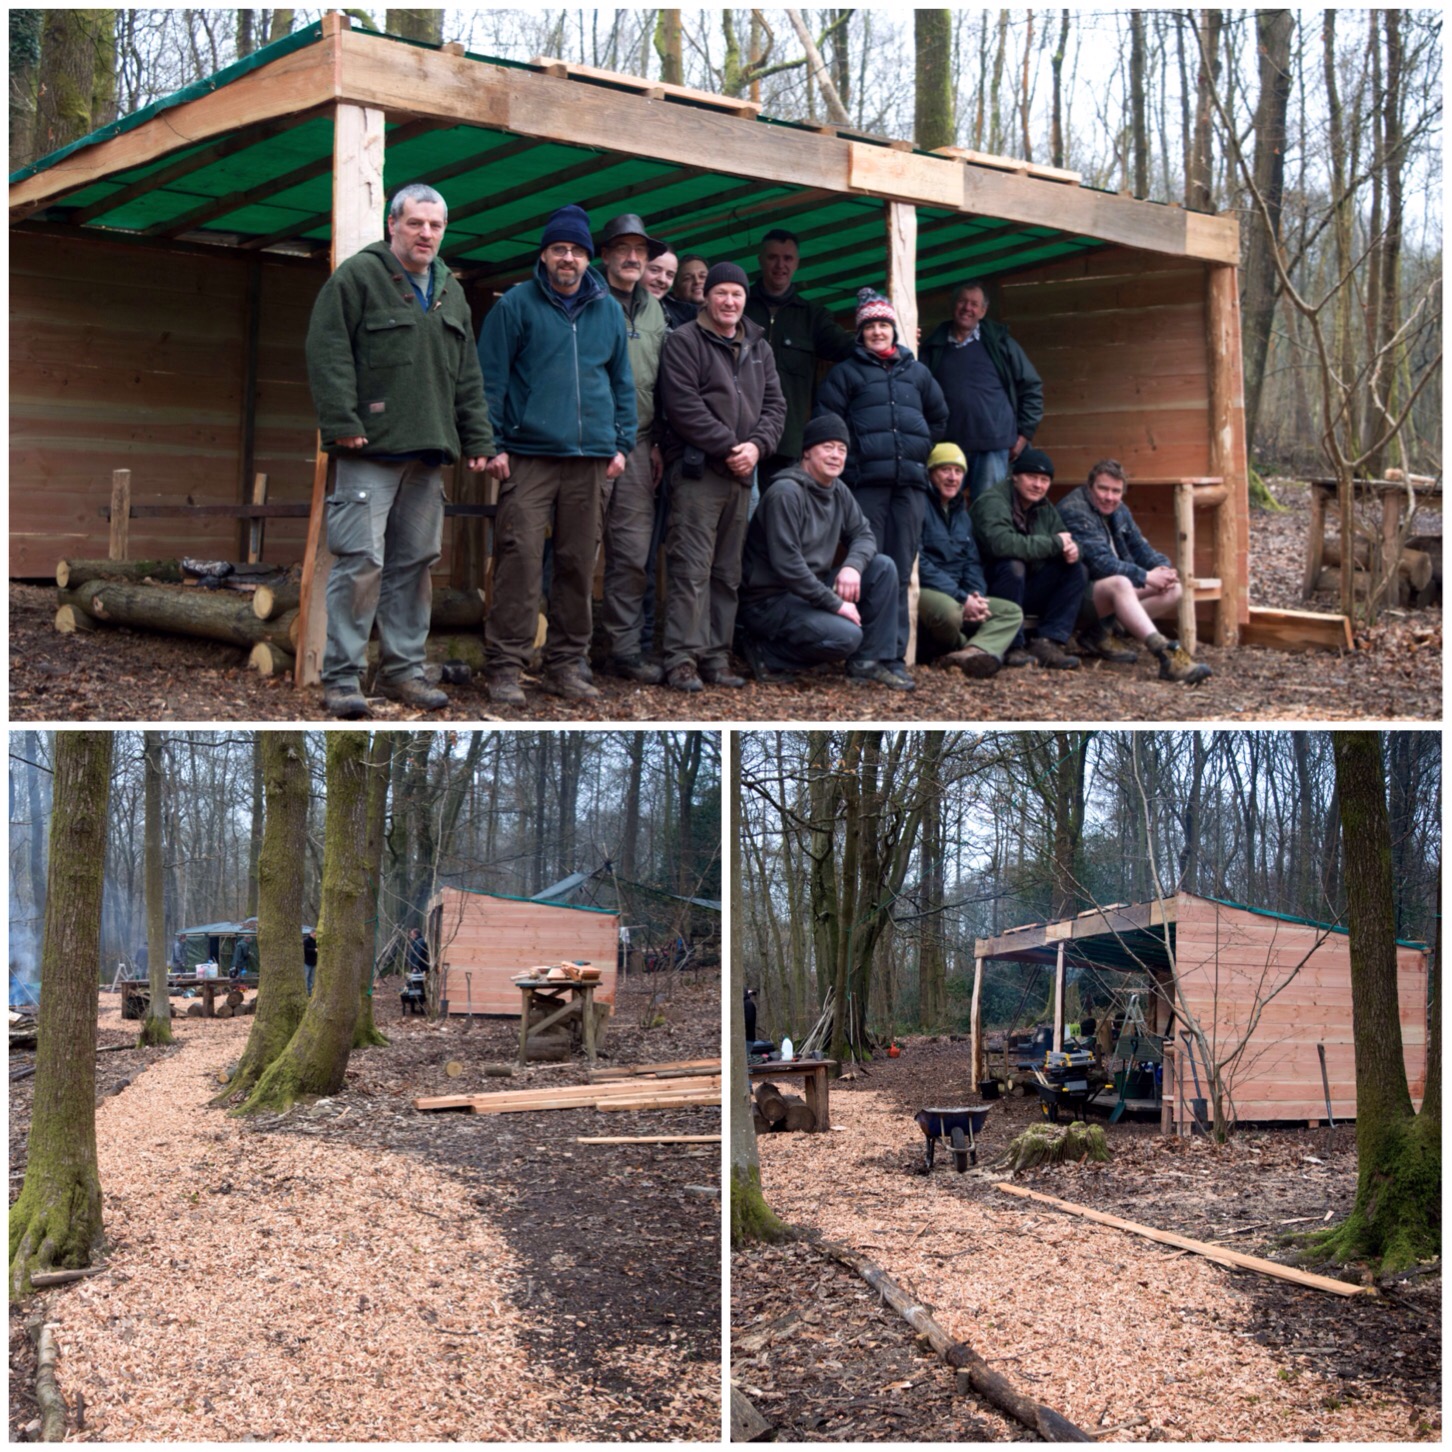
In the top picture below is the open-fronted cookhouse we built and in the bottom picture how it all looked on the Saturday morning when we first arrived – a few post holes in the ground.
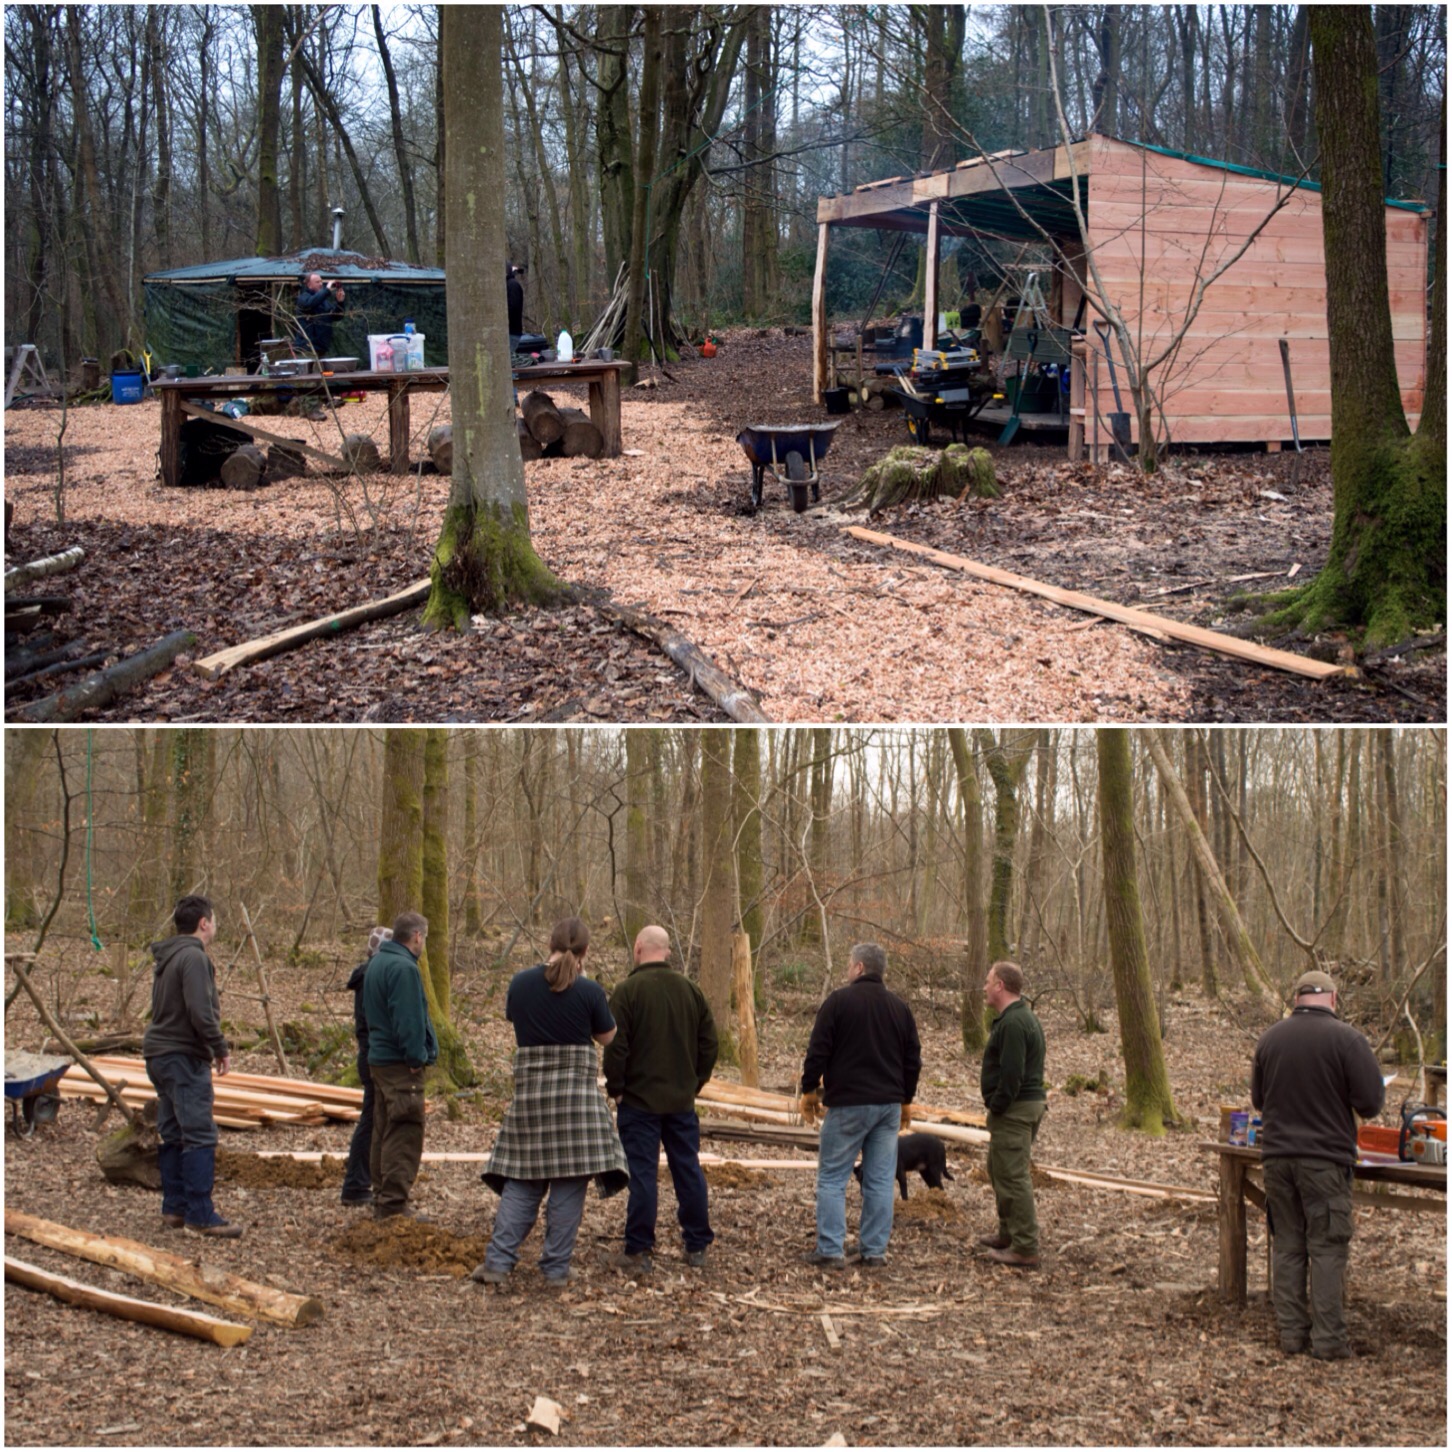
In the group building this were Scott Batty, Kev Howlett, Jumbo Jim, Nigel Painter, Paul Workman, Chen, David Willis, John Rhyder and myself. John had split a load of sweet chestnut to use as the uprights and brought into the site a load of timber to build up the walls and for battoning and rafting.
We selected six pieces for the uprights and started on the back wall first. The plan was to have the kitchen closed off on two sides (to protect from the prevailing wind) and to have it open on two sides.
The first post went in easy enough and we compacted earth and stones around it to keep it secure.
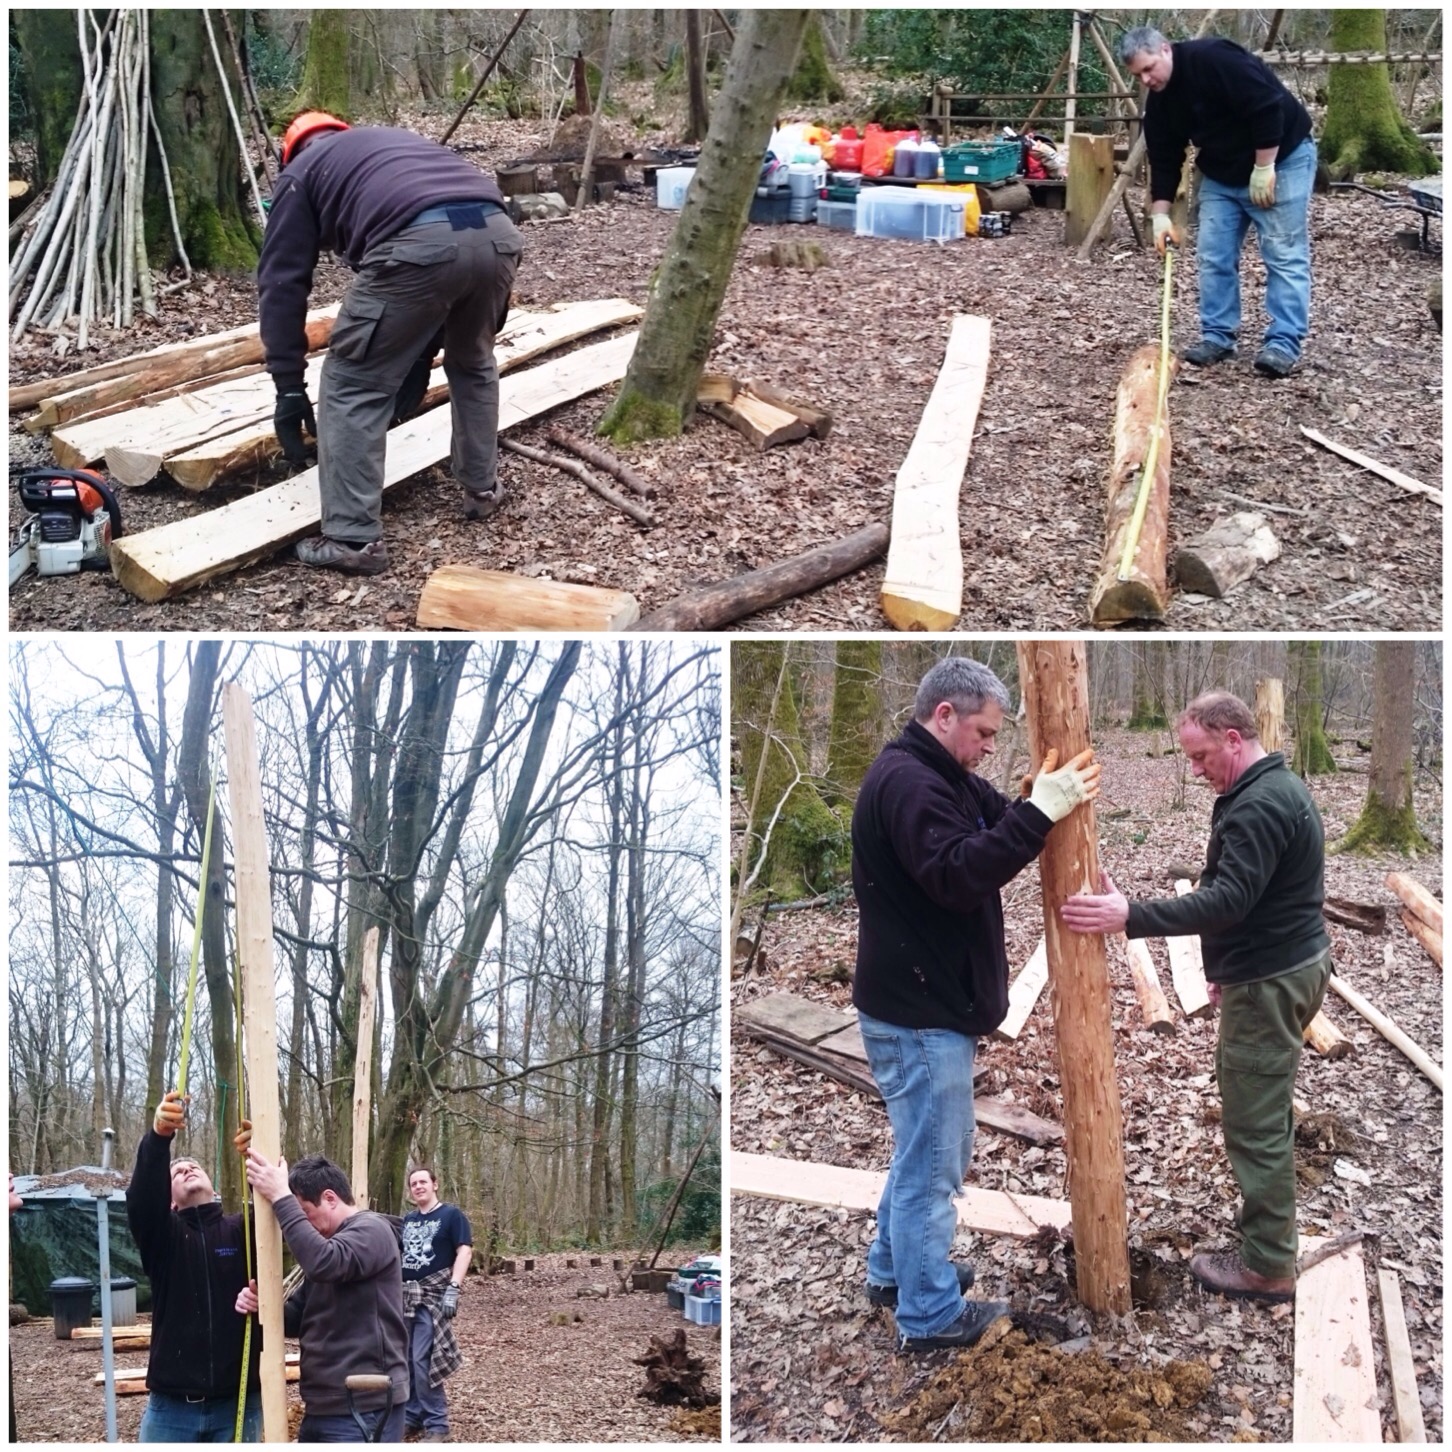
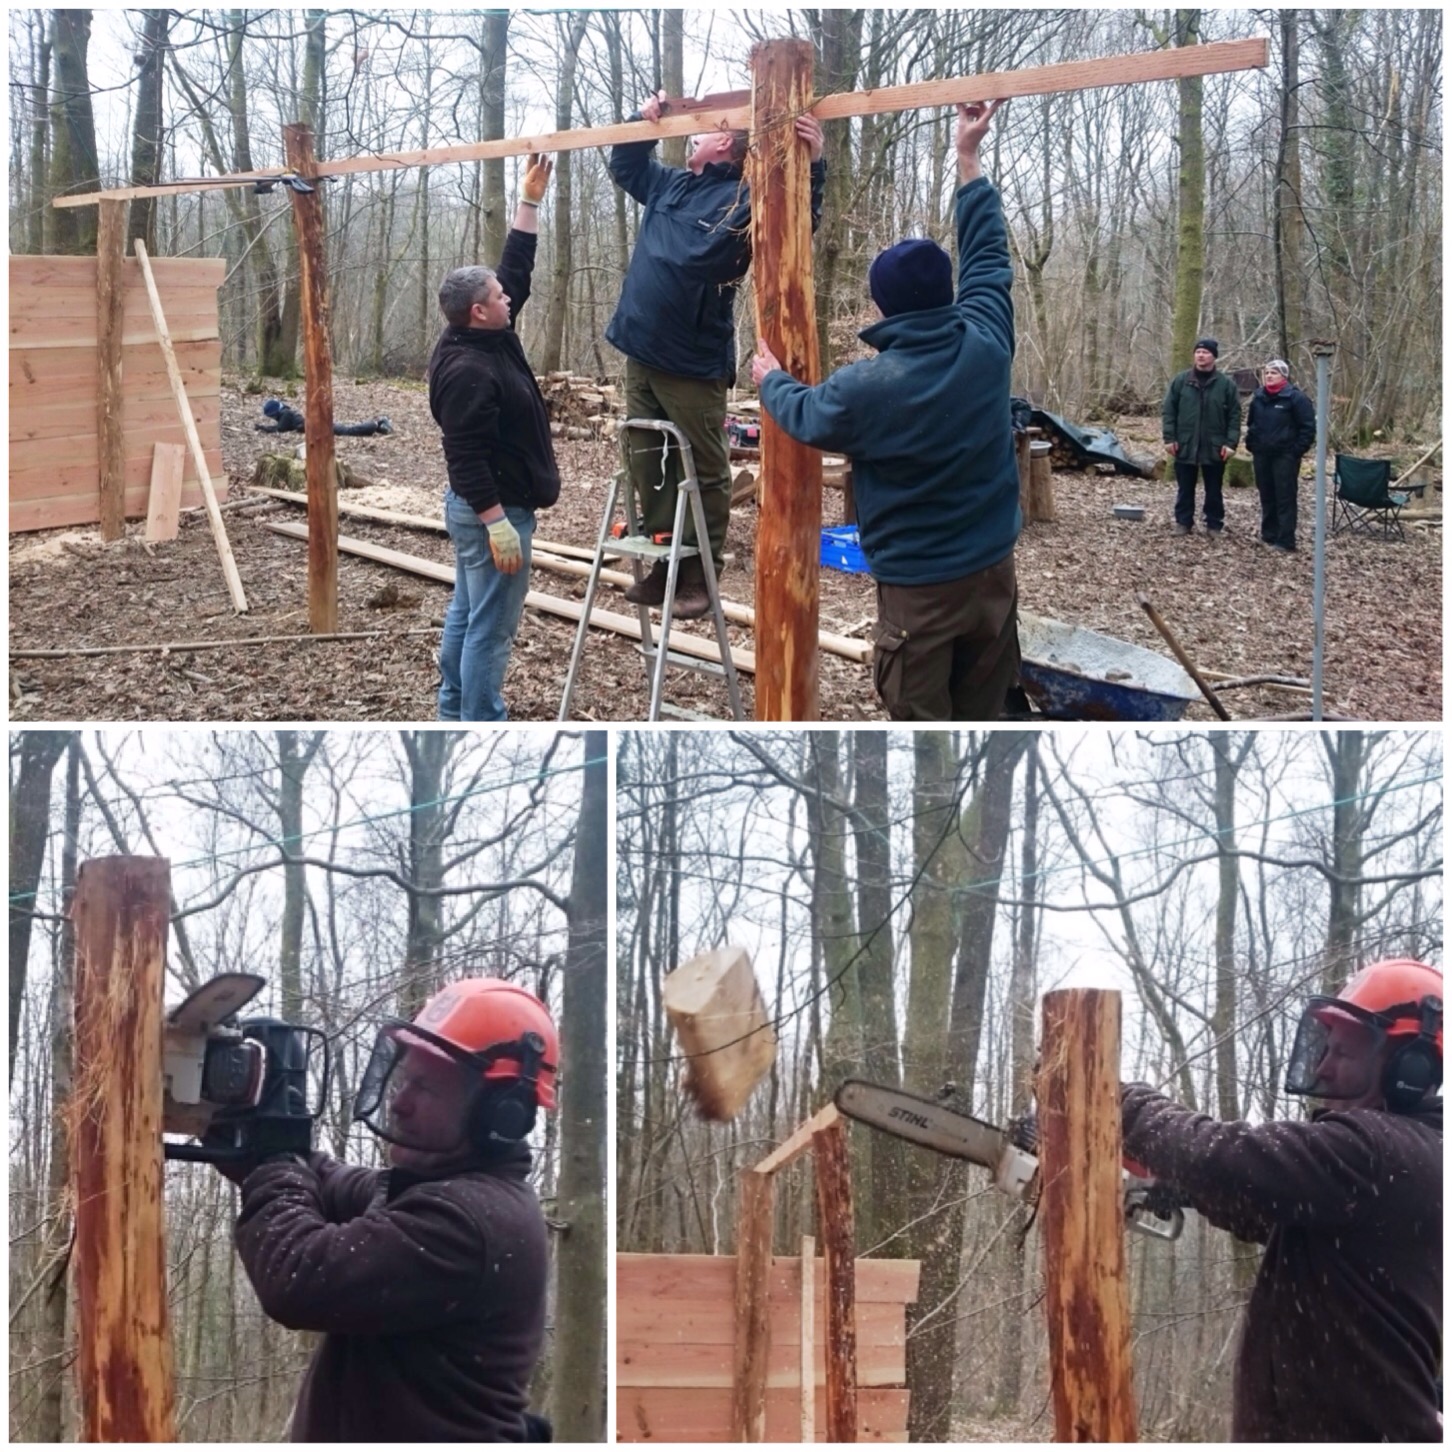
The other posts were put in and we used large pieces of straight timber to make sure the these posts lined up properly (mark one eyeball – carpenters measures).
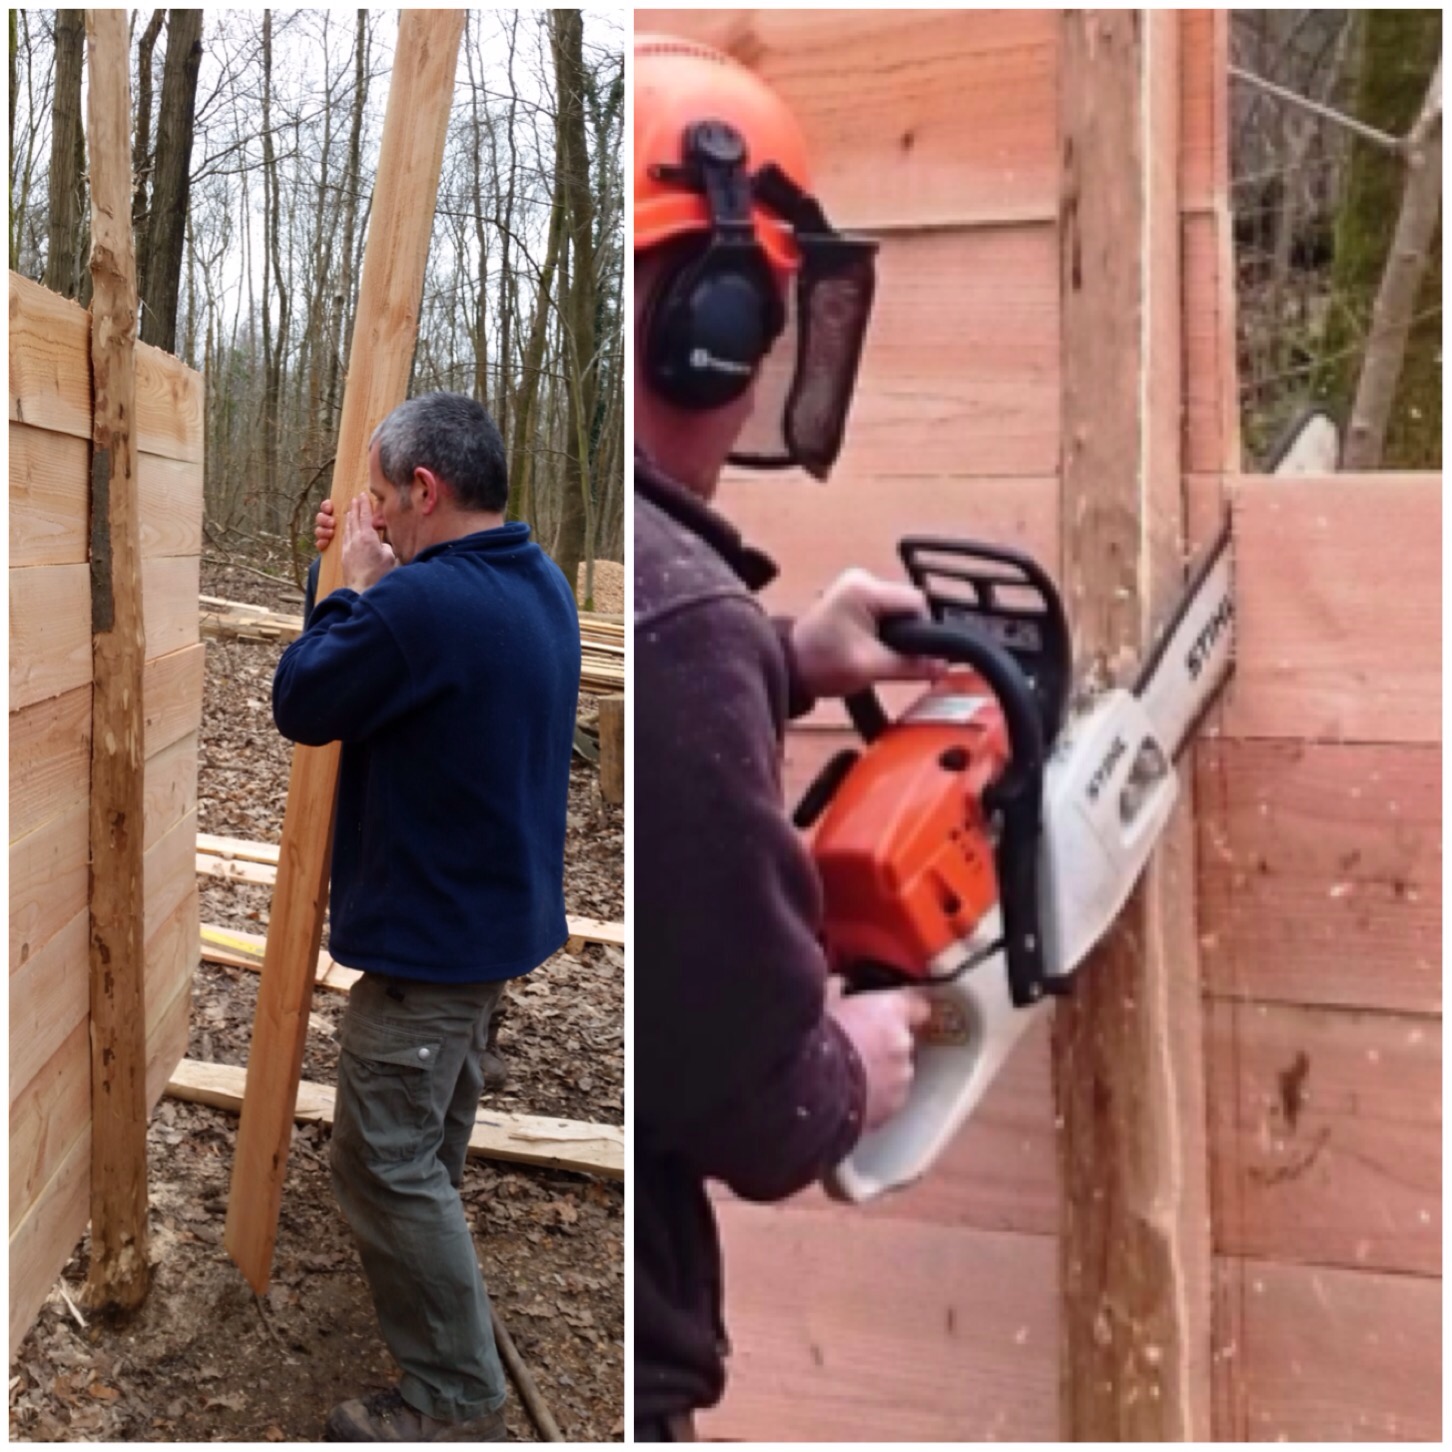
John then used his chainsaw to make the facings of the uprights smooth so we could attach the timber for the walls.
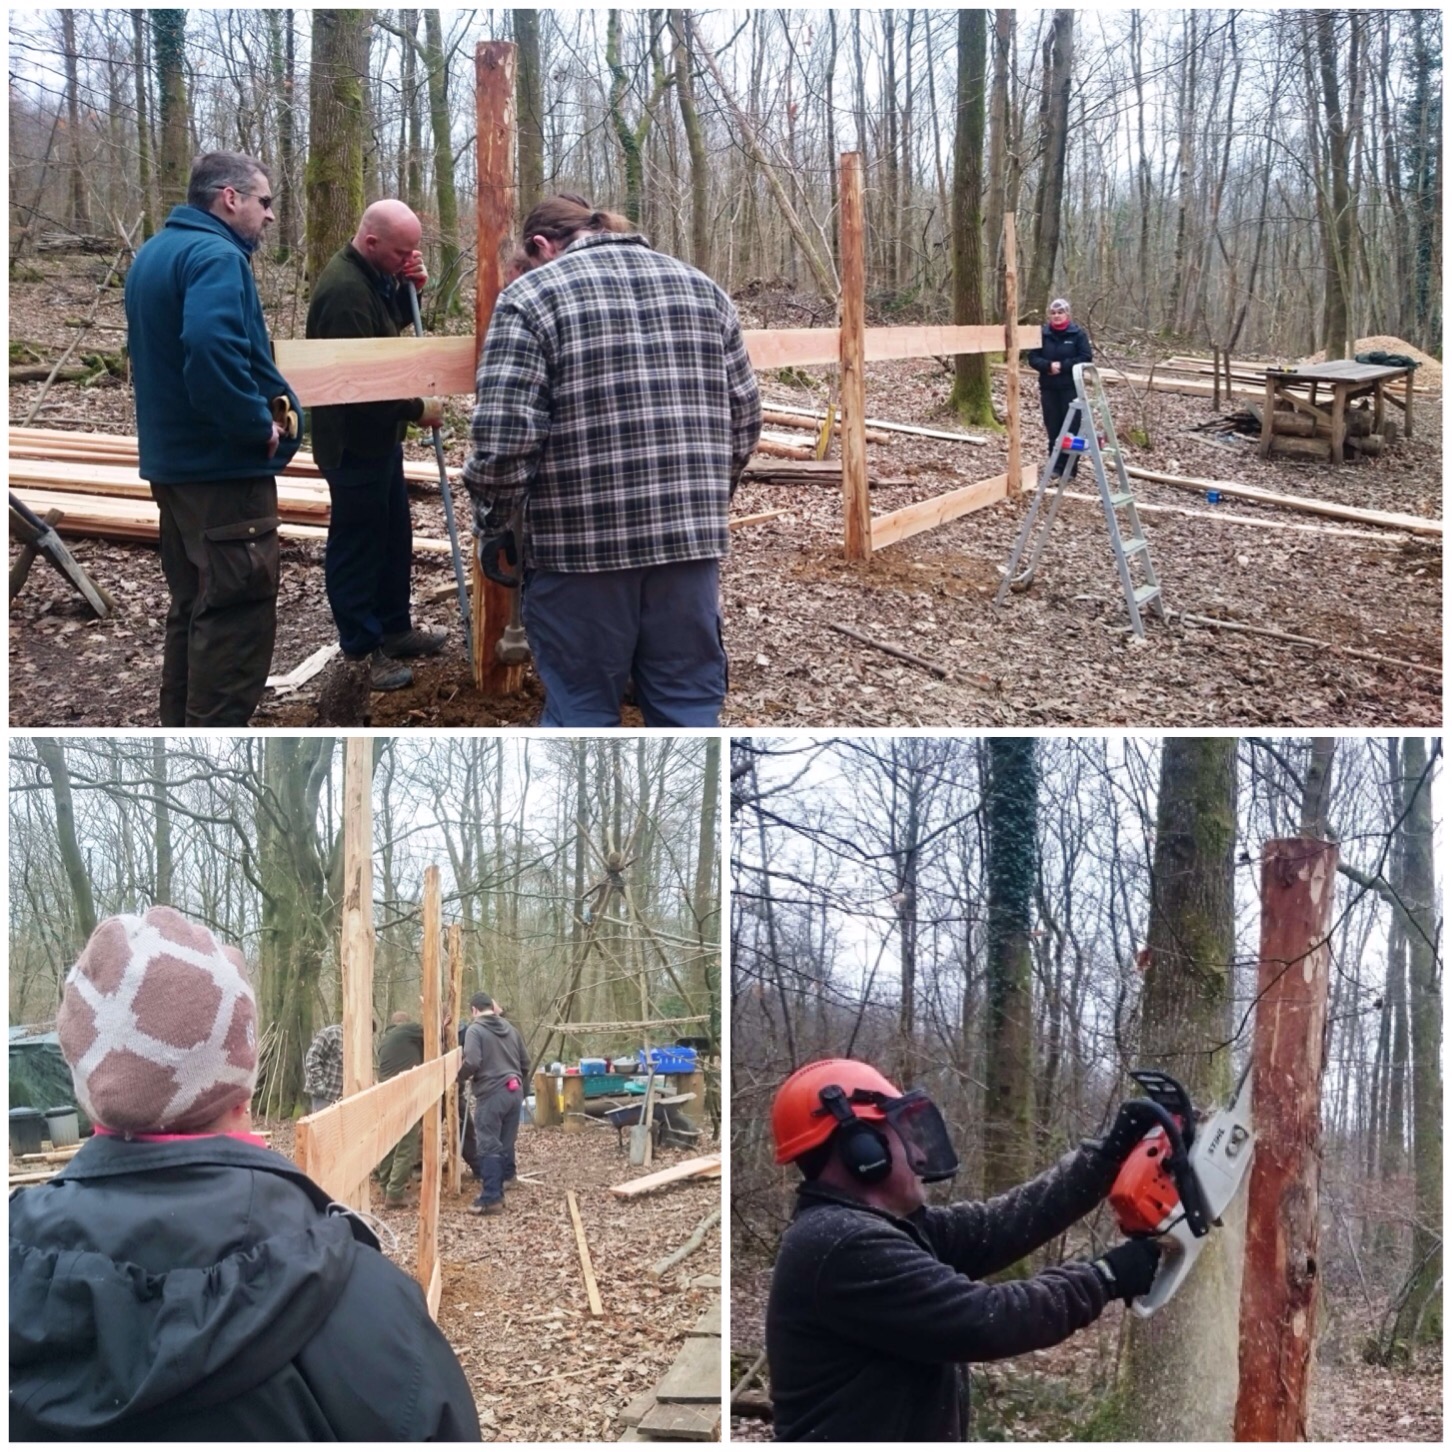
We actually built the back wall rather quickly. One person would select the timber, another held it in place, then pilot holes were drilled in by someone and finally someone else screwed the planks in. We all took turn about and soon had the back wall up.
The plan initially was to overlap the planks of wood so as to let the water drain off but we estimated at the start there were not enough to do that so we had to place them directly on top of each other.
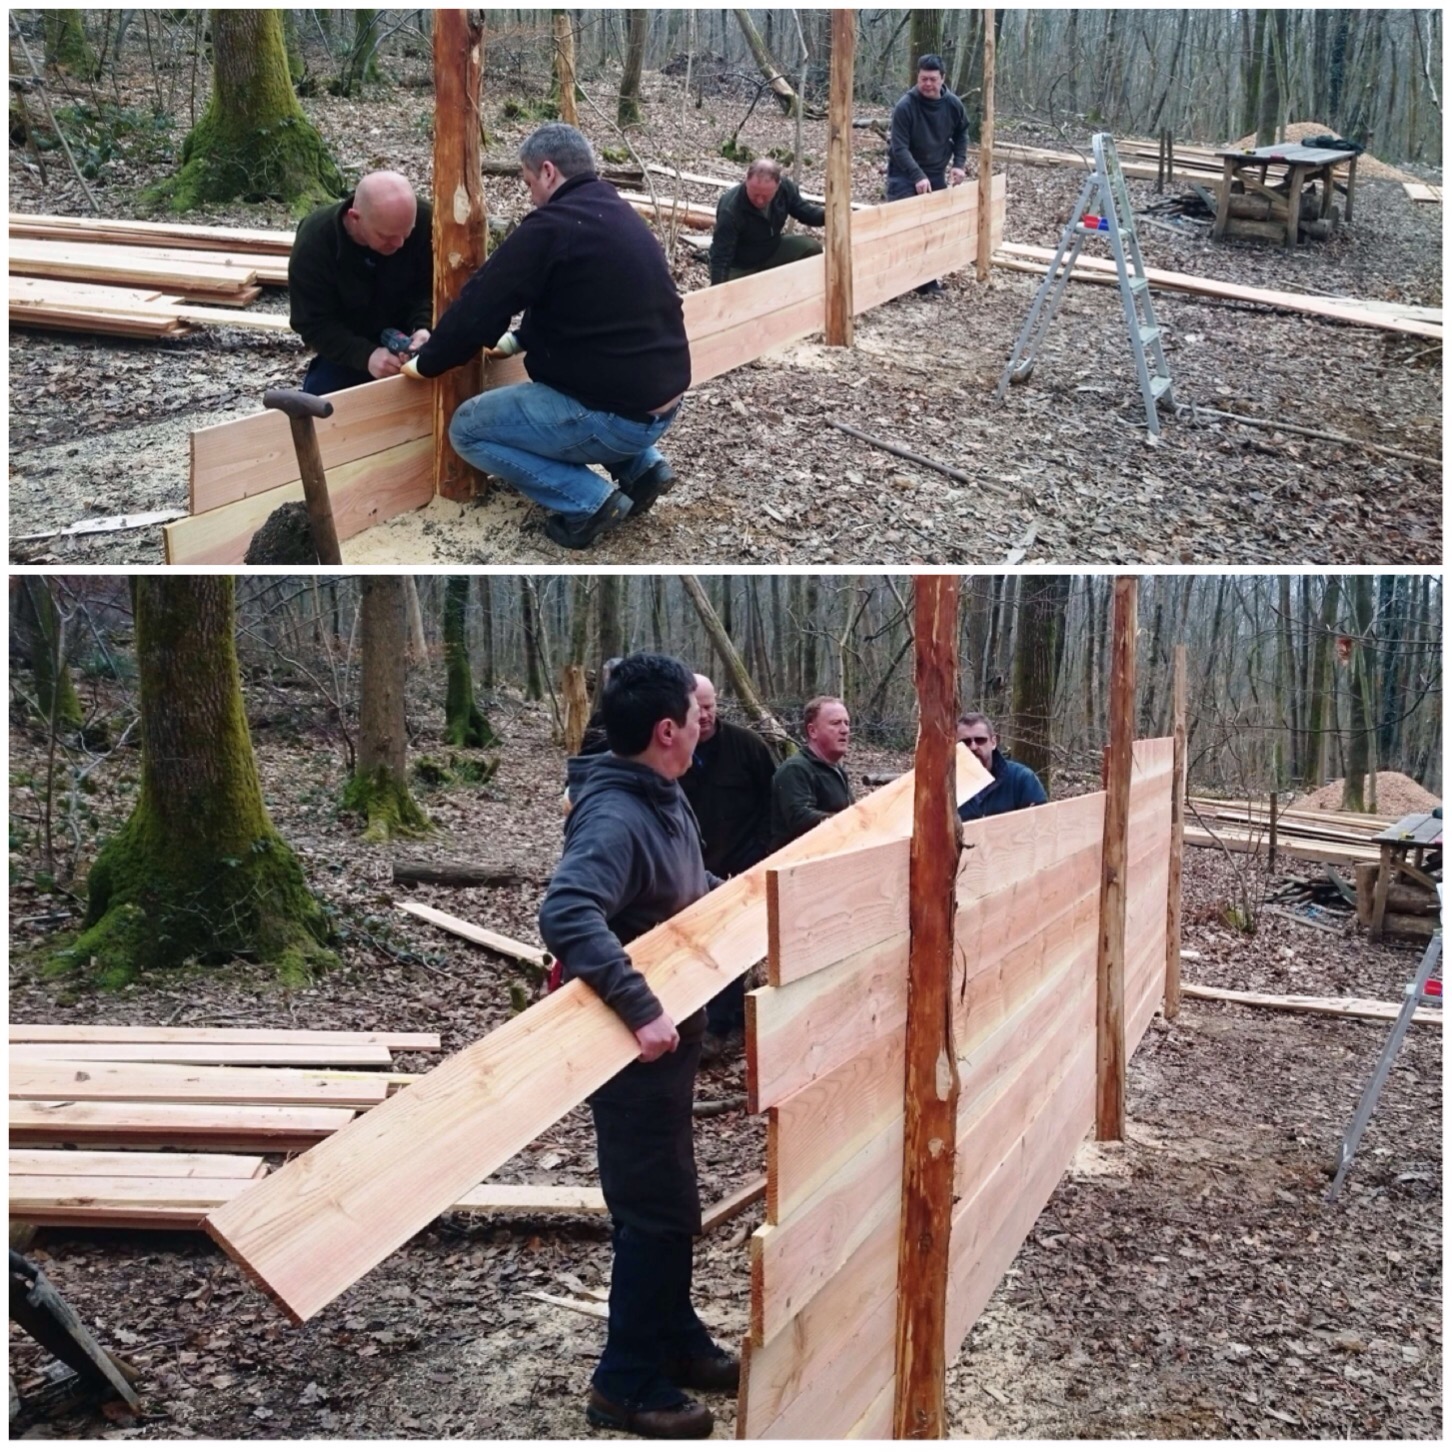
There was excess wood on one side so after using a plank as a measuring device John trimmed the excess off with his chainsaw. We left just a lip of wood at the edge to overlap with the side wall that was to go up next.
Once the back was completed we built the side wall in the same way as the back wall (no pictures I’m afraid) and then started on the front.
The cookhouse is on a slope and John and Caron wanted a decent slope to the roof to help with runoff of rain (but not so tall as to be a problem in high winds). The first thing we did was decide on the height, then we marked it off on the uprights and got John to trim each pole to the right height.
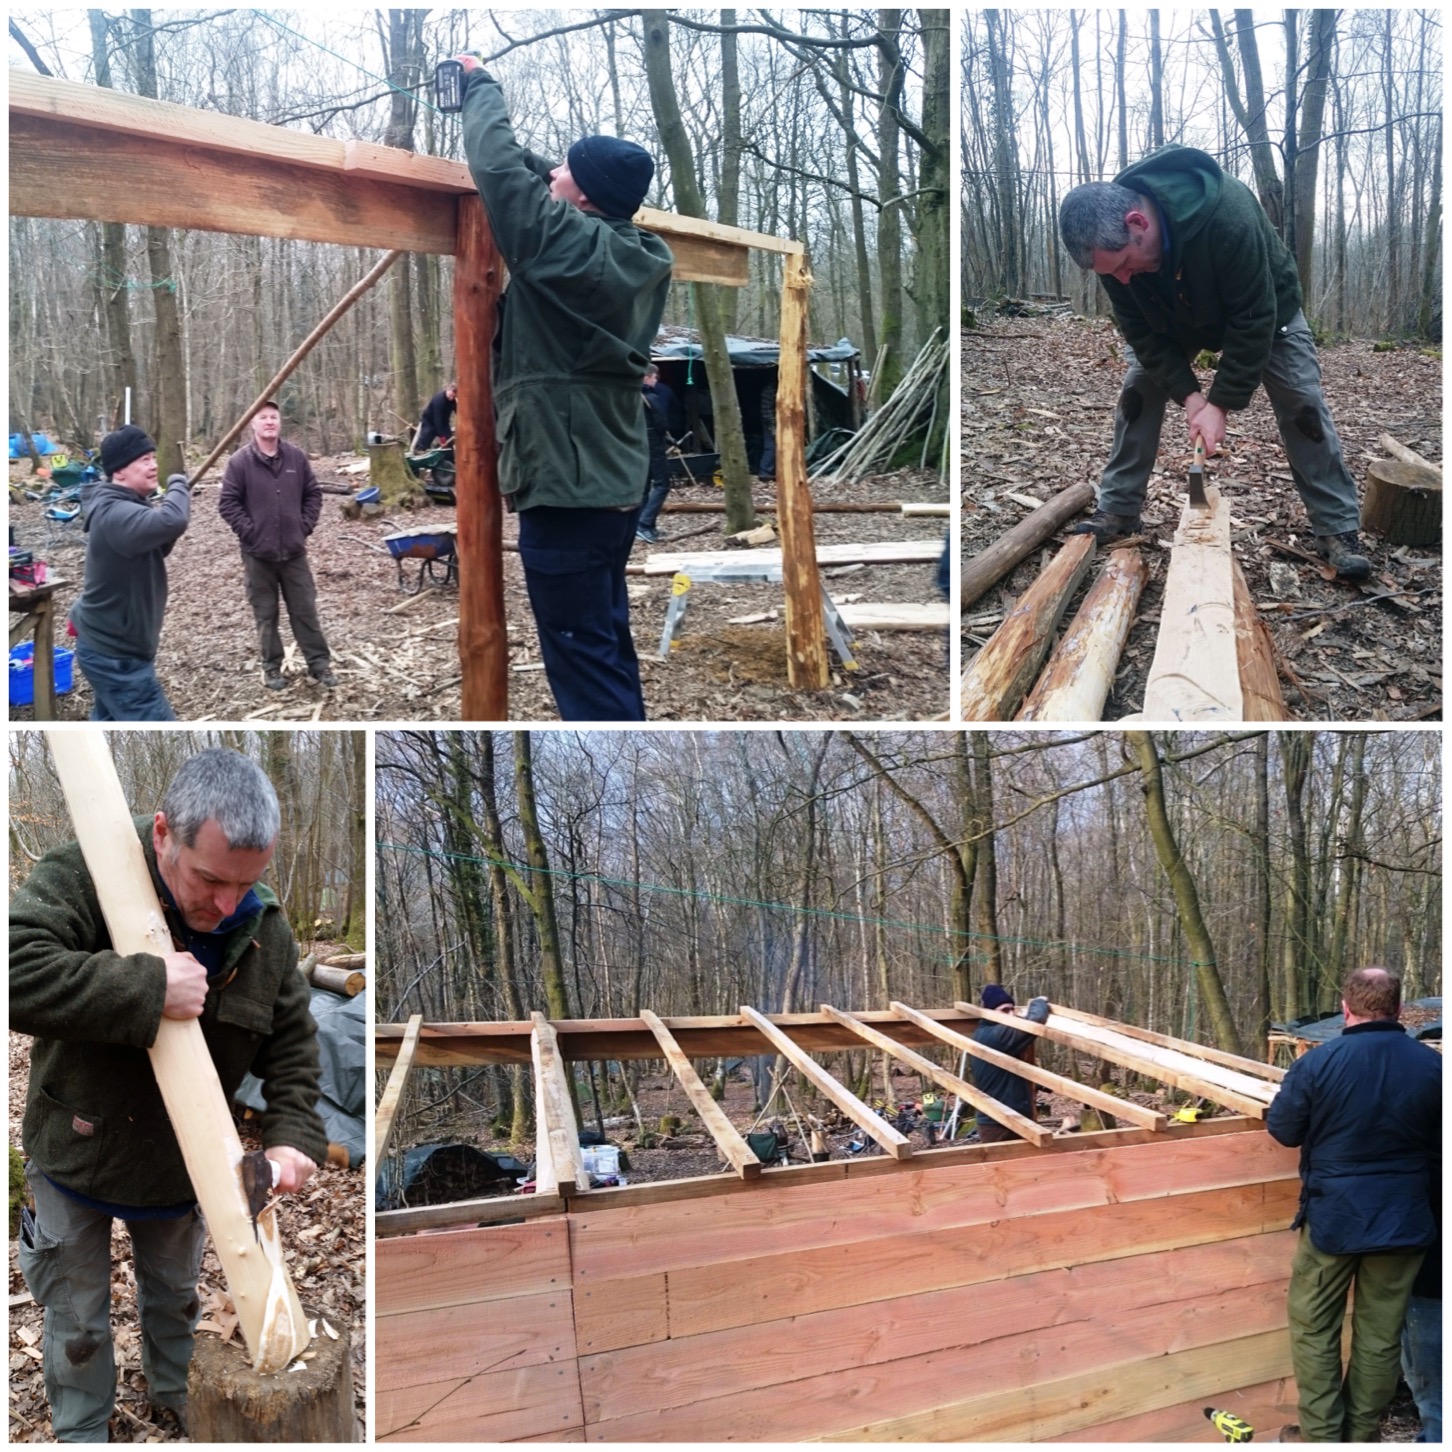
We built a strong lintel at the front and I trimmed a couple of sweet chestnut poles to act as main rafters. We also had a selection of smaller machined battons to act as rafters.
I secured one of the sweet chestnut rafters in the middle and the other one at the open end of the cookhouse. The other machined rafters were all spread evenly along the roof and screwed down.
We did not have the shingles for the roof so we just nailed down a large tarp as a temporary cover.
In the bottom picture you get a feel for the angle of the slope the cookhouse sits on.
You can just make out the sign above Caron naming her kitchen (I have no idea who wrote it). In the pictures on the right you can see the shelving unit that Paul and Nigel built. Seemed pretty secure as it offered a perfect seat for John to survey it all.
You can also see the internal battoning (to the left of the jacket in the bottom tight picture and also to the right of John). This really strengthened the walls as we dug the battons deep into the ground.
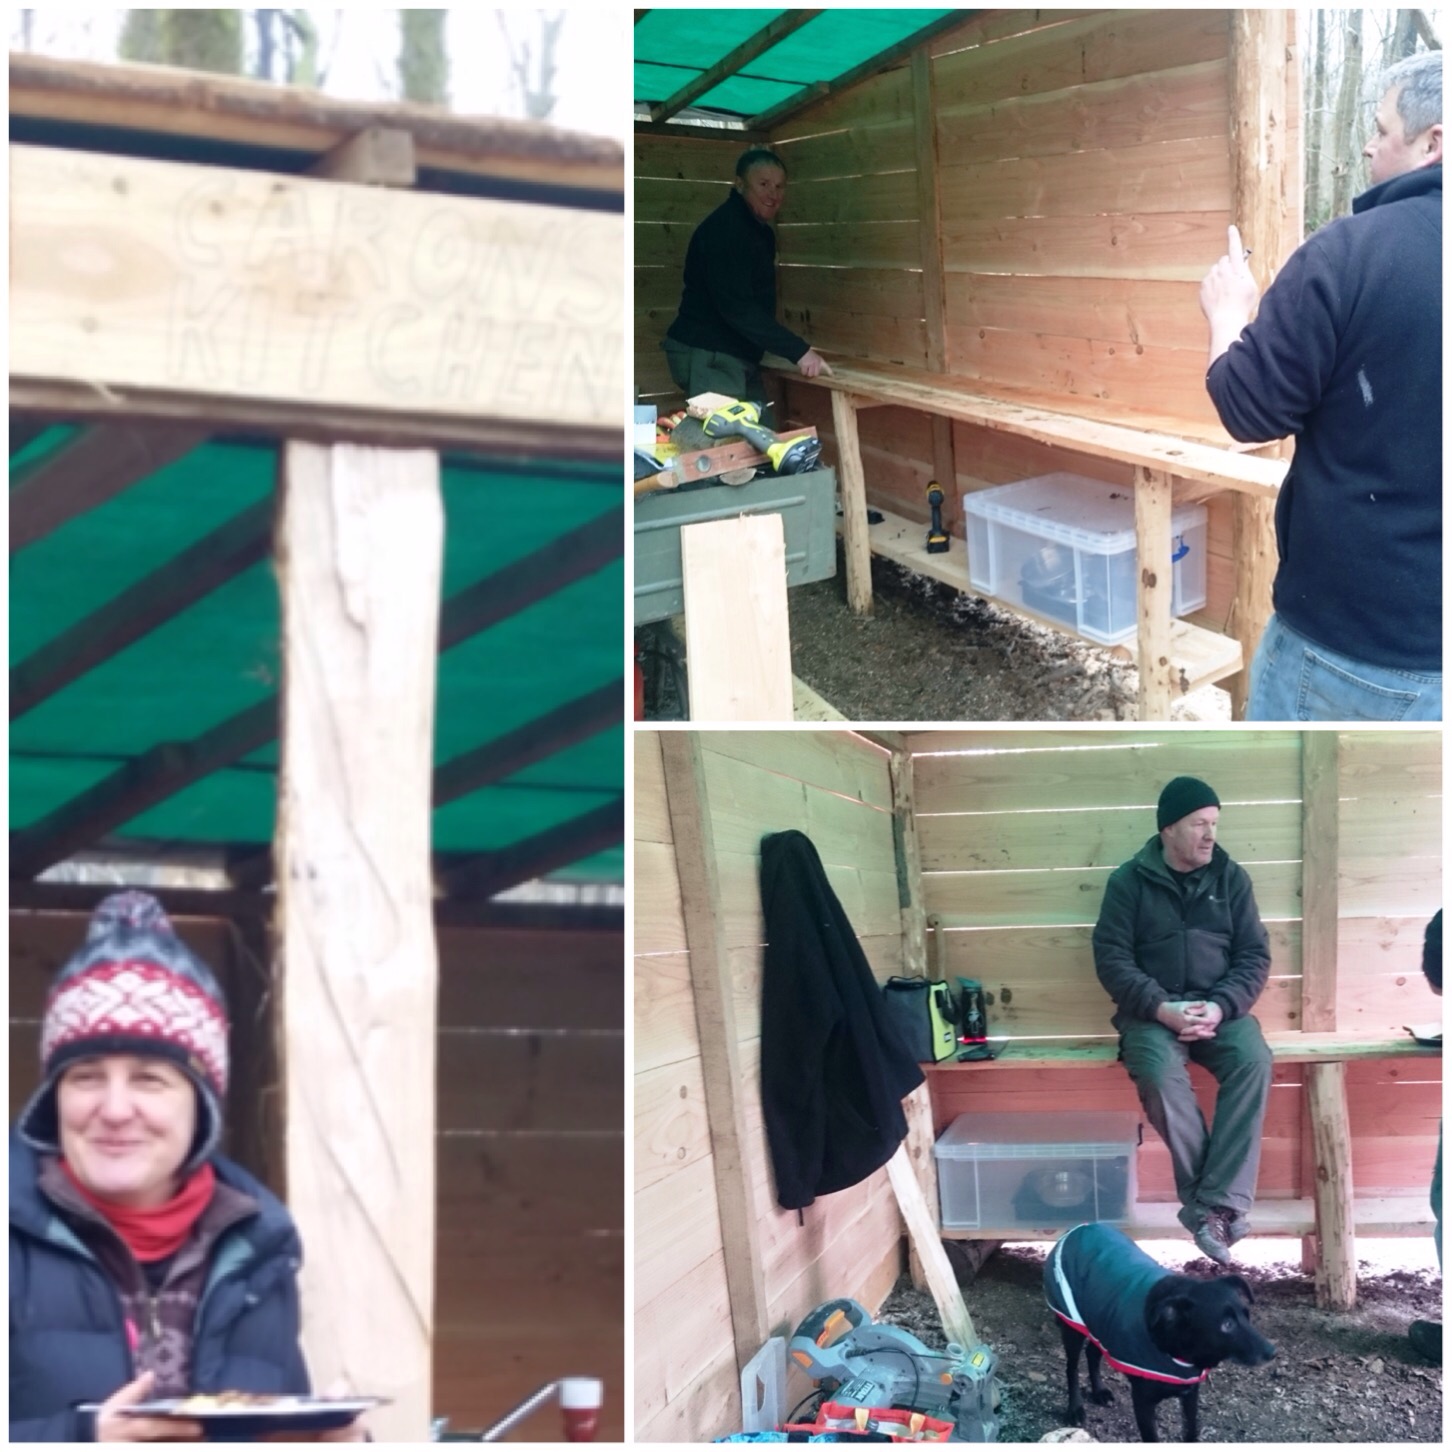
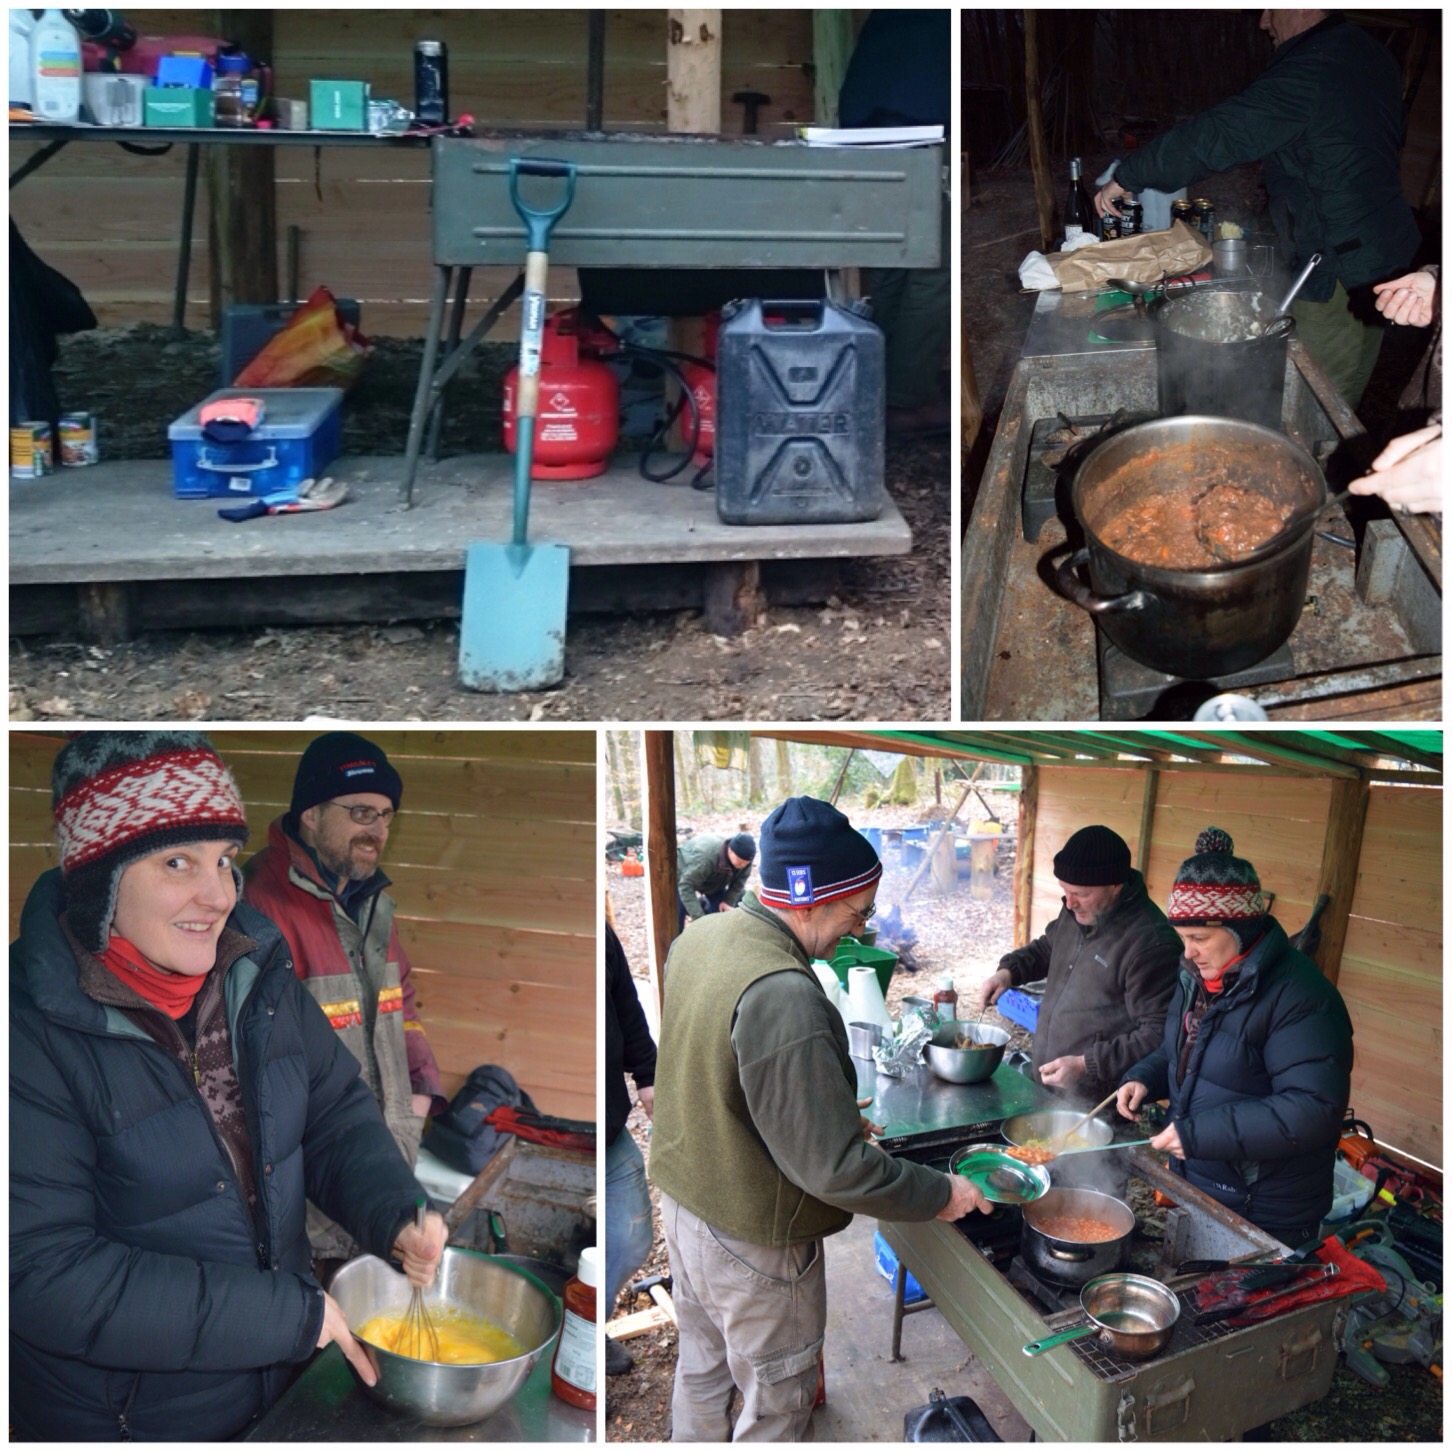
Kev and Chen moved the kitchen platform from its old spot to inside the cookhouse. They did spend a good bit of time getting it secured properly on poles and perfectly flat.
We had some great food over the weekend with our dinner on the Saturday evening and breakfast on Sunday morning cooked inside it.
There were some other projects going on involving re-building the shower house, laying new chippings on the paths and building the raised firepit you can see in the picture below (that will be my next post in this series).
The Sunday was a very frantic day as we strived to get everything done. When we took the group photo some of the lads had already left (about three or four I think) so apologies if i have not mentioned everyone involved in this project.
More on the raised firepit in the next post.
Cheers
George