
Back in 2010 at the BCUK Bushmoot I saw a wood gas stove that my friend Ian Woodham had built for himself. Needless to say I was very impressed with this stove.
One of the reasons I love it is that it’s so easy to put together: it requires no welding and only the most basic materials and tools. Even with all the testing and photographing I did, this stove took only the better part of an afternoon to make.
Yet despite its simplicity it’s actually very efficient: there’s a primary burning area in the centre and the smoke and gases from this primary burn are channelled to the top of the stove to be re-burned. I found a good image of this in Wikipedia – Wood gas stove – Principle of operation.
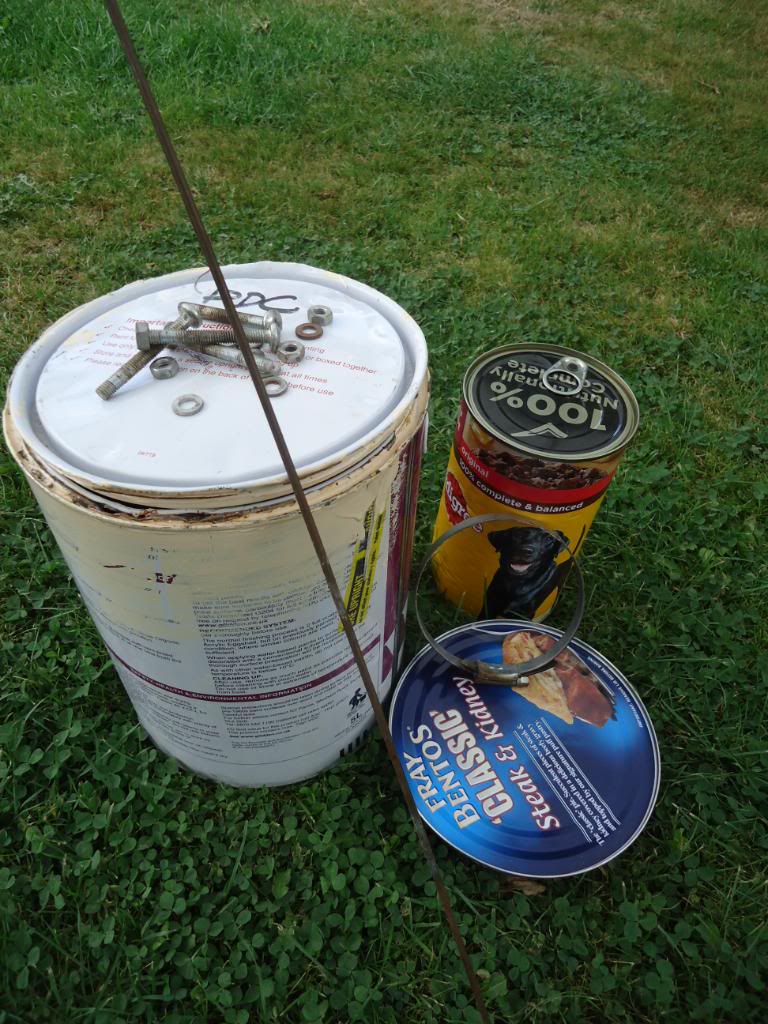
I used a standard metal paint tin, a large dogfood tin, a Fray Bentos tin, a Jubilee clip, a metal rod and four bolts (with nuts and washers). The tools I used were a power drill, small hammer, metal file and tin snips. If you own a Dremmell (or similar tool) your life will be much easier.
Just click on any picture to see more detail.
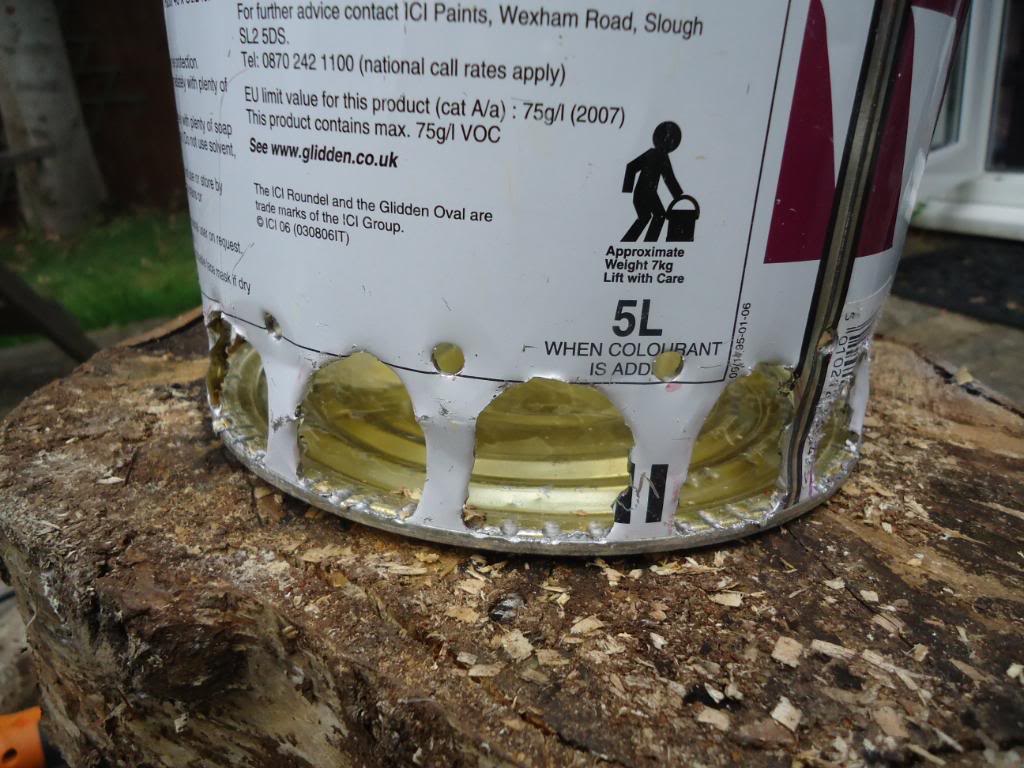
In order to allow airflow through the bottom I marked out some ‘arches’ around the base and then cut them out. I used my drill for this and then some pliers (at this stage I did not have my tin snips). I also added some little holes in between each arch. If I had had the tin snips from the start the job would have looked much neater. I did not take a picture of the drilling stage as my hands were full, but I used a rounded piece of wood secured in a vice to support the tin (on the inside) as I drilled into it. I also used the file to smooth off any sharp edges.
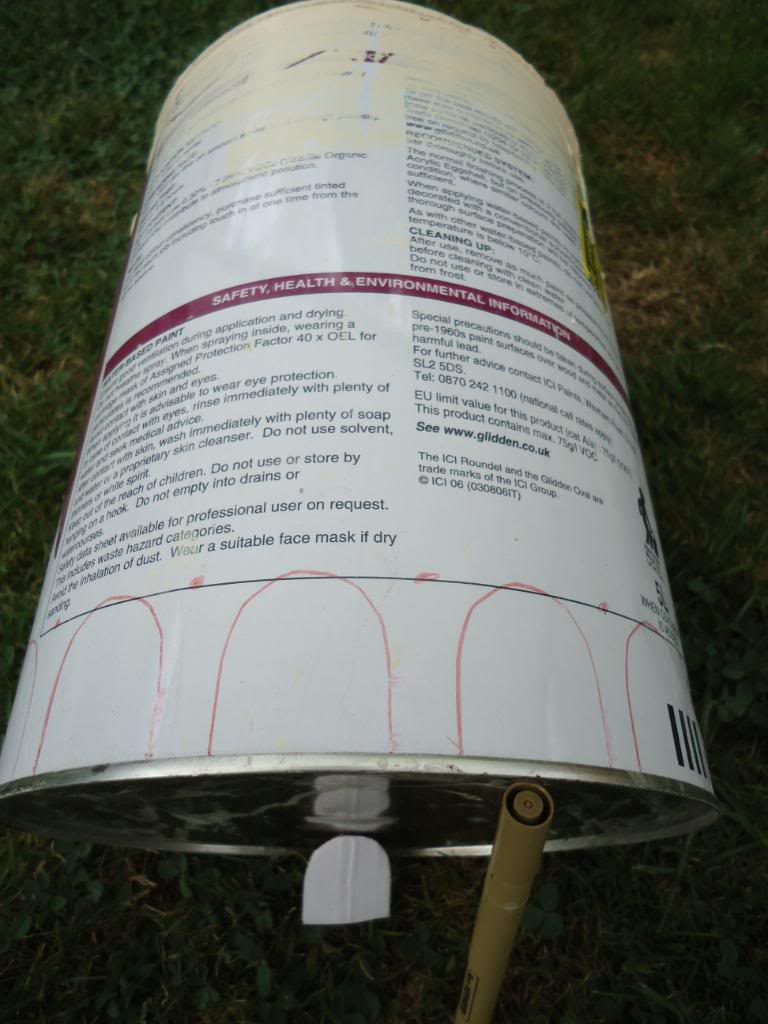
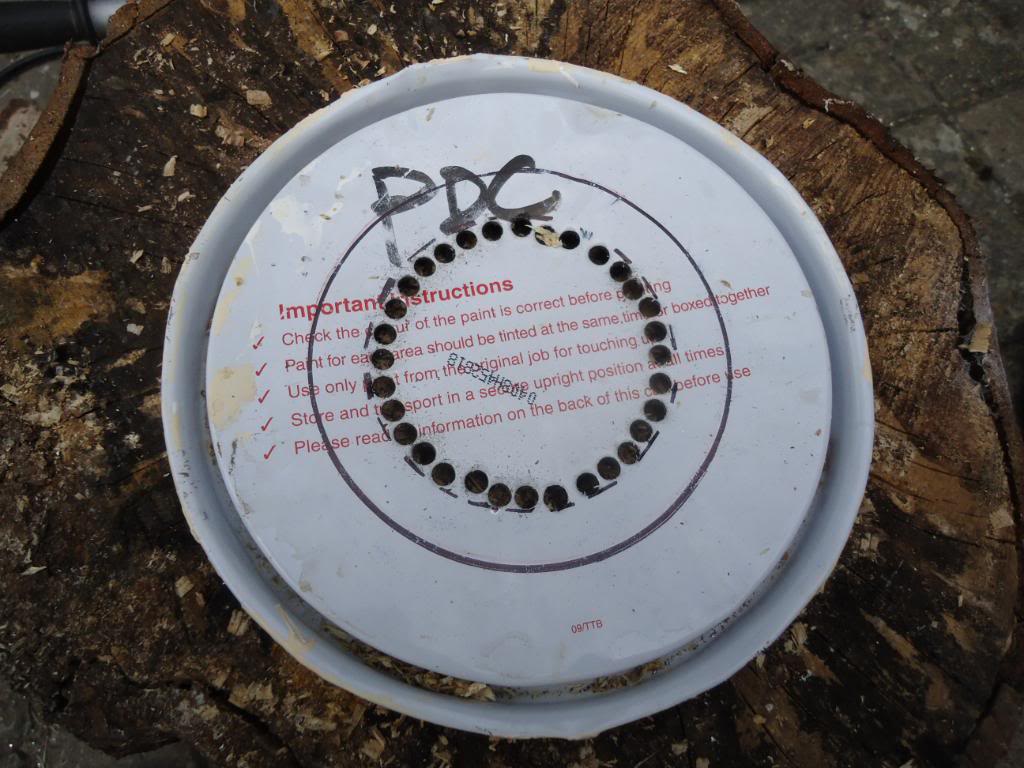
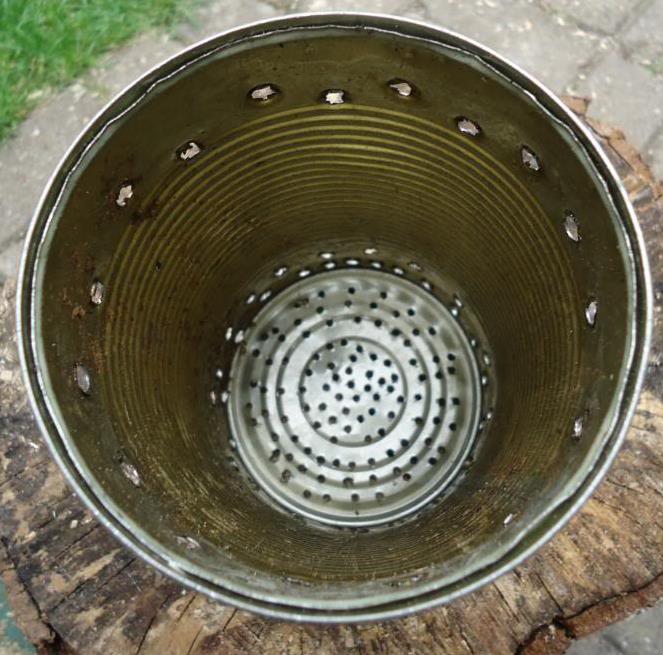
I then used the dogfood tin to mark a circle on the lid, then made another circle about 1cm inside that. I drilled holes all around the inner circle to make it easier to cut out.
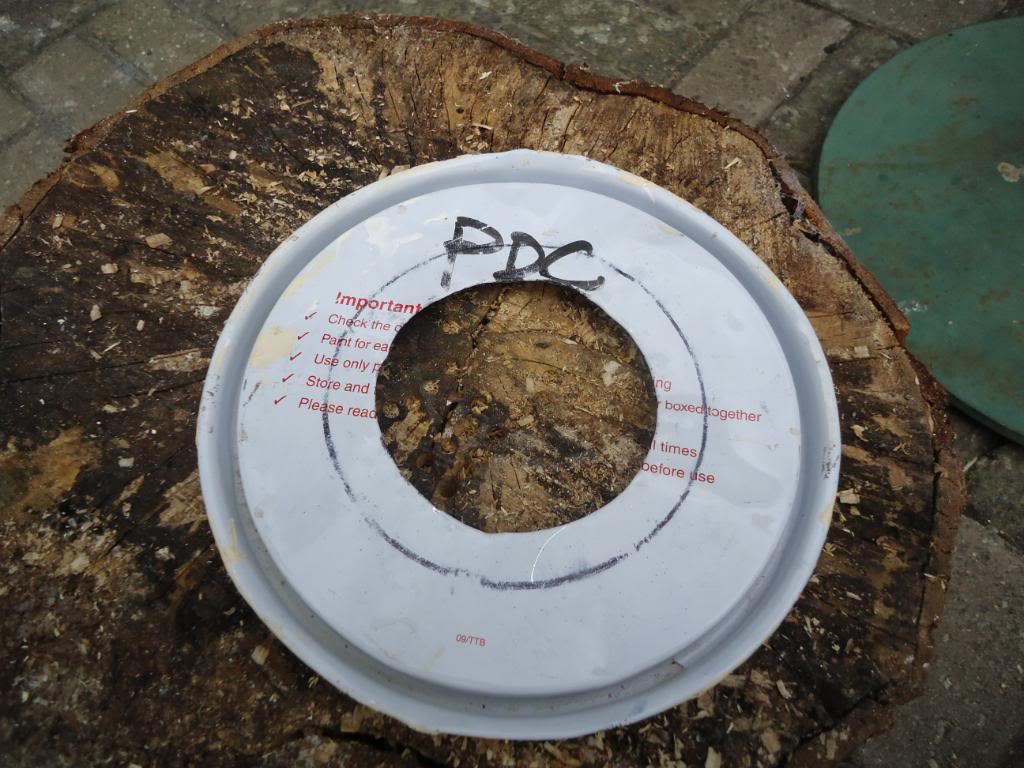
Using my new tin snippers (went out to buy a pair) I cut lots of slits and then folded them back. These folded pieces of tin are needed later.
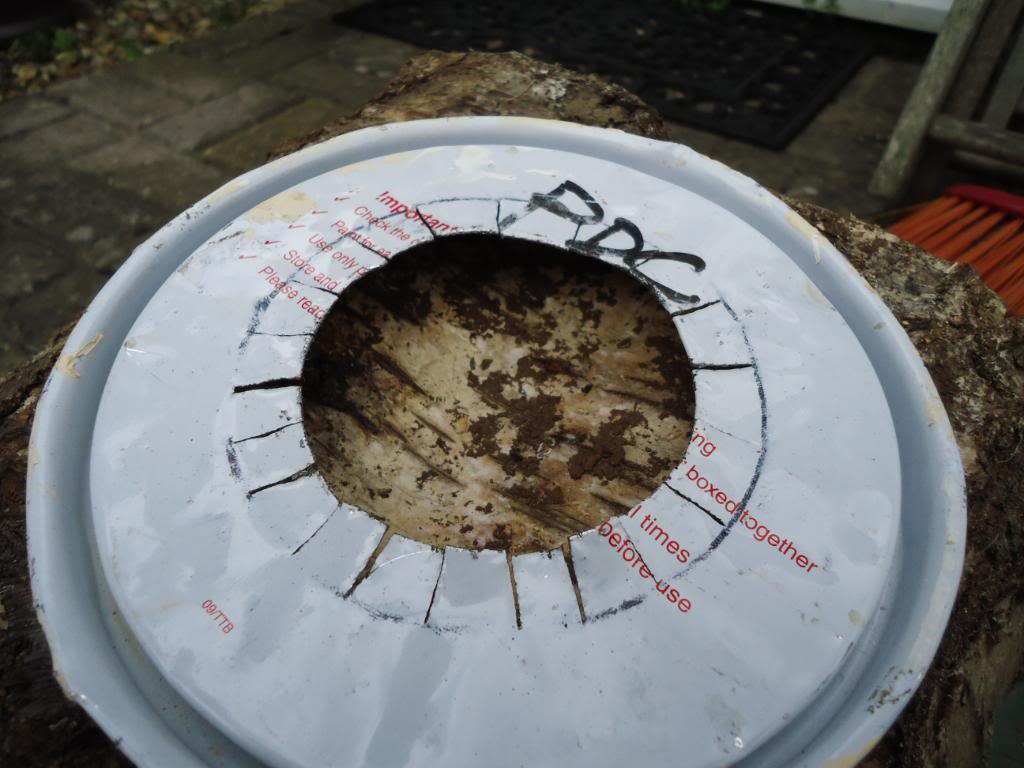
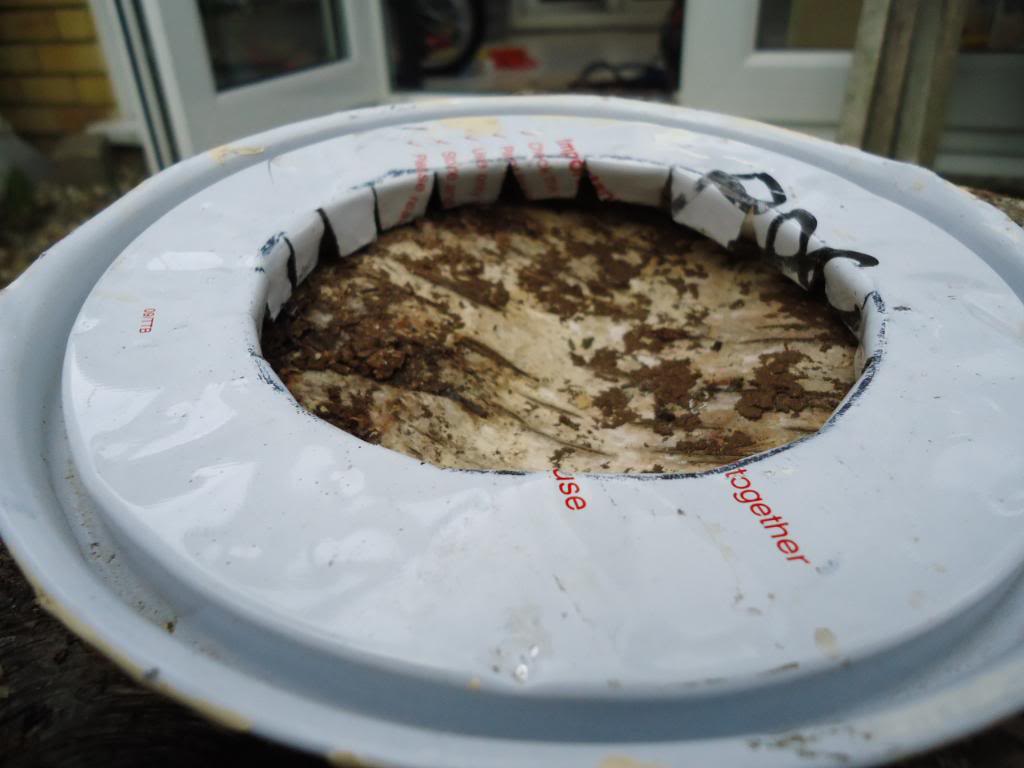
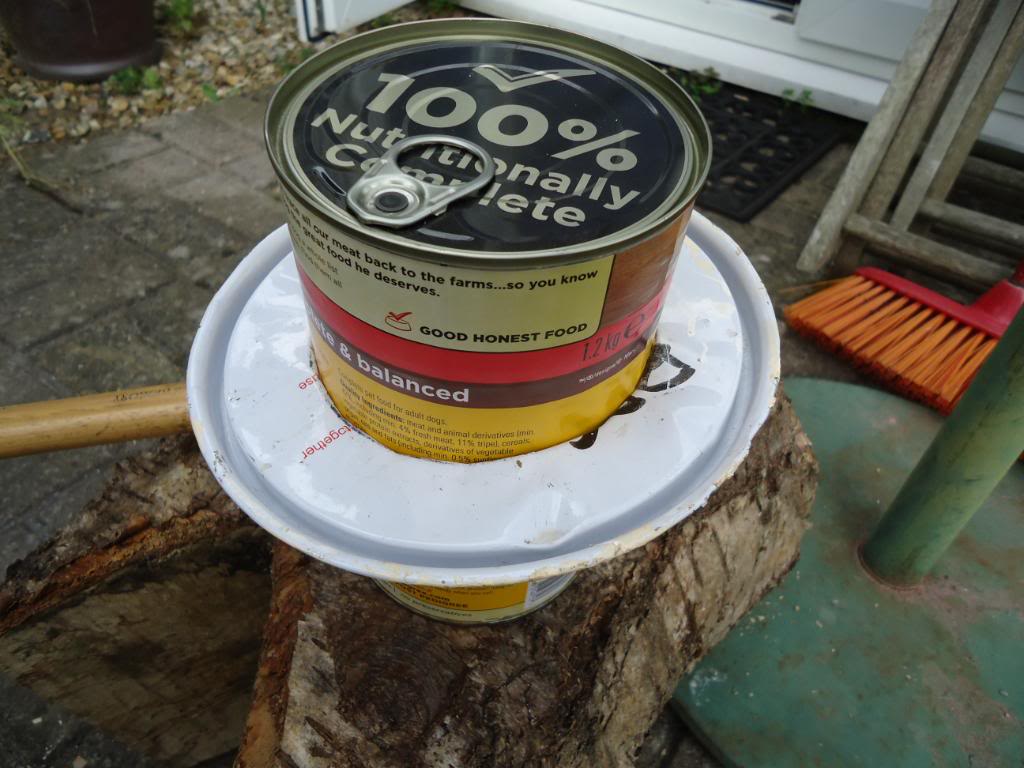
Ensure that the dogfood tin fits snugly.
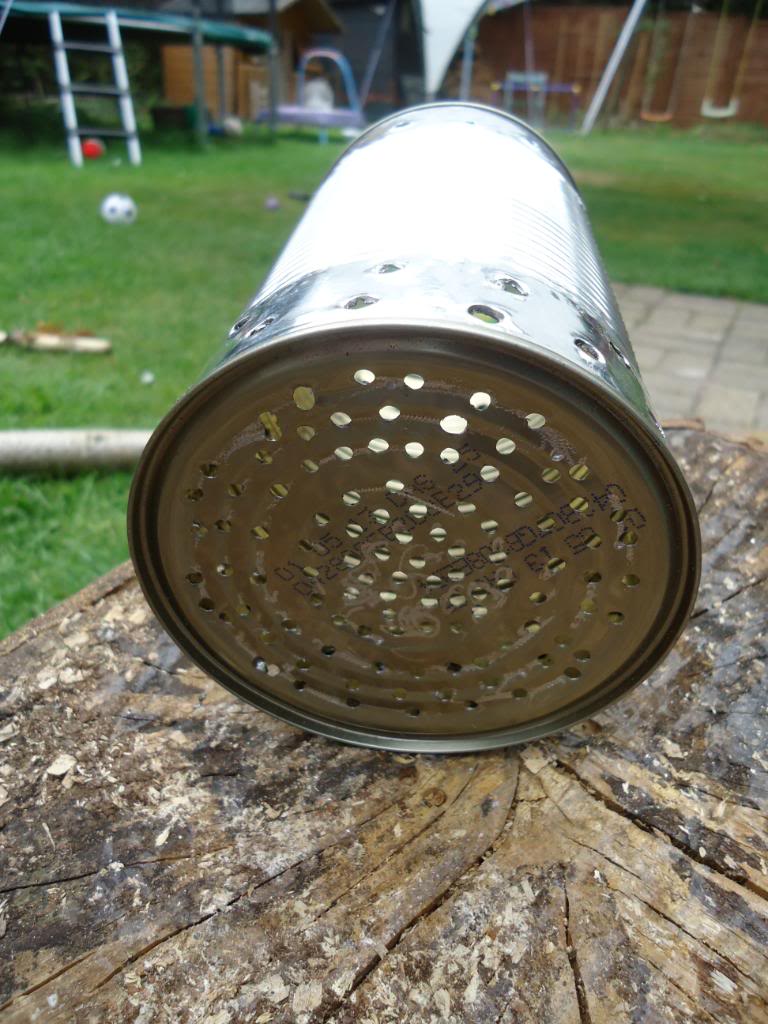
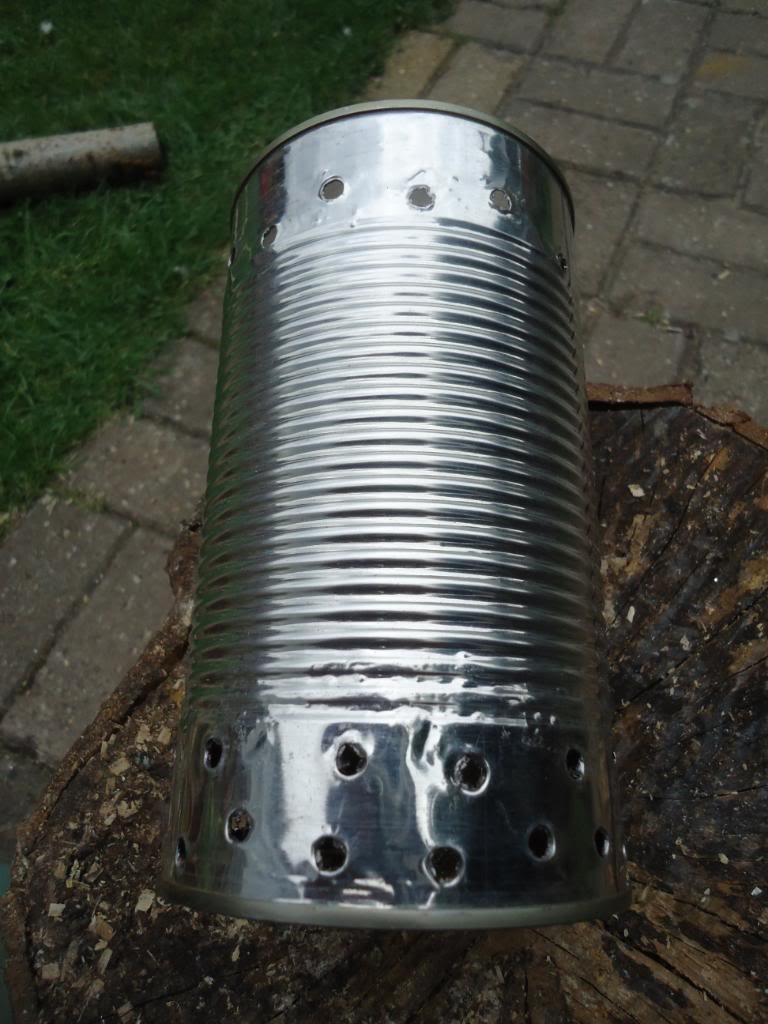
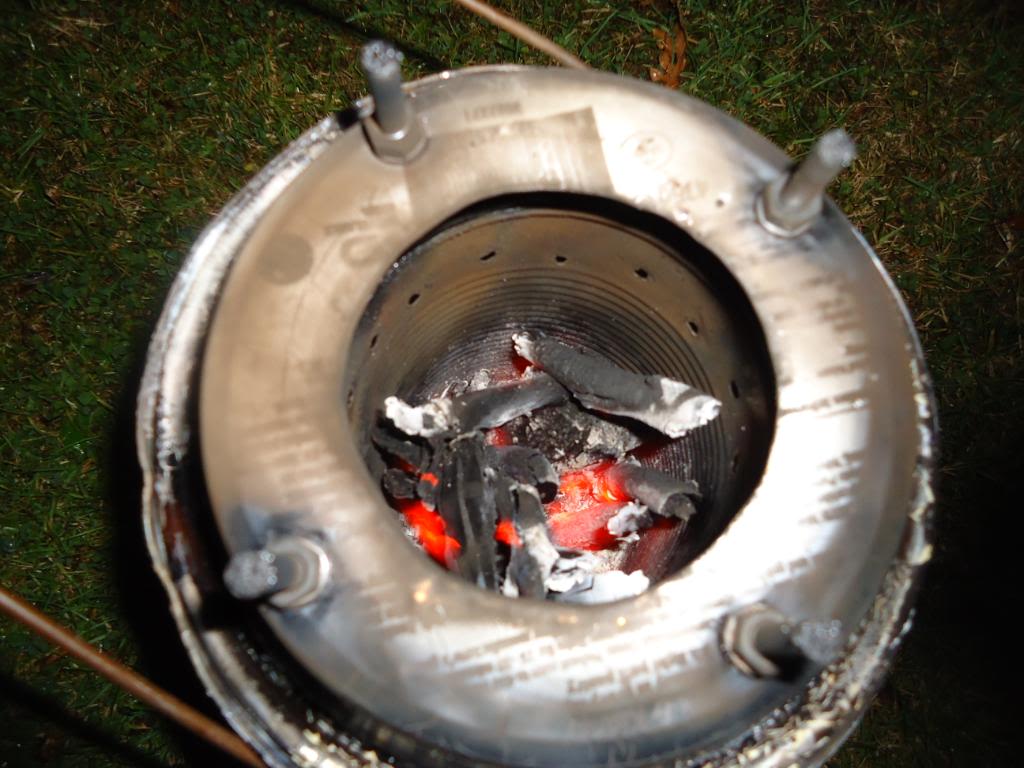
Using a drill and my piece of backing wood on the vice I drilled loads of small holes in the base of the (empty) dogfood tin. I then drilled bigger holes on the sides at the top and bottom. I put twice as many holes at the bottom than at the top. If I was to make another stove I would make these holes even bigger. The small holes on the bottom allow air to rise up into the primary burn area and the bigger holes on the side at the bottom allow air in and gases to escape (to rise up to the holes at the top). The holes at the top allow the escaping gases to be sucked back into the top of the stove where they are then re-ignited. A very efficient system when you think about it.
Use your hammer and file to beat flat any sharp areas on the inside.
After re-inserting the dogfood tin into the lid I secured it with a Jubilee clip.
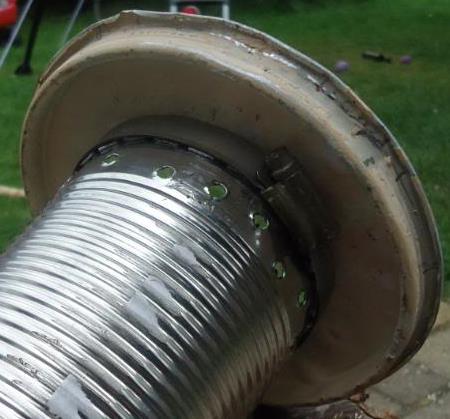
I also replaced the plastic handle on the paint pot using a metal rod to make a fire-proof one. Now with the burner, air holes and handle finished it was time to construct the hot plate. Thankfully Ian had shown me his secret: a Fray Bentos tin, which fits this size of paint pot perfectly.
So take one Fray Bentos tin (empty – what you do with the contents is your own business), mark a circle roughly the size of the one on the paintpot lid, and drill holes all round the line to make it easy to cut out.

My son Finlay was keen to help hammer all the jagged edges flat.
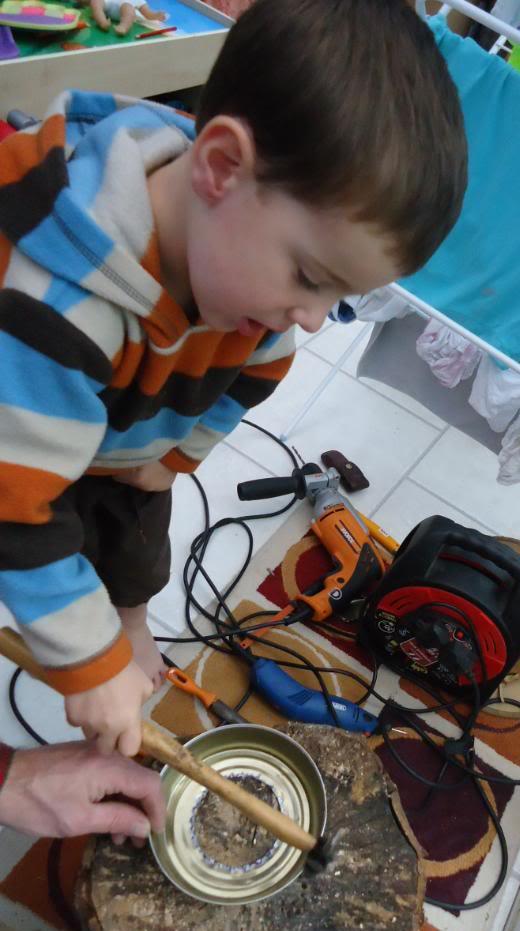
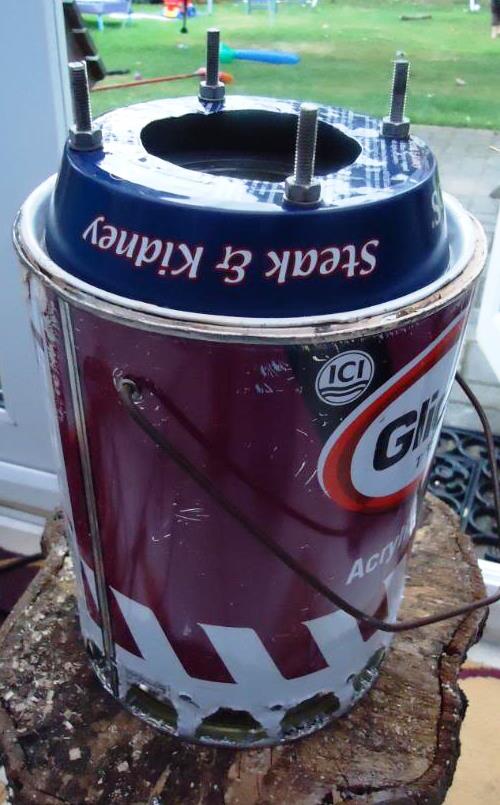
The next stage is to drill four holes for the bolts and then attach them to the Fray Bentos lid and voila – one hot plate ready. The hot plate fits perfectly into the lid (into the recess) of this type of paintpot.
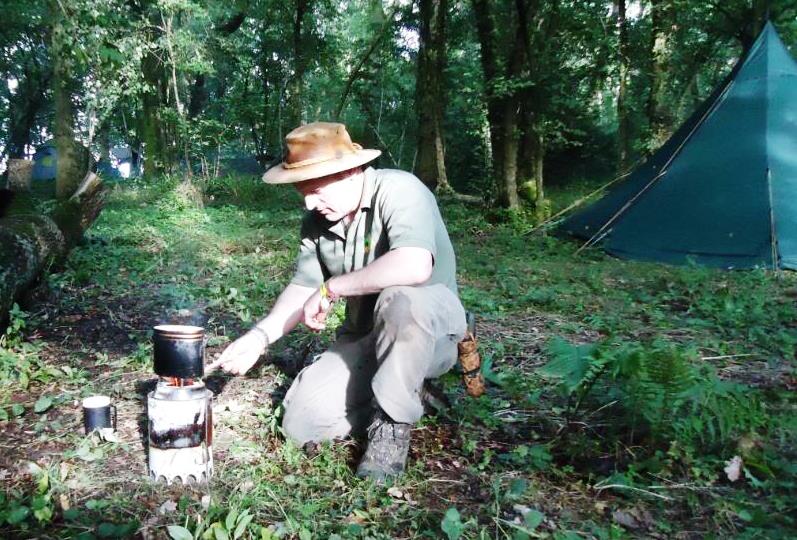
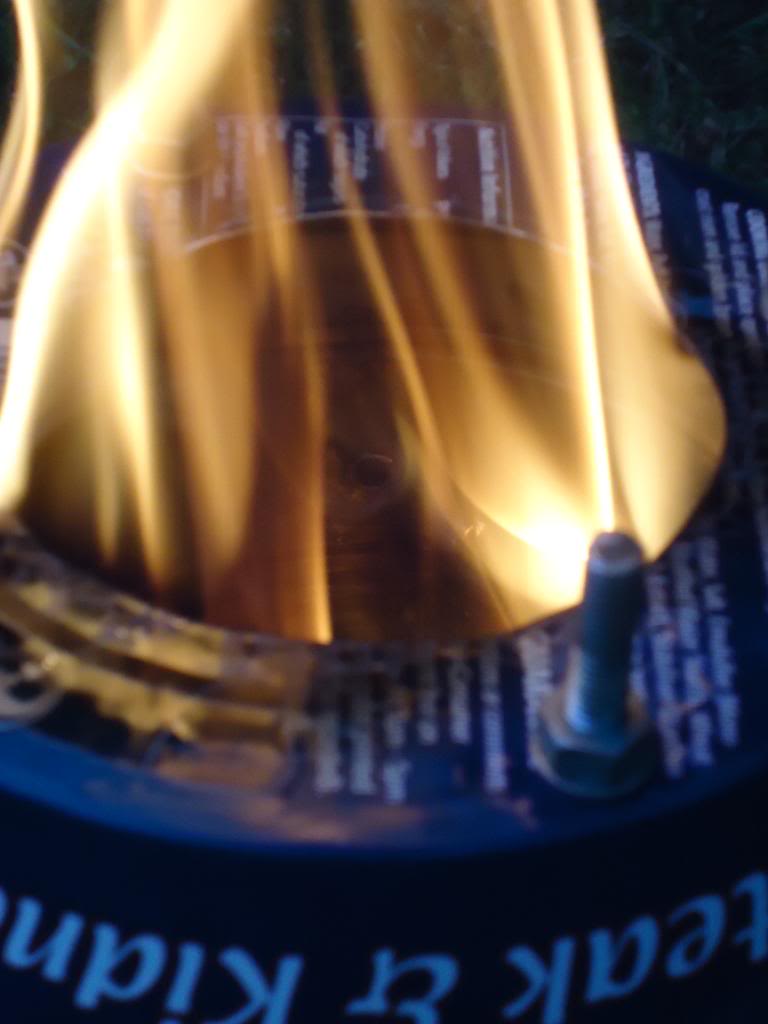
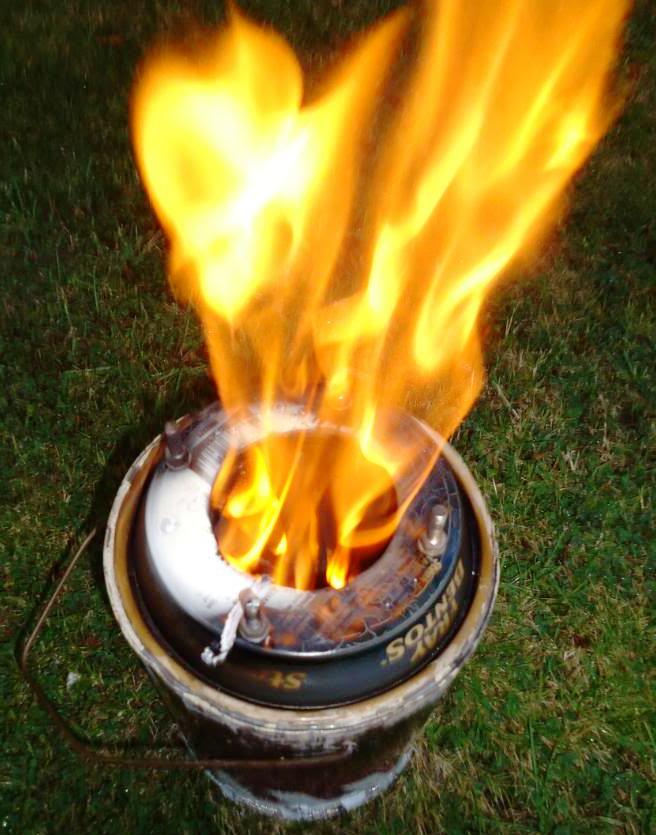
I fired up the stove with some small twigs and was able to keep it going for a good while by dropping in just the twigs I found lying around. After testing the stove out I used a blowtorch to burn off a lot of the paint on the outside of the stove to avoid fumes in my brew. Here you can just make out the gases being reignited as they come back in through the top holes of the burner.
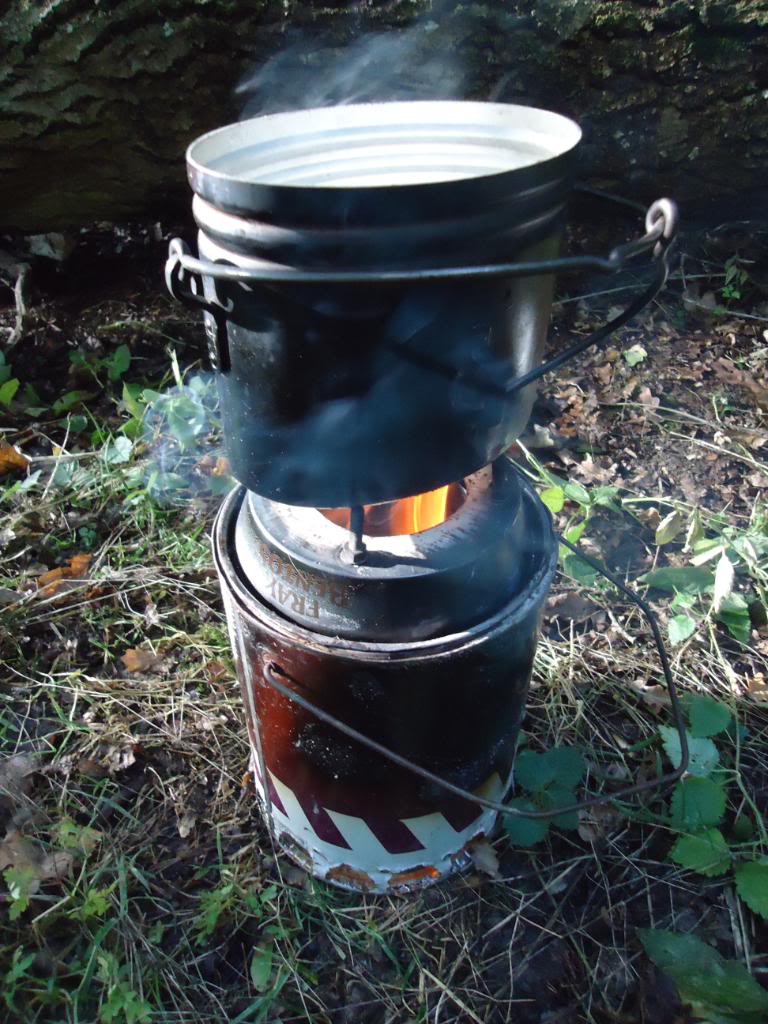
One stove in action.
I had fun building this stove and had the idea of building a better one but to tell you the truth this one works great so I’ve never got round to it.
Have a go and see what you can come up with.
Cheers
George
That is a nice project George. Despite the fact that I have neither a dog or would put a fray bentos in my body I’m going to build on of these.
I have no dog either David so the neighbours got it and I must admit in my youth being partial to a Fray Bentos pie. Good luck with the build.
Cheers
George
This looks good George, and having used mine many times over the last few years it needs a little attention in the form of a new pie tin for the top.
I would recommend using just three bolts for the stand though. It will never rock then if the pie tin gets a little bent.
Cheers Ian.
Good idea about the 3 bolts.
George